
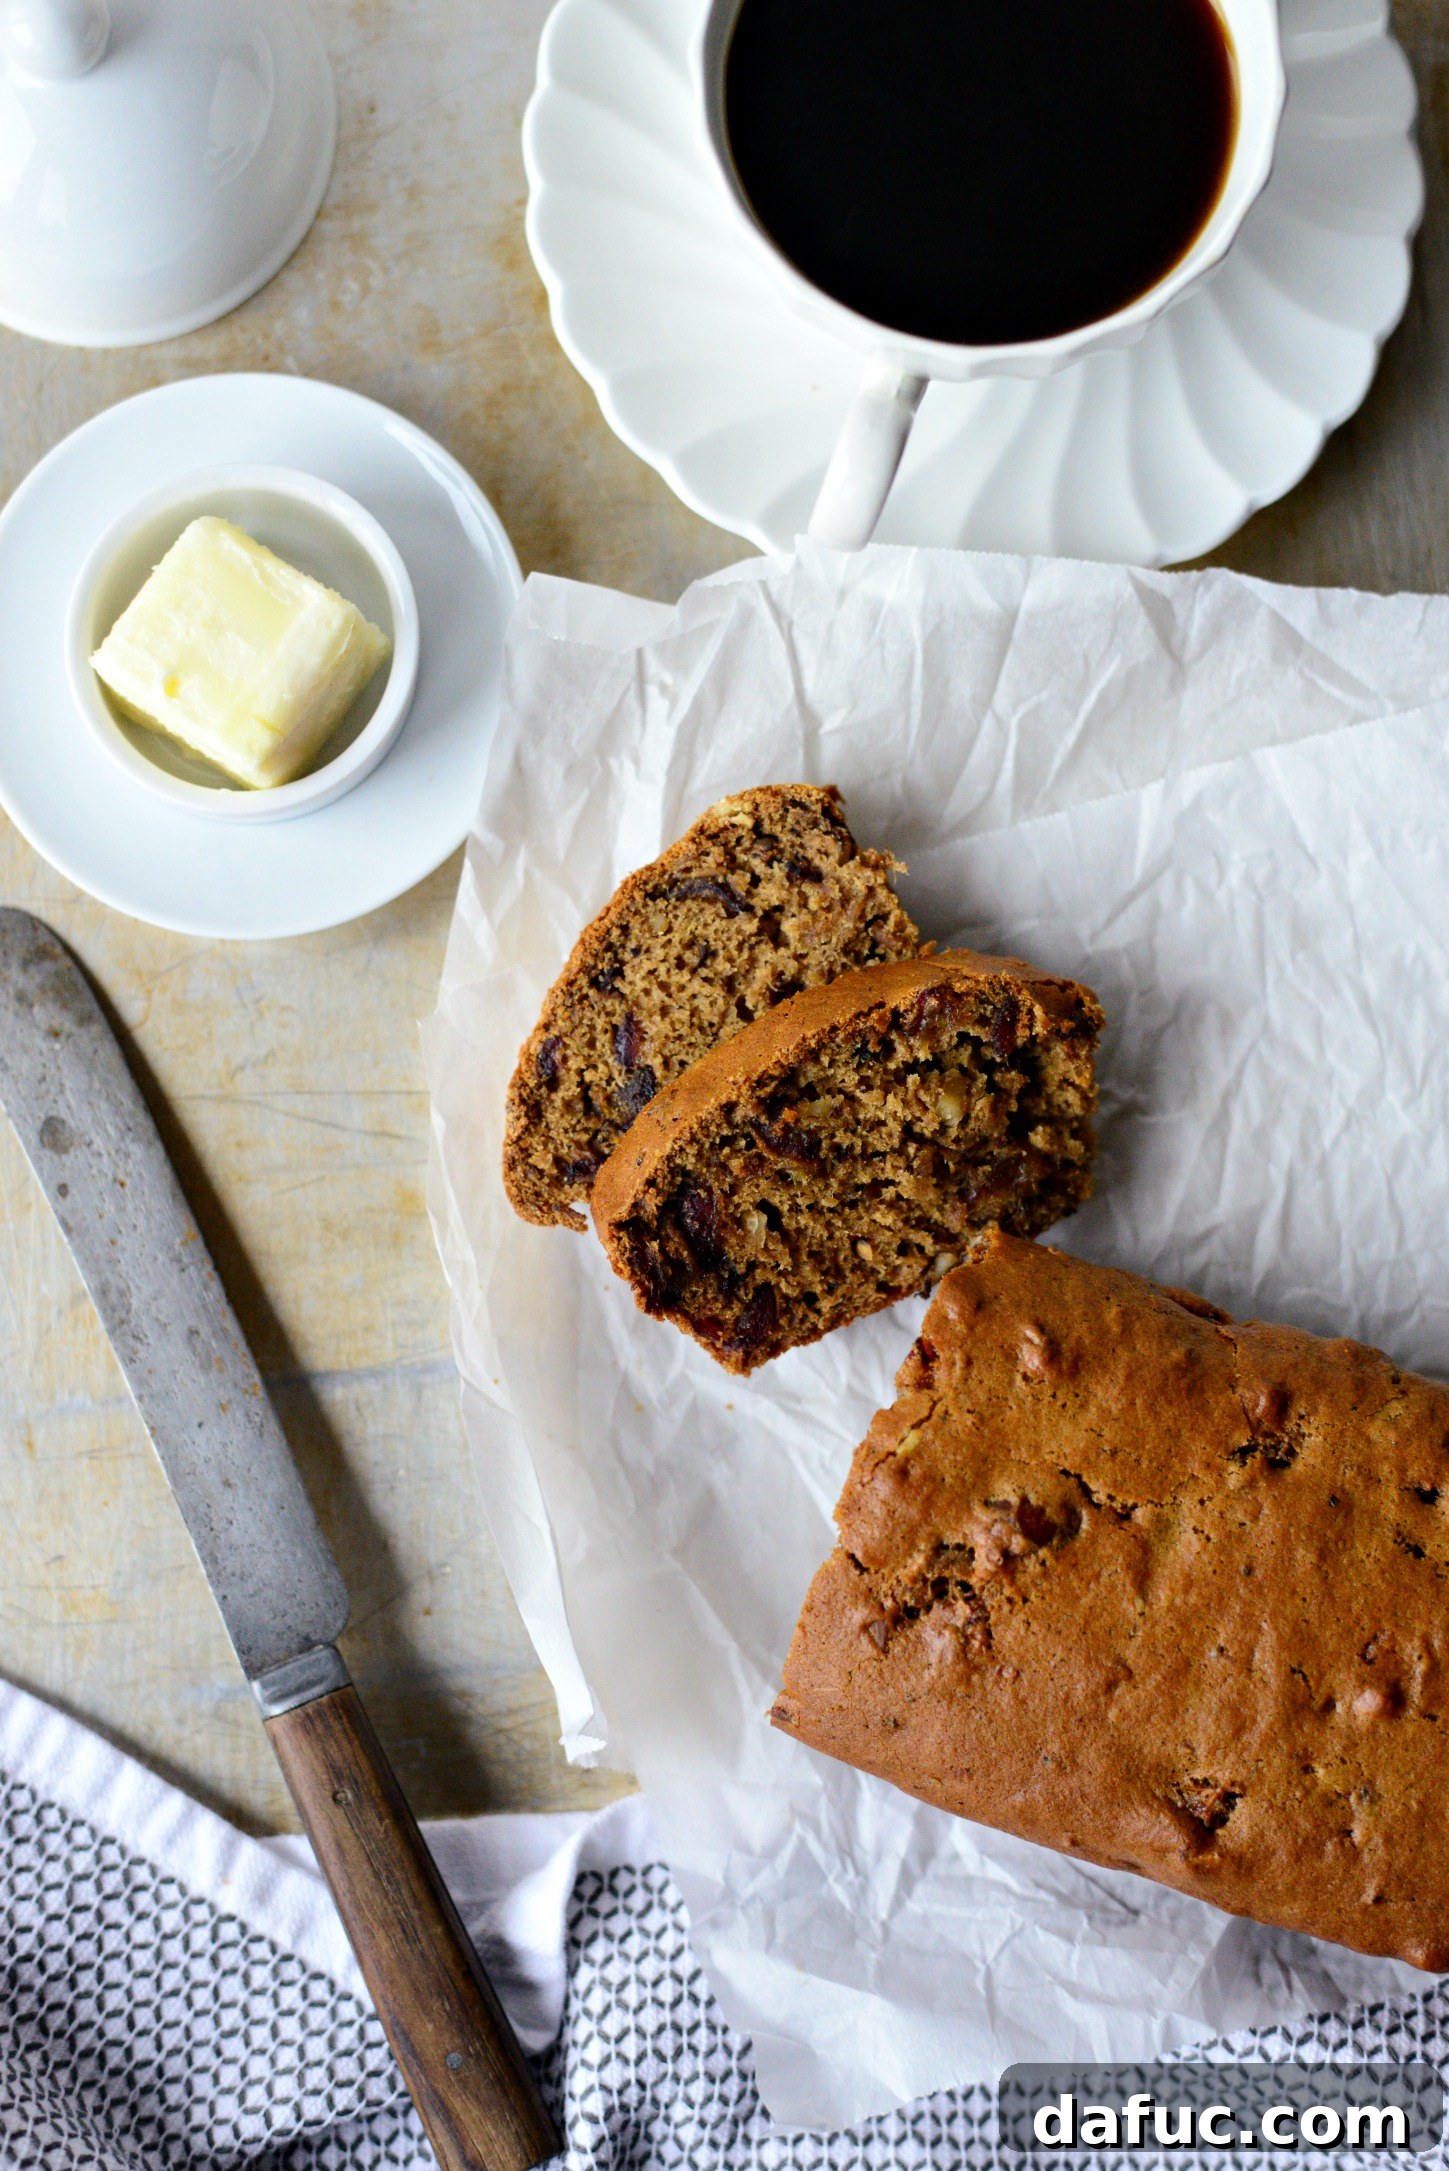
Indulge in the unparalleled comfort and rich flavors of this extraordinary Walnut Date Bread. Far more than just a recipe, this classic treat, sometimes affectionately known as Date and Nut Bread, promises to elevate your weekend into a cherished experience. Imagine a crisp autumn morning or a lazy Sunday afternoon, nestled with a cozy blanket, a captivating book, and a steaming mug of coffee or tea, all perfectly complemented by a slice of this moist, tender, and subtly spiced bread. It’s an invitation to slow down, savor, and create beautiful memories right in your own kitchen.
This timeless recipe holds a special place in my heart, passed down through generations from my beloved grandmother. Her original method, a charming nod to simpler times, involved baking this delectable bread in thoroughly washed-out green bean or corn cans. Filling them halfway, she’d create miniature, perfectly portioned loaves, a truly retro touch that unmistakably harks back to the resourceful spirit of the 1950s. While I adore the vintage appeal of her approach, for today, we’re embracing the more conventional and equally rewarding method of baking this bread in a standard loaf pan. This ensures a beautifully even bake and a familiar, comforting shape that’s perfect for slicing and sharing.
The magic of this bread extends beyond its taste; it’s intrinsically linked to shared moments. Just a few weekends ago, after a delightful outing at the mall with my girls, we stopped by my mother’s house. As we settled in for our visit, complete with warm coffee, I spotted this exquisite little loaf gracing her kitchen counter. We poured our coffee, allowing the comforting aroma to fill the air, while thick slices of the date bread were lightly toasted to perfection. The warmth of the bread, combined with a generous spread of softened butter, transformed a simple afternoon into a moment of pure bliss. It’s these simple pleasures, often unplanned, that make life so rich.
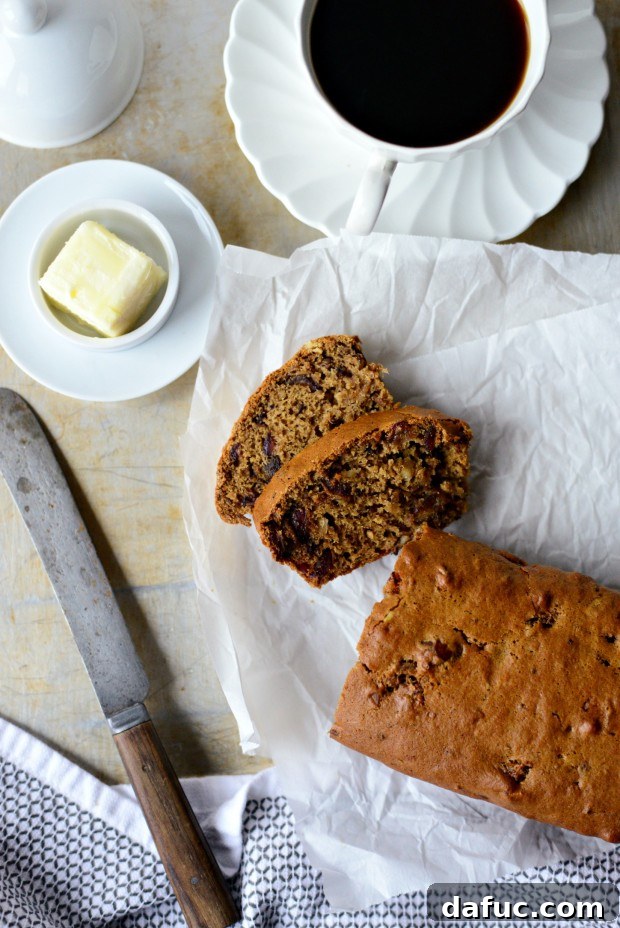
There’s an undeniable truth: everything truly is better when toasted and adorned with a dollop of rich, creamy butter. This Walnut Date Bread is no exception. The subtle caramelization from toasting brings out the deeper notes of the dates and walnuts, while the melting butter adds a luxurious richness that simply can’t be beaten. It’s a simple act of culinary alchemy that elevates a humble slice of bread into an irresistible indulgence, perfect for any time of day.
Baking this bread from scratch is a wonderfully rewarding experience, filling your home with an aroma that speaks of warmth, nostalgia, and pure comfort. The process is straightforward, making it an ideal project for bakers of all skill levels. From preparing the dates to mixing the batter and finally watching it transform in the oven, each step is a joy. The natural sweetness of the dates, combined with the earthy crunch of walnuts and a hint of cinnamon, creates a balanced flavor profile that is both sophisticated and deeply satisfying. This quick bread is not just food; it’s a feeling, a taste of home, and a testament to the enduring power of classic recipes.
Essential Ingredients for Your Homemade Walnut Date Bread:
- Sweet, pitted dates (the star of the show!)
- Baking soda (for that perfect rise and tender crumb)
- Boiling water (to soften and infuse the dates)
- Rich dark brown sugar (adding depth and moisture)
- Unsalted butter (for flavor and tender texture)
- One large egg (binding the ingredients together)
- Pure vanilla extract (a touch of aromatic warmth)
- Unbleached all-purpose flour (the foundation of our bread)
- Kosher salt (to balance the sweetness)
- Ground cinnamon (for a hint of comforting spice)
- Crunchy walnuts (the perfect textural counterpoint)
To begin your culinary journey, gather your dates. For ease and efficiency, make sure they are pitted. Medjool dates, with their soft, caramel-like texture, are an excellent choice and will lend an unparalleled richness to your bread. However, any variety of pitted dates will work beautifully, offering their unique sweetness and chewy texture to the final product.
Carefully chop the pitted dates until you have approximately one cup. Aim for small, even pieces. This ensures that the dates are evenly distributed throughout the batter and release their sweet, syrupy goodness into every bite of the bread. Precision in chopping contributes to the overall texture and flavor balance.
Transfer the finely chopped dates into a medium-sized heatproof bowl. Sprinkle one teaspoon of baking soda over them. The baking soda is crucial here; it not only helps the bread rise but also reacts with the hot water and the natural acids in the dates, contributing to a wonderfully tender and moist crumb.
Carefully pour three-quarters of a cup of freshly boiled water over the date and baking soda mixture. The hot water will begin to soften the dates, allowing them to break down and infuse the liquid with their sweet essence. This step is essential for creating the bread’s signature moist and dense texture.
Gently stir the mixture, ensuring all the chopped dates are fully submerged in the hot water. Set this bowl aside for at least 10-15 minutes while you prepare the remaining ingredients. This soaking time allows the dates to plump up, soften further, and create a rich, date-infused liquid that will be incorporated directly into the batter, adding incredible flavor and moisture.
Next, take half a cup of walnuts and chop them roughly. The key here is not to make them too fine; you want distinct pieces to provide that delightful textural contrast in every bite of the bread. While walnuts are traditional and provide a wonderful earthy flavor, don’t hesitate to experiment! Pecans would also be absolutely fabulous here, offering a slightly different, buttery crunch that complements the dates beautifully.
In a generously sized mixing bowl, combine three-quarters of a cup of dark brown sugar with one tablespoon of softened unsalted butter. The dark brown sugar, with its molasses content, adds incredible moisture and a deeper, more complex caramel-like flavor than its lighter counterpart. The butter, though a small amount, contributes richness and ensures a tender crumb. This combination forms the luxurious base of our Walnut Date Bread batter.
Carefully crack one large egg into the bowl with the brown sugar and butter. The egg acts as a crucial binder, helping to emulsify the mixture and provide structure to the bread. Ensure your egg is at room temperature if possible, as this allows it to incorporate more smoothly into the batter, resulting in a more uniform and tender texture for your finished loaf.
Add one teaspoon of pure vanilla extract to the wet ingredients. Vanilla is a subtle yet powerful flavor enhancer, bringing out the sweetness of the dates and the warmth of the cinnamon, adding a layer of complexity to the bread’s overall profile. Always use good quality vanilla extract for the best results, as it truly makes a difference in the final taste.
Now, thoroughly mix these wet ingredients together until they are well combined and smooth. You can use an electric mixer on low speed or a whisk and some elbow grease. The mixture should be uniform, with no streaks of butter or sugar visible. This step ensures an even distribution of flavors and a consistent texture in your Walnut Date Bread.
Into your wet mixture, gently fold in one and a half cups of unbleached all-purpose flour. Alongside the flour, add half a teaspoon of kosher salt and half a teaspoon of ground cinnamon. The salt perfectly balances the sweetness, while the cinnamon adds that quintessential warm, aromatic spice that makes date bread so comforting. Mix until just combined; overmixing can lead to a tough bread, so stop as soon as the dry ingredients disappear into the batter.
Next, it’s time to incorporate the star texture element: the half cup of chopped walnuts. Fold them into the batter gently. The walnuts provide a delightful crunch that contrasts beautifully with the soft, sweet dates and the tender crumb of the bread. Ensure they are evenly distributed throughout the batter, so every slice gets a generous amount of nutty goodness.
Finally, carefully pour in the soaked dates, along with any remaining water in the bowl, into your batter. This date-infused liquid is a powerhouse of flavor and moisture. It ensures that your Walnut Date Bread will be incredibly tender and rich, with the dates fully integrated into the fabric of the loaf. Don’t discard that precious liquid – it’s an integral part of the recipe!
Using a spatula, gently fold all the ingredients together until they are just incorporated. Be careful not to overmix at this stage; a few lumps are perfectly fine and often result in a more tender quick bread. The goal is to ensure the dates, walnuts, and all the wet and dry components are evenly distributed throughout the batter, creating a harmonious blend of flavors and textures for your Walnut Date Bread.
For this recipe, I find these smaller, cardboard stand-alone muffin containers, often designed for mini loaves, to be absolutely perfect. While the packaging is no longer available, their approximate measurements are 6 x 3 x 2 inches. These containers eliminate the need for greasing and create charming, individual-sized loaves that are ideal for sharing or freezing. If you don’t have these, a standard 9×5 inch loaf pan, lightly greased and floured, will also work wonderfully, yielding one larger loaf. Alternatively, you can divide the batter between two smaller metal loaf pans.
Carefully divide the rich, fragrant batter evenly among your prepared mini loaf pans. Precision here helps ensure that all your loaves bake consistently and beautifully. Take your time to spoon the batter, aiming for roughly equal portions in each container, setting the stage for perfectly baked, adorable individual Walnut Date Breads.
For each mini loaf pan, you’ll find that approximately one heaping cup of batter is just the right amount. This fills the pans appropriately, allowing for a good rise without overflowing, and ensures a substantial yet perfectly portioned loaf that’s ideal for individual enjoyment or sharing. These small loaves of Walnut Date Bread truly are charming.
Irresistibly Cute!
Gently spread the batter out to level the tops of your mini loaves. This helps ensure an even bake and a beautiful golden crust. Then, carefully slide them into your preheated 350°F (175°C) oven. Bake for approximately 40-45 minutes, or until a wooden toothpick inserted into the center of a loaf comes out clean. If using a single standard loaf pan, the baking time might extend to 50-60 minutes. Keep an eye on them; the alluring aroma will be your first hint of perfection!
Once your Walnut Date Bread emerges from the oven, golden brown and fragrant, allow it to cool in the pans for about 10-15 minutes before carefully removing. If you used the cardboard containers, simply peel back the sides once cooled enough to handle. This unique method ensures easy release and keeps the loaf perfectly intact. The cooling process is important for the bread to set properly and prevents it from crumbling when sliced. Resist the urge to cut into it too soon, and let the enticing aromas linger a little longer!
Once the Walnut Date Bread has cooled sufficiently, slice it thickly and prepare for a truly delightful experience. While it’s utterly delicious on its own, consider toasting the slices for an extra layer of warmth and a slightly crispy exterior. Then, feel free to slather them with generous, copious amounts of softened butter – it’s a classic for a reason! But don’t stop there; imagine it with a dollop of rich cream cheese, a drizzle of golden honey, your favorite fruit jam, or even a daring splash of maple syrup for an unexpectedly delightful twist. The versatility of this bread makes it perfect for any preference or palate.
This Walnut Date Bread is a masterpiece of flavors: sweet, nutty, and subtly spiced with cinnamon, culminating in an incredibly good, moist, and tender loaf. Its robust flavor stands up beautifully to freezing, making it perfect for preparing ahead. I often wrap individual loaves and freeze them, ready to be defrosted for impromptu coffee dates with friends or to satisfy sudden hunger pangs. Consider doubling the recipe to yield four charming loaves. These can be wrapped in pretty packages and handed out as thoughtful, homemade gifts, especially during the festive season or simply as a token of appreciation. Who isn’t excited about receiving a delicious, homemade treat?
Savor every bite! If you try this heartwarming Walnut Date Bread recipe, I’d love to hear from you. Share your creations and tag me on Twitter or Instagram!
Print Recipe
Pin Recipe
Leave a Review »
Walnut Date Bread
Ingredients
- 1 cup chopped pitted dates
- 1 teaspoon baking soda
- 3/4 cup boiling water
- 3/4 cup dark brown sugar
- 1 tablespoon butter
- 1 large egg
- 1 teaspoon pure vanilla extract
- 1½ cup unbleached all-purpose flour
- 1/2 teaspoon kosher salt
- 1/2 teaspoon ground cinnamon
- 1/2 cup chopped walnuts
Instructions
-
Preheat your oven to 350°F (175°C). Prepare two small loaf pans by greasing them, or use two paper cardboard stand-alone liners for easy removal.
-
In a medium heatproof bowl, combine the chopped pitted dates with 1 teaspoon of baking soda. Pour 3/4 cup of boiling water over the mixture, stir to submerge the dates, and set aside to soak for at least 10 minutes.
-
In a large mixing bowl, cream together the 3/4 cup dark brown sugar, 1 tablespoon of softened butter, 1 large egg, and 1 teaspoon of pure vanilla extract until smooth and well combined.
-
Gradually add the 1½ cups unbleached all-purpose flour, 1/2 teaspoon kosher salt, and 1/2 teaspoon ground cinnamon to the wet mixture. Mix on low speed until just combined, being careful not to overmix.
-
Fold in the 1/2 cup chopped walnuts, ensuring they are evenly distributed throughout the batter.
-
Finally, pour the soaked dates, along with any remaining water from their bowl, into the batter. Mix gently until all ingredients are just incorporated.
-
Divide the batter evenly between the two prepared loaf pans (approximately one heaping cup per pan). Smooth the tops of the batter with a spatula.
-
Bake for 40-45 minutes, or until a wooden toothpick inserted into the center of a loaf comes out clean. If baking a single larger loaf, the time may be closer to 50-60 minutes.
-
Allow the bread to cool in the pans for 10-15 minutes before carefully removing and transferring to a wire rack to cool completely. Slice and serve as desired.