
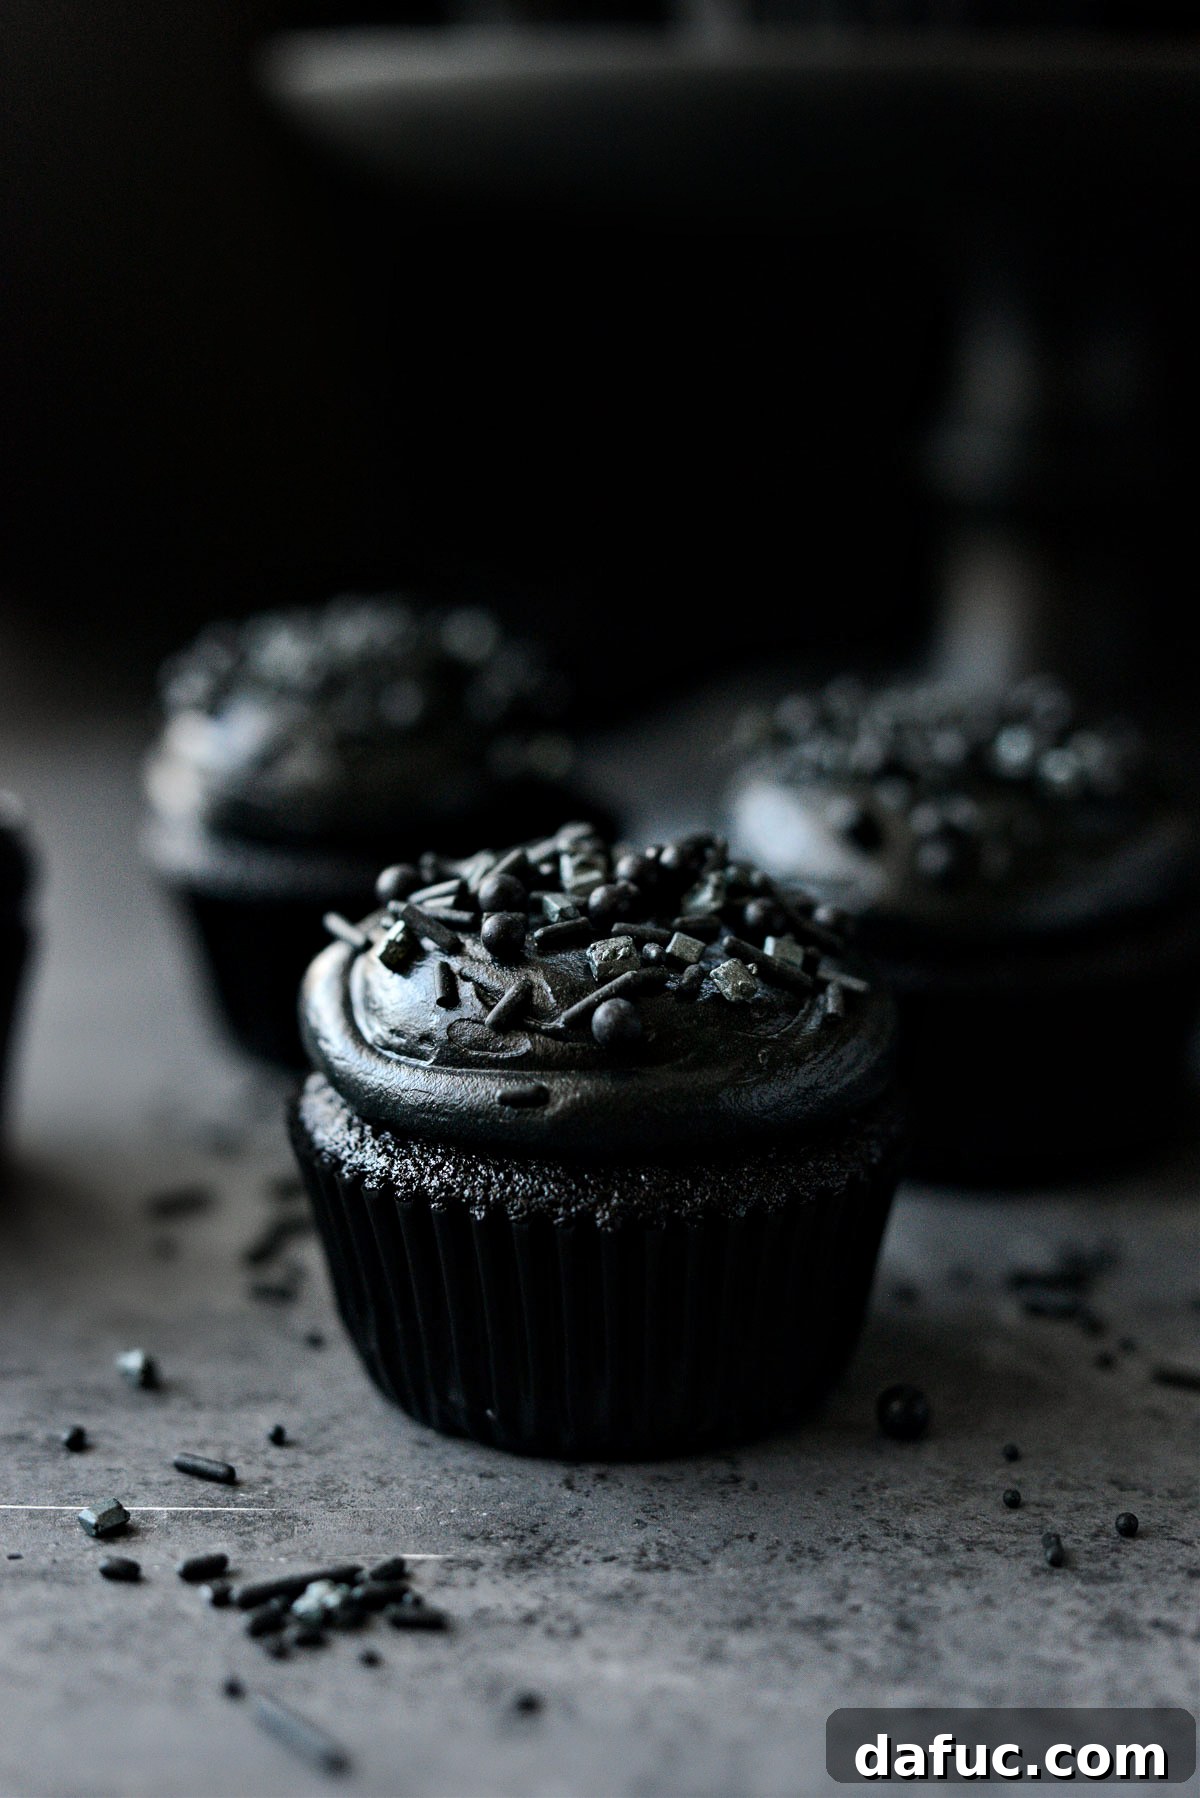
Black Velvet Cupcakes: The Ultimate Spooky Halloween Treat
As the air grows crisp and shadows lengthen, there’s no better way to embrace the spirit of Halloween than with a batch of these enchanting Black Velvet Cupcakes. Forget the ordinary; these aren’t just any dark-hued treats. They feature a remarkably moist and subtly tangy buttermilk cake, enriched with a delicate hint of black cocoa, all crowned with a rich, velvety black cream cheese frosting. Each bite promises a hauntingly delicious experience, making them the perfect centerpiece for your ghoulish gatherings or a delightful surprise for trick-or-treaters. This recipe is designed to yield 24 perfectly portioned cupcakes, ensuring there’s plenty of spooky sweetness to share.
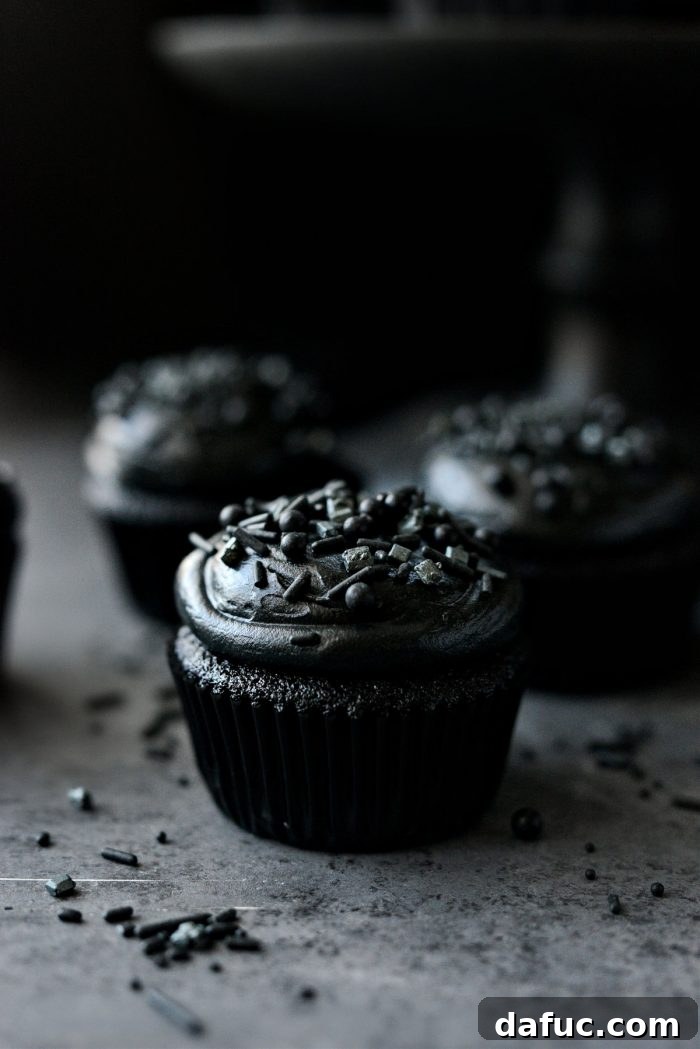
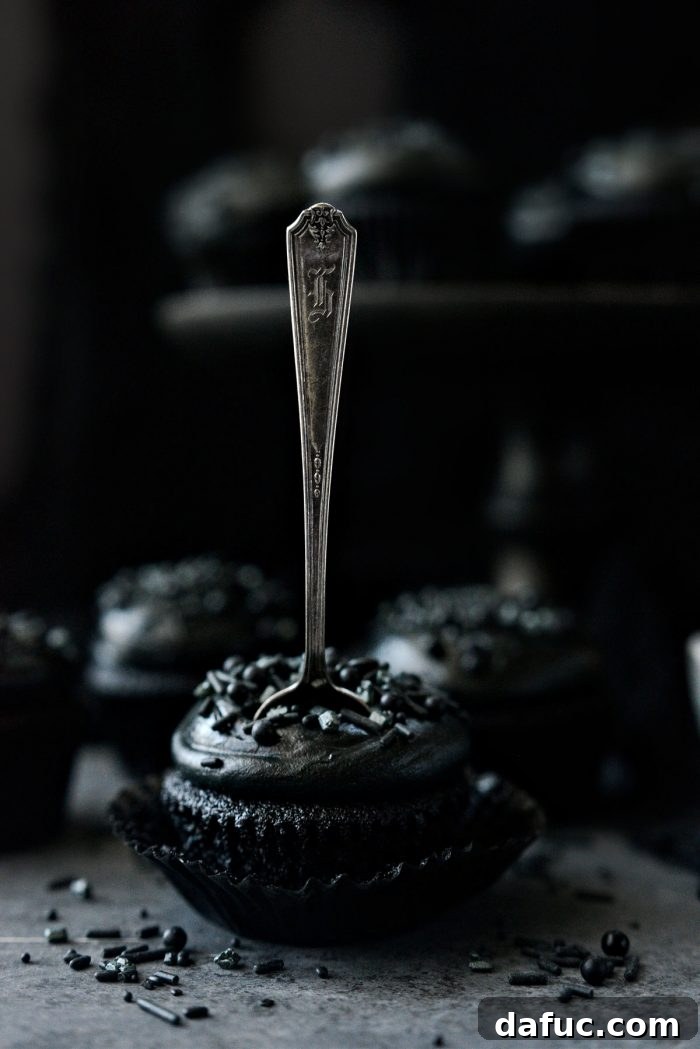
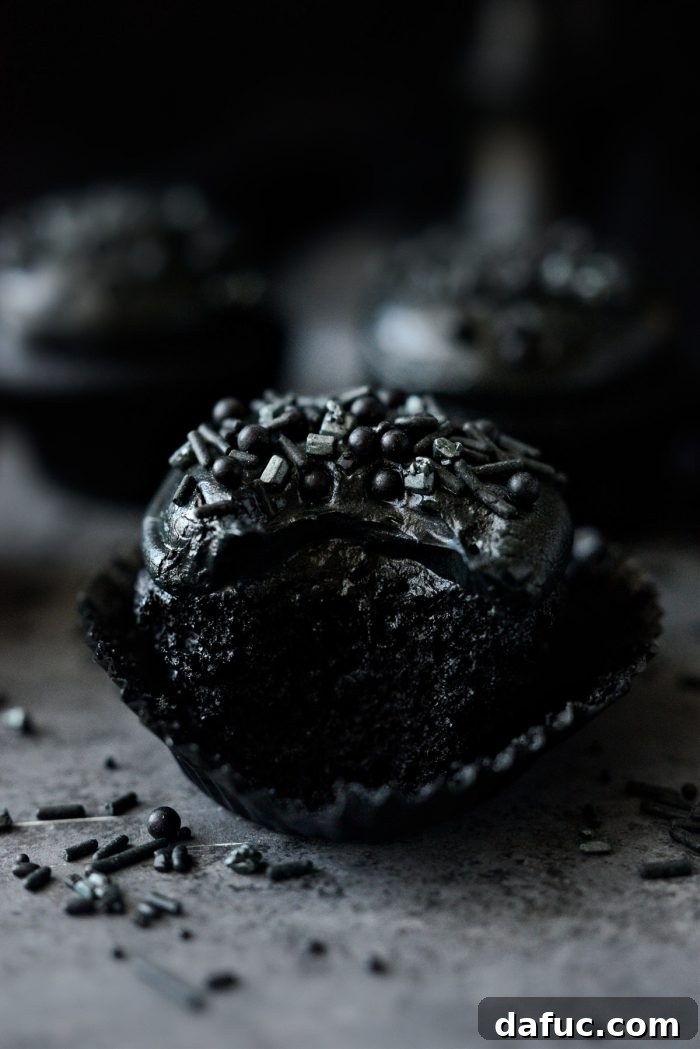
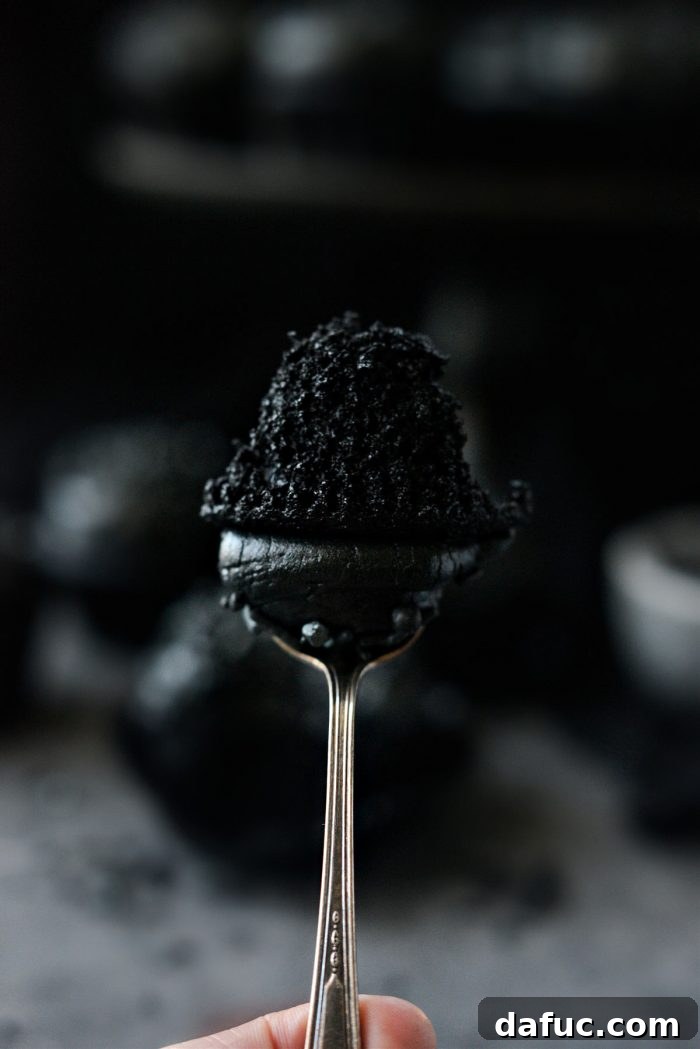
Are these not the most spectacularly spooky cupcakes you’ve ever seen? Black velvet cupcakes are, without a doubt, the quintessential treat for Halloween. Their dramatic, deep black hue is visually striking, making them an instant conversation starter. But beyond their impressive appearance lies a cake that is incredibly moist, tender, and boasts a unique tangy flavor profile that distinguishes it from a regular chocolate cupcake. The combination of a soft, velvety crumb and the bold, dark color creates a dessert that is as captivating to look at as it is delightful to eat.
Unveiling the Mystery: What Makes a Cake “Velvet”?
The term “velvet” in baking isn’t just about a luxurious texture; it points to a specific chemical reaction that yields a distinctive cake. Velvet cakes, including their famous red cousin, traditionally incorporate acidic ingredients like buttermilk and/or vinegar. These acids react synergistically with baking soda, a leavening agent. This reaction serves multiple purposes: it creates air bubbles, giving the cake its light and airy texture, and also contributes to the cake’s signature tender, “velvety” crumb. Furthermore, this acid-base interaction subtly enhances the flavor, imparting a delicate tang that perfectly balances the sweetness and richness of the cake. This unique interplay is what sets velvet cakes apart, creating a depth of flavor and an unparalleled mouthfeel that can’t be achieved with standard cake recipes. For our black velvet rendition, this same principle applies, ensuring a cake that is both deeply colored and wonderfully tender.
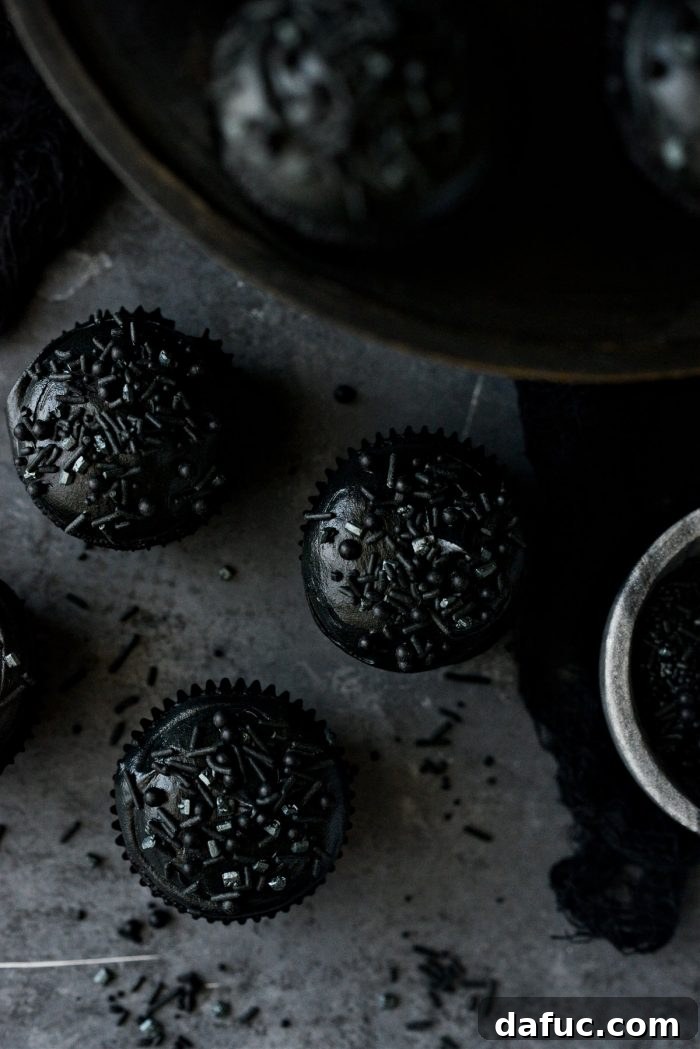
These truly ghoulish cupcakes are generously frosted with a rich, jet-black cream cheese frosting, providing a striking contrast in flavor and texture. To complete their festive Halloween transformation, they are then adorned with an assortment of playful sprinkles, adding a touch of sparkle and fun to their dark elegance. The combination is irresistible – a tender cake, a creamy, tangy frosting, and a delightful crunch from the sprinkles. Each component works in harmony to create a memorable and visually stunning dessert.
Gather Your Ingredients: What You’ll Need for Black Velvet Cupcakes
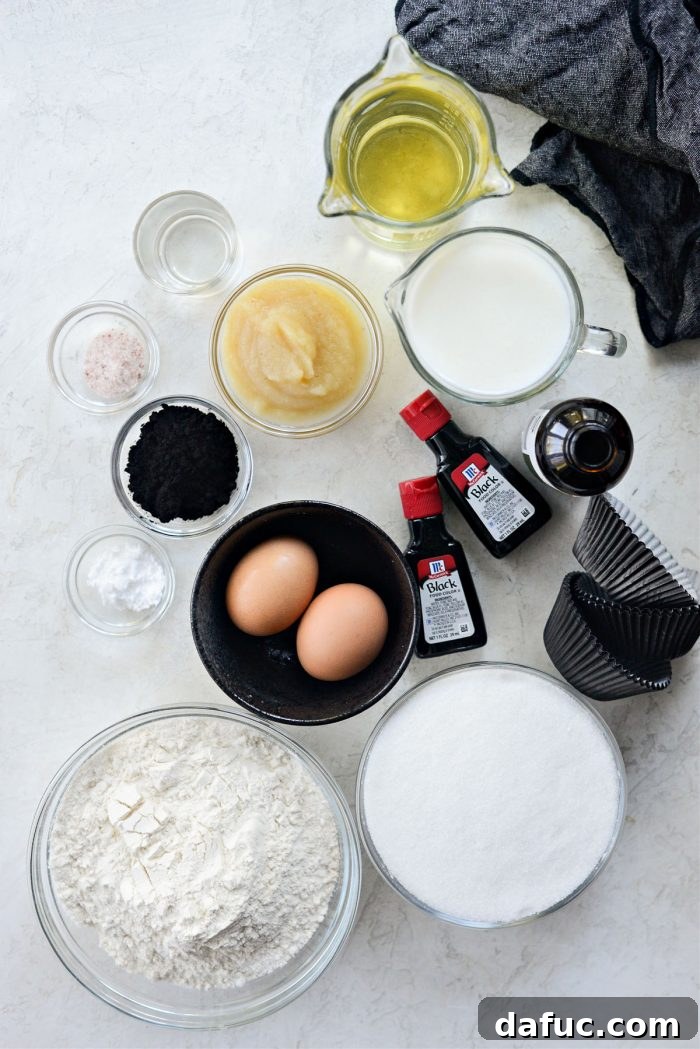
Crafting these exceptional Black Velvet Cupcakes requires a carefully selected list of ingredients that work together to create their unique flavor and texture. From the foundation of the moist cake to the rich and decadent frosting, each component plays a vital role. Quality ingredients are key to achieving the best results, so take a moment to ensure you have everything on hand before you begin your baking adventure.
For the Irresistible Black Velvet Cupcakes:
- **Eggs:** Large eggs at room temperature provide structure and richness.
- **Extra Light Olive Oil:** Or another mild-tasting vegetable oil, contributing to the cake’s moistness without imparting a strong flavor.
- **Buttermilk:** Essential for the classic velvet tang and tender crumb.
- **Unsweetened Applesauce:** Adds natural sweetness, moisture, and allows for a slightly reduced oil content.
- **White Distilled Vinegar:** Reacts with baking soda to create the characteristic velvet texture and helps activate the black food coloring.
- **Pure Vanilla Extract:** Enhances all the other flavors with its aromatic warmth.
- **Liquid Black Food Coloring:** The secret to achieving that strikingly deep, rich black hue.
- **Unbleached All-Purpose Flour:** Provides the main structure for the cupcakes.
- **Granulated Sugar:** Sweetens the cake and contributes to its moistness.
- **Black Cocoa Powder:** Offers a distinct, mild chocolate flavor and contributes to the dark color.
- **Baking Soda:** The key leavening agent that reacts with the acidic buttermilk and vinegar.
- **Fine Salt:** Balances the sweetness and amplifies the other flavors.
For the Decadent Black Cream Cheese Frosting:
- **Cream Cheese:** Softened to room temperature, providing the signature tangy flavor and creamy texture of cream cheese frosting.
- **Unsalted Butter:** Softened, for richness and smooth consistency.
- **Pure Vanilla Extract:** Adds a lovely aromatic depth to the frosting.
- **Black Gel Food Coloring:** Gel coloring is highly concentrated and ideal for achieving an intense black without thinning the frosting.
- **Powdered Sugar (Confectioners’ Sugar):** Sifted, to create a smooth, lump-free, and perfectly sweet frosting.
Baking the Perfect Black Velvet Cupcakes: Step-by-Step Guide
Making these Black Velvet Cupcakes is a straightforward process, but paying attention to each step ensures a perfect result every time. Follow these detailed instructions to create beautifully moist and delightfully dark cupcakes.
Preparation is Key: Preheat & Line
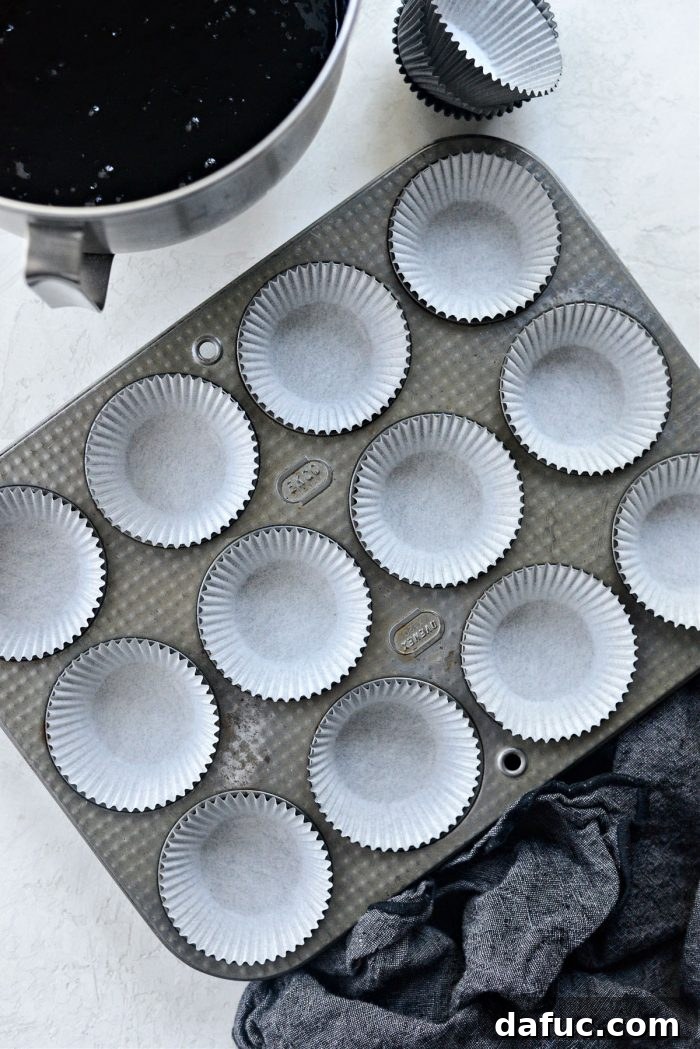
Before you begin mixing, set your oven to preheat to 350℉ (or 180℃). Proper oven temperature is crucial for even baking. While the oven preheats, take two standard 12-cup muffin pans and line all 24 wells with paper liners. This not only prevents sticking but also makes for easy serving and cleanup. Having your pans ready before you mix the batter ensures that once the batter is prepared, it can go directly into the oven, preventing any loss of leavening power.
Crafting the Liquid Mixture: Wet Ingredients Unite
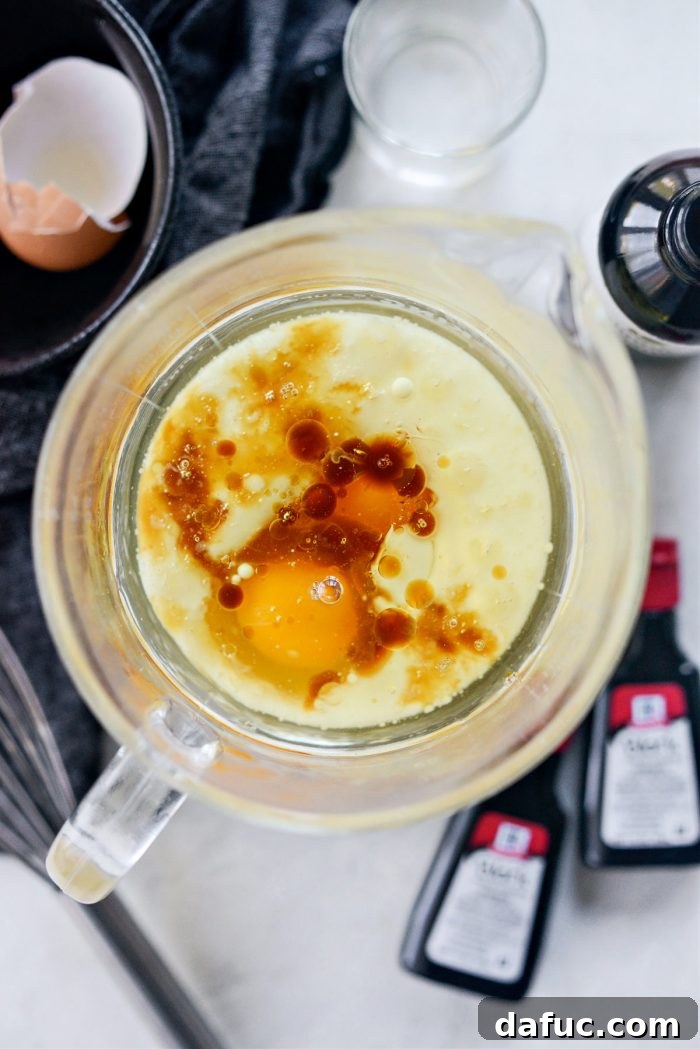
In a spacious 4-cup liquid measuring cup, crack in your two large eggs. Ensure they are at room temperature, as this helps them emulsify better with other ingredients, creating a smoother batter. Then, precisely measure and add 1 cup of extra light olive oil (or your preferred light-tasting oil), 1 cup of buttermilk, 1/2 cup of unsweetened applesauce, 1 tablespoon of white distilled vinegar, and 1-1/4 teaspoon of pure vanilla extract. Whisk all these liquid ingredients thoroughly until they are well combined and uniform in color and texture.
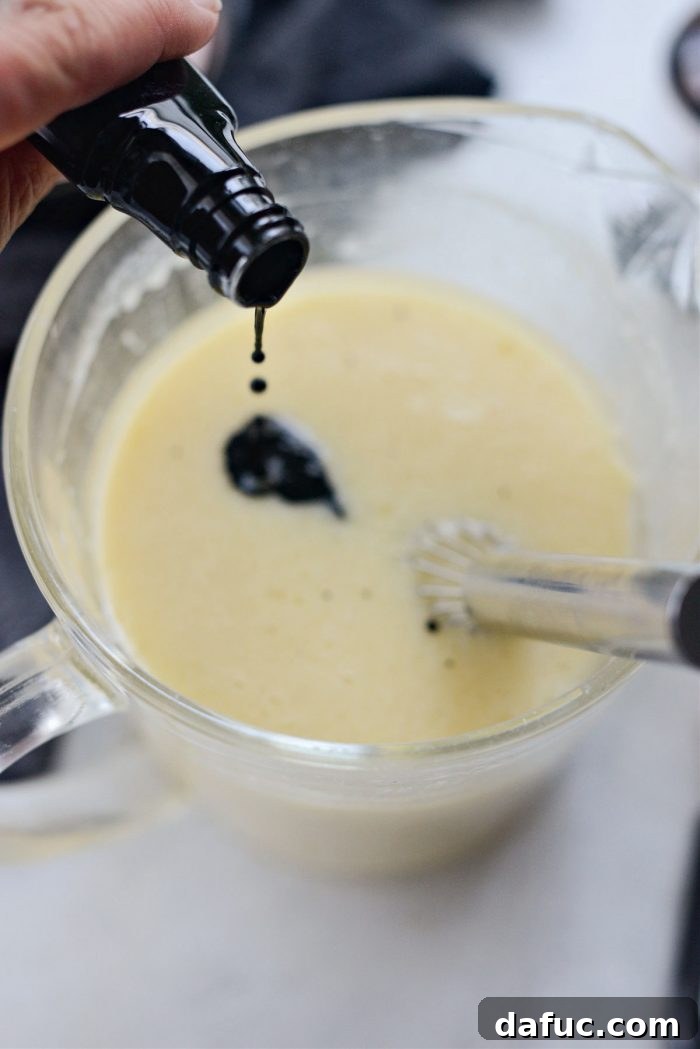
Now comes the magic for that iconic deep black color! Pour in 2 ounces of liquid black food coloring. While food coloring is a necessary evil for achieving this intense hue, I always advocate for moderation in all things. If using 2 ounces feels like too much for your comfort, rest assured that you can still achieve a wonderfully dark cupcake with just 1 ounce. The goal is a dramatic color, and either amount will contribute significantly. Whisk the mixture again until the food coloring is fully integrated, transforming the liquid mixture into a mesmerizing dark base for your cupcakes.
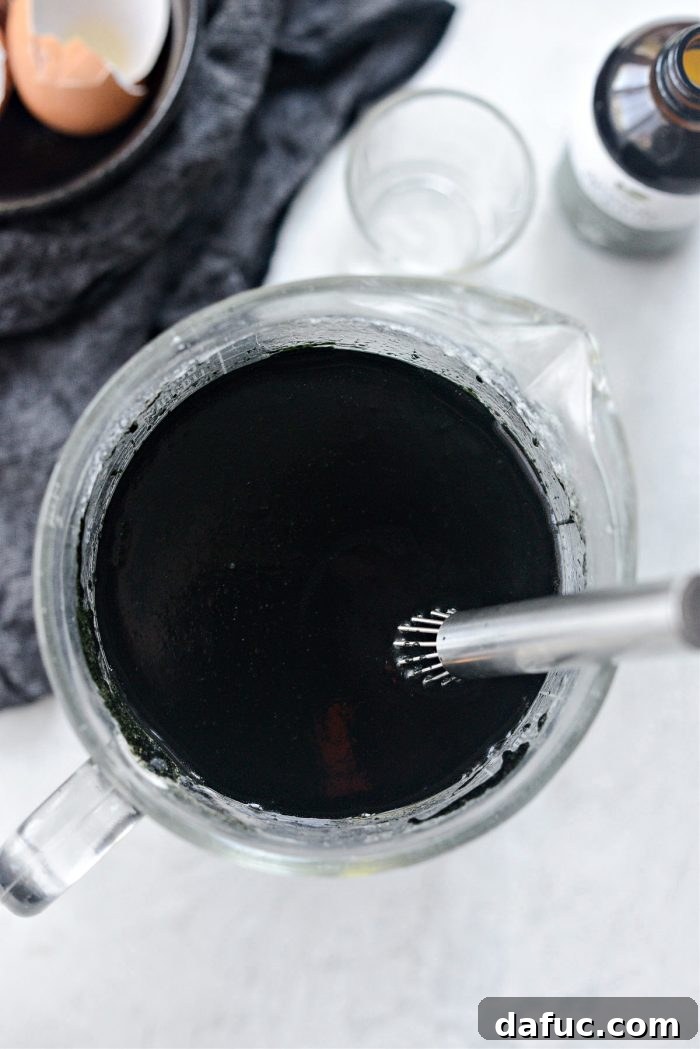
Once your wet ingredients, including the black food coloring, are thoroughly whisked and combined, set this measuring cup aside. It will be added to the dry ingredients shortly, but for now, ensure it’s within easy reach.
The Foundation: Dry Ingredients Blend
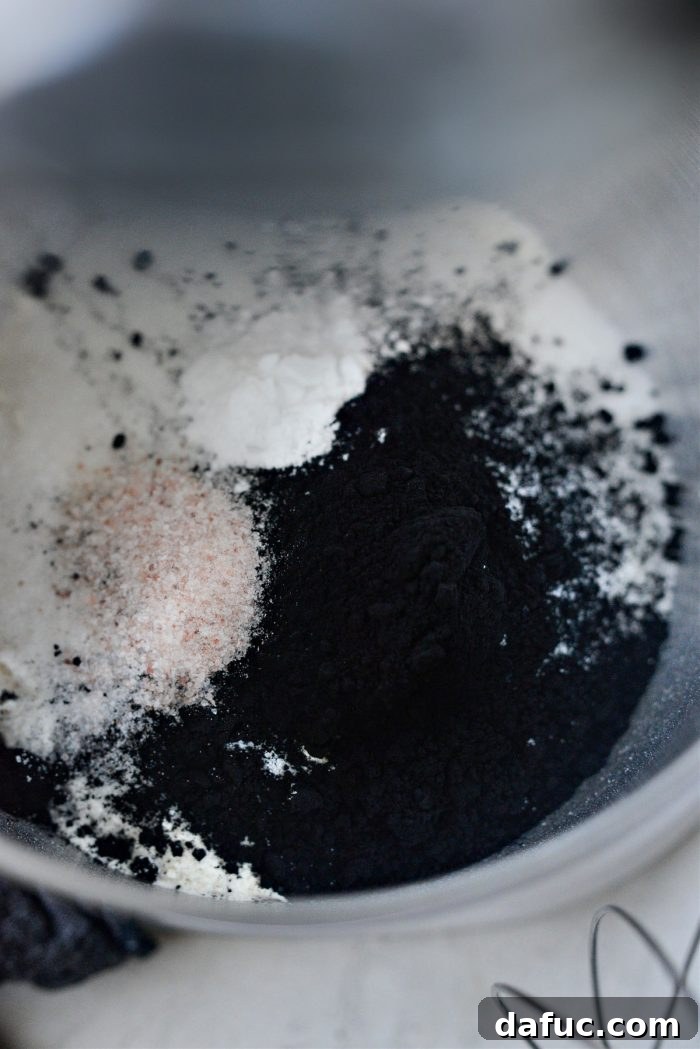
In the spacious bowl of your stand mixer, begin by accurately measuring and adding your dry components. Combine 2-1/2 cups of unbleached all-purpose flour, 2 cups of granulated sugar, 2 tablespoons of black cocoa powder, 1 teaspoon of baking soda, and 1 teaspoon of fine salt. The black cocoa powder is crucial here, not just for its mild chocolate flavor but also for enhancing the overall dark color. For those who prefer a more pronounced chocolate flavor beyond the unique notes of black cocoa, consider adding an additional 1-1/2 tablespoons of unsweetened cocoa powder at this stage (see notes on black cocoa powder below for more detail). Using a stand mixer with the paddle attachment, turn the mixer on low speed and gently stir these dry ingredients until they are uniformly combined. This step ensures all leavening agents and flavorings are evenly distributed before the wet ingredients are introduced.
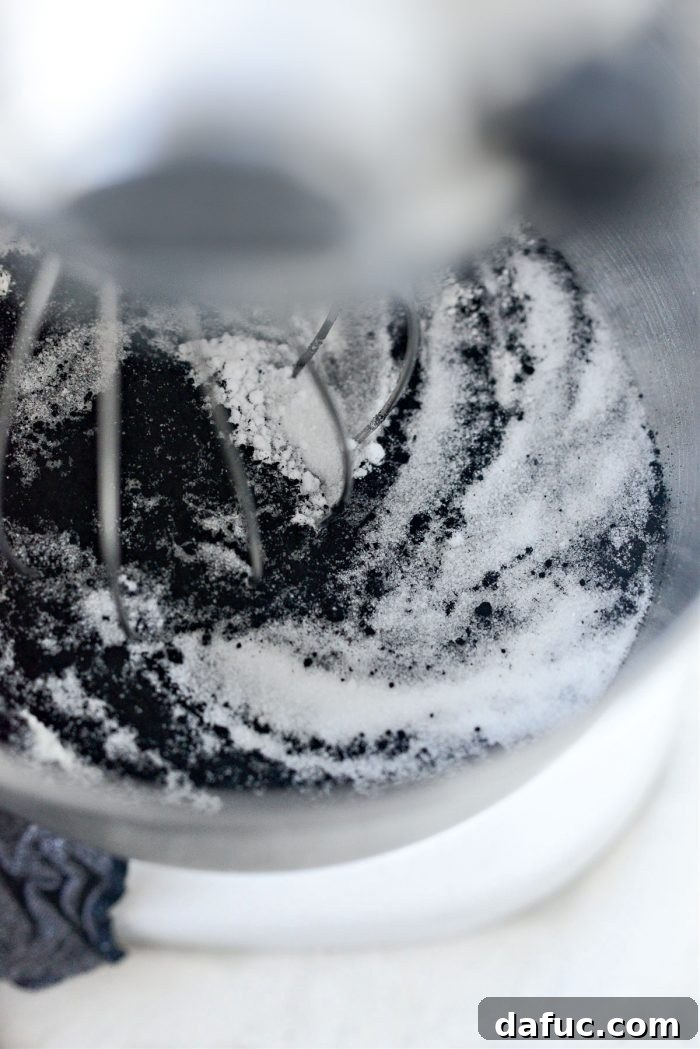
Continue mixing the dry ingredients on low speed until they are thoroughly incorporated. There should be no visible streaks of individual ingredients, indicating a homogeneous blend. This careful initial mixing prevents pockets of flour or leavening agents in the final batter, ensuring a consistent texture and rise in your cupcakes.
Deep Dive into Black Cocoa Powder: Flavor & Color Explained
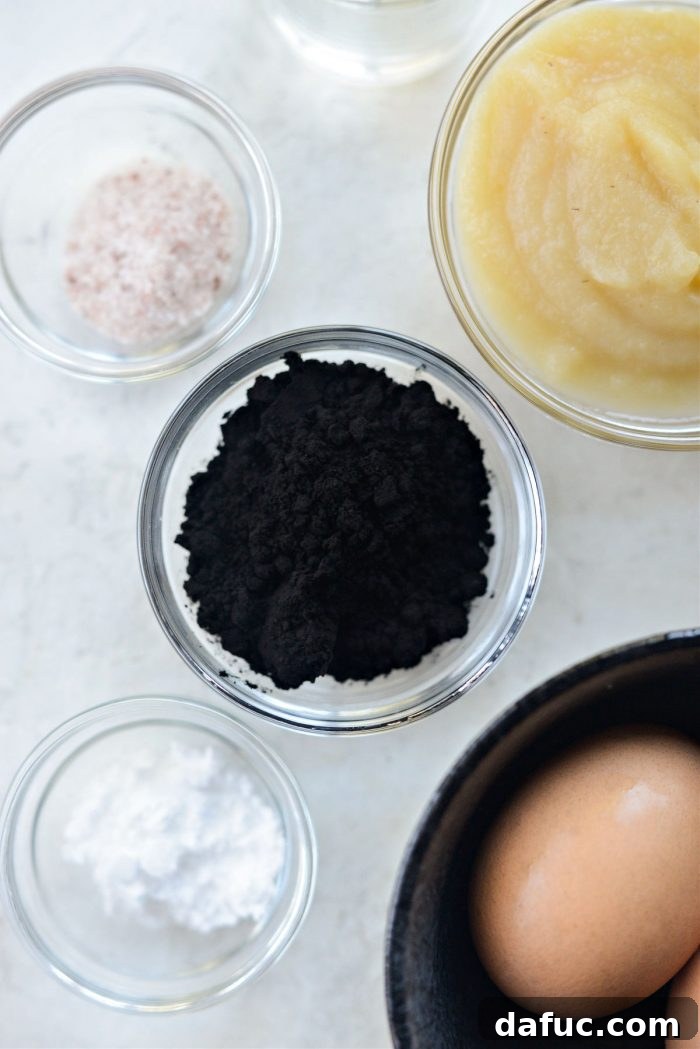
Black cocoa powder is a unique ingredient that warrants a closer look, especially when aiming for a truly dark and distinctive cake. It is essentially pure cocoa powder that has undergone an intensified Dutch-processing treatment, which significantly reduces its acidity and darkens its color to an almost charcoal black. Unlike natural cocoa powder, which is acidic, black cocoa powder is alkaline. This lower acidity allows its distinct, often mild chocolate flavor to truly shine through, without the bitterness sometimes associated with natural cocoa. If you’re a fan of Oreo cookies, you’ve likely experienced the unique taste of black cocoa powder, as it’s often the secret behind their iconic dark color and signature flavor (along with that delicious cream filling!).
While some recipes might solely rely on black cocoa powder to achieve a dark velvet cake, this recipe leverages both black cocoa for flavor and a precise amount of food coloring for that rich, deep black hue, much like its red velvet counterpart. The combination ensures both optimal color and the desired tangy, mild chocolate flavor. It’s important to note that black cocoa has a distinct, milder chocolate profile. For those who desire a more robust or “punchy” chocolate flavor in their black velvet cupcakes, I highly recommend supplementing the 2 tablespoons of black cocoa with an additional 1-1/2 tablespoons of unsweetened cocoa powder. This small adjustment will deepen the chocolate notes without compromising the cake’s dramatic color or velvety texture.
Bringing It All Together: Mixing the Batter
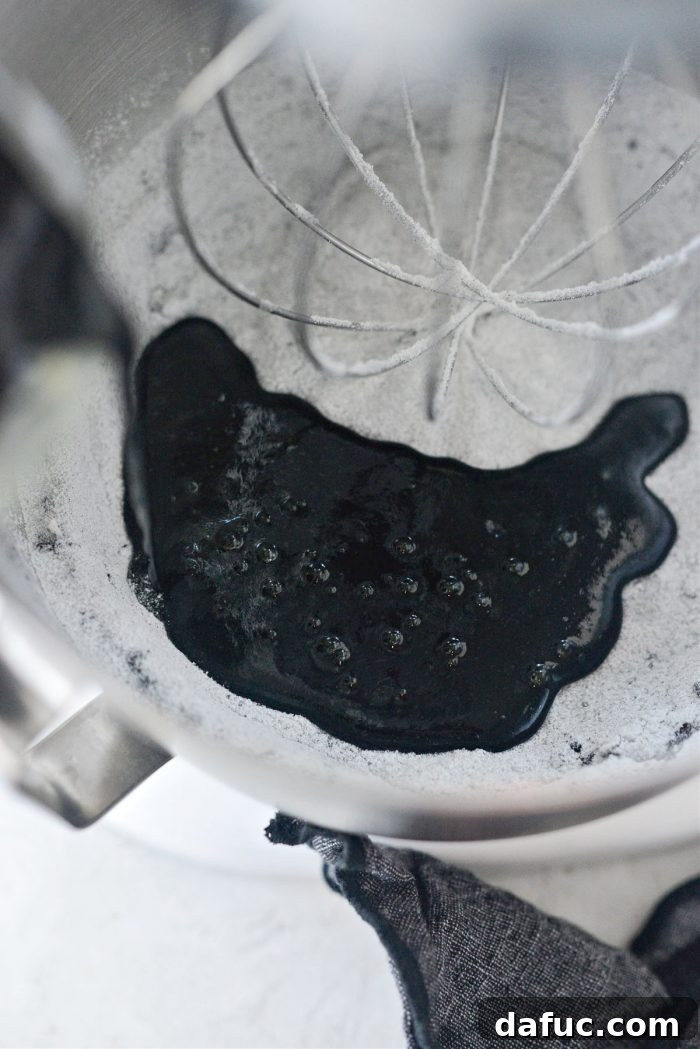
With your stand mixer still running on low speed, it’s time to introduce the wet ingredients to the dry. Slowly and carefully pour the black liquid mixture into the bowl with the flour and cocoa blend. The key here is gradual addition to allow the ingredients to combine smoothly without overmixing. Avoid dumping all the liquid in at once, as this can lead to a lumpy batter and potentially overdevelop the gluten in the flour, resulting in a tougher cupcake.
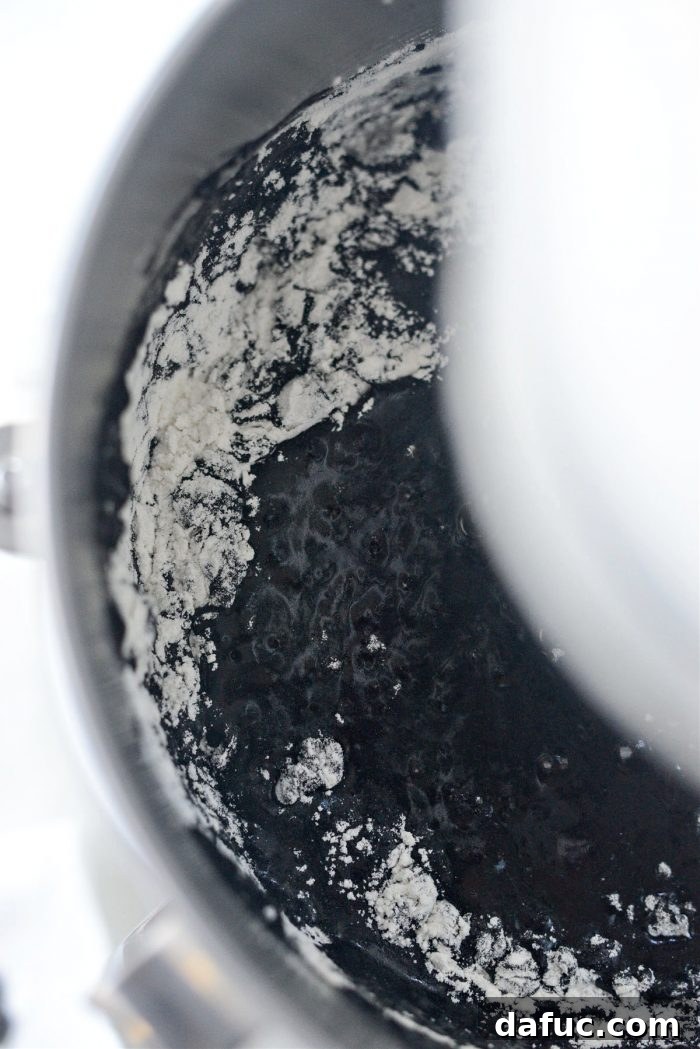
Continue mixing on low speed until all the ingredients are just incorporated. Be careful not to overmix the batter. Overmixing can lead to a dense, chewy texture because it develops the gluten in the flour too much. Once you see no more dry streaks of flour and the batter is uniformly dark and smooth, stop the mixer. A quick scrape down the sides and bottom of the bowl with a spatula will ensure everything is perfectly combined.
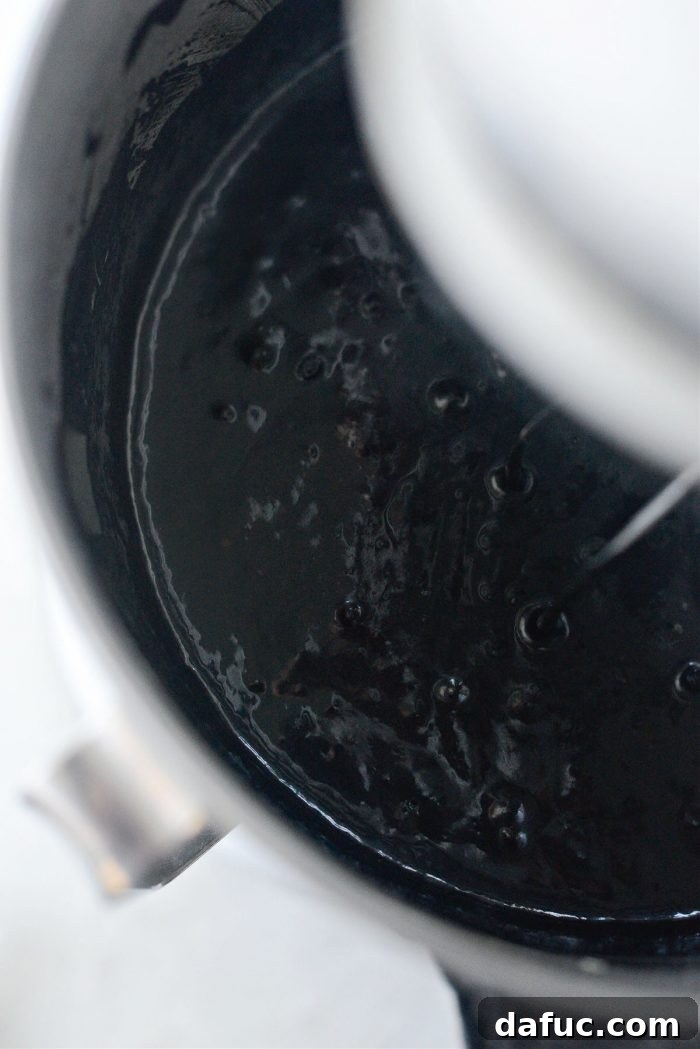
Behold the rich, intensely dark black velvet batter. Its striking color is truly captivating, promising a visually stunning treat. This deep hue is exactly what we’re aiming for – a dramatic base for our spooky Halloween cupcakes.
Baking to Perfection: Golden Rules for Black Cupcakes
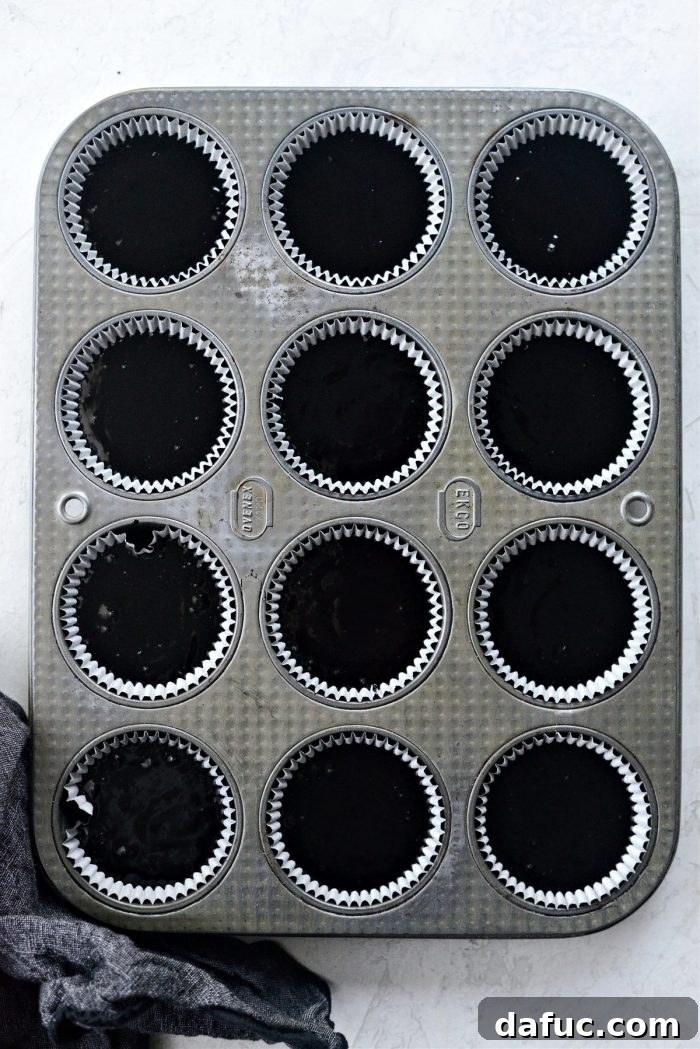
Once your batter is ready, evenly divide it among the prepared muffin pans. A good rule of thumb is to add roughly three generous tablespoons of batter into each paper liner. This amount typically fills each liner about two-thirds full, allowing adequate space for the cupcakes to rise without overflowing. Distributing the batter as evenly as possible ensures consistent cupcake size and baking time.
Bake each batch in your preheated 350°F (180°C) oven for approximately 16 to 18 minutes. Baking times can vary slightly depending on your oven, so it’s always best to rely on visual and tactile cues. The cupcakes are done when their tops gently spring back when lightly pressed with a fingertip. Additionally, inserting a wooden skewer or toothpick into the center of a cupcake should come out with only a few moist crumbs attached, or completely clean. If you have an older or smaller oven, like mine, it’s often beneficial to bake the pans separately. This practice helps ensure more even baking across all cupcakes, preventing some from being overdone while others are still undercooked. If you have a larger, more modern oven, you might be able to bake both pans simultaneously, but always be mindful of potential hot spots and rotate the pans halfway through baking.
Cooling Down: The Patient Wait
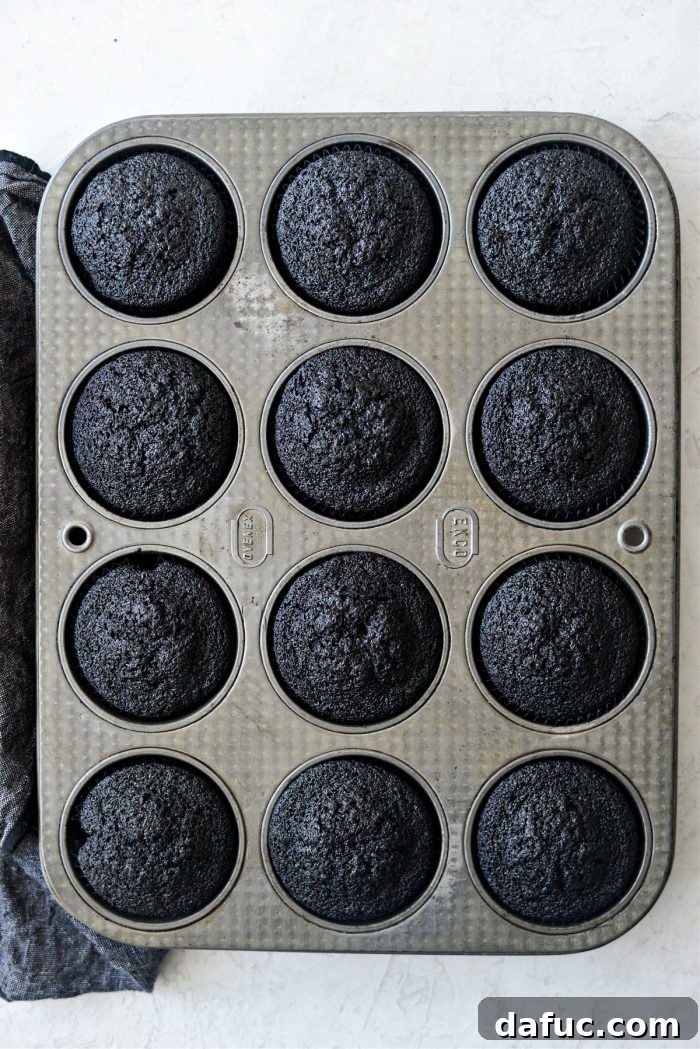
Once the cupcakes are perfectly baked, carefully remove the muffin pans from the oven. Allow them to cool in the pans for about 5-10 minutes before transferring the cupcakes to a wire rack to cool completely. This crucial cooling period ensures the cupcakes firm up and maintain their structure. It is absolutely essential that the cupcakes are completely cool before you even think about frosting them. Attempting to frost warm cupcakes will result in melted, messy frosting and a disappointing finish. While your cupcakes are cooling, this is the ideal time to prepare the luxurious black cream cheese frosting.
Whipping Up the Mystical Black Cream Cheese Frosting
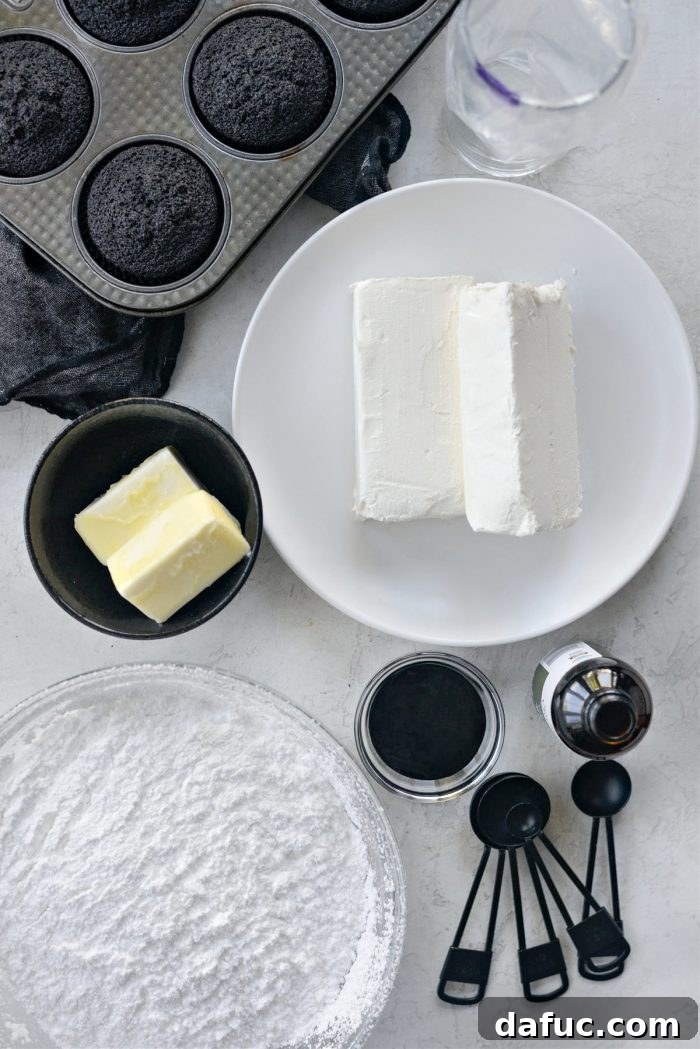
No black velvet cupcake is complete without its signature black cream cheese frosting. This velvety, tangy, and deeply colored frosting perfectly complements the moist cupcake base, creating a harmonious and utterly decadent dessert. Making it is a straightforward process that yields impressive results.
Starting Smooth: Butter & Cream Cheese Base
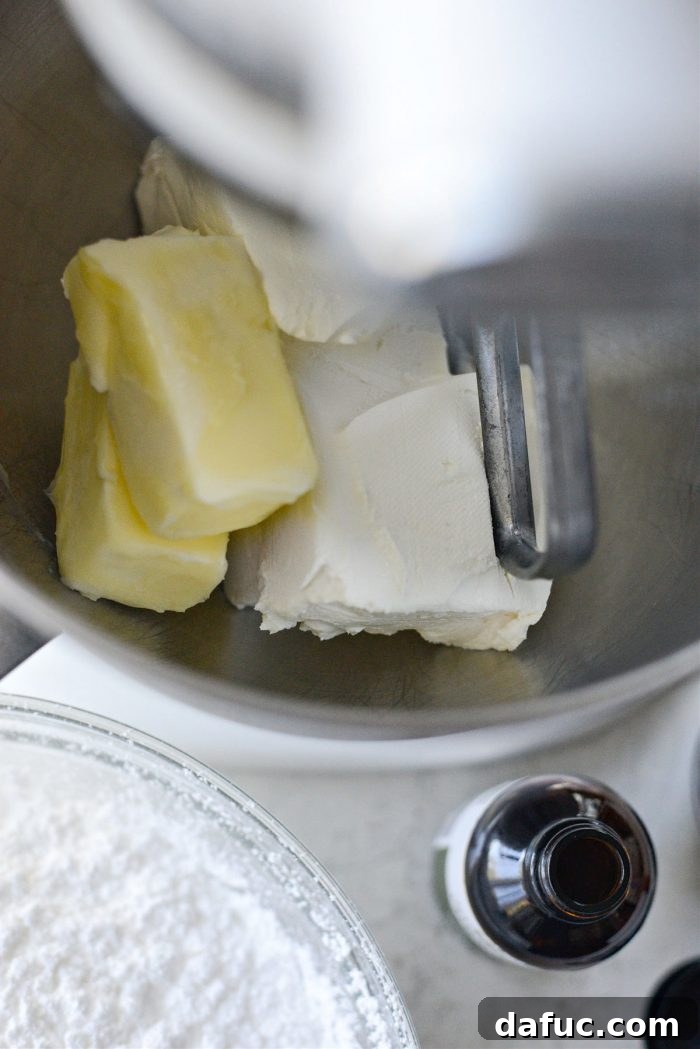
In the bowl of your stand mixer, fitted with the paddle attachment, combine the softened cream cheese and unsalted butter. It is absolutely crucial that both ingredients are at room temperature and properly softened. This ensures they cream together smoothly and evenly, preventing any lumps in your final frosting. Begin mixing on low speed, gradually increasing to medium-low, until the mixture is light, fluffy, and completely smooth, with zero lumps remaining. This initial creaming sets the foundation for a truly exquisite frosting.
The Dark Hue & Sweet Aroma: Vanilla & Black Gel
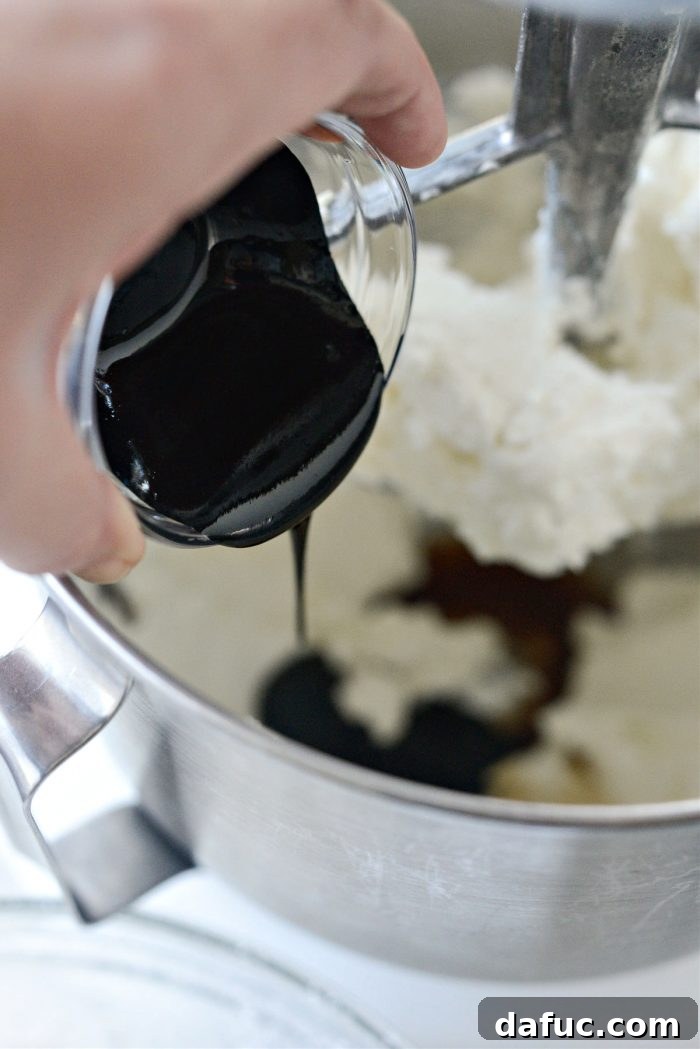
Once your cream cheese and butter mixture is perfectly smooth, it’s time to add the flavor and color. Incorporate 2 teaspoons of pure vanilla extract for a beautiful aromatic depth. Then, add 1 ounce of black gel food coloring. I find that gel coloring works exceptionally well in frosting recipes because it is highly concentrated and less likely to thin out the consistency compared to liquid food coloring. The gel provides an intense, true black hue without requiring excessive amounts. Mix these additions thoroughly until they are completely incorporated into the creamed butter and cream cheese, scraping down the sides and bottom of the bowl as needed to ensure an even color.
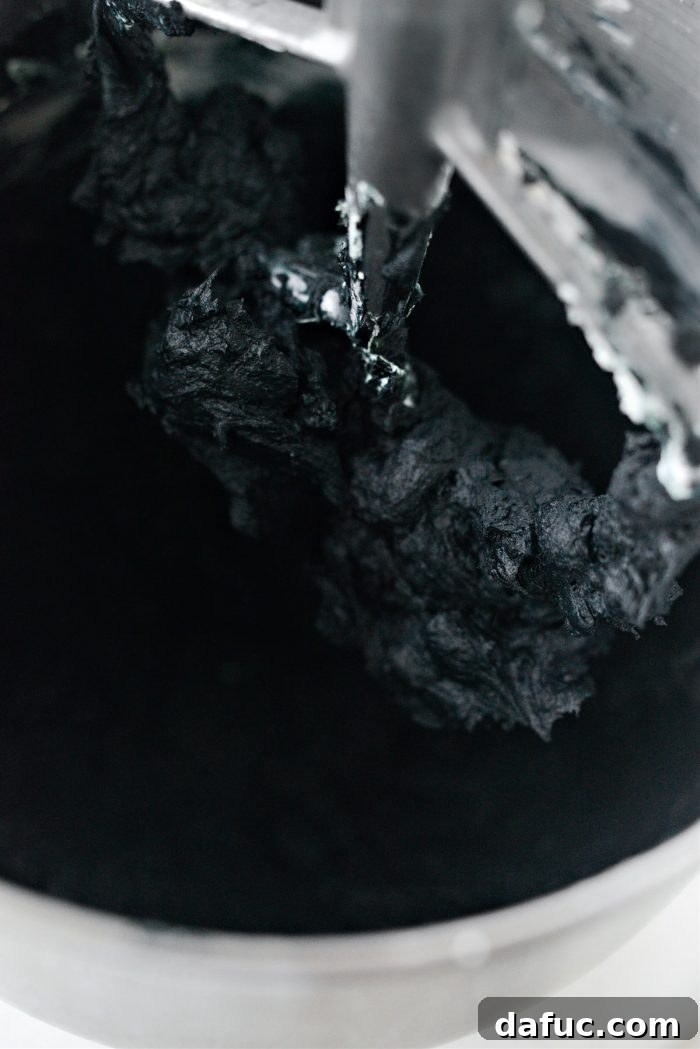
Continue to mix the frosting ingredients until everything is fully incorporated and the color is a consistent, deep black. The mixture should be smooth and vibrant, showcasing the dramatic effect of the black gel food coloring. Take your time to scrape down the sides of the bowl periodically to ensure no uncolored or unmixed portions remain.
Achieving Perfection: Adding Powdered Sugar
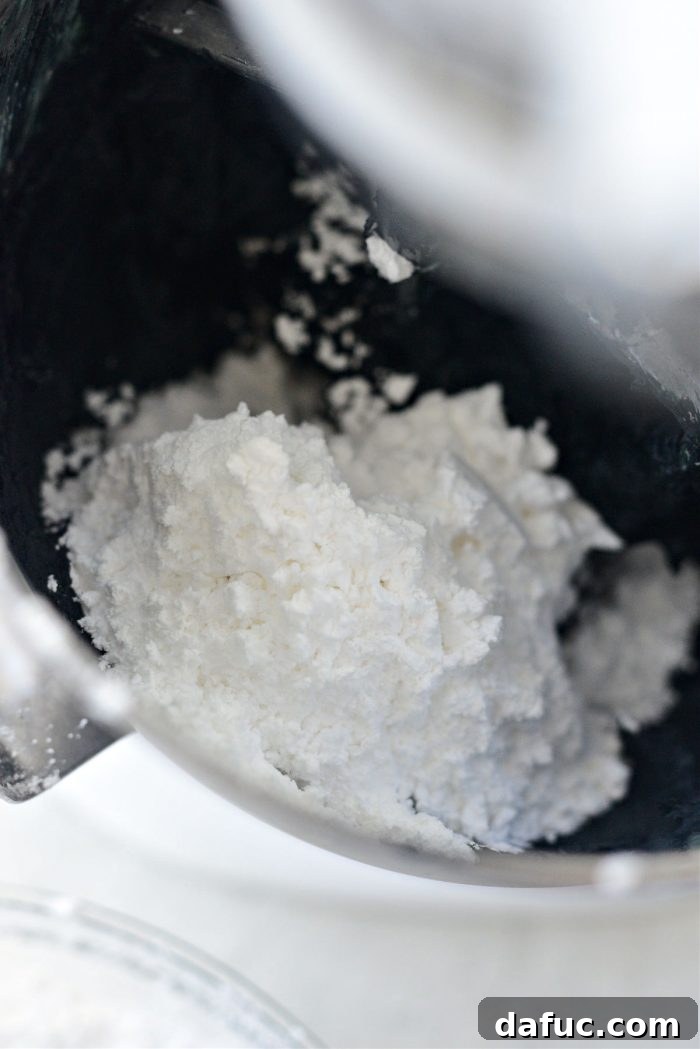
Now, to achieve the desired sweetness and thickness, you’ll need powdered sugar. For the smoothest frosting, it’s highly recommended to sift your 9 cups of powdered sugar before adding it. Gradually add the sifted powdered sugar to the cream cheese mixture, a cup or so at a time, mixing well on low speed after each addition. This gradual approach prevents a powdery mess and allows the sugar to be fully absorbed into the frosting base. Continue this process, ensuring each addition is mixed in before adding the next.
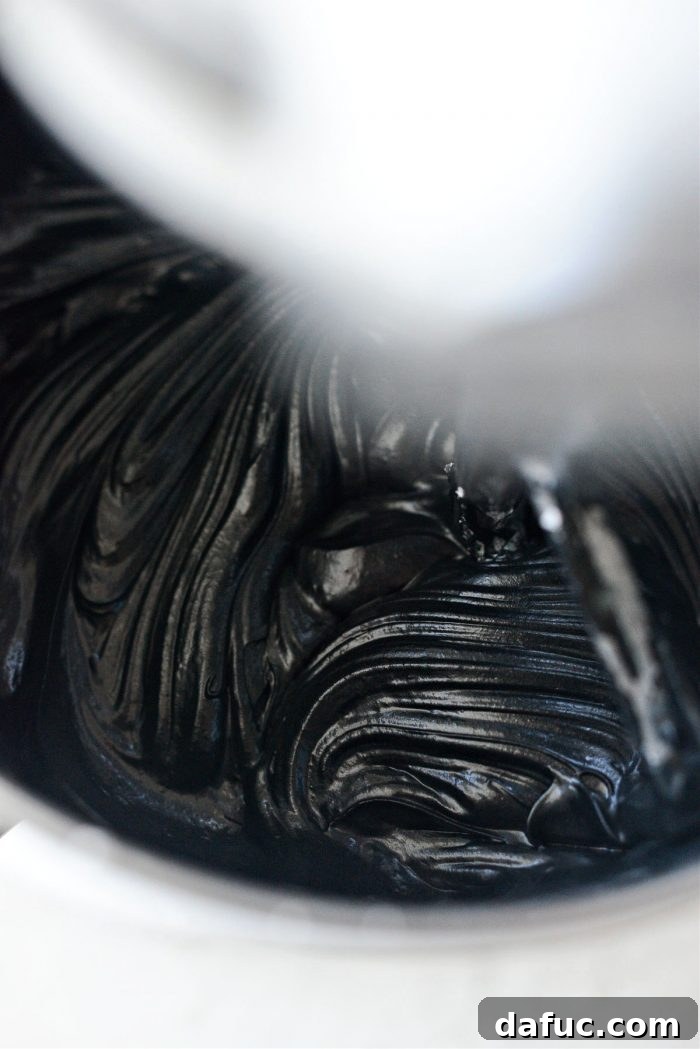
As you incorporate the powdered sugar, repeatedly scrape down the sides and bottom of the bowl with a spatula. This ensures all ingredients are evenly combined and prevents any pockets of unmixed sugar. Continue adding the powdered sugar in stages and mixing until the frosting reaches your desired consistency for piping and has thickened beautifully. For this recipe, I found that approximately 9 cups of sifted powdered sugar were needed to achieve the perfect, pipeable consistency. The result should be a rich, smooth, and deeply colored frosting that holds its shape.
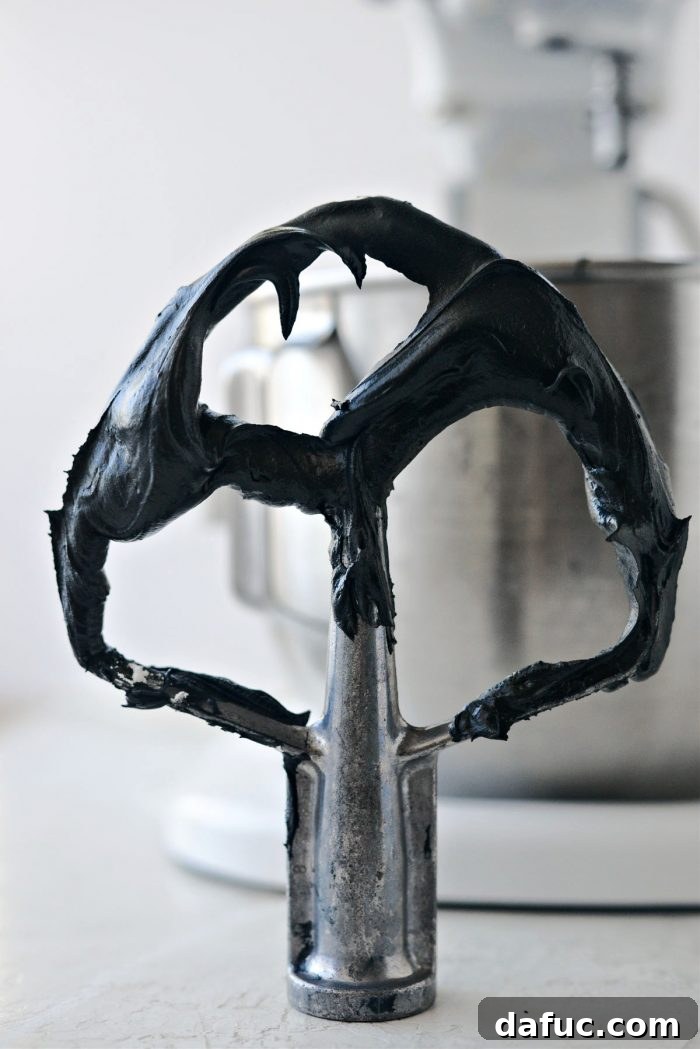
The final color of this black cream cheese frosting is truly unreal – an intense, luxurious black that is both striking and sophisticated. This recipe yields a generous amount, roughly 5 cups of frosting, which is more than sufficient to generously frost all 24 of your black velvet cupcakes, or even a two-tiered cake if you’re feeling extra ambitious. Its richness and smooth texture make it an absolute delight to work with and, more importantly, to taste.
Frosting & Finishing Touches: Decorate Your Spooky Masterpieces
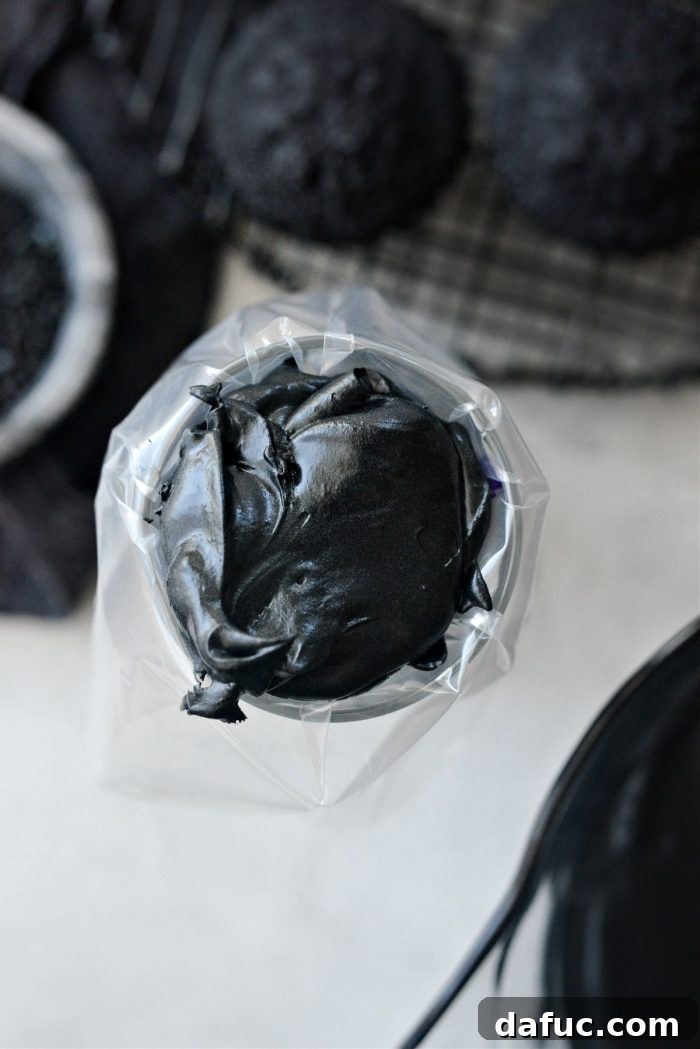
Once your frosting is perfectly prepared and your cupcakes are completely cool, it’s time for the fun part: decorating! Scoop the rich black cream cheese frosting into a piping bag fitted with your desired tip. A large star tip or a round tip works wonderfully for creating elegant swirls or classic domes.
For those who might prefer a different frosting experience or wish to explore other options, you can always opt for a classic cream cheese frosting. You can find my recipe for classic cream cheese frosting here, which can be adapted or simply enjoyed as is.
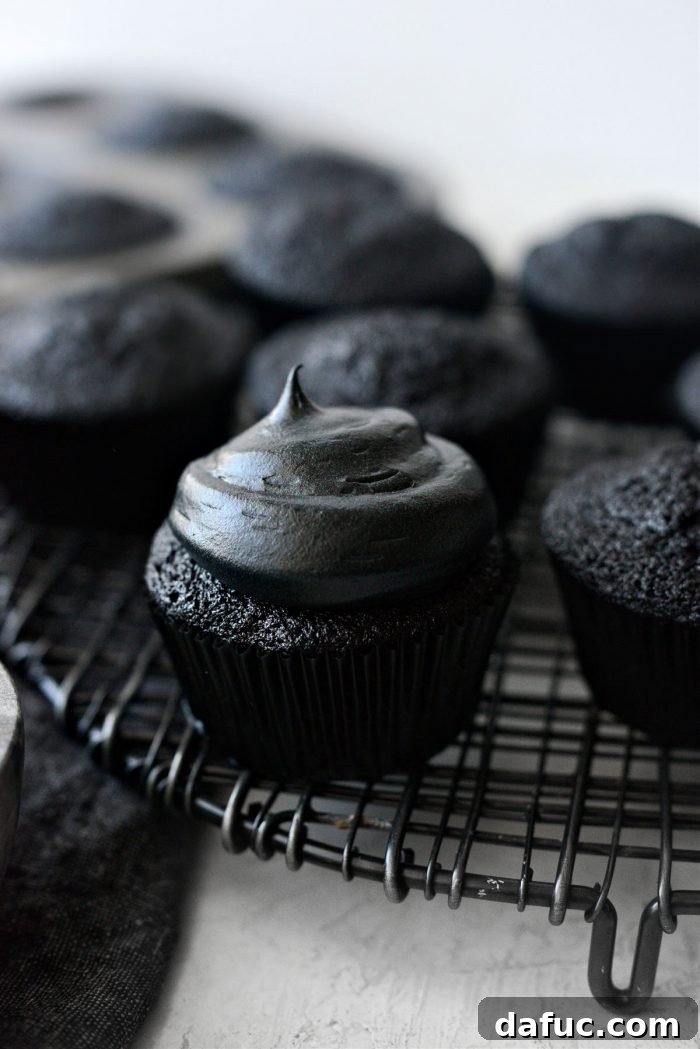
With a steady hand, pipe a generous swirl or dollop of the black cream cheese frosting onto each cooled cupcake. Take your time to create beautiful, consistent swirls that showcase the dramatic color of the frosting. The contrast between the deep black frosting and any potential colorful sprinkles you might add next will truly make these cupcakes pop.
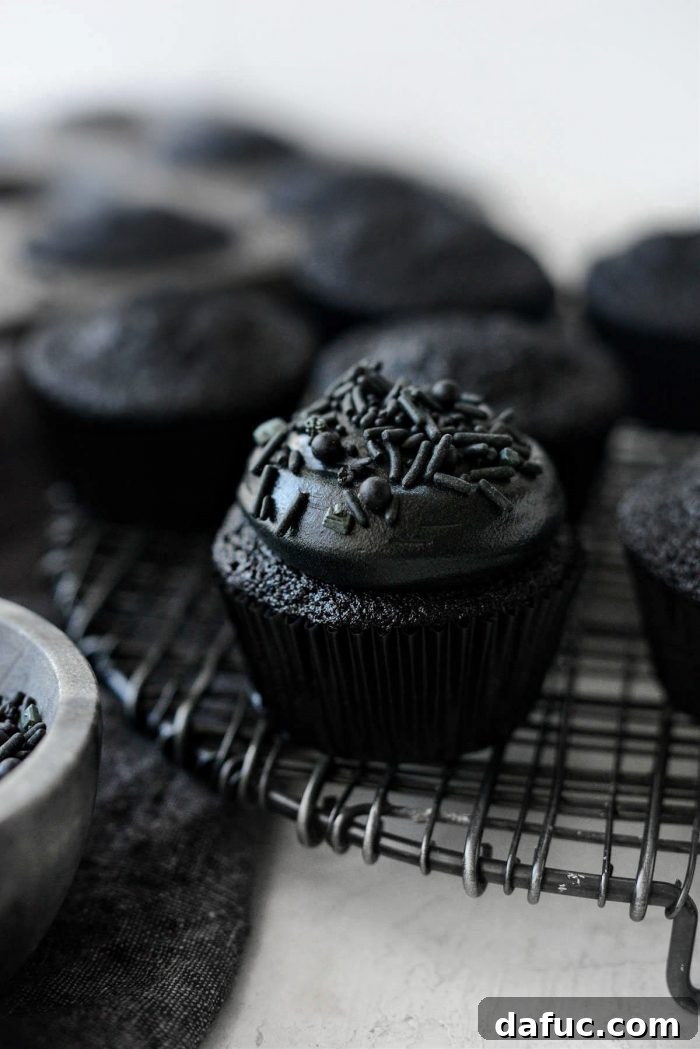
To add that final touch of Halloween festivity and a bit of sparkle, liberally top each frosted cupcake with some black sprinkles. Or, get creative with orange, purple, green, or even glow-in-the-dark sprinkles for an extra spooky effect. The sprinkles not only add visual appeal but also a delightful textural contrast to the smooth frosting. For an even more elaborate presentation, consider adding edible googly eyes, small candy spiders, or delicate cobweb designs with white icing.
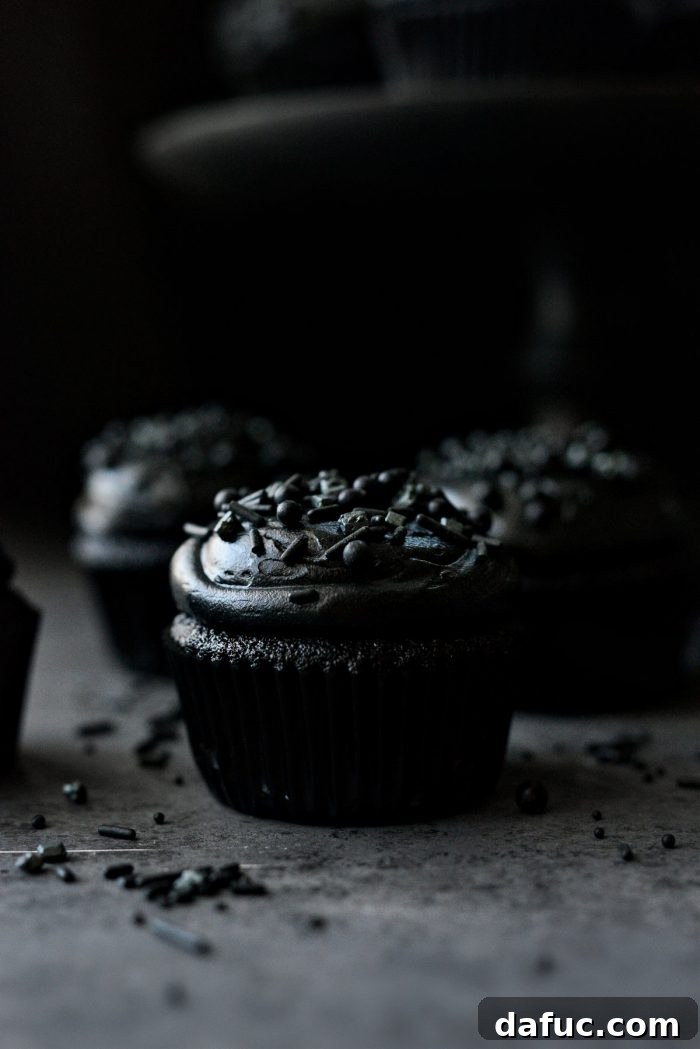
And just like that, your Black Velvet Cupcakes are complete and ready to be served. Prepare for compliments on their striking appearance and utterly delicious taste!
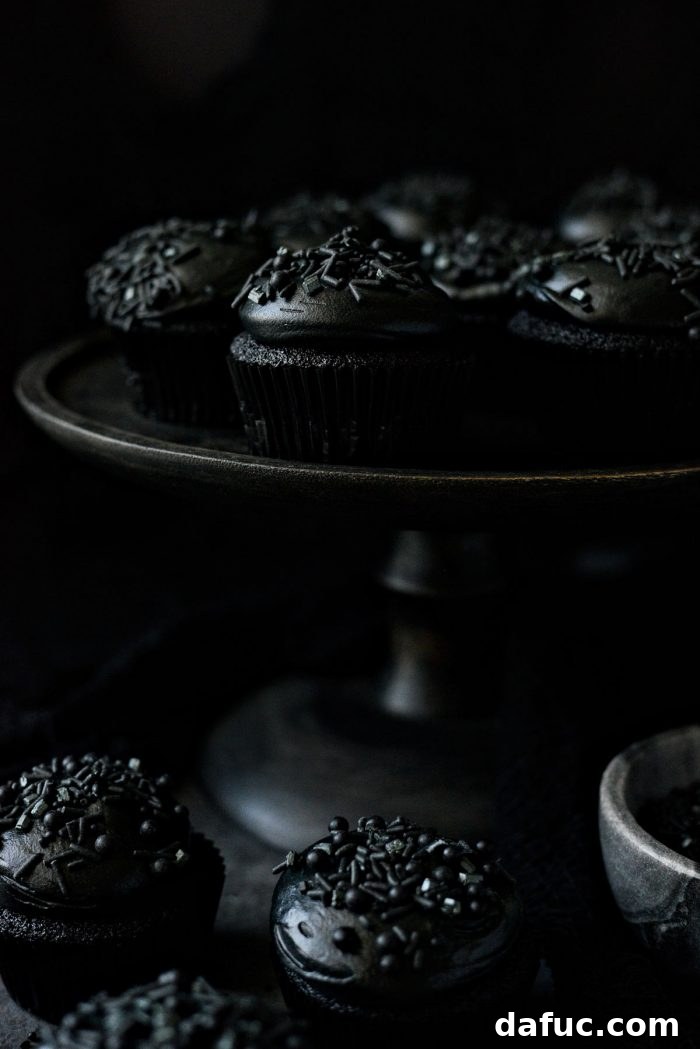
These Black Velvet Cupcakes offer an impressively spooky and elegant treat, perfect for any Halloween celebration. Their dark allure and delicious flavor are sure to delight guests of all ages, transforming your dessert table into a gothic masterpiece.
Tips for Black Velvet Cupcake Success
To ensure your Black Velvet Cupcakes turn out perfectly every time, keep these essential baking tips in mind:
- **Room Temperature Ingredients:** Always use room temperature eggs, buttermilk, cream cheese, and butter. This allows them to emulsify properly, creating a smooth, lump-free batter and frosting.
- **Measure Accurately:** Baking is a science! Use proper measuring cups for liquids and dry ingredients, and ideally, a kitchen scale for flour and sugar for the most precise results.
- **Don’t Overmix:** Overmixing the cupcake batter can develop the gluten in the flour too much, leading to tough, dense cupcakes. Mix only until the ingredients are just combined and no streaks of dry flour remain.
- **Evenly Distribute Batter:** Use an ice cream scoop or measuring spoon to ensure each cupcake liner receives a consistent amount of batter. This promotes even baking and uniform cupcake sizes.
- **Oven Thermometer:** Oven temperatures can vary greatly. An inexpensive oven thermometer can help you calibrate your oven and ensure it’s preheated to the correct temperature for optimal baking.
- **Cool Completely:** Patience is a virtue when it comes to frosting. Ensure your cupcakes are entirely cool before applying frosting, or it will melt and slide off.
- **Sift Powdered Sugar:** For the silkiest, lump-free cream cheese frosting, always sift your powdered sugar. This step is crucial for a smooth consistency.
- **Gel Food Coloring for Frosting:** When aiming for intense colors like black, opt for gel food coloring over liquid. Gels are more concentrated and won’t thin out your frosting as much.
Serving Suggestions & Creative Variations
These Black Velvet Cupcakes are fantastic on their own, but here are some ideas to elevate your serving and presentation, or to add a twist to the recipe:
- **Gothic Elegance:** Serve on a dark platter with some black lace or velvet fabric underneath for a truly gothic and sophisticated display.
- **Spooky Toppings:** Beyond sprinkles, consider adding edible googly eyes, small candy bats or spiders, or drawing delicate cobwebs with white icing for extra Halloween flair.
- **Flavor Boost:** A tiny pinch of instant espresso powder (1/4 to 1/2 teaspoon) can be added to the cupcake batter along with the dry ingredients to subtly enhance the chocolate flavor without making the cupcakes taste like coffee.
- **Garnish with Berries:** The dark color of the cupcakes and frosting creates a stunning contrast with bright red raspberries or blackberries, offering a fresh, tart counterpoint to the sweetness.
- **Chocolate Drizzle:** Drizzle with a contrasting white chocolate ganache or a vibrant orange icing for an eye-catching design.
- **Mini Cupcakes:** For bite-sized treats, use mini muffin pans and adjust baking time accordingly (usually 10-12 minutes).
Storage & Shelf Life
Proper storage is key to keeping your Black Velvet Cupcakes fresh and delicious:
- **Room Temperature (Short Term):** Frosted cupcakes can be stored in an airtight container at cool room temperature for up to 1-2 days, especially if your kitchen isn’t overly warm.
- **Refrigeration (Long Term):** For longer storage, or if your kitchen is warm, store frosted cupcakes in an airtight container in the refrigerator for up to 3-4 days. Cream cheese frosting is best kept chilled.
- **Serving from Fridge:** Allow refrigerated cupcakes to come closer to room temperature for about 15-30 minutes before serving. This improves the texture of both the cake and the frosting.
- **Unfrosted Cupcakes:** Unfrosted cupcakes can be stored in an airtight container at room temperature for up to 2-3 days, or frozen for up to 2-3 months.
- **Freezing Frosted Cupcakes:** While possible, freezing frosted cupcakes can sometimes affect the texture of the cream cheese frosting. If freezing, place them on a tray in the freezer until firm, then transfer to an airtight container or freezer bag. Thaw in the refrigerator overnight.
Enjoy! We hope you have a wonderfully spooky and delicious Halloween with these Black Velvet Cupcakes. If you decide to give this recipe a try, we’d absolutely love to hear about it! Snap a photo of your magnificent creations and share them with us. Don’t forget to tag us on Twitter or Instagram!
Print Recipe
Pin Recipe
Leave a Review »
Black Velvet Cupcakes
Ingredients
FOR THE CUPCAKES:
- 2 large eggs
- 1 cup extra light olive oil, or other light tasting oil
- 1 cup low fat buttermilk
- 1/2 cup unsweetened applesauce
- 1 tablespoon white vinegar
- 1¼ teaspoon pure vanilla extract
- 2 ounces liquid black food coloring, see notes*
- 2½ cups unbleached all-purpose flour
- 2 cups granulated sugar
- 2 tablespoons black cocoa powder, see notes**
- 1 teaspoon baking soda
- 1 teaspoon fine salt
FOR THE FROSTING:
- 16 ounces cream cheese, softened
- 1/2 cup 1 stick unsalted butter, softened
- 2 teaspoons vanilla extract
- 1 ounce black gel food coloring
- 9 cups powdered sugar, sifted
Equipment
-
KitchenAid KP26M1XWH 6 Qt. Professional 600 Series Bowl-Lift Stand Mixer – White
-
USA Pan (1200MF) Bakeware Cupcake and Muffin Pan, 12 Well, Nonstick & Quick Release Coating, Made in the USA from Aluminized Steel
Instructions
MAKE THE CUPCAKES:
-
Preheat your oven to 350℉ (or 180℃) and line 2 standard muffin pans with paper liners.
-
In a 4-cup liquid measuring cup, add in the eggs, extra light olive oil, buttermilk, unsweetened applesauce, white distilled vinegar and vanilla extract. Whisk to combine.
-
Pour in the black food coloring, stir to combine and set aside.
-
In the bowl of your stand mixer, measure and add in flour, sugar, black cocoa powder, baking soda and fine salt. With the mixer on low, stir to combine.
-
With the mixer still on, slowly and carefully, pour in the wet ingredients. Scrape down the sides and bottom of the bowl, mixing well until combined.
-
Divide the batter among the two pans, roughly 3 generous tablespoons per liner. Bake each batch in your preheated oven for 16 to 18 minutes or until the tops bounce back when pressed gently and a tester comes back with only a few crumbs attached. I bake them separately because my oven is small and extremely old and I worry about uneven baking.
-
Once baked, remove and allow the cupcakes to cool completely. Meanwhile, make the frosting.
MAKE THE FROSTING:
-
In the bowl of your stand mixer, fitted with the paddle attachment, add in the softened cream cheese and unsalted butter. Mix on low to medium-low until smooth and zero lumps.
-
Next add in 2 teaspoons pure vanilla extract and 1 ounce black food coloring gel. mix until incorporated, scraping down the sides and bottom of the bowl as you go.
-
Gradually, add in the spoonfuls of sifted powdered sugar, mixing well after each addition. Scrape down the sides and bottom of the bowl, repeat until the frosting has thickened. For me I needed 9 cups.
-
Add the frosting to a piping bag fitted with a tip of your choice and frost each cupcake.
-
Top with sprinkles if desired.
Notes
**Black cocoa has a distinct and mild chocolate flavor. For more of a punchy chocolate flavor, consider adding 1-1/2 tablespoons of unsweetened cocoa along with the black cocoa.