
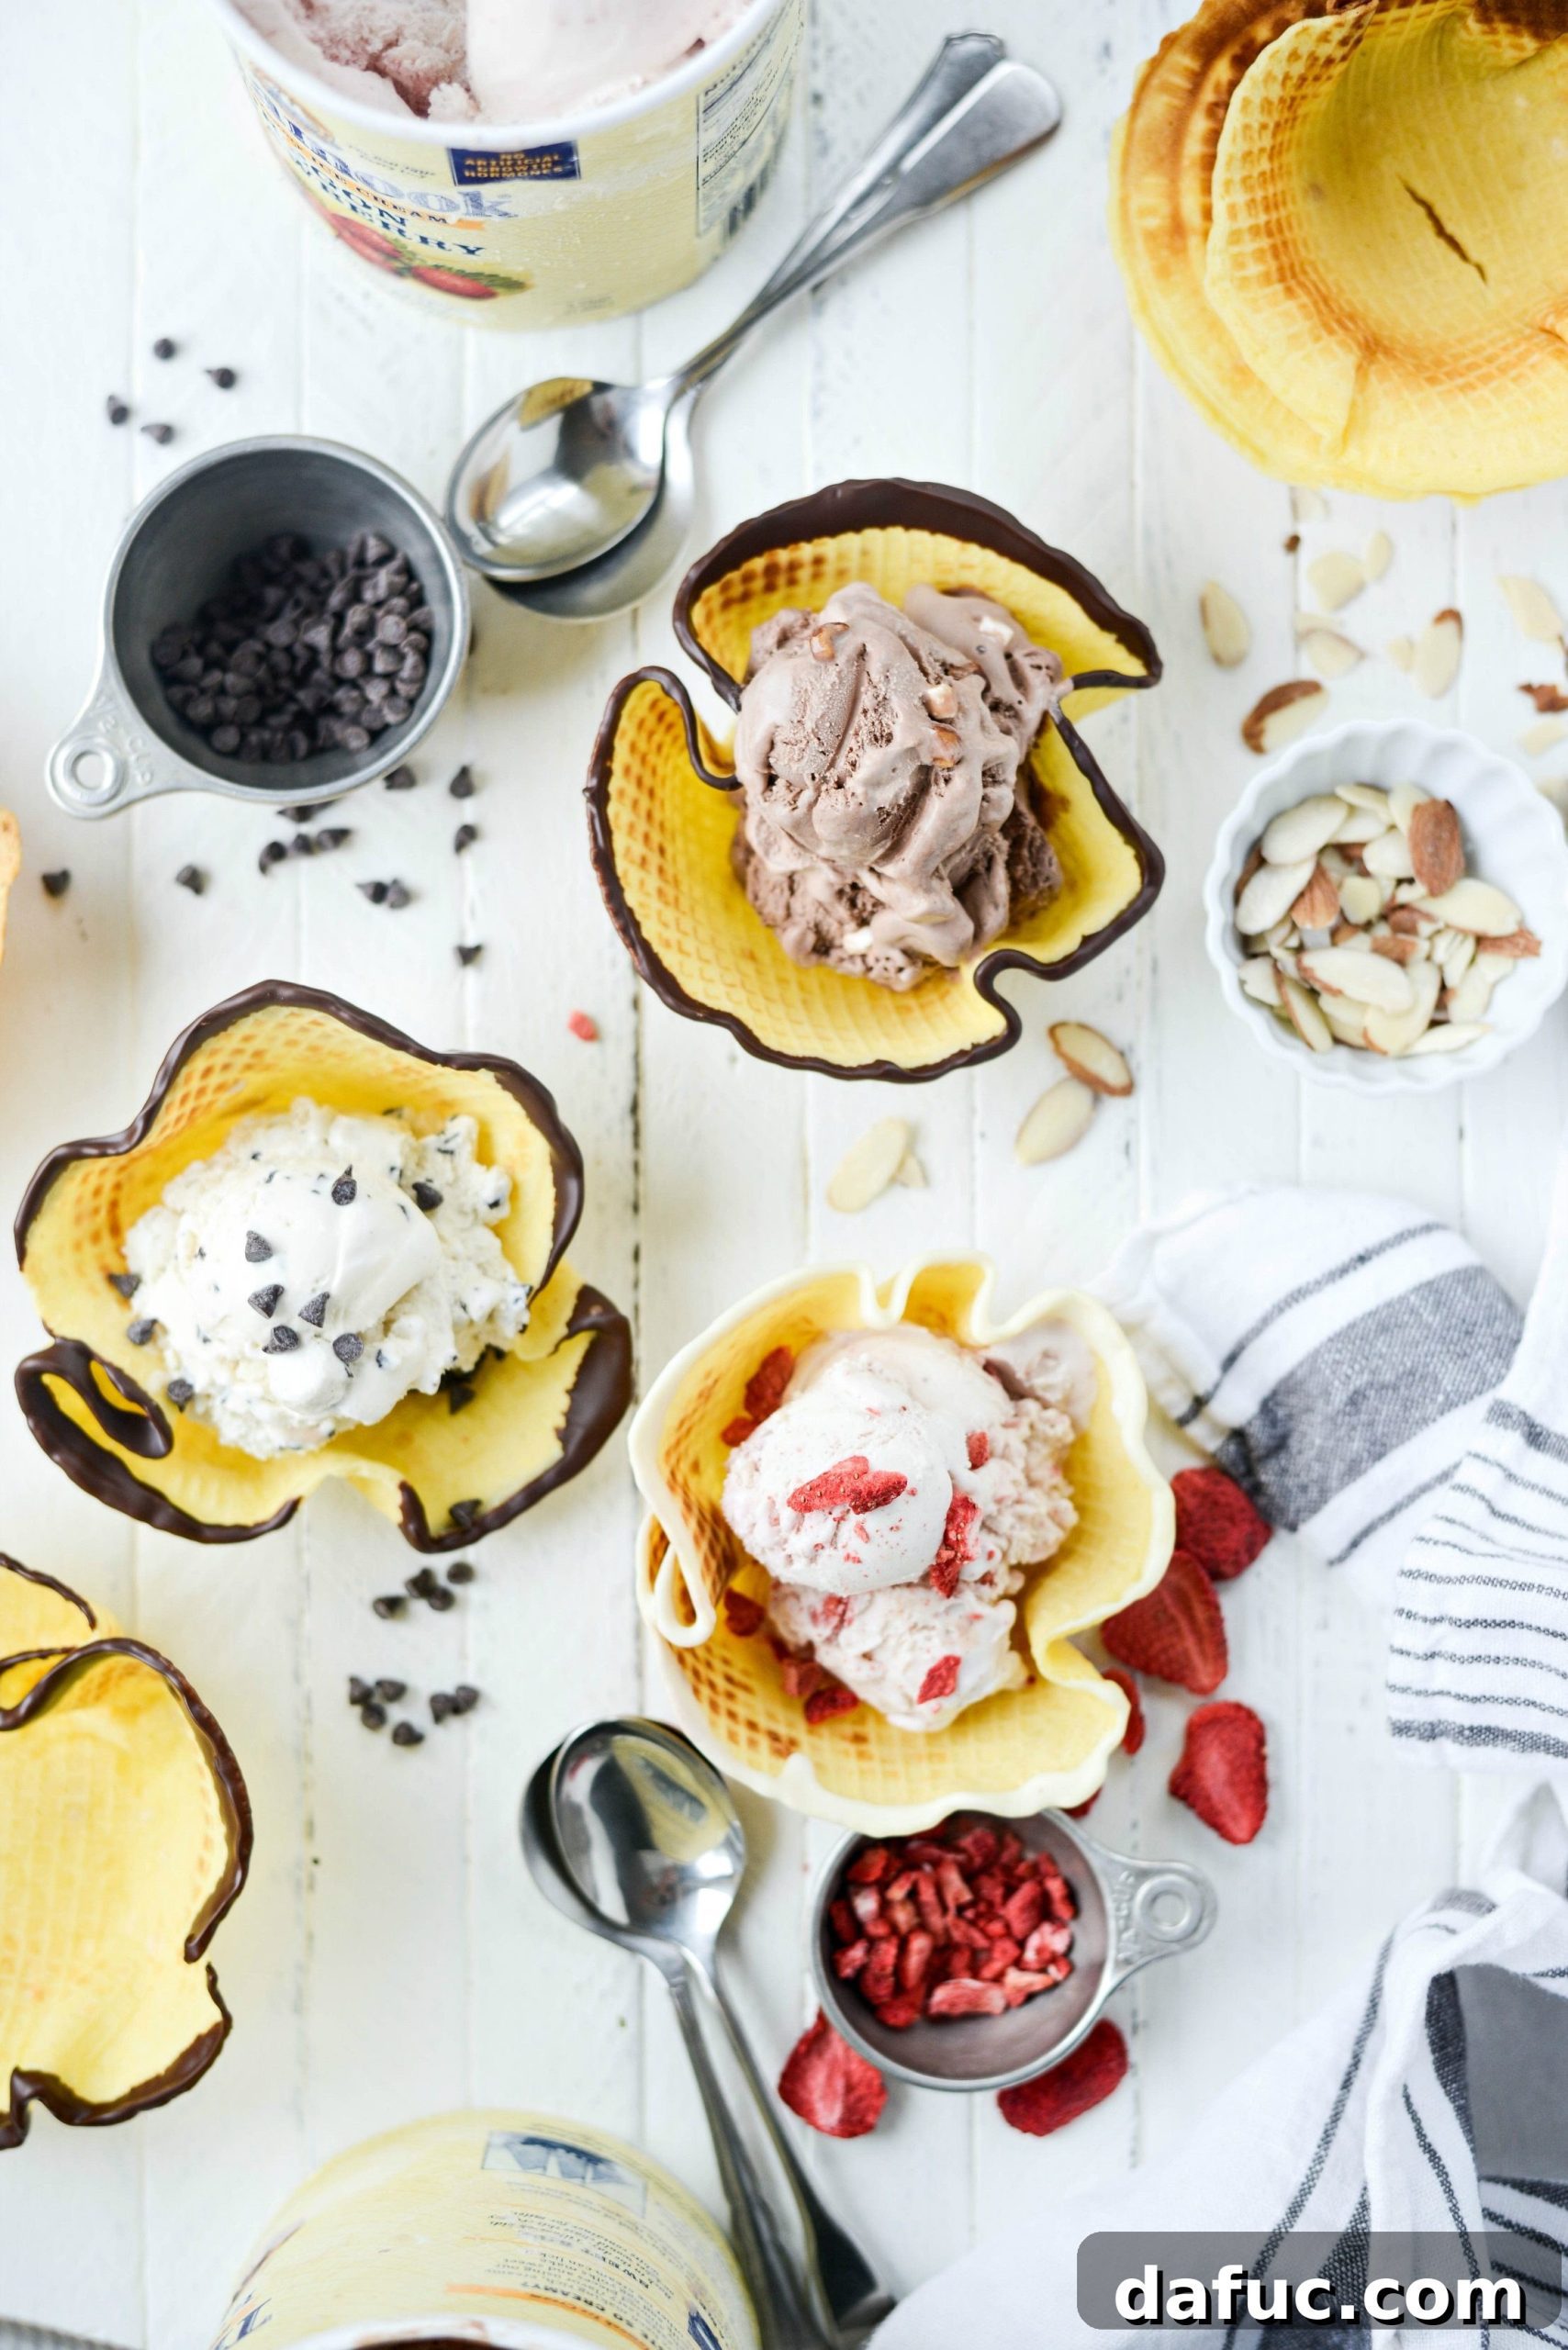
Homemade Ice Cream Waffle Bowls: Elevate Your Dessert Experience
Imagine a dessert experience where every bite is pure delight, right down to the vessel holding your favorite treat. These Homemade Ice Cream Waffle Bowls transform simple pantry ingredients into a crisp, delicious, and entirely edible bowl! Perfect for all ages and incredibly versatile, they offer a delightful twist to any ice cream serving. You can even jazz them up further by dipping the rim into melted chocolate and adding sprinkles for an extra touch of flair. The best part? They pair perfectly with a scoop (or two!) of your favorite premium ice cream flavor. This recipe yields approximately 8 beautifully crafted bowls in about 30 minutes, making it an ideal activity for family fun.
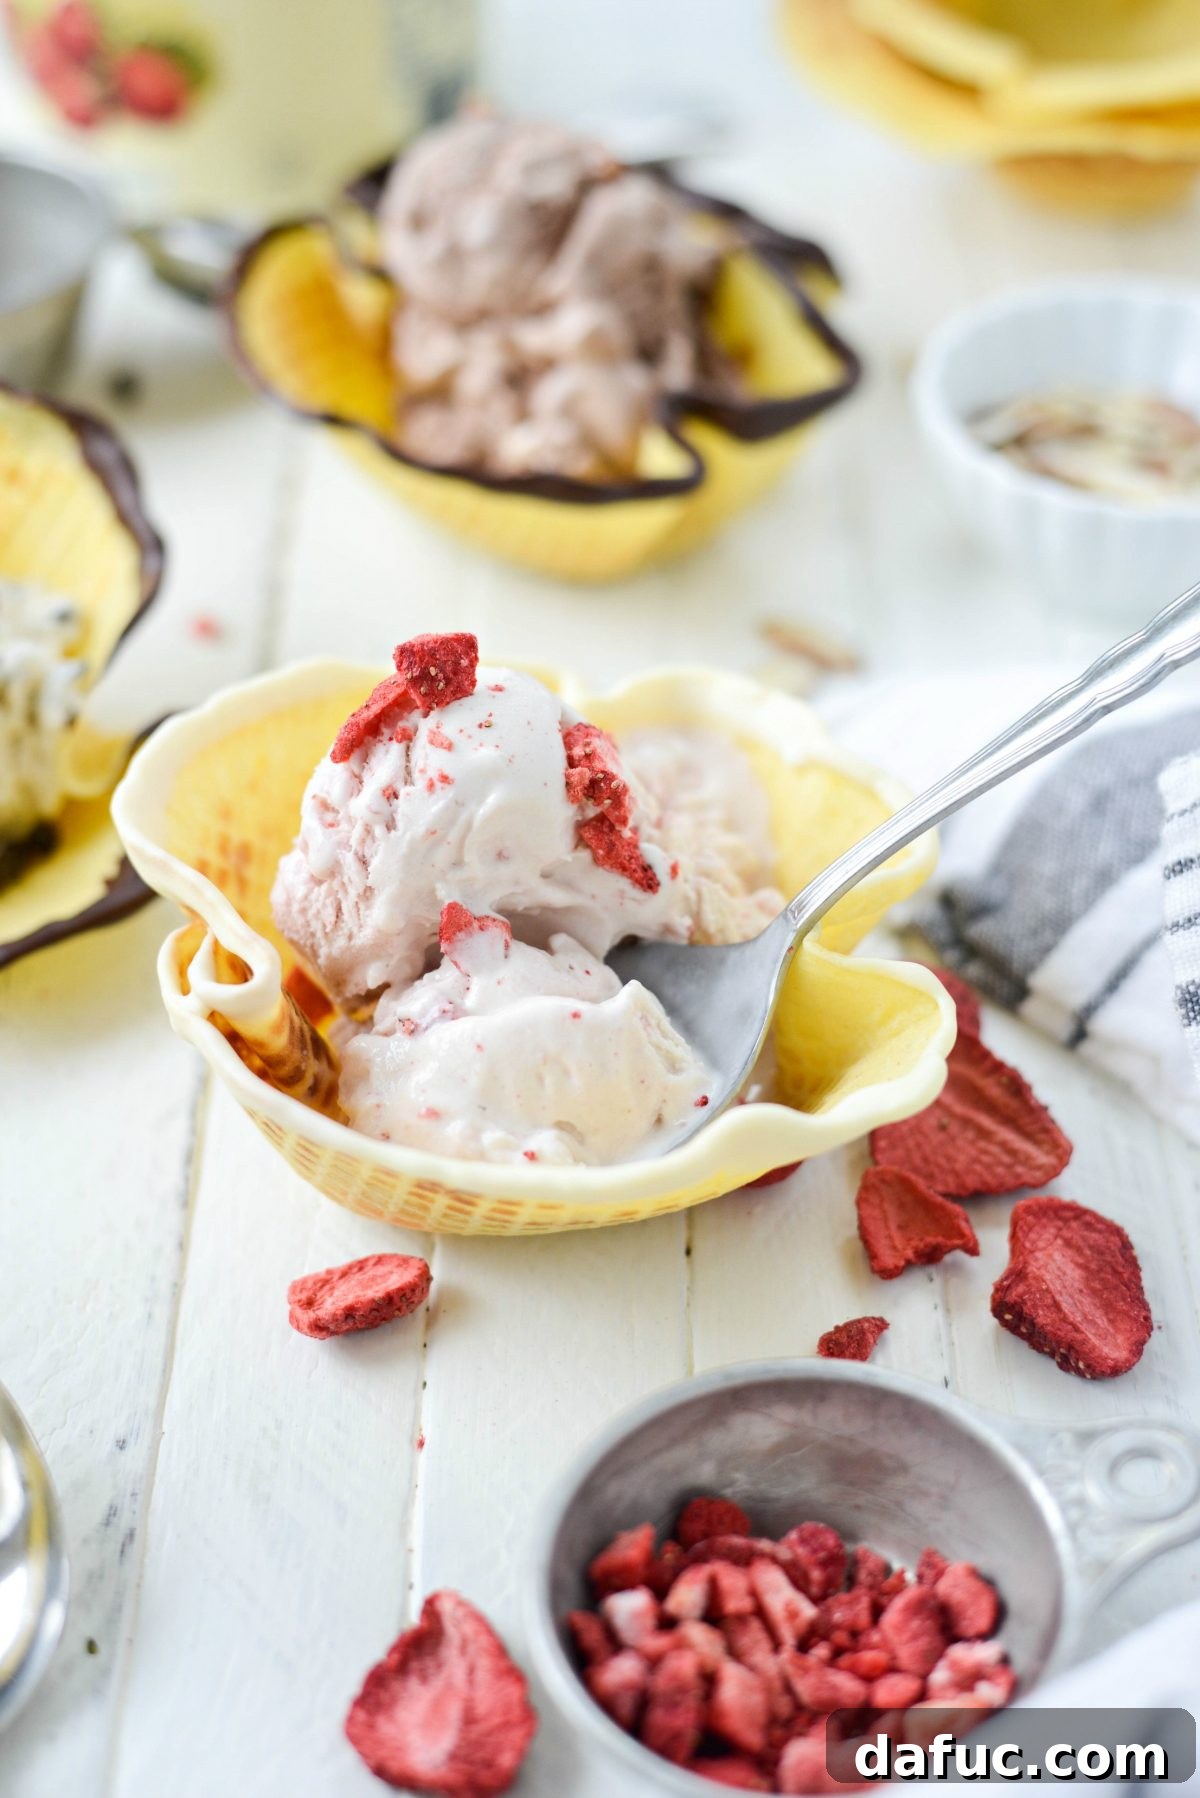
Our Family’s Unconditional Love for Ice Cream
To say that ice cream holds a special place in my family’s heart would be a massive understatement – we absolutely adore it! For us, it’s more than just a dessert; it’s a personal weakness, a go-to comfort food, and our celebratory treat of choice. Whether it’s to commend good grades on a report card or to mark a victory in a softball game, ice cream is always the answer. This deep-seated love makes me recall that July is celebrated as National Ice Cream Month. What a fantastic food holiday! A whole month dedicated to celebrating this creamy, dreamy indulgence? Count me in! It’s the perfect excuse to gather the family and create lasting memories around a shared love for this timeless dessert.
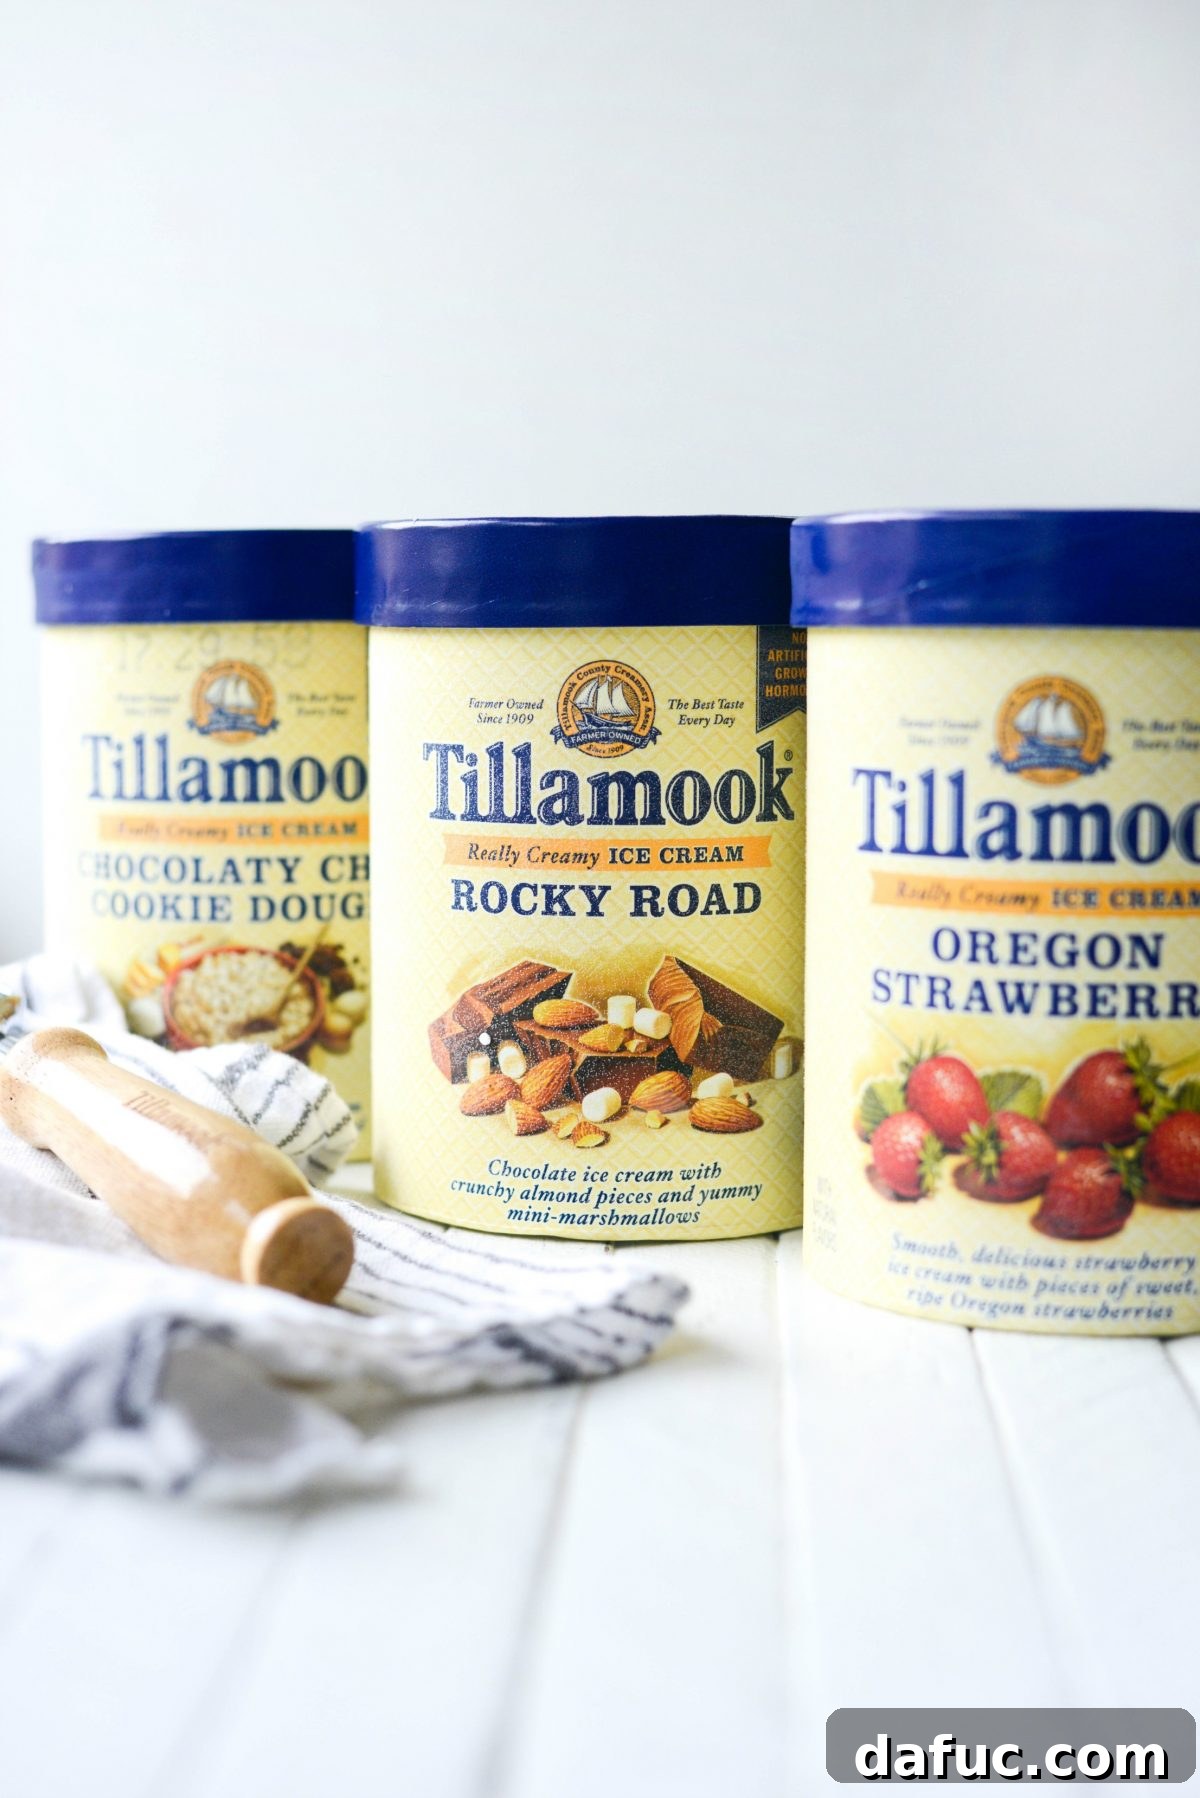
Partnering with Tillamook to host a fun-filled ice cream social at home was an absolute no-brainer. Their commitment to quality and delicious flavors aligns perfectly with our family’s values. I let everyone pick their favorite flavors, and what I anticipated might be a chaotic decision-making process surprisingly turned out to be smooth. My husband, Pat, chose their delightful Oregon Strawberry. Our daughters, Haileigh and Malloree, eagerly selected Chocolate Chip Cookie Dough. And me? Naturally, it had to be Tillamook’s Rocky Road – it has always been my all-time favorite.
Rediscovering Nostalgia with Tillamook Rocky Road
Earlier this year, completely by chance, I picked up a carton of Tillamook Rocky Road Ice Cream. With the very first spoonful, I was instantly transported back to my childhood. The flavor tasted remarkably like an old favorite, “Heavenly Hash,” which was sadly discontinued about five years ago. However, this new-to-me Tillamook ice cream was a gazillion times creamier, boasting bigger, crunchier pieces of almonds and substantial, distinct marshmallows that weren’t merely swirled but were whole, allowing me to genuinely taste and appreciate them. It was truly an extraordinary experience that spoke volumes about the quality. In fact, even before I knew about this wonderful partnership opportunity with Tillamook, I was so impressed that I couldn’t help but tweet about it back in May. That’s how much of an impact it made! It felt like destiny to collaborate with a brand whose product I genuinely loved and advocated for.
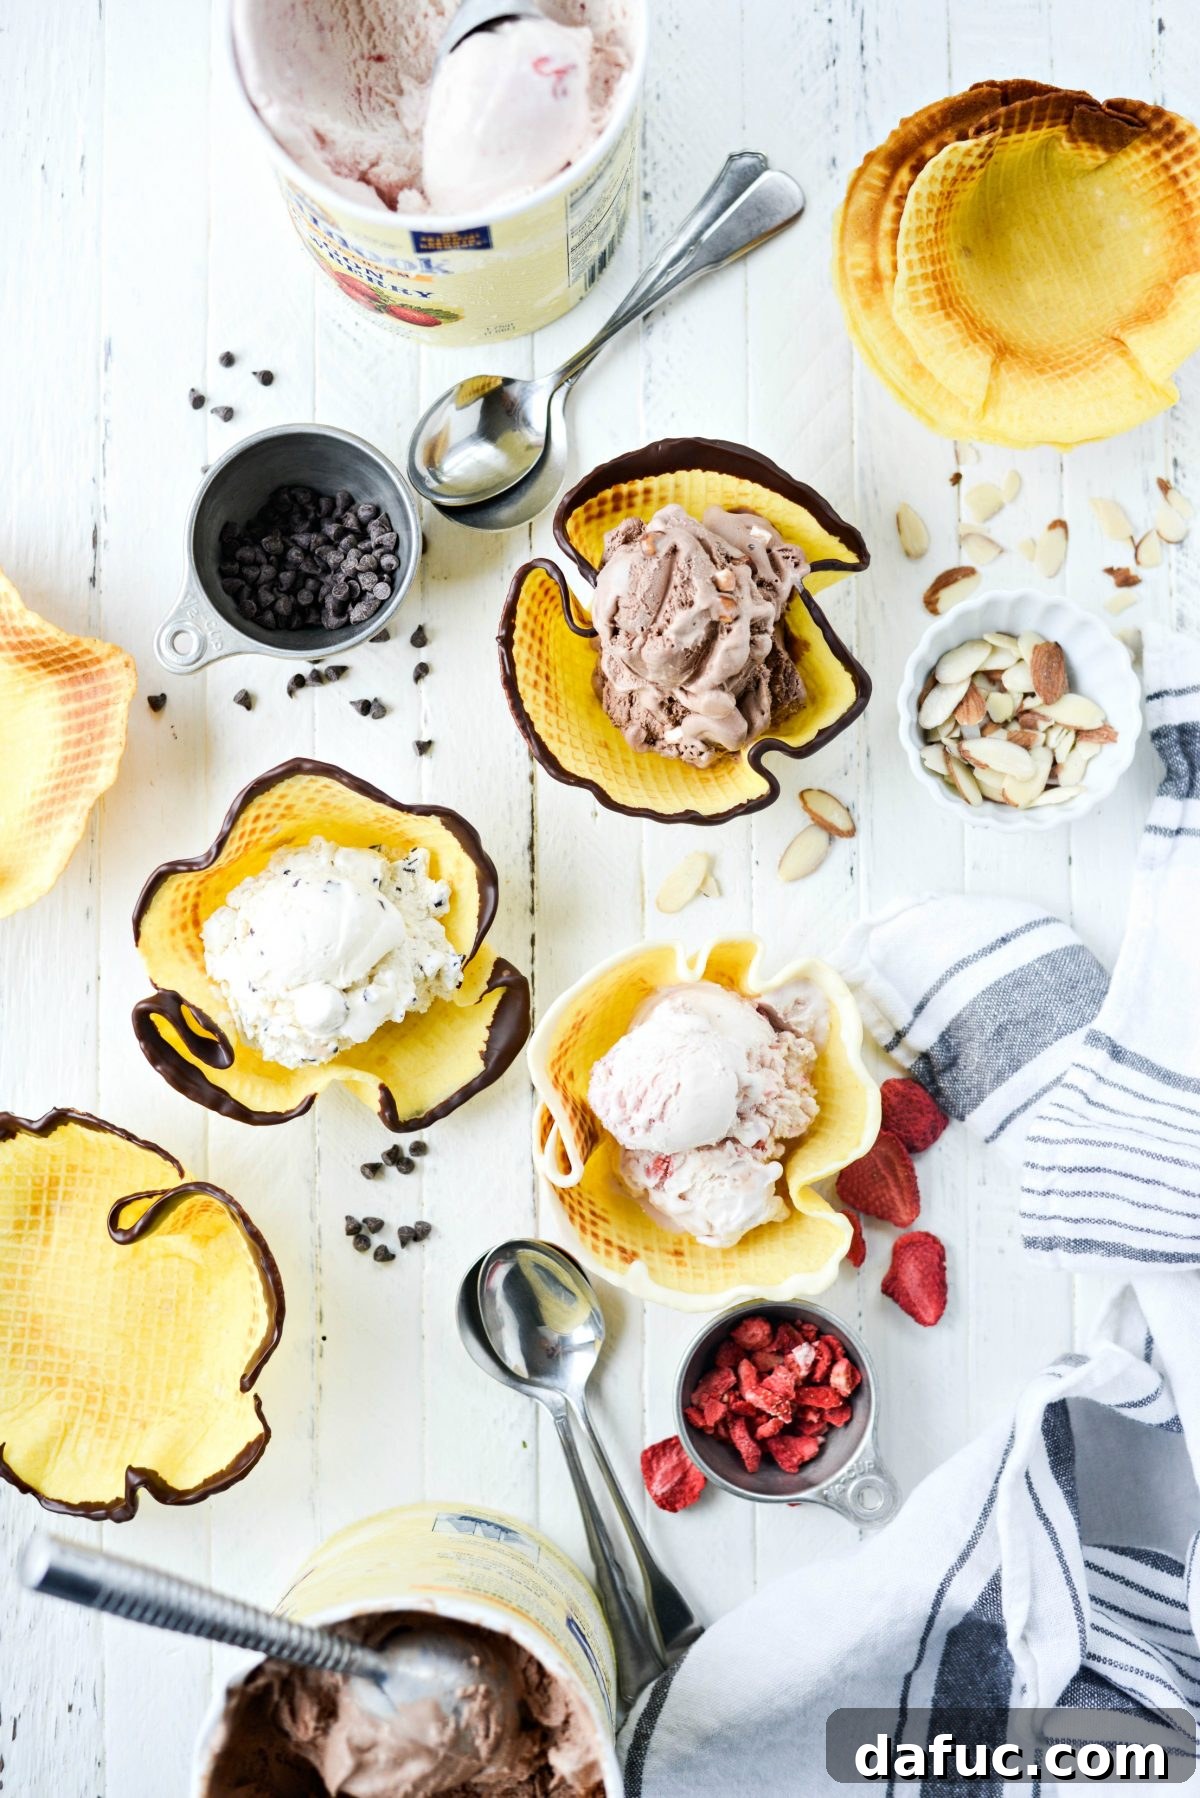
Why Homemade Waffle Bowls are a Game Changer
When it came time for our ice cream social, I decided against simply scooping ice cream into regular bowls. Instead, I wanted to elevate the entire experience by making homemade ice cream waffle bowls. And really, what could possibly be better than enjoying your favorite ice cream in a delicious, edible vessel? Not much at all, I assure you! Homemade waffle bowls add an irresistible element of fun, freshness, and personalization to your dessert. They’re not just bowls; they’re an integral part of the treat itself, offering a crisp, sweet counterpoint to the creamy, cold ice cream. Plus, making them from scratch fills your home with an incredible aroma, setting the perfect stage for a memorable ice cream party.
Essential Ingredients for Your Waffle Cone Bowls
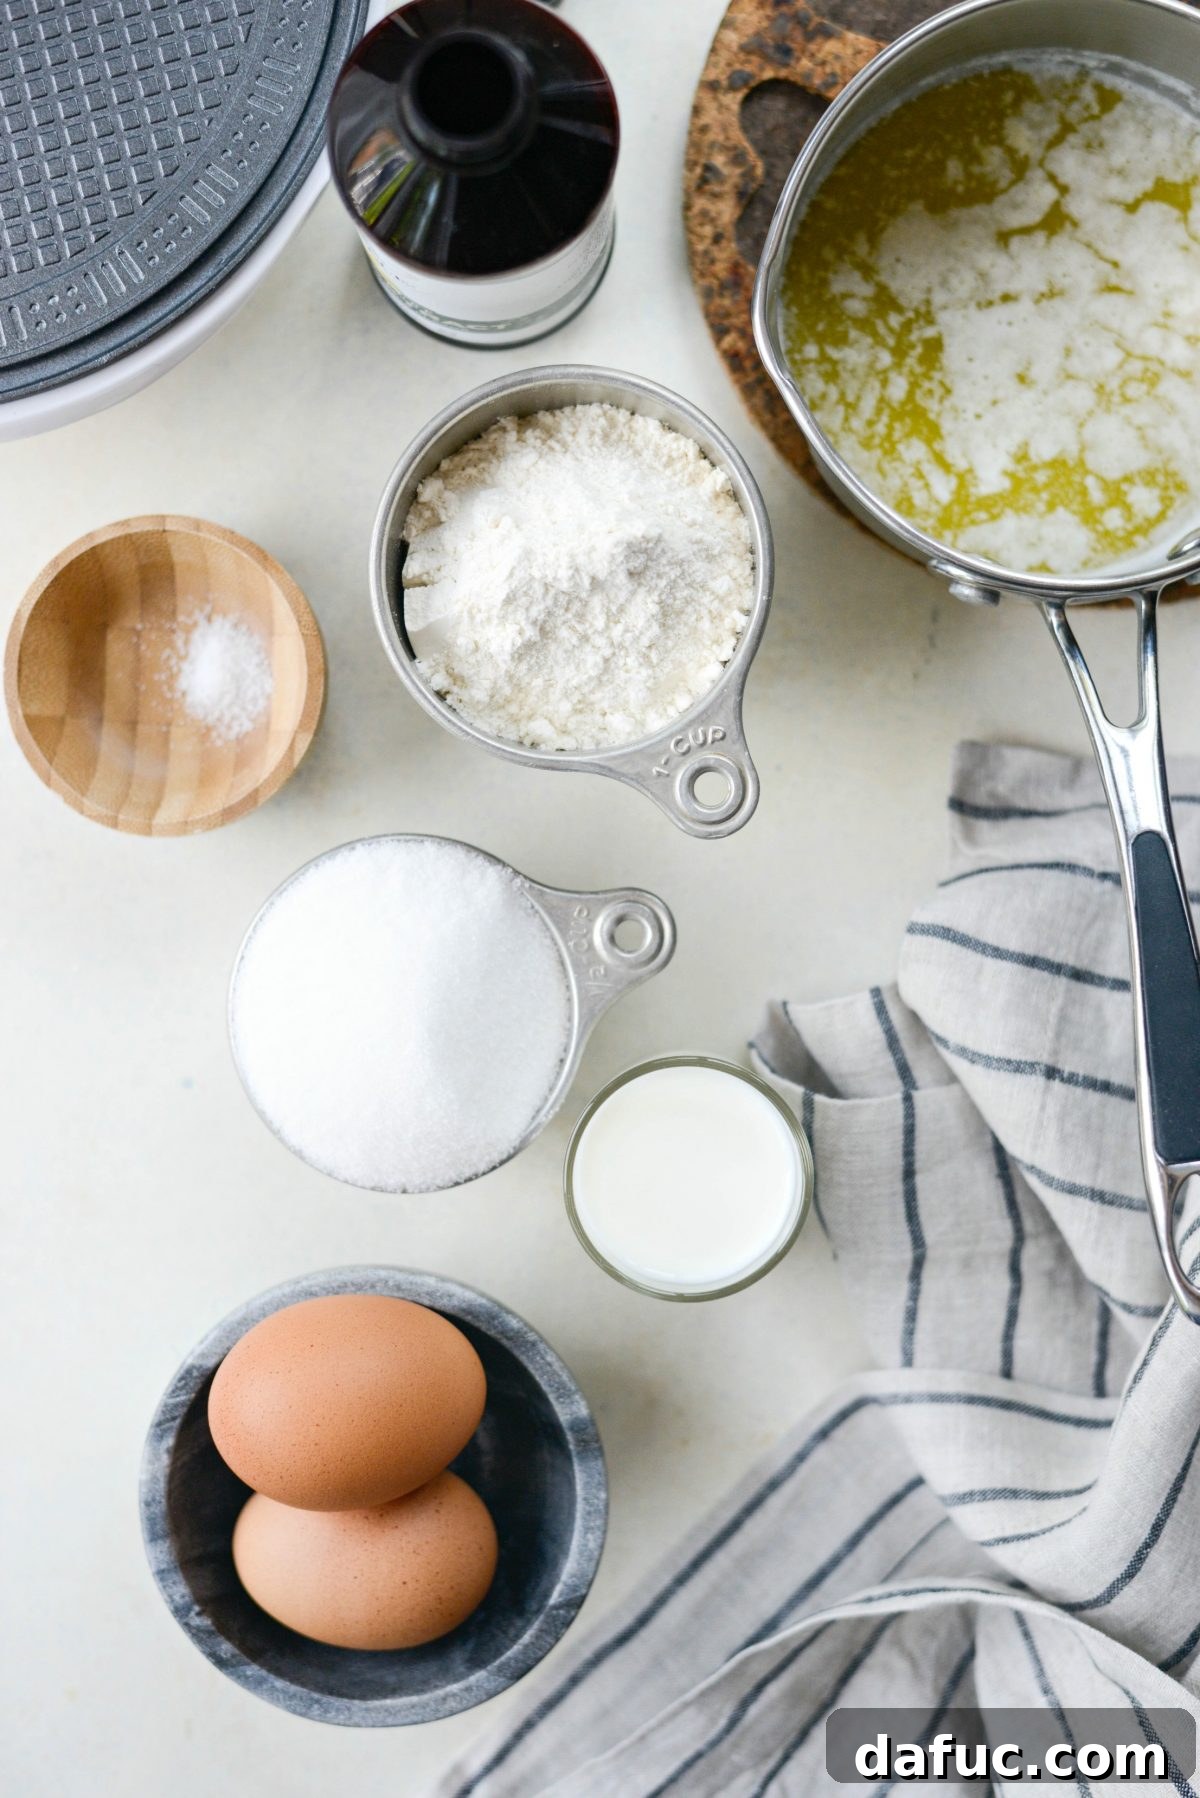
Creating these delightful homemade waffle cones and bowls requires just a few basic ingredients, most of which you probably already have in your pantry and fridge. Each ingredient plays a vital role in achieving that perfect crispy texture and sweet flavor.
- Unbleached All-Purpose Flour: This forms the foundational structure of our waffle bowls, ensuring they hold their shape beautifully.
- Sea Salt: A tiny pinch of sea salt is crucial for balancing out the sweetness and enhancing the overall flavor profile of the waffles.
- Large Eggs: Eggs contribute significantly to the structure, provide a natural leavening agent, and add a rich depth to the batter.
- Granulated Sugar: Beyond sweetness, sugar plays a key role in achieving the desirable crispness that makes these bowls so satisfying.
- Whole Milk: Incorporating whole milk ensures the batter is perfectly moistened, contributing to a tender interior while still allowing for a crisp exterior.
- Pure Vanilla Extract: A splash of high-quality vanilla extract elevates all the other flavors, adding a warm, aromatic note that is classic in any sweet treat.
- Melted (and slightly cooled) Salted Butter: Butter is essential for flavor and for producing that irresistible crisp exterior. Ensure it’s cooled slightly before adding to prevent cooking the eggs prematurely.
Crafting the Perfect Waffle Bowl Batter
The process of mixing the batter is straightforward, but attention to detail ensures the best results for your crispy waffle bowls.
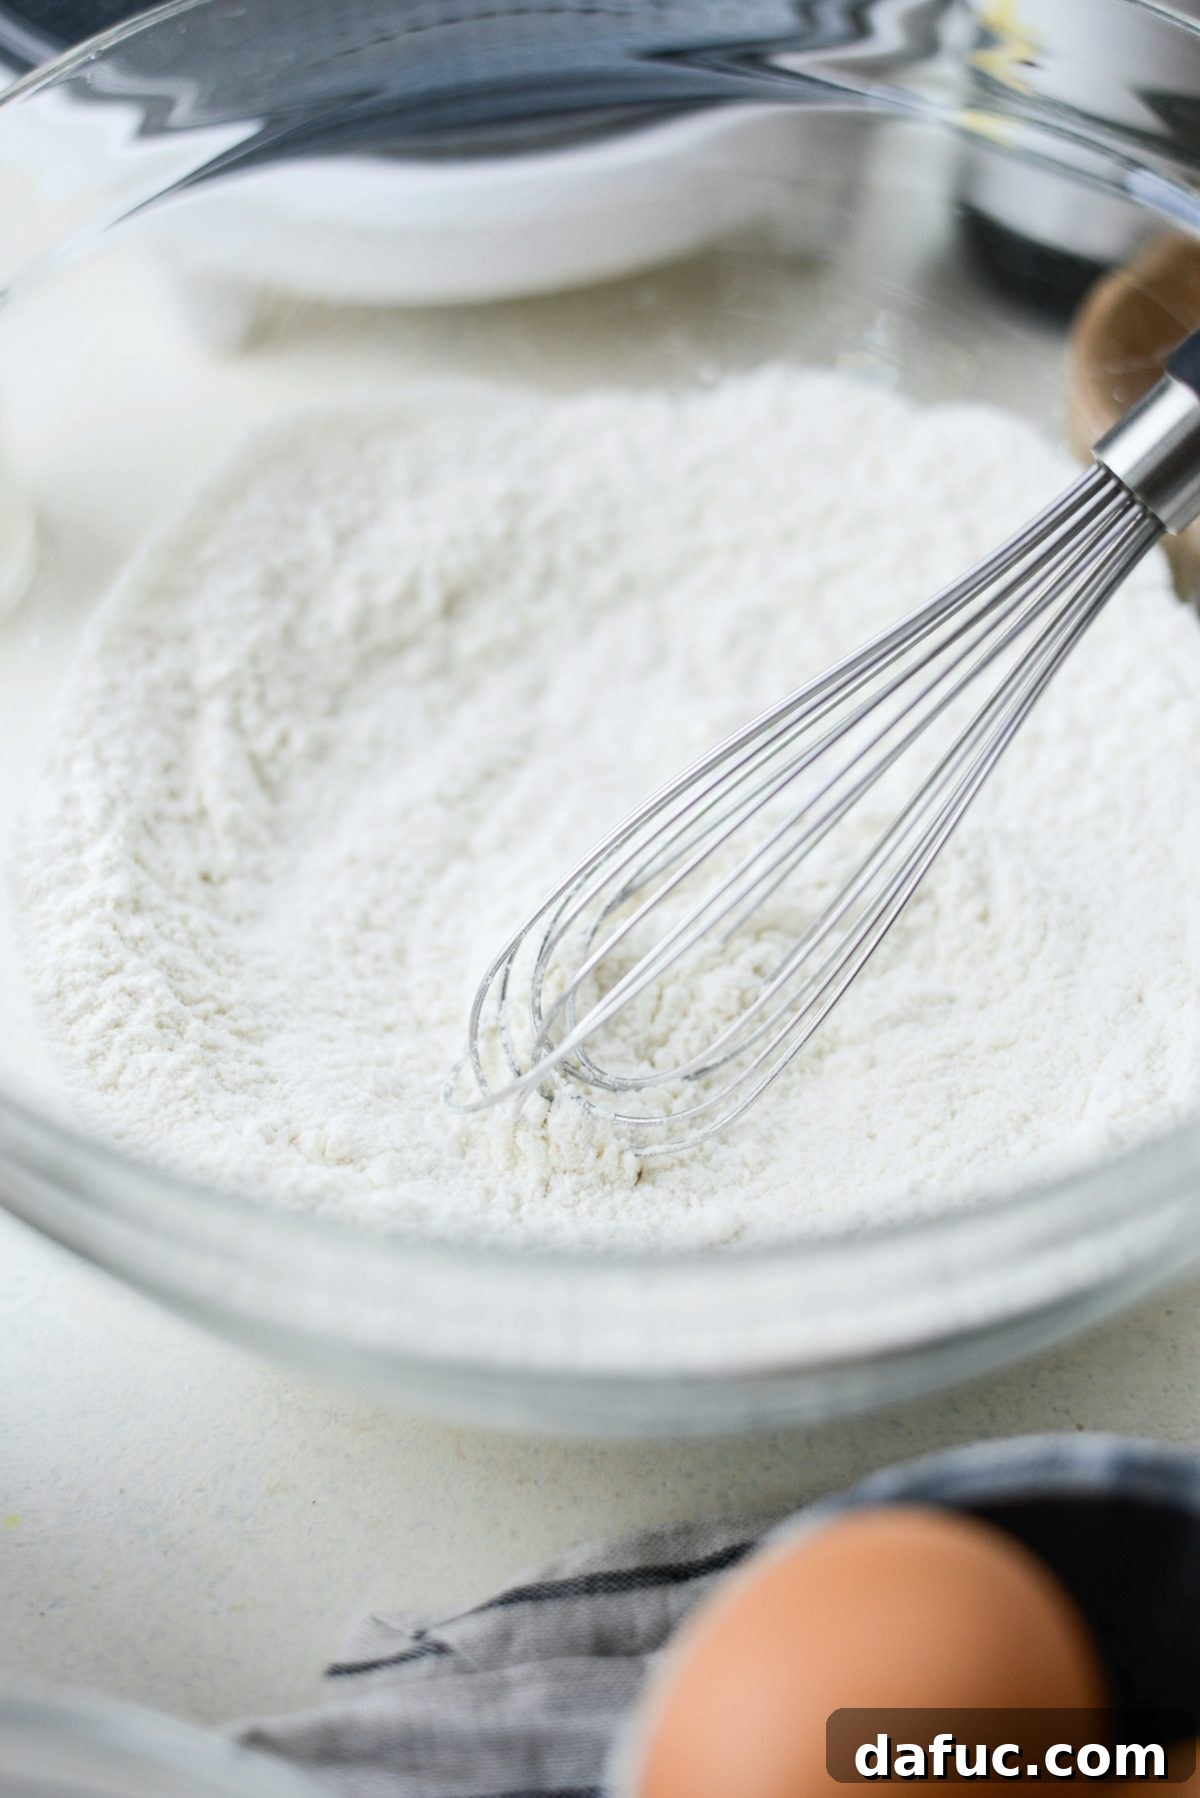
First, in a medium-sized mixing bowl, combine the 2/3 cup of unbleached all-purpose flour with a pinch, or about 1/8th teaspoon, of sea salt. Whisk these dry ingredients together thoroughly to ensure they are well combined, then set the bowl aside.
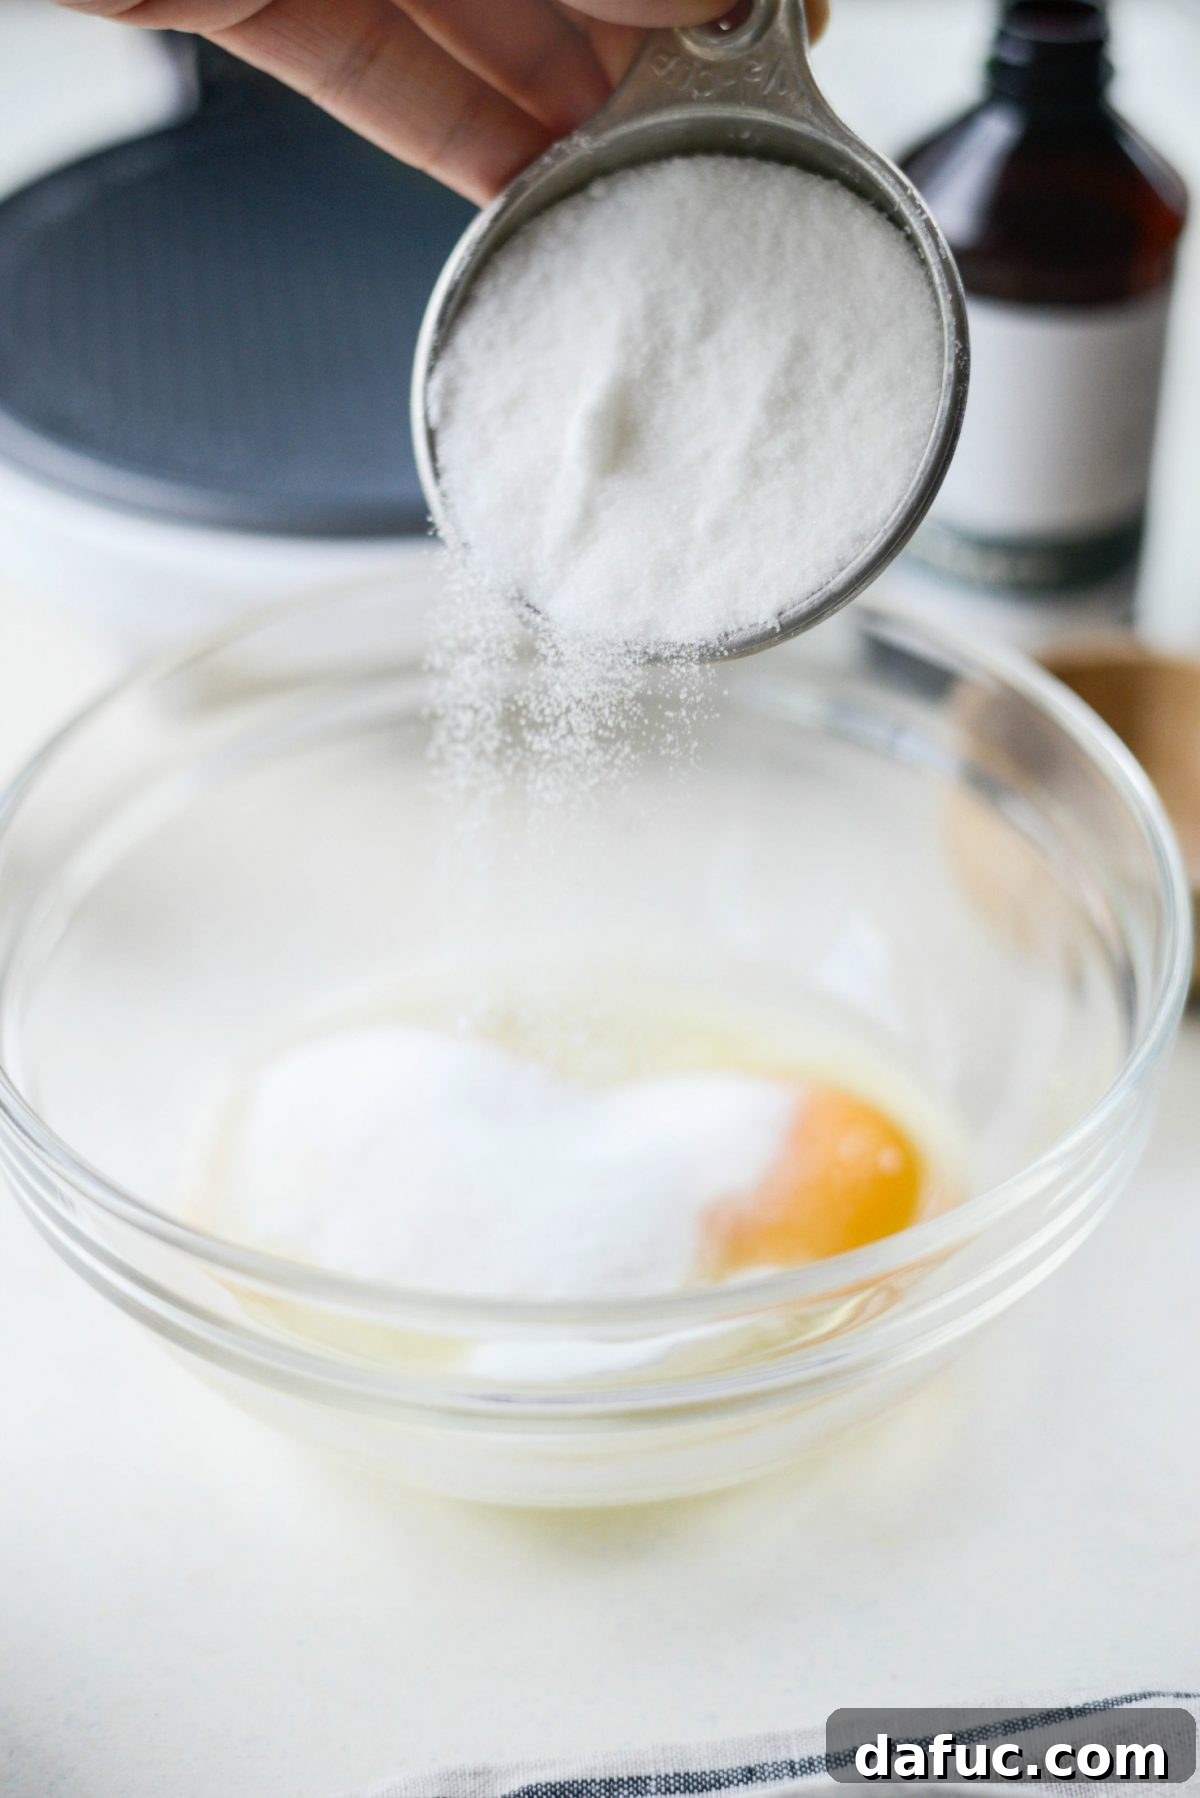
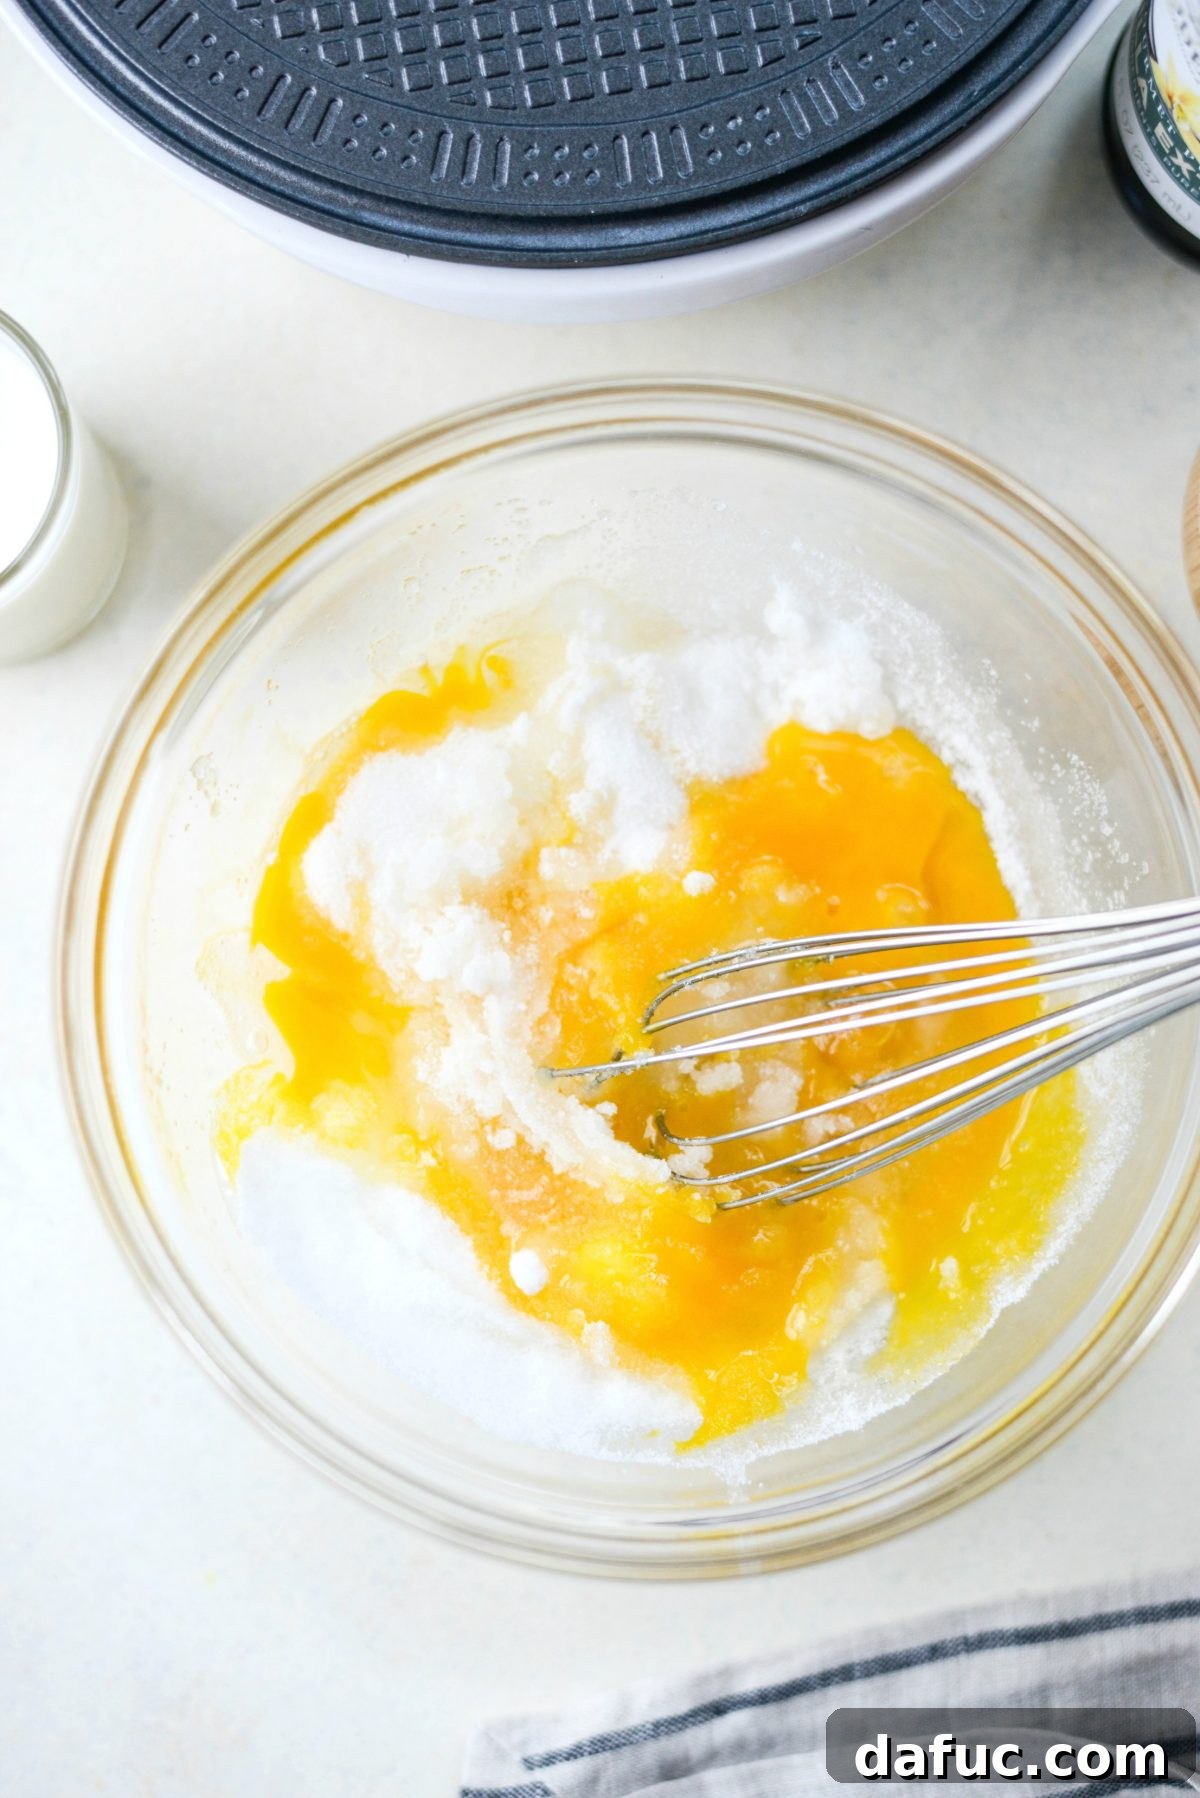
In a separate, smaller bowl, vigorously whisk 2 large eggs together with 1/2 cup of granulated sugar. Continue whisking until most of the sugar crystals have dissolved and the egg mixture transforms into a lighter yellow color and becomes frothy.
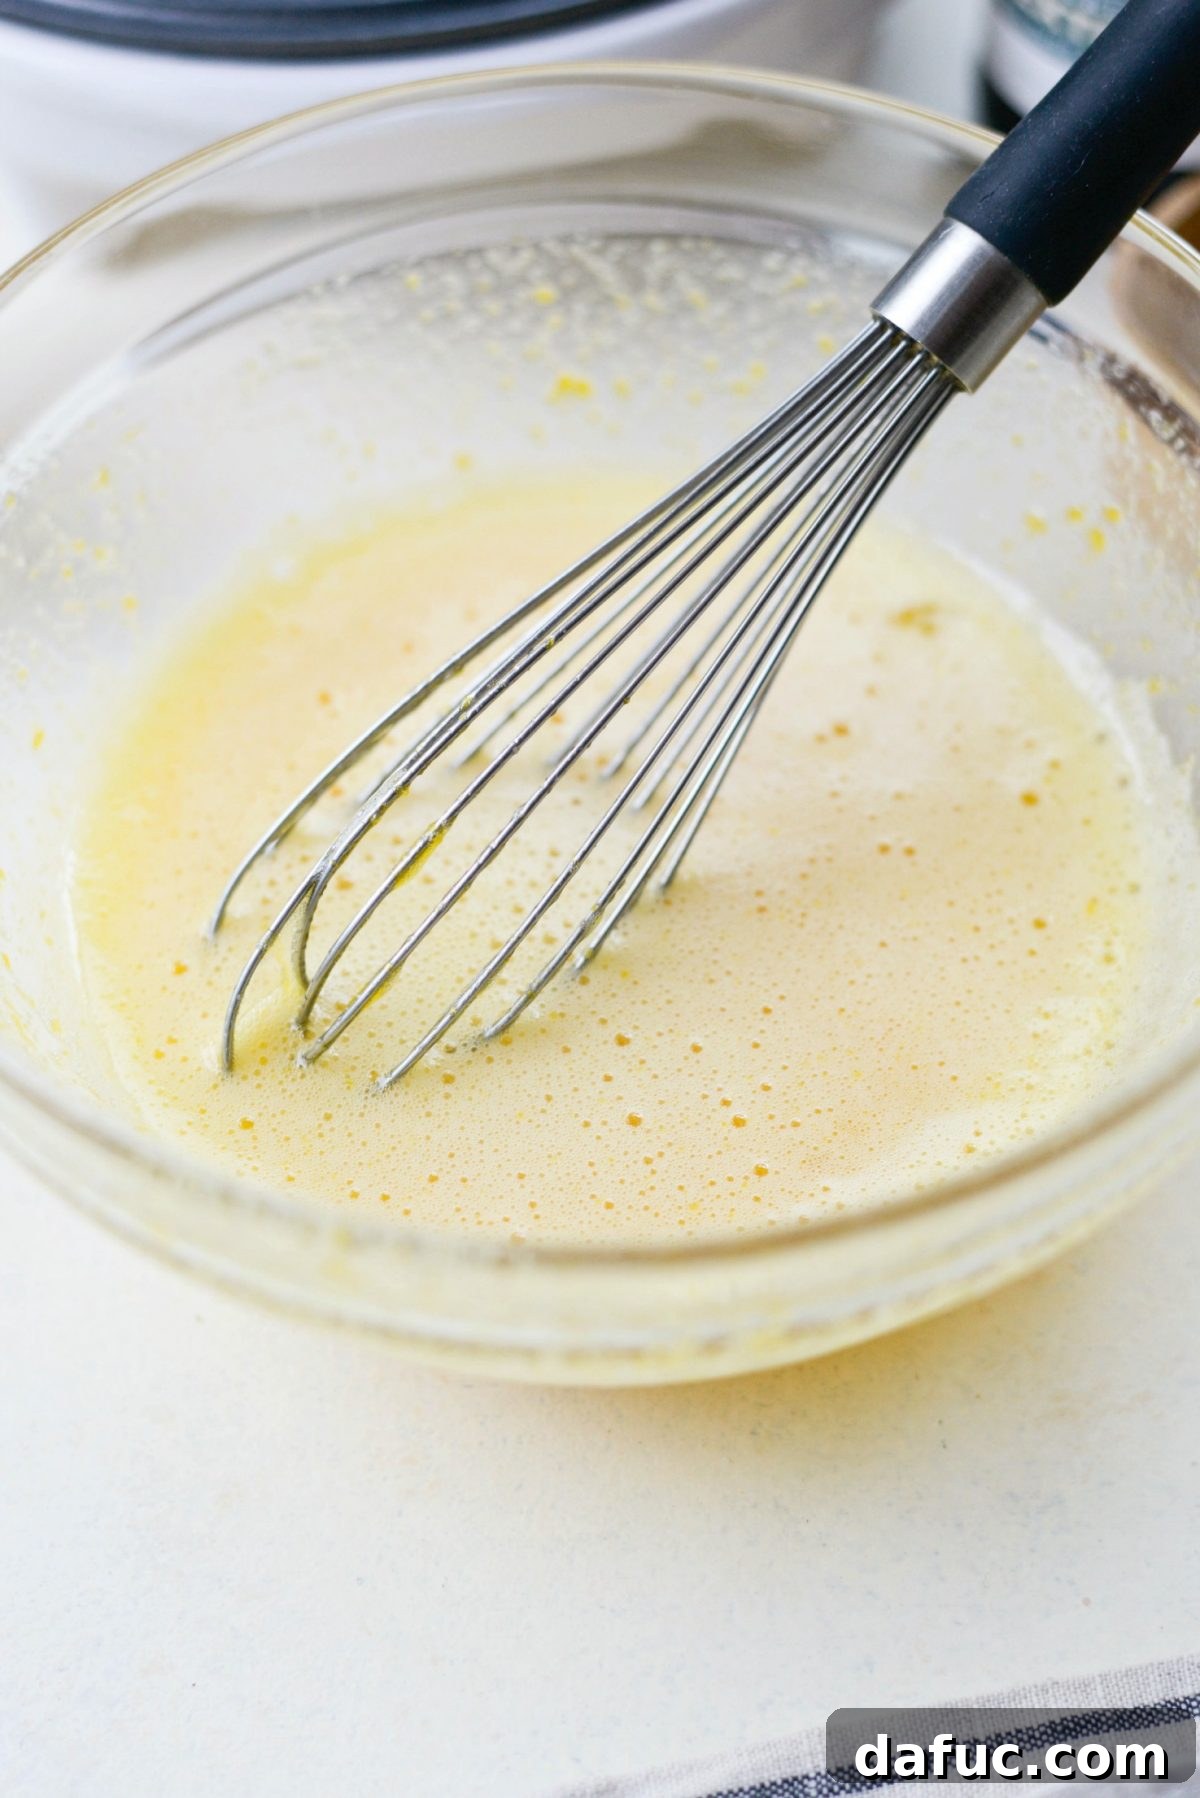
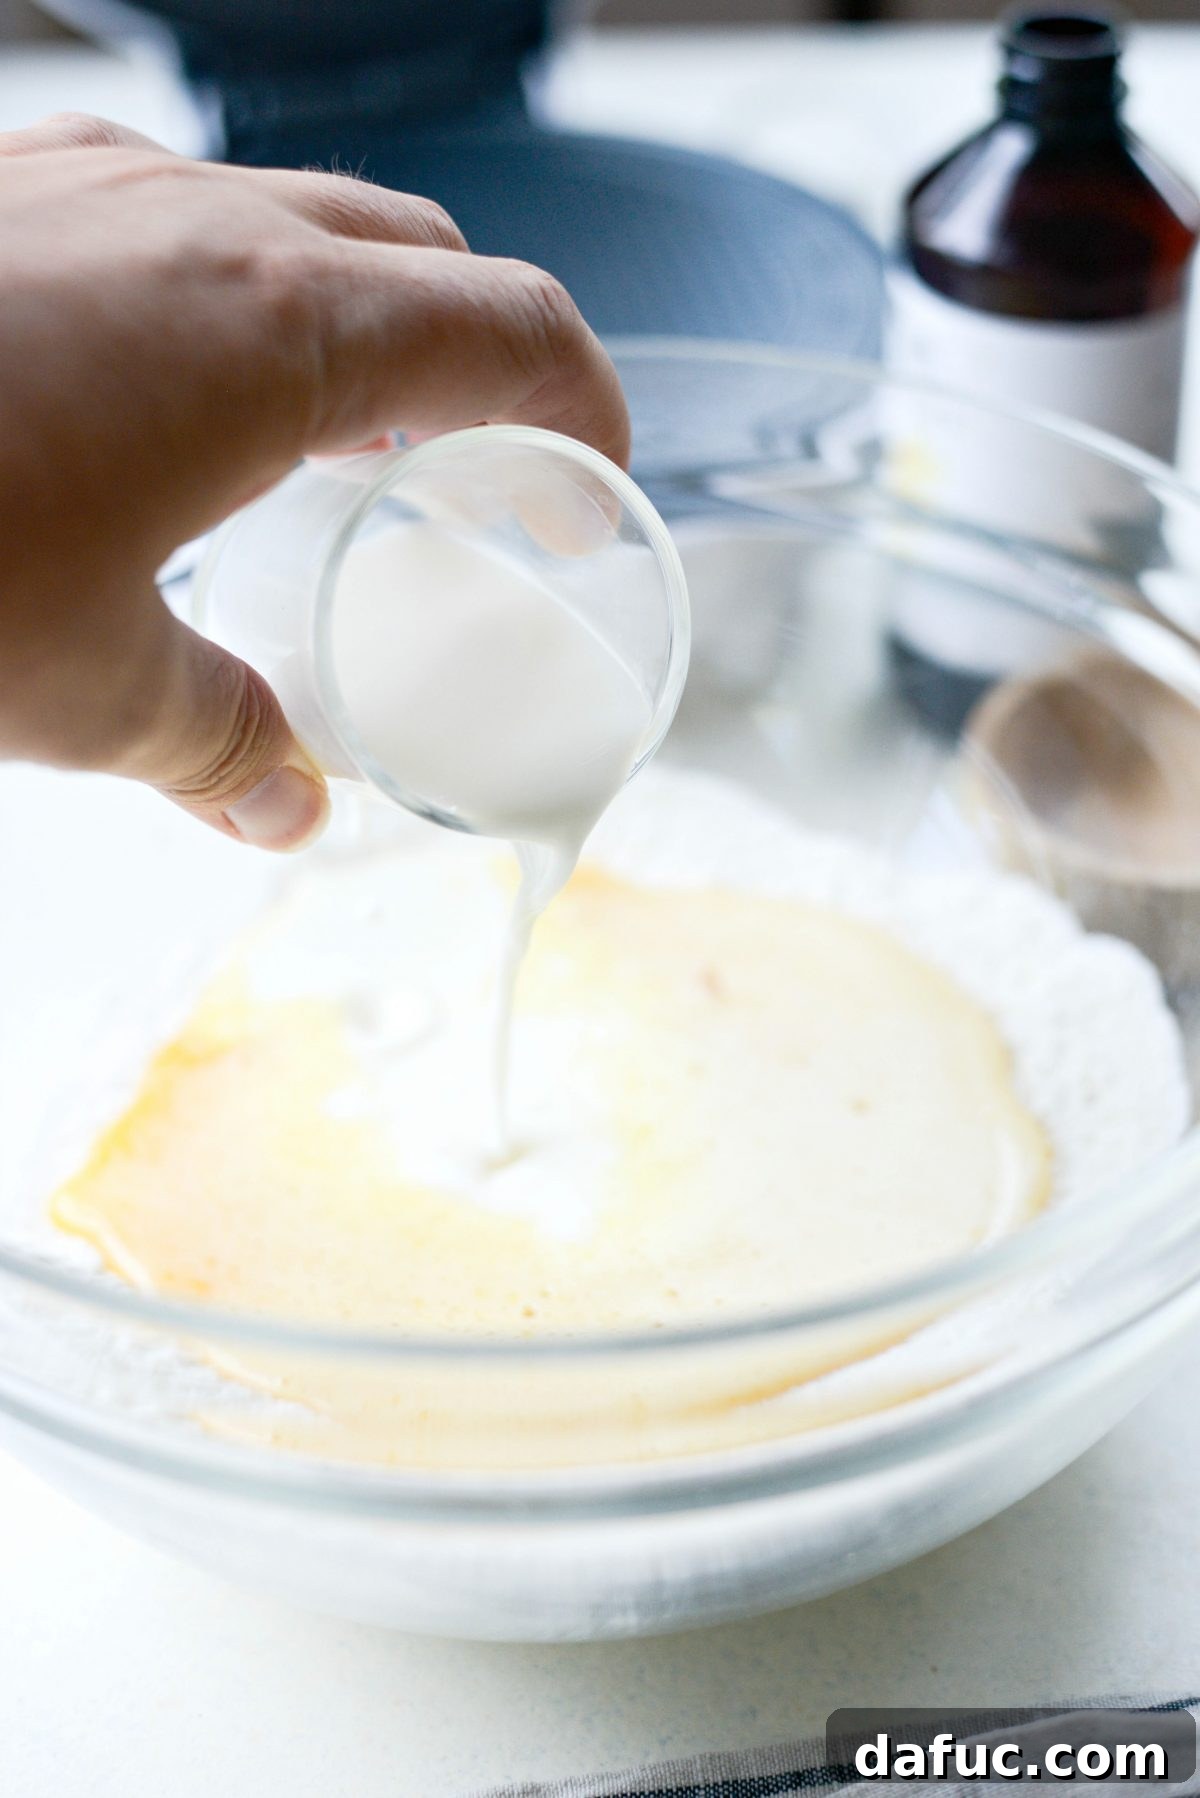
Next, pour in 1/4 cup plus an additional 2 tablespoons of whole milk along with a generous splash of pure vanilla extract. Stir these wet ingredients until they are well combined and uniformly mixed.
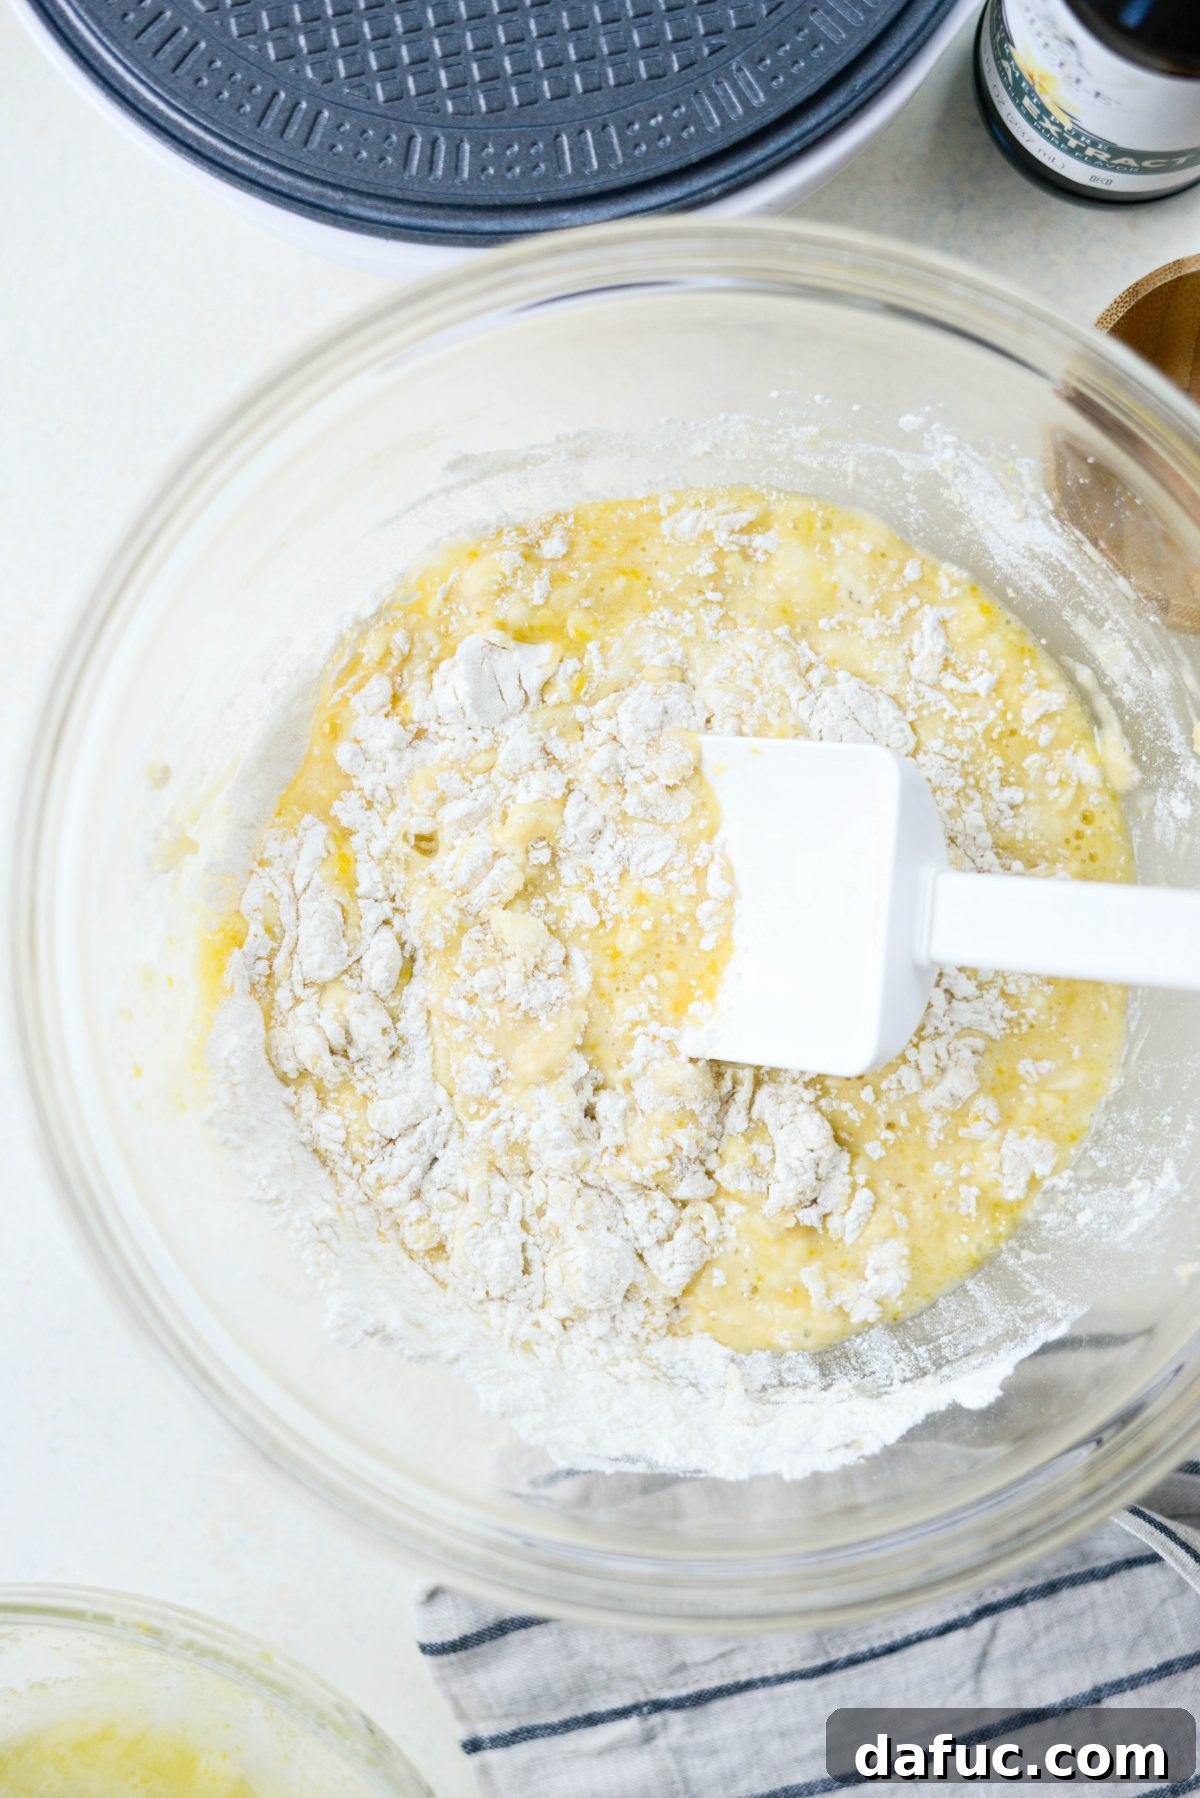
Now, gently add the prepared flour and salt mixture to the wet egg mixture. Using a rubber spatula, carefully stir until the ingredients are just combined. Avoid overmixing, as this can lead to tough waffles.
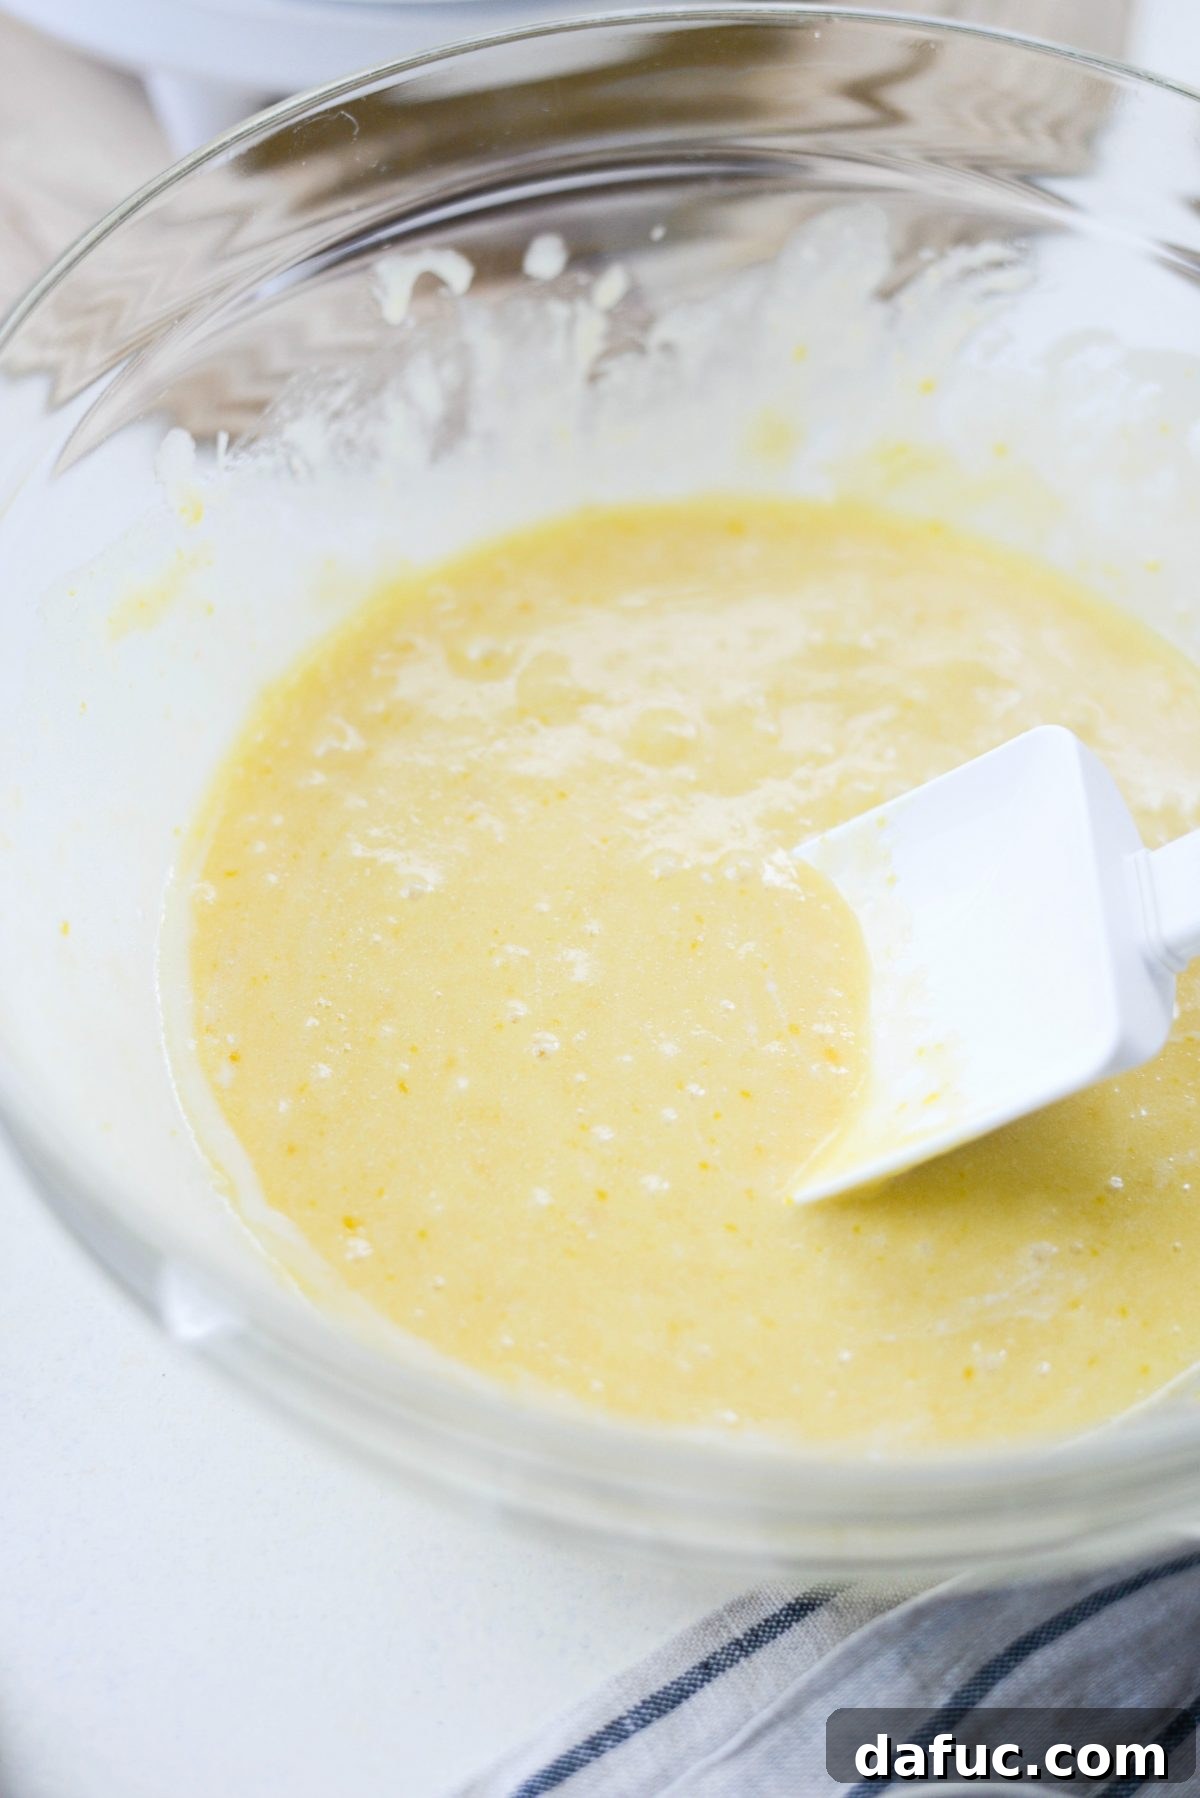
Finally, pour in the 1/4 cup of melted butter (ensure it has cooled slightly before adding) and stir again until it is fully incorporated into the batter. This step adds richness and helps achieve the desired crispness.
The Magic of the Waffle Cone Maker
To successfully make these beautiful homemade waffle cones or bowls, a dedicated waffle cone maker is essential. There’s a wide variety of brands, types, and waffle patterns available on the market. The specific waffle cone maker I recommend in the recipe printable is quite affordable and does a fantastic job. However, I’ve found that the lid isn’t always heavy enough on its own to create super thin waffles, which are crucial for achieving that ultimate crisp texture.
To remedy this and ensure your waffles are perfectly thin and crispy, I simply press down on the top of the waffle cone maker for a few seconds. I use a clean kitchen towel to protect my hands from the steam, which can get quite toasty! This little trick helps spread the batter out thin enough for optimal crispness. Honestly, for a batch of 8 waffle bowls or cones, this minor extra step doesn’t feel like a chore at all. If I were making a much larger quantity, say 20 or more, it might get tiresome, but for a family-sized treat, it’s perfectly manageable and well worth the effort for superior results.
Cooking and Shaping Your Waffle Bowls
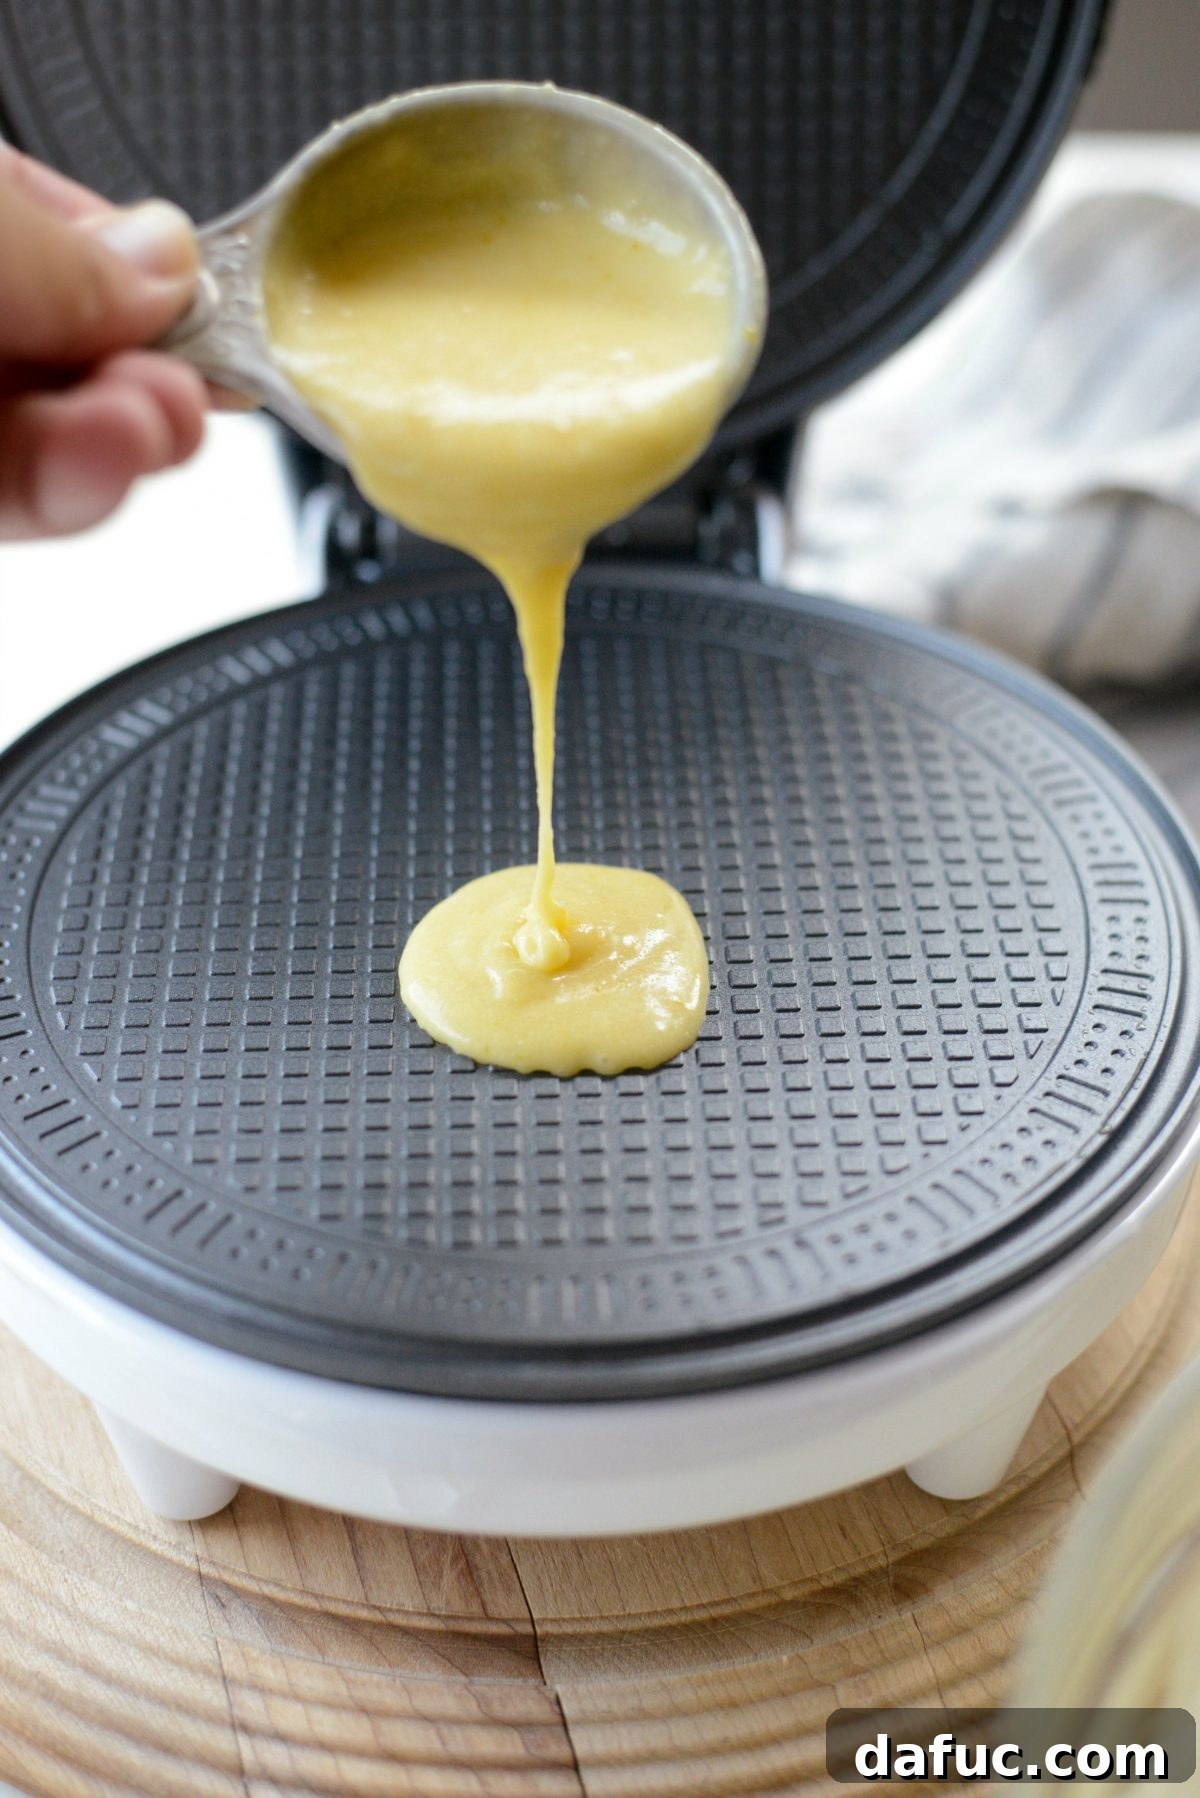
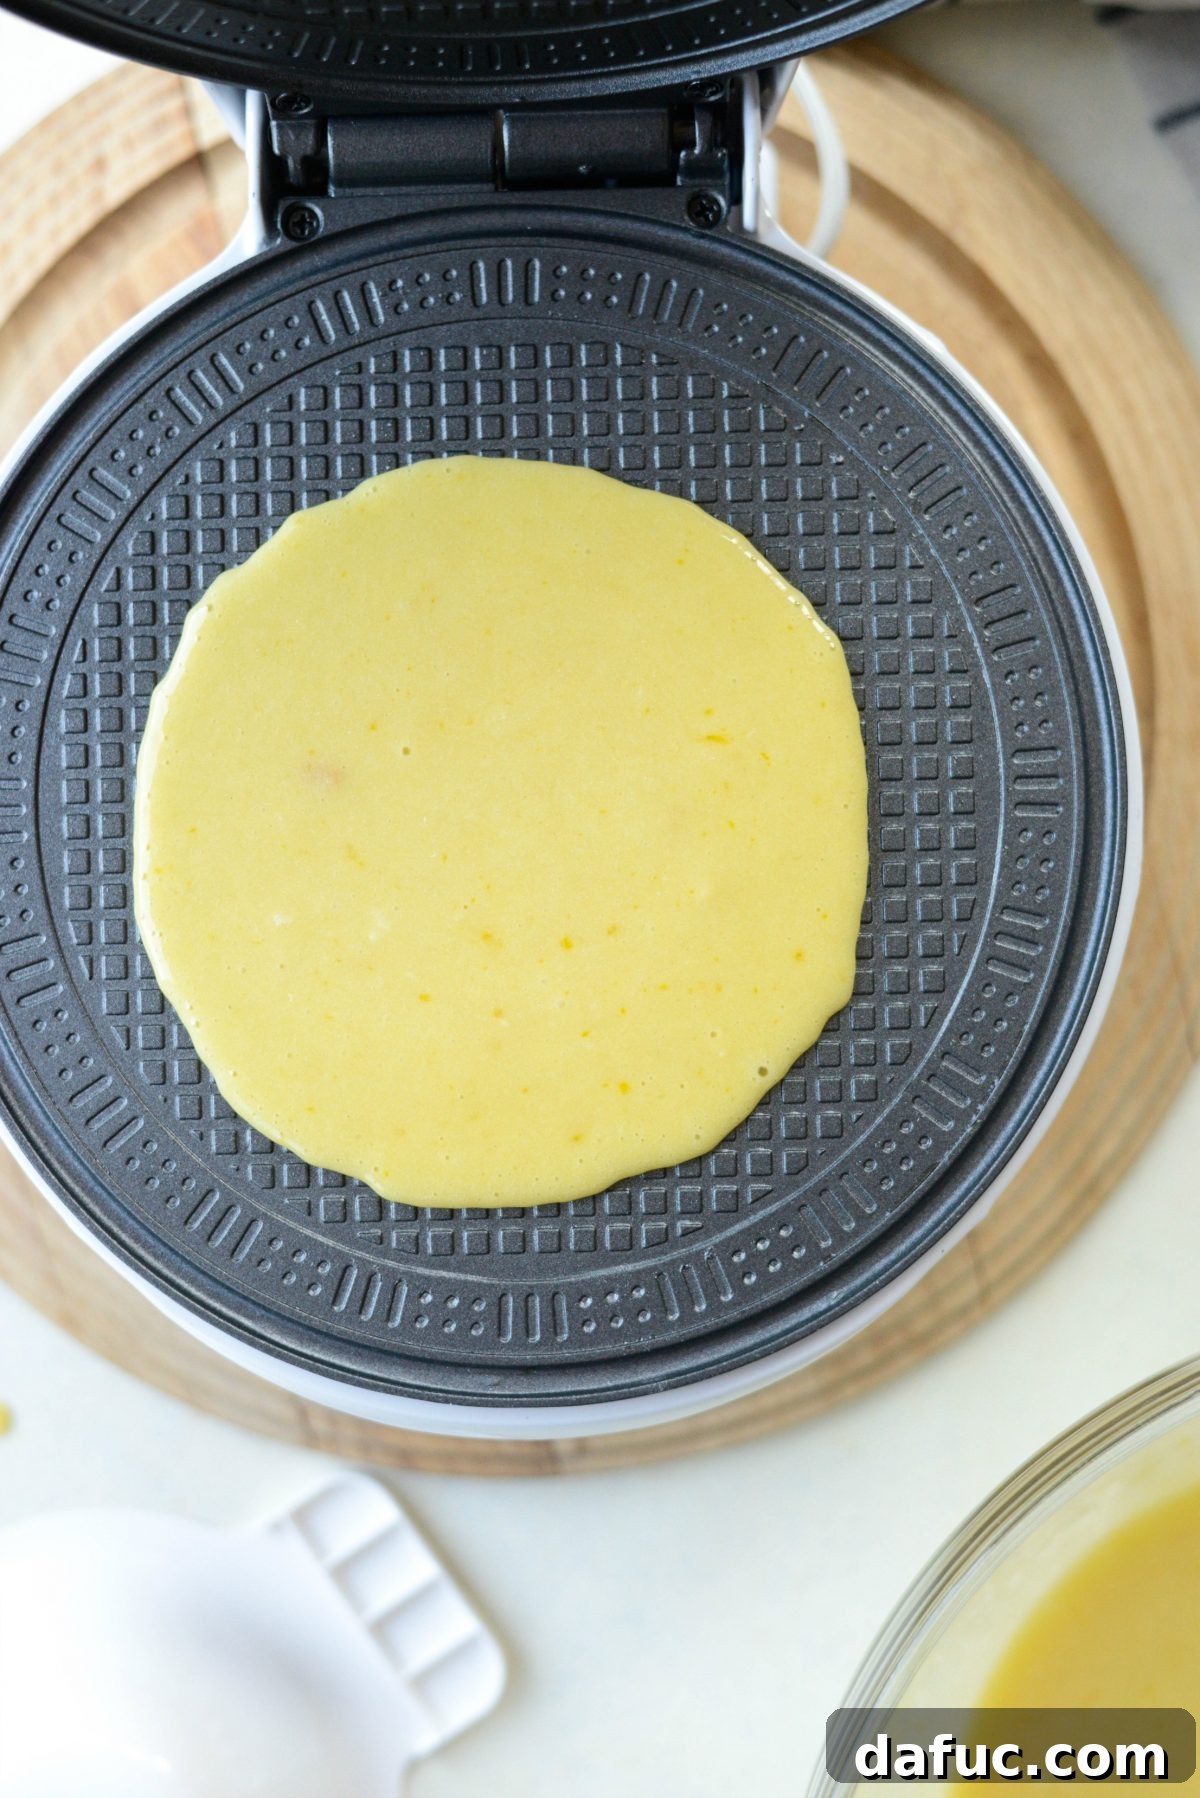
Once your waffle iron is properly preheated according to your manufacturer’s instructions, it’s time to start cooking. Pour approximately 1/4 cup of the waffle cone batter directly onto the center of the hot waffle iron. The batter should spread out easily on its own once it hits the hot surface.
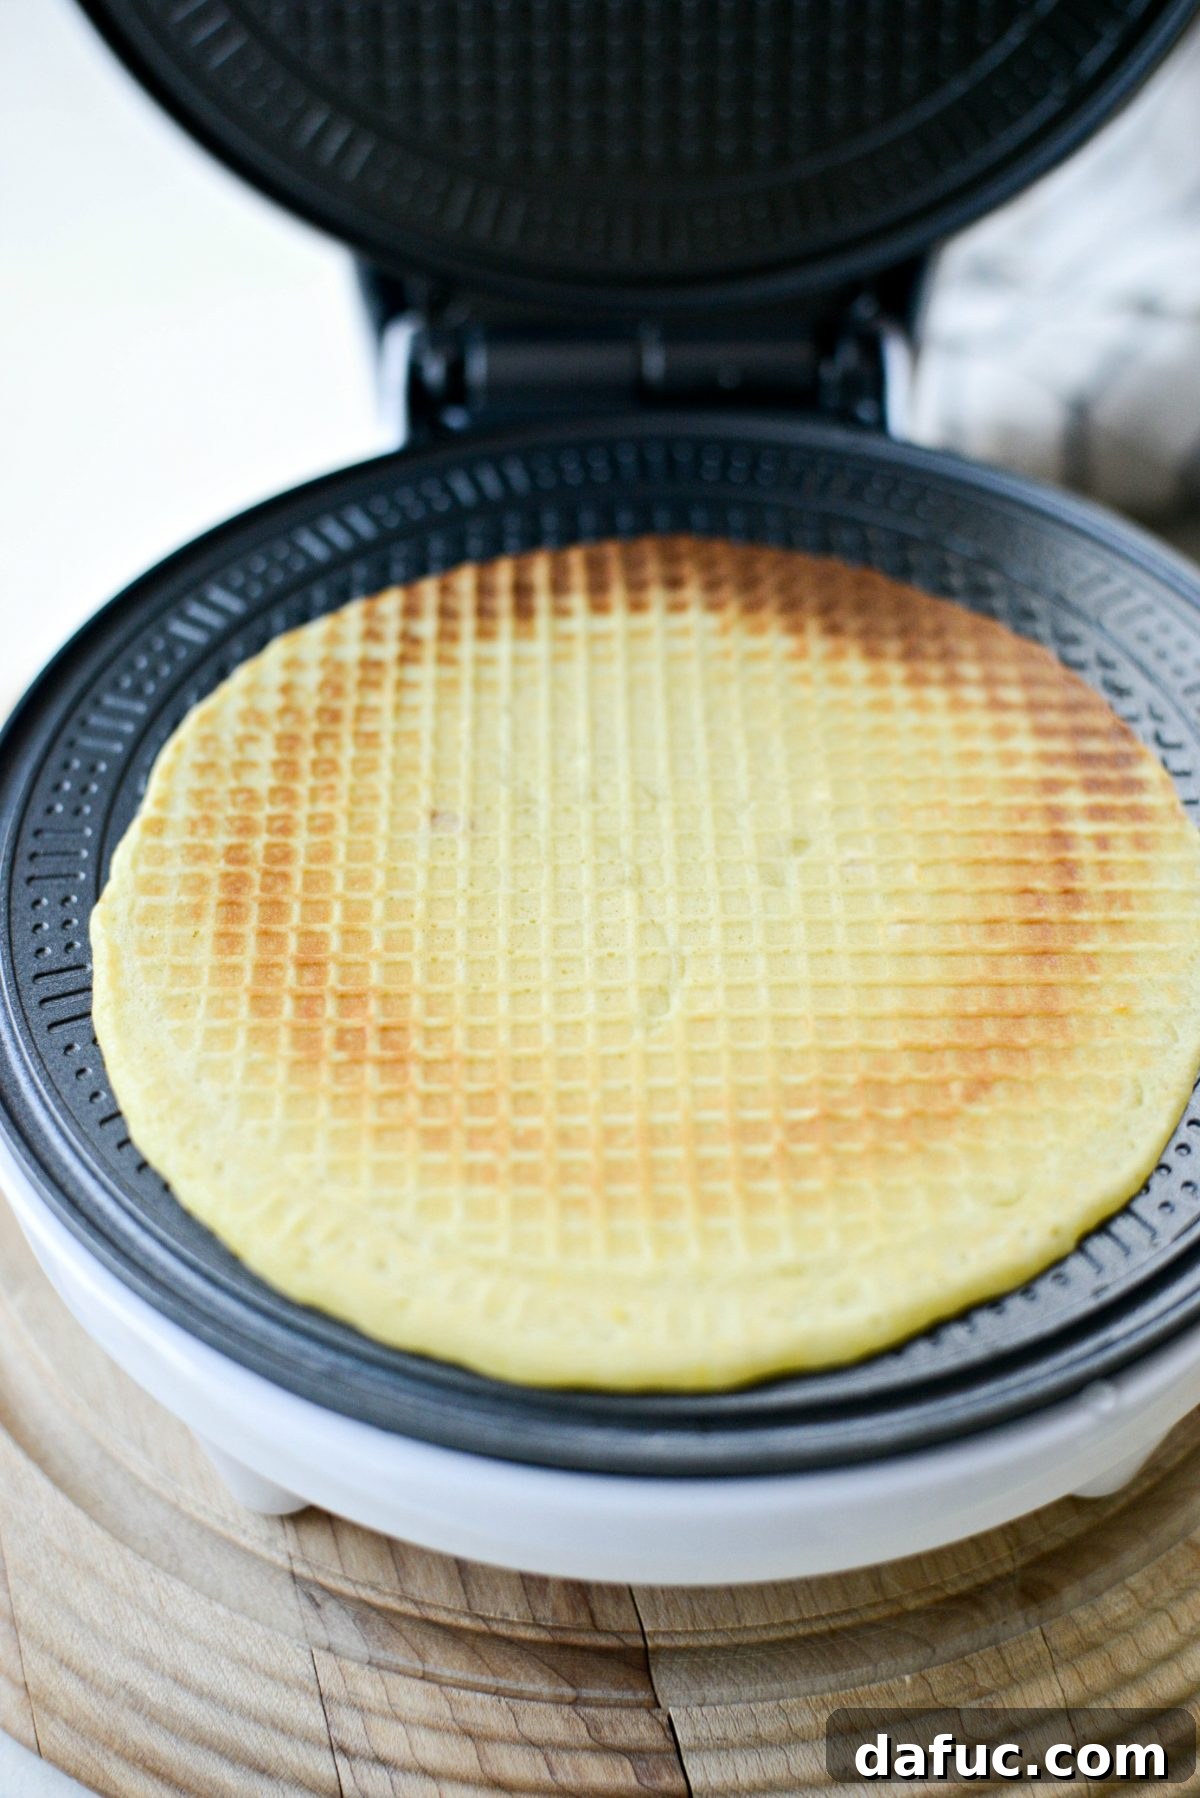
Close the lid and, if needed, apply gentle pressure on the top (using a kitchen towel for protection) to ensure the waffles cook thinly and evenly. Cook each waffle for approximately 1 minute to 1 minute and 25 seconds, or until it just begins to turn a beautiful golden color. Be careful not to over-brown the waffles; if they become too dark or brittle, they may crack or break when you attempt to form them into homemade ice cream waffle bowls or cones.
Perfecting Your Waffle Bowls: Shaping, Cooling, and Dipping
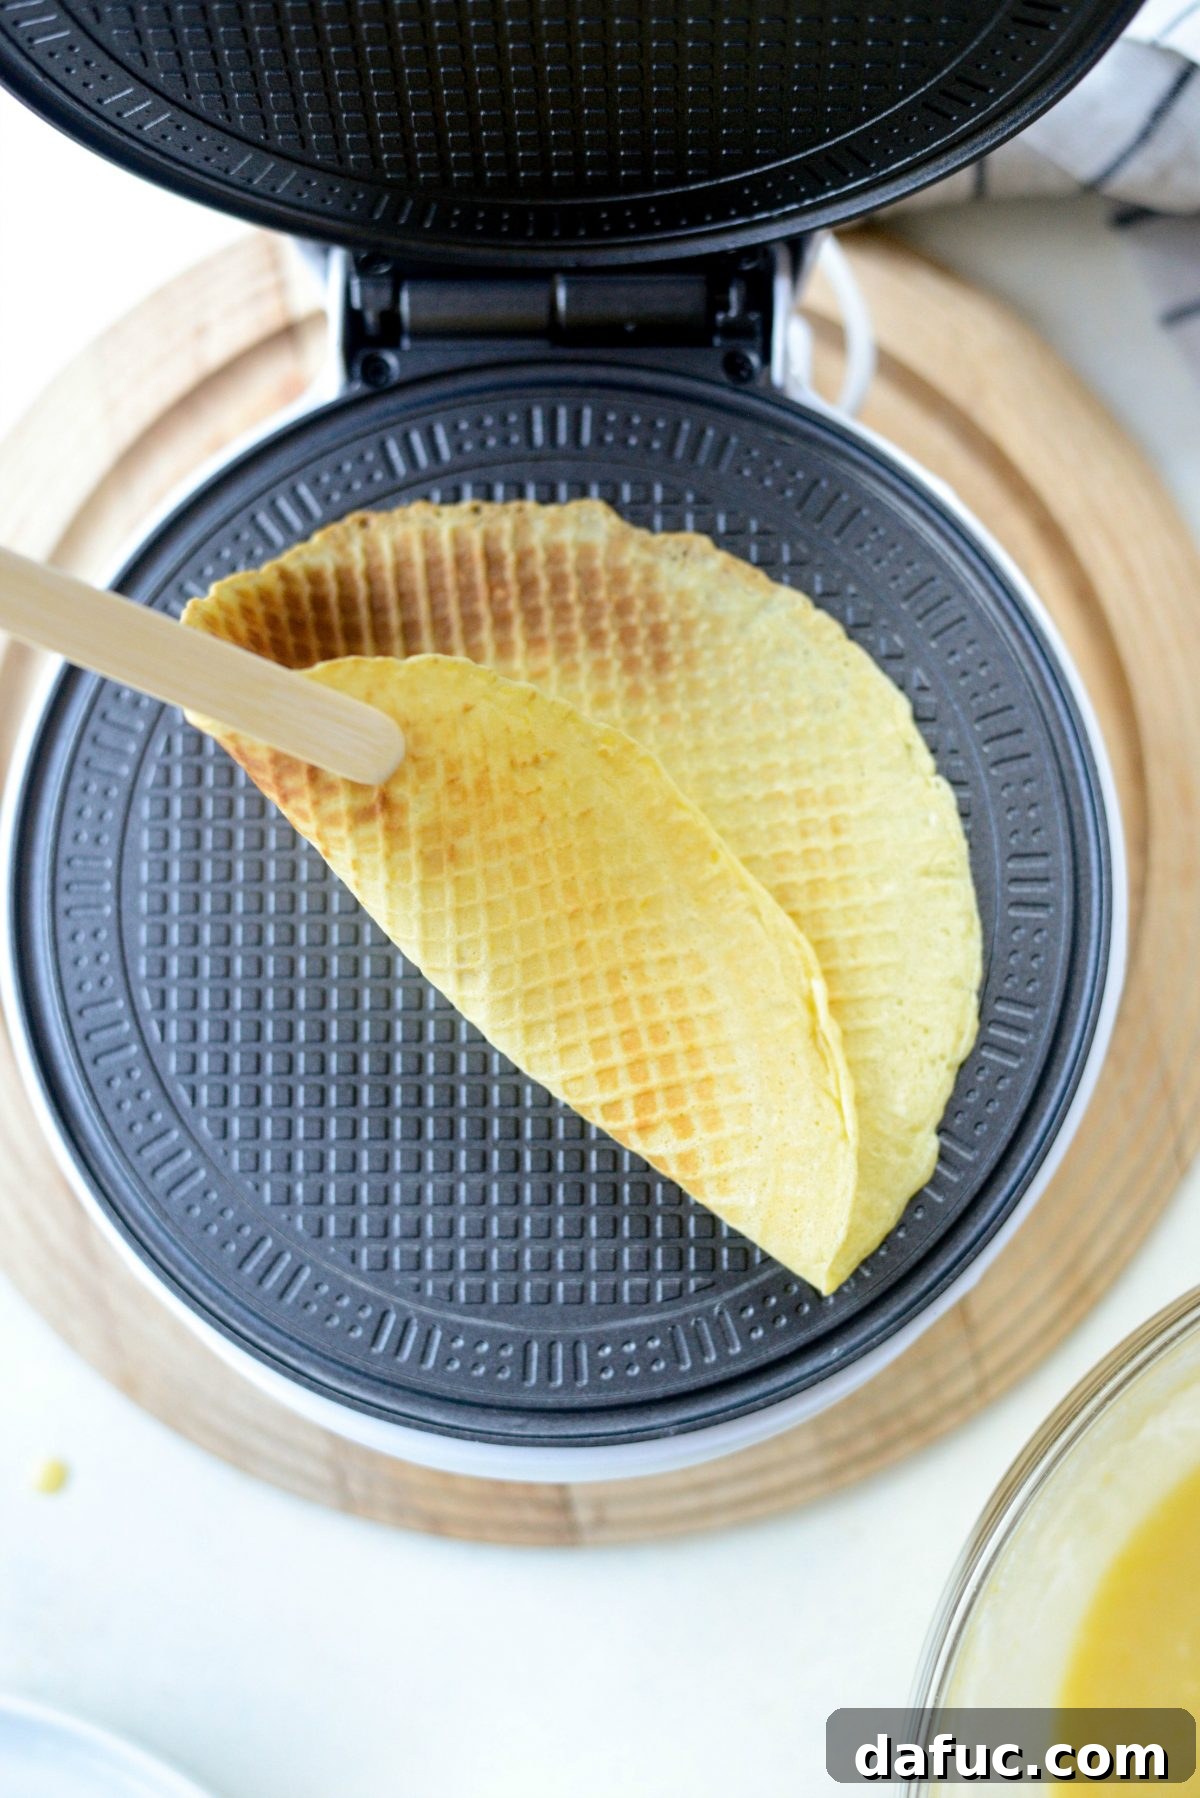
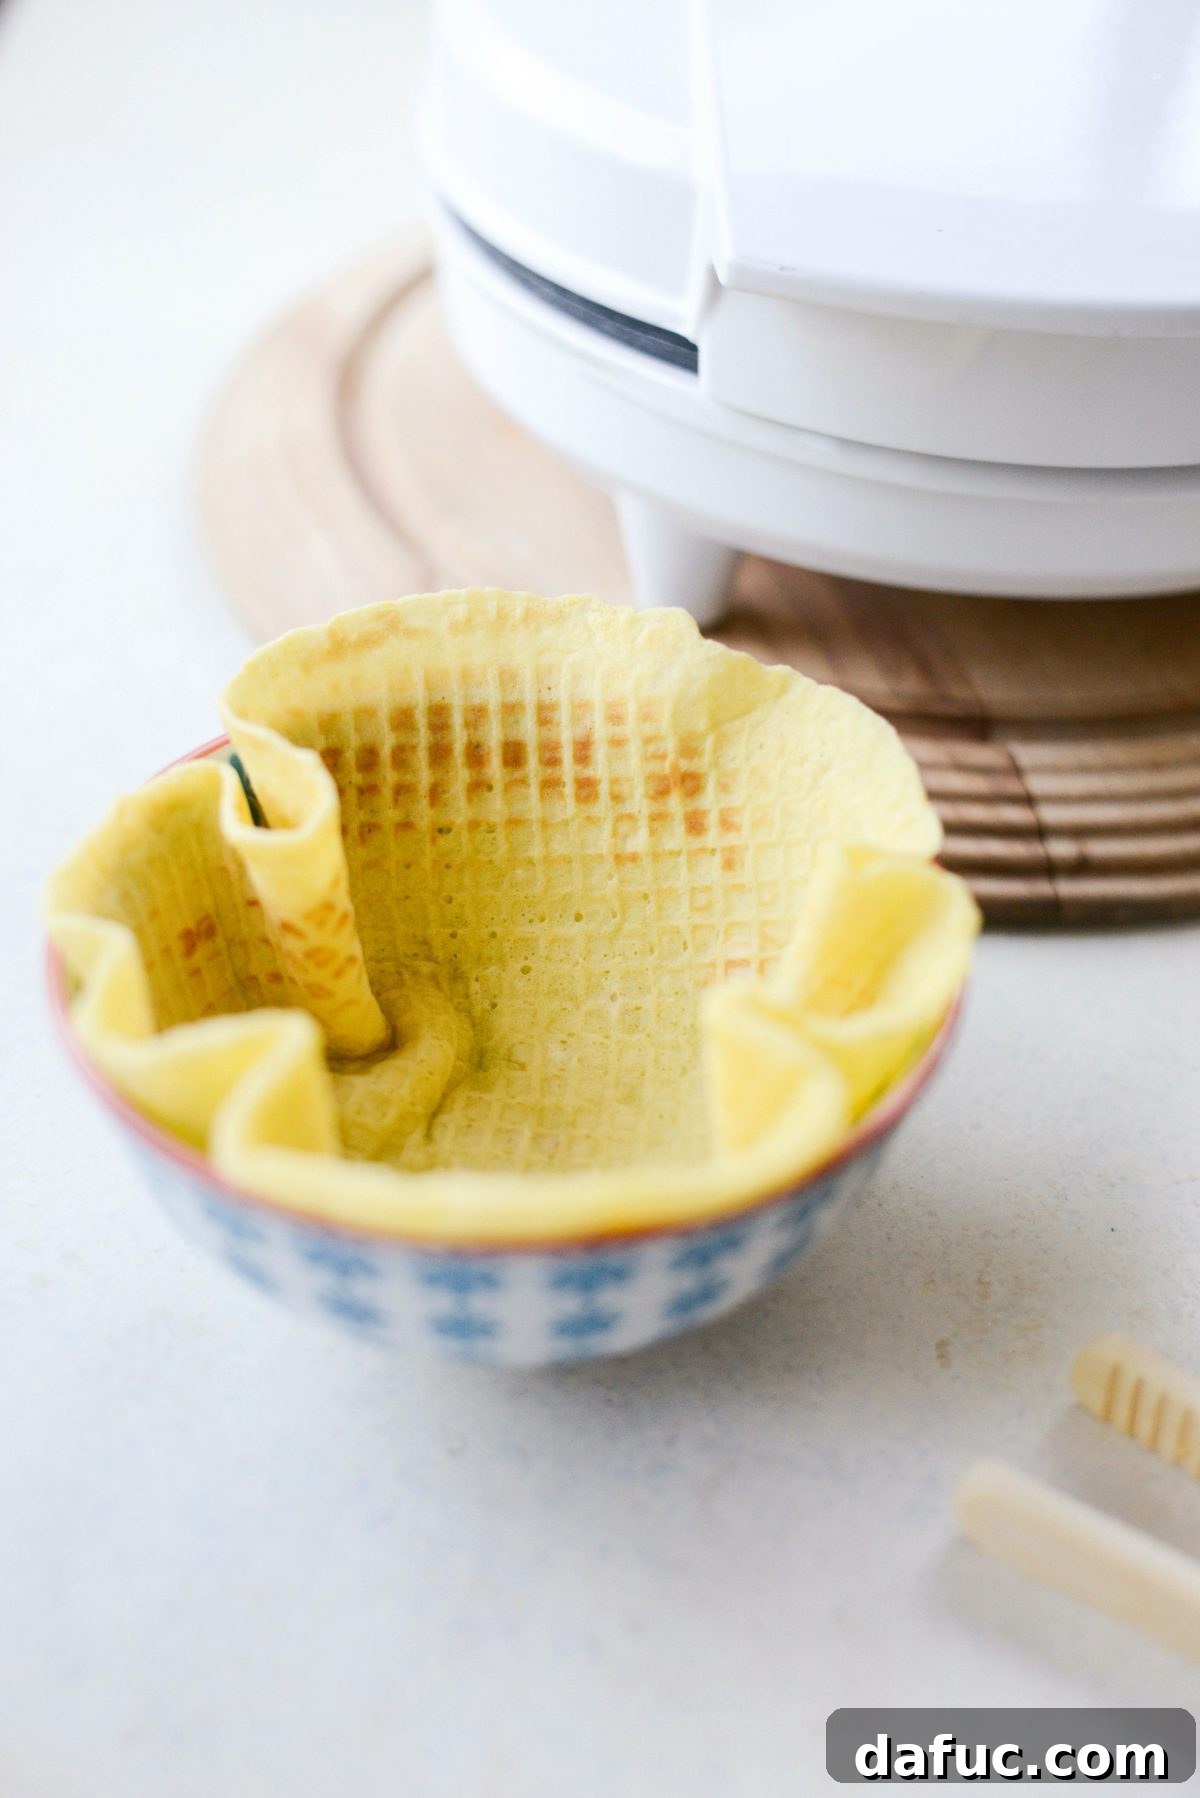
The key to perfectly shaped waffle bowls is to work quickly while the waffle is still warm and pliable. Immediately after removing the cooked waffle from the iron, gently drape it over or press it into a small, heat-safe bowl (or use a cone mold if you prefer cones). Hold it in place for a few moments until it begins to cool and firmly takes on the desired shape. The warmth allows it to be flexible, but as it cools, it will crisp up beautifully.
Once shaped, invert the waffle bowl onto a parchment-lined baking pan to allow it to cool completely. The waffle bowls will continue to crisp up even further as they reach room temperature, becoming the ideal crunchy complement to cold ice cream.
For an extra touch of gourmet elegance, consider making extra fancy homemade ice cream waffle bowls. Simply melt your choice of milk, dark, or white chocolate with a tablespoon of coconut oil. You can do this in a double boiler for even heating or in the microwave, stirring at 10-second intervals until the chocolate is smooth and glossy. Then, carefully dip the edges of each cooled waffle bowl into the melted chocolate. For added visual appeal, you can immediately sprinkle with chopped nuts, sprinkles, or even a dusting of cocoa powder. Once the chocolate hardens, which can be accelerated by chilling them briefly, your custom waffle bowls are ready to be filled and enjoyed!
The Grand Finale: Scooping Your Favorite Tillamook Ice Cream
Now, this is where the real fun begins! With your freshly made, crispy waffle bowls ready, it’s time to bring out the star of the show: the ice cream!
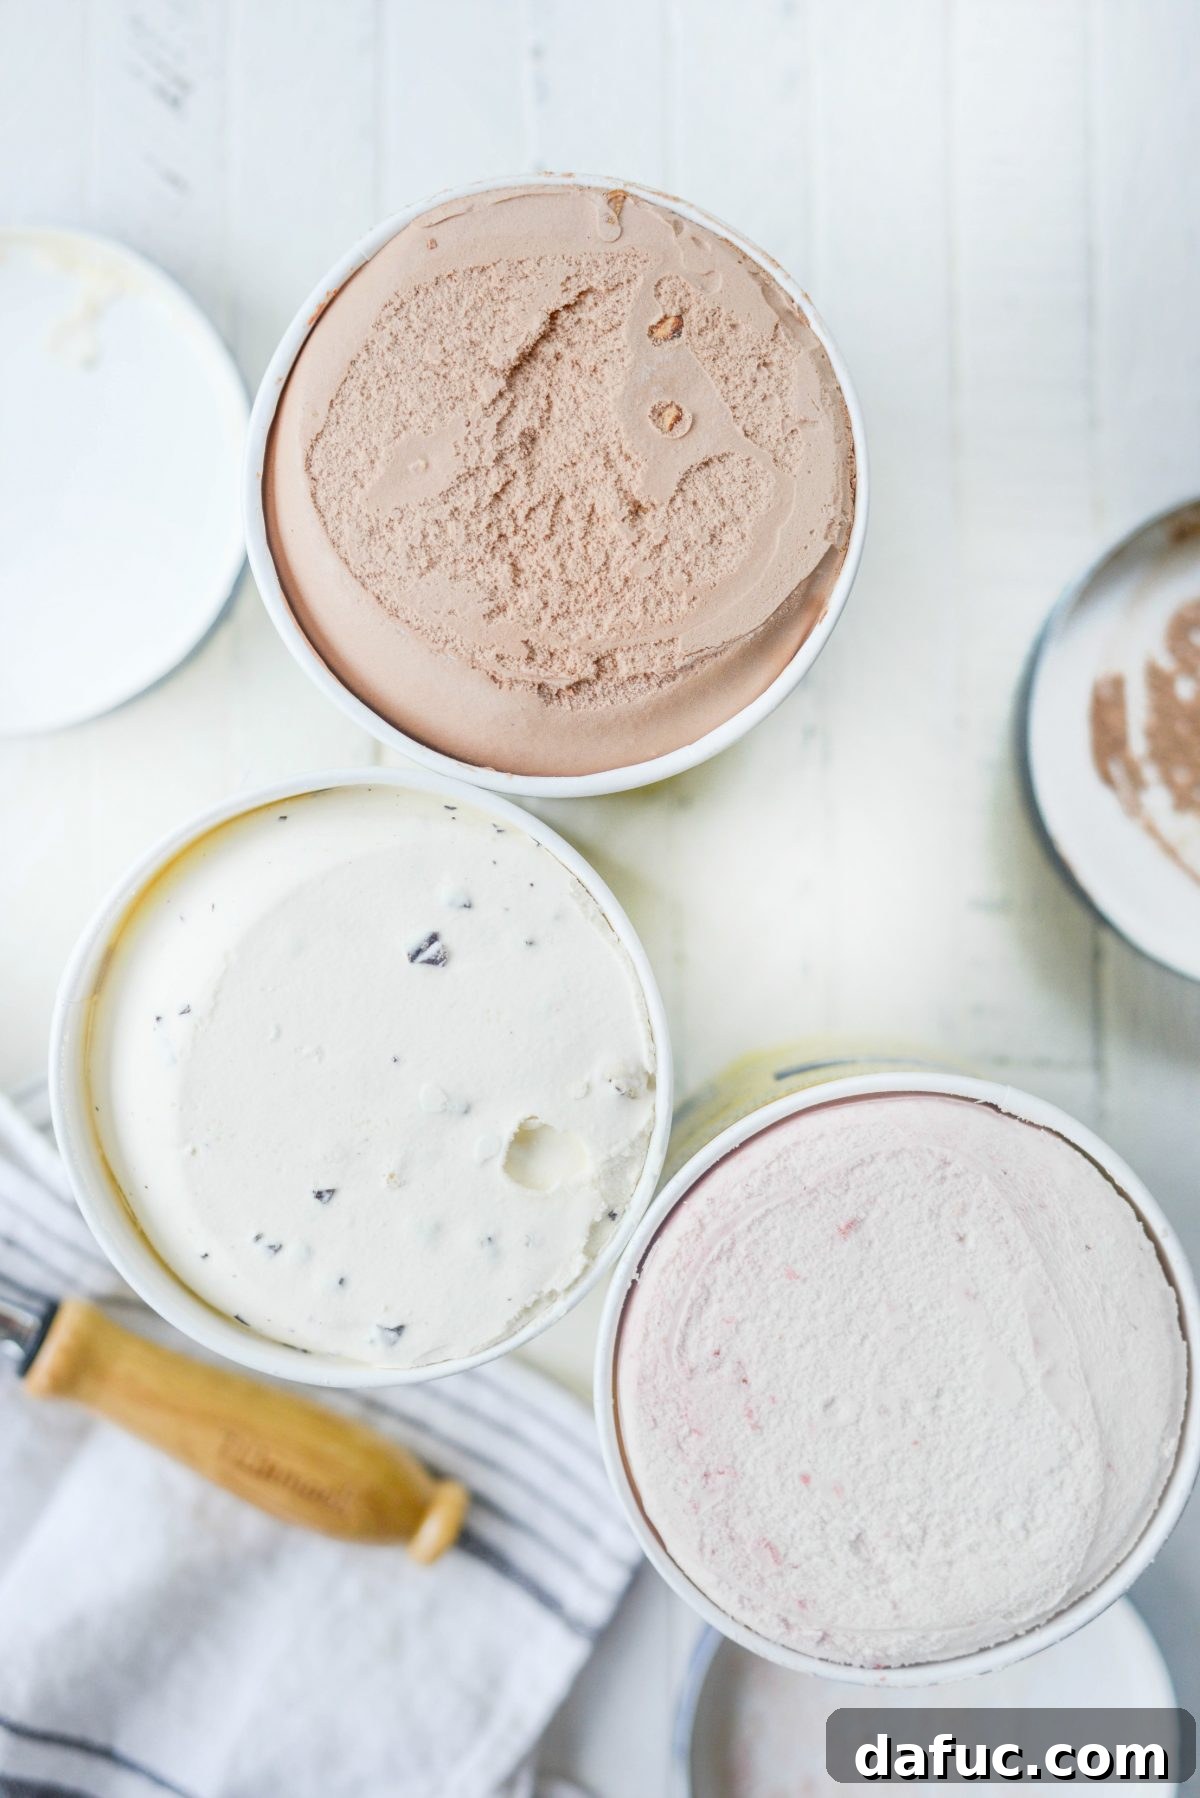
Go ahead, have a blast, and pick a delightful variety of flavors. Because sometimes, a bowl brimming with different, complementary ice cream flavors is exactly what we need to satisfy every craving and make the experience truly special. Encourage everyone to mix and match or stick to their ultimate favorite – the choice is theirs in this delicious adventure.

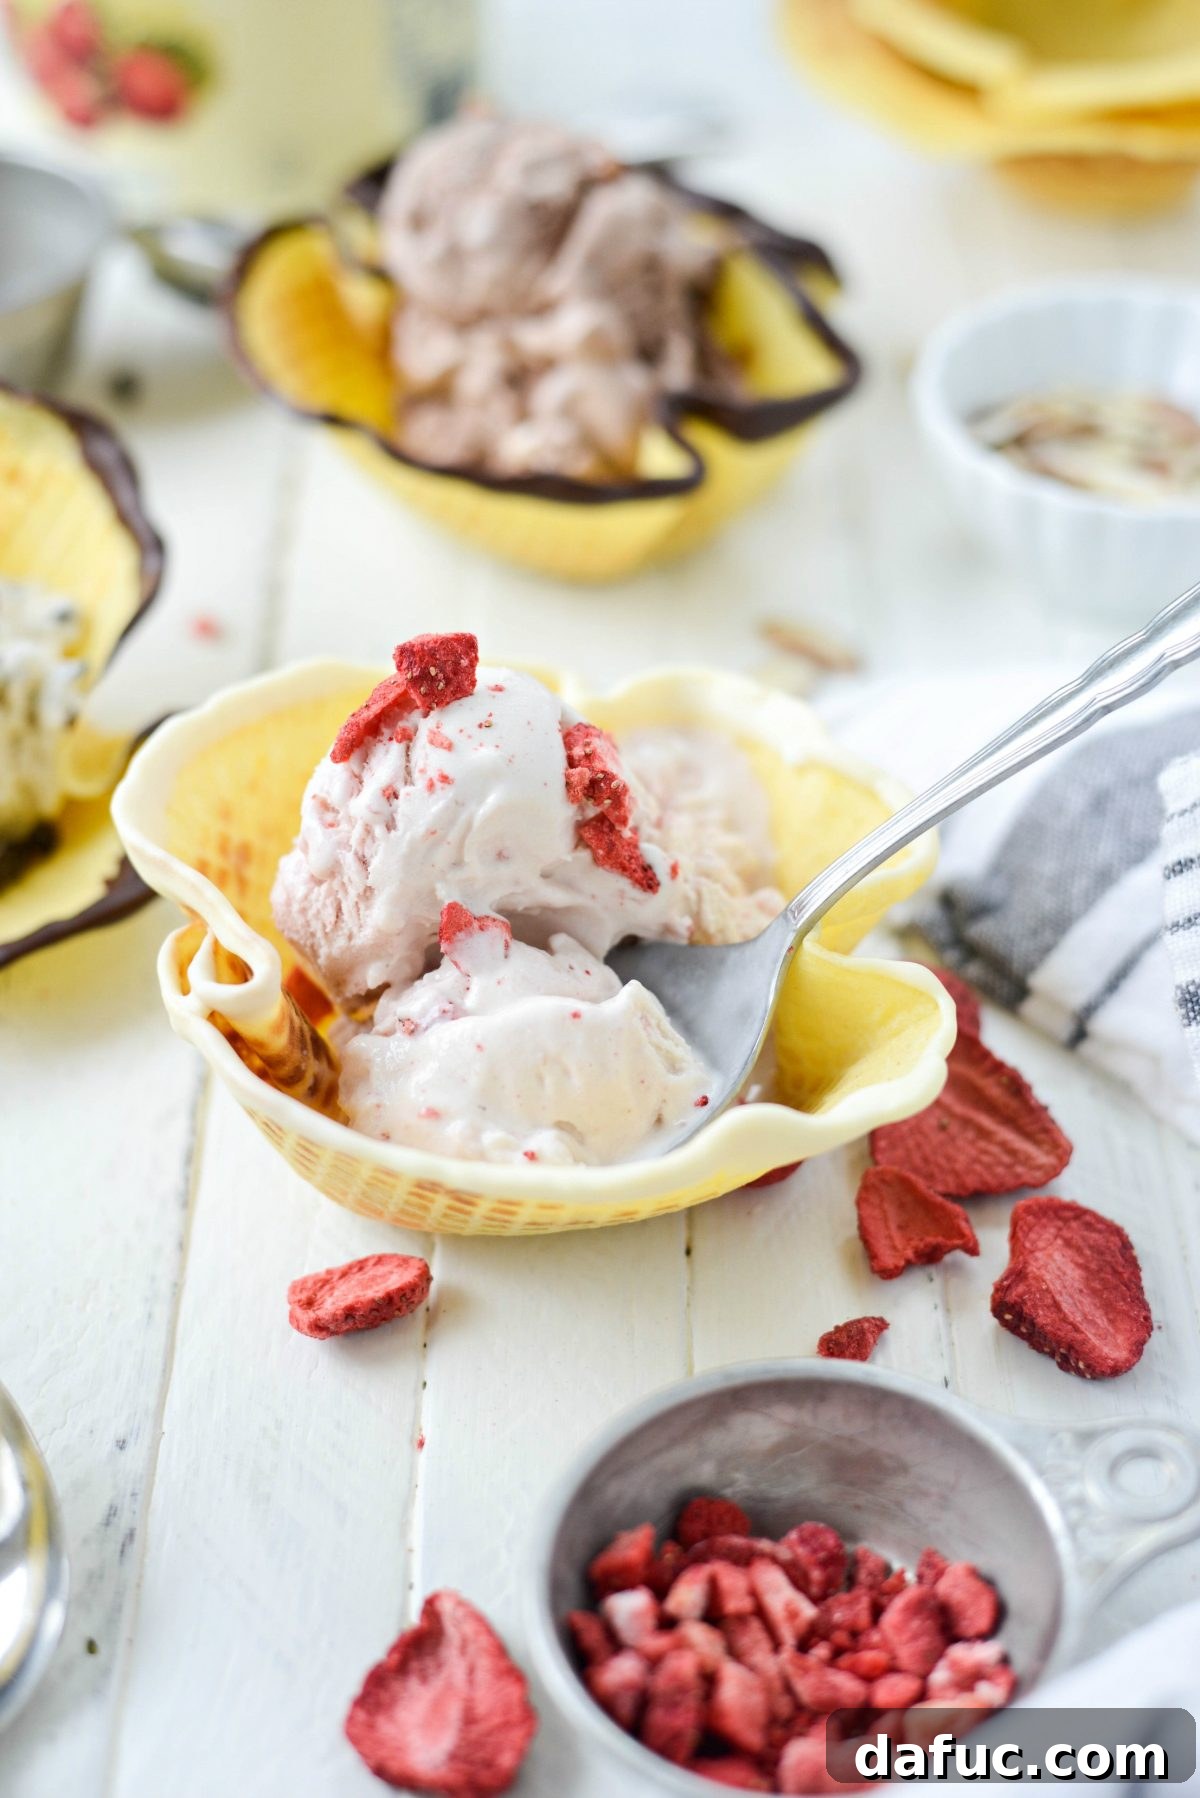
As I mentioned earlier, for our family ice cream social, I couldn’t resist Tillamook’s Rocky Road, while my family enthusiastically chose Oregon Strawberry and Chocolate Chip Cookie Dough. My husband is an especially huge fan of the Oregon Strawberry, and he says, and I quote, “it’s the best strawberry ice cream I’ve ever had.” High praise indeed, and a testament to Tillamook’s exceptional quality.
The Tillamook Difference: Uncompromised Quality Since 1909
I am absolutely not exaggerating when I say that the creaminess of Tillamook Ice Cream is truly unreal. This unparalleled texture and rich flavor are a direct result of their unwavering commitment to using only premium, high-quality ingredients. That dedication is what truly sold me on the brand. Tillamook isn’t just another ice cream; it’s an experience.
Beyond their incredibly creative and delicious ice cream flavors and, of course, that signature creamy texture, there’s so much more to appreciate about Tillamook. I particularly admire the fact that they are a farmer-owned dairy cooperative, deeply rooted in a tradition of excellence. They are also recognized as the #1 natural cheese brand in the West, a testament to their broader dairy expertise. Tillamook has been a proud producer of premium ice cream since 1947, building a legacy of quality and taste that spans generations. Their story began even earlier, in 1909, as a cooperative of local dairy farmers who banded together to ensure their communities had access to the best possible dairy products. This heritage of stewardship and quality is infused into every product they make.
As a food blogger, I’ve heard buzz about Tillamook over the years through social media and from fellow food enthusiasts. For a long time, I couldn’t find their products in any stores near me, which was always a disappointment. So, I am incredibly happy to announce that you can now find their exceptional dairy products, including their premium ice cream, in stores across Michigan! You may have already spotted their cheddar cheese, which has garnered a loyal following. The expansion of their availability means more people can experience the Tillamook difference for themselves – from their award-winning cheeses to their incredibly smooth and flavorful ice cream. Their commitment to using real, wholesome ingredients from happy cows truly shines through in every bite, making them a standout in the dairy industry.
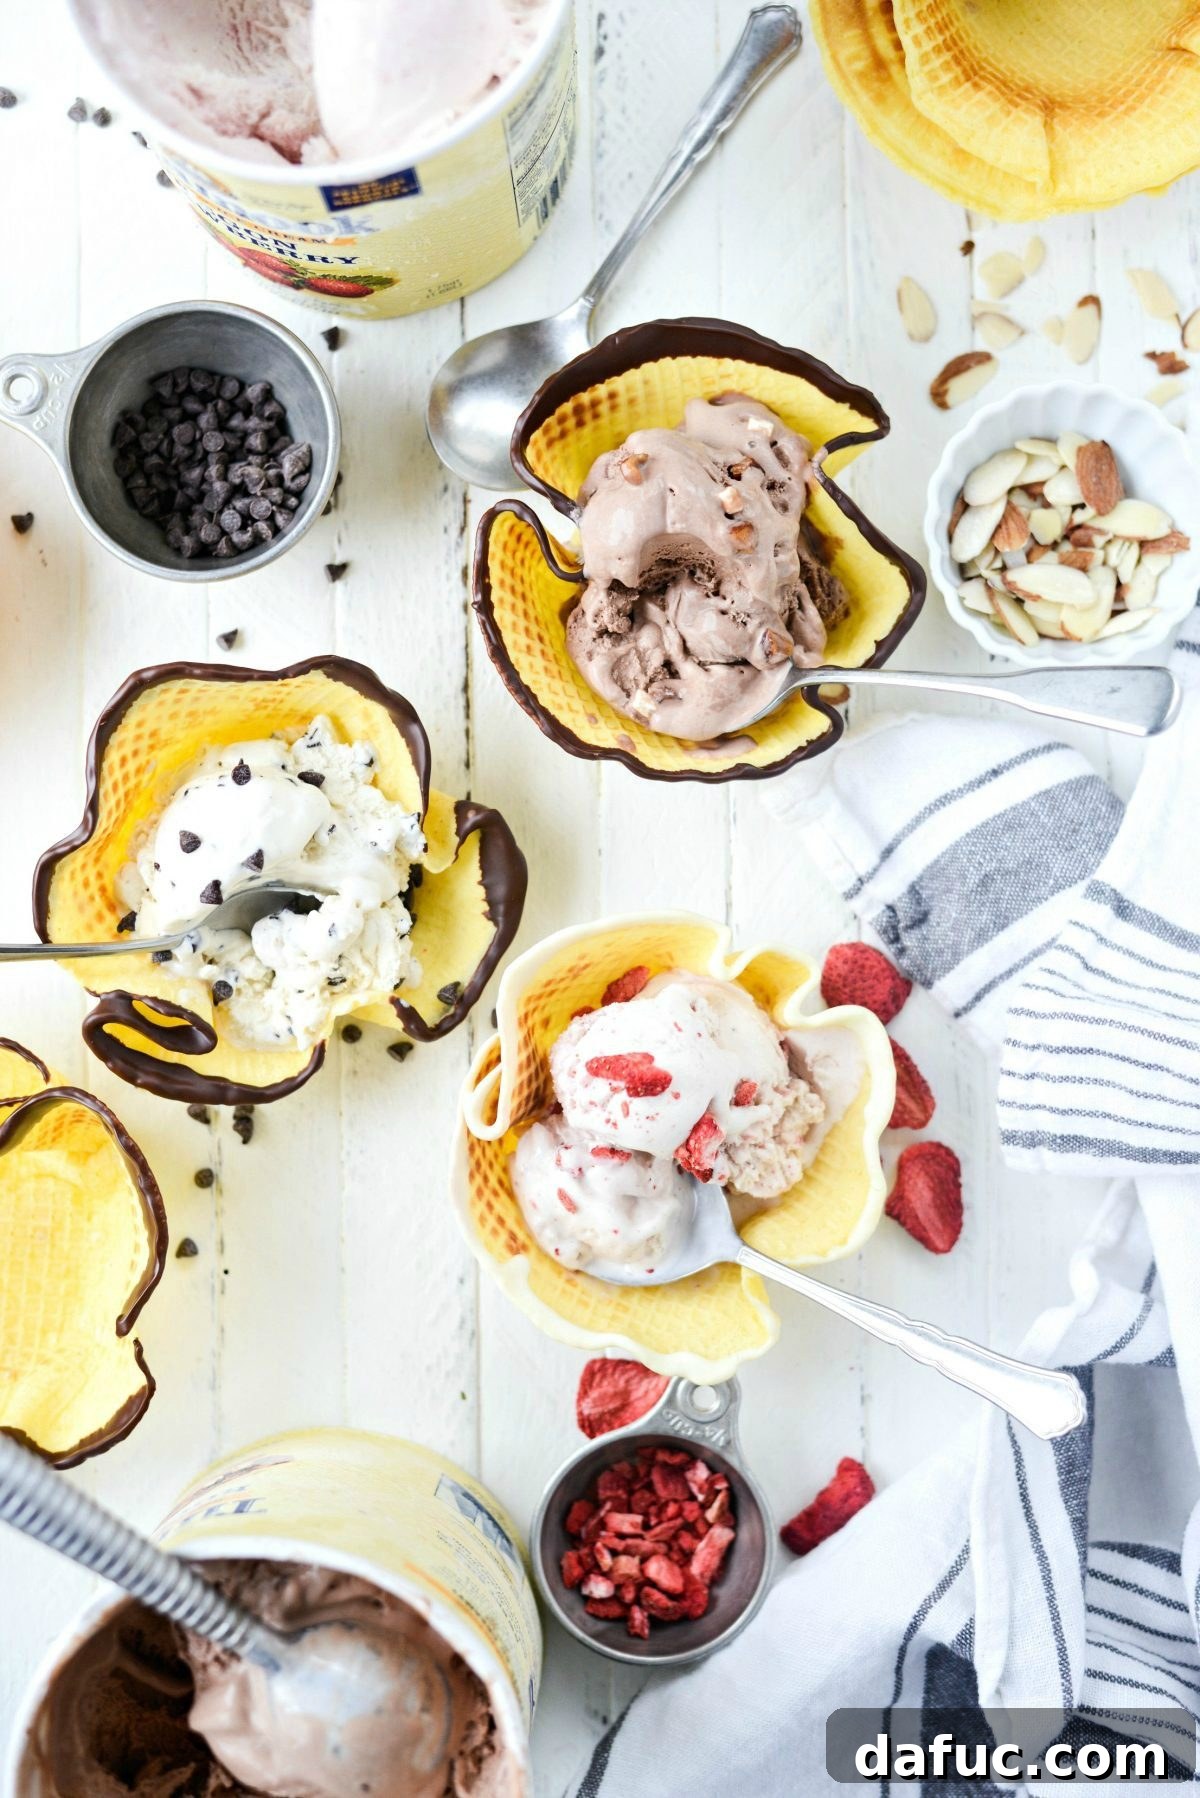
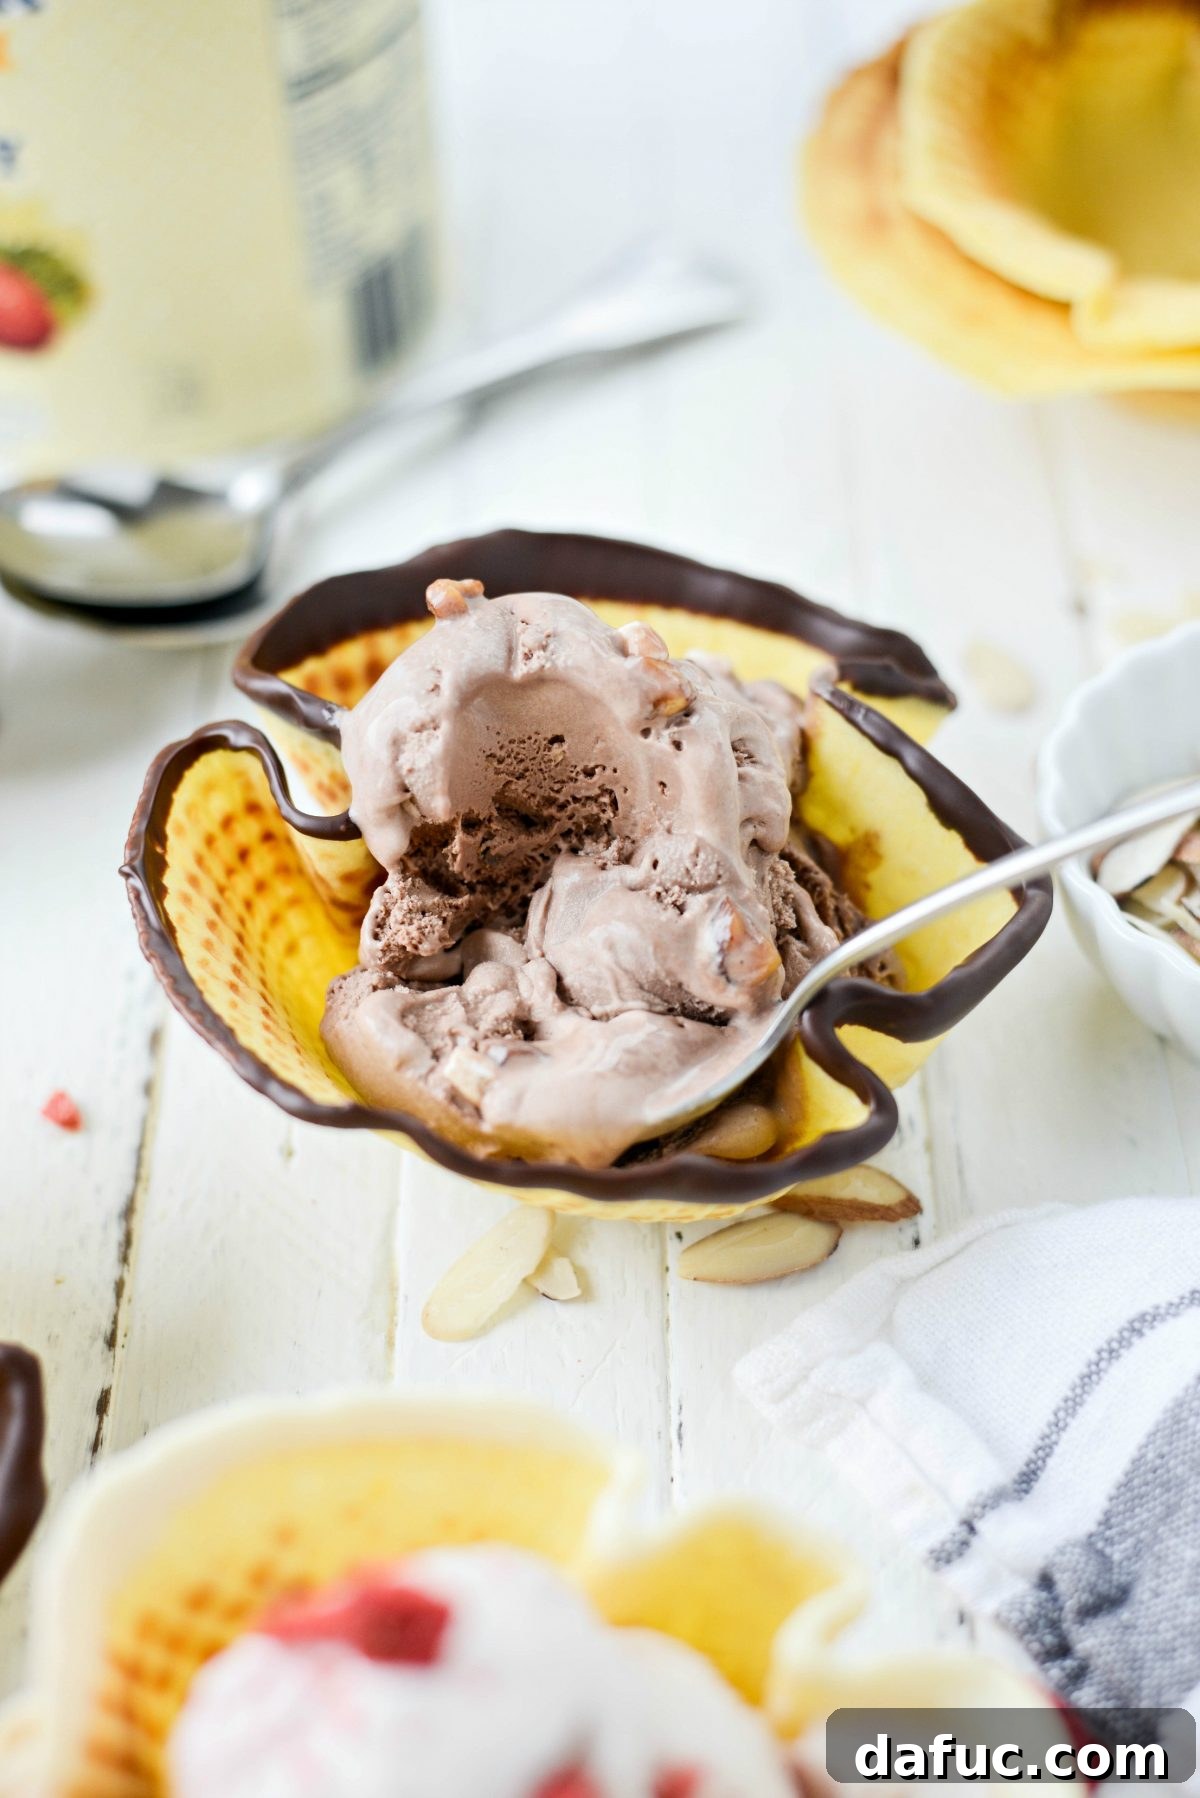
With Tillamook, creamy just got creamier, and these homemade ice cream waffle bowls are absolutely the perfect vessel to savor every single scoop of it! They offer a delightful crunch and a hint of sweetness that perfectly complements the rich, smooth texture of premium ice cream.
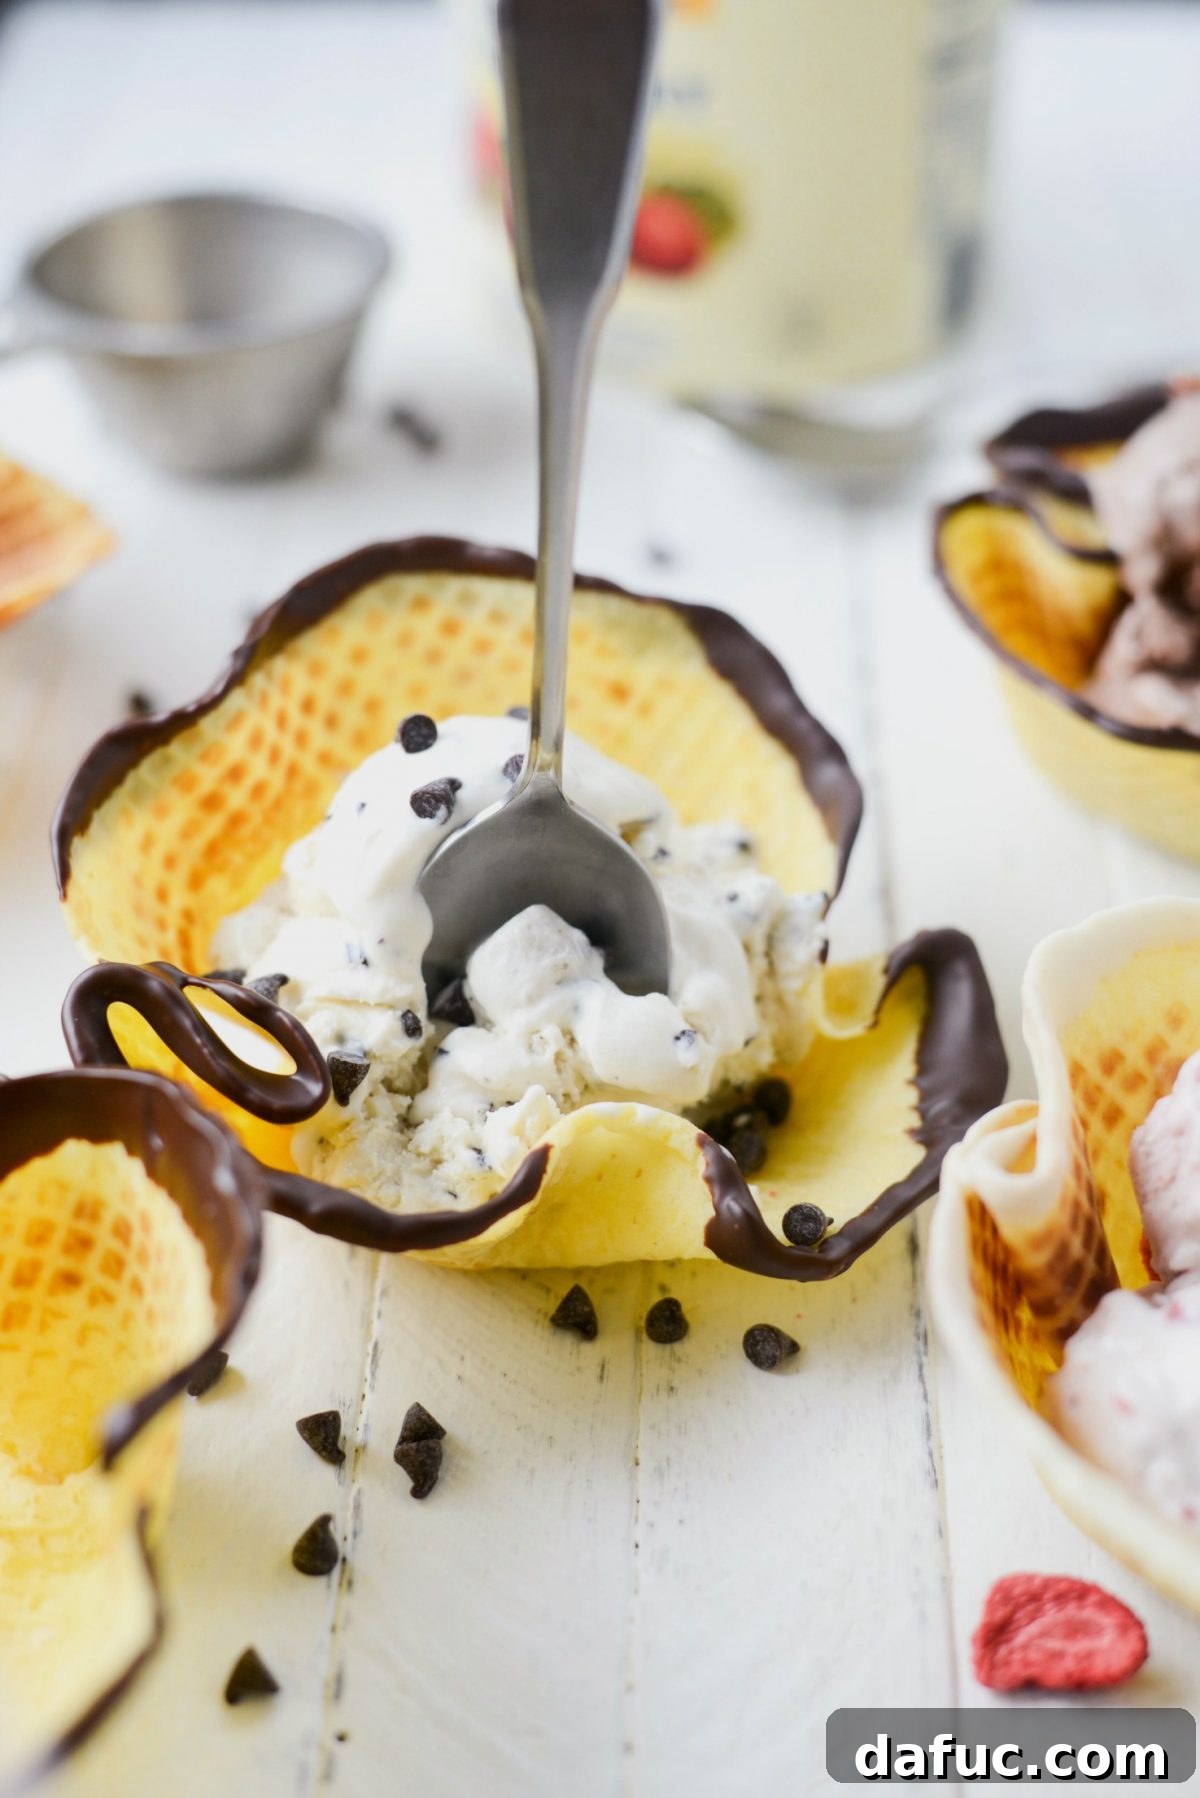
If you’re planning a special dessert night or just want to treat your family to something extraordinary, make these homemade ice cream waffle bowls and be sure to fill them with fantastic Tillamook ice cream! It’s a combination that’s guaranteed to impress and bring smiles all around.
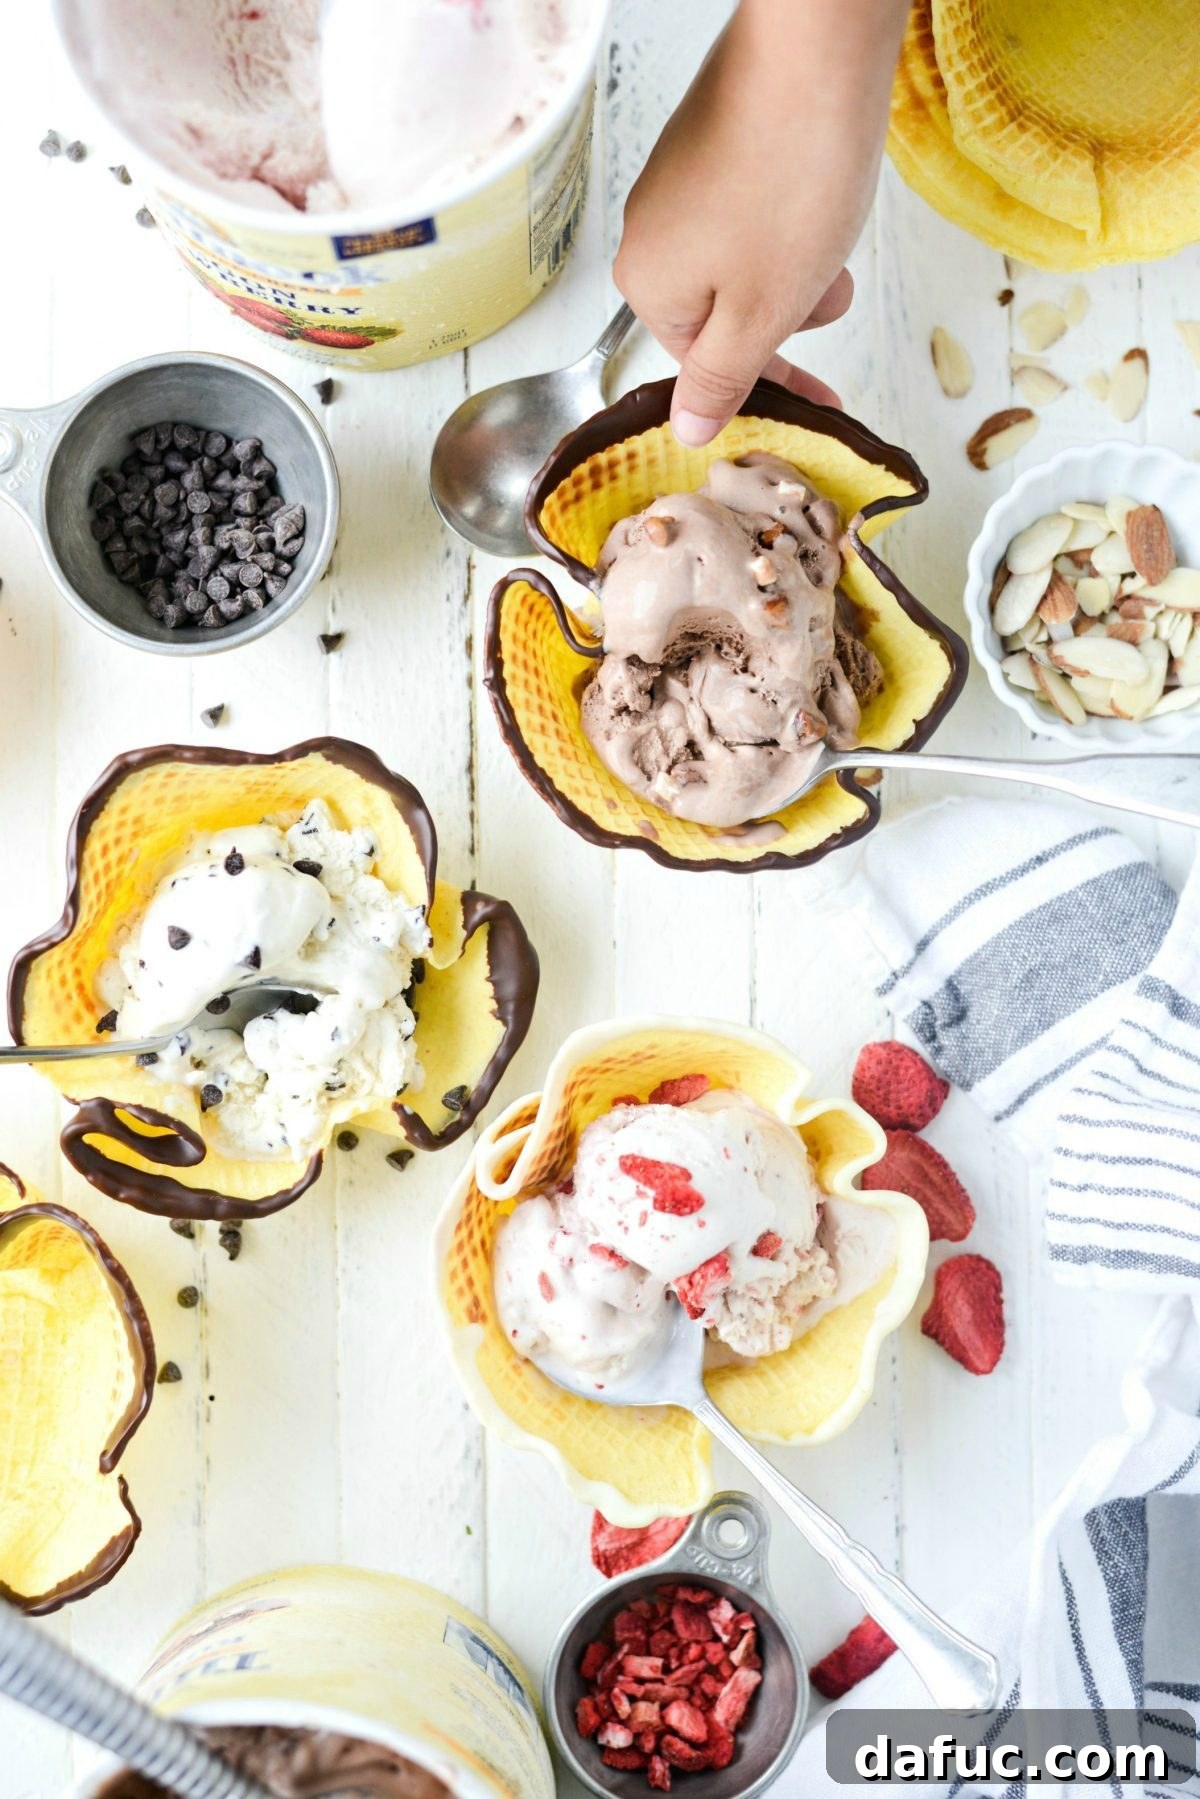
Enjoy this delightful recipe! If you give these Homemade Ice Cream Waffle Bowls a try, I’d absolutely love to hear about it. Snap a photo of your delicious creations and tag me on Twitter or Instagram!

Print Recipe
Pin Recipe
Yield: 8 bowls/cones
Homemade Waffle Cone Bowls
Schedule an ice cream night and make your own homemade waffle cone bowls! Simple pantry and fridge ingredients combined and cooked quickly on a waffle cone maker. Serve with scoops of your favorite ice cream!
Prep Time: 10 mins
Cook Time: 2 mins
Additional Time: 18 mins
Total Time: 30 mins
Ingredients
- 2/3 cup unbleached all-purpose flour
- 1/8 teaspoon sea salt
- 2 large eggs
- 1/2 cup granulated sugar
- 1 splash pure vanilla extract
- 6 tablespoons whole milk
- 1/4 cup salted butter, melted
Equipment
- Waffle Cone and Bowl Maker- Includes Shaper Roller and Bowl Press- Homemade Ice Cream Cone Iron Machine
Instructions
- In a medium bowl, whisk together the flour and salt and set aside.
- In a smaller bowl, whisk the eggs and sugar together until the sugar has dissolved and the eggs are well beaten and a pale yellow in color.
- Add the eggs along with the vanilla extract and milk to the flour/salt mixture. Use a rubber spatula to combine but not fully mixed. Pour in the melted (and cooled) butter and finish mixing until combined.
- Preheat your waffle cone maker. Follow packaging instructions for cooking and whether to spray or not.
- Pour 1/4 cup of the waffle batter into the middle of waffle maker. Close the lid and cook for a minute or two (depending on the manufacturers instructions). NOTE: In order for my waffles to get thin enough, I have to press on the top using a kitchen towel so I don’t burn myself.
- Gently press the warm waffles into a small bowl and let cool. Alternatively, use a cone mold to shape the warm waffles into ice cream cones. IF MAKING CONES: You will need to hold the waffle cones in place until they’ve cooled for a bit, so they don’t unravel.
- Remove waffle bowls (or cones) to a parchment paper lined, rimmed baking sheet. Cool completely before serving.
Nutrition Information
Serving: 1 cone/bowl
Calories: 160 kcal
Carbohydrates: 21 g
Protein: 3 g
Fat: 7 g
Saturated Fat: 4 g
Polyunsaturated Fat: 1 g
Monounsaturated Fat: 2 g
Trans Fat: 1 g
Cholesterol: 57 mg
Sodium: 108 mg
Potassium: 43 mg
Fiber: 1 g
Sugar: 13 g
Vitamin A: 255 IU
Calcium: 22 mg
Iron: 1 mg
Author: Laurie McNamara
Course: Cool Treat
Cuisine: American
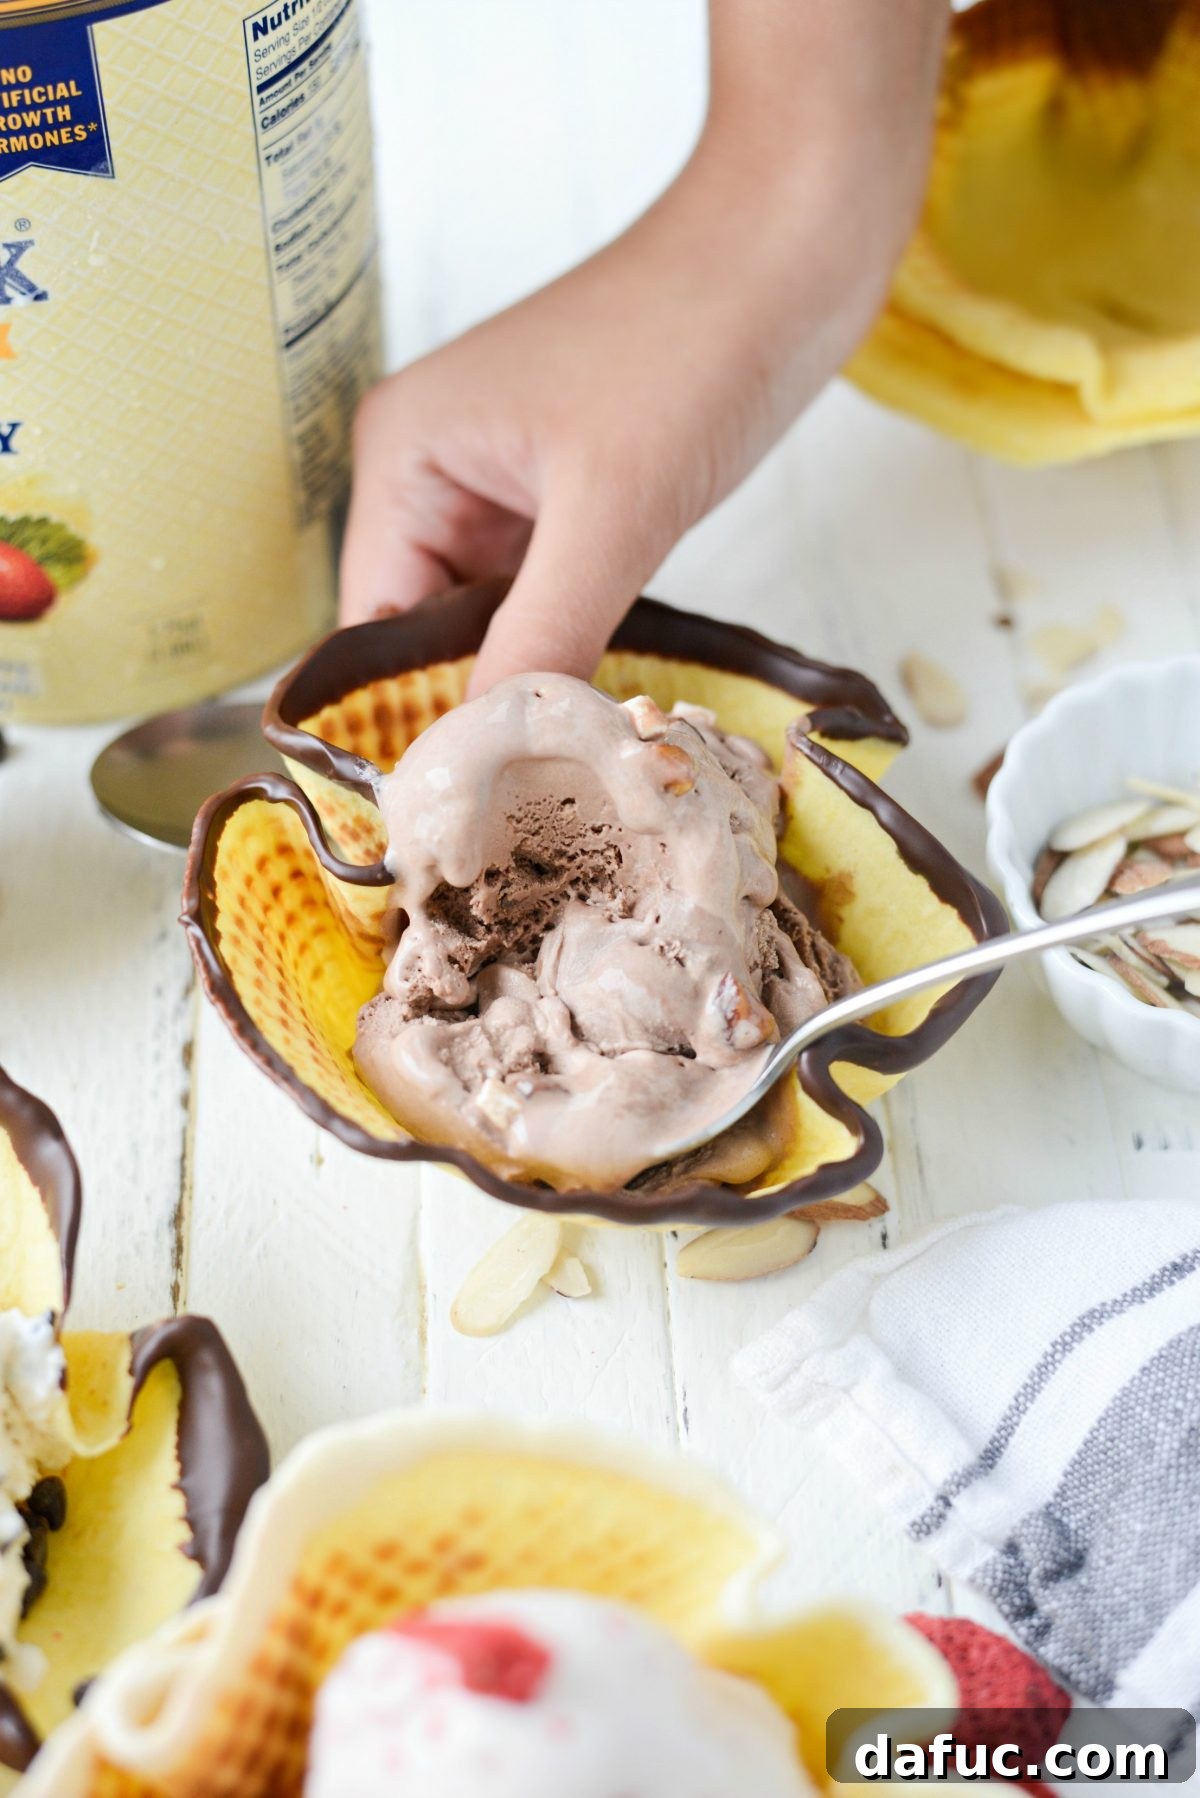
This post is indeed sponsored by Tillamook. As always, my thoughts are my own and I genuinely love their products – especially all of their cheeses and, naturally, the incredible Rocky Road Ice Cream. 😉
Check out more of my work and delicious recipes featuring Tillamook here!