
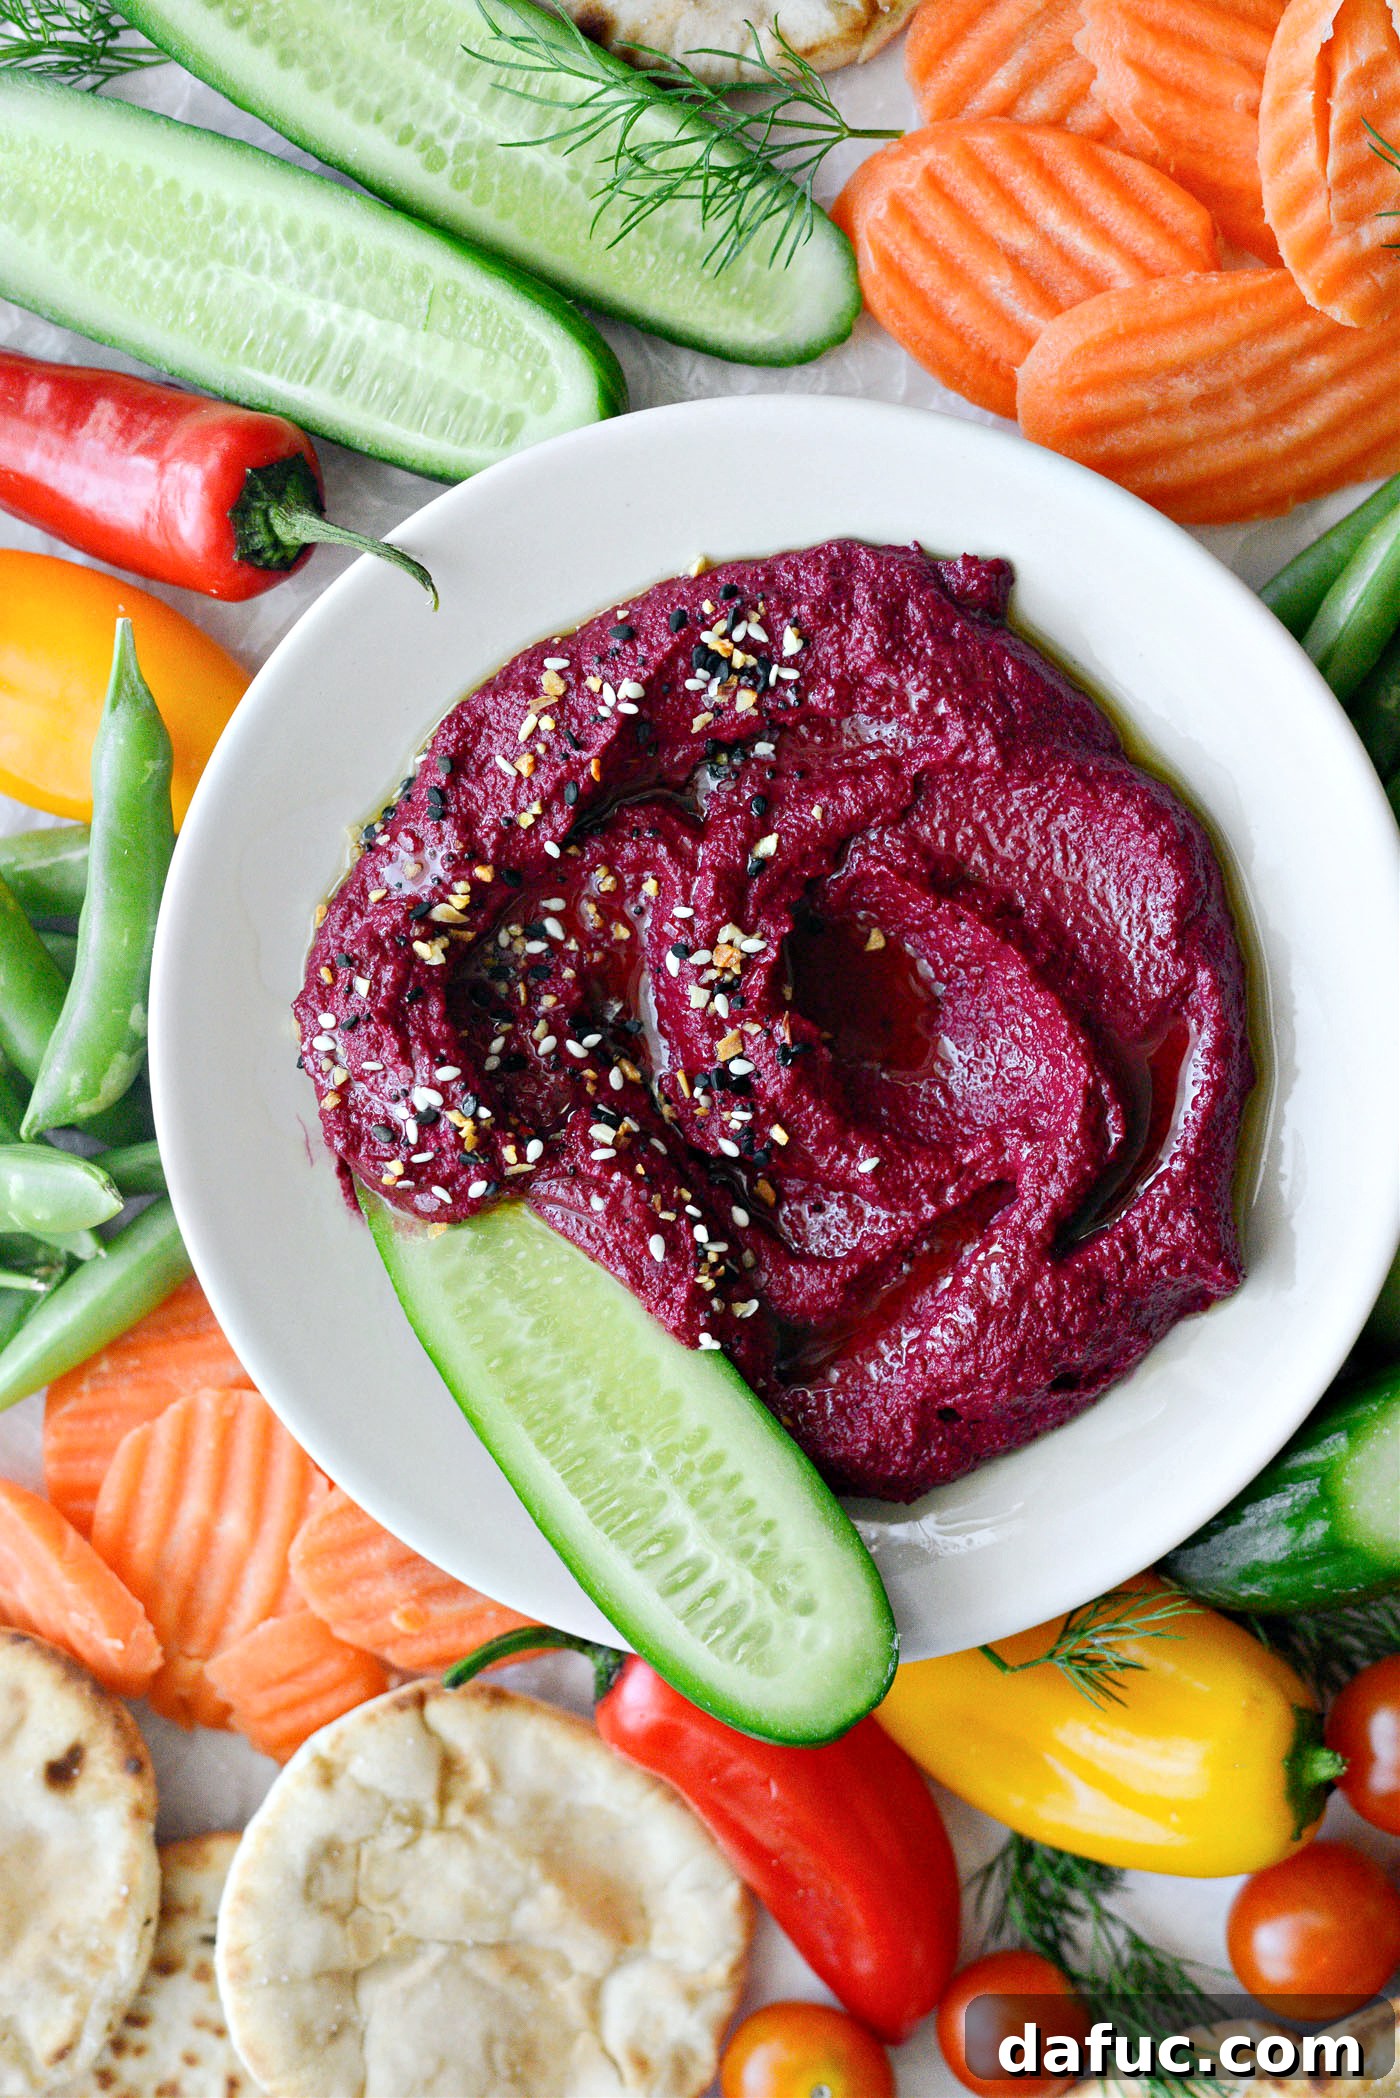
Roasted Beet Hummus: The Ultimate Legume-Free, Vibrant & Healthy Dip
Prepare to be captivated by the sheer beauty and exquisite taste of this Roasted Beet Hummus. Far from your average dip, this recipe offers a spectacular, naturally vibrant hue that instantly elevates any appetizer spread, coupled with an earthy, subtly sweet flavor profile that will delight your palate. What makes it truly special? It’s entirely legume-free, making it a fantastic alternative for those avoiding chickpeas or simply seeking a unique twist on traditional hummus.
This simple yet sophisticated creation calls for just a handful of wholesome ingredients: fresh beets, aromatic garlic, rich tahini, bright lemon juice, and a touch of salt. The magic happens through roasting, which transforms the beets and garlic into tender, deeply flavored components, ready to be blended into a luxuriously smooth dip. Yielding approximately 1-1/4 cups, or about 10 generous 2-tablespoon servings, this recipe is perfect for sharing or enjoying throughout the week.
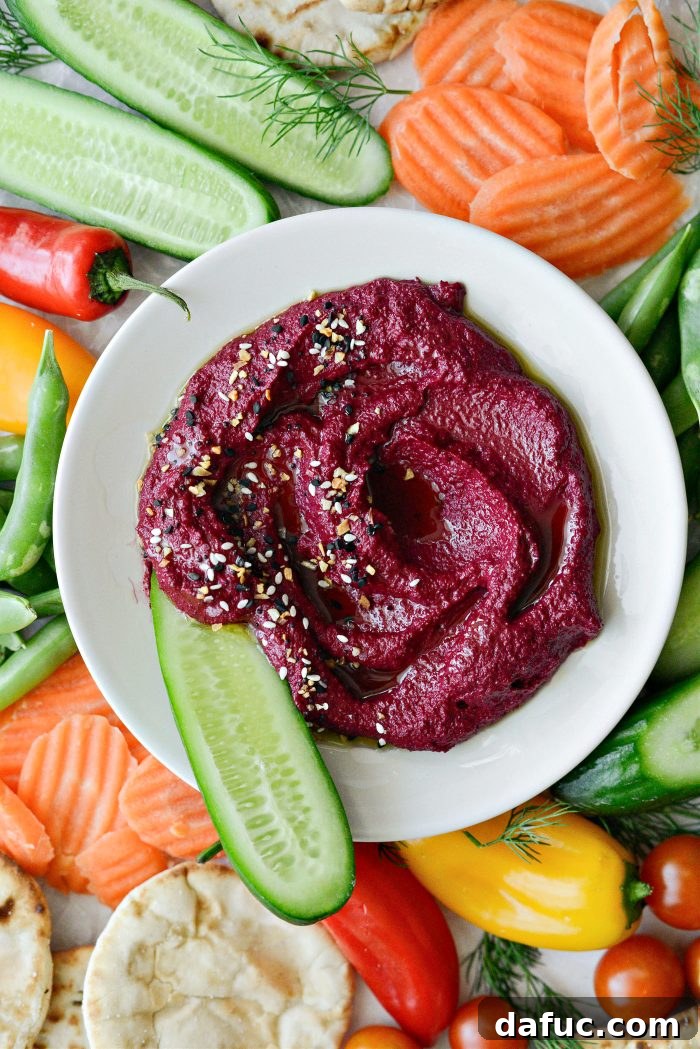
A Burst of Natural Color: More Than Just a Dip
It’s almost astonishing to think that not a single artificial food coloring is used to achieve the breathtaking ruby-red shade of this hummus. This vibrant color is Mother Nature’s artistry at its finest, showcasing the incredible pigments found in red beets. Beyond its visual appeal, this natural tint makes for a stunning centerpiece on any table, brightening up veggie trays, charcuterie boards, or simply a humble slice of avocado toast.
My first encounter with beet hummus, back in 2016 at a blogging retreat in Park City, Utah, was love at first sight—and taste. I was instantly drawn to its electrifying color, which stood out amidst a spread of appetizers. But it was the flavor that sealed the deal: an earthy, wholesome deliciousness that felt both familiar and excitingly new. Since then, it’s become a staple in my kitchen, bringing both beauty and health to countless meals and gatherings.
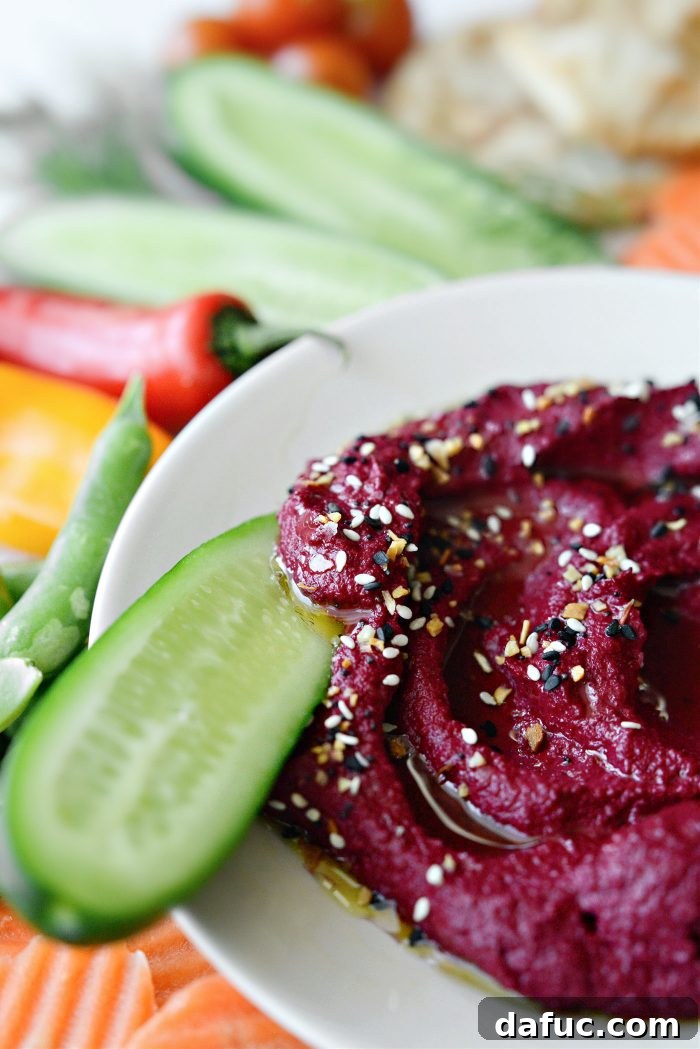
While I initially enjoyed this vibrant dip with crispy naan points and fresh vegetables, I’ve discovered its true calling as a spread. Layered onto a sandwich, slathered over avocado toast, or tucked into a wrap, its creamy texture and rich flavor truly shine, transforming everyday meals into something extraordinary. Its versatility is one of its greatest assets, offering endless possibilities for creative culinary exploration.
Why Choose Roasted Beet Hummus? Health & Flavor Beyond Compare
This recipe isn’t just about sensational taste and stunning looks; it’s also packed with nutritional benefits that make it a truly smart choice for any diet. Let’s delve into why this legume-free delight deserves a spot in your recipe collection:
- Legume-Free Delight: For those with sensitivities to legumes or seeking a unique alternative to traditional chickpea-based hummus, this beet version is a game-changer. It offers a comparable creamy texture and savory depth without any chickpeas.
- Nutrient-Rich Beets: Beets are powerhouses of nutrition, rich in essential vitamins and minerals like folate, manganese, potassium, and vitamin C. They are also known for their nitrates, which can support healthy blood pressure, and betalains, potent antioxidants responsible for their vibrant color and anti-inflammatory properties.
- Heart-Healthy Fats: Olive oil and tahini contribute healthy monounsaturated and polyunsaturated fats, promoting heart health and providing sustained energy.
- Digestive Wellness: The fiber content in beets supports a healthy digestive system, aiding in regularity and overall gut health.
- Naturally Gluten-Free & Vegan: This recipe is inherently gluten-free and vegan, catering to a wide range of dietary needs and preferences without compromising on flavor or texture.
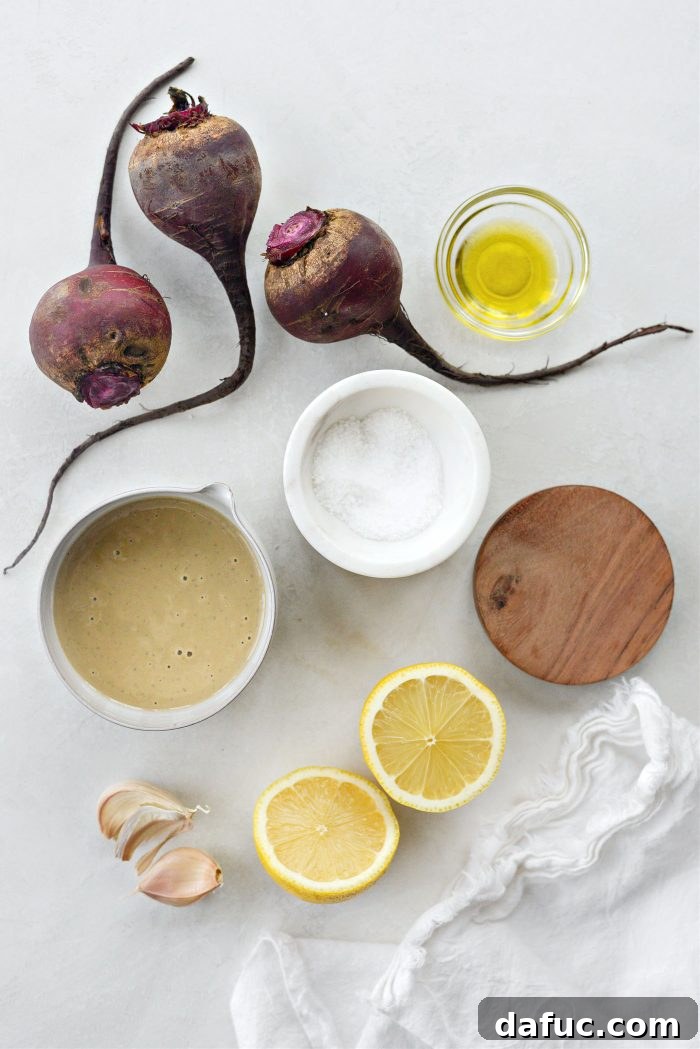
Essential Ingredients for Your Beet Hummus
Crafting this incredible dip requires a few simple, high-quality ingredients, each playing a crucial role in achieving its unique flavor and texture:
- Beets: Red beets are non-negotiable for their stunning natural bright color and earthy sweetness, which mellows beautifully upon roasting. They are the heart of this legume-free “hummus.”
- Garlic: Roasting transforms raw garlic into a sweet, mellow, and deeply aromatic ingredient. It adds a subtle warmth and complexity without the sharpness of raw garlic.
- Olive Oil: A drizzle of good quality extra virgin olive oil lends richness, depth of flavor, and contributes to the silky-smooth texture of the hummus. It also helps in the roasting process.
- Tahini: This sesame paste is vital for achieving that classic hummus-like creamy texture and a wonderfully nutty, slightly bitter undertone. It’s a key element in mimicking the mouthfeel of traditional hummus.
- Lemon Juice: Freshly squeezed lemon juice is essential for brightening the flavors and adding a crucial tangy lift that balances the earthy sweetness of the beets and the richness of the tahini.
- Kosher Salt: A fundamental flavor enhancer, kosher salt brings all the individual components into harmony, ensuring a well-seasoned and delicious dip. Always season to taste!
- Everything Seasoning: Used for serving, this optional garnish adds a delightful textural crunch and a savory, garlicky, oniony kick, elevating the presentation and flavor profile.
Step-by-Step Guide to Crafting Perfect Roasted Beet Hummus
Creating this gorgeous beet hummus is a straightforward process, primarily involving roasting and blending. Follow these detailed steps to achieve a perfectly smooth and flavorful dip.
1. Roasting the Stars: Beets and Garlic
Begin by preheating your oven to a robust 400℉ (or 200℃). This temperature is ideal for tenderizing the beets and garlic while caramelizing their natural sugars, intensifying their flavors.
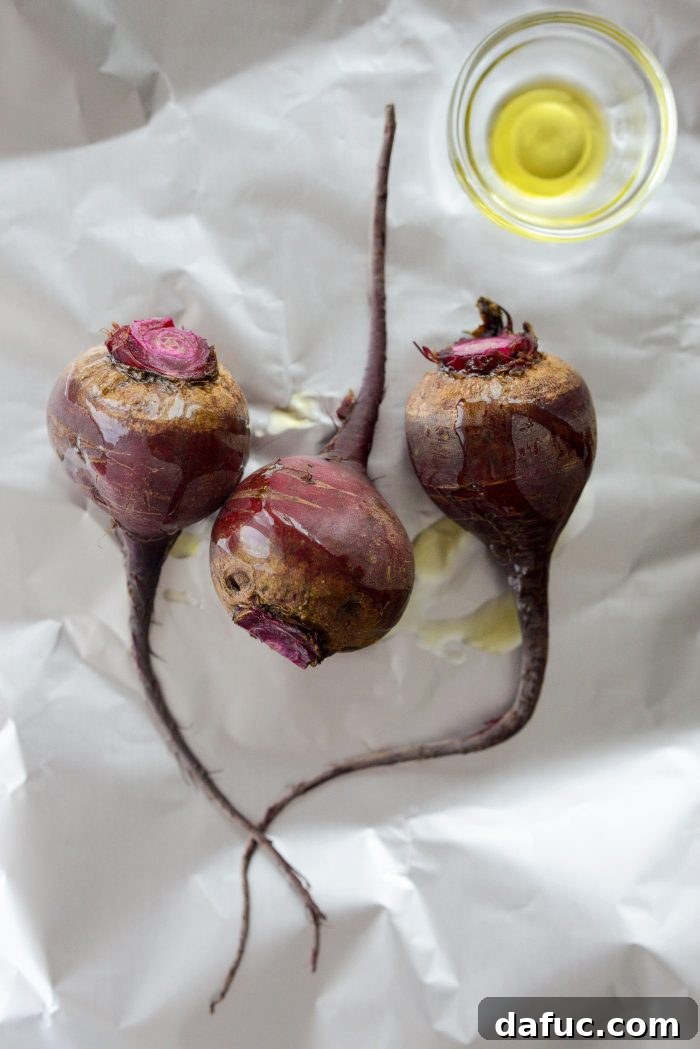
For the beets: Select 8 to 10 ounces of fresh red beets. Trim off their leafy green tops, but leave a small portion of the stem attached and do not peel them yet, as this helps retain their juices during roasting. Wash the beets thoroughly to remove any dirt, then pat them completely dry. Place the clean beets onto a large sheet of aluminum foil. Drizzle them generously with about 1½ teaspoons of olive oil, ensuring they are lightly coated. Fold the foil around the beets, crimping the edges securely to form a sealed packet or “purse.” This traps steam, helping the beets to cook evenly and become fork-tender.
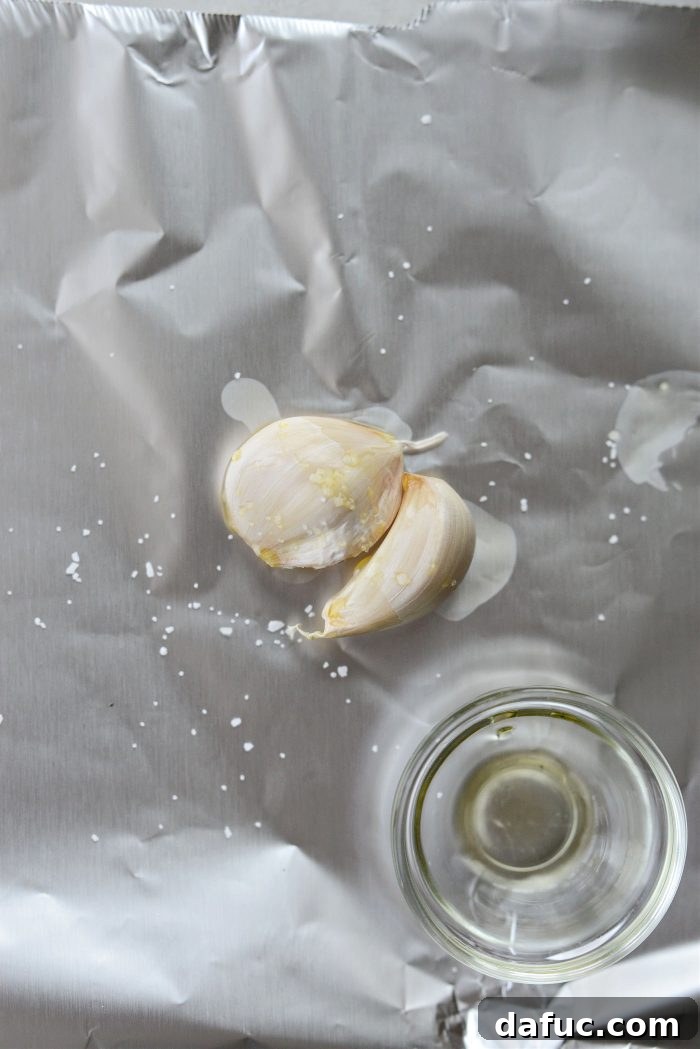
For the garlic: On a separate, smaller sheet of aluminum foil, place 2 cloves of unpeeled garlic. Keeping the skin on protects the garlic from burning and allows it to become wonderfully soft and sweet. Drizzle the garlic cloves with the remaining 1/2 teaspoon of olive oil. Fold and crimp the edges of this foil sheet to create another small “purse.”
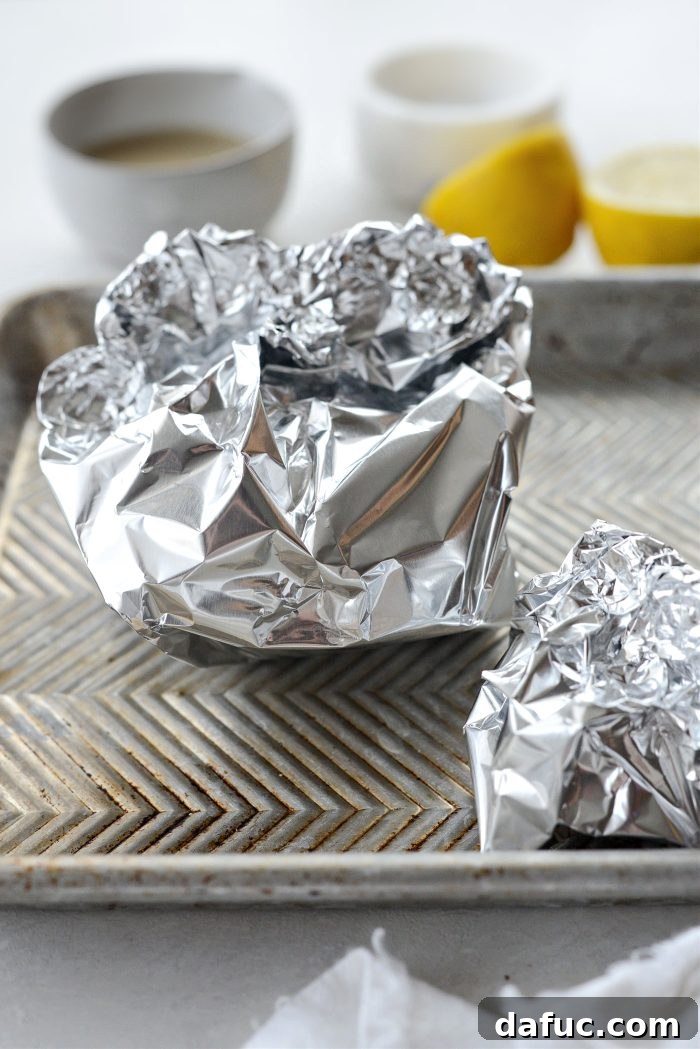
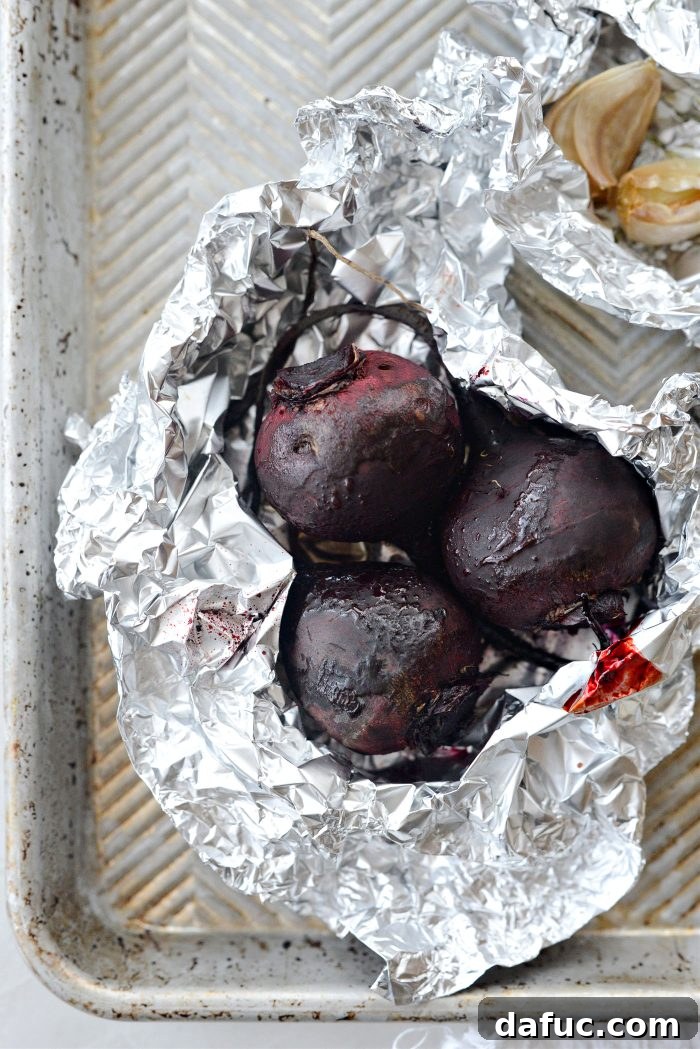
Place both foil packets onto a rimmed baking sheet. This ensures easy transfer to and from the oven and catches any potential drips. Slide the baking sheet into your preheated oven. The beets will need to roast for approximately 45-50 minutes, or until they are easily pierced with a fork. The garlic, being smaller, will only require about 25 minutes of roasting time. Be sure to remove the garlic packet from the oven once it’s done to prevent it from overcooking.
2. Cooling and Peeling Secrets
Once roasted, remove both the beets and garlic from the oven and allow them to cool completely before handling. This step is crucial not only for safety but also for making the peeling process much easier. For the beets, I have a kitchen towel specifically dedicated to this task, as beet juice can stain fabric. Alternatively, you can use paper towels, which you can simply discard afterward. Wearing nitrile gloves is also highly recommended to protect your hands from staining.
To peel the beets, once they’re cool enough to handle, gently rub the skins off using your chosen method. The skins should slip off quite easily. For the roasted garlic, simply squeeze the soft cloves from their papery skins. They should pop right out, fragrant and tender.
3. Blending for Velvety Smoothness
With your roasted ingredients prepped, it’s time to create the hummus. Quarter the peeled beets and transfer them into the bowl of your food processor, fitted with a sharp blade attachment. Add the peeled roasted garlic cloves, the fresh juice of one lemon, 1/4 cup of tahini, and a few generous pinches of kosher salt.
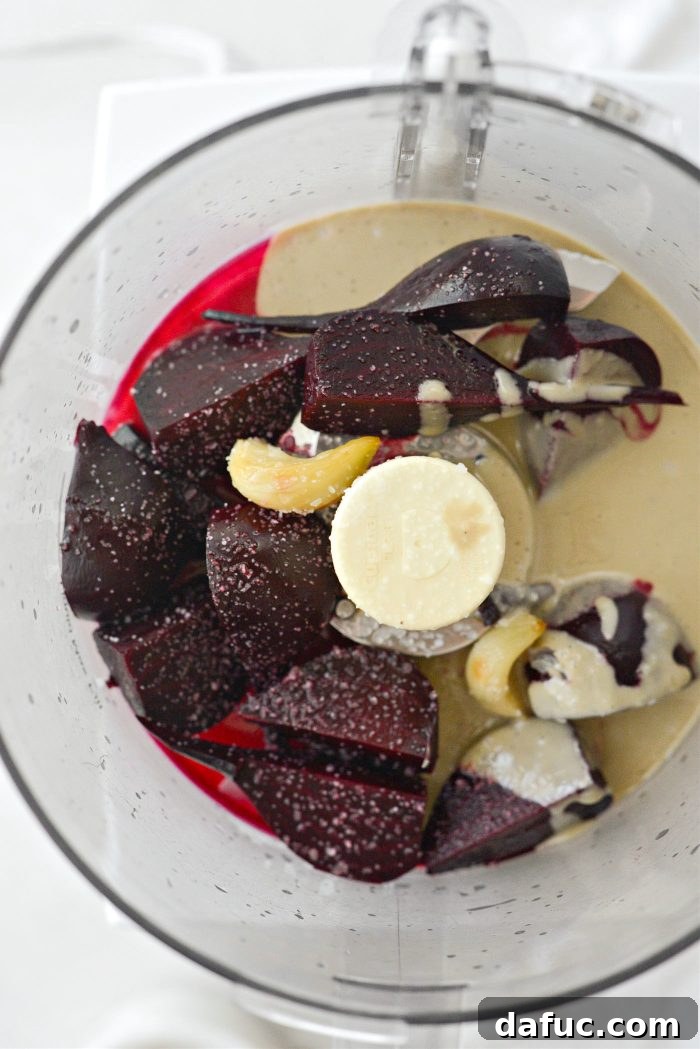
Secure the lid of your food processor and begin by giving it a few long pulses. This initial pulsing helps to break down the larger pieces. As you process, use a rubber spatula to scrape down the sides of the bowl. This ensures that all ingredients are thoroughly incorporated and blended evenly.
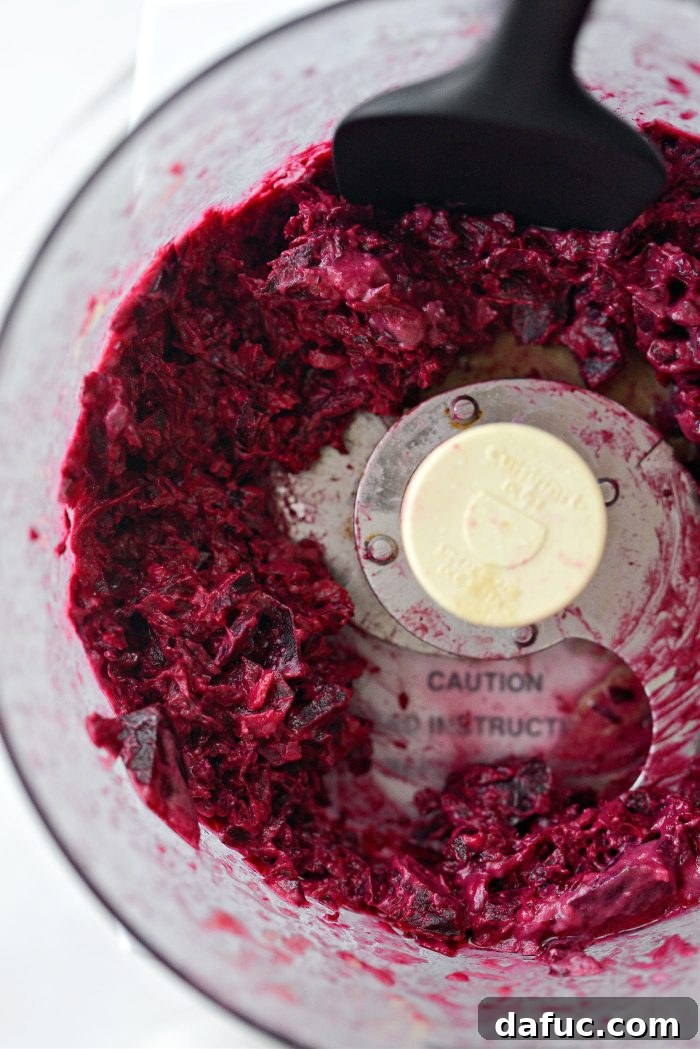
Continue blending until the mixture is completely smooth and creamy. The texture should be consistent and free of any large chunks. Taste the hummus at this stage and adjust the seasoning with more kosher salt, or an extra squeeze of lemon juice, if desired. Personalizing the seasoning ensures your hummus is perfectly balanced to your preference.
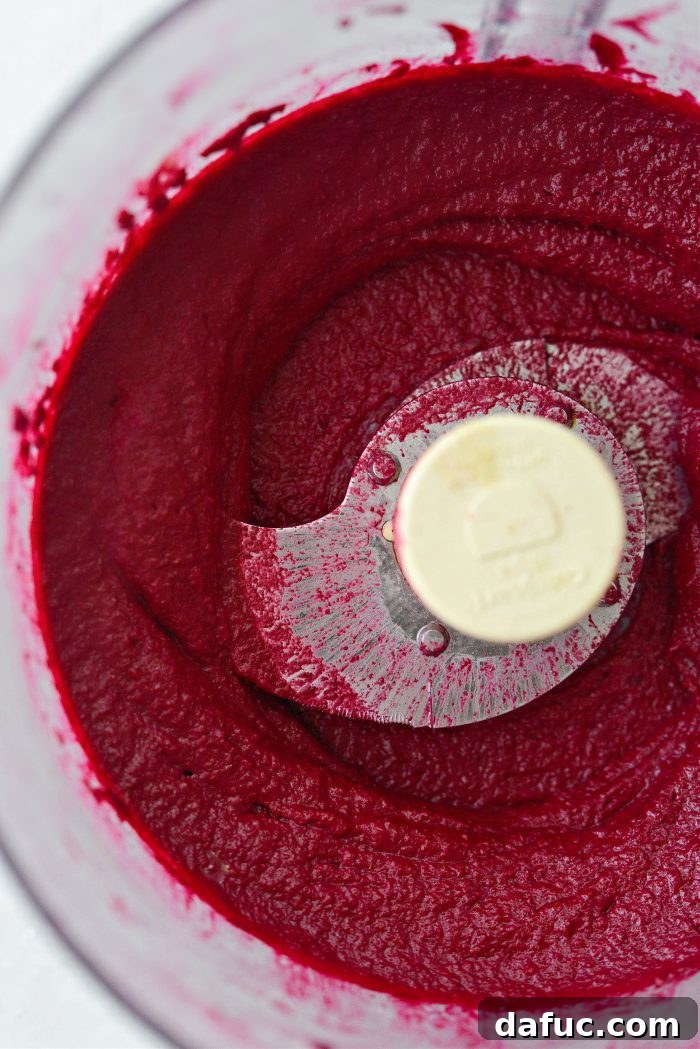
Serving & Storage: Enjoying Your Beet Hummus
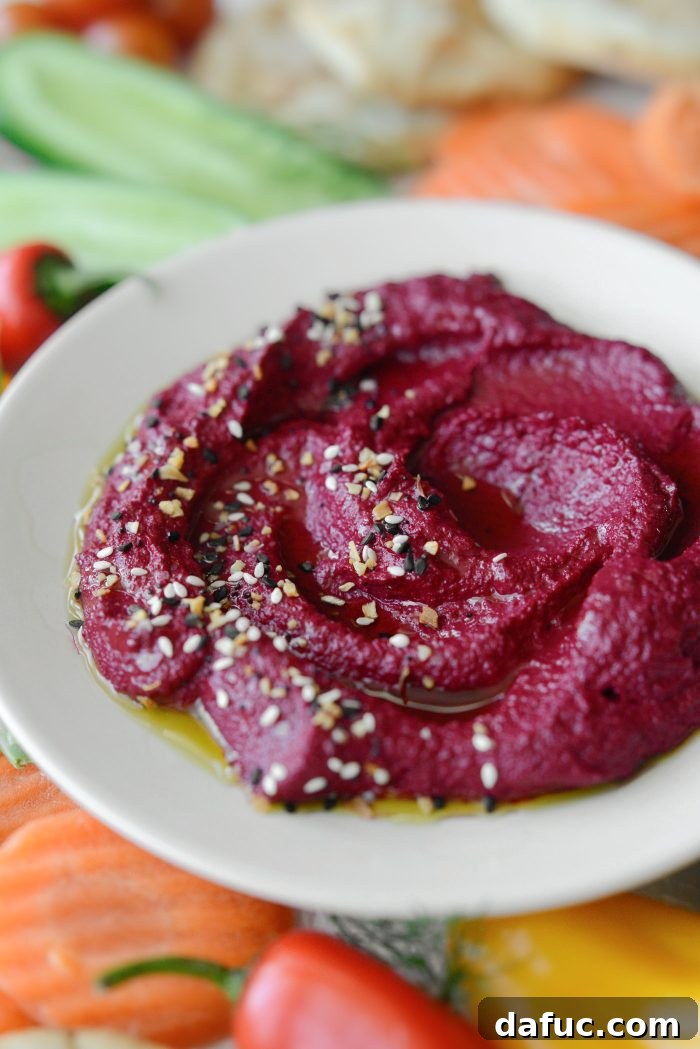
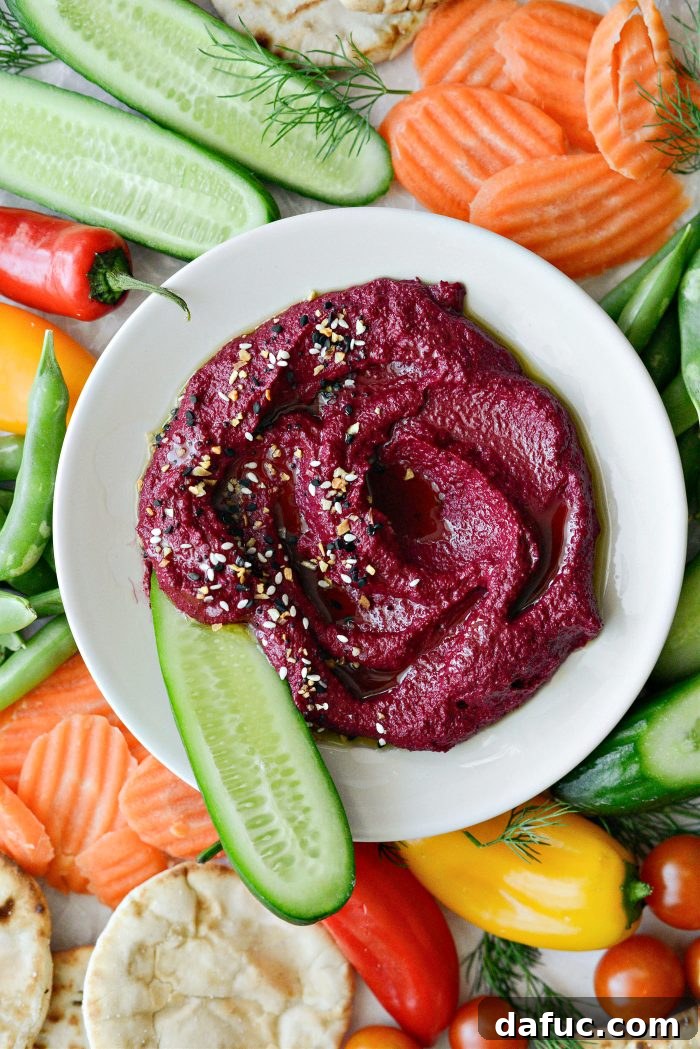
Once your roasted beet hummus is perfectly blended and seasoned, transfer it to a shallow bowl for serving. For an elegant finish, drizzle with a little extra virgin olive oil and sprinkle generously with everything but the bagel blend. This not only adds a beautiful visual contrast but also introduces a fantastic textural element and a burst of savory flavor.
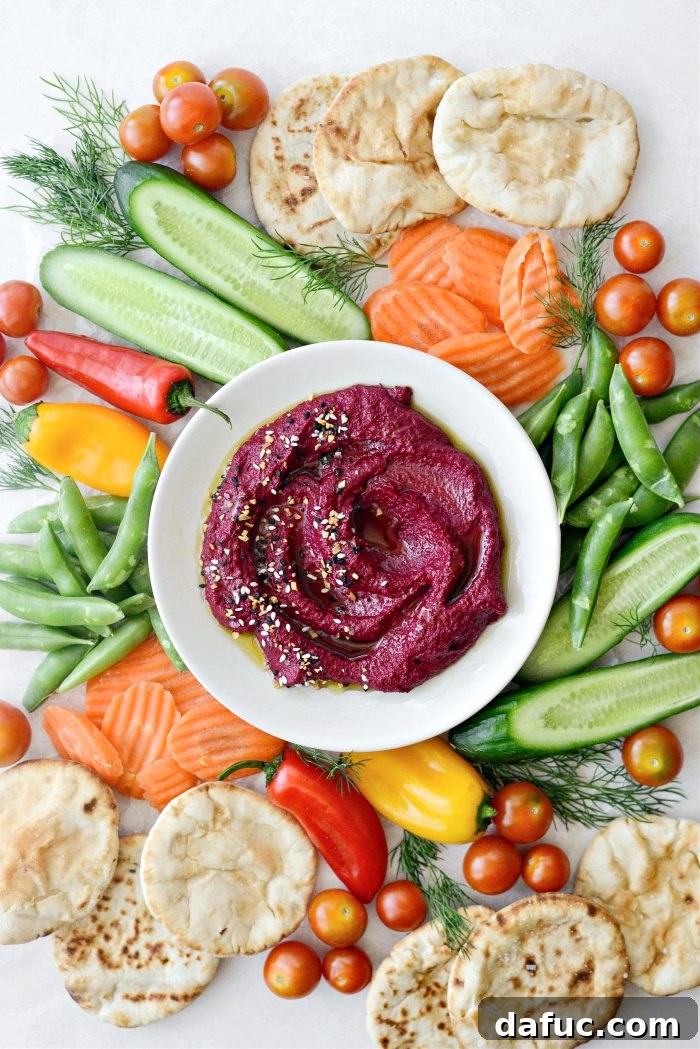
This roasted beet hummus is truly earthy, buttery-smooth, and utterly delicious, ready to impress with its natural goodness and vibrant appeal!
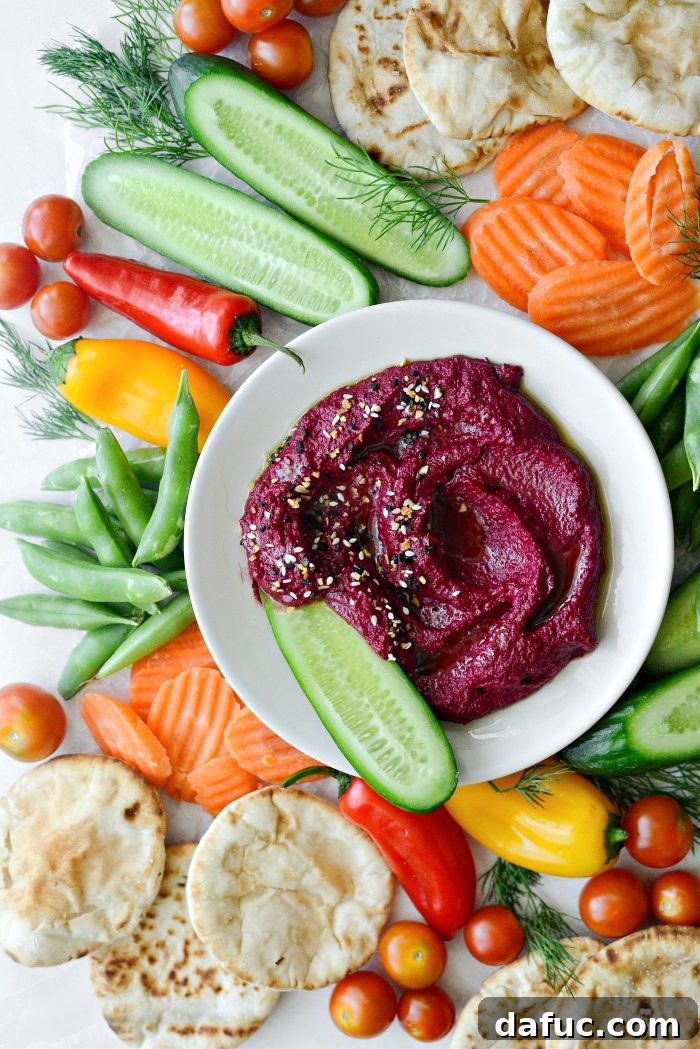
Creative Ways to Enjoy Your Vibrant Hummus
The versatility of roasted beet hummus extends far beyond a simple dip. Its rich flavor and creamy texture make it an incredible ingredient for countless culinary applications:
- Classic Dip: Serve it as a delightful dip with an assortment of crisp, fresh cut vegetables like carrots, cucumbers, bell peppers, or celery. It’s also fantastic with toasted pita bread, warm naan shards, or your favorite crackers.
- Elevated Appetizer: Use it as a vibrant base for a 7-layer hummus dip, adding layers of complementary ingredients for a show-stopping party dish.
- Flavorful Spreads: Transform your breakfast or lunch by spreading it generously on toast (especially avocado toast!), sandwiches, or burgers. It adds moisture, flavor, and a beautiful pop of color. It’s also an excellent alternative to mayo or other condiments in wraps.
- Boost Salads & Bowls: Swirl a dollop into your favorite salads or grain bowls when you want to add a touch of creamy richness and an extra layer of flavor. It integrates seamlessly and enhances the overall experience.
- Innovative Dressings: Whisk it into salad dressings for a thicker, more flavorful, and nutrient-dense option. It can add an unexpected depth to vinaigrettes or creamy dressings.
- Unique Pasta Sauce: Thin it out slightly with a bit of water or vegetable broth and toss it with warm pasta for a quick, colorful, and healthy pasta sauce.
- Deviled Eggs Twist: Replace some of the mayonnaise in your deviled egg filling with a spoonful of beet hummus for a striking color and earthy flavor.
Explore More Hummus Delights! Click Here For More Hummus Recipes!
Enjoy! And if you give this recipe a try, I’d love to hear about it! Snap a photo of your beautiful creation and share it on social media. Tag me on Twitter or Instagram!
Roasted Beet Hummus
This roasted beet hummus is legume-free. Calling for just beets, garlic, tahini, lemon juice, and salt. Use toasted naan points, pita chips, or spread on avocado toast or a sandwich. Yields 1¼ cups, or about 10 (2 tablespoon) servings.
Ingredients
- 8 to 10 ounces beets, trimmed
- 2 cloves garlic, skin on
- 2 teaspoons olive oil
- 1 lemon, juiced
- 1/4 cup tahini
- kosher salt, to taste
- everything seasoning, optional
Equipment
- Cuisinart DLC-8SY Pro Custom 11-Cup Food Processor, White
Instructions
- Preheat your oven to 400℉ (or 200℃).
- Place the trimmed beets on a large piece of aluminum foil and drizzle with 1½ teaspoons olive oil. Fold and crimp the edges to create a secure packet.
- Place the unpeeled garlic cloves on a small piece of aluminum foil and drizzle with 1/2 teaspoon olive oil. Fold and crimp the edges to create a small packet.
- Place both foil packages on a rimmed baking sheet and slide onto the middle rack of your preheated oven. Roast the beets for 45 to 50 minutes until fork-tender. Roast the garlic for only 25 minutes.
- Remove both packets from the oven and let them cool completely before handling.
- Once the beets are cool enough, working with one beet at a time, use a kitchen towel (it may stain) or paper towels to rub their skins off. Cut the peeled beets into quarters and place them into the bowl of your food processor, fitted with the blade attachment.
- Peel the skins off the roasted garlic cloves and add them to your food processor along with the lemon juice, tahini, and a pinch or two of kosher salt.
- Secure the lid and process until the mixture is smooth and creamy. Taste and season with more salt or lemon juice if desired.
- Serve in a shallow bowl, optionally drizzled with extra olive oil and sprinkled with everything seasoning.
Notes
Nutrition Disclaimer: All information presented on this site is intended for informational purposes only. I am not a certified nutritionist and any nutritional information shared on SimplyScratch.com should only be used as a general guideline.
Nutrition Facts (per 2 tablespoons serving)
- Calories: 54 kcal
- Carbohydrates: 4g
- Protein: 1g
- Fat: 4g
- Saturated Fat: 1g
- Polyunsaturated Fat: 1g
- Monounsaturated Fat: 2g
- Sodium: 20mg
- Potassium: 107mg
- Fiber: 1g
- Sugar: 2g
- Vitamin A: 12 IU
- Vitamin C: 3mg
- Calcium: 13mg
- Iron: 0.5mg
This recipe was originally posted on November 15, 2016, and has been updated with clearer and more concise instructions, new photography, and helpful information to enhance your cooking experience.