
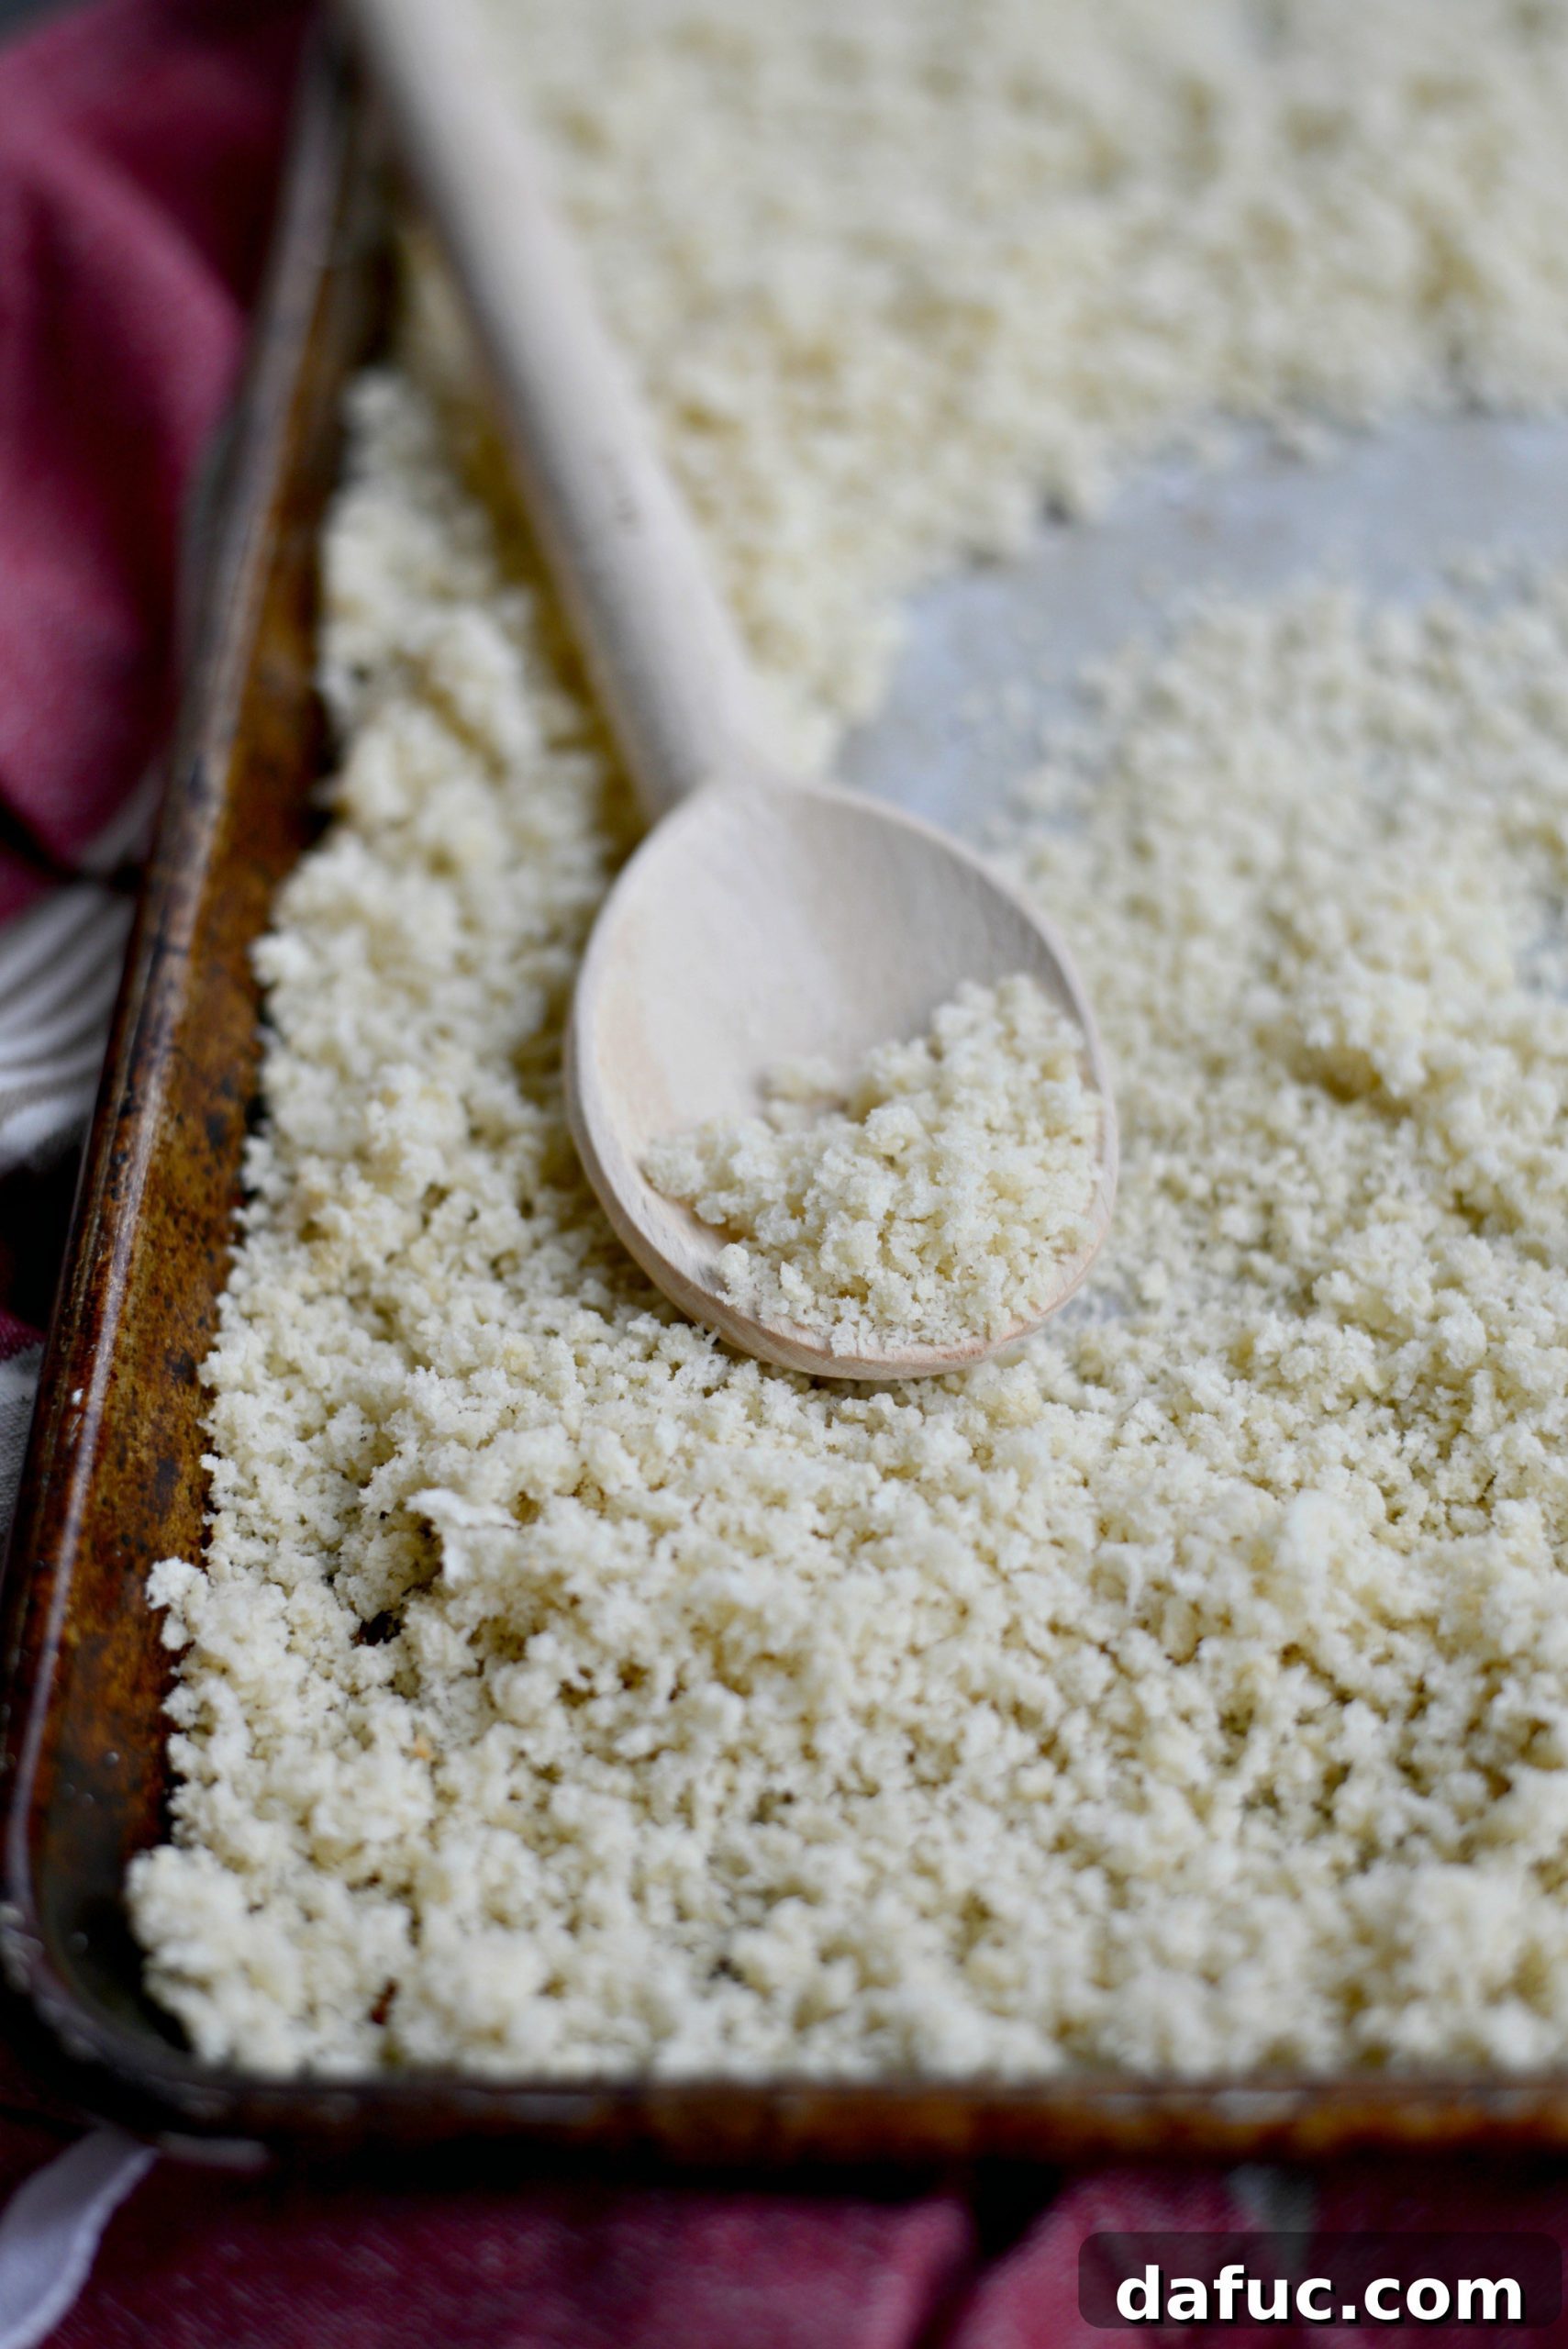
Unlock a world of culinary possibilities by mastering the art of making homemade panko breadcrumbs. Whether you find yourself in a sudden baking dilemma without the right ingredients or, like many enthusiastic home cooks, you’re driven by a passion for crafting everything from scratch, opting for DIY panko is a game-changer. Forget the limitations and expense of store-bought versions; with just a single loaf of bread and minimal effort, you can create superior-quality panko that will elevate your dishes to new heights of crispiness and flavor.
Why Homemade Panko Breadcrumbs Are a Must-Try
There’s a distinct satisfaction that comes with creating ingredients from your own kitchen, and panko breadcrumbs are no exception. The journey to making your own crispy panko often begins out of necessity or a desire for better quality. Imagine meticulously planning your weekly meals, compiling a detailed grocery list, only to realize that a key ingredient – the elusive panko – would cost nearly $4 for a small, pre-packaged bag. This common scenario is precisely what inspires many to explore the world of homemade alternatives.
Making your own panko isn’t just about saving a few dollars; it’s about control, freshness, and achieving an unparalleled texture. Store-bought panko, while convenient, often comes with a hefty price tag and sometimes contains unnecessary additives. By contrast, homemade panko allows you to choose your bread, ensuring the highest quality ingredients and catering to specific dietary needs, such as gluten-free or whole wheat options. The result is a product that not only tastes fresher but also delivers a lighter, airier, and significantly crisper coating than its commercial counterparts.
The difference in texture is truly remarkable. Japanese panko breadcrumbs are renowned for their distinctive flaky, sliver-like shape, which creates a lighter, crunchier coating than traditional Western breadcrumbs. This unique characteristic is what makes panko ideal for frying and baking, as it absorbs less oil and stays crisper longer. When you make them yourself, you can guarantee these perfect flakes every time. Just recently, I used my freshly made panko to top a savory casserole, and the golden, crunchy crust was indistinguishable from any premium store-bought variety. In fact, it was arguably superior – perfectly crisp, golden, and utterly delicious. The secret to its success lay in the simple, fresh ingredients and the controlled drying process.
The Benefits of Crafting Your Own Panko
- Cost-Effective: Significantly cheaper than buying pre-packaged panko, especially if you have leftover bread.
- Ingredient Control: You choose the bread, avoiding preservatives, high-fructose corn syrup, or other undesirable additives often found in commercial products.
- Customization: Easily tailor your panko. Use whole wheat bread for a healthier, nuttier crumb, or gluten-free bread for those with sensitivities. Stale sourdough can add a fantastic tang.
- Superior Texture: Achieve that signature light, airy, and extra-crispy texture that store-bought versions often lack. This translates to incredibly crunchy coatings on fried foods and a satisfying topping on baked dishes.
- Freshness: Nothing beats the freshness of homemade. Freshly made panko has a more vibrant flavor profile and better performance in recipes.
- Environmental Friendly: Reduces food waste by utilizing day-old bread that might otherwise go stale.
Essential Ingredients & Equipment for Homemade Panko
The simplicity of this recipe is truly astounding. You only need one core ingredient, and the equipment is likely already in your kitchen.
To Make Homemade Panko Breadcrumbs You Will Need:
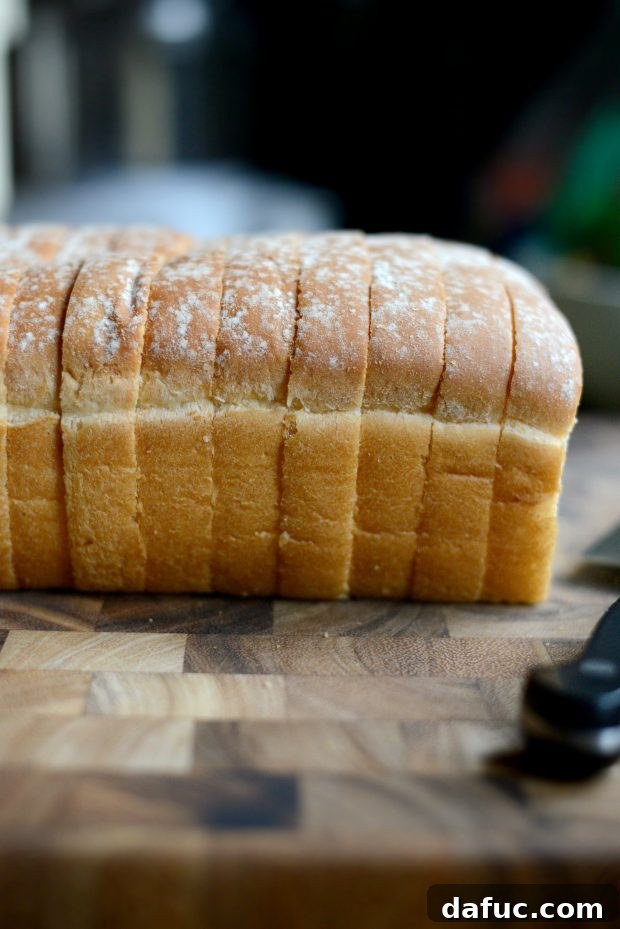
- 1 (16 ounce) loaf of bread: White sandwich bread is traditional for its neutral flavor and fine crumb, but whole wheat bread will yield a more robust, slightly nutty panko. For dietary needs, gluten-free bread works perfectly for gluten-free panko breadcrumbs. Slightly stale bread (1-2 days old) is often easier to process and results in less sticky crumbs, though fresh bread works too.
Key Equipment:
- Food Processor: Essential for creating the distinctive flaky texture. Make sure it’s fitted with a shredding disc (also known as a grating disc).
- Baking Sheets: One or two large, rimmed baking sheets are needed to spread the crumbs in a thin, even layer for drying.
- Oven: For slow drying the breadcrumbs.
The entire process from start to finish is surprisingly quick, typically taking about 30 to 40 minutes, with most of that being passive baking time. This makes it an ideal project for even the busiest home cooks.
Step-by-Step Guide to Perfect Homemade Panko
Preheat your oven to a low temperature of 250℉ (or 140℃). This low and slow heat is crucial for drying the breadcrumbs without toasting them too quickly, ensuring they remain pale and crisp, not golden brown, which is characteristic of traditional panko.
Step 1: Prepare Your Bread
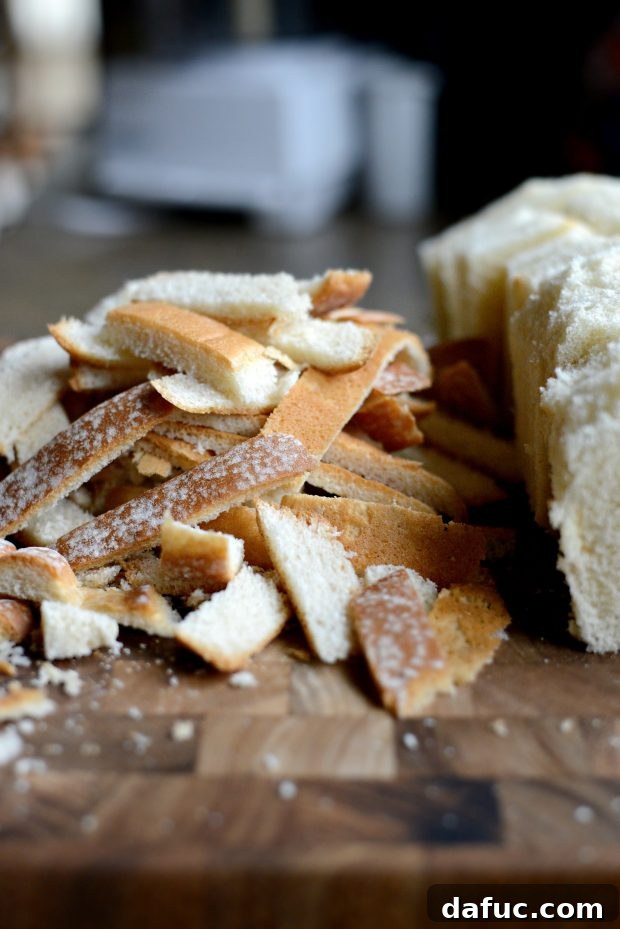
Begin by carefully cutting the crusts off of your loaf of bread. While some recipes allow for crusts, removing them is a key step in achieving the truly light and airy texture that distinguishes authentic panko. The crusts tend to be tougher and denser, and including them can result in a less uniform and slightly chewier crumb. Once the crusts are removed, slice the crustless bread into 1-1/2 to 2-inch strips. These strips are easier to feed into your food processor and will ensure consistent shredding.
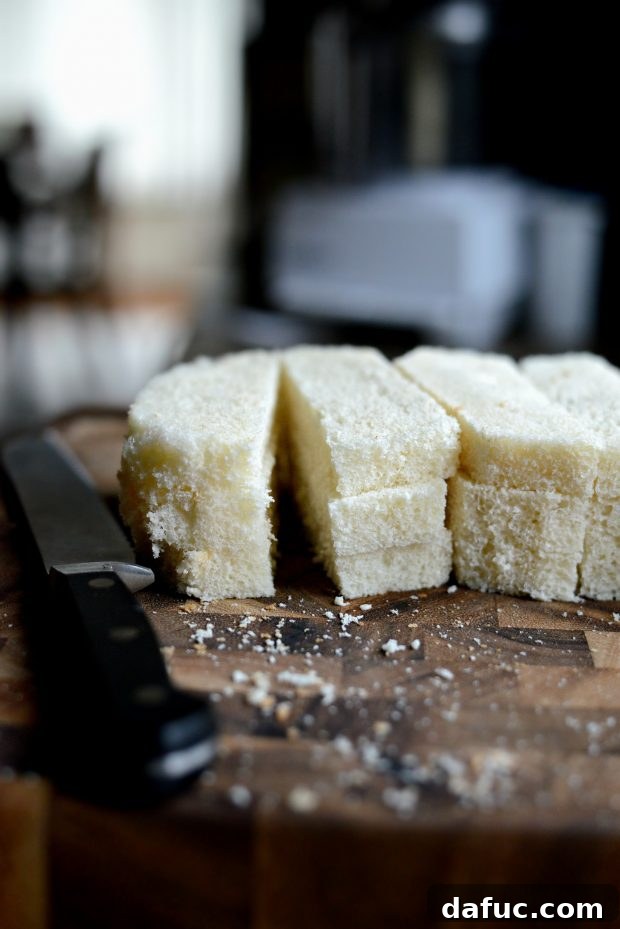
Step 2: Process the Bread
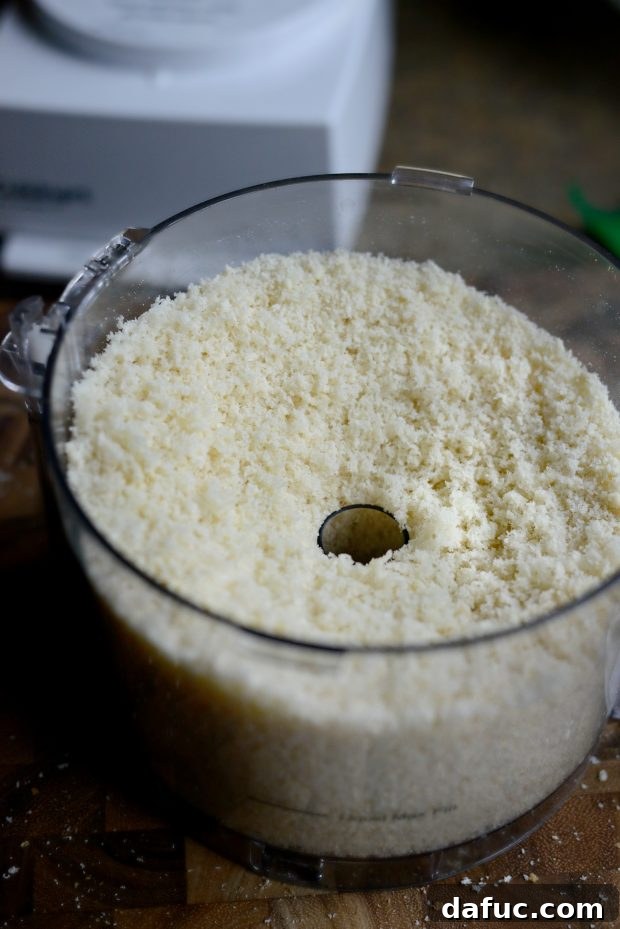
Now, it’s time to bring out your food processor. Fit it with the shredding disc. This is the secret weapon for creating those coveted flaky panko crumbs, rather than fine, powdery breadcrumbs. Turn on your food processor and carefully push the bread strips through the food chute. The shredding disc will transform the bread into irregular, coarse flakes that are the hallmark of panko. Resist the urge to use the standard S-blade, as it will produce finer, denser crumbs that lack the desired panko texture.
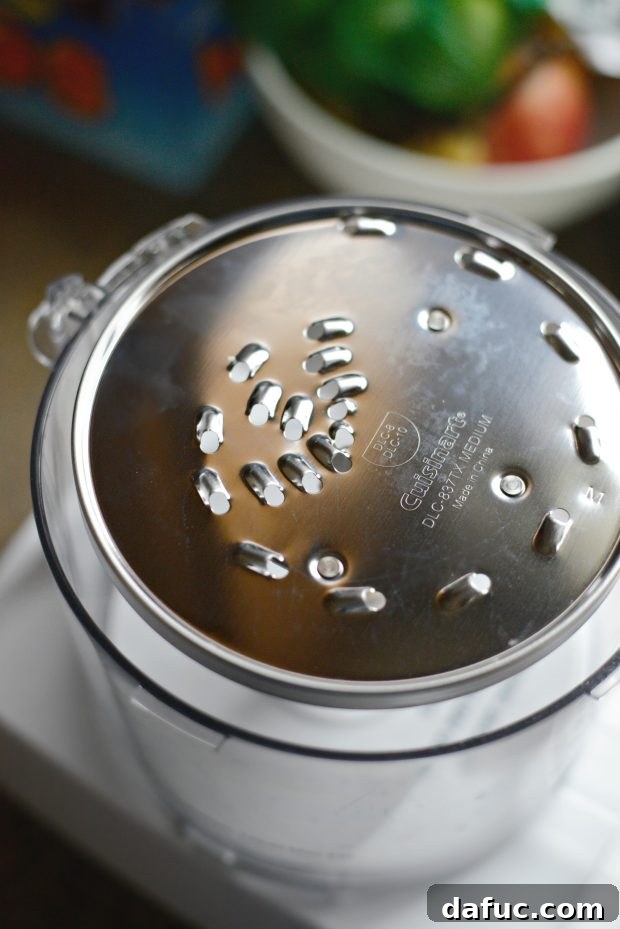
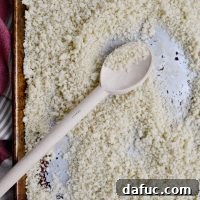
You’ll quickly amass a substantial pile of beautiful, fresh panko. While I didn’t measure precisely, a standard 16-ounce loaf typically yields about 5 to 6 cups of fresh breadcrumbs – a generous amount that will last you through many recipes.
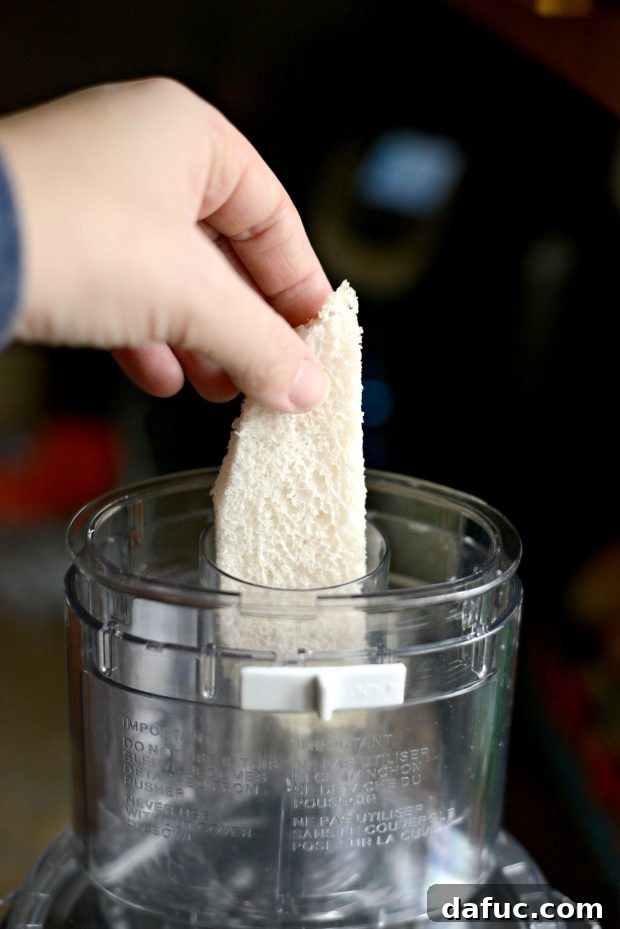
Step 3: Bake to Perfection
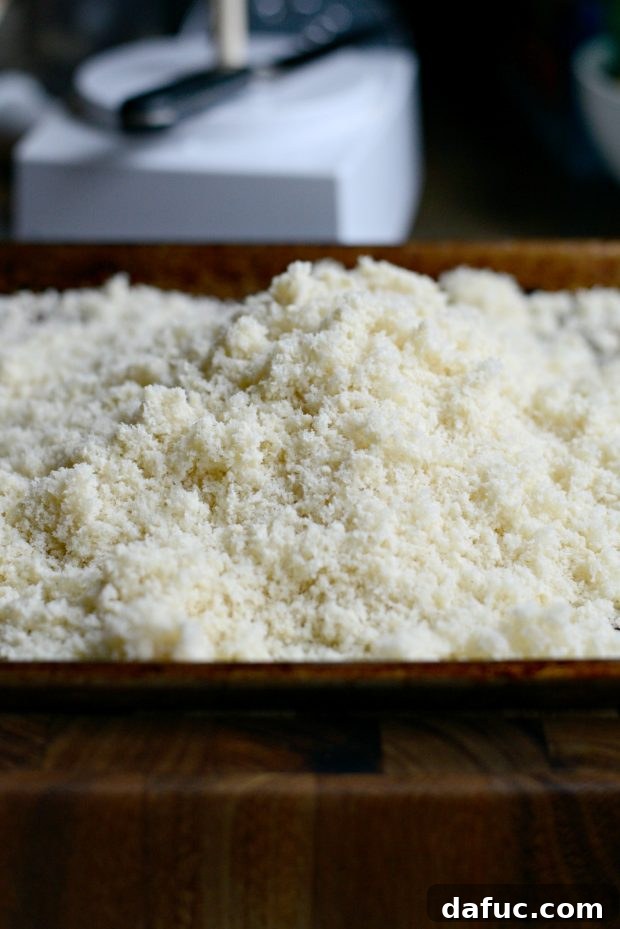
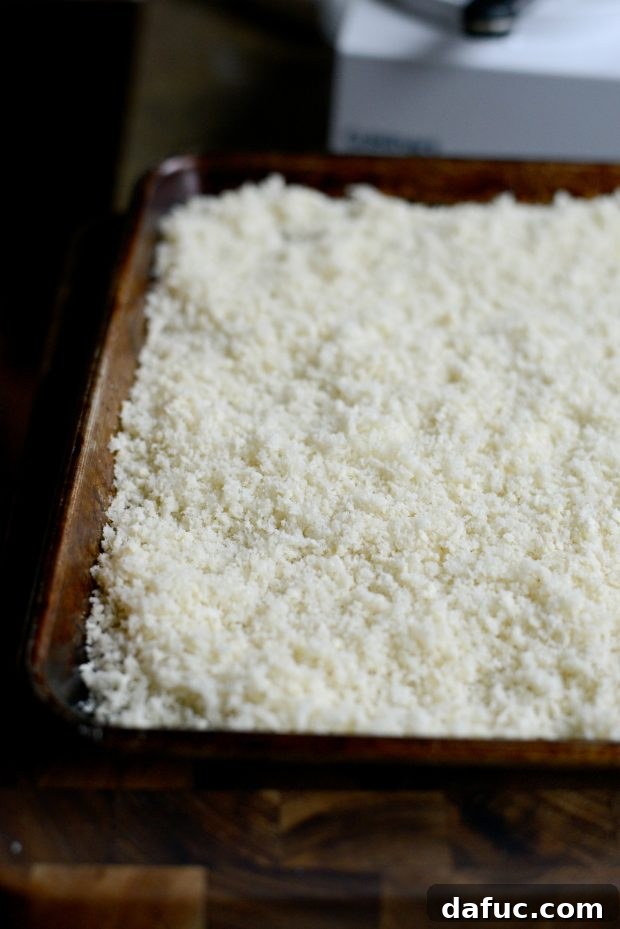
Once your bread has been processed, spread the fresh crumbs out onto one or two large, rimmed baking sheets. Ensure the crumbs are in a thin, even layer. Overcrowding the pans can lead to uneven drying and some crumbs becoming softer than others. Slide the baking sheets into your preheated 250°F (140°C) oven. Bake for approximately 20-30 minutes, but this is a crucial step that requires your attention.
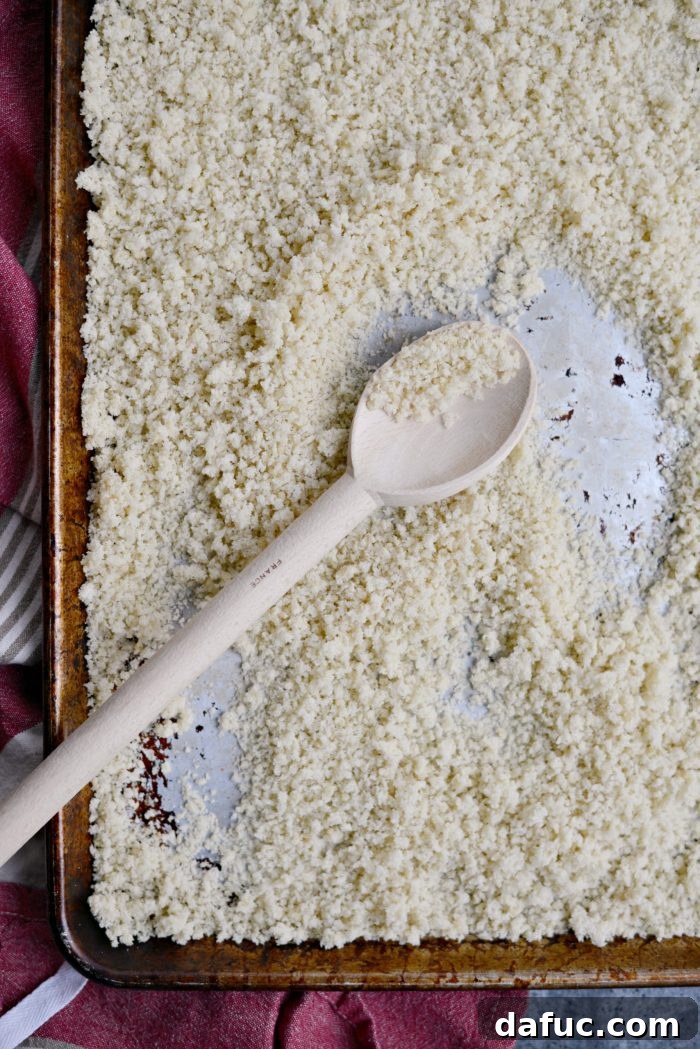
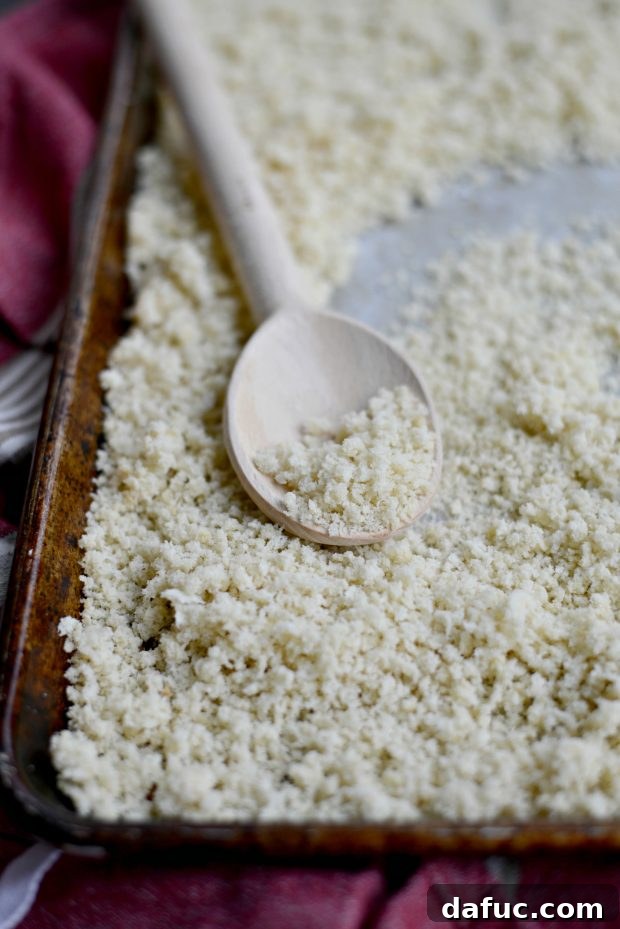
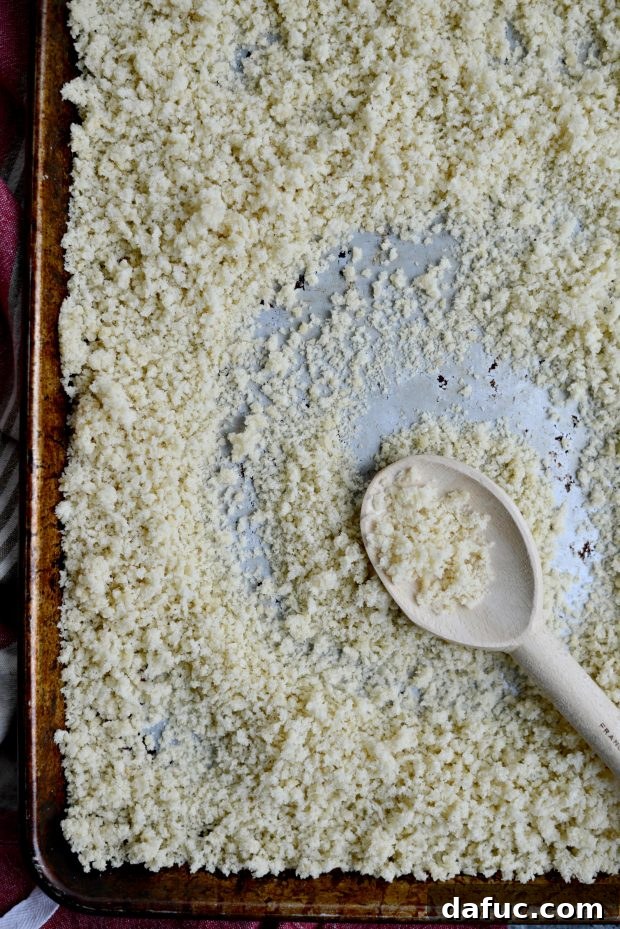
To ensure even drying and prevent any burning, stir the breadcrumbs every 5 to 10 minutes. This action rotates the crumbs, allowing air to circulate and moisture to escape uniformly. Continue baking and stirring until the panko is completely crisp and dry to the touch, but critically, it should NOT turn golden brown. Authentic panko remains a pale white or off-white color. If it starts to brown, it means the heat is too high, or it’s been in for too long, altering its delicate flavor and traditional appearance.
Step 4: Cool and Store
Once your homemade panko breadcrumbs are perfectly crisp and dry, remove them from the oven. Allow them to cool completely on the baking sheets before storing. This step is essential; if you store warm crumbs, condensation can form, leading to sogginess and mold. Once cooled, transfer the panko to an airtight container. It will keep fresh at room temperature for a few weeks. For longer storage, you can freeze the panko in an airtight freezer bag or container for several months, ready to be used straight from the freezer in most recipes.
Tips for the Ultimate Homemade Panko
- Bread Choice Matters: While white sandwich bread is classic, don’t hesitate to experiment. Sourdough can add a wonderful tang, and brioche (without too much sugar) can give a richer flavor. Just be mindful of breads with high sugar content, as they can brown faster.
- Moisture Content: Using slightly stale, day-old bread often yields the best results as it has less moisture and processes more cleanly into flakes. If your bread is very fresh, you might need to dry it out a little by leaving slices on a counter for a few hours.
- Even Spreading: Always ensure your crumbs are spread in a single, thin layer on the baking sheet. This maximizes air exposure and guarantees uniform crispness.
- Don’t Rush the Drying: The low oven temperature is key. Patience will reward you with perfectly dried, pale, and crunchy panko. High heat will toast them, turning them into regular breadcrumbs, which isn’t our goal here.
- Flavor Variations: After cooling, you can add seasonings to your panko for specific dishes. Think garlic powder, onion powder, dried herbs (oregano, thyme, basil), smoked paprika, or a pinch of cayenne pepper for a little kick. Simply mix them in thoroughly.
Creative Uses for Your Freshly Made Panko
Having a stash of homemade panko breadcrumbs opens up a world of culinary creativity. Beyond the classic casserole topping, envision crispy coatings for fried chicken, fish fillets, or homemade vegetable patties. They make an excellent binder for meatballs or meatloaf, adding moisture and preventing a dense texture. Sprinkle them over baked macaroni and cheese, gratins, or roasted vegetables for an irresistible crunch. You can even use them in dessert recipes, like fruit crumbles or pie toppings, for a unique texture element. The possibilities are truly endless!
For More Kitchen Basics Click Here!
Enjoy! And if you give this Homemade Panko Breadcrumbs recipe a try, I’d love to hear about it! Snap a photo and tag me on Twitter or Instagram! Your culinary adventures inspire me.
Print Recipe
Pin Recipe
Leave a Review »
Homemade Panko Breadcrumbs
Ingredients
- 1 loaf bread, white or whole wheat (approx. 16 ounces, slightly stale works best)
Equipment
-
Nordic Ware Natural Aluminum Commercial Baker’s Half Sheet (2 Pack), Silver (or similar large baking sheets)
-
Food Processor (with shredding disc)
Instructions
-
Preheat your oven to 250℉ (140℃). This low temperature is essential for drying the crumbs without browning them.
-
Fit your food processor with the shredding disc. This disc will create the distinctive flaky panko texture.
-
Cut all the crusts off each slice of bread. This ensures a uniformly pale and light panko crumb. Then, cut the crustless bread into 1-1/2 to 2-inch strips to make them easier to fit into the food processor’s chute. Process all the bread into flakes.
-
Scatter the processed breadcrumbs onto 1 or 2 large, rimmed sheet pans, spreading them into a thin, even layer. Bake for 20 to 30 minutes, tossing every 5 minutes or so, until the crumbs are completely crisp and dry. It’s crucial that the panko crumbs do not turn golden brown; they should remain pale.
-
Allow the crumbs to cool completely on the baking sheets before storing. Once cooled, store them in an air-tight container at room temperature for a few weeks, or freeze them for up to 2 months for longer preservation.