
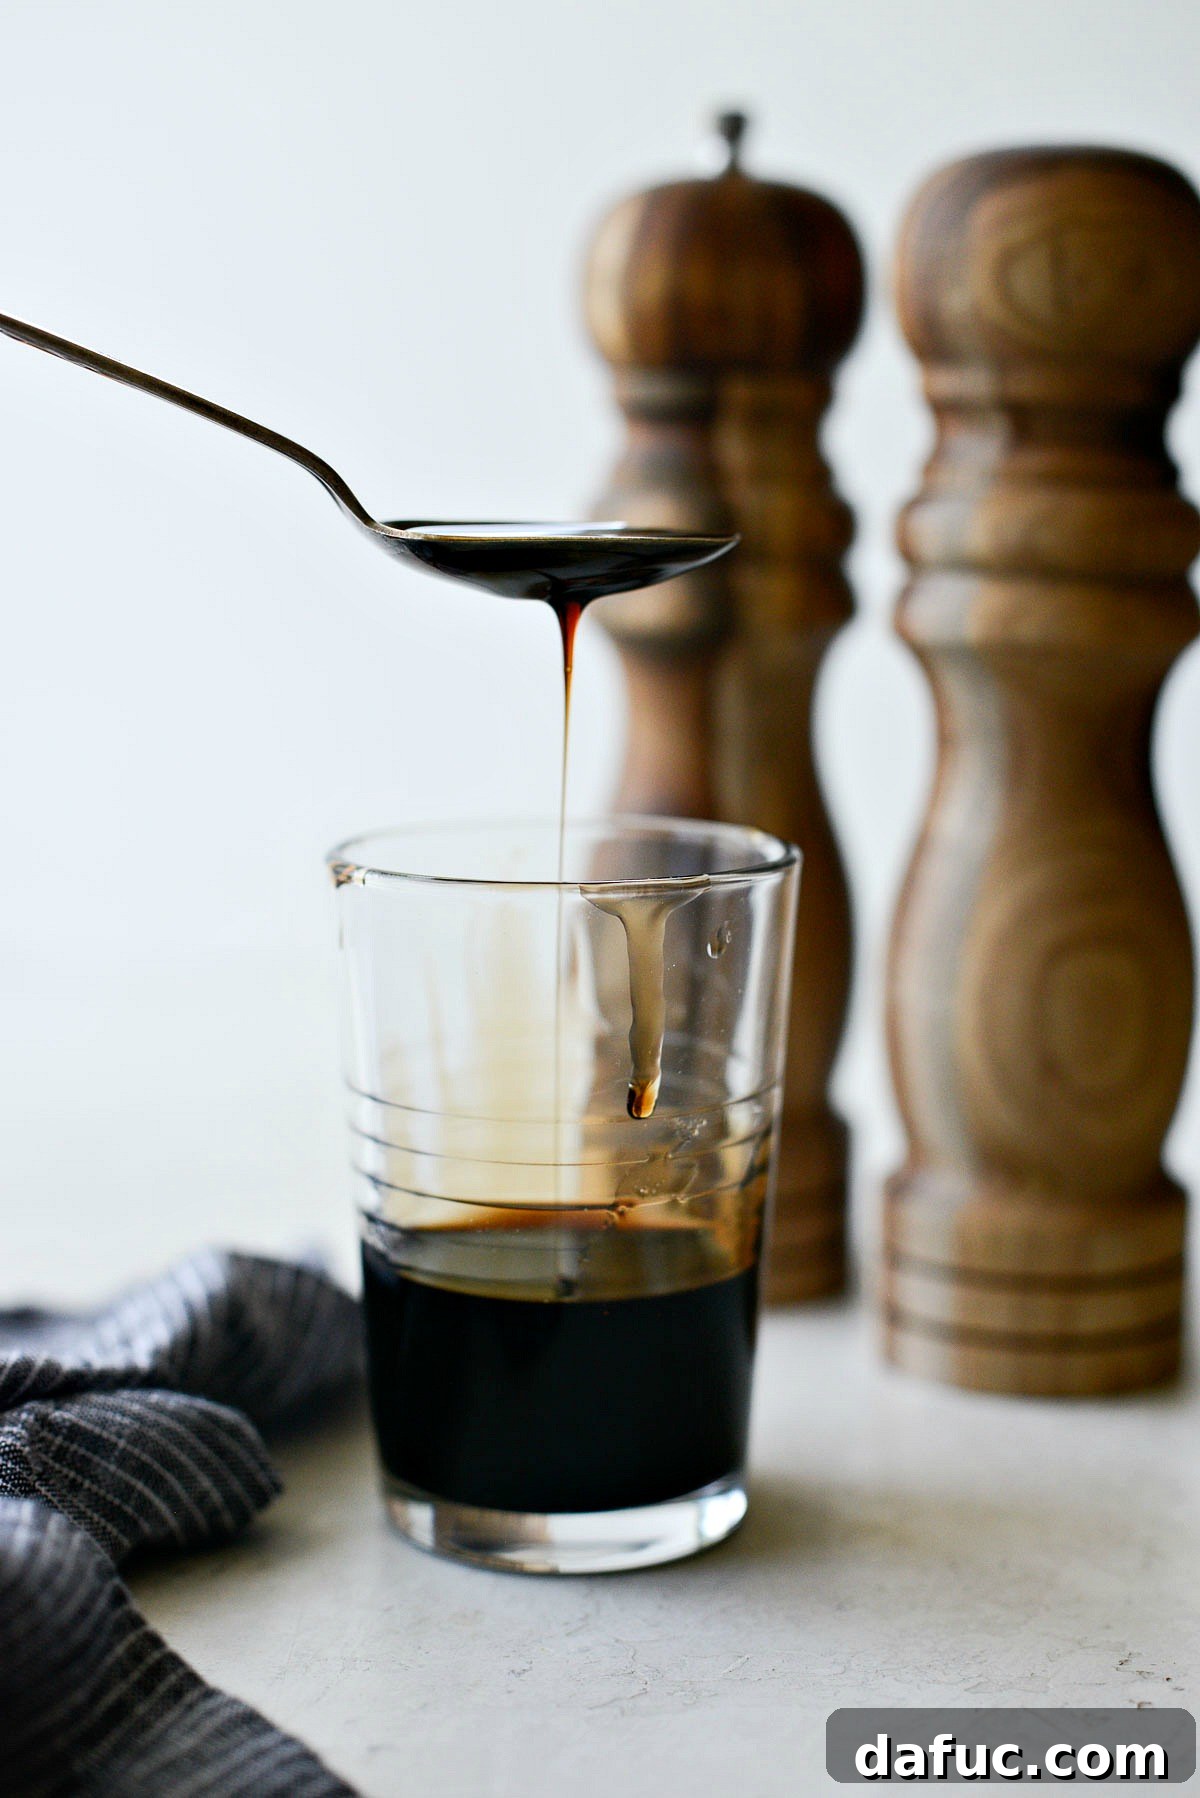
Ever wondered How To Make Balsamic Glaze at home? This comprehensive guide will show you how to transform a single, humble ingredient into a rich, thick, and lusciously sweet glaze that will elevate almost any dish you can imagine!
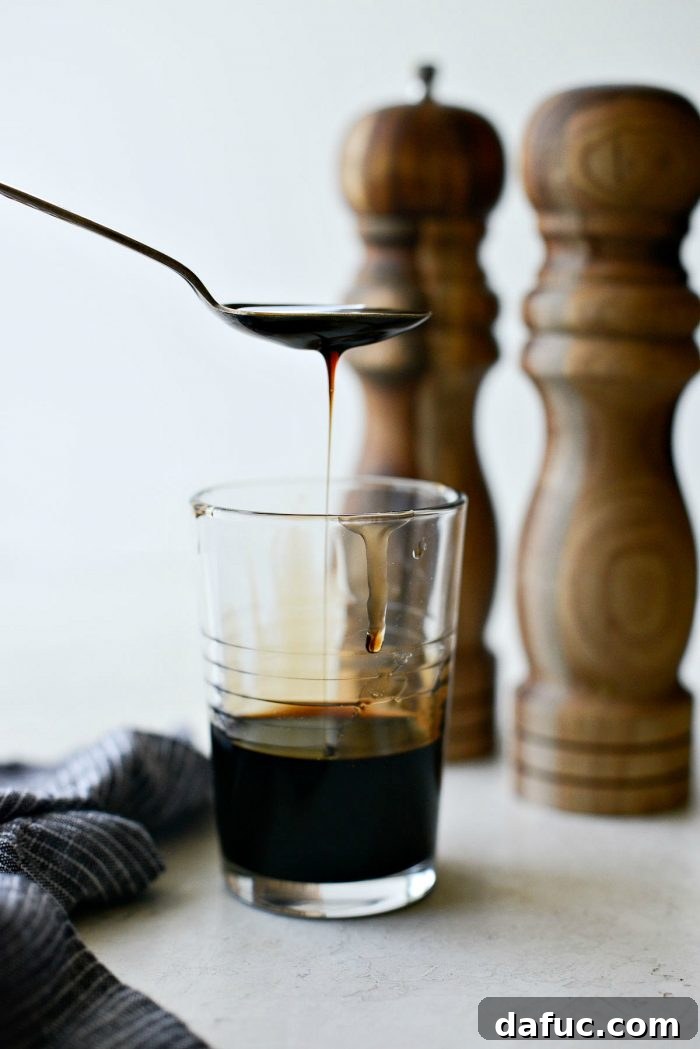
Why Choose Homemade Balsamic Glaze?
Balsamic glaze, often referred to as balsamic reduction, is truly one of my favorite culinary enhancements. While it’s true that you can easily pick up a bottle from your local grocery store, there are compelling reasons to consider making your own. I’ve certainly bought store-bought versions in a pinch, so there’s absolutely no judgment here!
However, imagine needing just a tablespoon or two for a specific recipe, but not wanting to invest in an entire bottle that might sit in your pantry. Or perhaps you’re simply looking for a fresher, more vibrant flavor without any added sugars, thickeners, or preservatives often found in commercial products. The good news? It’s incredibly EASY to make! All you truly need is a quality balsamic vinegar, a little bit of time, and perhaps some good ventilation – because the aroma during the reduction process can be quite potent, in the most delightful way.
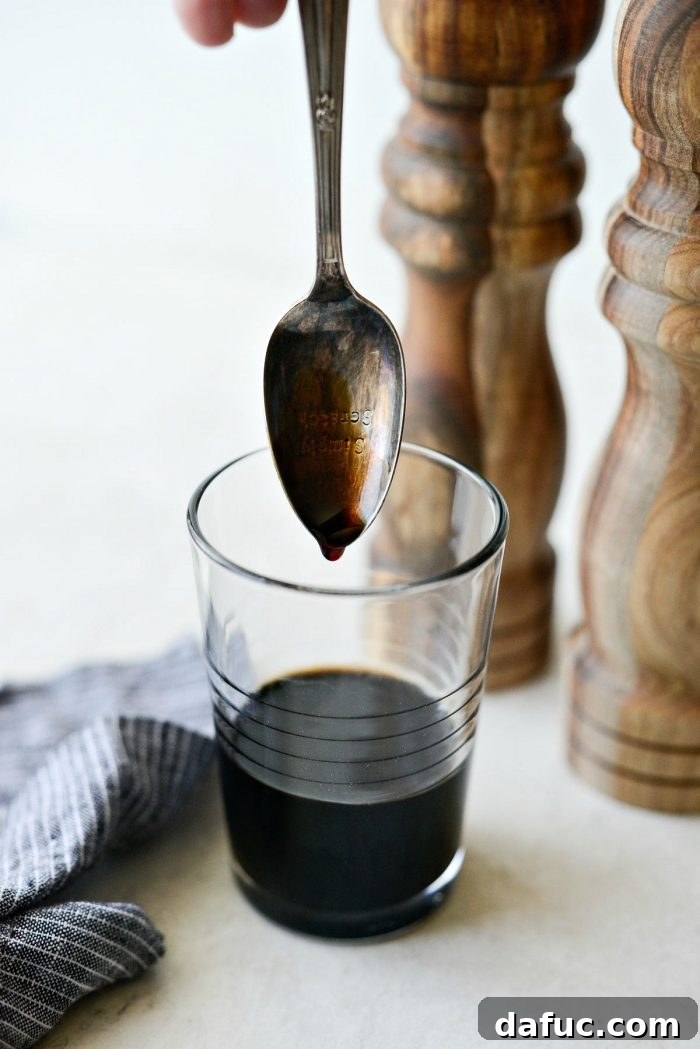
Once you experience the depth of flavor and velvety texture of homemade balsamic glaze, you’ll be eager to drizzle it over everything from fresh salads and roasted vegetables to grilled meats and even desserts.
What Exactly Is Balsamic Glaze?
At its core, balsamic glaze is simply balsamic vinegar that has been slowly simmered and reduced until its water content evaporates, concentrating its natural sugars and flavors into a thick, syrupy consistency. This transformation enhances its inherent sweetness, tames its acidity, and creates a beautifully viscous condiment perfect for both savory and sweet applications.
The Magic of Reduction
The process of reduction is a fundamental cooking technique that intensifies the flavors of liquids. In the case of balsamic vinegar, this means turning a tangy, thin liquid into a rich, sweet, and sticky syrup. The sugars caramelize slightly, deepening the color and creating a more complex flavor profile than the original vinegar. It’s a testament to how simple techniques can yield extraordinary results.
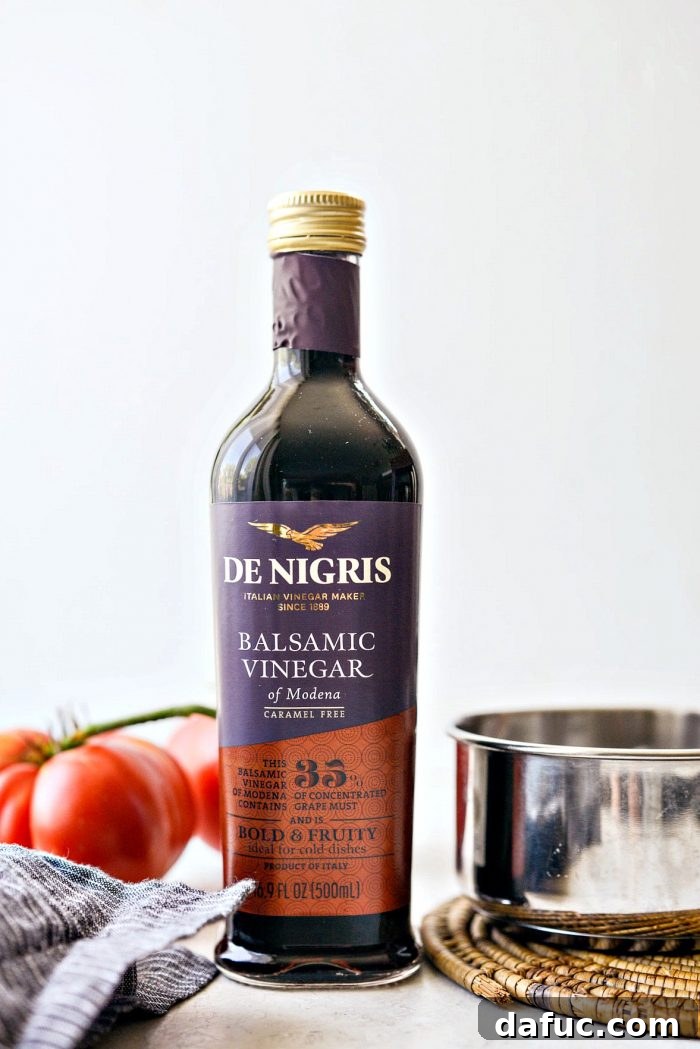
Essential Tools and Ingredients for Balsamic Glaze
One of the most appealing aspects of making balsamic glaze from scratch is its minimal ingredient list and equipment requirements. You don’t need fancy tools or obscure ingredients; just the basics.
Ingredients:
- Quality Balsamic Vinegar: The star of the show! The better the quality of your balsamic vinegar, the richer and more flavorful your glaze will be. Look for “Aceto Balsamico di Modena IGP” (Protected Geographical Indication) for a good balance of quality and affordability. While true “Aceto Balsamico Tradizionale DOP” (Protected Designation of Origin) is exquisite, it’s very expensive and often too precious for reduction. A good mid-range balsamic vinegar will yield fantastic results.
Equipment:
- A Sturdy Saucepan: A small to medium-sized saucepan with a heavy bottom is ideal. Heavy bottoms help distribute heat evenly, preventing scorching.
- A Whisk or Spoon: For occasional stirring during the simmering process.
- Measuring Cups and Spoons: To ensure accurate ratios.
- Patience and Time: This isn’t a rushed process, but it’s largely hands-off.
- Good Ventilation: As mentioned, the vinegar’s aroma can be strong, so open a window or turn on your kitchen’s exhaust fan.
Step-by-Step Guide: Crafting Your Perfect Balsamic Glaze
The beauty of this recipe lies in its simplicity. Let’s walk through the easy steps to achieve a flawless homemade balsamic glaze.
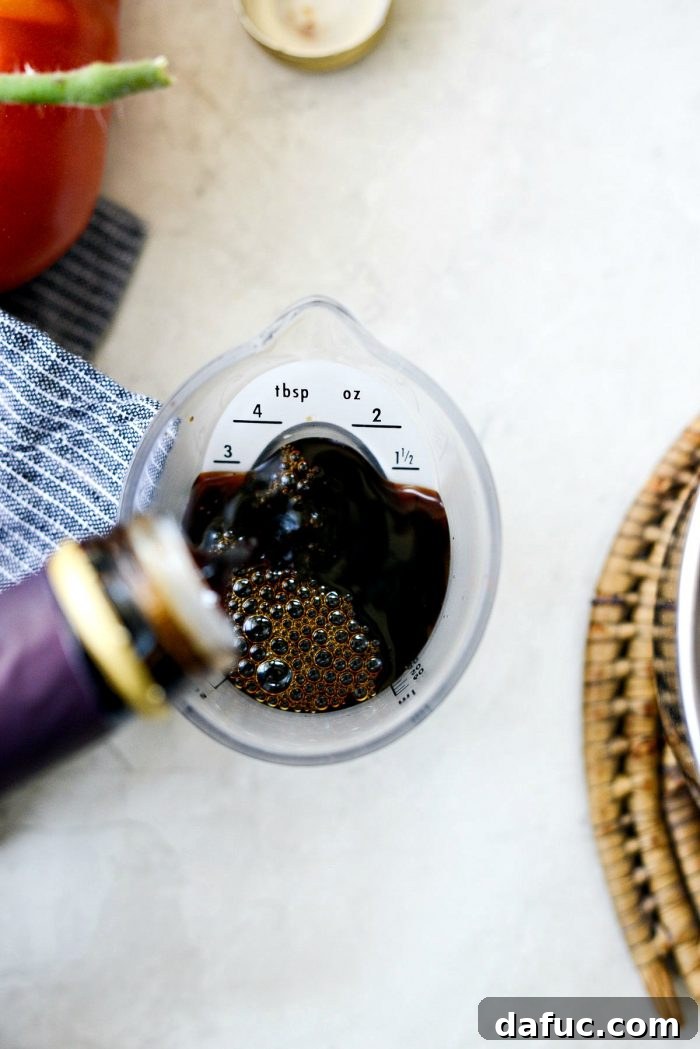
1. Determine Your Yield and Measure
Before you begin, decide how much glaze you need. As a general rule of thumb, balsamic vinegar reduces significantly, typically yielding about one-quarter of its original volume as glaze. For instance, if you’re making a Caprese salad and only need a tablespoon or two of glaze, you’ll start with approximately 1/4 cup of balsamic vinegar. If you require more, simply double, triple, or quadruple the initial vinegar amount. Remember that cooking times will vary depending on the volume of vinegar you’re reducing.
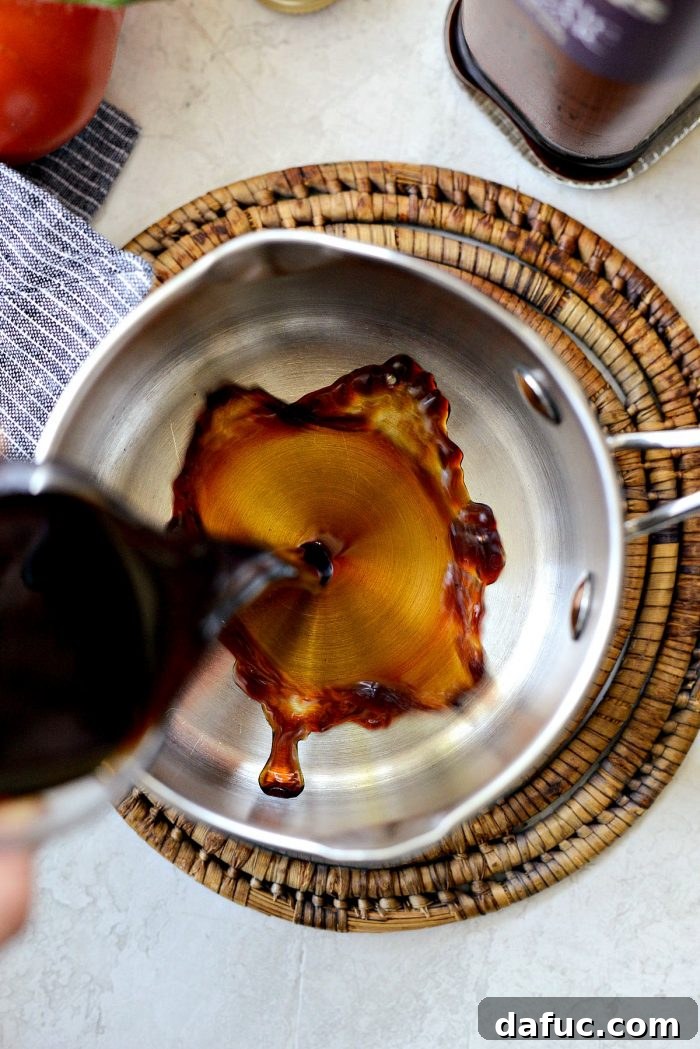
2. Pour into a Saucepan
Once measured, pour the balsamic vinegar into your chosen saucepan. A non-reactive pan (like stainless steel) is best to avoid any metallic flavors from leaching into the vinegar.
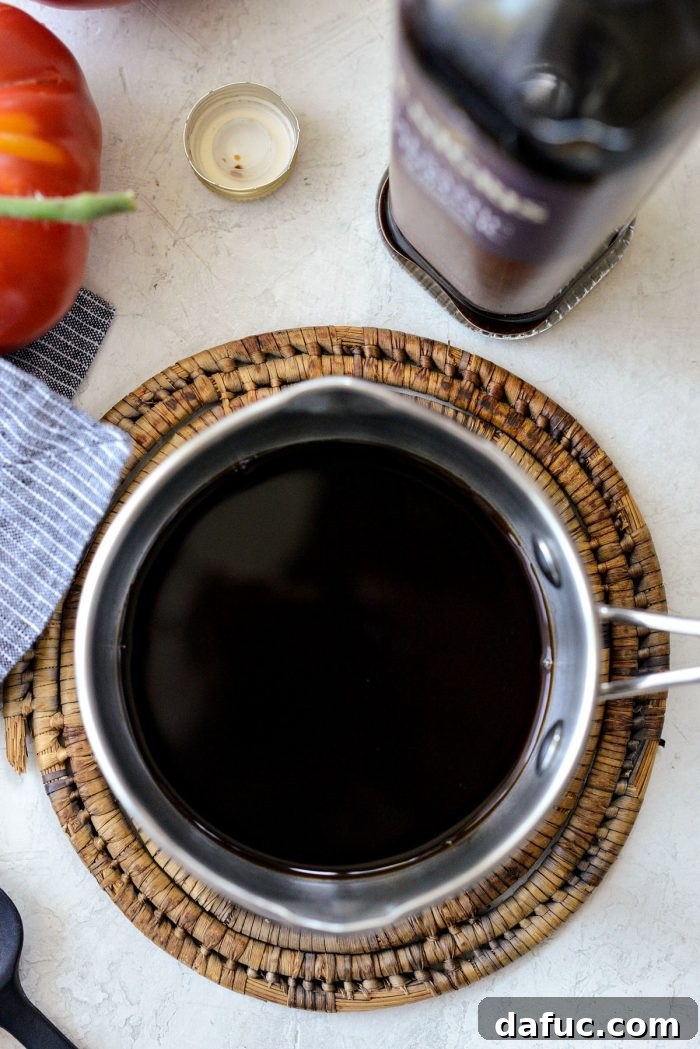
3. Begin the Simmering Process
Place the saucepan over medium heat. Bring the vinegar to a gentle simmer. You’ll see small bubbles forming around the edges and eventually across the surface. Once simmering, reduce the heat slightly to maintain a gentle, consistent simmer, not a vigorous boil. Stir occasionally to prevent sticking and ensure even reduction. This is where your good ventilation comes in handy!
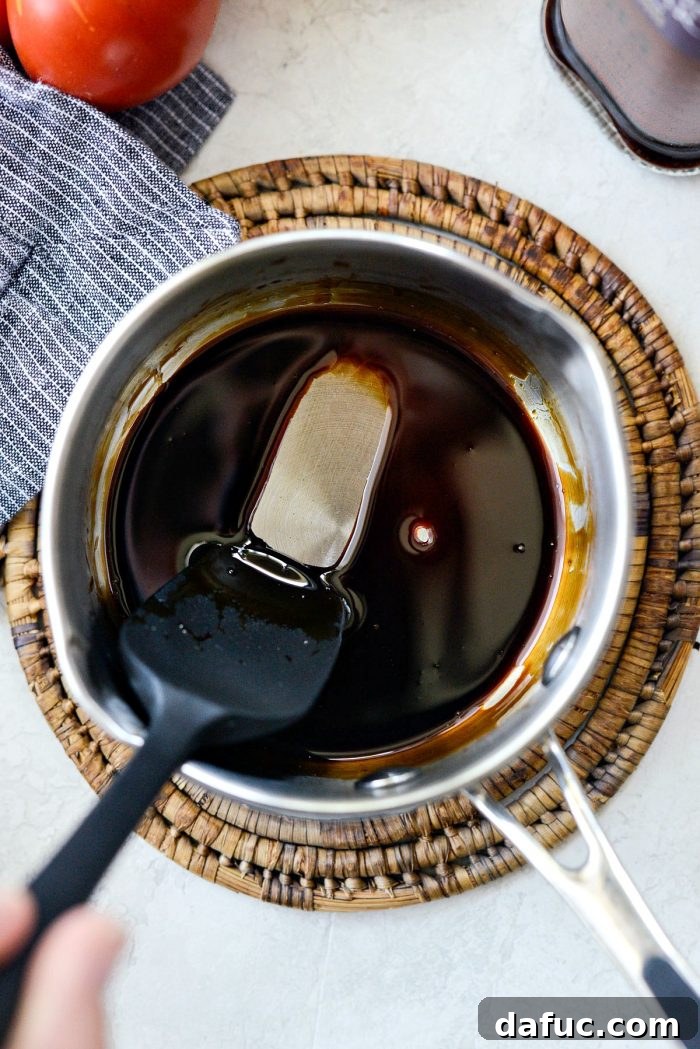
4. Watch for Thickening
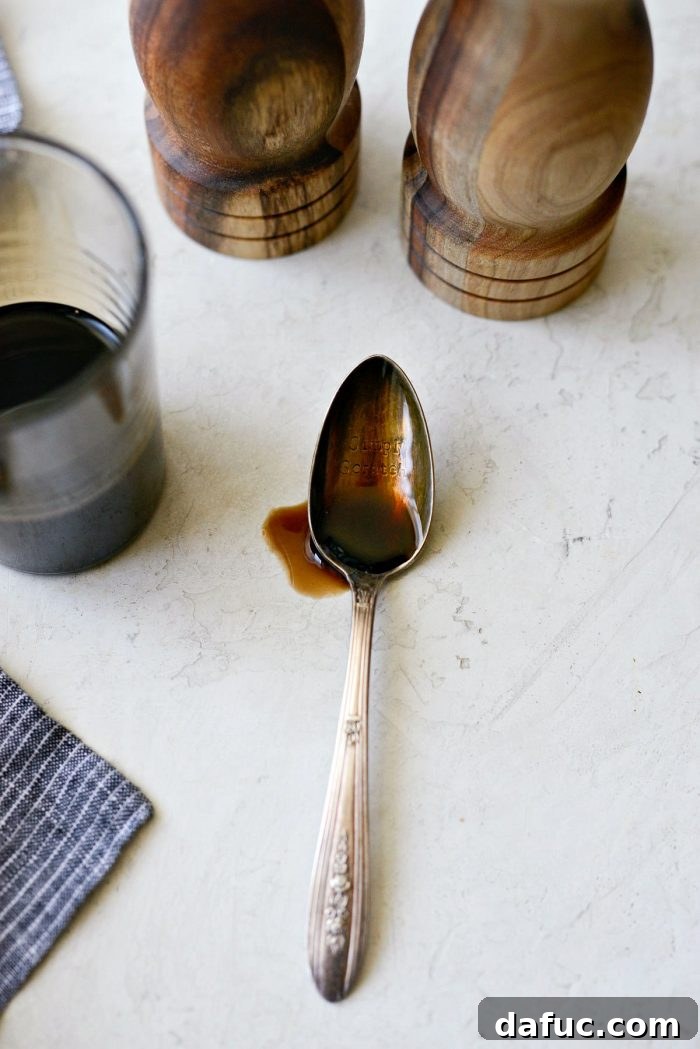
This is the most crucial step. The vinegar will gradually reduce, and its consistency will change. You’ll notice it becoming thicker and more syrupy. A reliable indicator that your balsamic glaze is ready is when it coats the back of a spoon or spatula without immediately dripping off. When you draw a line with your finger on the back of the spoon, it should hold its shape for a moment.
It’s important to remember that the glaze will continue to thicken as it cools. Therefore, it’s better to remove it from the heat when it’s still slightly thinner than your desired final consistency. If it looks too thin, continue simmering for a few more minutes. If it looks too thick, you might have over-reduced it (see troubleshooting below).
A Critical Warning: Do Not Burn!
As the balsamic vinegar reduces, its sugar content becomes highly concentrated, making it very susceptible to burning. Burnt balsamic glaze will have a bitter, unpleasant taste and cannot be salvaged. Stay vigilant, especially during the last few minutes of reduction. If you step away, even for a moment, the consistency can quickly go from perfect to burnt.
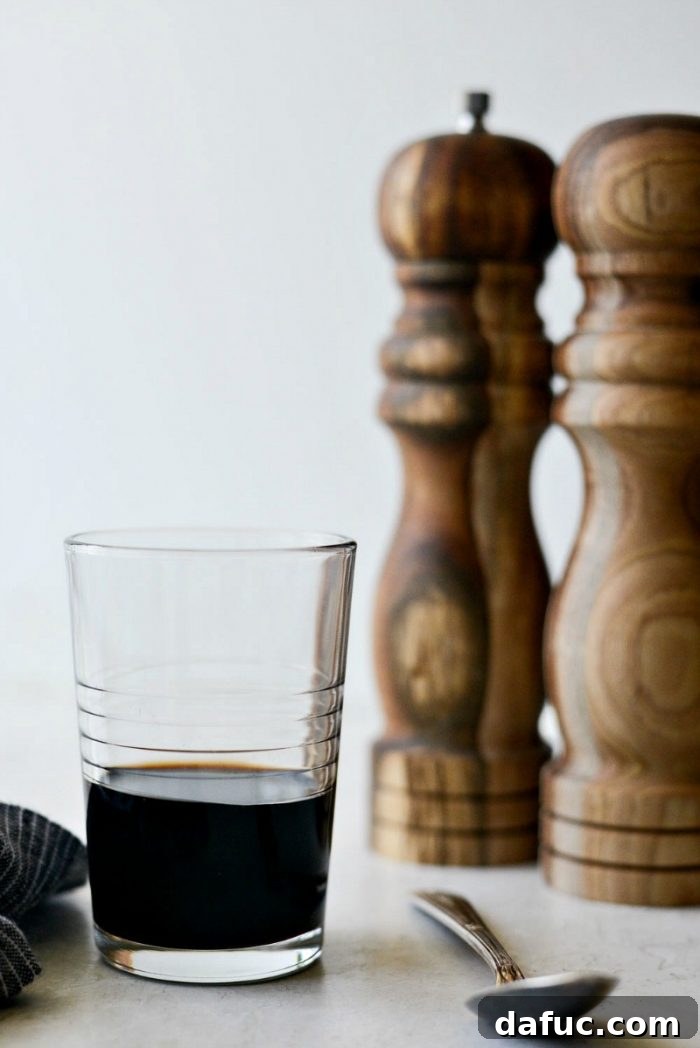
And there you have it – a perfectly crafted balsamic glaze, ready to enhance your culinary creations.
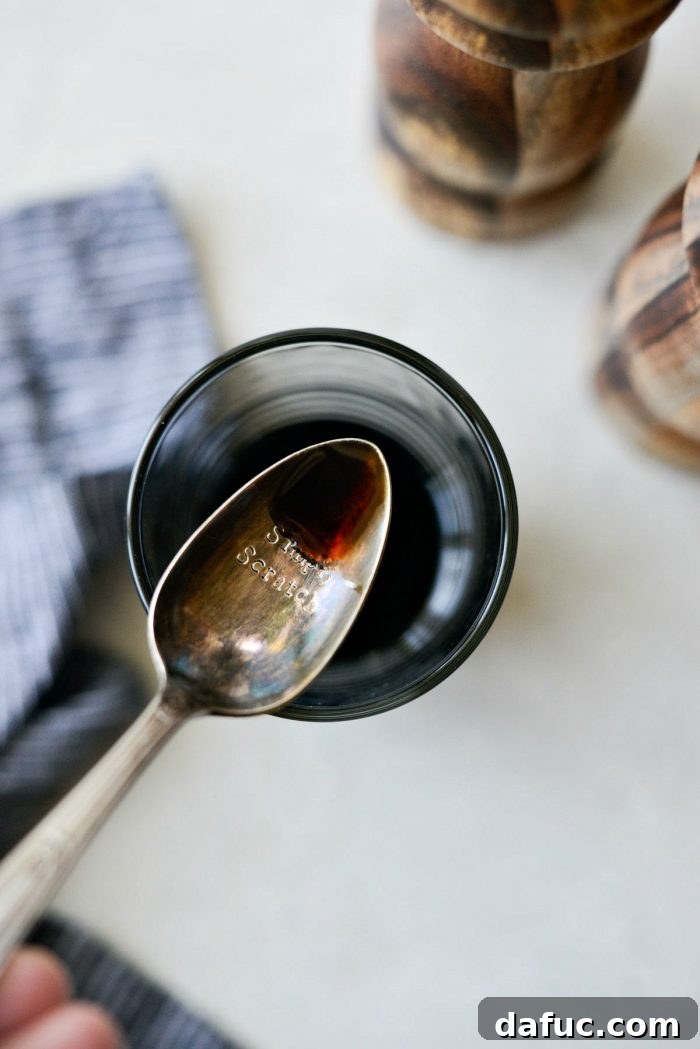
See? So simple, incredibly flavorful, and most importantly, wonderfully inexpensive compared to store-bought alternatives.
Troubleshooting Common Balsamic Glaze Issues
- My Glaze is Too Thin: Simply return it to low heat and continue simmering, stirring frequently, until it reaches the desired consistency.
- My Glaze is Too Thick: If your glaze became too thick and sticky after cooling, you can gently reheat it over very low heat with a tiny splash of regular balsamic vinegar or water, stirring until it loosens up to your preferred consistency. Be careful not to add too much liquid.
- My Glaze Tastes Burnt: Unfortunately, a burnt glaze cannot be salvaged. The bitterness will permeate the entire batch. It’s best to discard it and start fresh, being extra careful with the heat and timing next time.
How To Store Homemade Balsamic Glaze:
Once your balsamic glaze has reached its ideal syrupy consistency and has cooled completely, transfer it to an airtight container. A small jar or squeeze bottle works perfectly. Store it in the refrigerator for up to 2 weeks. Its natural acidity and sugar content act as preservatives, but refrigeration helps maintain its freshness and prevents crystallization.
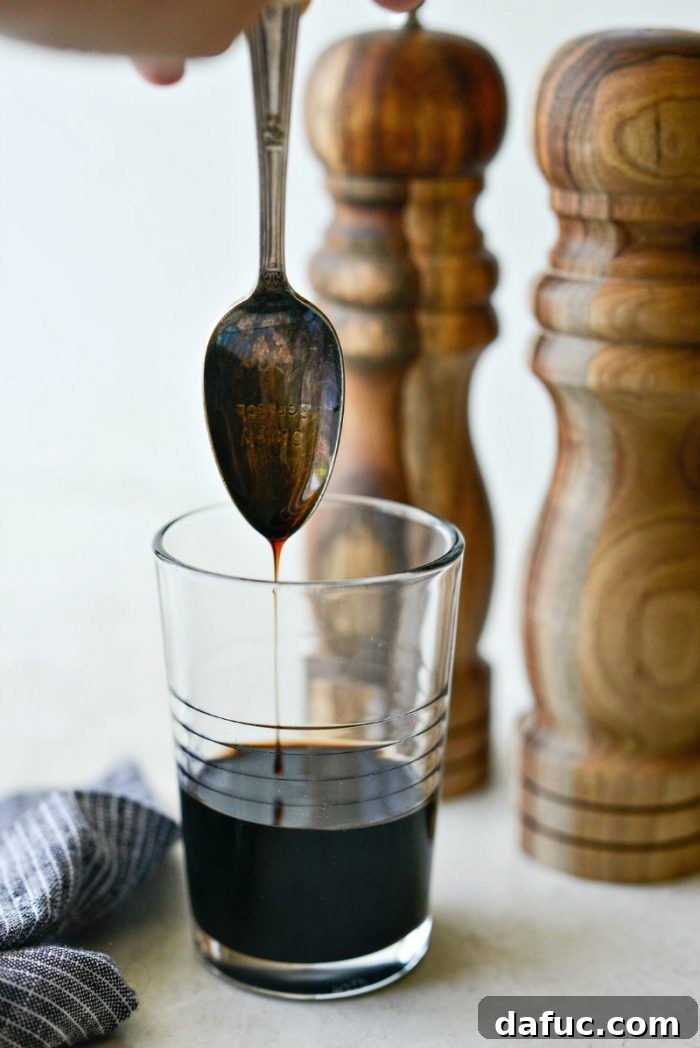
Versatile Uses: Elevate Your Dishes with Balsamic Glaze
The beauty of homemade balsamic glaze lies in its incredible versatility. Its sweet, tangy, and slightly acidic notes make it a perfect complement to a wide array of dishes, both savory and sweet. Here are just a few ideas to inspire you:
Savory Applications:
- Salads: Drizzle over Caprese salad, spinach salad with strawberries, or any greens with goat cheese and nuts. It adds a gourmet touch to simple vinaigrettes.
- Roasted Vegetables: Carrots, Brussels sprouts, asparagus, or bell peppers become caramelized and intensely flavorful when roasted with a hint of balsamic glaze. Try these caramelized brussels sprouts or a roasted honey balsamic fall medley.
- Meats and Seafood: A perfect finishing touch for grilled steak, chicken, pork, or salmon. It adds a glossy sheen and a burst of flavor.
- Appetizers and Cheese Boards: Elevate a simple bruschetta, crostini, or antipasto platter. It pairs beautifully with soft cheeses like goat cheese, burrata, or fresh mozzarella. Consider these prosciutto or bacon wrapped stuffed dates or a holiday antipasto wreath.
- Pizza and Flatbreads: A delightful drizzle over a white pizza, vegetable and goat cheese flatbread, or even a fig jam prosciutto pizza after it comes out of the oven.
- Sandwiches and Wraps: Add a layer of sophisticated flavor to your favorite gourmet sandwiches, like a pressed Caprese sandwich.
Sweet Applications:
- Fresh Fruits: Strawberries, peaches, figs, and melon (like cantaloupe or watermelon) get an unexpected, delightful twist with a drizzle of balsamic glaze.
- Desserts: A unique pairing with vanilla ice cream, panna cotta, or a rich chocolate cake. It adds a sophisticated tang that cuts through sweetness.
More Recipe Ideas Using Balsamic Glaze:
- Grilled Cherry Gorgonzola Flatbread
- Easy Grilled Garlic Brussels Sprouts
- Strawberry Bruschetta with Honey Whipped Goat Cheese
- Grilled Chicken Bruschetta
- Peach and Prosciutto Goat Cheese Crostini
- Bacon Wrapped Stuffed Dates with Goat Cheese
- Steak and Blue Cheese Pizza with Crispy Fried Shallots and Honey Balsamic Drizzle
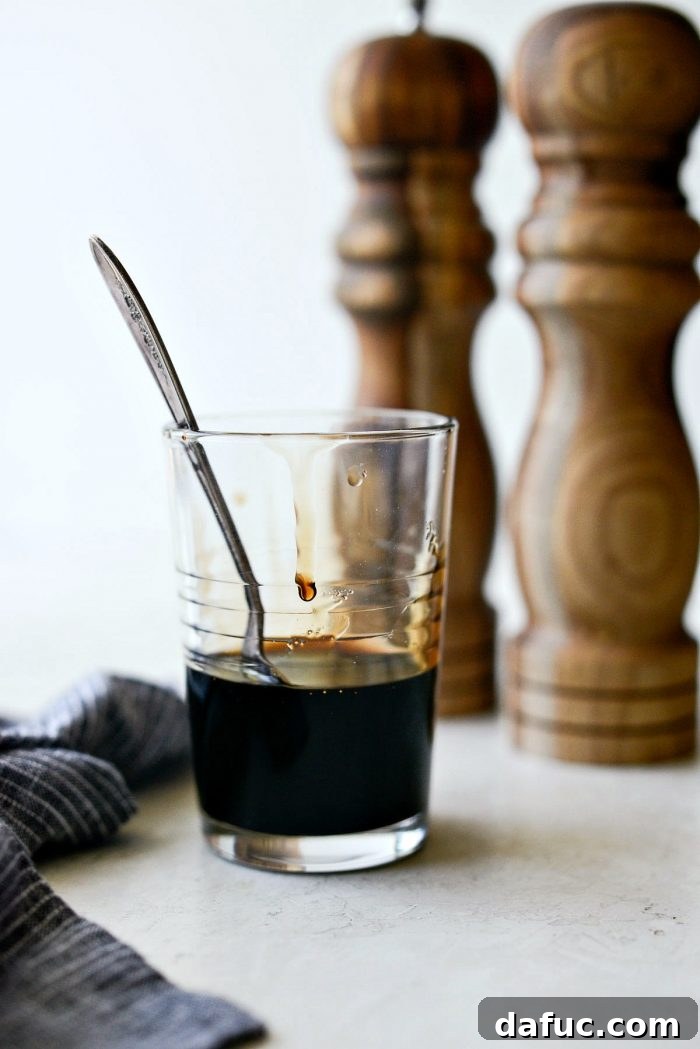
Enjoy your homemade balsamic glaze! If you give this simple recipe a try, I’d love to hear about it. Snap a photo and tag me on Twitter or Instagram!
Print Recipe
Pin Recipe
Leave a Review »
1 tablespoon (depending on reduction)
How To Make Balsamic Glaze
Ever wondered How To Make Balsamic Glaze at home? In this post you will see a single ingredient turn into thick sweet glaze that is delicious on just about everything!
5 mins
10 mins
15 mins
Ingredients
- 1/4 cup balsamic vinegar
Instructions
- Pour balsamic vinegar into a saucepan.
- Heat over medium heat, stirring frequently until the vinegar reduces, thickens, and coats the back of your spoon or spatula. Watch closely to avoid burning.
- 1/4 cup balsamic vinegar should yield about 1 tablespoon of balsamic glaze.
Notes
How To Store Homemade Balsamic Glaze:
Once you’ve reduced the vinegar and the glaze has thickened and is syrupy, store it in an airtight container and refrigerate for up to 2 weeks.
Nutrition Disclaimer: All information presented on this site is intended for informational purposes only. I am not a certified nutritionist and any nutritional information shared on SimplyScratch.com should only be used as a general guideline.
Laurie McNamara
Homemade Ingredients & Condiments
Italian