
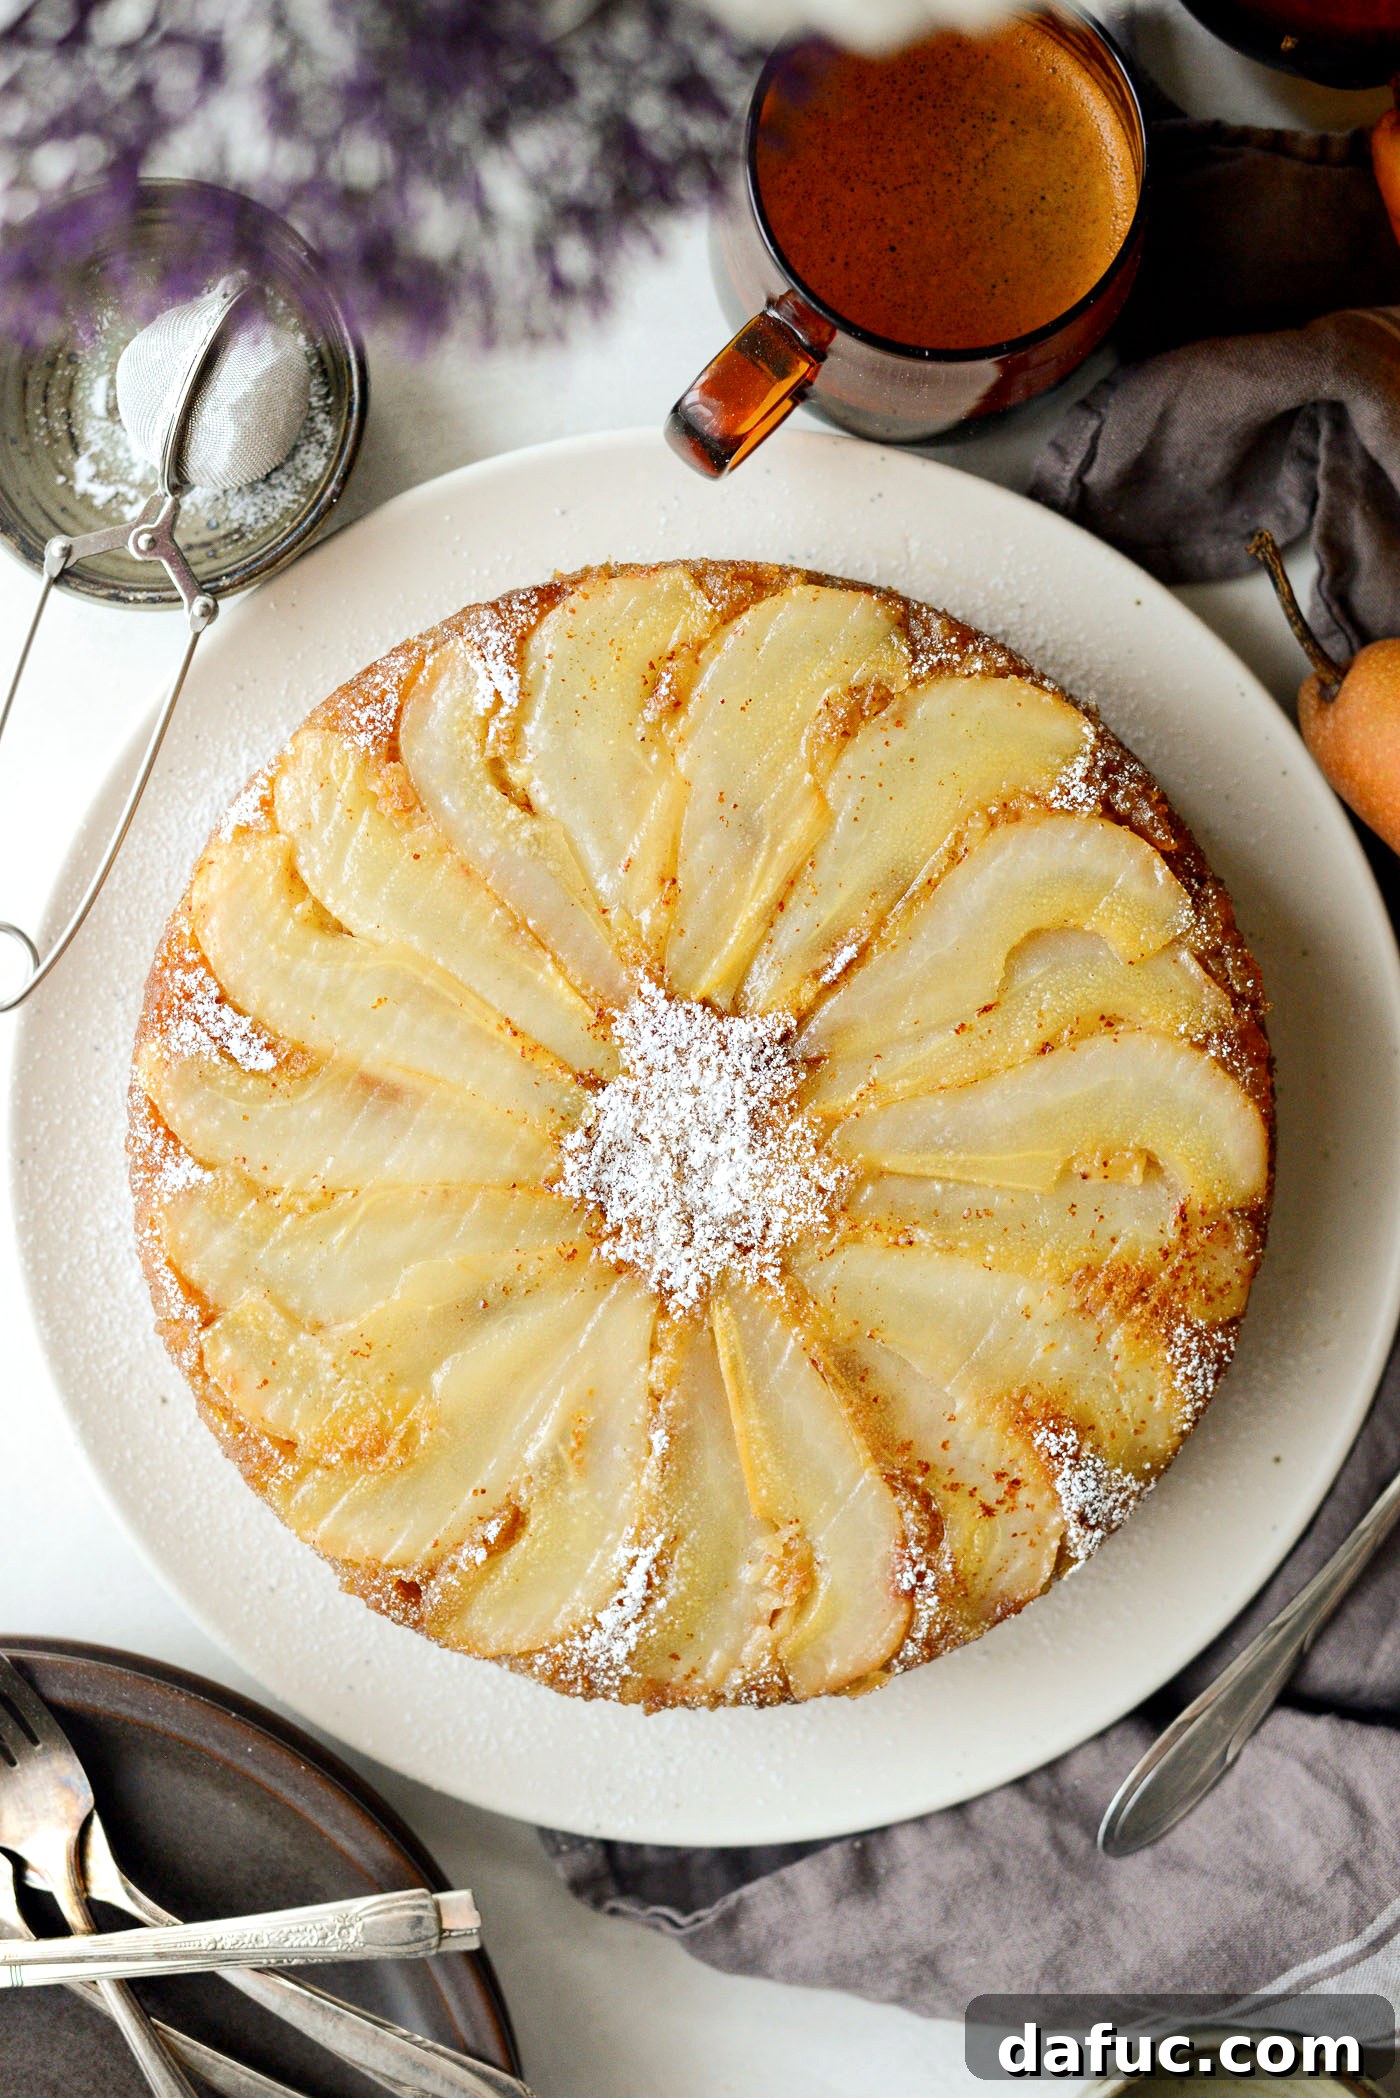
Irresistible Ginger Pear Upside Down Cake with Brown Butter Glaze
Prepare to be enchanted by this truly phenomenal Ginger Pear Upside Down Cake. Combining the warmth of spiced pears with the rich, nutty notes of brown butter, this recipe delivers an experience that is both elegant and surprisingly simple to achieve. Sliced, juicy pears are generously sprinkled with aromatic crystallized ginger, then bathed in a luxurious bourbon brown butter glaze. All of this deliciousness bakes beneath a tender, moist vanilla buttermilk cake, creating a dessert that is as beautiful to behold as it is delightful to eat. Serving 8 to 12 guests, this cake is perfect for any gathering or a special treat at home.
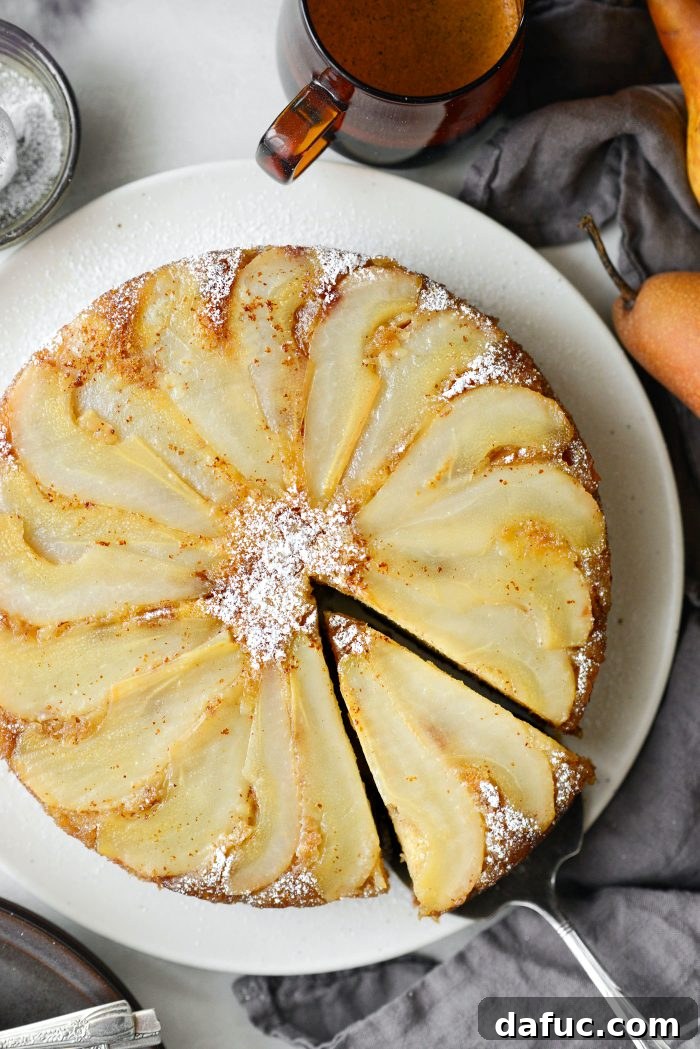
The Unadorned Beauty of Upside Down Cakes
There’s a certain charm and undeniable appeal to cakes that don’t require frosting. This Ginger Pear Brown Butter Upside Down Cake perfectly embodies that philosophy. Its beauty lies in the glistening fruit layer, which caramelizes exquisitely as it bakes, creating a natural, decadent topping. The preparation is straightforward: ripe pear slices are laid at the bottom of the pan, layered with a hint of crystallized ginger and a luscious bourbon brown butter glaze, before being crowned with a light and airy vanilla buttermilk cake batter. The magic truly happens when you invert the cake, revealing its stunning, ready-to-serve surface.
My passion for browned butter is no secret; it’s an obsession that transforms ordinary butter into a nutty, aromatic elixir, adding unparalleled depth to any dish it touches. For me, the rich, caramelized notes of browned butter elevate baked goods to an entirely new level. It’s this deep love for its complex flavor that inspired the creation of this brown butter cake. The delicate balance of sweet pears, spicy ginger, and the irresistible warmth of browned butter makes this cake an absolute standout. It’s a flavor combination you simply won’t forget.
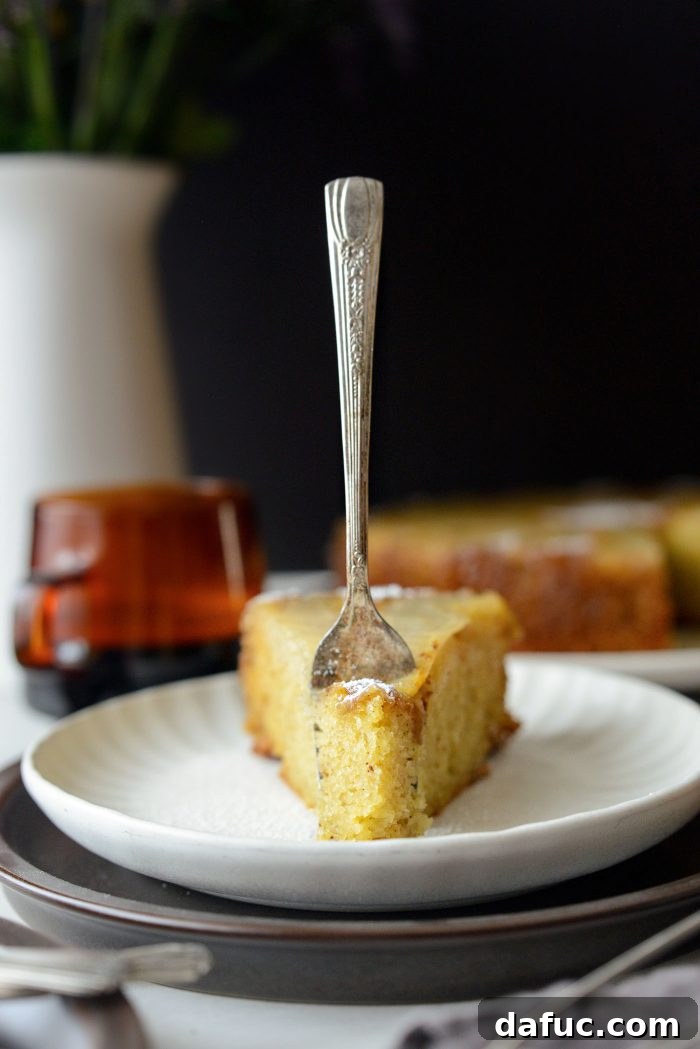
Let’s Begin Our Baking Journey!
Creating this stunning cake might seem intricate, but with clear steps, it’s an enjoyable process that yields spectacular results. We’ll guide you through each stage, from selecting the perfect pears to mastering the art of browning butter, ensuring your Ginger Pear Upside Down Cake turns out perfectly every time. Get ready to fill your kitchen with the most inviting aromas!
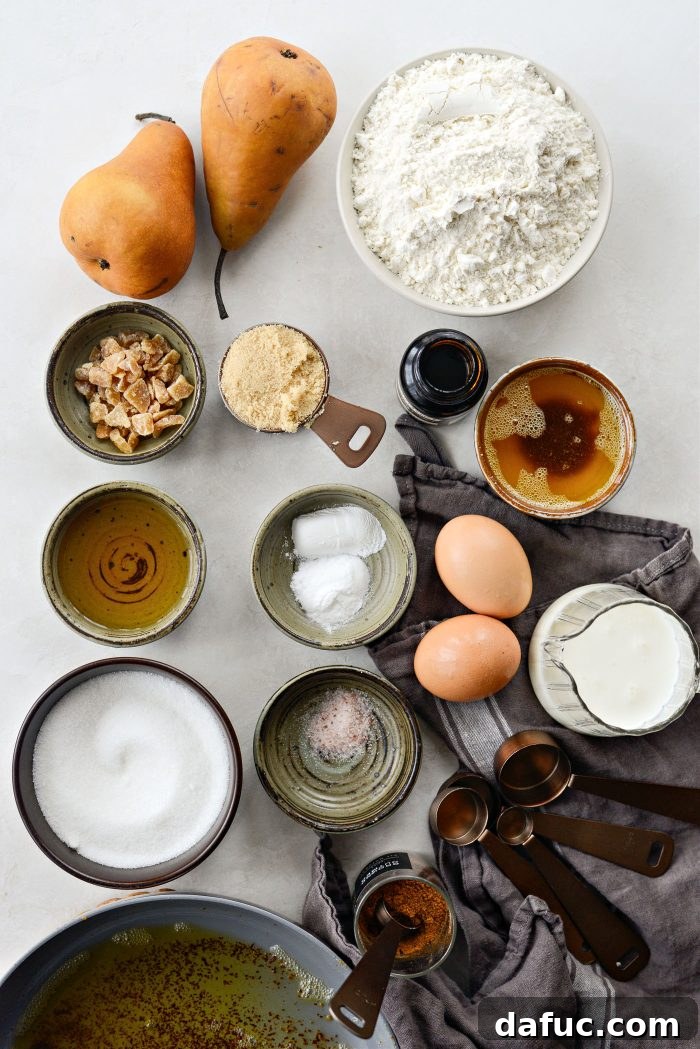
Key Ingredients for Your Ginger Pear Upside Down Cake
Every exceptional dessert starts with quality ingredients. Here’s what you’ll need to create this masterpiece, along with notes on why each component is essential for flavor and texture:
For the Luscious Pear Layer:
- Bosc Pears: Choose ripe yet firm Bosc pears. Their classic tapered shape and crisp texture hold up beautifully during baking, ensuring they don’t turn mushy. They offer a delicate sweetness that pairs perfectly with ginger.
- Crystallized Ginger: These sweet, spicy morsels are the secret weapon, scattering pockets of concentrated ginger flavor throughout the pear layer. They add a delightful chewiness and a burst of warmth.
- Unsalted Brown Butter: This is the star! Browning the butter infuses it with a rich, nutty, toasted flavor that adds incredible depth and complexity to the glaze. It’s a simple step with a massive flavor payoff.
- Light Brown Sugar: Contributes a deep, caramel-like sweetness to the glaze, complementing the pears and brown butter beautifully. It helps create that irresistible sticky, golden topping.
- Fine Salt: A tiny pinch of salt in the glaze enhances all the other flavors, balancing the sweetness and drawing out the natural juices of the pears, making them even more succulent.
- Bourbon: A splash of bourbon adds sophisticated notes of vanilla and caramel, reinforcing the warmth of the brown butter and ginger. If you prefer not to use alcohol, an equal amount of water or apple juice can be substituted.
For the Tender Buttermilk Cake:
- Unbleached All-Purpose Flour: The foundation of our cake. Unbleached flour provides a tender crumb without being overly dense.
- Granulated Sugar (White): Provides essential sweetness and helps achieve a tender, moist cake crumb.
- Baking Powder: A leavening agent that works to create an initial lift in the batter, giving the cake a light and airy structure.
- Baking Soda: This leavener reacts with the buttermilk’s acidity, producing carbon dioxide that makes the cake wonderfully light and fluffy.
- Nutmeg: Freshly grated nutmeg offers a warm, aromatic spice with subtle hints of clove, perfectly harmonizing with the pears and ginger.
- Fine Salt: Crucial for balancing the sweetness and enhancing the overall flavor profile of the cake, ensuring every bite is perfectly seasoned.
- Eggs: Provide structure, richness, and moisture to the cake batter, contributing to its tender texture.
- Buttermilk: Adds a delightful tangy flavor and reacts with the baking soda for an incredibly moist and fluffy cake. Its acidity also helps tenderize the gluten, resulting in a softer crumb.
- Vanilla Bean Paste: Offers intense, visible flecks of vanilla bean for a superior vanilla flavor. Alternatively, you can use the seeds scraped from 1 vanilla bean pod or 1 teaspoon of pure vanilla extract.
- Brown Butter (reserved portion): The remaining brown butter, incorporated into the cake batter, adds continuous richness, tenderness, and that signature nutty depth throughout the cake.
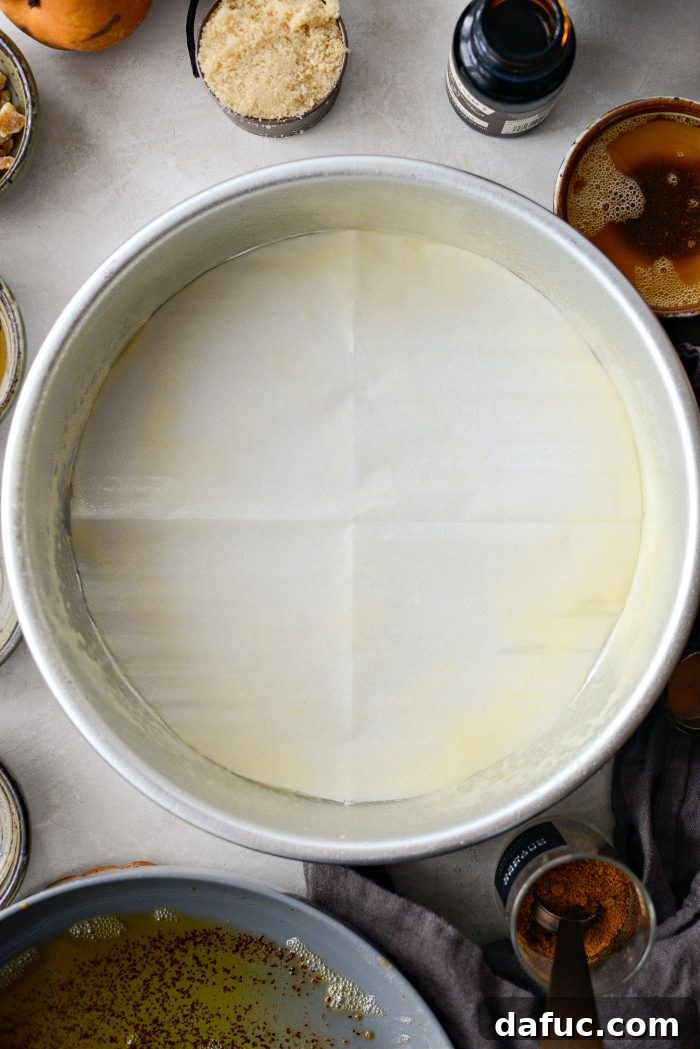
Getting Started: Prepare Your Pan and Oven
Before diving into the mixing, a little preparation goes a long way to ensure a seamless baking experience and a perfect cake release:
- Preheat your oven to 350°F (180°C). This ensures the oven is at a consistent temperature when the cake goes in, promoting even baking.
- Line the bottom of a 9-inch round cake pan with a circle of parchment paper. This parchment barrier is essential for preventing the sticky fruit layer from adhering to the pan. Lightly spray the parchment and the sides of the pan with a nonstick baking spray that contains flour. This extra step guarantees a clean release and a beautifully intact fruit topping.
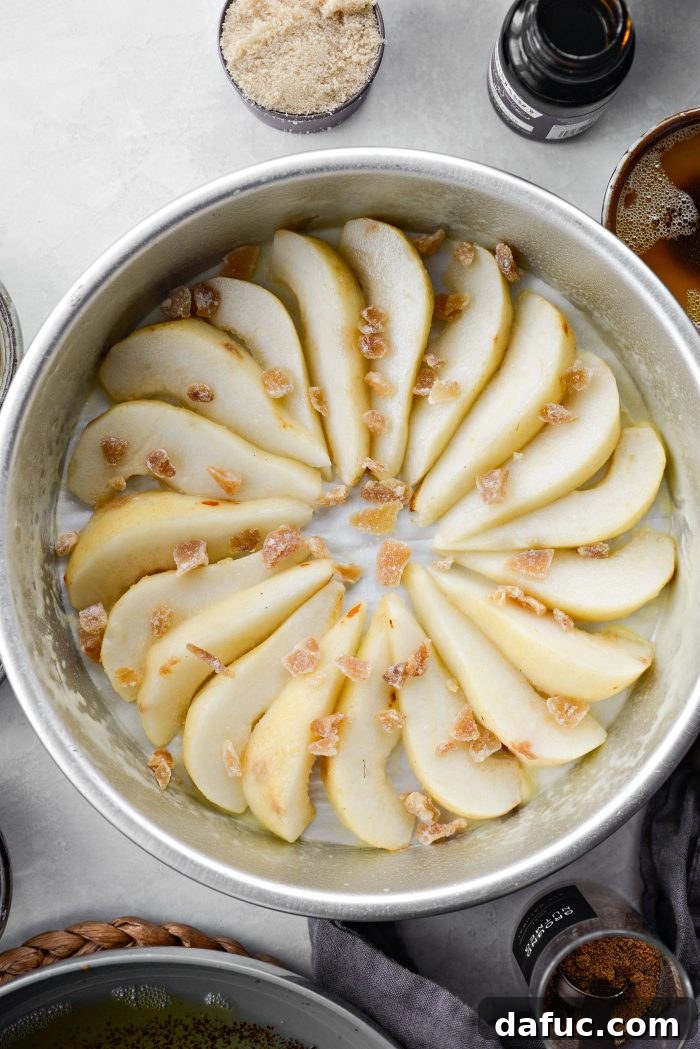
Crafting the Exquisite Fruit Layer
The visual appeal of an upside-down cake largely comes from its carefully arranged fruit topping. This is where your cake begins to take shape:
- Carefully peel and core 2 Bosc pears. Be sure to remove any tough stem fibers running through the center. Slice the pears into even eighths. Arrange these pear slices artfully in the prepared 9-inch cake pan, creating a beautiful spiral or pattern. Don’t worry if you have a few extra slices; they make a delightful cook’s snack!
- Evenly sprinkle 2 tablespoons of finely chopped crystallized ginger over the arranged pears. These sweet, spicy bits will soften and release their aromatic flavor during baking, infusing the pears with a warm, zesty kick.
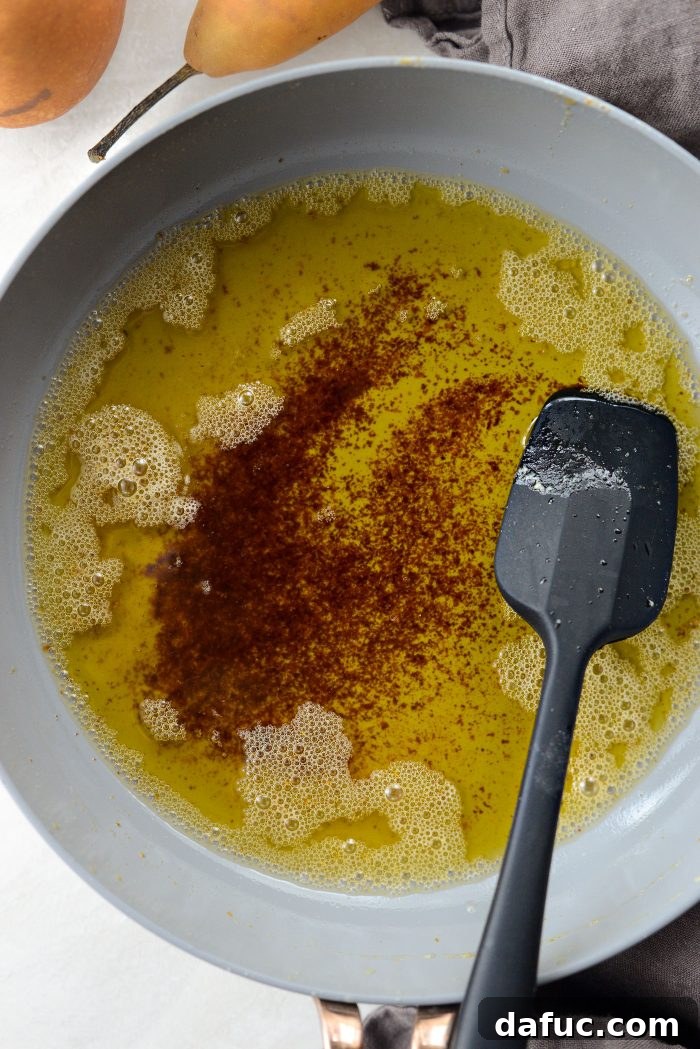
Mastering the Art of Browned Butter
Browning butter is a simple technique that adds a profound depth of flavor. It’s a crucial step for both the pear glaze and the cake batter:
- In a light-colored skillet (this helps you see the color change), melt 1/2 cup of unsalted butter over medium heat. Watch closely as the butter melts, foams, and begins to bubble. The milk solids will separate and settle to the bottom. Continue cooking, stirring occasionally, until these milk solids turn a beautiful golden brown and emit a rich, nutty aroma. This usually takes 5-7 minutes.
- Immediately remove the skillet from the heat to prevent the butter from burning. Carefully measure out 1/4 cup of this liquid gold and set it aside to cool slightly; this portion will be incorporated into our cake batter later.
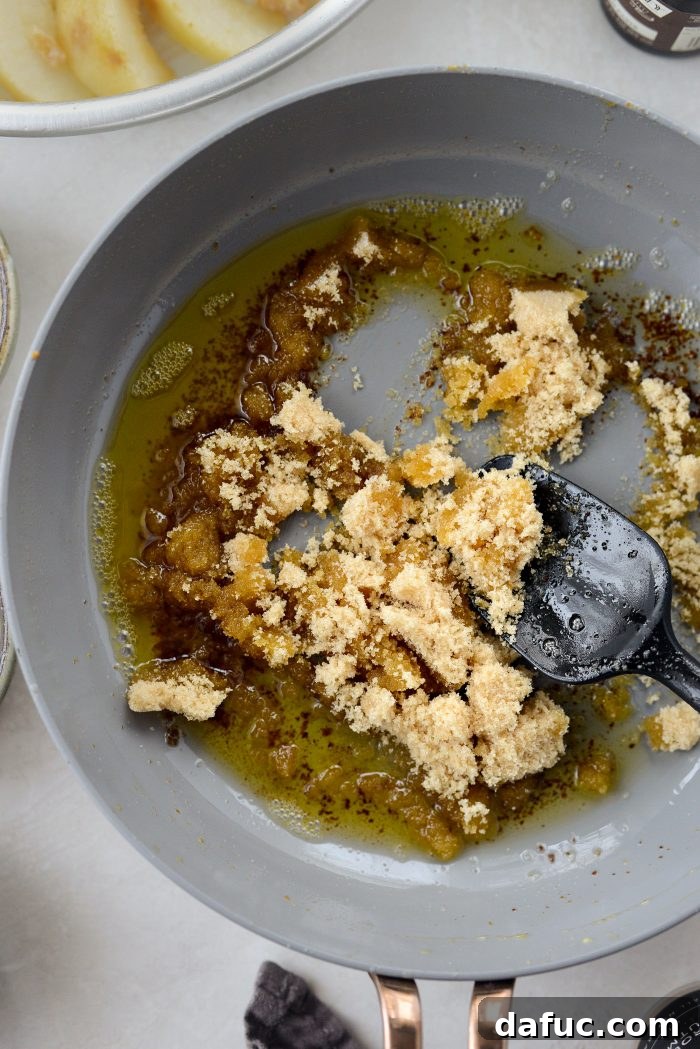
Assembling the Irresistible Pear Glaze
With the browned butter ready, we can now create the rich, sticky glaze that will coat our pears:
- To the remaining browned butter still in the saucepan (it should be roughly 1/4 cup), add 1/4 cup of light brown sugar and a pinch of fine salt. Stir these ingredients together until the sugar is fully dissolved and combined with the butter, forming a thick, fragrant mixture. The warmth of the butter will help the sugar melt beautifully.
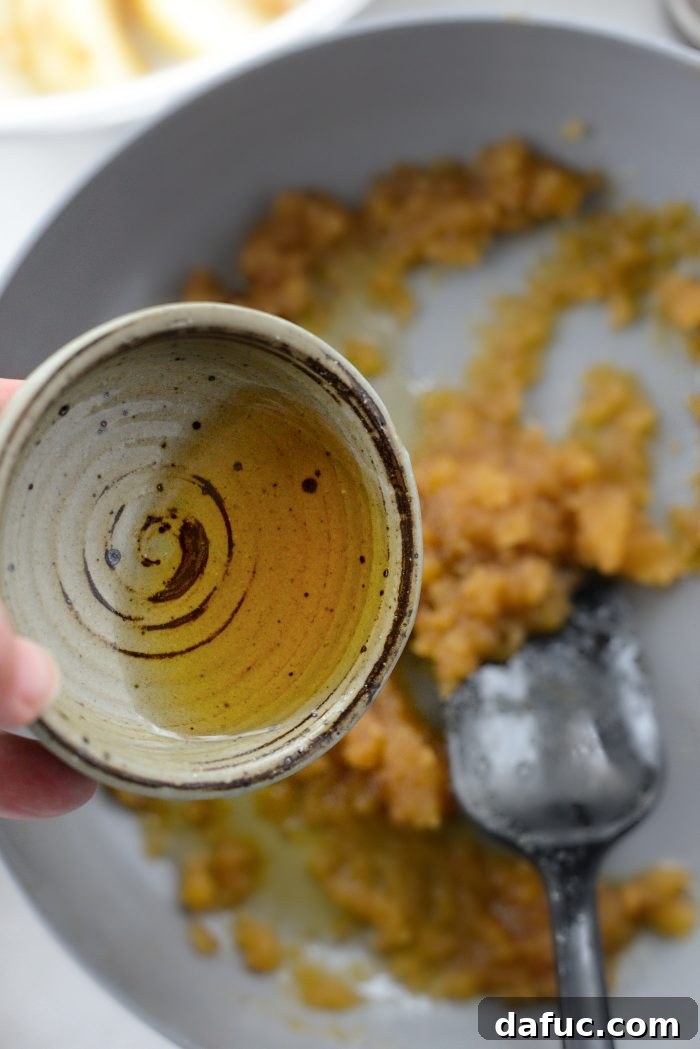
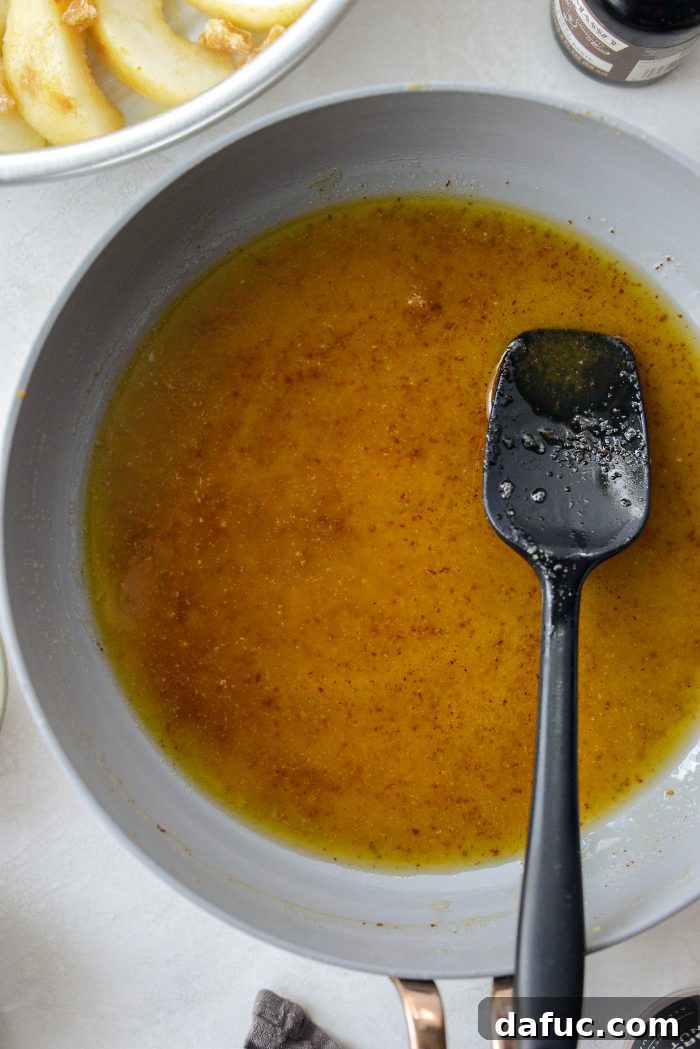
- Next, carefully pour in 2 tablespoons of bourbon. Stir vigorously until the bourbon is fully incorporated into the butter and sugar mixture, creating a smooth, aromatic glaze.
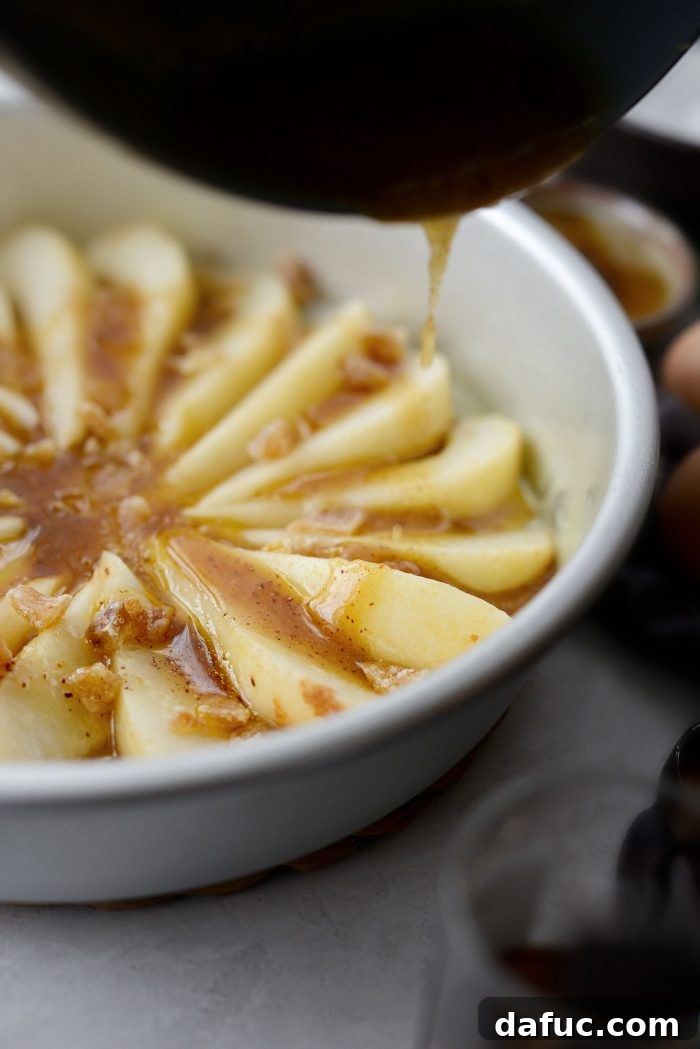
- Evenly pour this decadent bourbon brown butter mixture over the arranged pears and crystallized ginger in the cake pan. Don’t worry if the butter begins to solidify as it cools; it will perfectly melt and caramelize during baking, creating that glorious upside-down crust. Set the pan aside while you prepare the cake batter.
Preparing the Fluffy Buttermilk Cake Batter
Now it’s time to assemble the cake batter that will cradle our spiced pears. This simple buttermilk cake is incredibly moist and tender:
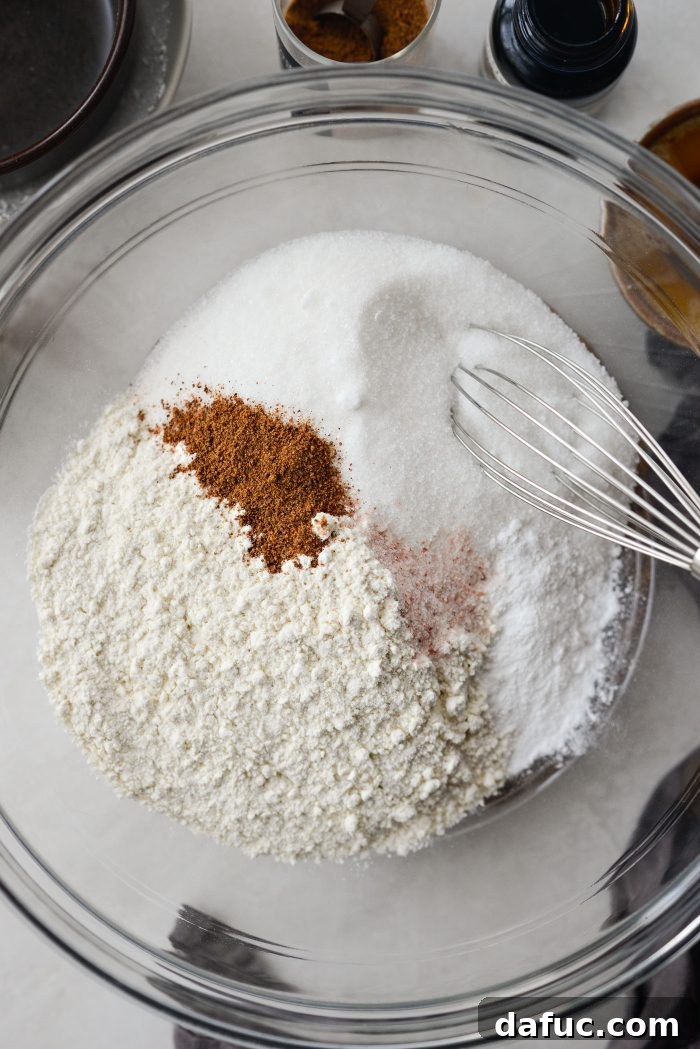
- In a large mixing bowl, measure and add 1-1/2 cups of unbleached all-purpose flour, 3/4 cup of granulated sugar, 1 teaspoon of baking powder, 1 teaspoon of baking soda, 1/2 teaspoon of ground nutmeg, and 1/2 teaspoon of fine salt.
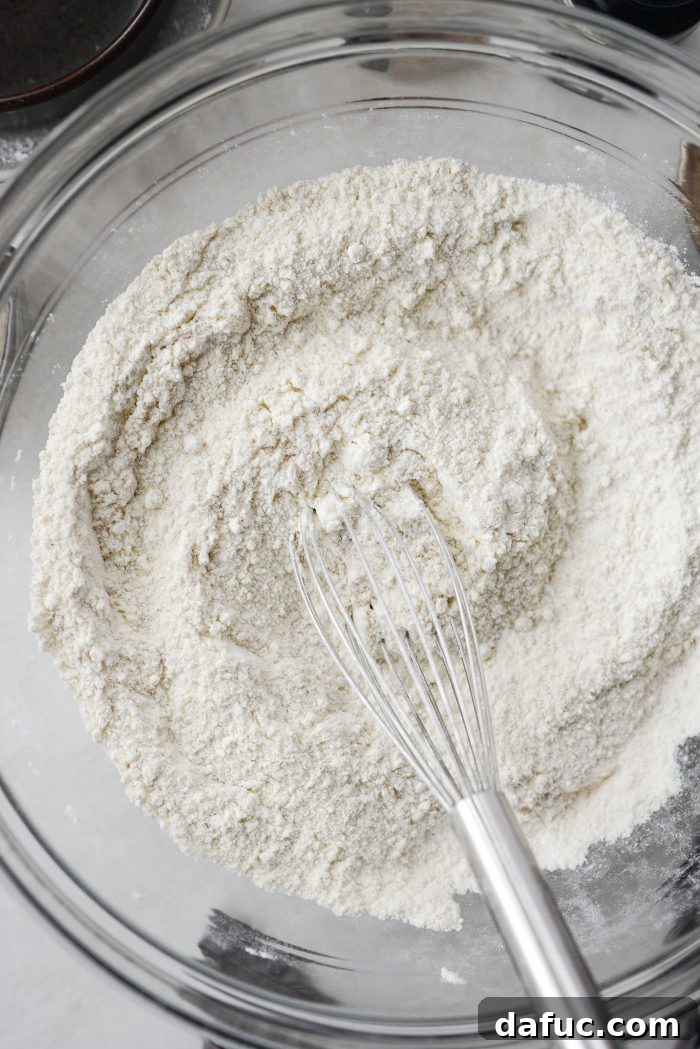
- Using a whisk, thoroughly combine all the dry ingredients until they are well integrated and no lumps remain. Set this bowl aside.
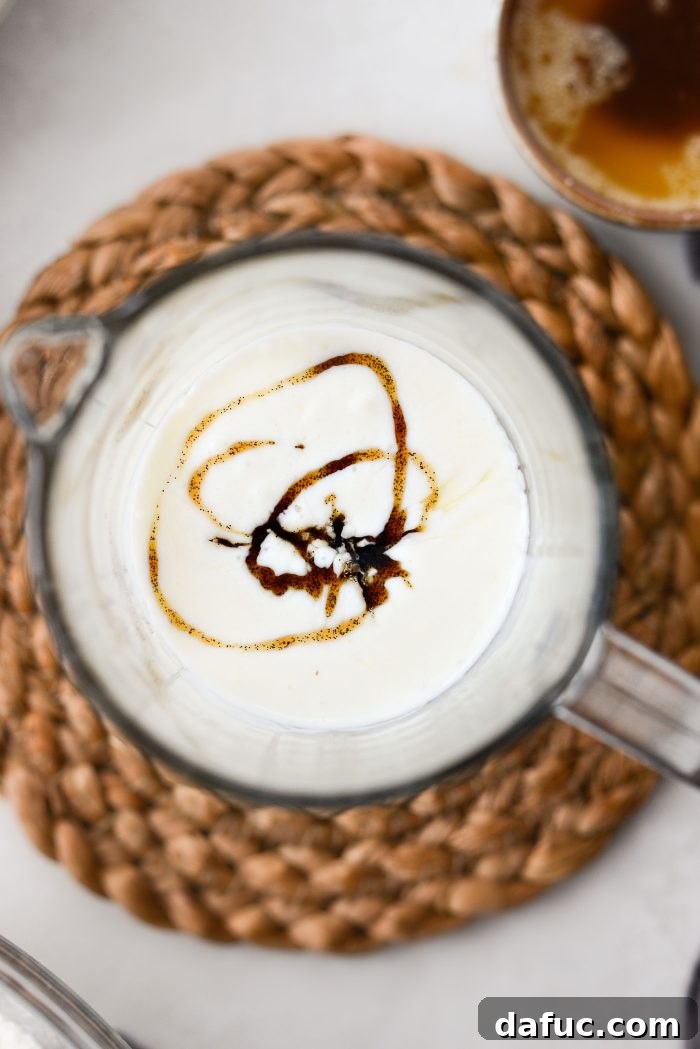
- In a separate liquid measuring cup, combine 1/2 cup of buttermilk, 2 large eggs, and 1 teaspoon of vanilla bean paste (or your chosen vanilla substitute).
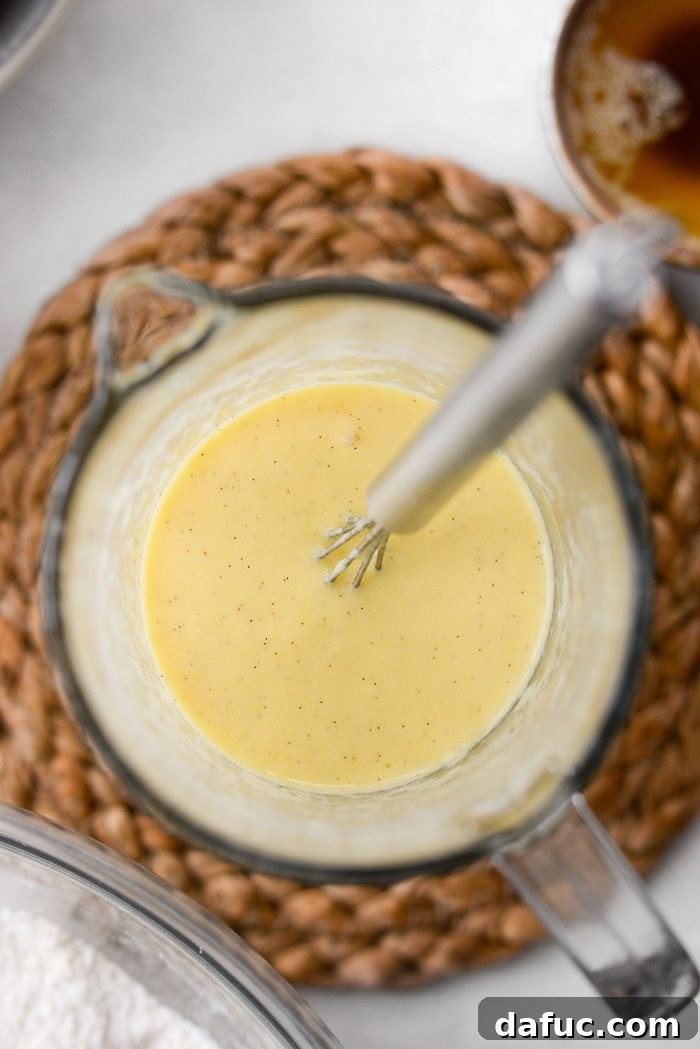
- Whisk these wet ingredients together until they are well combined and smooth.
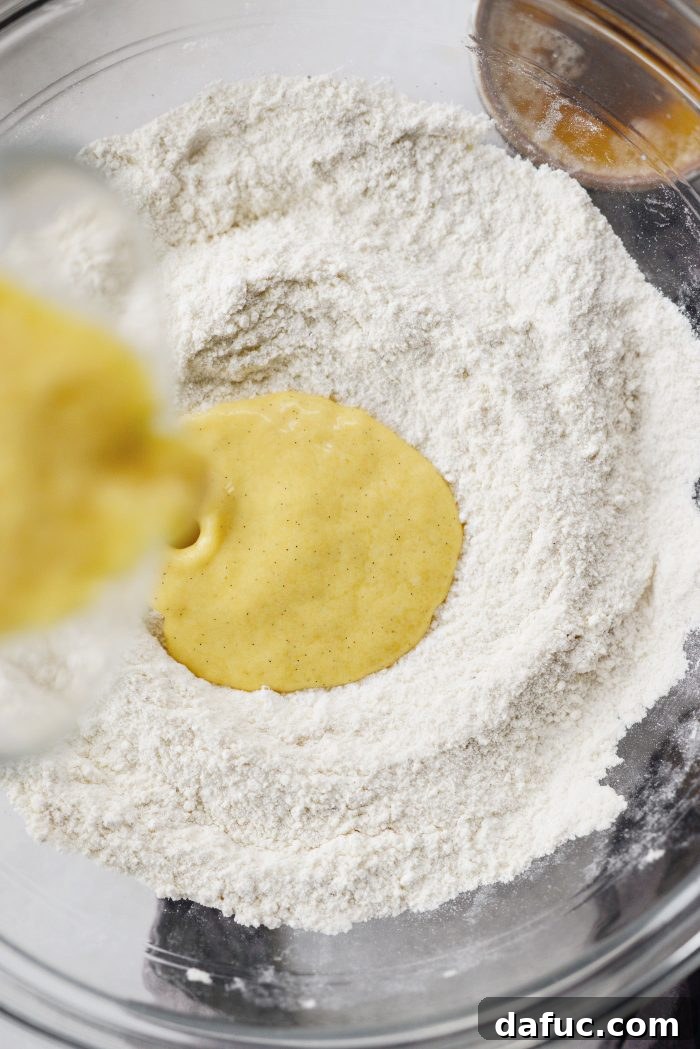
- Pour the buttermilk mixture directly into the bowl containing the whisked dry ingredients.
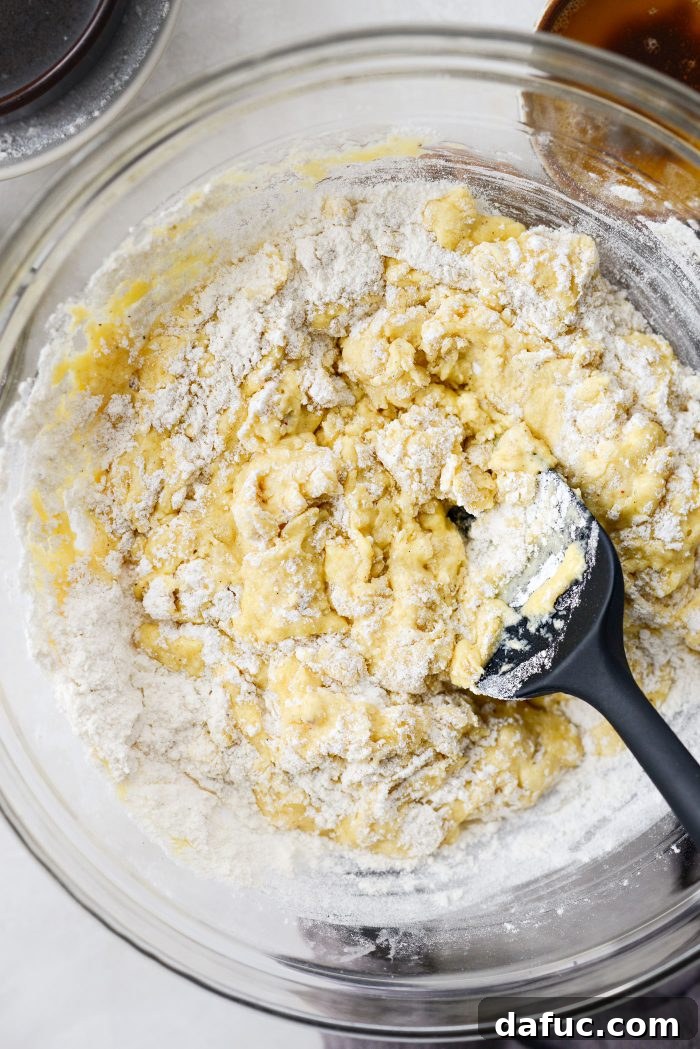
- Switch to a rubber spatula and gently fold the ingredients together until just combined. Be careful not to overmix; a few streaks of flour are acceptable, as overmixing can lead to a tough cake.
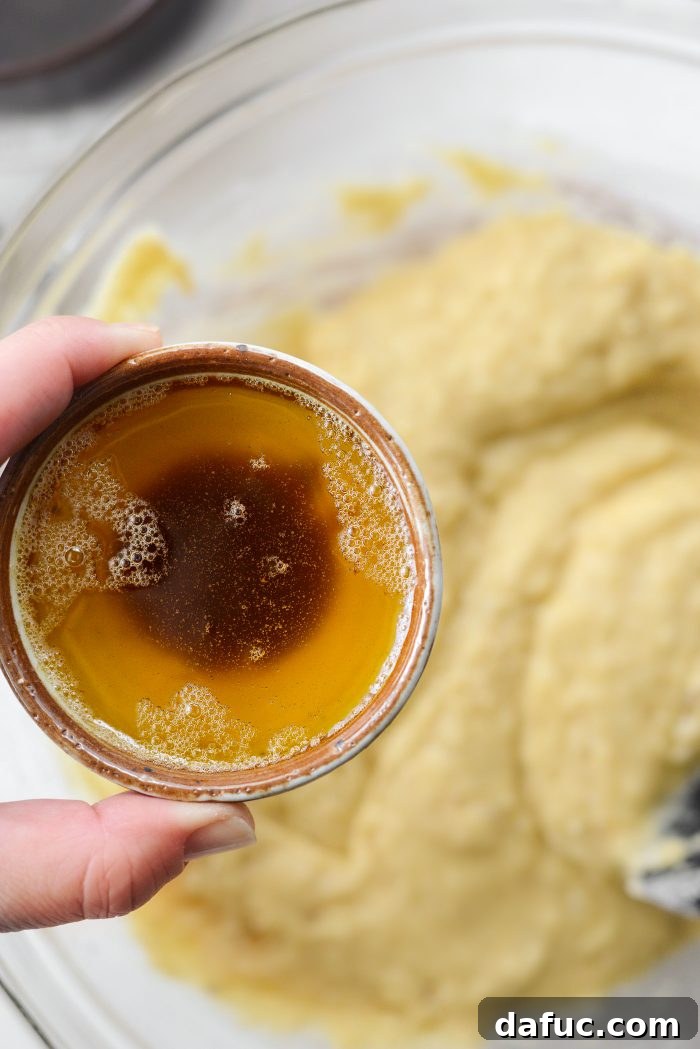
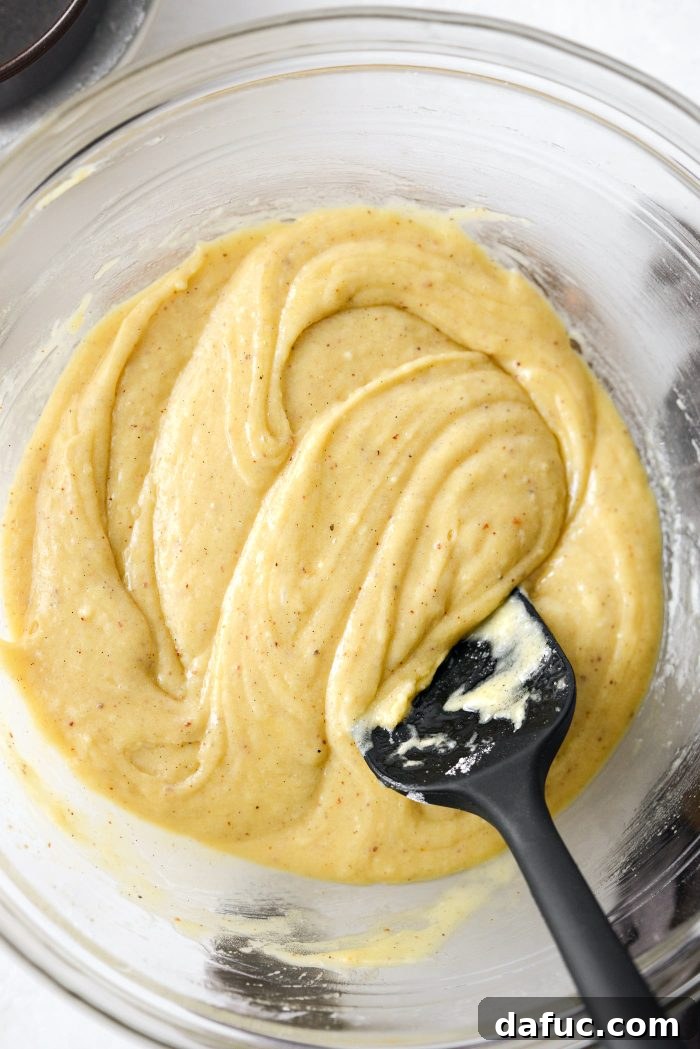
- Finally, pour in the reserved 1/4 cup of cooled brown butter. Gently fold it into the batter until it is just incorporated. The brown butter adds another layer of nutty richness and helps ensure a tender crumb.
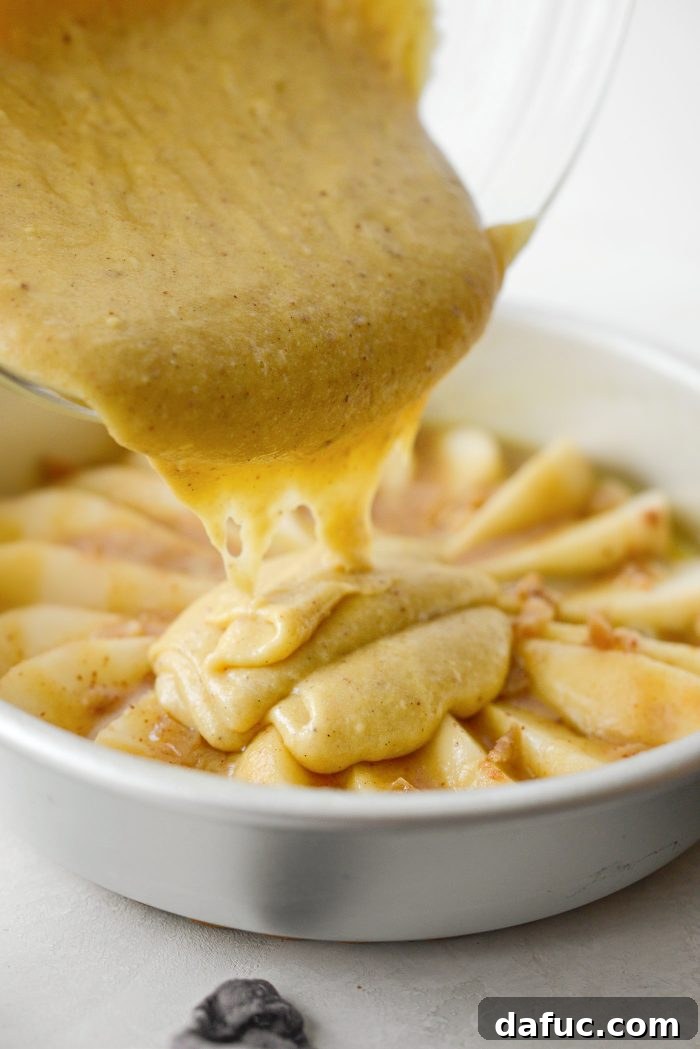
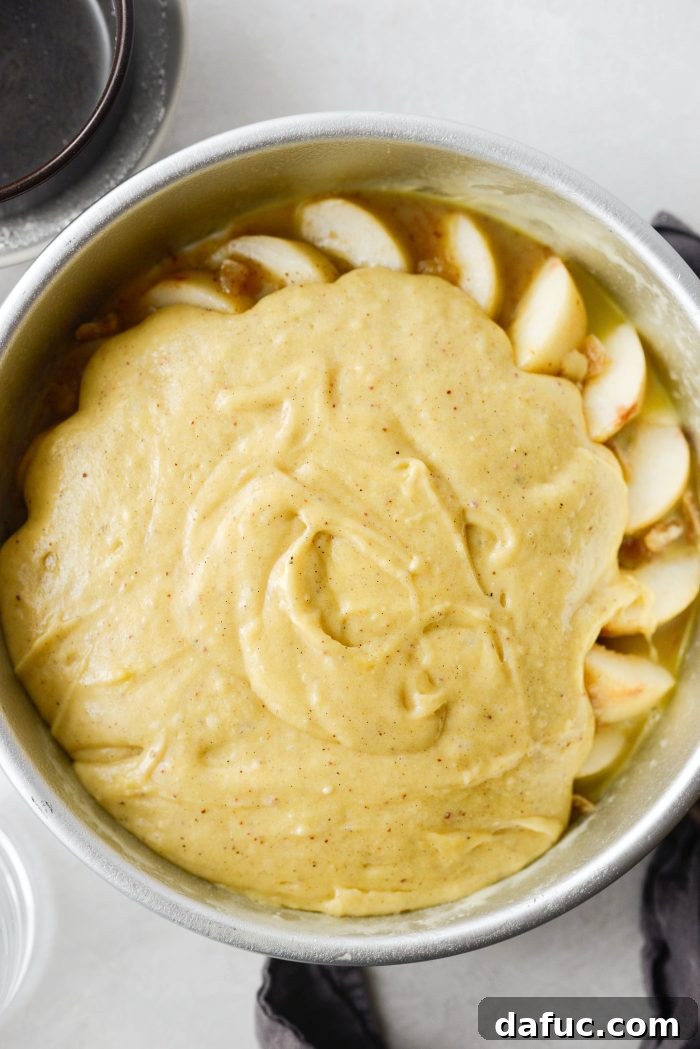
- Carefully pour the cake batter over the prepared pear layer in the pan.
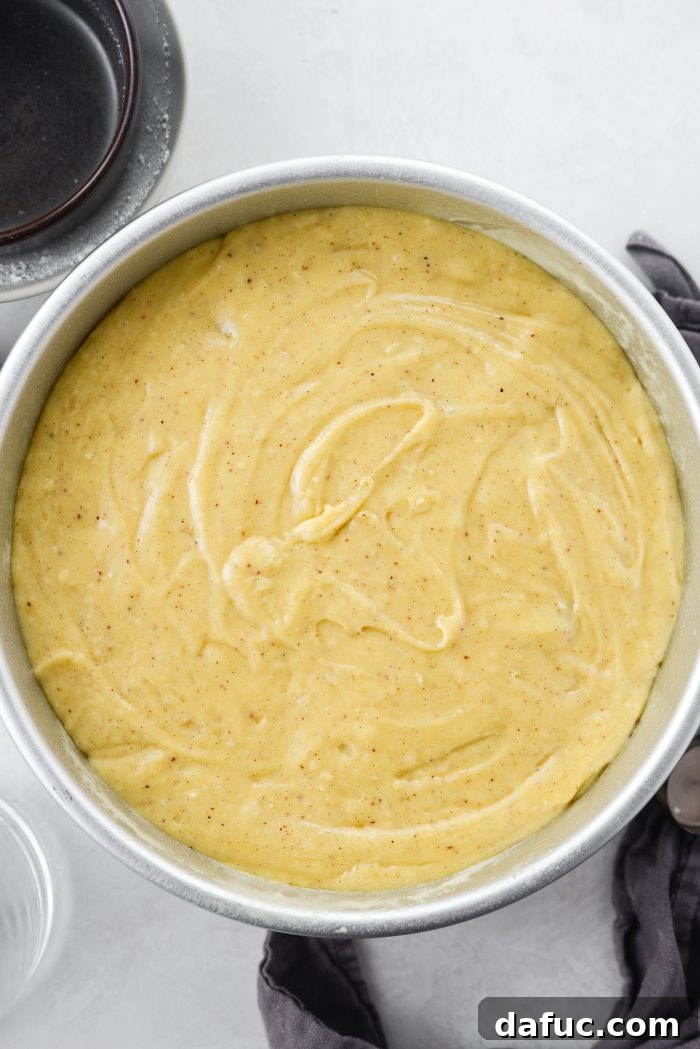
- Using an offset spatula or the back of a spoon, gently spread the cake batter out evenly to cover the pears completely. Bake the cake on the middle rack of your preheated oven for 35 to 40 minutes, or until a wooden toothpick or cake tester inserted into the center of the cake comes out clean. The top of the cake should be golden brown and spring back when lightly touched.
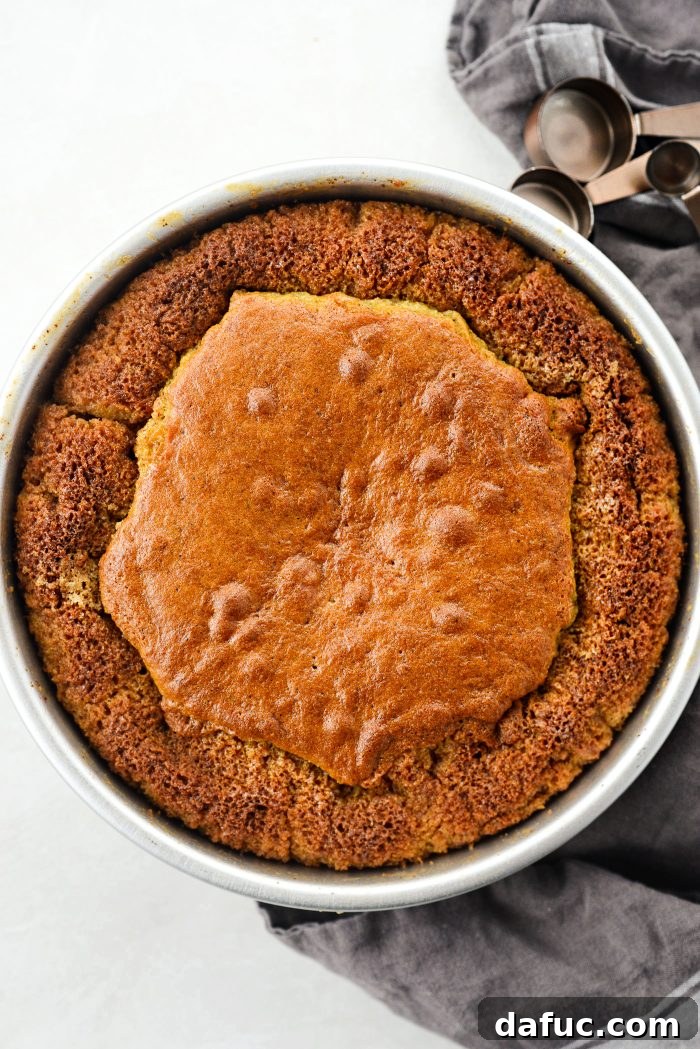
The Grand Reveal: Inverting and Serving Your Cake
The moment of truth! Inverting an upside-down cake is always exciting, revealing the beautifully caramelized fruit topping:
- Once baked, remove the cake from the oven and allow it to rest in the pan for 30 minutes. This crucial cooling time allows the caramel to set slightly and the cake to firm up, making inversion much easier.
- After 30 minutes, run a thin knife carefully around the edge of the cake pan to loosen any stuck bits. Place a serving platter or cake stand upside down over the cake pan. With a firm, swift motion, carefully invert the cake onto the platter. The pan should lift off easily.
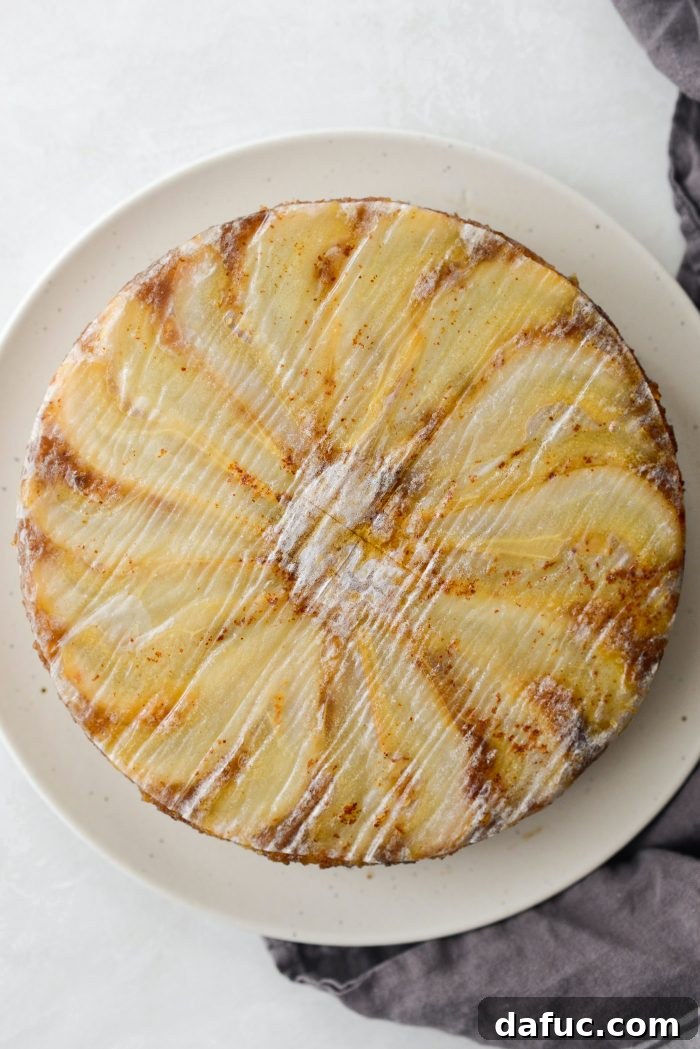
- Once inverted, gently peel back the parchment paper from the top of the cake, revealing the gorgeous, glistening pear and ginger topping.
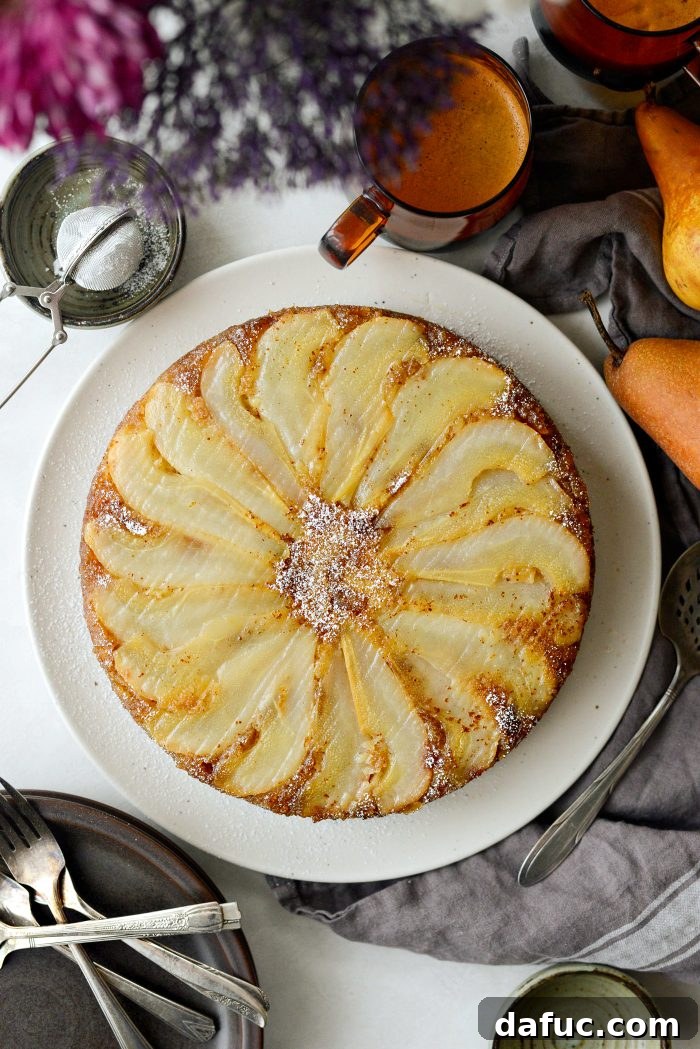
- For an extra touch of elegance, dust the slightly warm cake with a fine layer of powdered sugar just before serving.
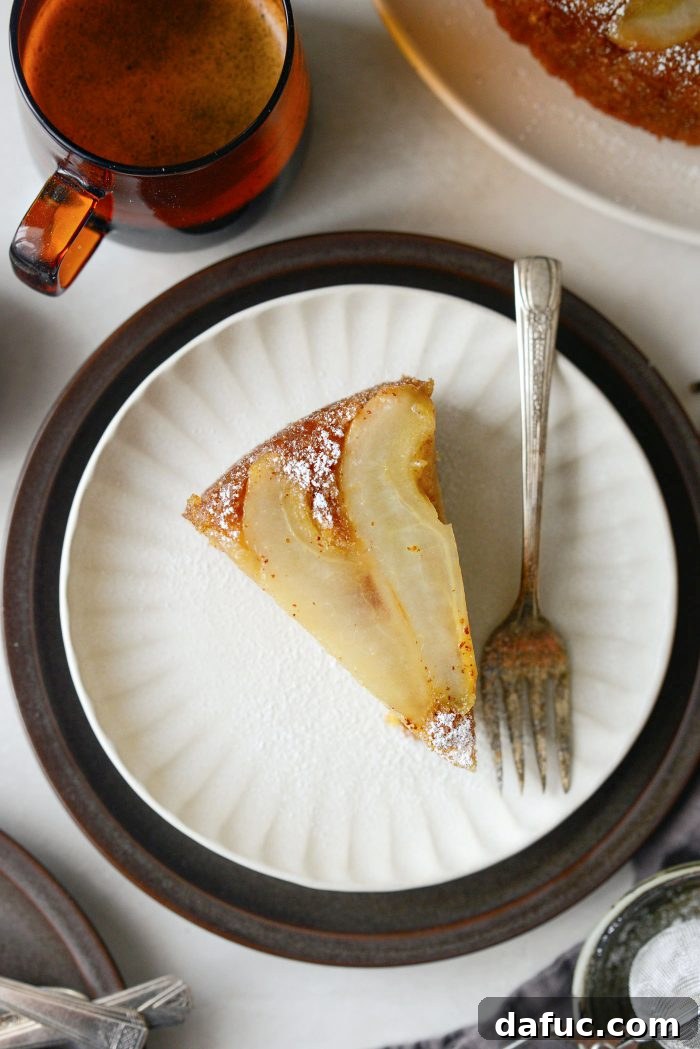
Serve warm, perhaps with a scoop of vanilla bean ice cream or a dollop of freshly whipped cream. Forks are highly recommended, but honestly, you might just want to dive right in!
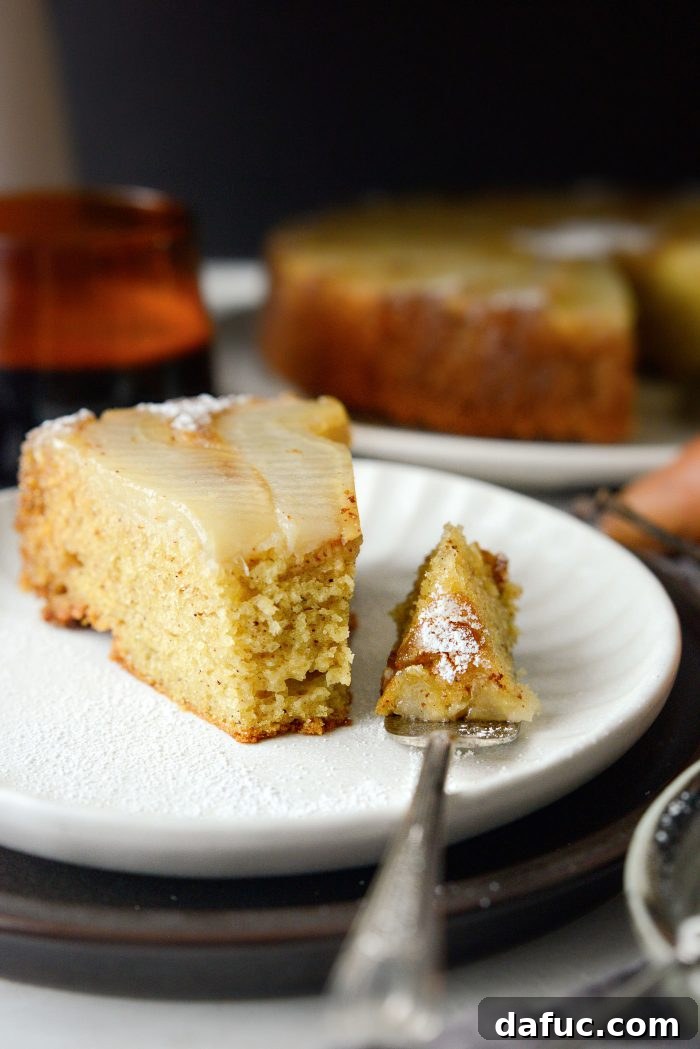
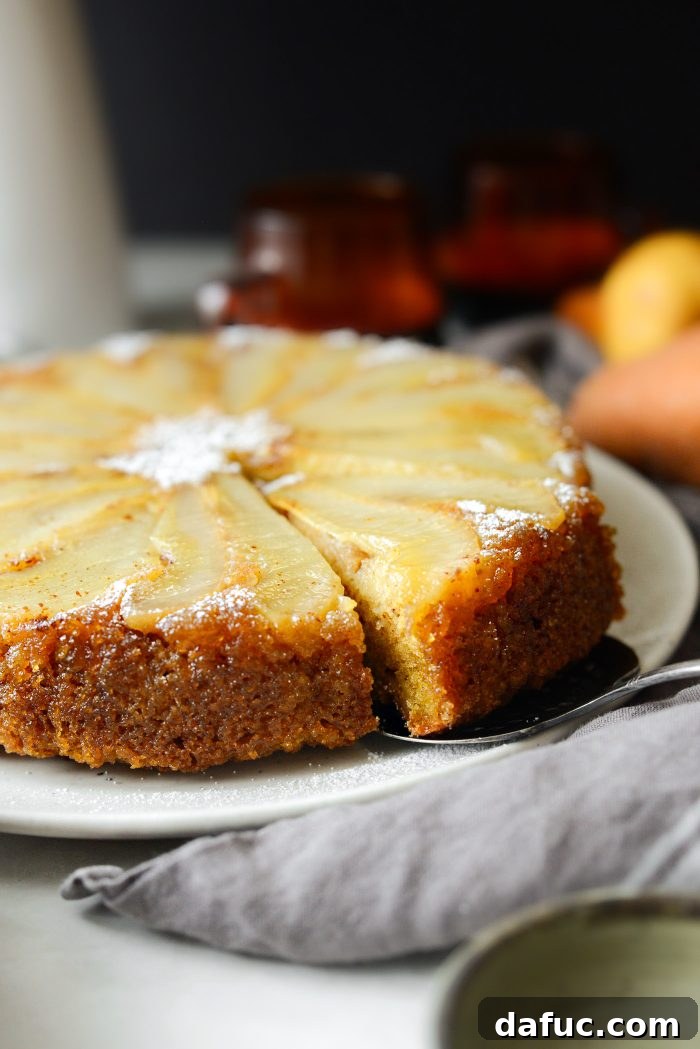
This Ginger Pear Upside Down Cake is truly a triumph of flavors and textures. The moist, tender brown butter cake, perfectly softened pears, and delightful pockets of sweet, spicy ginger create a symphony for your taste buds. And the best part? No frosting required! The stunning caramelized fruit topping is all the adornment this elegant dessert needs. It’s a comforting yet sophisticated cake that’s bound to become a favorite.
Essential Tips for Storing Your Upside Down Cake
To keep your delicious cake fresh and flavorful, proper storage is key:
- Once the cake has completely cooled to room temperature, transfer it to an airtight container. This prevents it from drying out and helps maintain its moist texture.
- Store the cake at room temperature. Refrigeration can sometimes alter the texture of cakes, making them denser, so room temperature is generally preferred for this type of dessert.
- For longer storage, the cake can also be frozen. Wrap individual slices or the whole cake tightly in plastic wrap, then in foil, and store in the freezer for up to 2-3 months. Thaw at room temperature before serving.
How Long Does Homemade Upside Down Cake Last?
While this cake is truly best enjoyed on the day it’s baked, its fantastic flavors and moist texture will hold up beautifully for a few days. If stored properly in an airtight container at room temperature, it will remain fresh and delicious for up to 3 to 4 days. Beyond that, the quality may start to diminish, but it will still be perfectly safe to eat.
Looking for More Delicious Cake Recipes?
If you’ve fallen in love with the ease and charm of this upside down cake, explore a wide array of other delightful cake recipes. From classic layer cakes to simple sheet cakes, there’s a perfect dessert waiting for every occasion. Click here for more cake recipes!
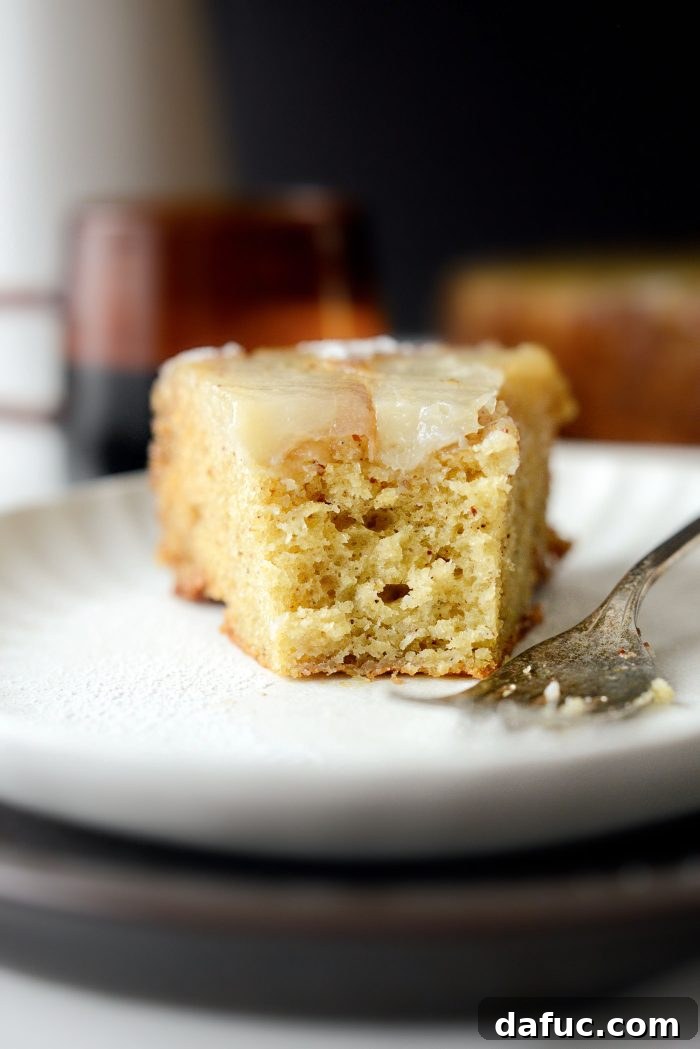
Enjoy every glorious bite! If you create this Ginger Pear Upside Down Cake recipe, we’d love to see your masterpiece. Snap a photo and share it with us by tagging on Twitter or Instagram!
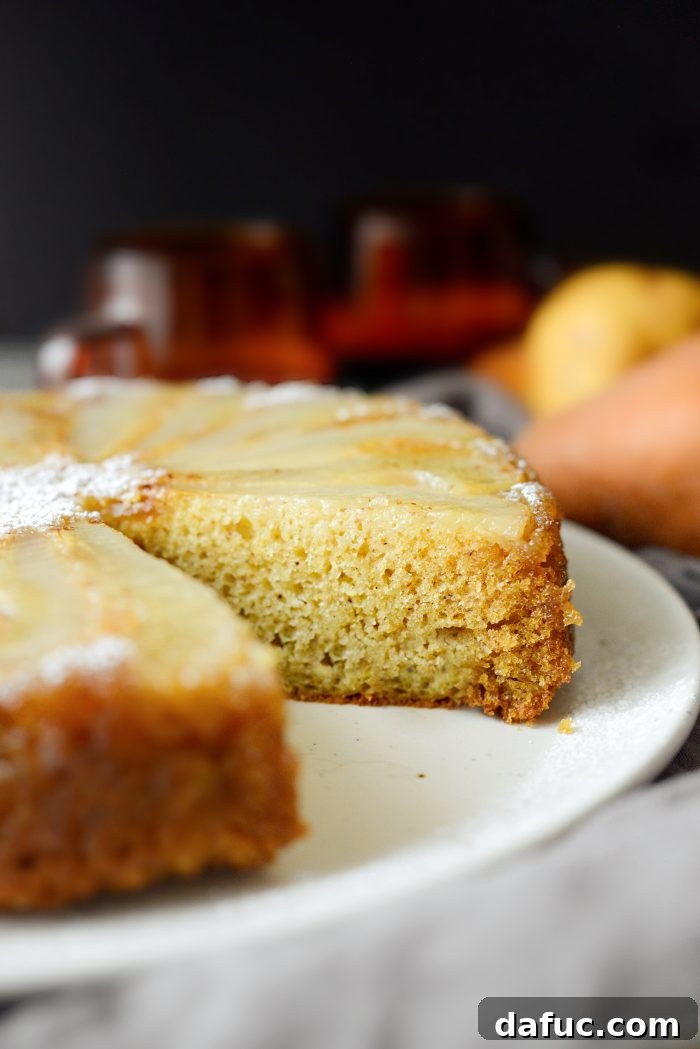
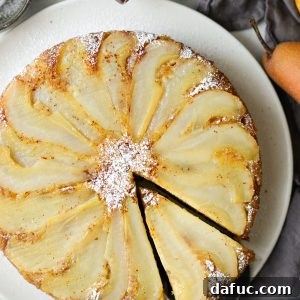
Print Recipe
Pin Recipe
Gingered Pear Brown Butter Upside Down Cake
Sliced juicy pears are sprinkled with crystallized ginger, topped with a bourbon brown butter glaze and then bake under a brown butter and vanilla buttermilk cake. Recipe yields 8 to 12 servings depending.
Prep Time: 1 hr
Cook Time: 35 mins
Total Time: 1 hr 35 mins
Ingredients
- Nonstick baking spray with flour
FOR THE PEAR LAYER:
- 2 semi-firm Bosc pears, peeled, cored and cut into eighths
- 2 tablespoons chopped crystallized ginger
- 1/2 cup browned butter, divided
- 2 tablespoons bourbon, or water
- 1/4 cup light brown sugar
- 1 pinch fine salt
FOR THE CAKE:
- 1½ cups unbleached all-purpose flour, plus more for dusting pan
- 1/2 cup sugar
- 1 teaspoon baking powder
- 1 teaspoon baking soda
- 1/2 teaspoon freshly grated nutmeg
- 1/2 teaspoon fine salt
- 1/2 cup buttermilk
- 2 large eggs
- 1 teaspoon vanilla bean paste, or 1 bean scraped or 1 teaspoon vanilla extract
Equipment
- USA Pan Bakeware Round Cake Pan Set
- STERILITE Cake Carrier and Storage Container
Instructions
MAKE THE PEAR LAYER:
- Preheat your oven to 350°F (or 180°C). Line the bottom of a 9-inch cake pan with parchment paper and spray with a nonstick baking spray with flour.
- Fan out as many pear slices as possible in the bottom of the cake pan and sprinkle with the crystallized ginger.
- Brown 1/2 cup of unsalted butter in a skillet over medium heat until the milk solids bubble and froth and eventually turn golden brown. Measure 1/4 cup and set aside to use in the cake batter.
- To the remaining brown butter in the saucepan, add the light brown sugar and a pinch of salt. Stir until combined. Lastly, pour in the bourbon, stir until incorporated, then pour the bourbon brown butter mixture over the pears and set aside.
MAKE THE CAKE:
- In a large mixing bowl, combine flour, sugar, baking powder, baking soda, nutmeg, and fine salt. Whisk to combine. In a liquid measuring cup, combine buttermilk, eggs, and vanilla bean paste. Whisk well to combine, then pour into the bowl with the dry ingredients. Switch to a spatula and stir until just combined. Lastly, pour in the reserved (1/4 cup) brown butter. Once combined, pour the batter over top of the pears and spread evenly.
- Bake the cake on the middle rack of your preheated oven for 35 to 40 minutes, or until a toothpick or cake tester comes out clean.
- Let cool in the pan for 30 minutes. Run a knife around the cake before inverting onto a platter (or cake stand) and slowly lifting off the pan. Carefully peel the parchment paper off the top of the cake. Let the cake cool for another 30 minutes or so before slicing and serving.
- For an extra special touch, dust it with powdered sugar and serve with vanilla ice cream or a dollop of whipped cream.
Nutrition Information (per slice):
- Serving: 1 slice
- Calories: 267 kcal
- Carbohydrates: 38g
- Protein: 4g
- Fat: 11g
- Saturated Fat: 6g
- Polyunsaturated Fat: 1g
- Monounsaturated Fat: 3g
- Trans Fat: 0.4g
- Cholesterol: 63mg
- Sodium: 374mg
- Potassium: 102mg
- Fiber: 2g
- Sugar: 21g
- Vitamin A: 367 IU
- Vitamin C: 2mg
- Calcium: 57mg
- Iron: 1mg
Author: Laurie McNamara
Course: Desserts & Sweet Treats
Cuisine: American
This recipe was originally posted on December 18, 2013, and has been updated with clear and concise instructions, new photography, and helpful information for an enhanced baking experience.