
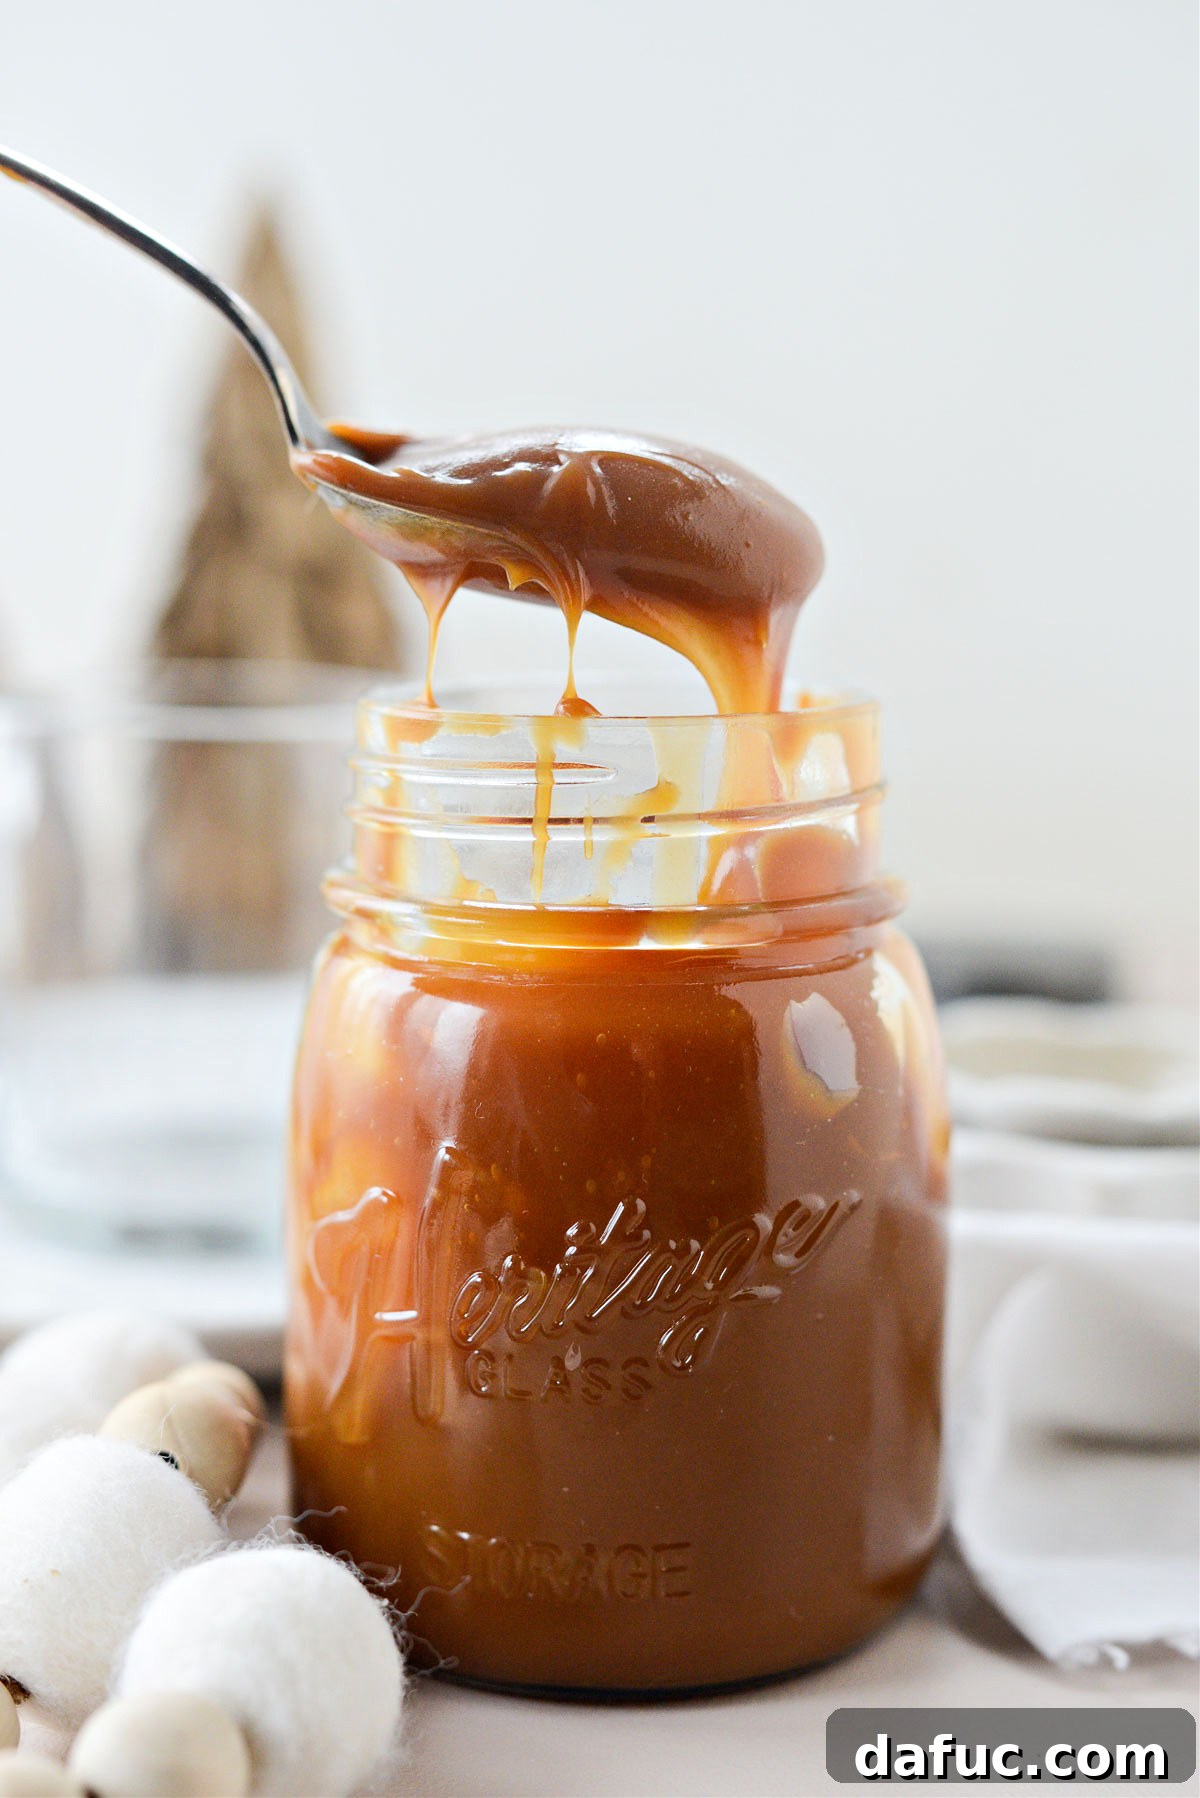
Irresistible Homemade Caramel Brûlée Sauce: Your Guide to Sweet Perfection
Prepare to fall in love with this extraordinary homemade Caramel Brûlée Sauce! More than just a simple caramel, this exquisite sauce is crafted by carefully melting and caramelizing sugar to achieve a rich, toasted depth of flavor. We then blend in luxurious salted butter, rich heavy cream, a touch of fragrant vanilla, and a pinch of salt to create a velvety smooth, decadent topping that will elevate any dessert or beverage. This recipe yields approximately 1-1/2 cups, providing about 12 (2-tablespoon) servings of pure bliss. It’s truly a game-changer for drizzling over pies and ice cream, swirling into your morning coffee or latte, or serving as an elegant dip for fresh apple slices.
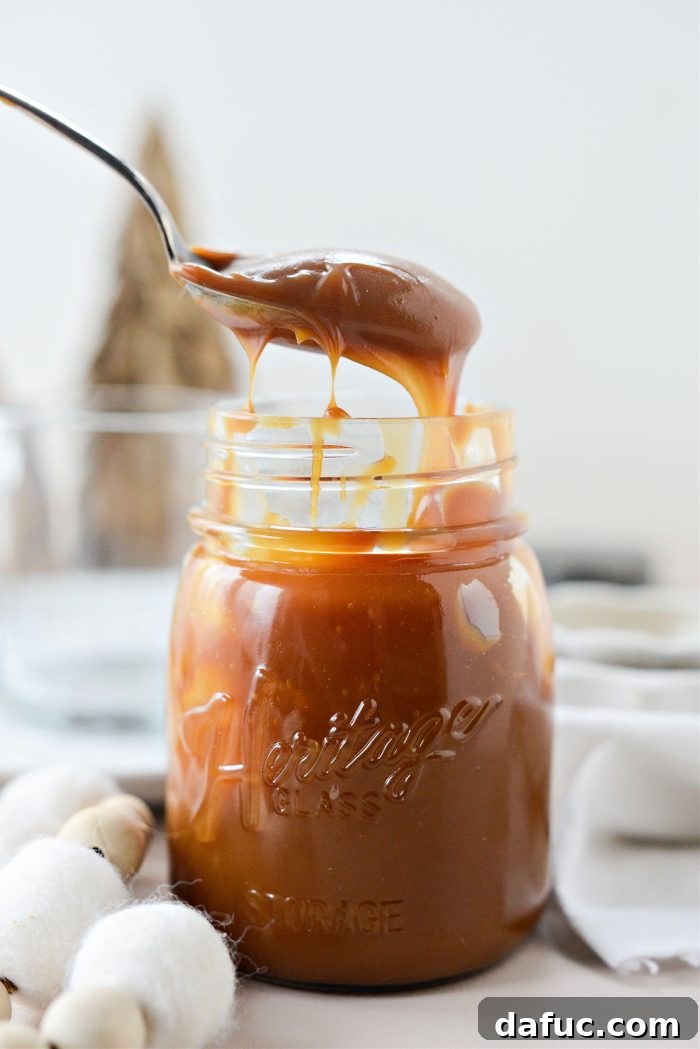
What Exactly is Caramel Brûlée Sauce?
While sharing a lineage with traditional caramel, Caramel Brûlée Sauce distinguishes itself through its unique flavor profile derived from the caramelization process. In this recipe, the sugar is not merely melted but allowed to reach a deeper, more profound caramelization in the pan before other ingredients are introduced. This method imparts a distinct toasted, slightly bittersweet, and complex flavor reminiscent of the crunchy sugar topping on a classic crème brûlée, hence the name. This depth adds an unparalleled richness that sets it apart from lighter, more straightforward caramels. Its versatility is truly remarkable; it harmonizes beautifully with an array of sweet treats and drinks, making it an indispensable component of any gourmet kitchen.
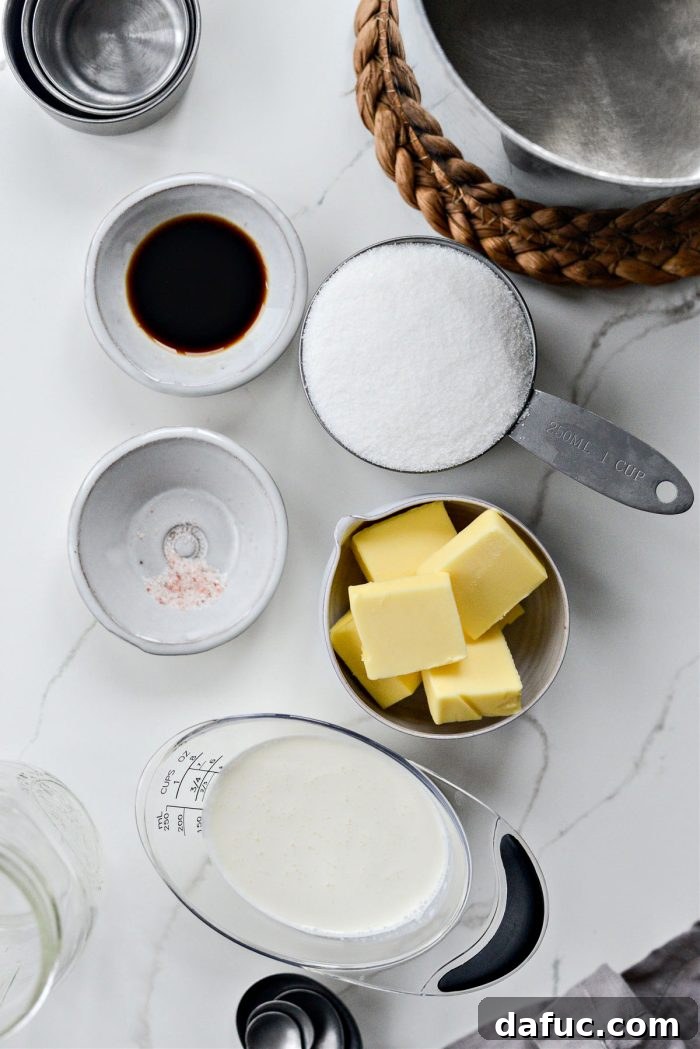
Essential Ingredients for Your Homemade Caramel Brûlée Sauce
Creating this magnificent sauce requires just a handful of simple, high-quality ingredients. Each plays a crucial role in achieving that perfect balance of sweetness, creaminess, and toasted flavor:
- Granulated Sugar: This is the foundation of our caramel. When heated, granulated sugar undergoes a transformative process, turning from sweet crystals into a complex, amber-colored liquid with nutty, slightly bitter notes. The extent of this caramelization directly influences the final flavor depth of your sauce.
- Salted Butter: Butter introduces a luxurious richness and contributes to the sauce’s smooth, emulsified texture. Using salted butter is a conscious choice here, as the salt cuts through the sweetness and significantly enhances the caramel’s overall flavor profile, providing a delightful contrast. If you only have unsalted butter, simply add an extra pinch of salt to the recipe.
- Heavy Cream: Essential for achieving the signature creamy, pourable consistency of the caramel sauce. Heavy cream, with its high fat content, stops the caramelization process and provides the necessary body and velvety mouthfeel, preventing the caramel from hardening or becoming too chewy.
- Pure Vanilla Extract: A touch of pure vanilla extract is like a secret weapon in caramel. It doesn’t just add its distinct aromatic flavor; it also magically enhances and rounds out all the other flavors in the sauce, bringing a warm, comforting note to the rich caramel.
- Salt: While salted butter already provides some seasoning, an additional 1/4 teaspoon of salt is crucial for balancing the intense sweetness and elevating the complex caramel notes. Experiment with different types like fine sea salt, flaky sea salt (for a textural pop if desired), pink Himalayan salt, or kosher salt to find your preferred savory counterpoint.
The Art of Caramelization: A Step-by-Step Guide
Making caramel might seem daunting, but with a little patience and attention to detail, you’ll master this rewarding process. Safety is paramount when working with hot sugar, so always exercise caution.
Choosing the Right Pot for Perfect Caramel
Before you begin, selecting the appropriate cookware is vital. I highly recommend using a stainless steel, heavy-bottomed pot. The heavy bottom ensures even heat distribution, which is crucial for preventing hot spots that can cause your sugar to burn unevenly. Stainless steel, with its light interior, also offers a distinct advantage: it allows you to accurately observe the sugar’s color change as it caramelizes. Darker pans can make the caramel appear darker than it truly is, potentially leading you to undercook or overcook it. Ultimately, however, use what you’re comfortable with, keeping these observations in mind.
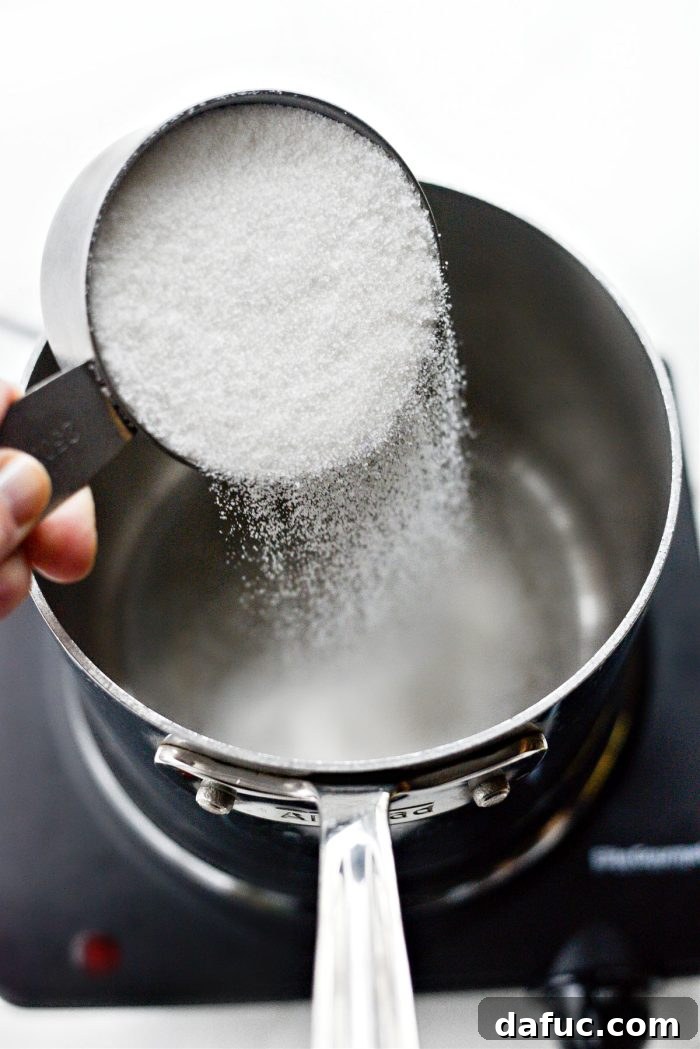
Step 1: Prepare the Sugar. Begin by adding 1 cup of granulated white sugar into your chosen stainless steel, heavy-bottomed pot. Ensure the sugar is spread evenly across the bottom of the pot to encourage uniform melting.
Watching the Magic Happen: From Granules to Liquid Gold
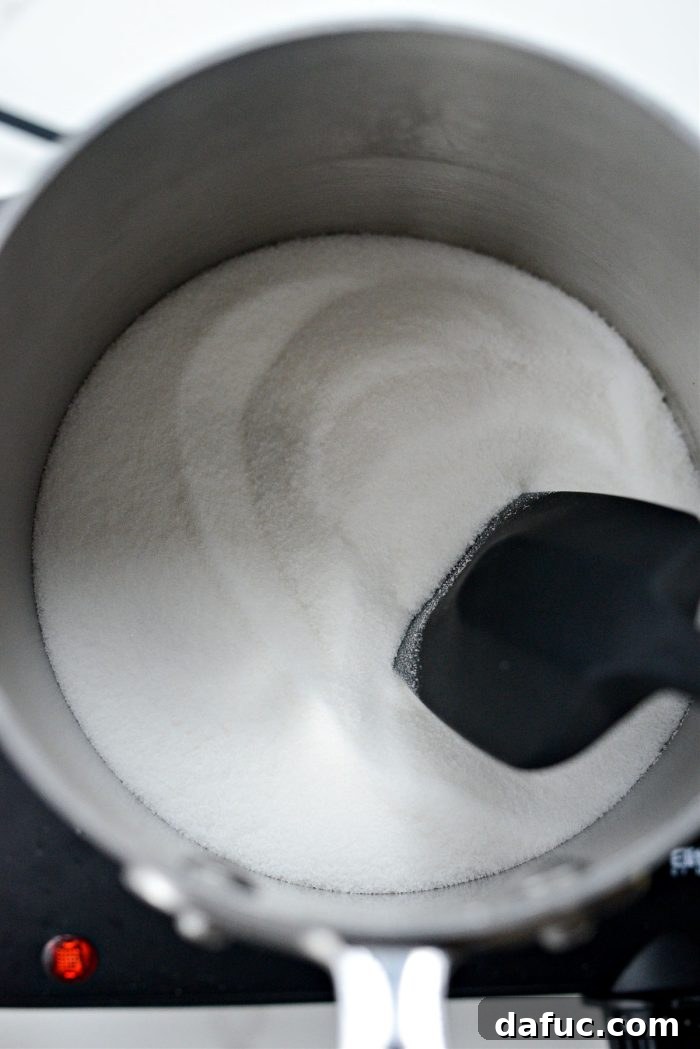
Step 2: Start the Caramelization Process. Place the pot over medium to medium-high heat. The key here is to stir occasionally. Initially, you might notice the sugar starting to crystalize and clump together; this is a completely normal phase in the caramelization process and no cause for alarm. The constant application of heat, combined with your occasional stirring, will gradually break down these clumps. The sugar crystals will begin to melt, transforming into a clear, syrupy liquid. This entire initial melting phase typically takes between 4 to 5 minutes, depending on your stovetop and pot.
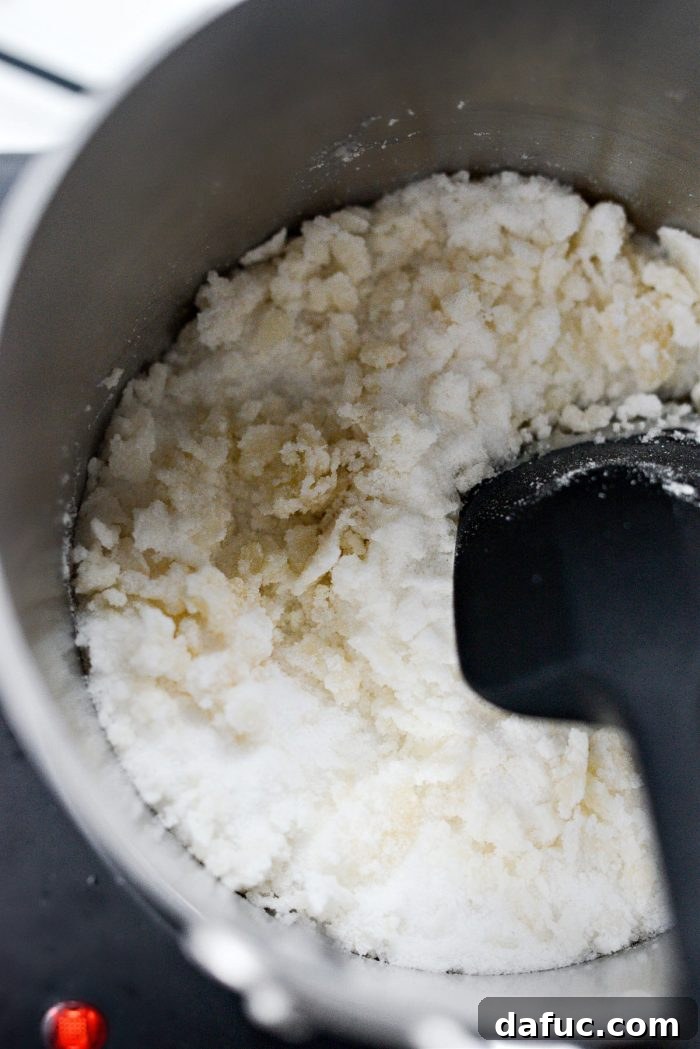
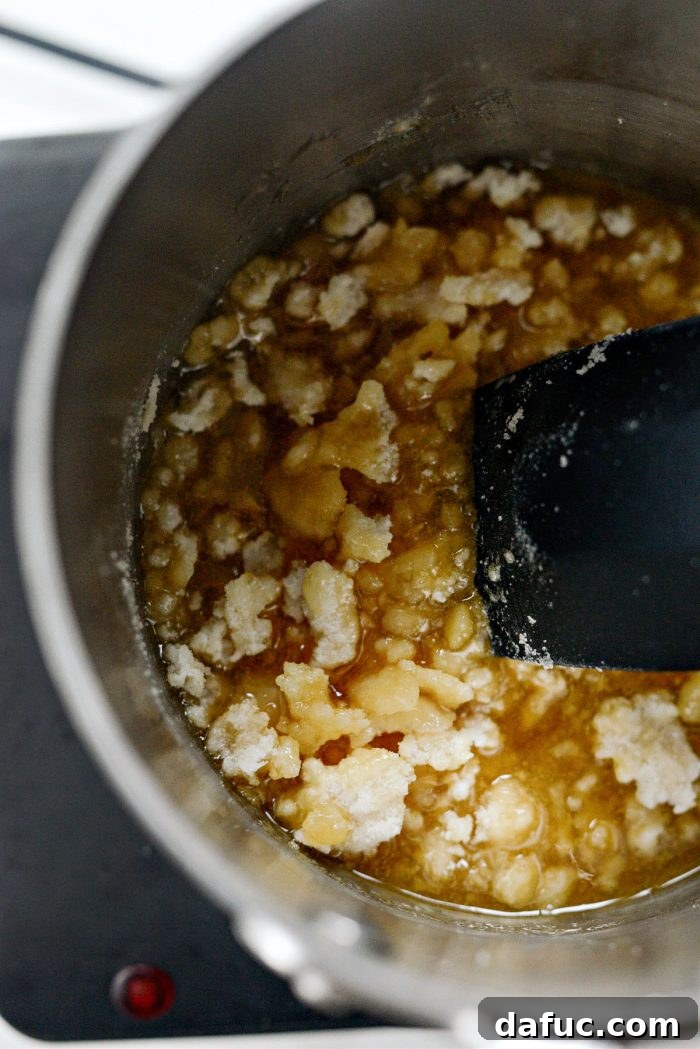
Step 3: Achieving the Perfect Brûlée Color. As the clumps melt away, the sugar syrup will begin to deepen in color, progressing from a pale straw yellow to a rich, deep amber. This is where the “brûlée” magic happens. Pay close attention during this stage, as the sugar can go from perfectly caramelized to burnt very quickly. You’re aiming for a deep golden, almost copper-like hue, which indicates a complex, toasted flavor. If it becomes too dark, it will taste bitter. Throughout this process, don’t hesitate to adjust the heat as needed – lower it if you feel the sugar is browning too rapidly, or slightly increase it if it’s progressing too slowly. Continuous stirring during this phase helps ensure even caramelization and prevents scorching.
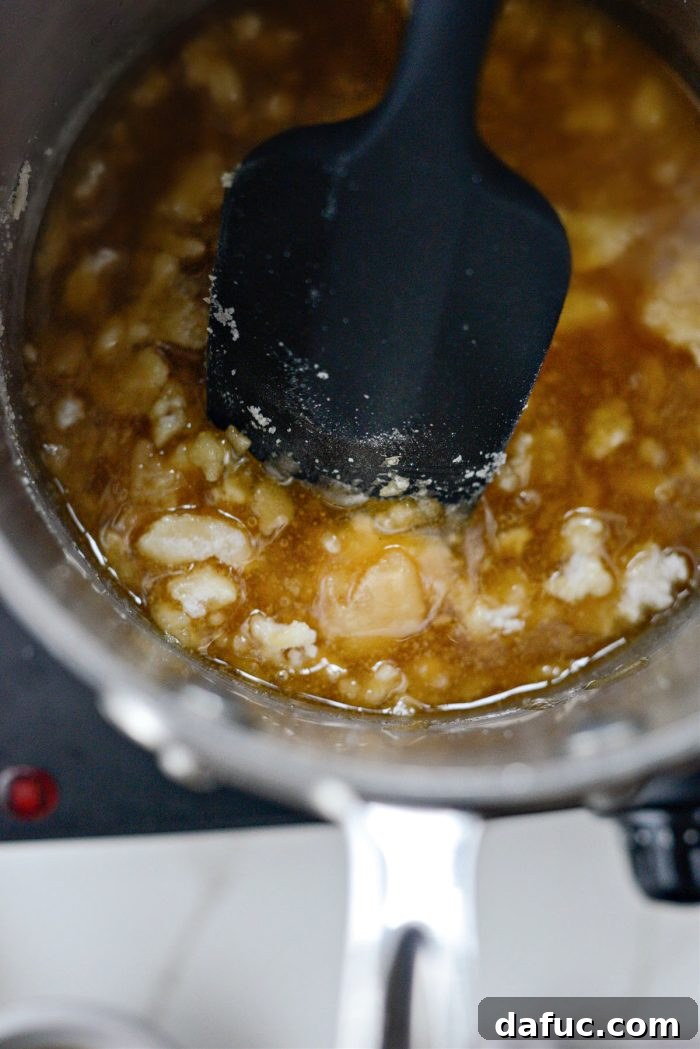
A crucial tip: Adjust the heat as you go to avoid burning the sugar. Burnt sugar cannot be salvaged and will impart an unpleasant bitter taste to your entire sauce.
Building Richness: Adding Butter and Cream
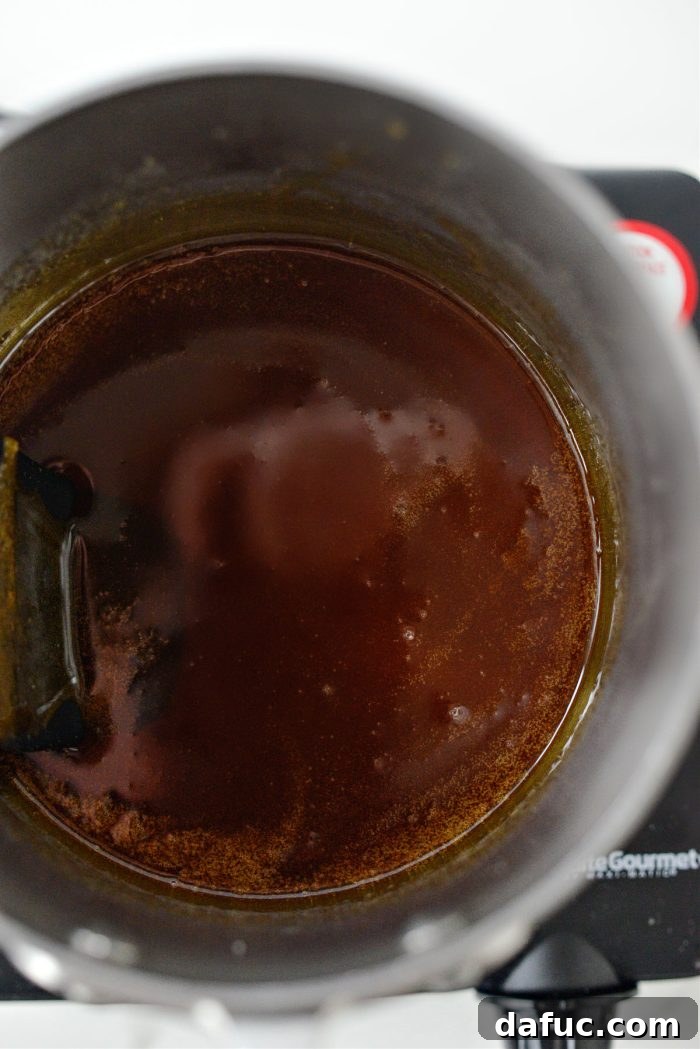
Step 4: Incorporate the Butter. Once your sugar has reached that beautiful deep golden color, immediately remove the pan from the heat. This is a critical step to stop the caramelization and prevent burning. Carefully add 6 tablespoons of room-temperature salted butter to the hot caramelized sugar. Be extremely cautious at this point, as the butter will bubble and steam vigorously when it hits the hot sugar. Whisk continuously and vigorously until the butter has completely melted and is fully incorporated into the caramel, creating a smooth, glossy mixture. Room temperature butter melts more evenly and reduces the chance of seizing.
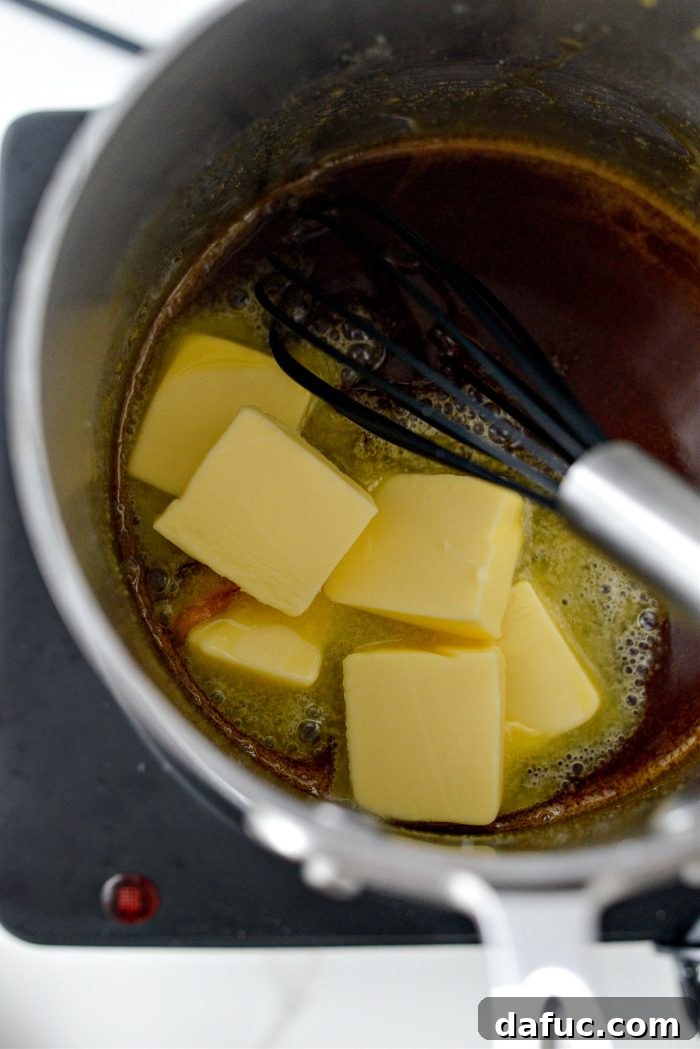
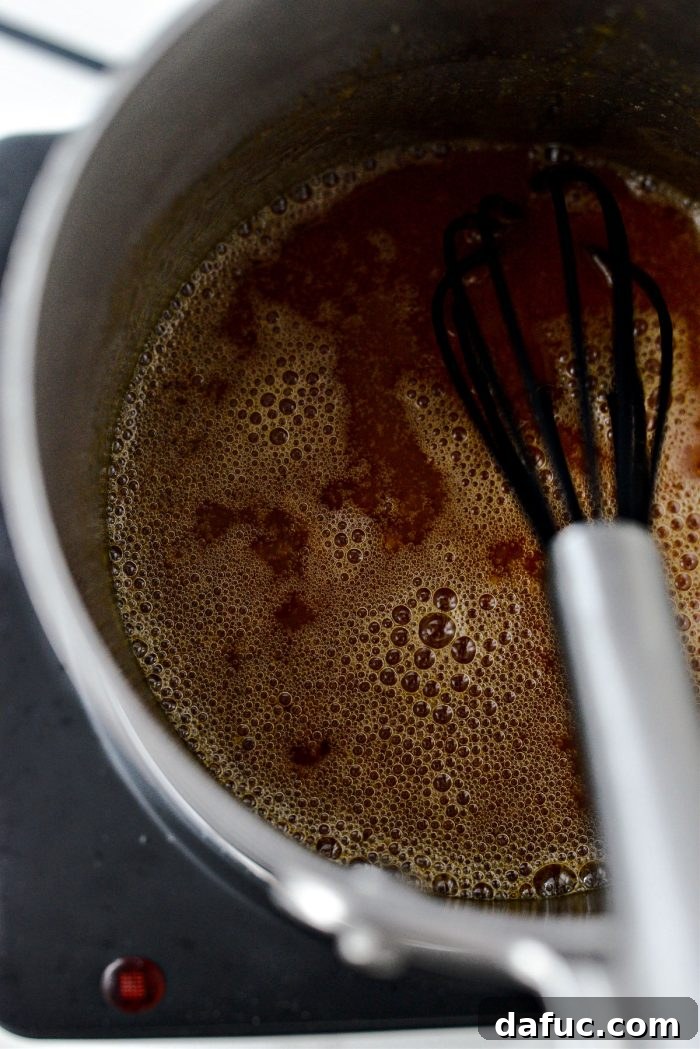
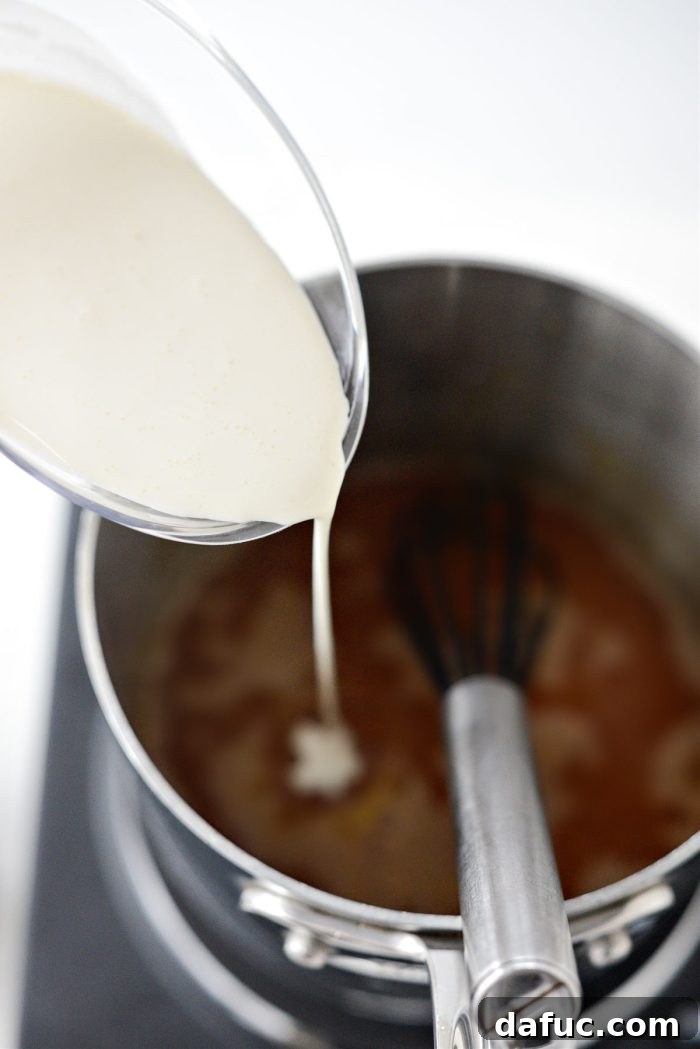
Step 5: Introduce the Heavy Cream. With the pan still off the heat and while continuing to whisk, slowly and carefully pour in 1/2 cup of heavy cream. Again, be prepared for bubbling and steaming as the cream reacts with the hot caramel. Keep whisking until the cream is fully combined and the sauce is smooth and homogeneous. The cream not only adds richness but also cools the mixture, stopping the cooking process and ensuring a luscious, creamy texture.
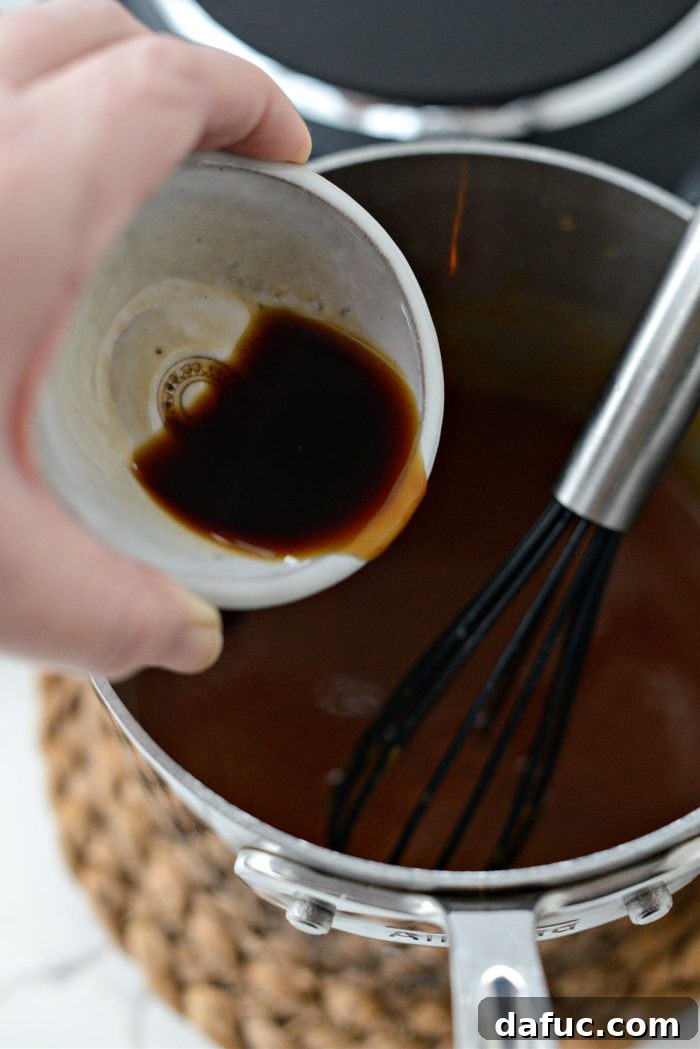
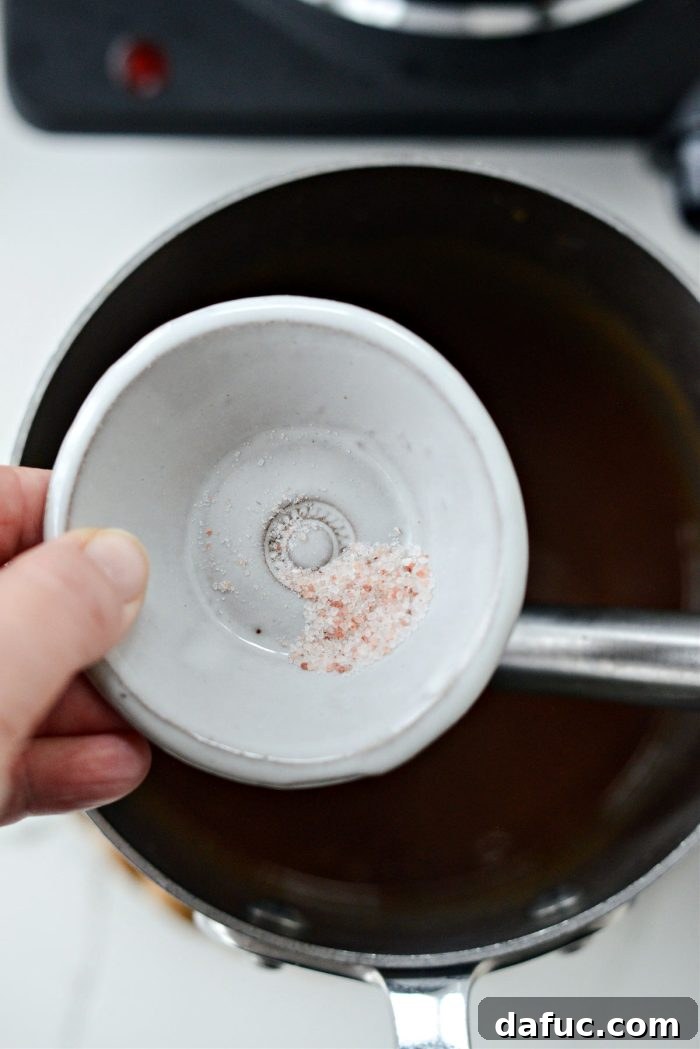
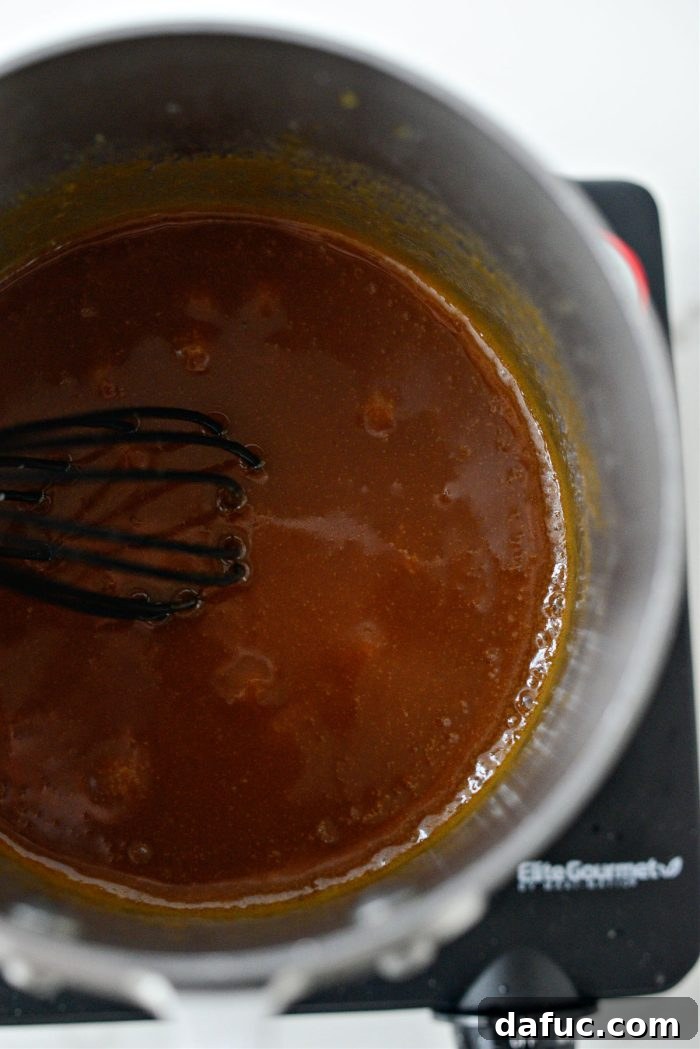
Step 6: Flavor with Vanilla and Salt. Next, add 1 tablespoon of pure vanilla extract. The vanilla will infuse the caramel with its warm, aromatic notes. Immediately follow with 1/4 teaspoon of salt. As mentioned before, the salt is crucial for balancing the sweetness and enhancing the overall depth of flavor. You can use fine or flaky sea salt, pink Himalayan salt, or kosher salt according to your preference. Stir everything together until all ingredients are thoroughly combined and the sauce is perfectly smooth.
Cooling and Storage: Ensuring Longevity
Proper cooling and storage are essential to maintain the quality and extend the shelf life of your homemade Caramel Brûlée Sauce.
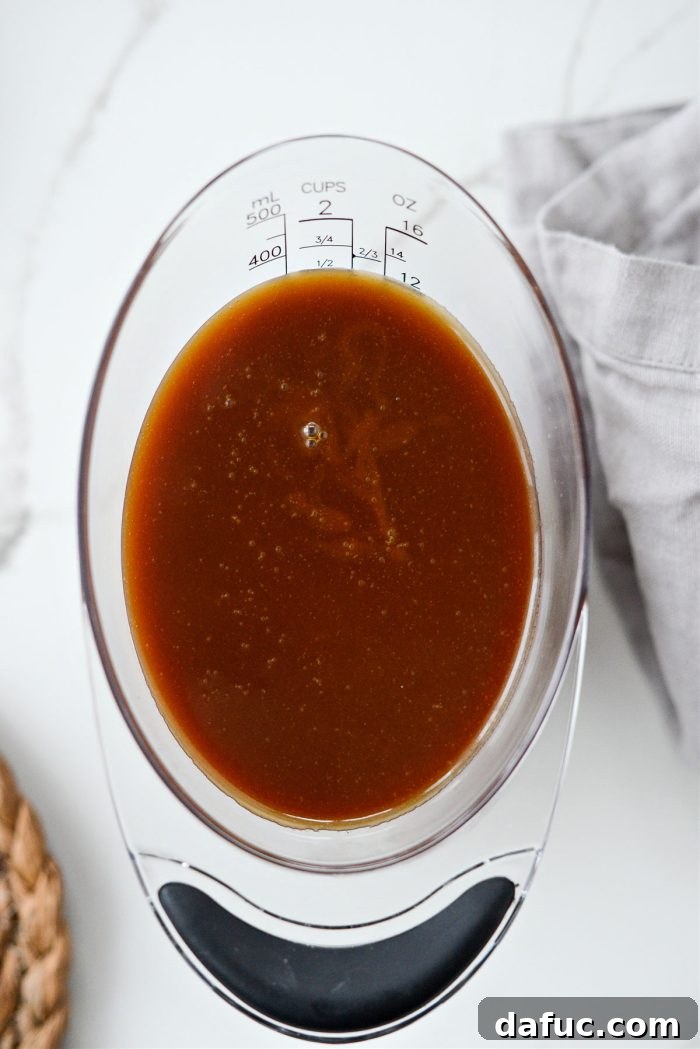
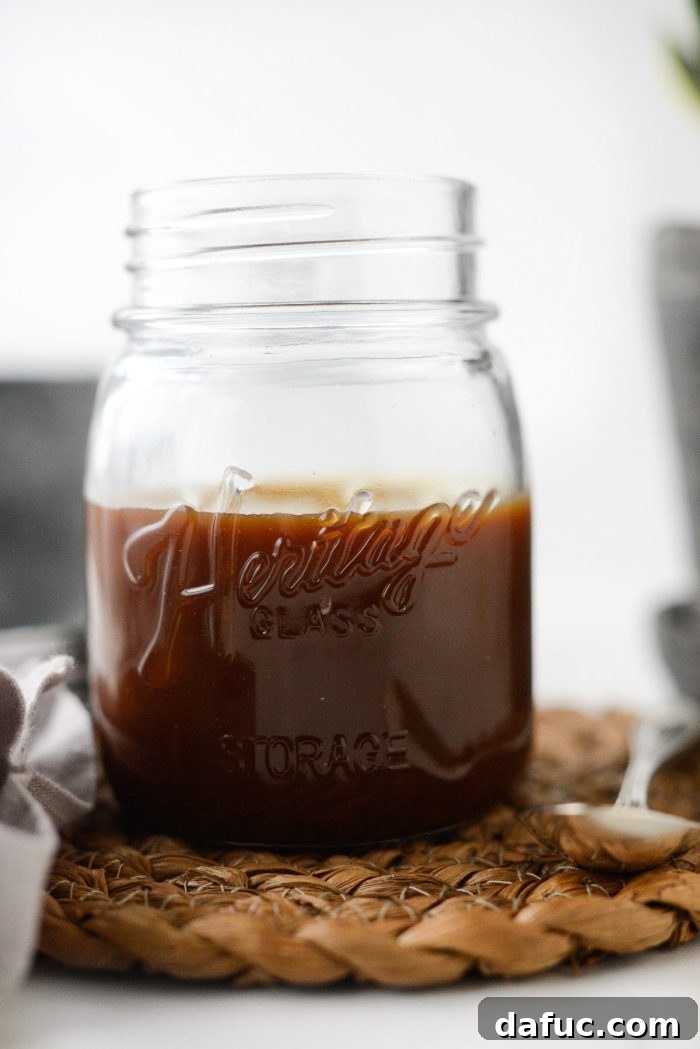
Step 7: Cool Completely. Once the sauce is smooth and combined, transfer it from the hot pot to a heat-proof bowl or a measuring cup. This helps it cool down faster and prevents further cooking from residual heat in the pot. Allow the caramel sauce to cool completely to room temperature. This cooling process is crucial not only for safety but also for the sauce to achieve its final, perfect consistency. As it cools, you will notice it gradually thickening.
How to Store Your Caramel Brûlée Sauce
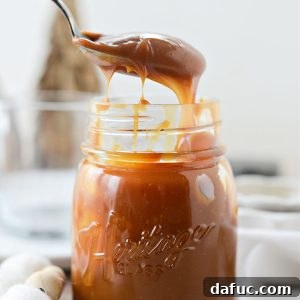
For optimal freshness and flavor, pour the completely cooled caramel brûlée sauce into a clean, airtight jar or container. Glass jars with tight-fitting lids are ideal as they prevent air exposure and potential flavor contamination from other foods in your fridge. Ensure the container is completely dry before adding the sauce.
How Long Does Homemade Caramel Brûlée Sauce Last?
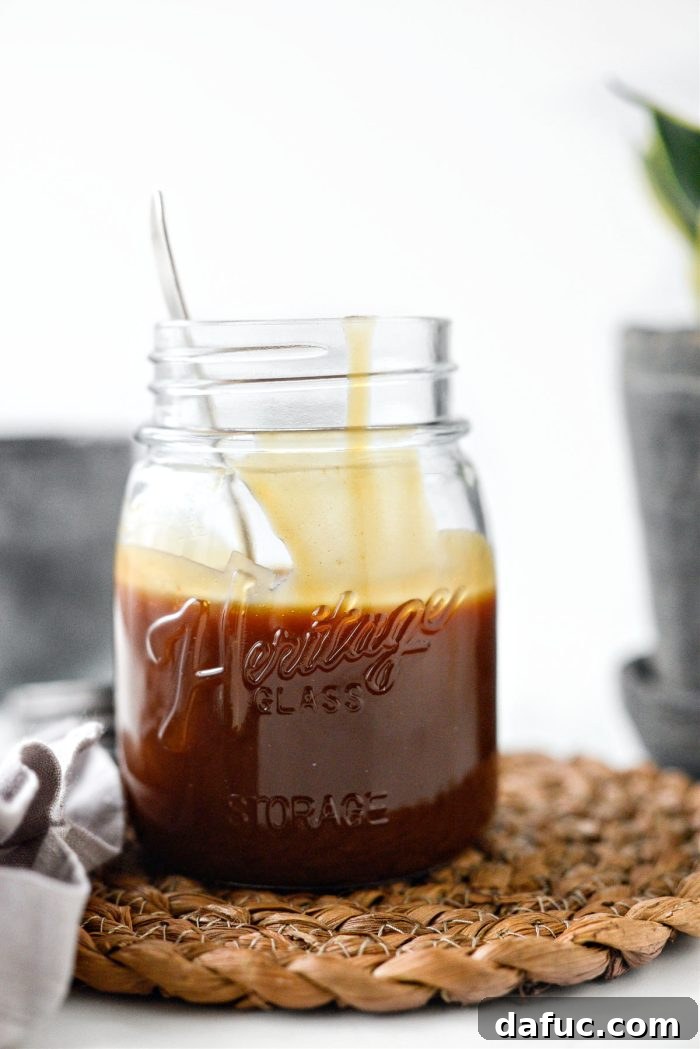
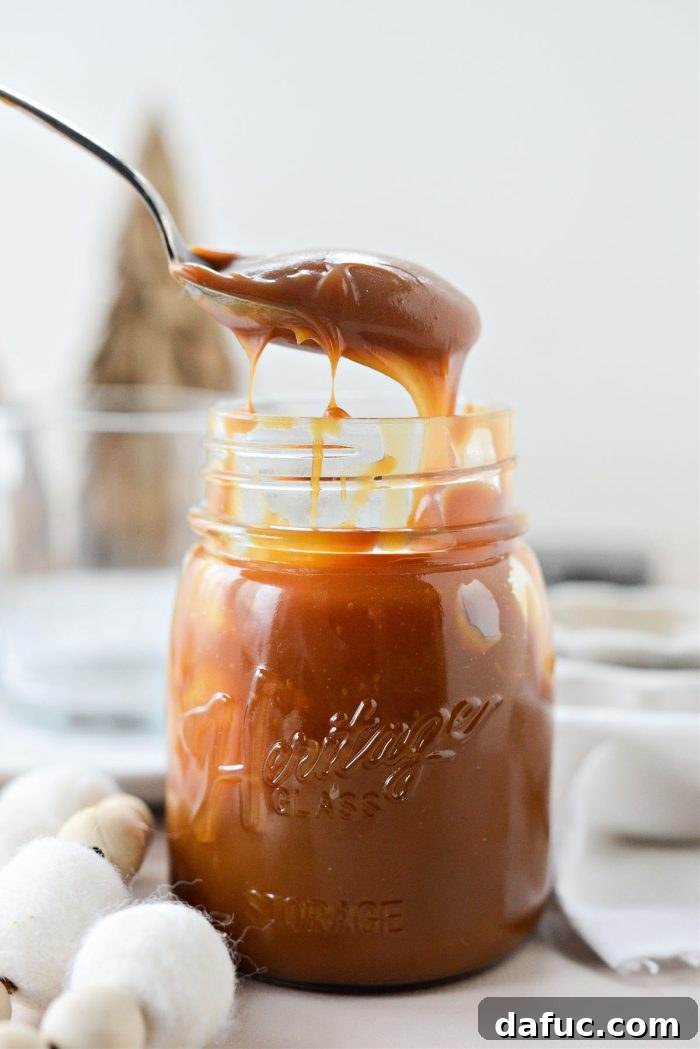
When stored correctly in an airtight container in the refrigerator, your homemade Caramel Brûlée Sauce can maintain its quality and freshness for up to 3 weeks. You’ll find it will thicken significantly in the fridge (as shown in the last photo). If you wish to use it in a more liquid form, simply reheat it gently in a microwave (in short bursts, stirring often) or in a small saucepan over low heat until it reaches your desired consistency. Be careful not to overheat it.
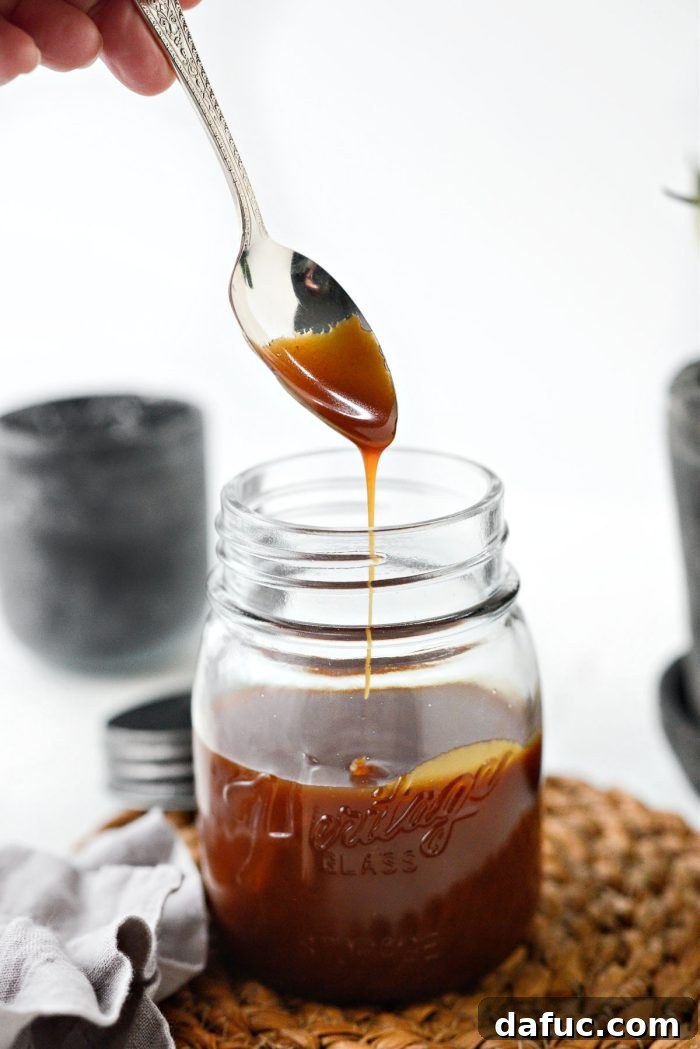
As noted, this caramel brûlée sauce will naturally thicken quite a bit as it cools. This is exactly what you want for a rich, luxurious sauce!
Elevate Your Dishes: Creative Ways to Use Caramel Brûlée Sauce
The beauty of this Caramel Brûlée Sauce lies in its incredible versatility. Beyond the obvious, here are myriad ways to incorporate this liquid gold into your culinary adventures:
- Dessert Drizzle: The classic application! Generously drizzle it over scoops of vanilla ice cream, apple pie, pecan pie, or even a simple cheesecake slice. It transforms everyday desserts into gourmet experiences.
- Coffee & Latte Enhancer: Stir a spoonful or two into your morning coffee, espresso, or an iced latte for a café-quality caramel brûlée beverage. It’s the secret to skipping the coffee shop lines!
- Fruit Dip: Serve it warm as a decadent dip for fresh fruit like apple slices, pear wedges, or even banana pieces. The contrasting flavors are exquisite.
- Pancake & Waffle Topping: Elevate your breakfast or brunch by pouring this rich sauce over fluffy pancakes, crispy waffles, or French toast. Add a sprinkle of toasted nuts for extra crunch.
- Brownie & Cookie Glaze: Use it as a glaze for homemade brownies, blondies, or even sugar cookies. It adds a chewy, flavorful layer that’s irresistible.
- Milkshakes & Smoothies: Blend a scoop into your favorite vanilla or coffee milkshake for an extra layer of sweetness and depth.
- Cake Filling or Frosting Swirl: Use it as a filling between cake layers or swirl it into a plain buttercream frosting for a caramel-flavored delight.
- Popcorn Topping: Drizzle warm caramel brûlée sauce over freshly popped popcorn for a gourmet movie night snack.
Troubleshooting Common Caramel Issues
Even experienced cooks can encounter challenges when making caramel. Here are some common issues and how to tackle them:
- Sugar Crystalization: If your sugar seizes and forms hard crystals instead of melting smoothly, it’s often due to impurities or not stirring enough in the early stages. Sometimes, a “wet” method (adding a small amount of water to the sugar) can help prevent this, but this recipe focuses on the dry method for a deeper brûlée flavor. If it happens, you might need to start over, ensuring your pot is clean and you’re stirring consistently.
- Burnt Caramel: This is the most common pitfall. Sugar can go from perfect to burnt in seconds. If you smell a strong, acrid odor or see black smoke, unfortunately, the batch is unsalvageable. Discard it and clean your pot thoroughly before trying again. The key is constant vigilance and adjusting heat.
- Caramel Too Thick/Hard: This usually means it was cooked too long or not enough heavy cream was added, or the cream was too cold, causing the caramel to seize. If it’s too thick after cooling, gently reheat it over low heat, adding a teaspoon of heavy cream at a time, whisking until it reaches the desired consistency.
- Caramel Too Thin: If your sauce is too runny after cooling, it might have been undercooked, meaning the sugar didn’t reach a high enough temperature to become truly caramelized and thick. Unfortunately, it’s hard to thicken a thin caramel once cream is added without significantly altering the flavor. You can try reheating it very gently and letting it simmer for another minute or two, but be very cautious not to burn it.
Conclusion: Crafting Your Own Culinary Delight
Making homemade Caramel Brûlée Sauce is a culinary endeavor that promises immense satisfaction. The rich, toasted flavor and velvety texture far surpass anything store-bought, transforming simple desserts and beverages into luxurious treats. While it requires a bit of attention and precision, the steps are straightforward, and the result is truly rewarding. Enjoy the process of creating this golden elixir, and savor the incredible depth of flavor it brings to every dish.
Enjoy! And if you give this recipe a try, let me know! Snap a photo and tag me on Twitter or Instagram!
Print Recipe
Pin Recipe
Leave a Review »
Caramel Brûlée Sauce
Ingredients
- 1 cup granulated sugar
- 6 tablespoons salted butter
- 1/2 cup heavy cream
- 1 tablespoon pure vanilla extract
- 1/4 teaspoon salt, use fine or flaky sea salt, pink Himalayan or kosher salt
Instructions
-
Add 1 cup of granulated sugar into a stainless, heavy-bottomed pot. Spread it evenly across the bottom.
-
Heat the sugar over medium to medium-high heat, stirring occasionally. The sugar will first crystalize and clump, which is normal. Continue stirring and heating until the clumps melt and the sugar turns into a clear, golden liquid. Adjust the heat as necessary to prevent burning, aiming for a deep golden, amber color. This phase should take 4 to 5 minutes.
-
Once the sugar reaches a deep golden color, immediately move the pan off the heat. Carefully add and whisk in 6 tablespoons of room temperature salted butter. Whisk continuously until the butter is completely melted and smoothly incorporated into the caramel. Be cautious, as the mixture will bubble vigorously.
-
While continuing to whisk, slowly pour in 1/2 cup of heavy cream. Keep whisking until the cream is fully combined and the sauce is smooth and creamy.
-
Pour in 1 tablespoon of pure vanilla extract and add 1/4 teaspoon of salt (use fine or flaky sea salt, pink Himalayan, or kosher salt). Stir until all ingredients are well combined.
-
Transfer the caramel sauce to a heat-proof bowl or measuring cup and allow it to cool completely to room temperature. As it cools, it will thicken. Once fully cooled, transfer to a clean jar or container with a tight-fitting lid and store in the fridge for up to 3 weeks.