
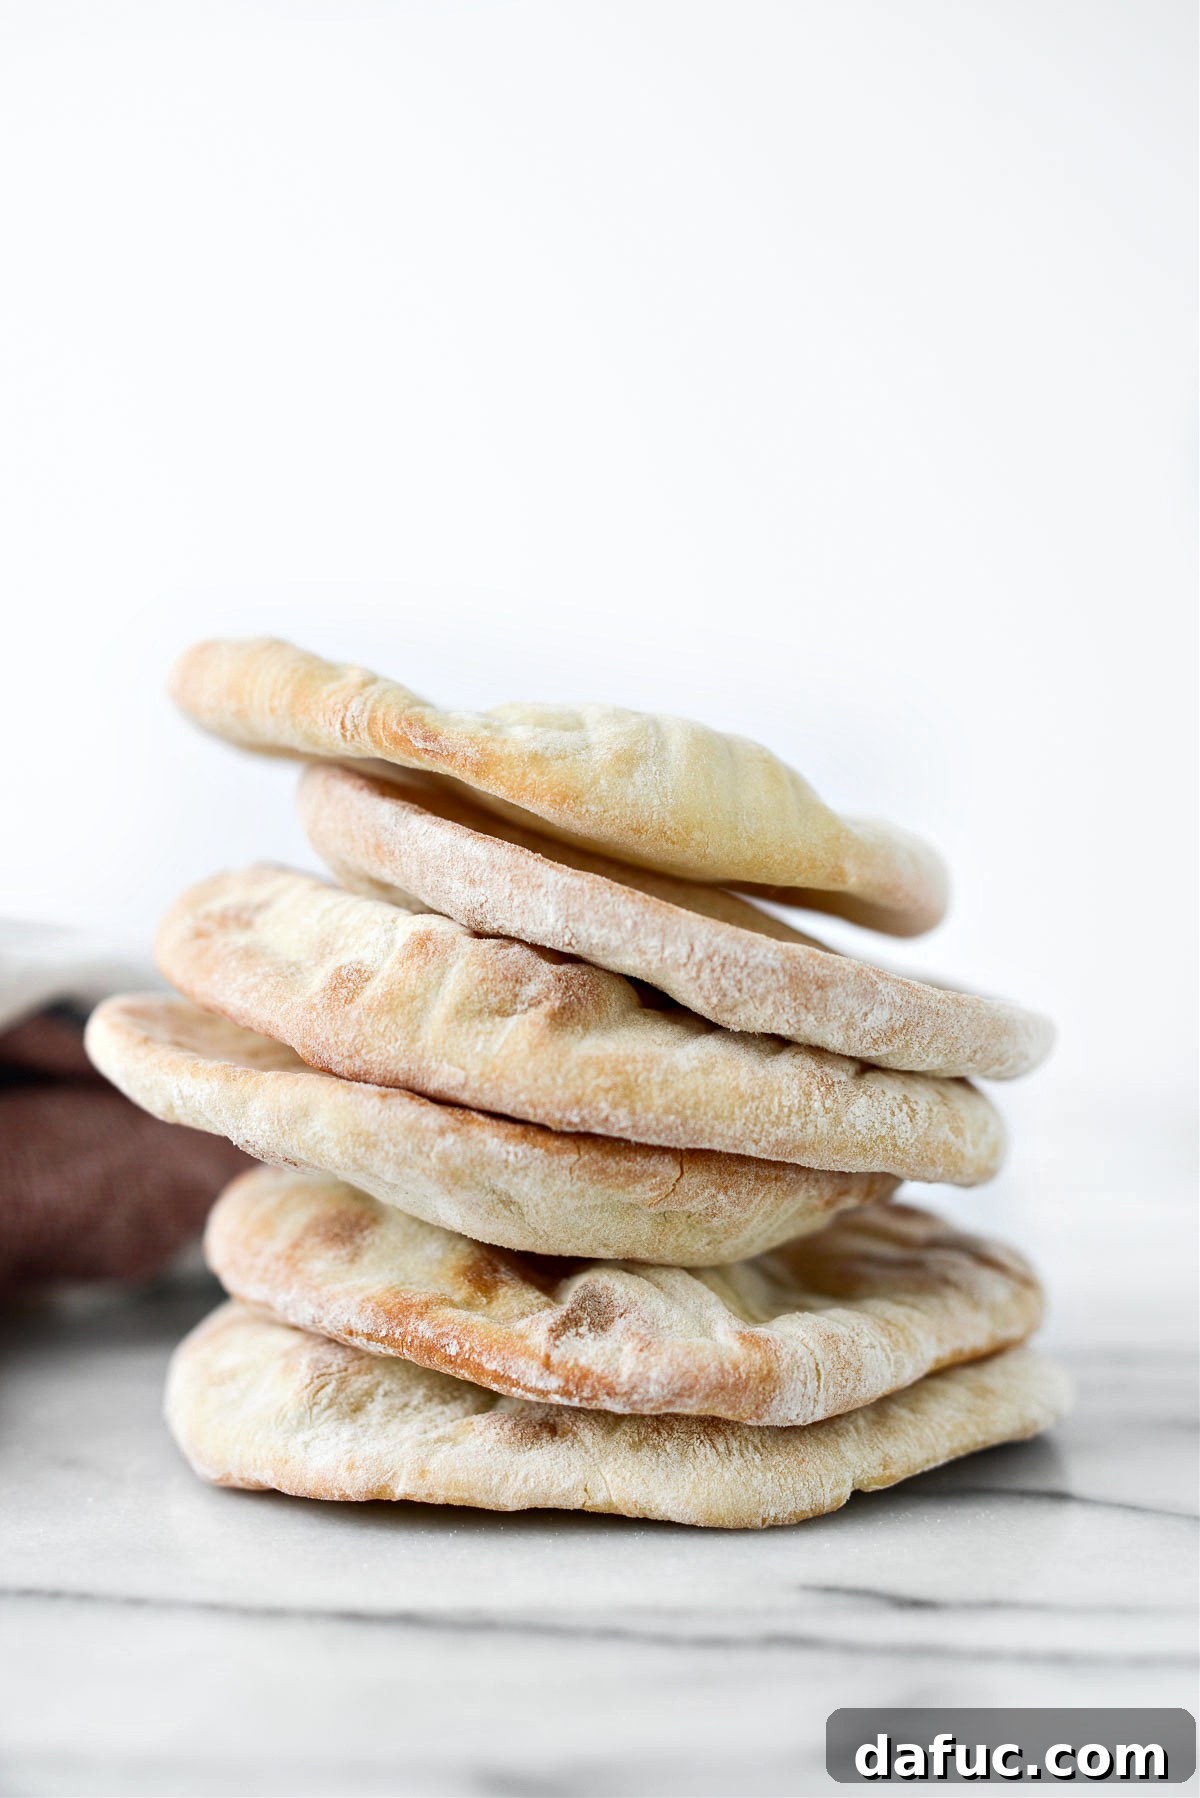
Homemade Mini Pita Bread: Your Go-To Recipe for Fresh, Fluffy Pockets
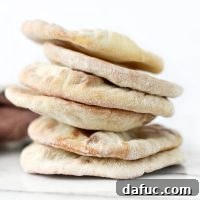
There’s nothing quite like the aroma of freshly baked bread, and when it comes to homemade pita, the experience is truly unparalleled. This recipe for **Homemade Mini Pita Bread** is not only incredibly satisfying to make, but it’s also surprisingly easy! You’ll transform a few simple ingredients into tender, chewy mini pitas, each boasting that characteristic pocket perfect for all your favorite fillings or dips. Get ready to impress your family and friends with these delightful, freshly baked bread pockets that far surpass anything you’d find in a store. This recipe is designed to yield 16 perfectly sized mini pita bread loaves, making it ideal for entertaining or meal prepping throughout the week.
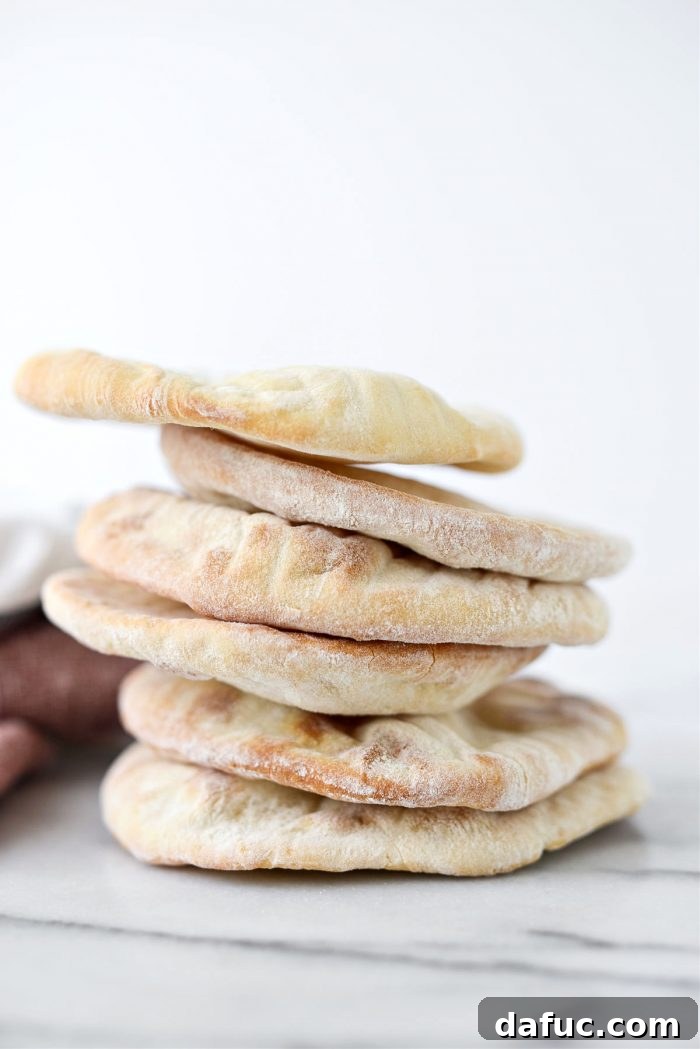
Why Homemade Pita Bread is a Game Changer for Your Kitchen
Many home bakers might shy away from bread recipes, fearing complexity or failure, but pita bread is uniquely forgiving and rewarding. It’s often hailed as one of the easiest breads to master, and for good reason. The process is straightforward, requiring only a few basic steps and common ingredients, yet the results are consistently fantastic. Beyond the pure joy of baking something from scratch, homemade pita offers a significant upgrade in flavor, texture, and freshness over its store-bought counterparts. The exterior, fresh from the oven, develops a delightful, subtle crispness that gives way to an incredibly soft, airy interior. This winning combination is a culinary delight that you simply can’t achieve with pre-packaged pita.
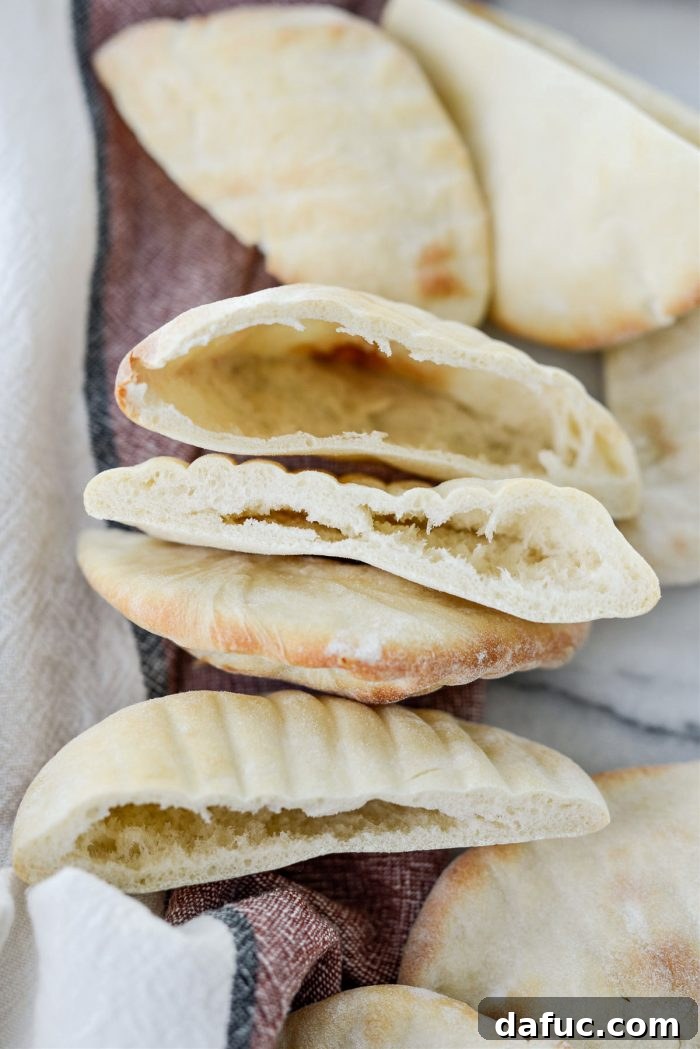
The true magic of pita bread lies in its iconic pocket. This isn’t achieved through any complex stuffing technique after baking, but rather through a simple yet fascinating scientific process that occurs in a hot oven. As the dough bakes at a high temperature, the moisture trapped within rapidly turns into steam. This steam then builds pressure, pushing the two sides of the dough apart and creating that perfect, hollow space. It’s a captivating culinary spectacle that never ceases to amaze, transforming a flat disc of dough into a versatile pouch ready for endless culinary adventures. The higher the oven temperature, the more dramatic and reliable the puff, ensuring you get those perfect pockets every time.
Beyond the Pocket: The Incredible Versatility of Mini Pita Bread
While the internal pocket is a key feature, don’t feel limited to only stuffing these mini pitas! Their compact size and appealing texture make them incredibly versatile for various culinary applications. Just recently, I enjoyed a batch torn into pieces and served alongside creamy hummus and vibrant tabbouleh. The flavors married beautifully, creating an appetizer or light meal that was nothing short of incredible. The combination of a slightly crisp exterior and a deliciously soft interior makes them ideal for dipping into a myriad of spreads, from traditional baba ghanoush to spicy labneh or even a simple olive oil and za’atar mixture. Once you try these fresh, warm mini pitas, you might find yourself forever changed – store-bought options just won’t measure up to the superior taste and texture of homemade!
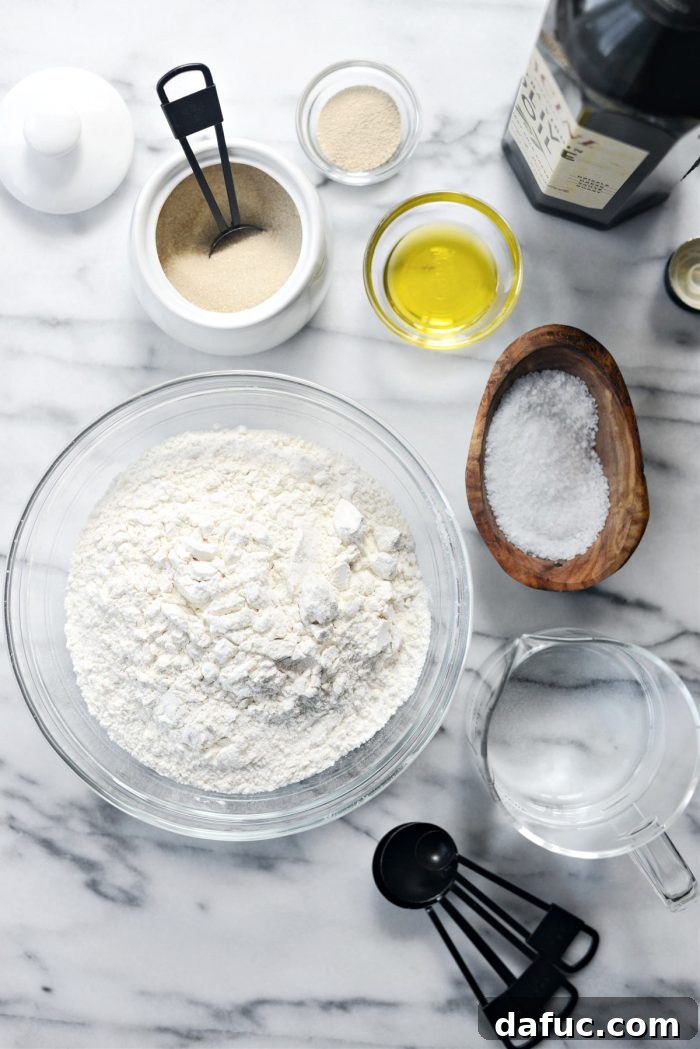
Gather Your Simple Ingredients for Irresistible Mini Pita Bread
One of the beauties of this mini pita bread recipe is its reliance on fundamental pantry staples. You don’t need exotic flours or specialized leavening agents that are hard to find. With just a handful of ingredients, readily available at any grocery store, you’ll be well on your way to baking delicious pita from scratch. Each component plays a crucial role in achieving the perfect texture, flavor, and rise that define an authentic pita bread.
- **Granulated Sugar:** A small amount of sugar serves as readily available food for the yeast. This helps it activate and thrive more quickly and efficiently, which is essential for initiating the dough’s rise and, ultimately, for the creation of those coveted pockets.
- **Warm Water:** The temperature of the water is absolutely critical for successful yeast activation. It needs to be warm enough to awaken the yeast, typically between 105-115°F (40-46°C), but not too hot, as excessive heat will kill the yeast, preventing your dough from rising. If it’s too cold, the yeast will remain dormant.
- **Active Dry Yeast:** This is the primary leavening agent that gives the pita its light, airy texture and allows it to puff up beautifully in the oven. Ensure your yeast is fresh and active – the foam test in the first step will confirm this – for the best possible rise.
- **Unbleached Bread Flour:** Bread flour is specifically chosen for this recipe due to its higher protein content compared to all-purpose flour. This extra protein develops more gluten when kneaded, which gives the pita its characteristic chewiness, strength, and elasticity. This strong gluten structure is crucial for trapping the steam that forms the pocket during baking.
- **Olive Oil:** A touch of good quality olive oil adds richness, depth of flavor, and helps to keep the dough soft and pliable. It also contributes to a tender crumb and helps in achieving a beautiful golden-brown crust during baking. A little extra is also used to coat the bowl for the first rise.
- **Kosher Salt:** Salt is vital for balancing the flavors of the bread, preventing it from tasting bland. Additionally, it plays a subtle but important role in regulating yeast activity, ensuring the dough doesn’t rise too quickly, and further strengthening the gluten network.
Step-by-Step Guide to Crafting Your Perfect Mini Pita Bread
Follow these detailed instructions to create perfect mini pita bread every time. While precision in measurements is key, remember that working with dough is also about feel. Don’t worry if it’s not absolutely perfect on your first try – pita bread is incredibly forgiving and delicious no matter what!
The Dough: Activation, Mixing, and Kneading for Optimal Texture
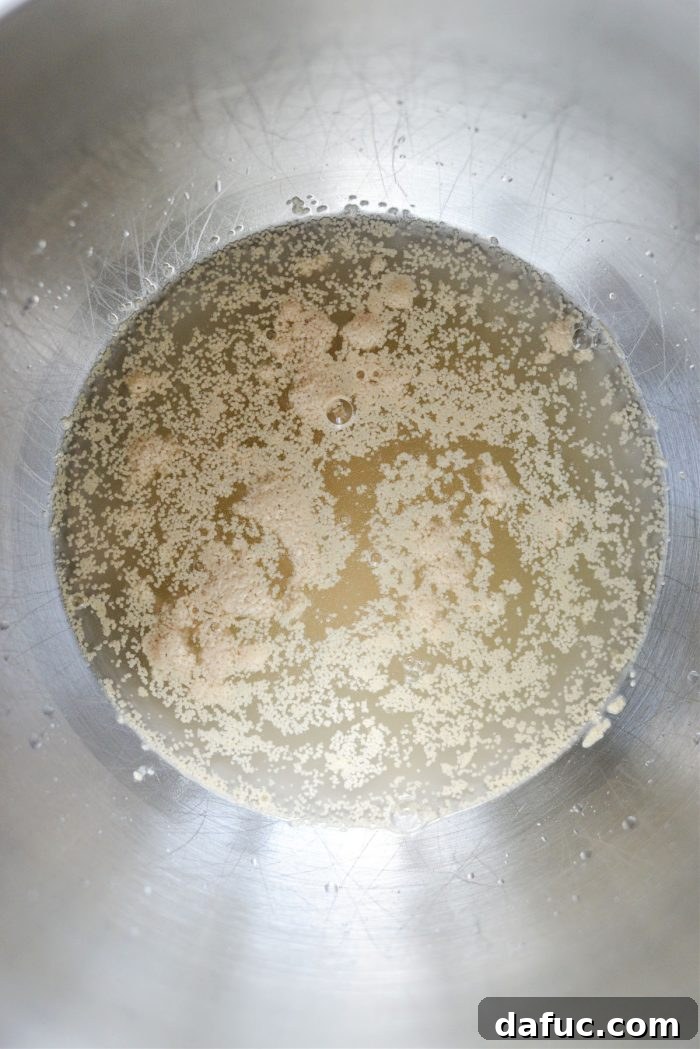
- **Activate the Yeast with Care:** In the bowl of your stand mixer, add 1½ teaspoons of granulated sugar. Pour in 1 cup plus 2 tablespoons of warm water. The water should feel comfortably warm to your wrist, much like a baby’s bath – ideally between 105-115°F (40-46°C). Sprinkle 1½ teaspoons of active dry yeast evenly over the surface of the water. Do not stir it in. Let this mixture sit undisturbed for 5 to 8 minutes. During this crucial time, the yeast will “bloom” – you’ll observe a distinct foamy, bubbly layer forming on top. This indicates that the yeast is active and alive, ready to leaven your dough. If no foam appears, your yeast may be old or the water temperature was incorrect, and you’ll need to discard it and start again with fresh yeast and properly warmed water.
- **Begin Mixing Dry and Wet Ingredients:** With your yeast mixture now fragrant and foamy, attach the bowl to your stand mixer. Initially, fit your mixer with the paddle attachment. With the mixer set to low speed, gradually add 3 cups of unbleached bread flour. Introduce the flour slowly, allowing it to incorporate evenly into the wet ingredients. This gradual addition helps prevent a dusty mess and ensures proper hydration of the flour.
- **Integrate Olive Oil and Salt:** Next, pour in 1 tablespoon of good quality olive oil. This not only enhances the flavor profile of your pita but also significantly contributes to the dough’s elasticity and the final bread’s tender crumb.
- **Intensive Kneading for Gluten Development:** Once all the ingredients are just about combined, and a somewhat sticky, shaggy dough has formed around the paddle attachment, switch out the paddle for the dough hook.
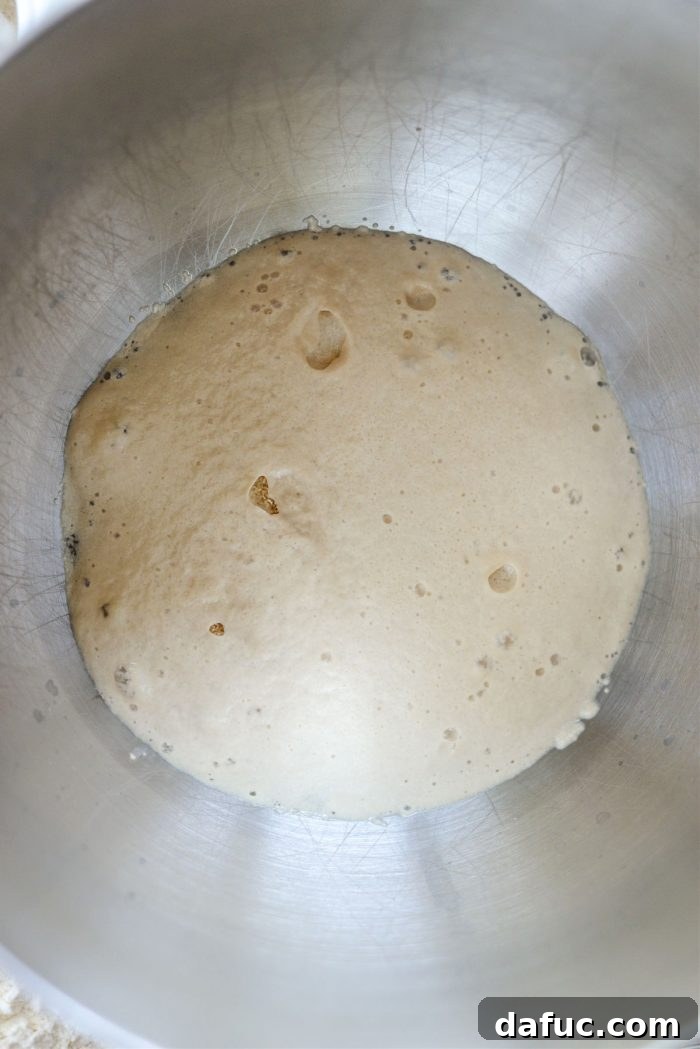
A successful yeast activation is marked by a prominent foamy surface, a clear sign that your yeast is thriving and prepared to infuse your pita bread with its signature light and airy texture.
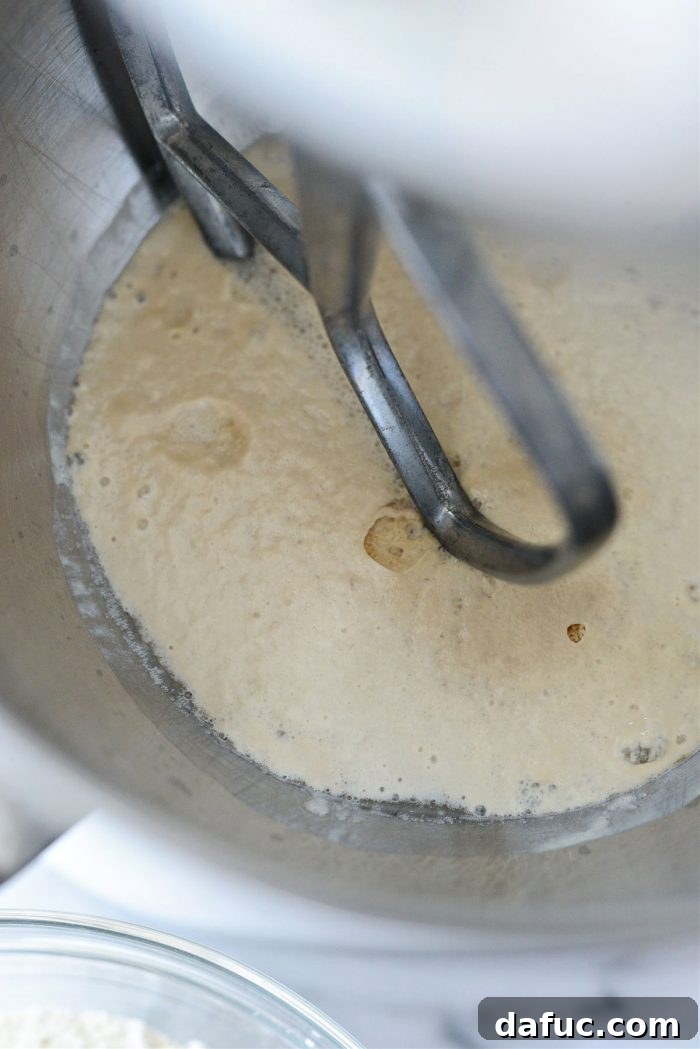
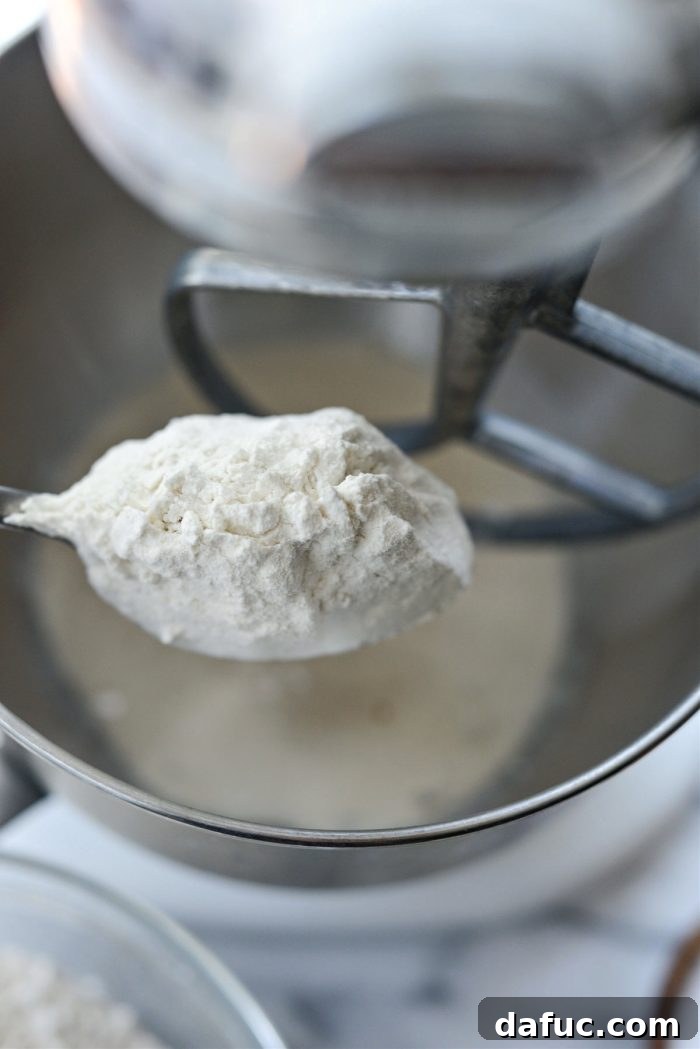
Continue to mix until the flour is mostly incorporated and a shaggy, somewhat crumbly dough begins to form.
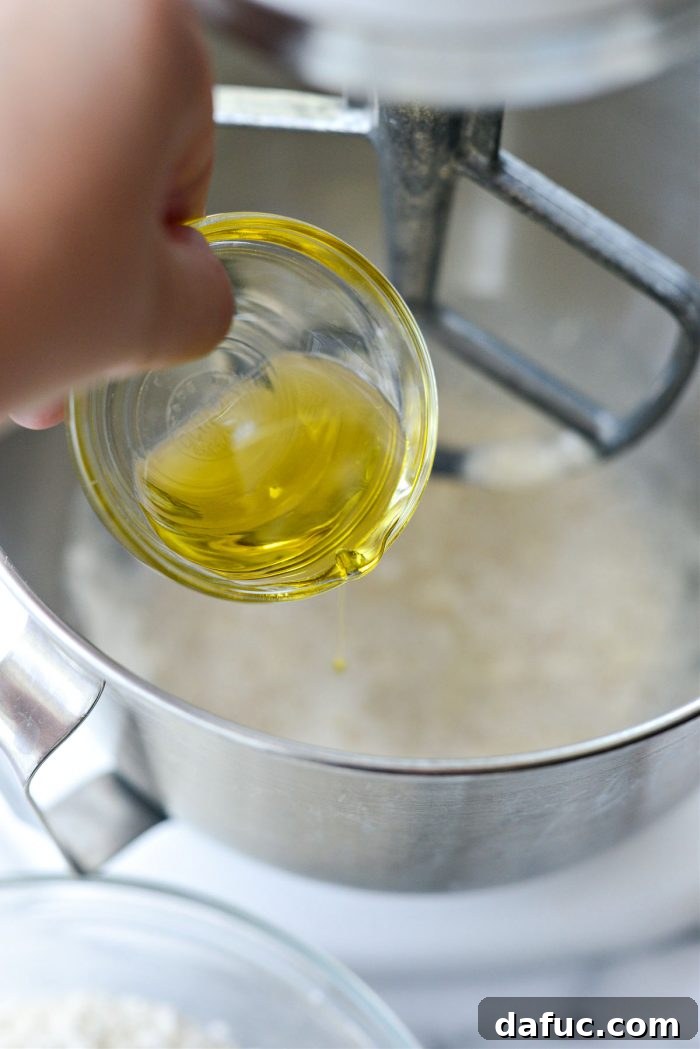
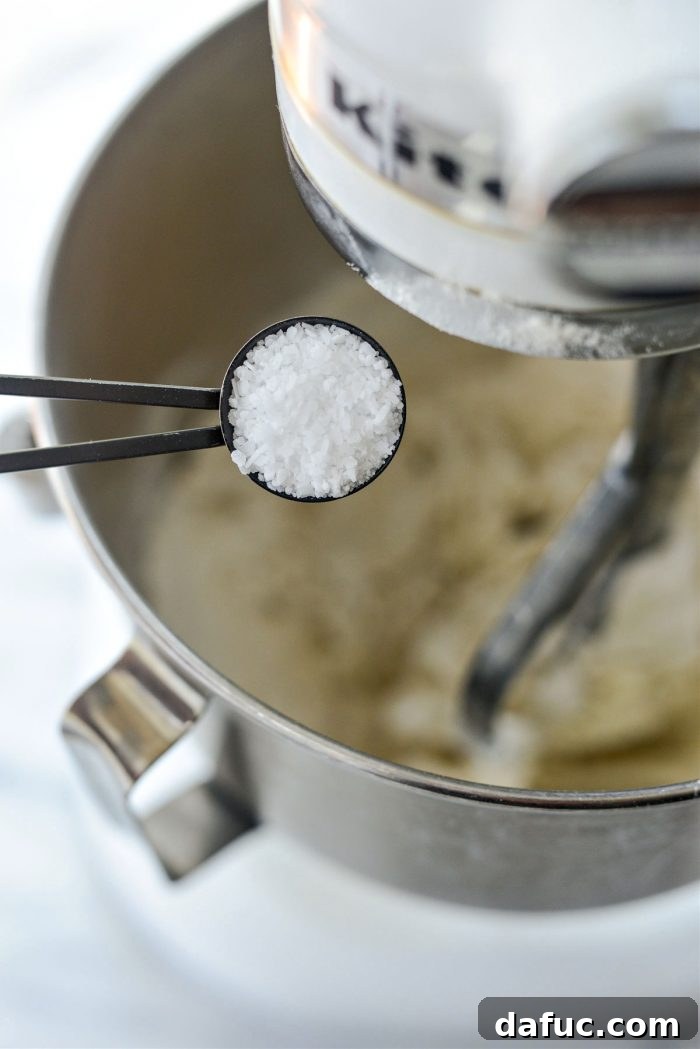
Follow this by adding 1 teaspoon of kosher salt. Salt is indispensable for truly flavoring the bread, bringing out its inherent deliciousness, and it also plays a role in strengthening the gluten structure, which is vital for the pita’s ability to puff successfully.
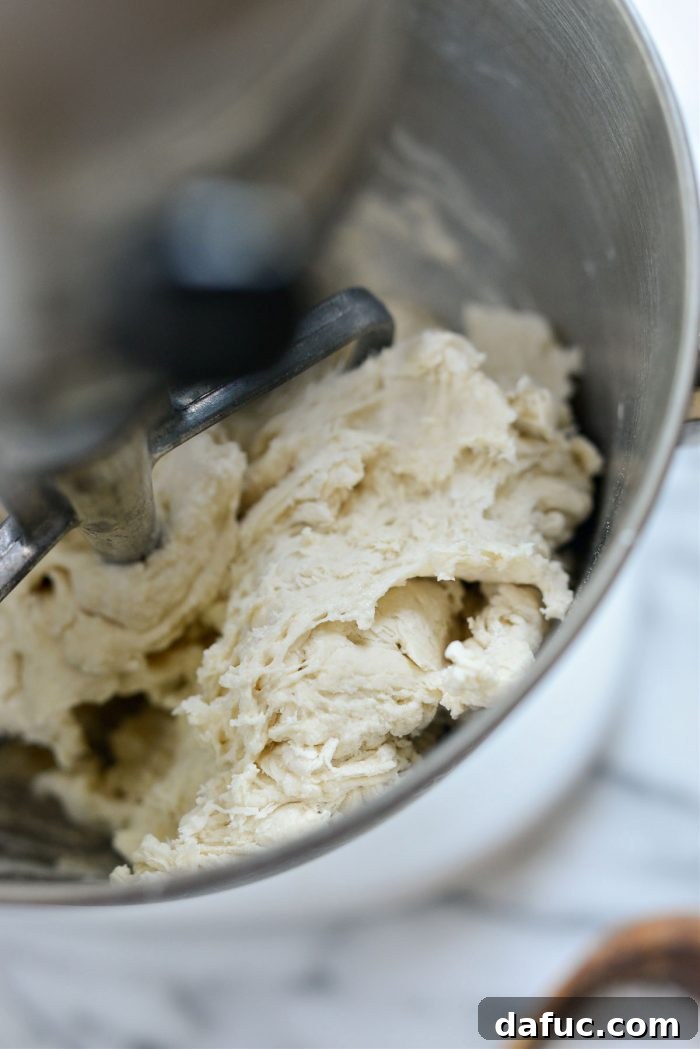
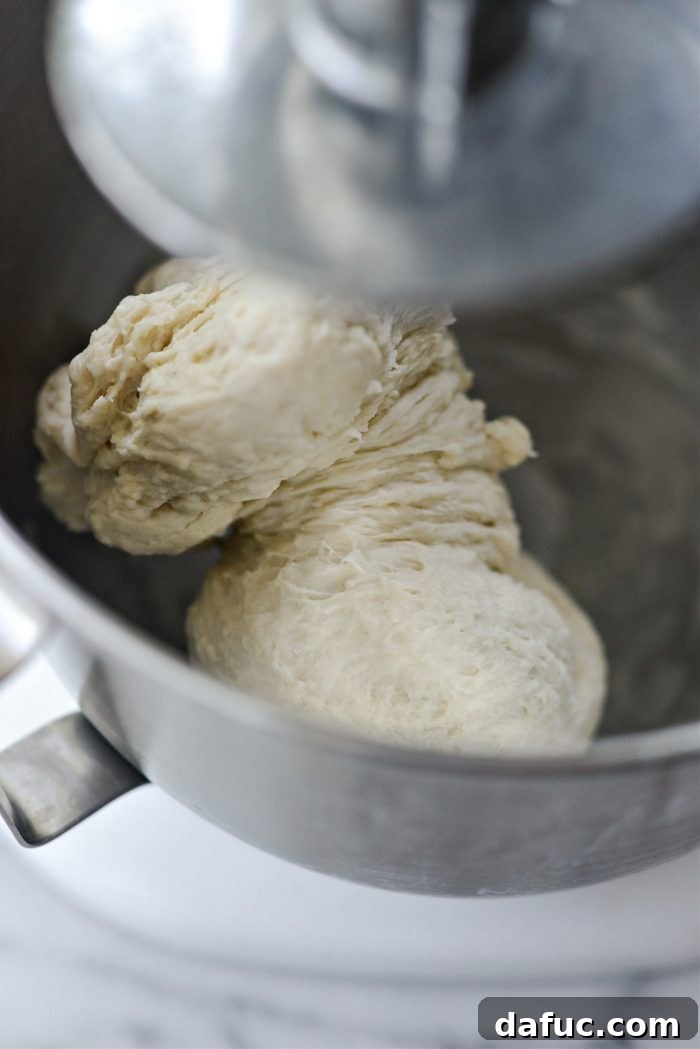
With your stand mixer still on low speed, knead the dough for a full 6 minutes. This dedicated kneading process is absolutely vital for developing the gluten strands within the dough, transforming it from a sticky mass into a smooth, elastic, and springy ball. Proper gluten development is key for achieving the characteristic chewiness of pita and, most importantly, for allowing the pita to puff up beautifully in the hot oven. You’ll notice the dough becoming much more cohesive, pulling away from the sides of the bowl, and feeling significantly less sticky as it kneads.
First Rise: Giving the Dough Time to Develop Flavor and Volume
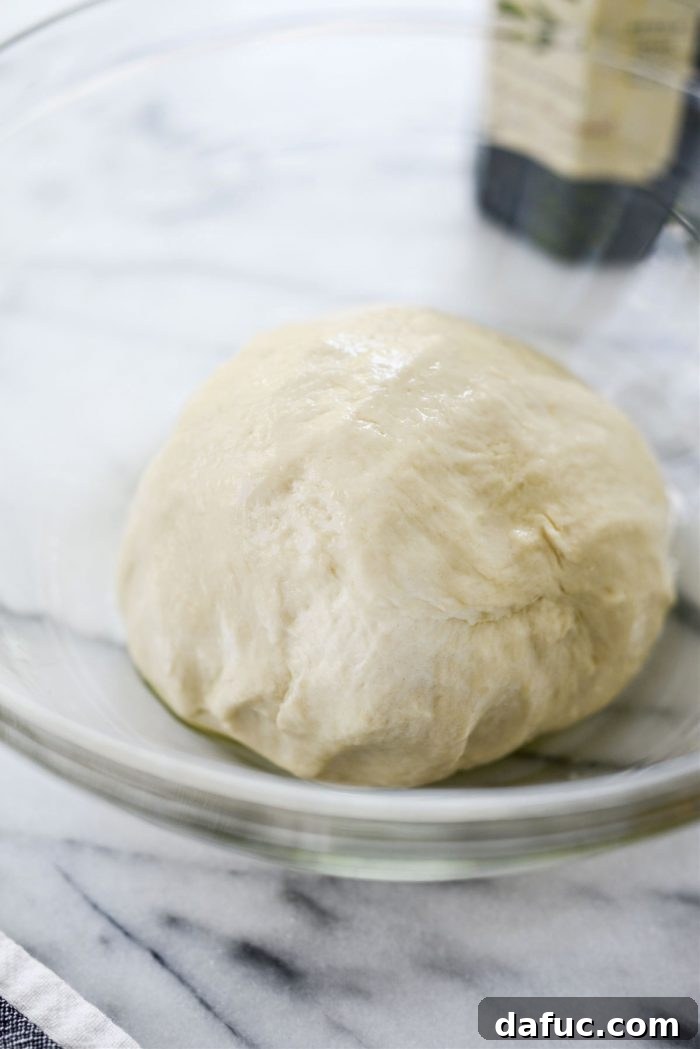
- **Prepare for the First Rise:** After the kneading is complete, the dough should be smooth, elastic, and warm to the touch. Take a large, clean mixing bowl and add a generous splash of olive oil (approximately 1 tablespoon). Shape the kneaded dough into a neat, round ball and transfer it to the oiled bowl. Gently turn the dough to coat it completely in the oil, ensuring all sides are lightly greased. This oil also serves to lightly grease the sides of the bowl, preventing the dough from sticking as it rises and making it easy to remove later.
- **The First Proof (Bulk Fermentation):** Cover the bowl securely with a clean kitchen towel or plastic wrap to prevent the dough from drying out. Place it in a warm, draft-free spot in your kitchen. This could be on top of your refrigerator, in a slightly warmed (but turned off) oven, or simply on a countertop on a warm day. Let the dough rise for approximately 1 hour, or until it has visibly doubled in size. The exact timing can vary slightly depending on the ambient temperature of your kitchen. A slower rise often contributes to a more complex and flavorful bread, so don’t rush this step.
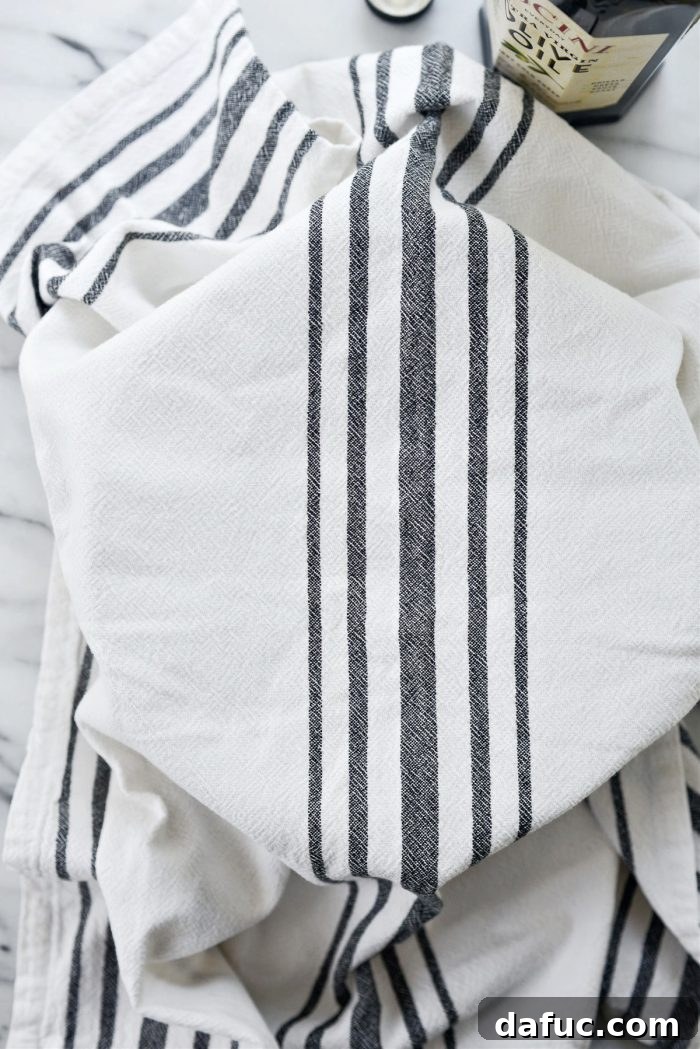
Dividing and Shaping the Mini Pitas for Uniformity
- **Deflate the Risen Dough:** Once the dough has proudly doubled in size and looks puffy, gently punch it down using your clean hands. This action releases the air (primarily carbon dioxide produced by the yeast) that has built up during the rise and helps to redistribute the yeast and gluten, preparing the dough for shaping. Be firm but gentle; you want to deflate it, not tear it apart.
- **Portioning the Dough into Equal Pieces:** Turn the deflated dough out onto a lightly floured work surface. Shape the dough into a uniform log. To ensure you get 16 relatively equal pieces for your mini pitas, start by cutting the log in half lengthwise. Then divide each of those longer strips in half, and then in half again. This systematic method helps in achieving consistent sizing for all your mini pitas, which promotes even baking.
- **Shaping Individual Rounds:** Take each individual piece of dough and gently shape it into a tight, smooth ball. You can do this by cupping your hand over the dough on the lightly floured surface and rolling it in a circular motion, or by gently tucking the edges underneath to create a taut surface. Roll it until it’s smooth and feels slightly firm. This careful shaping helps create an even surface for rolling and contributes to uniform puffing in the oven.
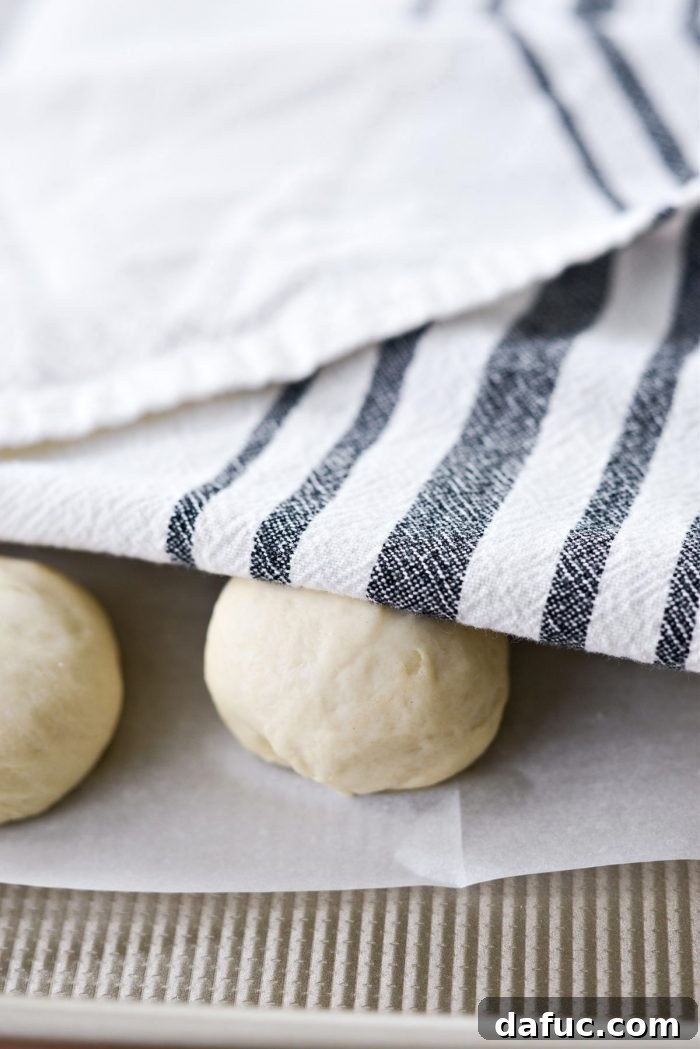
- **Second Rest (Bench Rest):** Arrange the shaped dough balls on a parchment paper-lined sheet pan, ensuring you leave a little space between each one. Cover them with a clean kitchen towel to prevent them from drying out and forming a crust. Repeat the shaping process with all remaining pieces. Allow these shaped dough balls to rest for an additional 15 minutes. This brief rest, known as a bench rest, is important because it allows the gluten to relax after handling, making the dough much easier to roll out evenly without snapping back excessively.
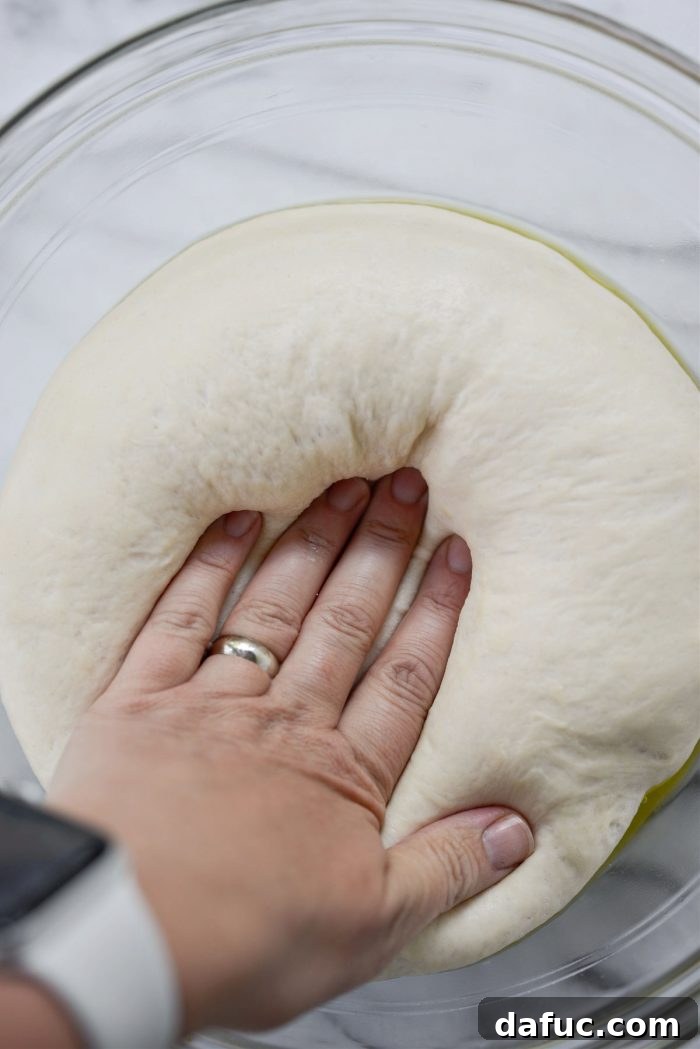
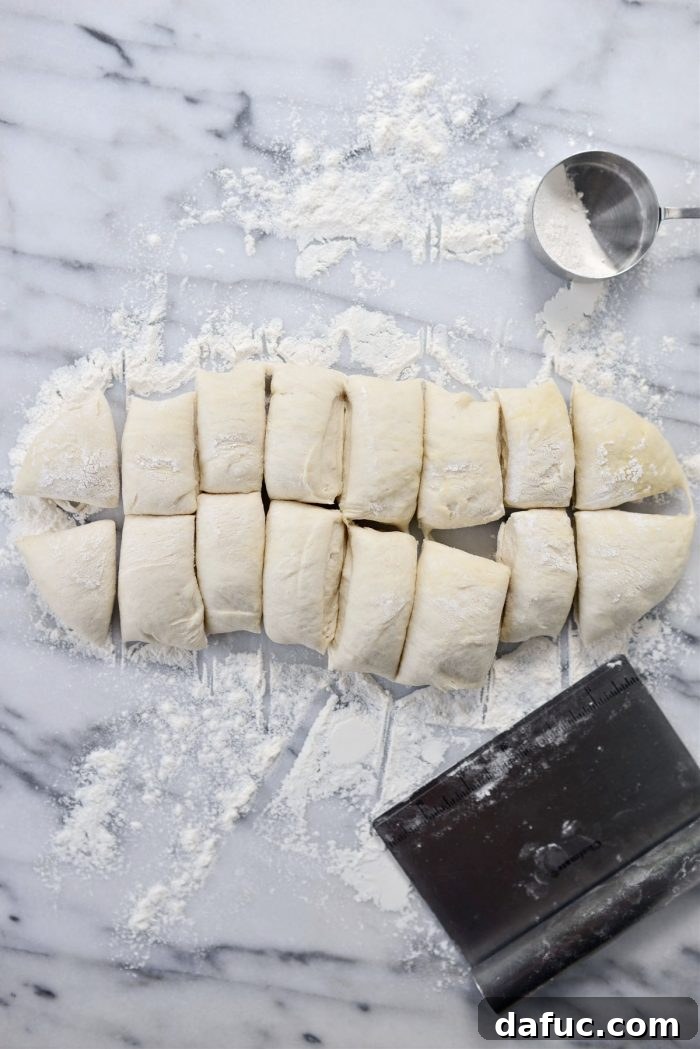
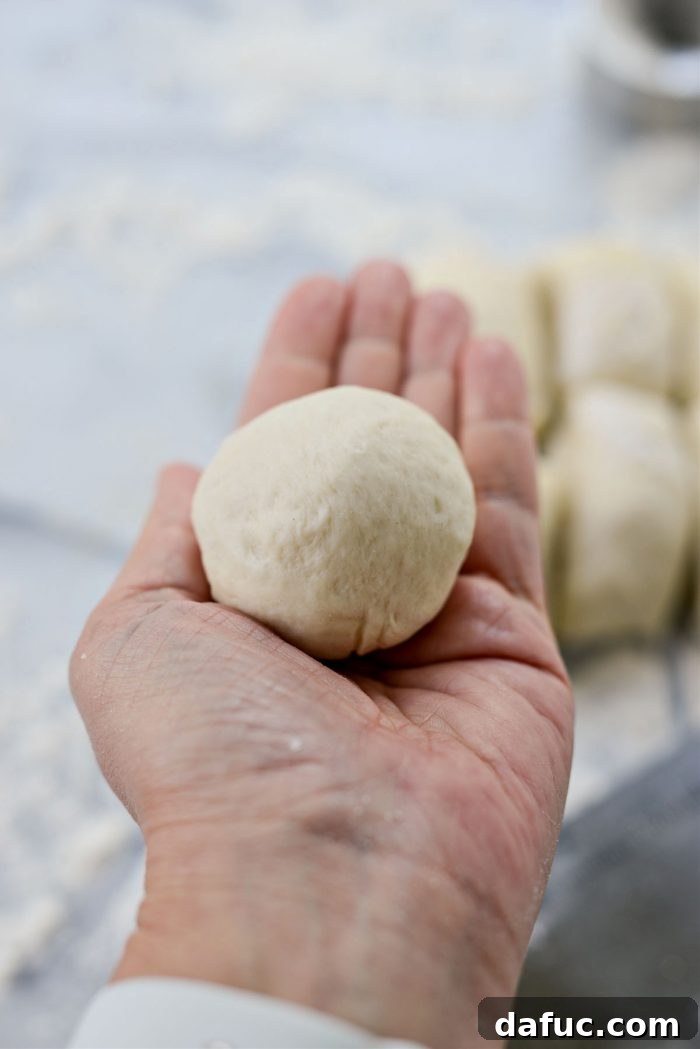
Preheating the Oven and Rolling Out the Pitas to Perfection
- **Prepare Your High-Heat Baking Setup:** While the dough balls are enjoying their second rest, it’s critical to preheat your oven. Turn it up to a scorching 475°F (245°C). This extremely high temperature is absolutely crucial for the pita bread to puff up properly and create those beautiful pockets. Without sufficient heat, the steam won’t form fast enough. Also, prepare a rimmed metal baking pan by placing a wire rack inside it. This setup allows for even air circulation around the pitas, ensuring they bake consistently on both sides.
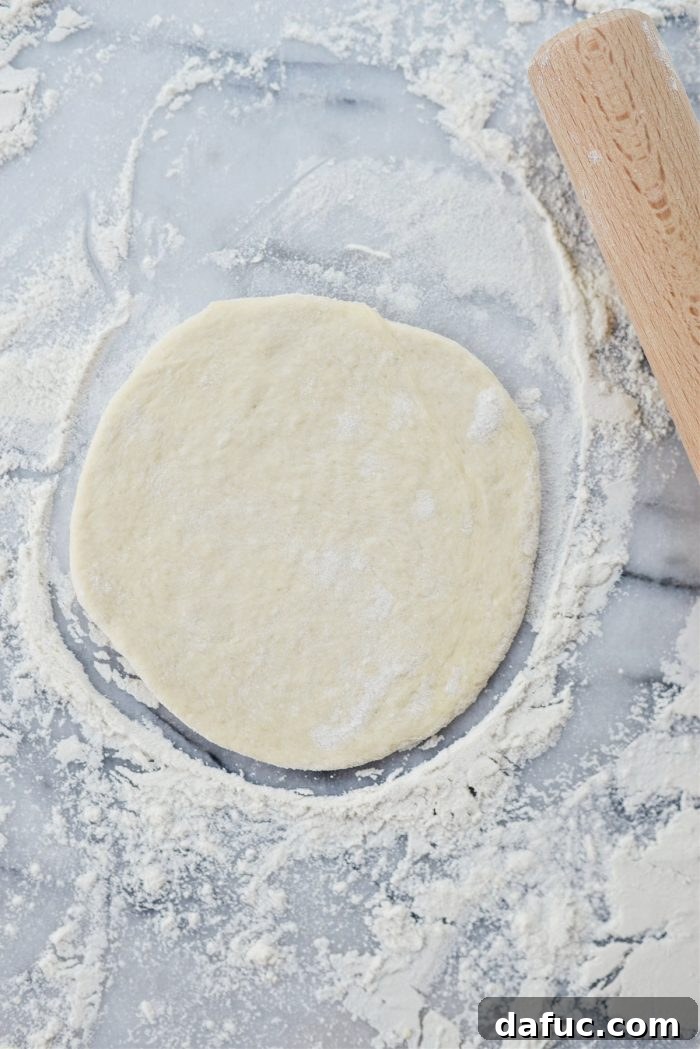
- **Roll to Uniform Thickness:** On a lightly floured work surface, take one dough ball at a time. Working in batches, roll each round out into a disc approximately 4 inches in diameter and about ⅛ inch thick. Aim for an even thickness across the entire round, as this consistency is key for uniform puffing and preventing some parts from being thicker and not puffing. Avoid over-flouring your surface, which can make the pita dry and less pliable. Use just enough flour to prevent sticking.
Baking the Mini Pitas: The Magical Unfolding of Pockets
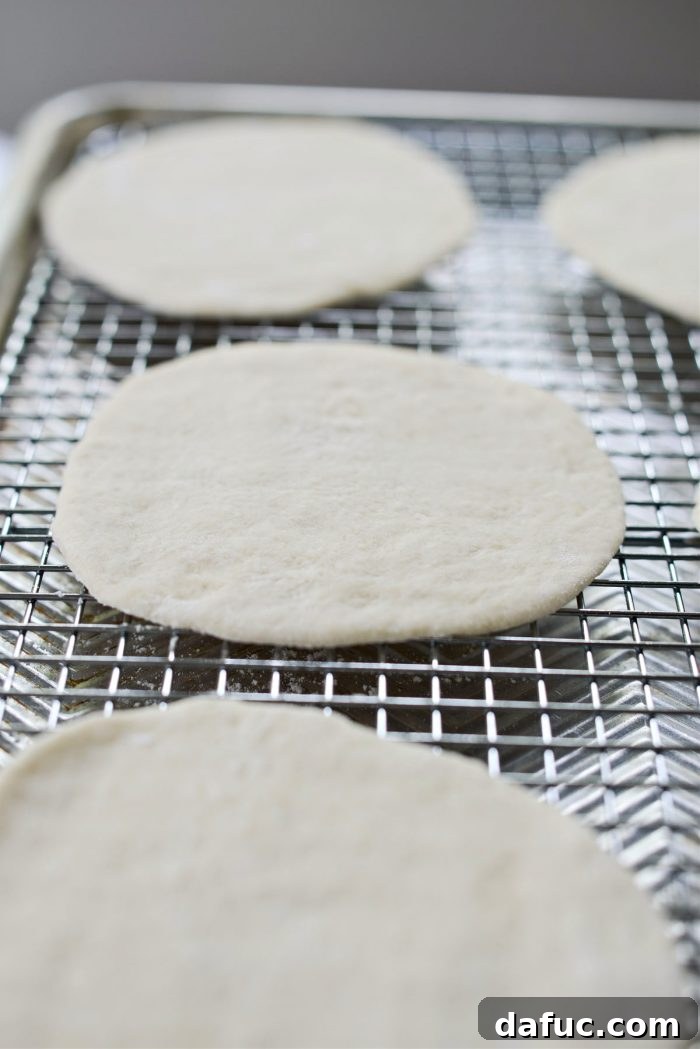
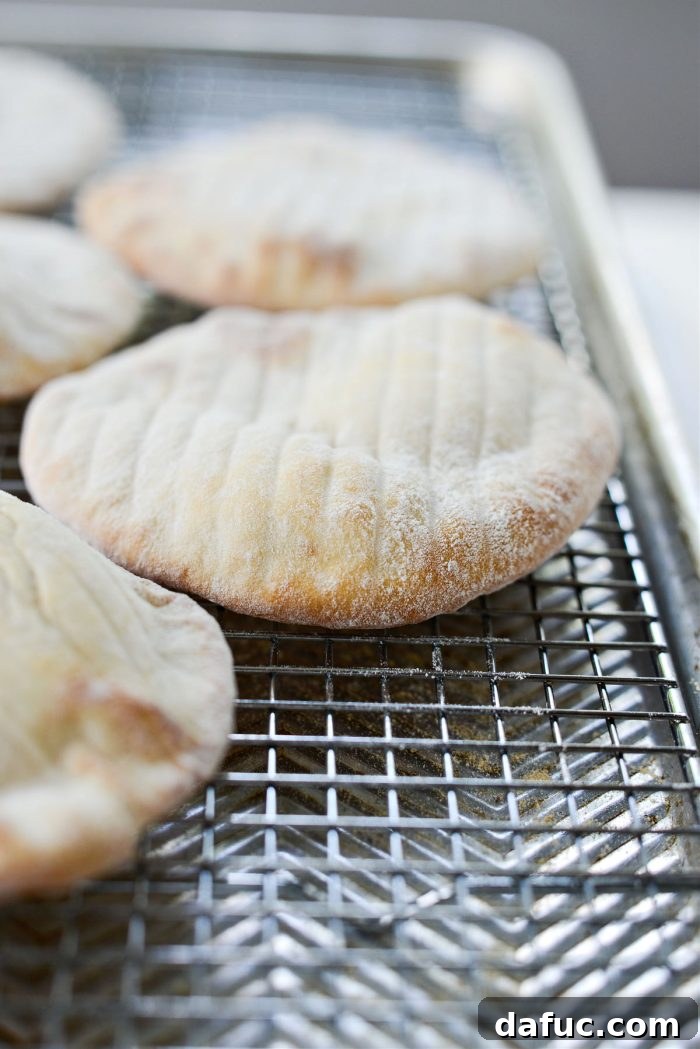
- **The Initial Bake and Puff:** Carefully transfer the rolled-out pita rounds onto the wire rack in your prepared baking pan. Arrange them so they have a little space between them – don’t overcrowd the pan, as this can inhibit proper puffing. You might need to bake in batches if your pan isn’t large enough. As you roll out subsequent rounds, place them between layers of clean kitchen towels to keep them from drying out while you wait for their turn. Once the rack is filled with pita rounds, slide the pan into your screaming hot preheated oven. Bake for an initial 4 to 5 minutes. During this time, you should witness the amazing phenomenon of the pita puffing up like a balloon right before your eyes! This is the sign of success!
- **Second Bake for Even Cooking and Golden Edges:** After the initial bake, use tongs to carefully turn each pita over. This ensures even cooking and helps both sides achieve a pleasant texture. Return the pan to the oven and bake for an additional 2 to 3 minutes, or until the edges are lightly golden, and both the tops and bottoms are fully cooked and feel firm. The goal is to cook them through without making them brittle. The internal steam will keep them wonderfully soft and flexible.
- **Maintain Softness with Steam:** As soon as the pitas are done baking, immediately transfer them to a clean sheet pan and cover them completely with a couple of clean kitchen towels or a large flour sack towel. The steam that escapes from the warm bread will be trapped under the towels, creating a humid environment that helps to keep the pita bread incredibly soft, pliable, and easy to open into pockets. This step is crucial for achieving that characteristic soft texture.
- **Repeat the Process:** Continue this baking process with all the remaining rolled-out pita dough rounds until you have a beautiful stack of perfectly puffed, homemade mini pitas. Each batch will be just as satisfying as the last.
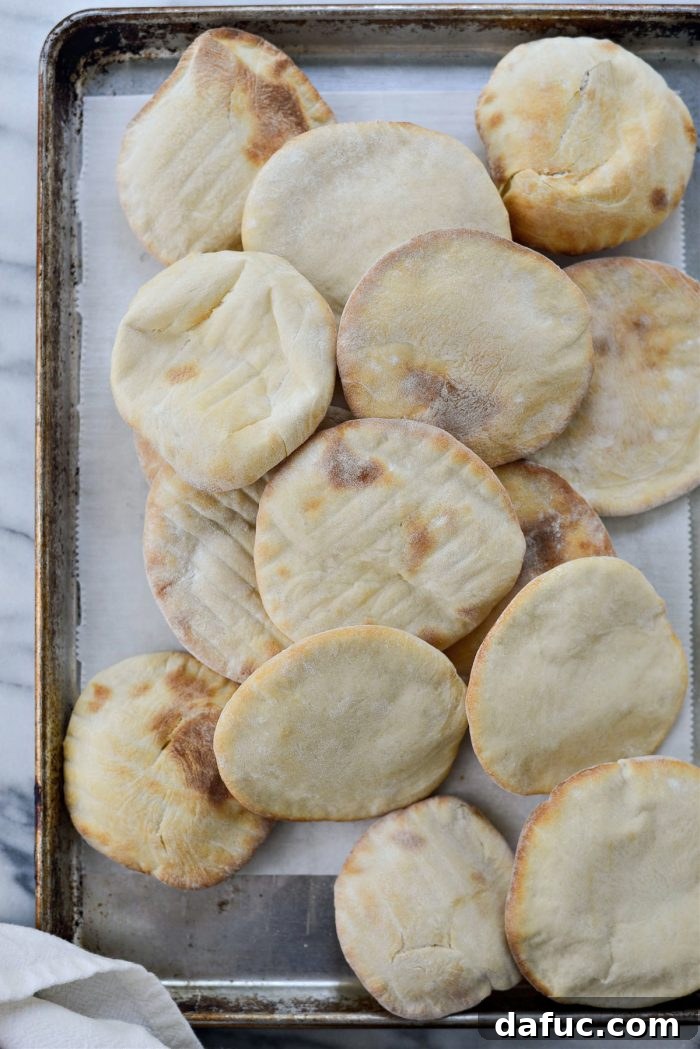
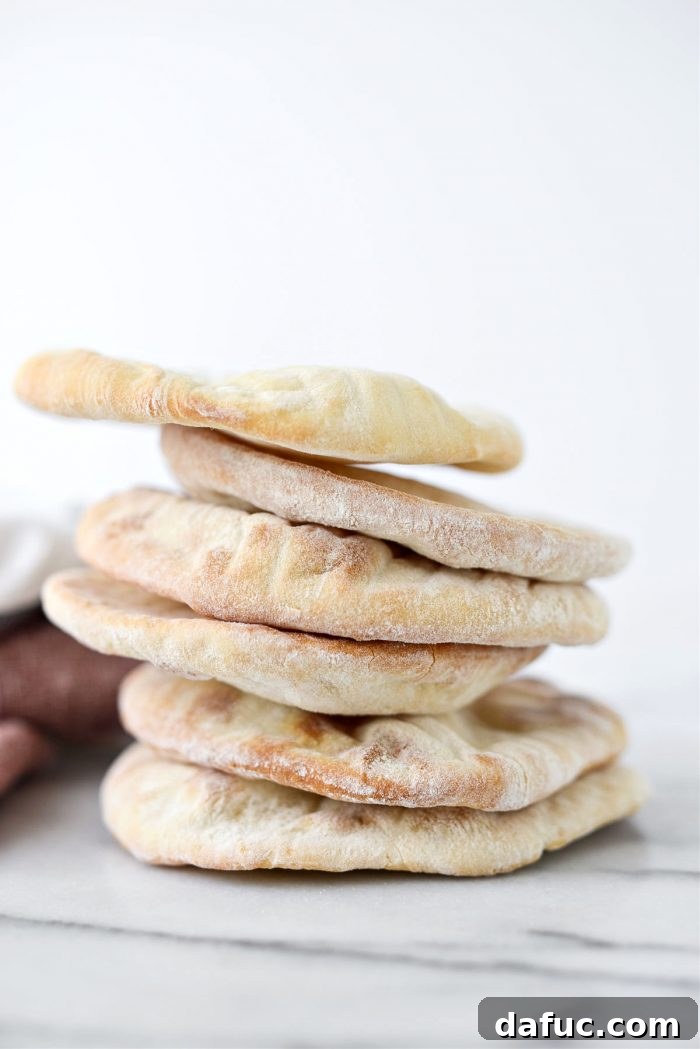
See? With a little patience, attention to detail, and these clear steps, homemade pita bread is not just achievable, it’s genuinely simple and incredibly rewarding to bake from scratch!
Creative Ways to Enjoy Your Homemade Mini Pita Bread
The culinary possibilities with your fresh, warm mini pita bread are truly endless. Its mild flavor, soft yet slightly chewy texture, and, of course, that perfect pocket make it a versatile companion for a wide array of dishes, from quick snacks and light lunches to elaborate appetizers and main courses. Homemade pita elevates any meal it accompanies.
Here are just a few ideas to get your creative juices flowing and make the most of your delicious homemade mini pitas:
- **Classic Mediterranean Dips:** The most obvious, yet undeniably delicious, way to enjoy pita is torn into pieces and generously dipped. Serve it alongside creamy hummus, smoky baba ghanoush (roasted eggplant dip), refreshing tzatziki (cucumber-yogurt dip), or a vibrant, spicy muhammara (red pepper and walnut dip). The soft interior and slight chew of homemade pita hold up perfectly to any dip, making it the ideal vehicle for flavor.
- **Perfectly Stuffed Pockets:** Utilize that fantastic internal pocket! Fill your mini pitas with savory falafel and a drizzle of tahini sauce, thinly sliced grilled chicken or lamb for mini shawarmas or gyros, seasoned ground meat, or even a simple fresh salad with crumbled feta cheese and Kalamata olives. They’re excellent for packing small, healthy, and satisfying lunches for work or school.
- **Quick Mini Pizzas and Flatbreads:** For a speedy meal or a fun appetizer, slice the pita in half horizontally to create two thin rounds. Spread with your favorite tomato sauce, sprinkle generously with mozzarella or a blend of cheeses, and top with mini pepperoni, vegetables, or herbs. Bake until bubbly, golden, and irresistible. These make fantastic quick weeknight dinners or engaging party appetizers.
- **Crispy Fattoush Salad Croutons:** Don’t let day-old pita bread go to waste! Tear it into bite-sized pieces, toss with a little olive oil, salt, pepper, and perhaps a touch of sumac. Then, toast or fry these pieces until they are wonderfully crisp and golden. These make superb, flavorful croutons for traditional fattoush salad or any other green salad you desire, adding a delightful textural contrast.
- **Hearty Breakfast Wraps:** Transform your breakfast routine by stuffing mini pitas with fluffy scrambled eggs, melted cheese, and your favorite breakfast meats like sausage or bacon, or even sautéed vegetables. It’s a quick, convenient, and incredibly satisfying way to start your morning.
- **Savory Snack Attack:** For an easy and aromatic snack, drizzle your pita with a good quality olive oil, sprinkle liberally with za’atar (a popular Middle Eastern spice blend of thyme, sesame seeds, and sumac), and toast briefly in the oven or a dry skillet until slightly crisp and warmed through.
- **Soup Accompaniment:** Serve alongside hearty lentil soup, a comforting chicken noodle soup, or a spicy chili. The pita bread is perfect for scooping up every last delicious drop and adding substance to your meal.
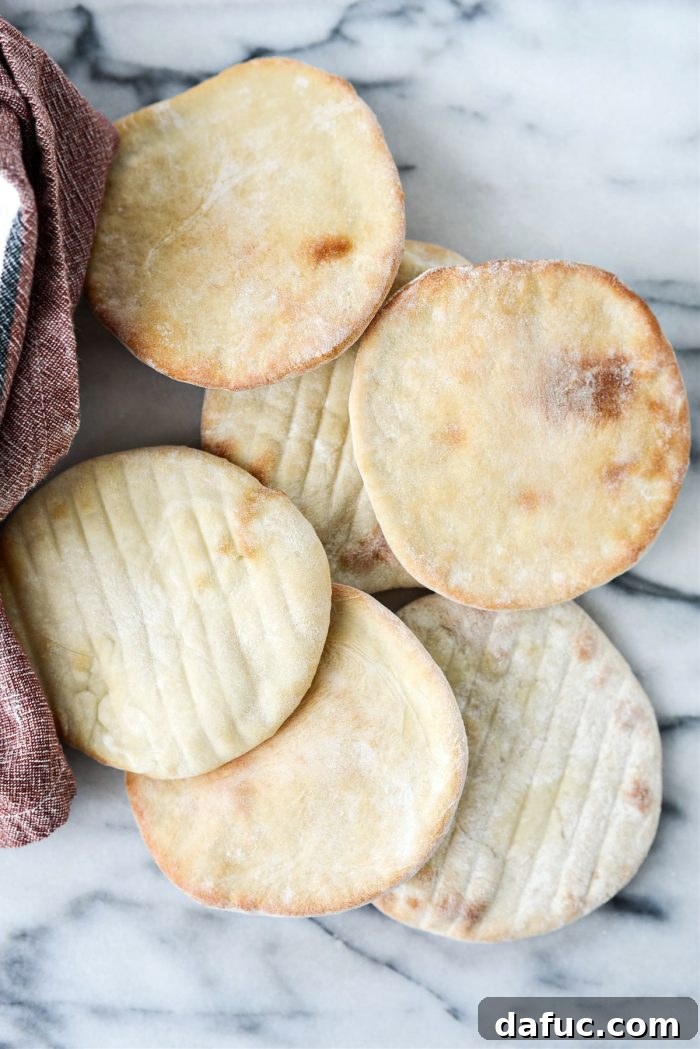
Storing and Reheating Your Homemade Pita for Lasting Freshness
To enjoy your homemade mini pita bread at its absolute best, proper storage is key. Freshly baked pita will stay wonderfully soft and delicious at room temperature for 2-3 days. Simply ensure it’s stored in an airtight container or a sealed plastic bag to prevent it from drying out. For longer storage, pita bread freezes exceptionally well, making it perfect for batch baking. Once completely cooled, place the pitas in a freezer-safe bag, ensuring as much air is removed as possible, and freeze for up to 3 months. When you’re ready to enjoy them, thaw the frozen pitas at room temperature for an hour or two, or gently warm them directly from frozen in a toaster oven, microwave (for a few seconds), or a dry skillet over medium heat until they are soft and pliable again. A quick re-warming will miraculously bring back much of their fresh-baked goodness, almost as if they just came out of the oven.
Enjoy your delicious homemade creations! And if you give this Mini Pita Bread recipe a try, we’d absolutely love to hear from you. Snap a photo of your beautiful pitas and tag us on Twitter or Instagram! Happy baking, and enjoy the taste of fresh, authentic pita bread in your own home!
Print Recipe
Pin Recipe
Leave a Review »
16
mini pitas
Mini Pita Bread Recipe
15
mins
8
mins
1
hr
1
hr
23
mins
Ingredients
- 1½ teaspoon granulated sugar
- 1 cup warm water, plus 2 tablespoons
- 1½ teaspoons active dry yeast
- 3 cups unbleached bread flour
- 1 tablespoon olive oil, plus more for bowl
- 1 teaspoon kosher salt
Equipment
-
KitchenAid KP26M1XWH 6 Qt. Professional 600 Series Bowl-Lift Stand Mixer – White
Instructions
-
In the bowl of your stand mixer (fitted with the paddle attachment) add sugar and dissolve with warm water. Sprinkle in yeast and let sit for 5 to 8 minutes to activate the yeast.
-
With the mixer on low speed, gradually add the flour, then the olive oil and salt. Once this has just about combined, switch over to a dough hook. With your mixer on low speed, knead for 6 minutes.
-
In a large bowl, add a splash of olive oil. Shape the dough into a ball and transfer to the bowl. Coat the dough in the oil and use it to grease the sides of the bowl.
-
Cover with a clean towel and let rise for 1 hour or until doubled in size.
-
Turn the dough out onto a lightly floured surface. Shape into a log and cut in half lengthwise. Then divide both strips in half, and then in half again, repeating until you have 16 pieces.
-
Shape into a ball and roll until smooth. Place on parchment paper lined sheet pan, cover with a clean towel and repeat with remaining pieces. Let rest for 15 minutes.
-
Meanwhile, preheat your oven to 475℉ (or 245℃). And set a wire rack into a rimmed metal baking pan.
-
On a lightly floured surface, work in batches, rolling each round out 4-inches in diameter, transfer to wire rack. Once the rack is filled, slide pan into your preheated oven and bake 4 to 5 minutes. Turn over and bake for an additional 2 to 3 minutes OR until the edges are golden and the tops and bottoms are fully cooked.
-
Remove transfer mini pitas to a clean pan and cover with a new towel. Repeat with remaining dough.
Serving:
1g
,
Calories:
101kcal
,
Carbohydrates:
19g
,
Protein:
3g
,
Fat:
1g
,
Polyunsaturated Fat:
1g
,
Sodium:
79mg
,
Fiber:
1g
Laurie McNamara
Breads & Baked Goods
Mediterranean