
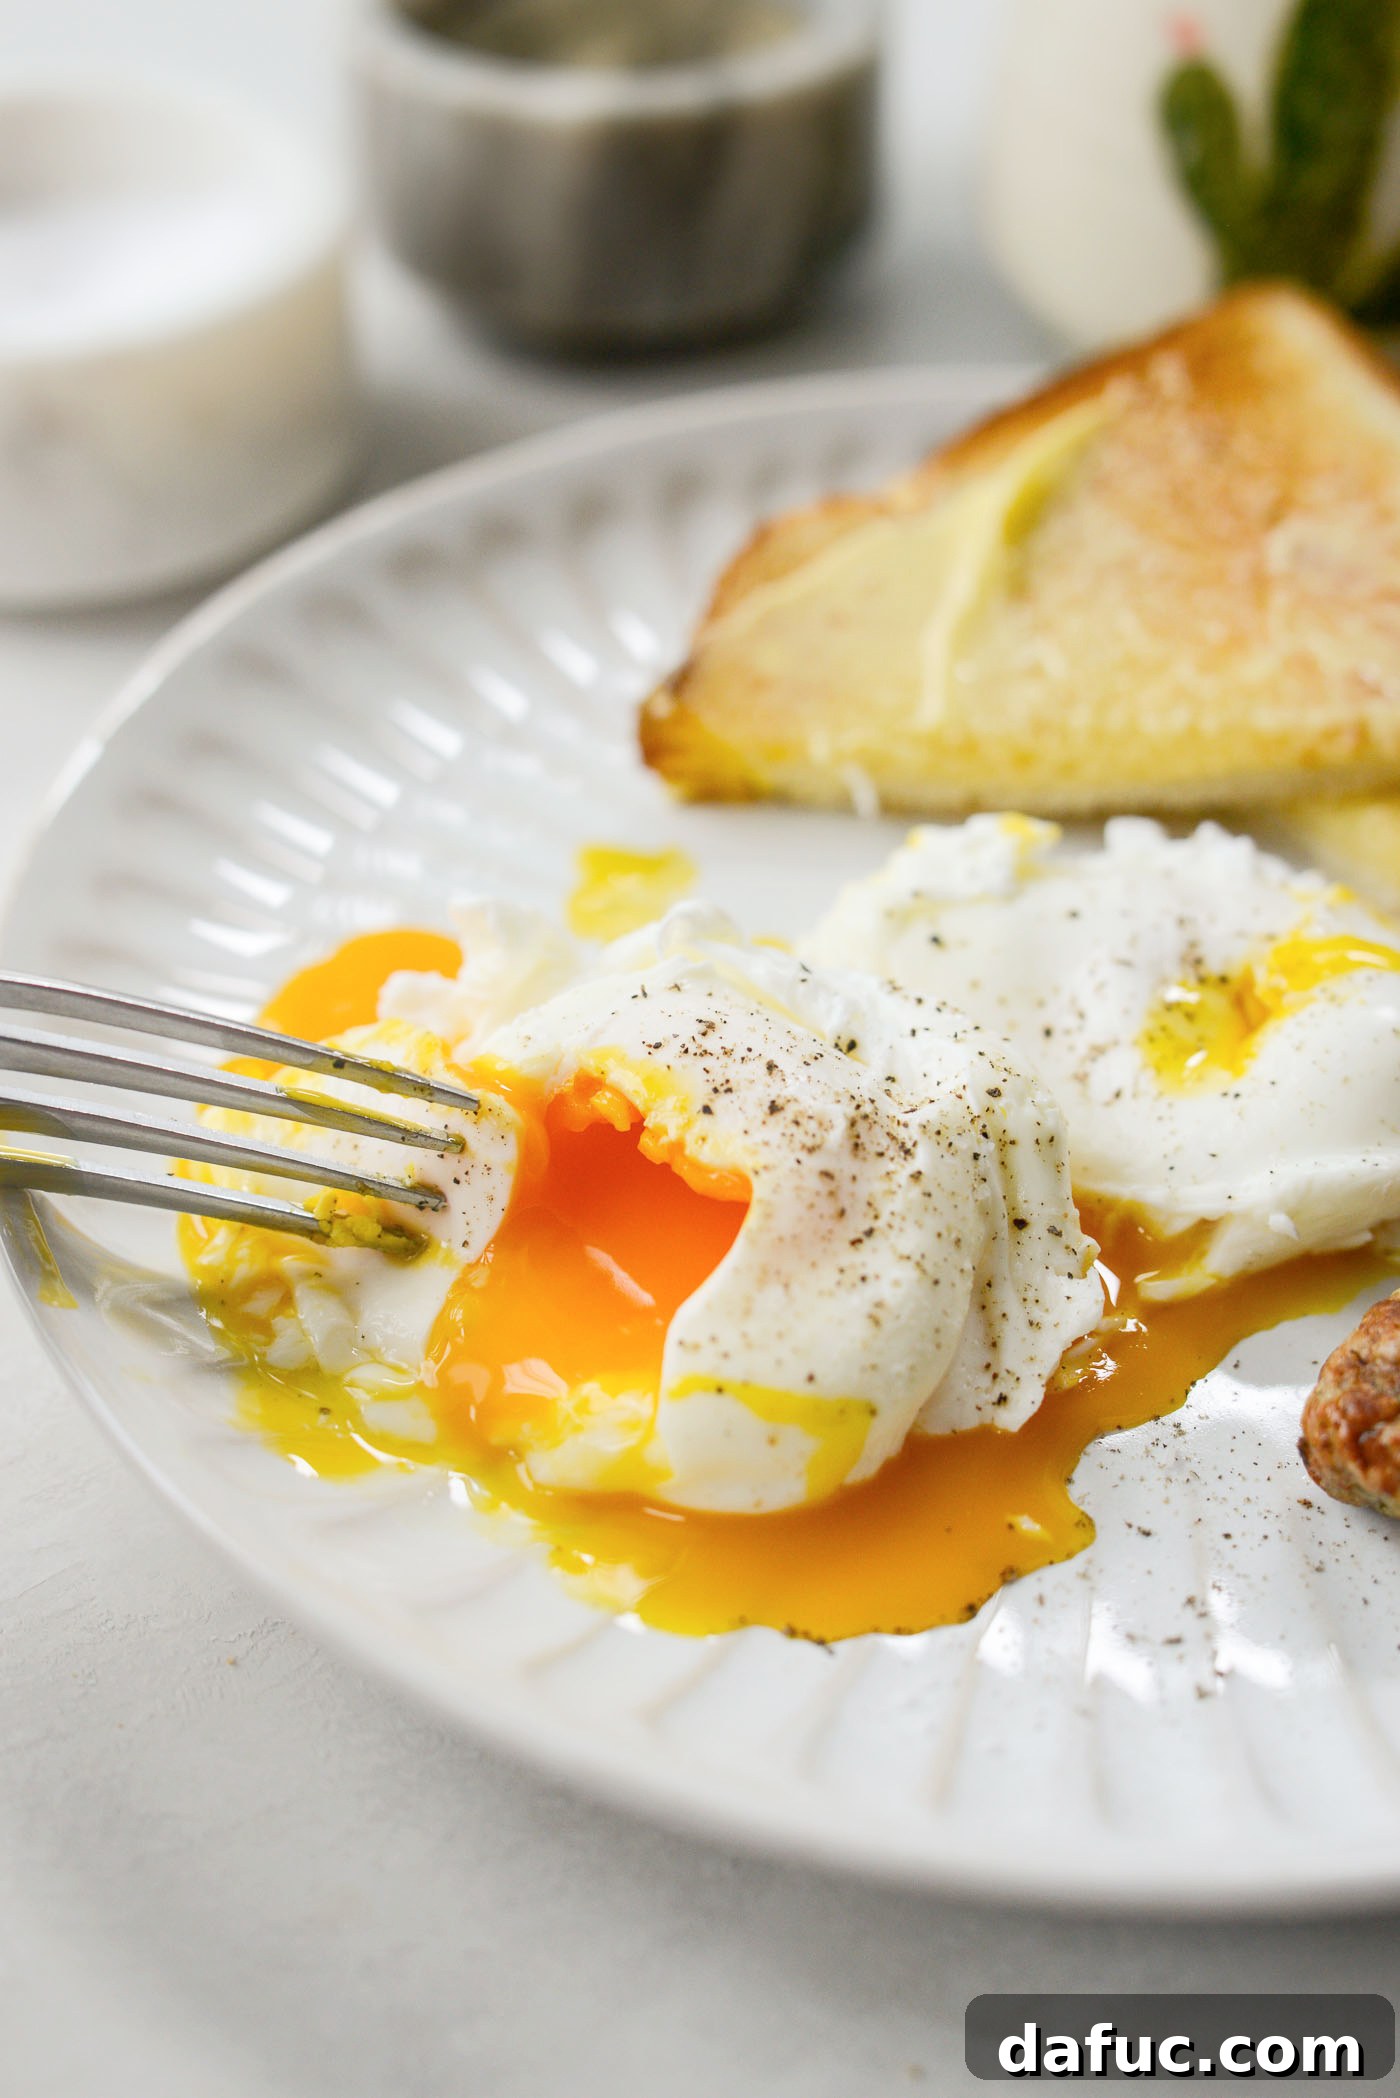
Craving perfectly poached eggs but dreading the fuss and mess of traditional stovetop methods? Imagine having flawless, runny-yolked poached eggs ready in mere minutes, with minimal cleanup and zero culinary stress. This isn’t a dream – it’s the reality of mastering Easy Microwave Poached Eggs. Forget the swirling water baths and delicate handling; this revolutionary method is by far the quickest and most effortless way to achieve those coveted delicate whites and gooey centers, transforming your breakfast routine from tedious to triumphant.
For years, many home cooks have shied away from poaching eggs, considering it a technique reserved for professional chefs or weekend brunches with ample time. The classic approach often involves precise temperature control, a vigorous water swirl, and a fair amount of luck to prevent the egg whites from splaying uncontrollably. But what if there was a simpler path to culinary bliss? A method so straightforward, so efficient, that it empowers anyone to enjoy perfectly poached eggs anytime, even on the busiest mornings?
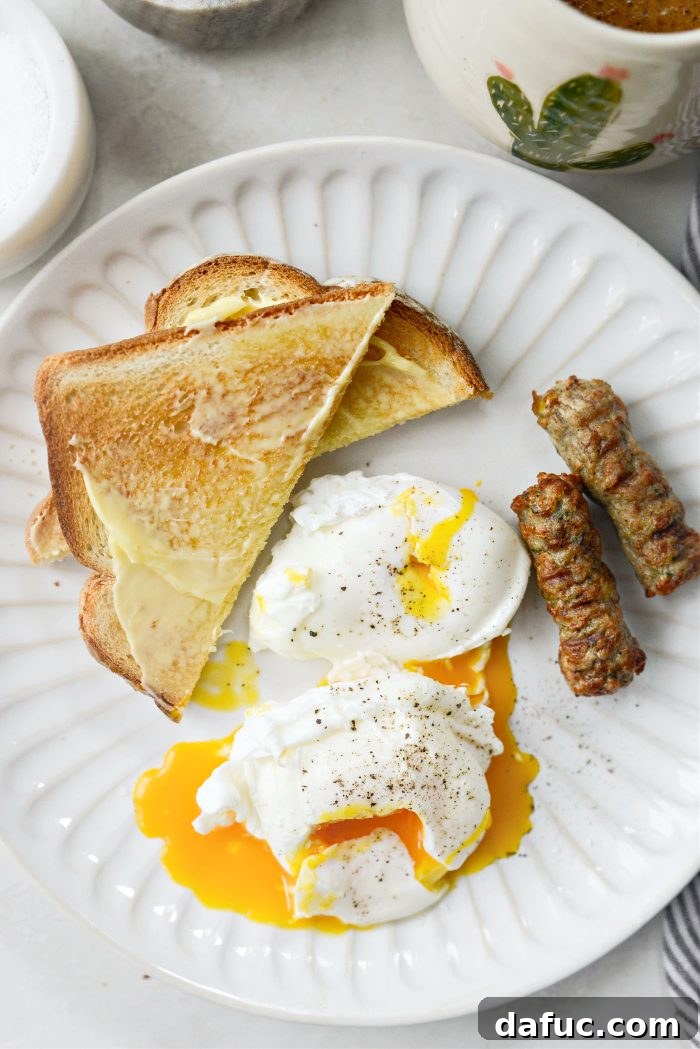
Mastering Easy Microwave Poached Eggs: Your Quick Guide to Perfection
The Unbeatable Ease of Microwave Poached Eggs
If you’ve been on a quest for an incredibly easy way to poach eggs, your search ends here. The microwave method for poaching eggs is a game-changer that streamlines the entire process, making it accessible to even the most novice cooks. I first discovered this ingenious technique back in 2021, and honestly, I haven’t looked back at poaching eggs the classic way since. Its efficiency, coupled with the consistently excellent results, makes it my go-to for a quick, healthy, and delicious breakfast or brunch component.
The beauty of microwave poaching lies in its simplicity. Instead of managing a pot on the stove, you’re utilizing the speed and convenience of your microwave to gently cook the egg. This method significantly reduces cleanup, eliminates the need for multiple pots and specialized equipment, and slashes cooking time to mere seconds. Whether you’re making a single egg for a speedy solo meal or preparing a couple for a shared breakfast, the microwave method ensures a perfectly cooked egg with minimal effort.
A quick but crucial note: Every microwave oven varies in power and efficiency. Consequently, cooking times may differ slightly. It’s perfectly normal to need a bit of experimentation to fine-tune the timing for your specific appliance, ensuring you achieve your preferred level of doneness. This guide provides a solid starting point, which you can easily adjust for your perfect poached egg.
Gather Your Essentials: Simple Ingredients for a Gourmet Treat
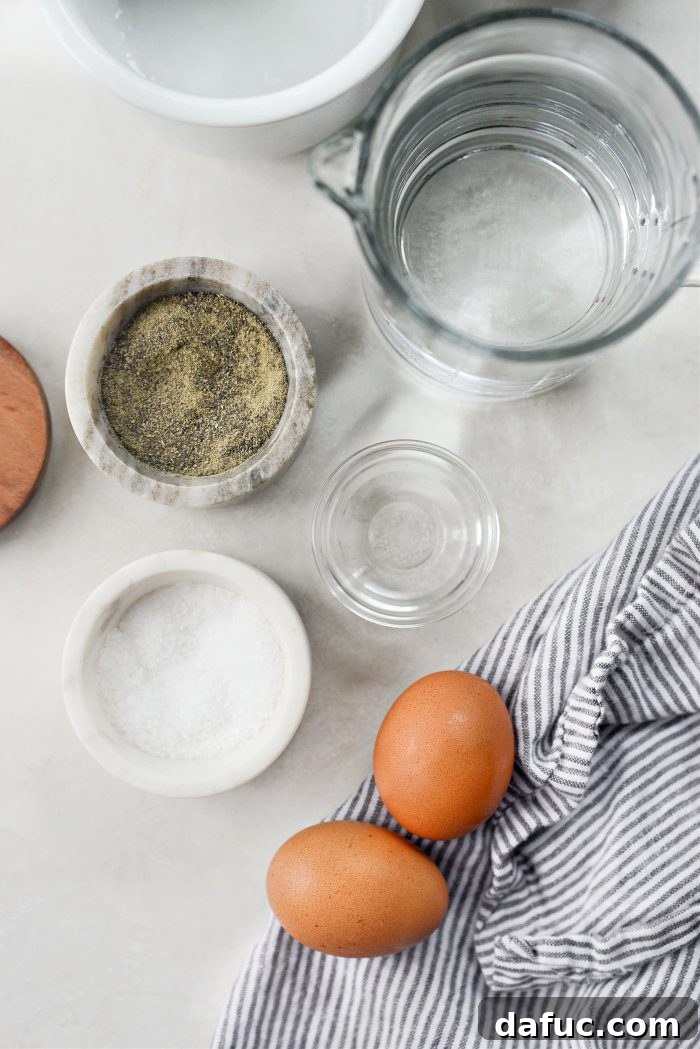
One of the many advantages of making poached eggs in the microwave is the minimal ingredient list. You likely already have everything you need in your kitchen, making this a spontaneous and convenient meal option. Here’s what you’ll require for one perfectly poached egg:
- Eggs: The fresher the better! Fresh eggs tend to hold their shape more effectively, resulting in a neater poached egg. For this recipe, we’re focusing on one large egg, but the principles scale easily.
- Water: Plain tap water is all you need. We’ll be bringing it to a boil, so ensure you have access to a kettle or saucepan.
- White Vinegar: This is a secret weapon in the poaching process. A small amount of white vinegar helps the egg whites coagulate faster, preventing them from spreading too much in the water and ensuring a compact, beautifully shaped egg. Don’t worry, you won’t taste it in the final product!
- Optional: Kosher Salt & Freshly Ground Black Pepper: For seasoning and enhancing the flavor of your perfectly cooked egg.
Essential Equipment for Microwave Poaching:
Beyond the basic ingredients, you’ll need a few common kitchen items to make your microwave poached eggs a success:
- Microwave-Safe Ramekin or Bowl: A sturdy, deep, and microwave-safe dish is paramount. Ramekins are ideal due to their size and depth, which help the egg maintain its shape.
- Small Saucepan or Kettle: For boiling the water separately before adding it to the ramekin. This ensures the egg begins cooking in hot water, leading to more consistent results.
- Slotted Spoon: Essential for carefully turning the egg during the microwaving process and for removing it once cooked, allowing excess water to drain.
- Oven Mitts or Thick Kitchen Towel: Safety first! You’ll be handling hot water and a hot ramekin, so protection for your hands is a must.
- Separate Small Bowl: This is an optional but highly recommended tool for cracking the egg into initially. It makes adding the egg to the hot vinegar-water bath much safer and prevents splashing.
- Paper Towel: For draining the cooked poached egg and absorbing any residual water before serving.
Step-by-Step: Crafting Your Perfect Microwave Poached Egg
Follow these detailed steps to create a flawless microwave poached egg every time. The process is designed for maximum safety and efficiency, ensuring you get restaurant-quality results in under five minutes.
Preparation: The Foundation of Flawless Poaching
The key to perfect microwave poached eggs lies in a bit of careful preparation before the microwave even gets involved:
- Boil the Water: Begin by boiling 1 cup of water. You can do this efficiently using a kettle or a small saucepan on the stove. If you plan to make two eggs (cooked sequentially), boil 2 cups of water initially, keeping the second cup hot.
- Prepare the Ramekin: While your water is heating, add 1-1/4 teaspoons of white vinegar to your chosen microwave-safe ramekin or bowl. If you’re preparing two eggs, remember that each egg will need its own separate ramekin to cook properly and avoid overcooking or uneven results.
- Crack the Egg Separately: This is a crucial step for both safety and aesthetics. Crack your egg into a separate, shallow bowl. This minimizes the risk of splashing hot liquids when you transfer the egg and allows you to inspect the egg for any shell fragments before it goes into the poaching liquid.
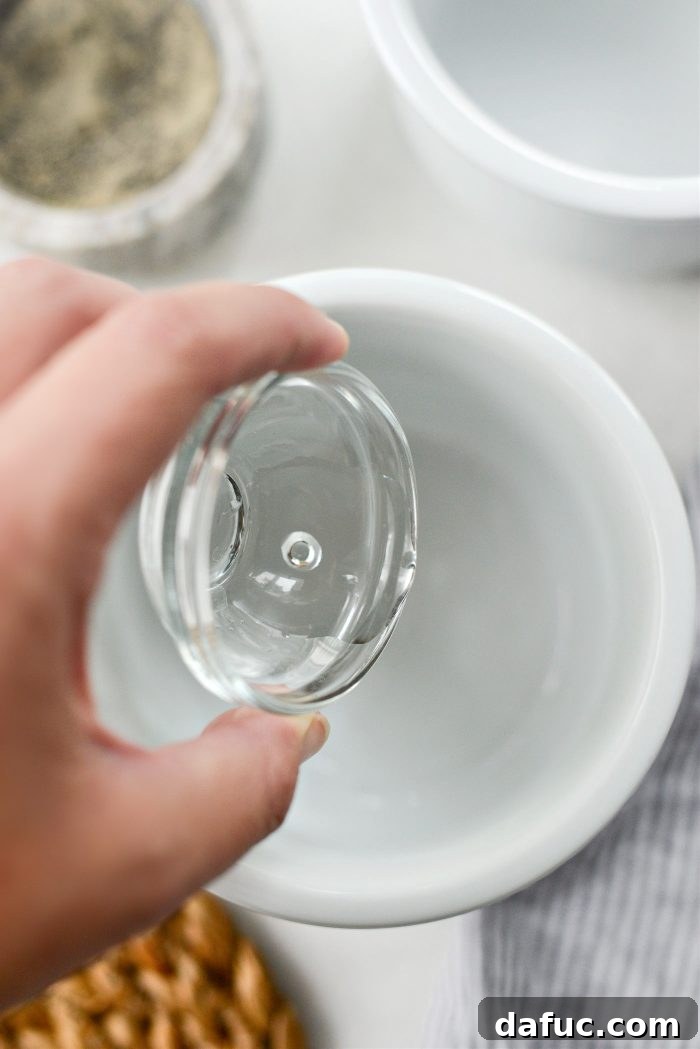
Once your water reaches a rolling boil, you’re ready to combine the elements that will create your perfect poached egg. Always proceed with caution when handling hot liquids.
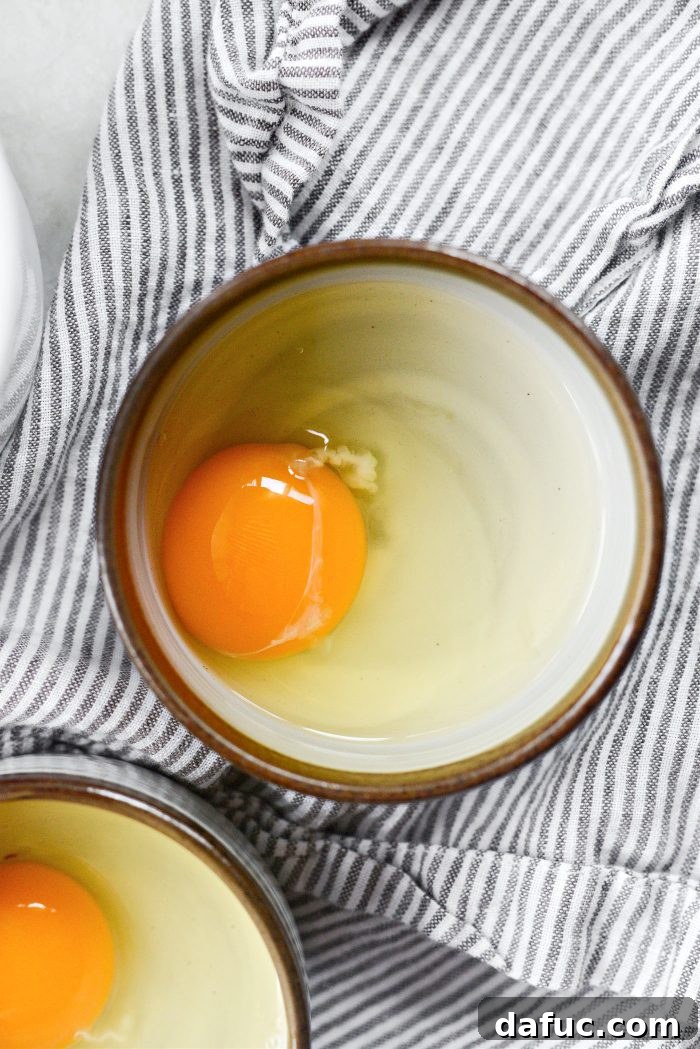
With your egg safely cracked into a separate bowl, you’re prepared for the gentle transfer into the hot poaching bath, ensuring no sudden splashes or breakages.
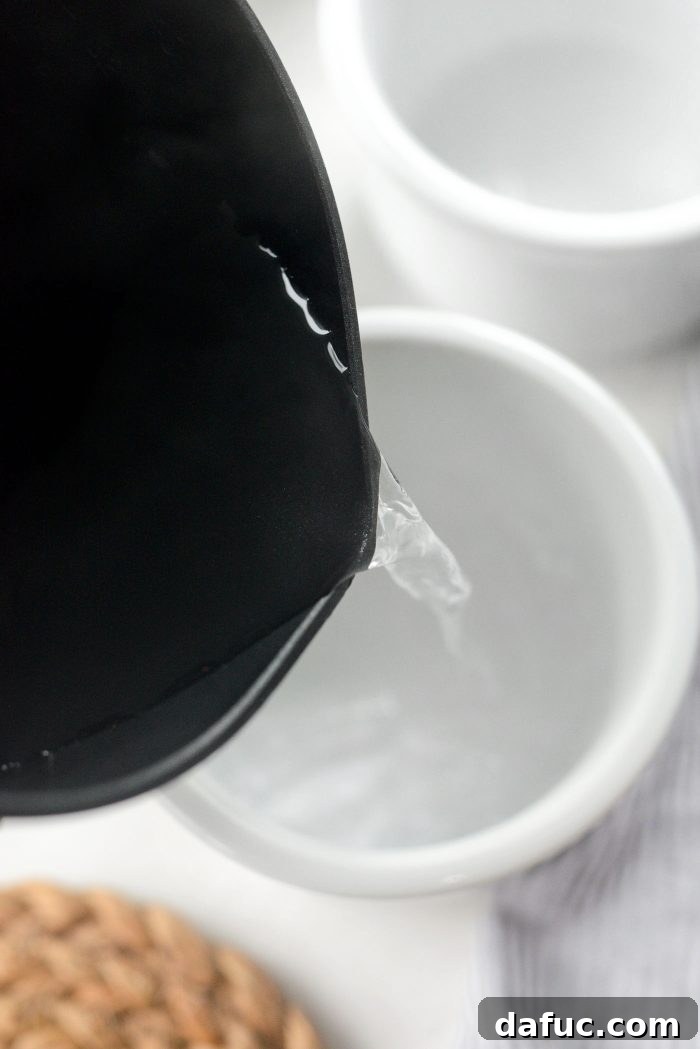
As soon as the water is boiling, carefully pour one cup of the hot water into the ramekin containing the white vinegar. The water should be hot enough to create a slightly steamy environment.
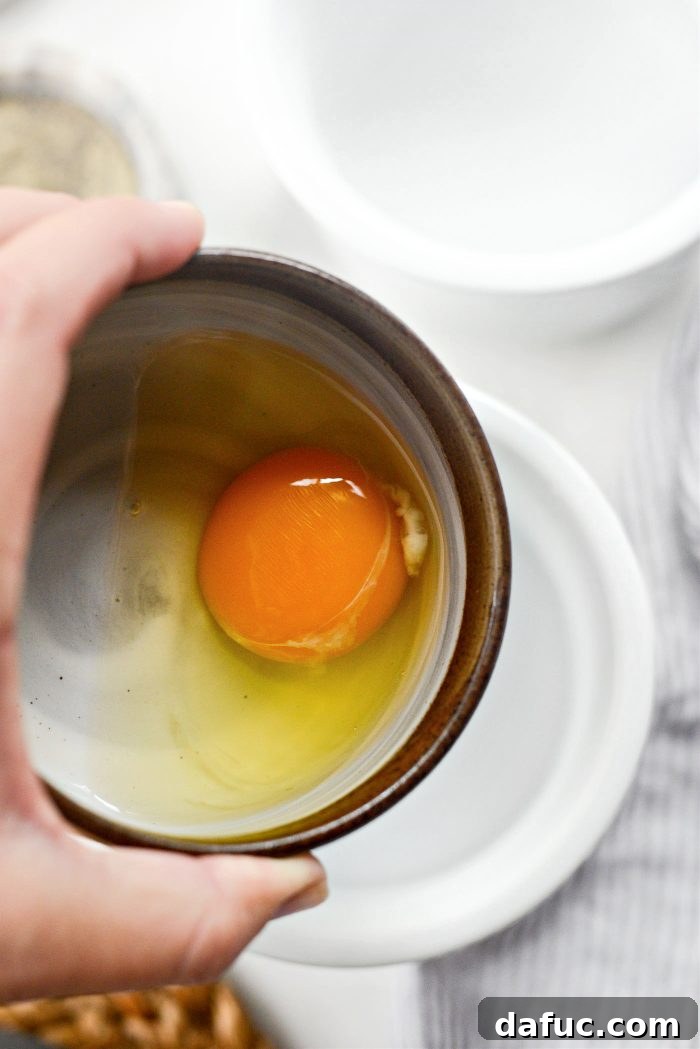
Immediately, but with utmost care, gently slide the cracked egg from its shallow bowl into the hot vinegar water in the ramekin. The heat will begin to set the whites immediately, thanks to the vinegar.
Microwaving Your Egg to Perfection: The Key Steps
Now, it’s time for the microwave to work its magic. Remember, microwave wattages vary, so the initial timing is a guideline.
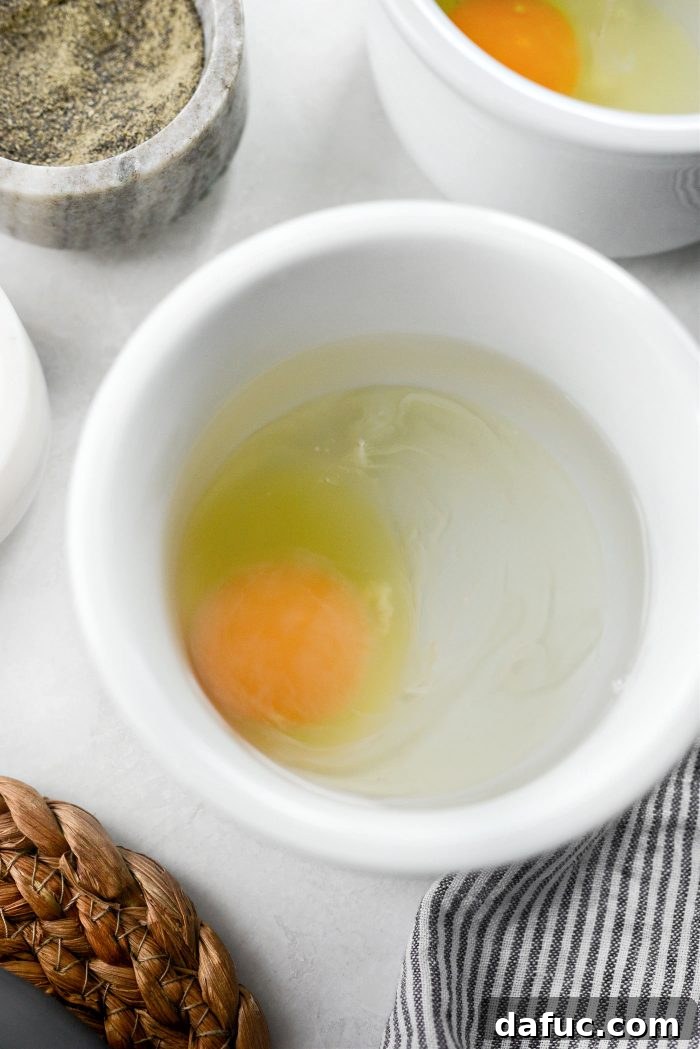
Using oven mitts or a thick kitchen towel, carefully transfer the ramekin into your microwave. Cook the egg for an initial burst of 30 seconds. This short period begins the cooking process and starts to solidify the whites around the yolk. After 30 seconds, carefully remove the ramekin, again using protective handwear as it will be hot.
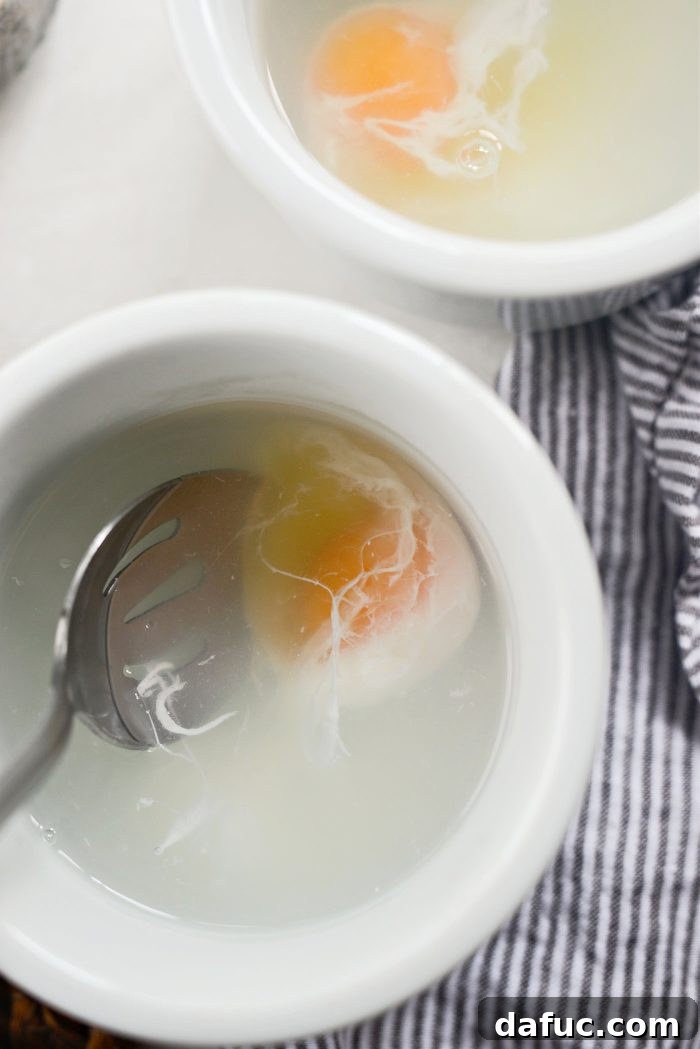
With a large spoon or a slotted spoon, very carefully and slowly turn the egg over in the hot water. This ensures even cooking on all sides. Return the ramekin to the microwave and cook for an additional 15 to 20 seconds. The goal here is for the egg whites to be fully set but still tender, while the yolk remains delightfully runny. If your microwave is particularly powerful, you might start with 20 seconds for the first cook and 10-15 for the second.
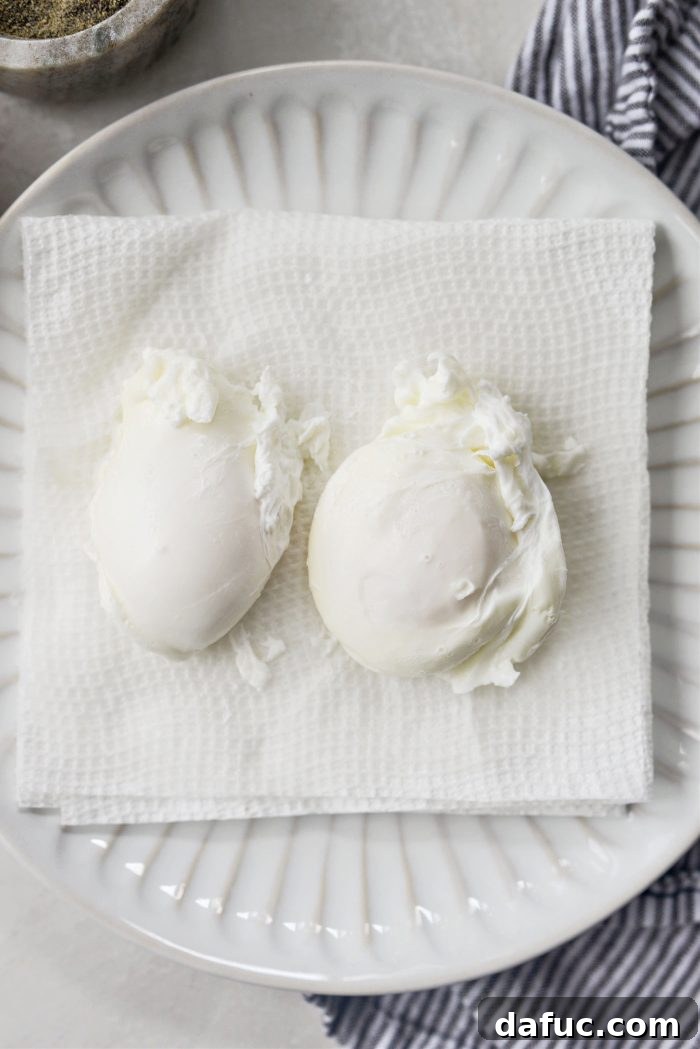
Once the whites are completely set and opaque, use your slotted spoon to gently remove the poached egg from the water. Place it on a paper towel-lined plate to drain any excess water. This step helps ensure your egg isn’t watery when you serve it.
Handling Multiple Eggs: A Smart Approach
If you’re making two eggs, it’s crucial to cook them sequentially for the best results:
Once your first egg is draining on a paper towel, immediately begin preparing the second. Pour the remaining half of your boiling water (which you ideally kept warm on the stove) into a second ramekin that already contains 1-1/4 teaspoons of white vinegar. Carefully add the second egg, just as you did the first. Microwave this second egg for 30 seconds, then carefully flip it in the vinegar water. Microwave for an additional 15 to 20 seconds, or until its whites are perfectly set. Transfer this poached egg to a separate paper towel-lined plate to remove any excess water before serving.
In my extensive experience, attempting to microwave two eggs simultaneously often leads to inconsistent cooking times and less than ideal results. Cooking them one at a time, even if it takes a minute longer, guarantees a perfectly poached egg every single time.
Expert Tips for Perfect Microwave Poached Eggs Every Time
While the microwave poaching method is incredibly simple, a few expert tips can elevate your results from good to absolutely perfect:
- Understand Your Microwave’s Power: Microwaves vary widely in wattage. A higher wattage microwave will cook faster than a lower wattage one. If your egg is consistently undercooked or overcooked, adjust the cooking times in 5-second increments until you find your sweet spot.
- Fresh Eggs Make a Difference: Fresher eggs have tighter whites that hold their shape better during poaching. Older eggs tend to spread more. If your eggs are a bit older, the vinegar becomes even more critical in helping the whites coagulate.
- The Magic of Vinegar: Don’t skip the white vinegar! It’s not for flavor, but for structure. The acidity of the vinegar helps the egg whites set quickly, preventing them from dispersing and creating those beautiful, compact poached eggs.
- Pre-boiling Water for Consistency: Starting with already boiling water is essential. This gives the egg an immediate thermal shock, initiating the cooking process quickly and uniformly, which is harder to achieve if you start with cold water and try to boil it in the microwave with the egg.
- Safety First: Handle with Care: Hot water and eggs can be unpredictable. Always use oven mitts or a thick kitchen towel when transferring ramekins in and out of the microwave and when handling the hot dishes. Gently sliding the egg into the water from a separate bowl also minimizes splashing.
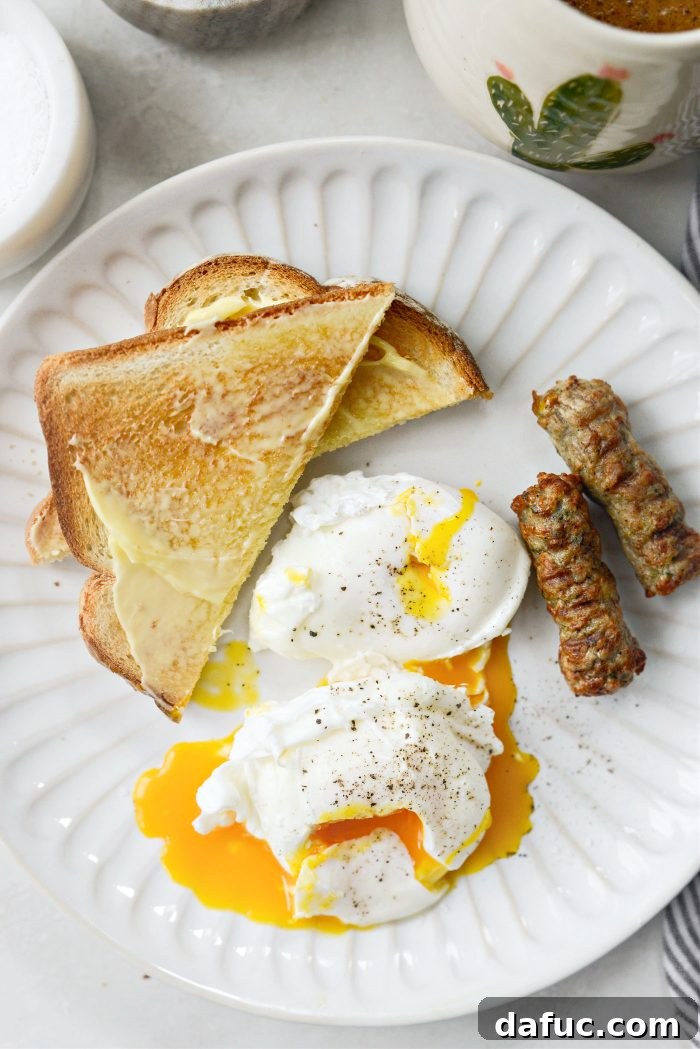
- Doneness Check: What to Look For: A perfectly poached egg will have firm, opaque whites and a warm, runny yolk. If the whites are still translucent, it needs more time. If the yolk feels firm to a gentle touch, it’s likely overcooked. You can also carefully cut into one to check the yolk’s consistency.
- Troubleshooting Common Issues:
- Exploding Eggs: This usually happens from overcooking, especially if the yolk gets too hot and steams up. Reduce your cooking time slightly.
- Runny Whites: This means the whites haven’t cooked long enough, or your water wasn’t hot enough, or you used too little vinegar. Increase cooking time or vinegar slightly.
- Hard Yolks: Too much cooking time. Decrease your microwave duration.
Delicious Ways to Enjoy Your Microwave Poached Eggs
The beauty of a perfectly poached egg lies in its versatility. It can elevate a simple meal or complement a complex dish. Here are numerous delightful ways to enjoy your effortlessly made microwave poached eggs:
- As Is with Classic Breakfast Pairings: Simply serve your poached eggs alongside buttered toast, crispy hash browns (try these cauliflower hash browns for a healthy twist!), savory bacon, juicy sausage (homemade turkey breakfast sausage is a fantastic option), or your plant-based protein of choice. A sprinkle of salt and freshly ground black pepper is often all it needs.
- Elevated Toast & Avocado: Transform your morning toast! Spread mashed avocado on whole-grain toast, top with a poached egg, a dash of everything bagel seasoning, and chili flakes for a vibrant and nutritious start to your day.
- Salad Topper Extraordinaire: Poached eggs add a luxurious, creamy element and a boost of protein to any salad. My personal favorite is this simple breakfast salad recipe, but they’re equally delicious on a vibrant spring mix with vinaigrette.
- Hearty Breakfast Hashes & Potatoes: Crown any breakfast hash or breakfast potatoes with a poached egg. The runny yolk acts as a natural, rich sauce for the potatoes and vegetables. Explore my hash recipes like easy corned beef hash, leftover prime rib hash, or a rustic roasted fennel and potato hash for inspiration.
- Eggs Benedict Reinvented: While traditional Eggs Benedict requires Hollandaise, a poached egg on an English muffin with a slice of ham or Canadian bacon is a fantastic quick version. For a lighter take, substitute the muffin with a Portobello mushroom cap or sweet potato toast.
- Soups & Grain Bowls: Add a poached egg to a ramen bowl, a lentil soup, or a hearty grain bowl with roasted vegetables for an extra layer of richness and protein. The yolk beautifully enriches the broth or dressing.
- Breakfast Sandwiches: Elevate your breakfast sandwich by replacing a fried egg with a perfectly poached one. The soft texture and runny yolk make for an incredible bite.
- Steak & Eggs: For a more substantial meal, pair a succulent steak with one or two perfectly poached eggs. The combination of savory meat and creamy yolk is simply divine.
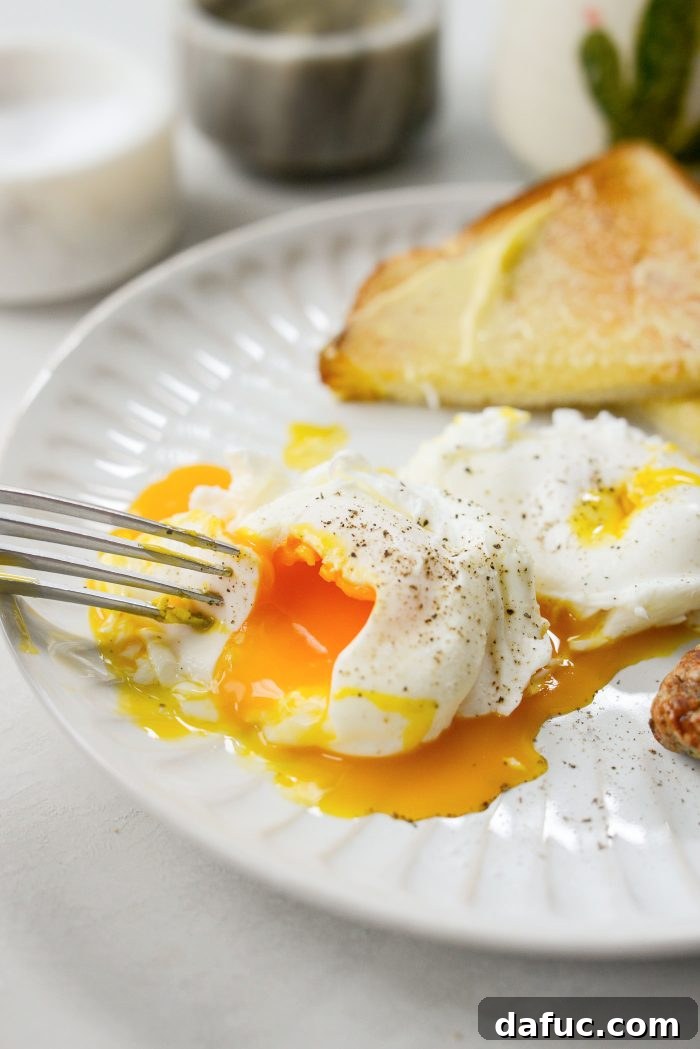
Enjoy! And if you give this Microwave Poached Eggs recipe a try, don’t keep it a secret! Share your creations and let me know how it turned out. Snap a photo and tag me on Twitter or Instagram! I love seeing your culinary adventures.
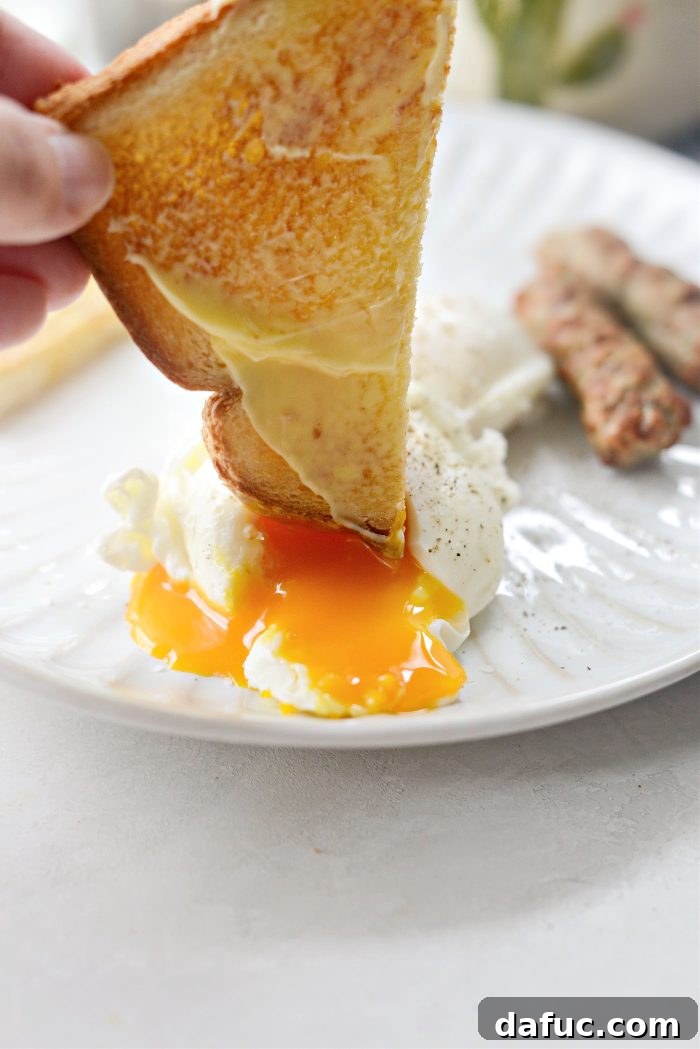

Microwave Poached Eggs
Keep in mind that every microwave is different so times may vary. You may need to play around with the times to get it just right.
Ingredients
- 1 cup water
- 1¼ teaspoons white vinegar
- 1 large egg
- kosher salt, for serving
- freshly ground black pepper, for serving
Instructions
-
Bring 1 cup of water to a boil.
-
Meanwhile, add 1¼ teaspoons white vinegar to a microwave-safe ramekin or bowl.
-
In a separate small bowl, crack and add the egg.
-
Once the water is boiling, carefully pour into the ramekin with the vinegar. Immediately –BUT STILL CAREFULLY– add the egg slowly into the hot vinegar water.
-
Use oven mitts or a thick towel to transfer the ramekin into the microwave and cook for 20 to 30 seconds. Carefully remove the ramekin.
-
Use a slotted spoon to carefully and slowly, turn the egg over and then microwave for an additional 15 to 20 seconds OR until whites are set.
Once the whites are set, use a slotted spoon to remove and drain on paper towel.
-
If Making Two Eggs: Once the first egg is draining on paper towel, quickly make the second egg. Pour the other half of the boiling water (I keep it boiling on the stove) into the second ramekin and carefully add the second egg. Microwave the second egg for 30 seconds, carefully flip the egg in the vinegar water and microwave for an additional 15 to 20 seconds OR until whites are set. Transfer poached egg to paper towel lined plate before serving.
In my experience, making 2 eggs at the same time in the microwave, throws off the cook times.
-
See blog post for ways to enjoy poached eggs.
Notes
Frequently Asked Questions (FAQs) About Microwave Poached Eggs
Even with a simple method, questions can arise. Here are answers to some common queries about microwave poached eggs:
- Can I use cold water instead of boiling water? While technically possible, it is not recommended. Starting with cold water in the microwave makes it much harder to control the cooking process and achieve that ideal runny yolk with set whites. Pre-boiling the water ensures consistent, quick results.
- What if my egg explodes in the microwave? An exploding egg is usually a sign of overcooking. The yolk can superheat and create steam, leading to an explosion. This is why precise timing and potentially a small reduction in cook time (especially for powerful microwaves) are crucial. Also, ensuring the egg is fully submerged can help.
- Can I poach more than two eggs at a time in the microwave? For the best results, it’s strongly recommended to poach one egg at a time, or sequentially in individual ramekins as described. Microwaving multiple eggs simultaneously in the same dish or even different dishes at once can lead to uneven cooking, where some are overcooked and others undercooked, due to inconsistent heat distribution.
- What kind of vinegar should I use? White vinegar is preferred due to its clear color, which won’t stain your egg, and its neutral flavor. Apple cider vinegar can also work, but its color might slightly tint the egg white. Avoid dark or flavored vinegars that could impart unwanted tastes or colors.
- How do I know when my microwave poached egg is perfectly done? The whites should be completely set and opaque, with no translucent or watery areas. The yolk, however, should still be soft and runny. You can gently jiggle the ramekin; if the yolk moves freely within the set white, it’s likely perfect. For absolute certainty, you can always do a quick test by carefully cutting into the first egg you make.
Conclusion: Your New Go-To Poached Egg Method
Say goodbye to the complicated, time-consuming methods of the past! Microwave poached eggs offer a convenient, quick, and remarkably effective way to enjoy this beloved breakfast staple. With just a few simple ingredients and a couple of minutes, you can consistently achieve beautifully poached eggs with firm whites and luscious, runny yolks. Whether you’re preparing a healthy solo breakfast, adding a touch of elegance to your brunch, or simply craving an effortless protein boost, this method is truly a culinary revelation. Embrace the ease, savor the flavor, and make microwave poached eggs your new favorite go-to!