
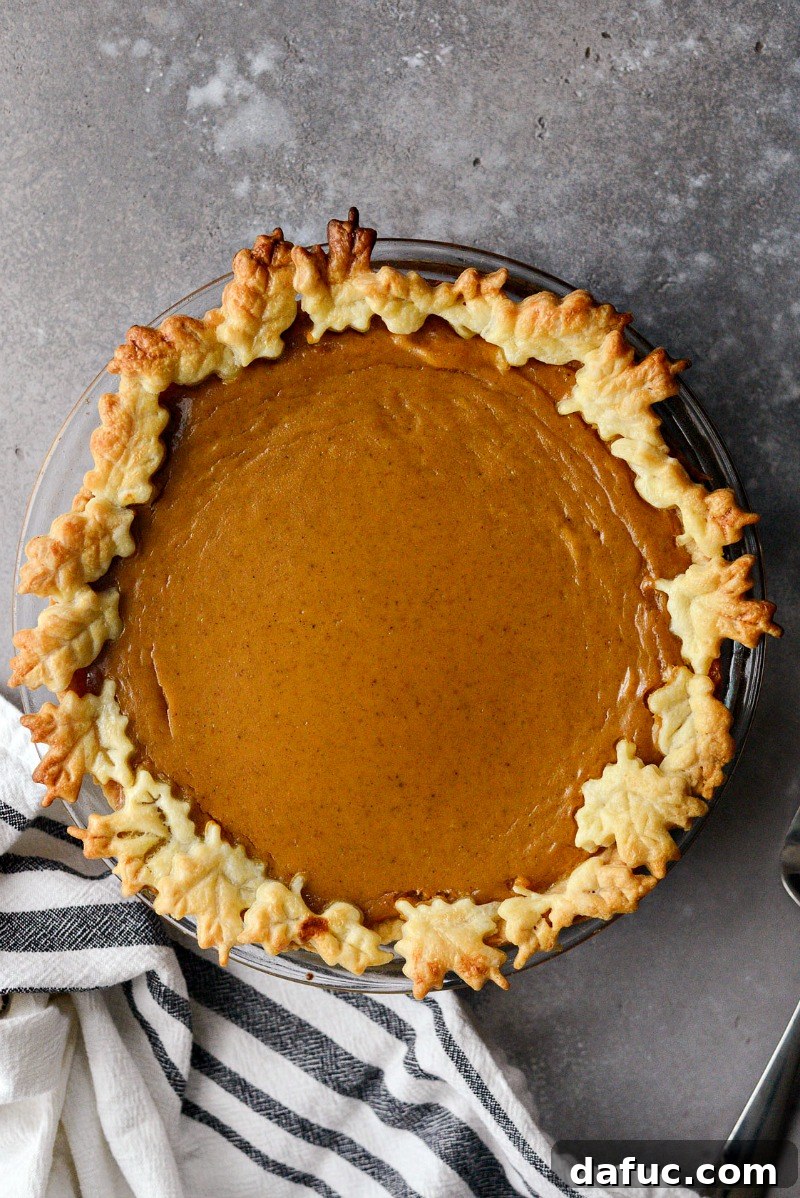
Welcome to the ultimate guide for crafting the perfect Classic Pumpkin Pie – a timeless dessert that embodies the spirit of autumn and the joy of holiday gatherings. This isn’t just any pumpkin pie; it’s a meticulously crafted recipe designed to deliver an unforgettable taste experience. Imagine a creamy, perfectly spiced pumpkin custard nestled within a golden, flaky, buttery pie crust, ready to be adorned with a generous dollop of freshly whipped cream. Whether you’re a seasoned baker or trying your hand at this festive treat for the first time, our detailed recipe will guide you to pumpkin pie perfection. Serve it warm with a steamy cup of coffee or a glass of milk, and watch it become the star of your dessert table.
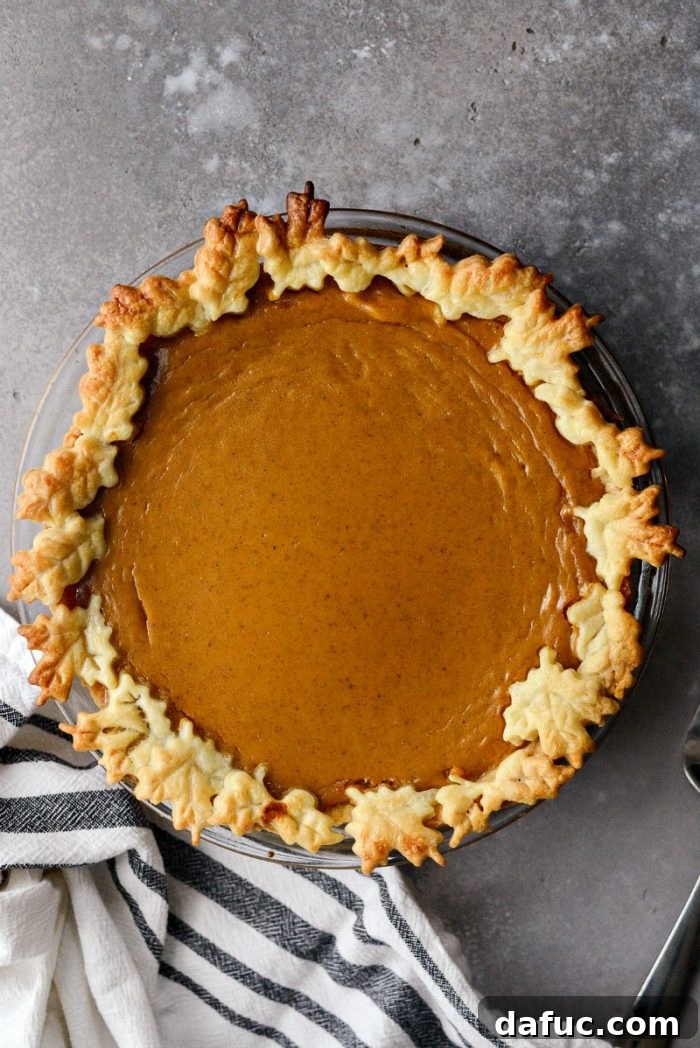
For many, the aroma of pumpkin pie signals the true start of the holiday season, especially Thanksgiving. It’s a dessert that evokes warmth, comfort, and cherished memories. Every year, pumpkin pie takes center stage, and this particular recipe, featuring a rich pumpkin custard infused with a homemade blend of aromatic pumpkin pie spice and pure vanilla, baked in a tender, flaky pie crust, is a family favorite for a reason. Its smooth texture and balanced sweetness make it an irresistible finish to any festive meal.
The Foundation: A Flawless Homemade Pie Crust
Every exceptional pie begins with an equally exceptional crust. A good pie crust isn’t just a container for the filling; it’s an integral part of the overall experience, offering a delightful contrast in texture and a rich, buttery flavor that complements the creamy filling. My go-to pie crust recipe is renowned for its ease of preparation and versatility, suitable for both sweet and savory applications. With the help of a food processor, achieving a perfectly flaky crust is simpler than you might imagine, making homemade pie a truly accessible delight.
Crafting a homemade pie crust ensures that your pumpkin pie stands out. The subtle nuances of real butter and the crisp, tender layers cannot be replicated by store-bought alternatives. This foundation is key to preventing a soggy bottom and delivering that delightful crumbly texture with every bite. The process might seem intimidating, but with the right technique and a few simple tips, you’ll be making bakery-quality crusts in no time.
Why is a creamy, smooth pumpkin pie the ultimate indulgence?
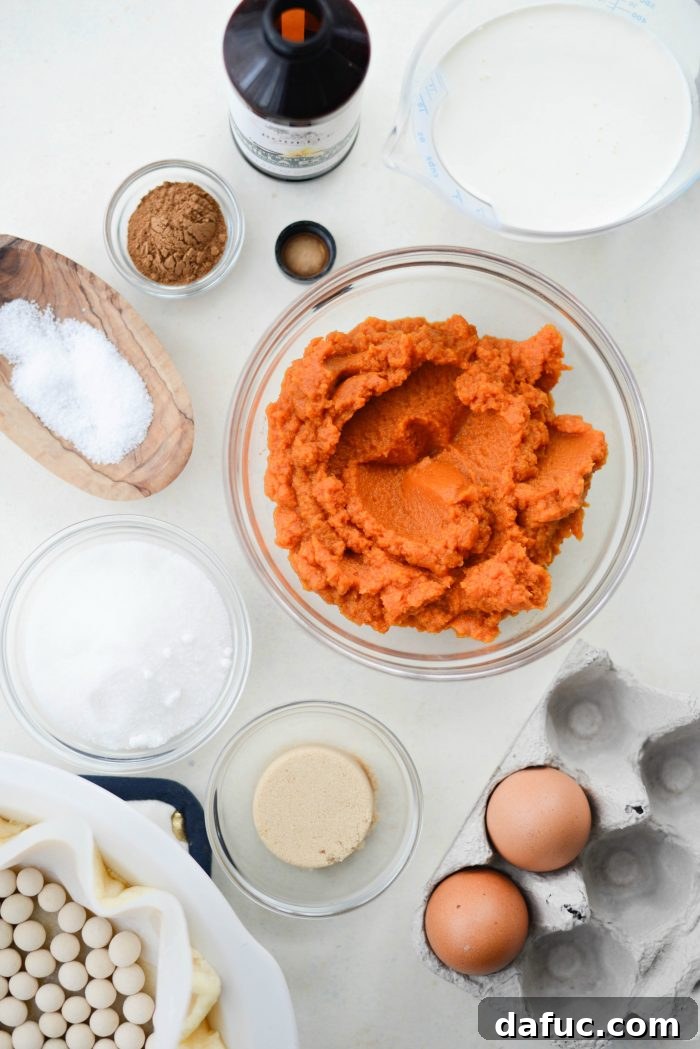
Ingredients You’ll Need for the Best Classic Pumpkin Pie:
Creating this rich and comforting classic pumpkin pie requires a thoughtful selection of ingredients. Each component plays a crucial role in achieving the perfect texture, flavor, and aroma that defines this beloved holiday dessert.
- Homemade Pie Crust: You’ll need half a recipe of a flaky homemade pie crust (typically one disc for a single crust pie). This provides the essential buttery, tender base.
- Pumpkin Puree: 1¾ cups of homemade roasted pumpkin puree or high-quality store-bought canned pumpkin puree (not pumpkin pie filling). The pumpkin forms the creamy base of your custard.
- Granulated Sugar & Light Brown Sugar: A blend of ½ cup granulated sugar and ¼ cup light brown sugar. The granulated sugar provides clean sweetness, while brown sugar adds depth, moisture, and a subtle molasses note, enhancing the overall flavor profile.
- Pumpkin Pie Spice: 2 teaspoons of homemade pumpkin pie spice. This aromatic blend of cinnamon, ginger, nutmeg, and cloves is essential for that signature warm, autumnal flavor.
- Kosher Salt: ½ teaspoon to balance the sweetness and enhance all the other flavors, preventing the pie from tasting flat.
- Pure Vanilla Extract: ½ teaspoon for a touch of warmth and complexity, complementing the spices beautifully.
- Large Eggs: 2 large eggs act as the primary binder and thickener for the custard, giving it its smooth, set texture.
- Whole Milk & Heavy Whipping Cream: 1 cup of whole milk and ⅔ cup of heavy whipping cream. This combination creates an incredibly rich, luxurious, and smooth custard consistency that melts in your mouth.
- Whipped Cream (for serving): An optional but highly recommended topping for an extra layer of indulgence.
Mastering the Pie Crust: Blind Baking for a Perfect Foundation
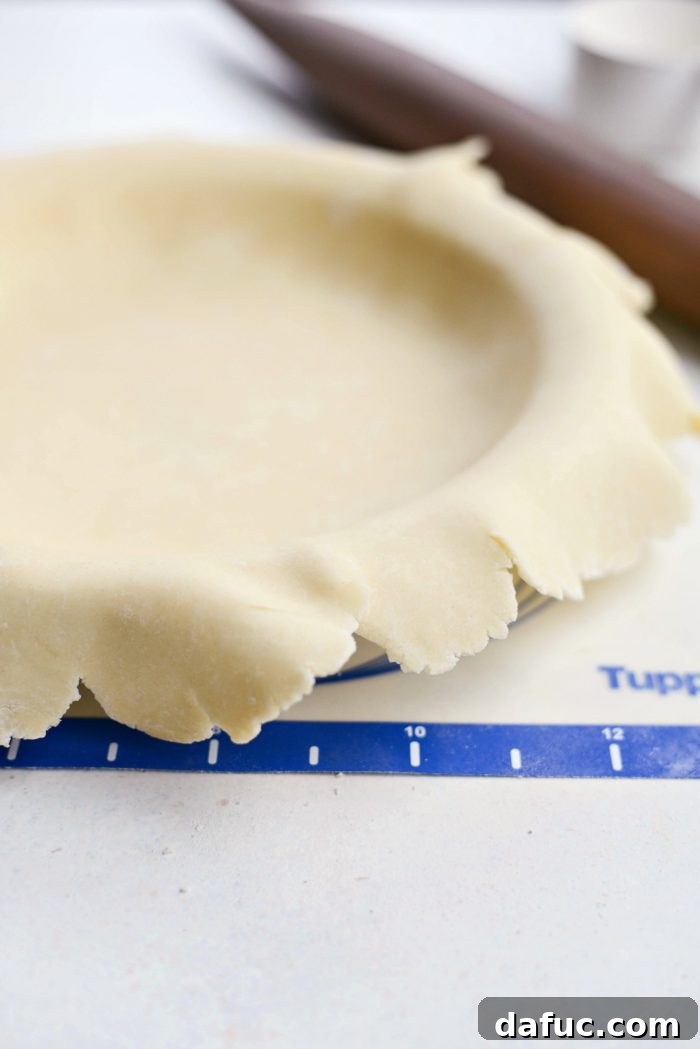
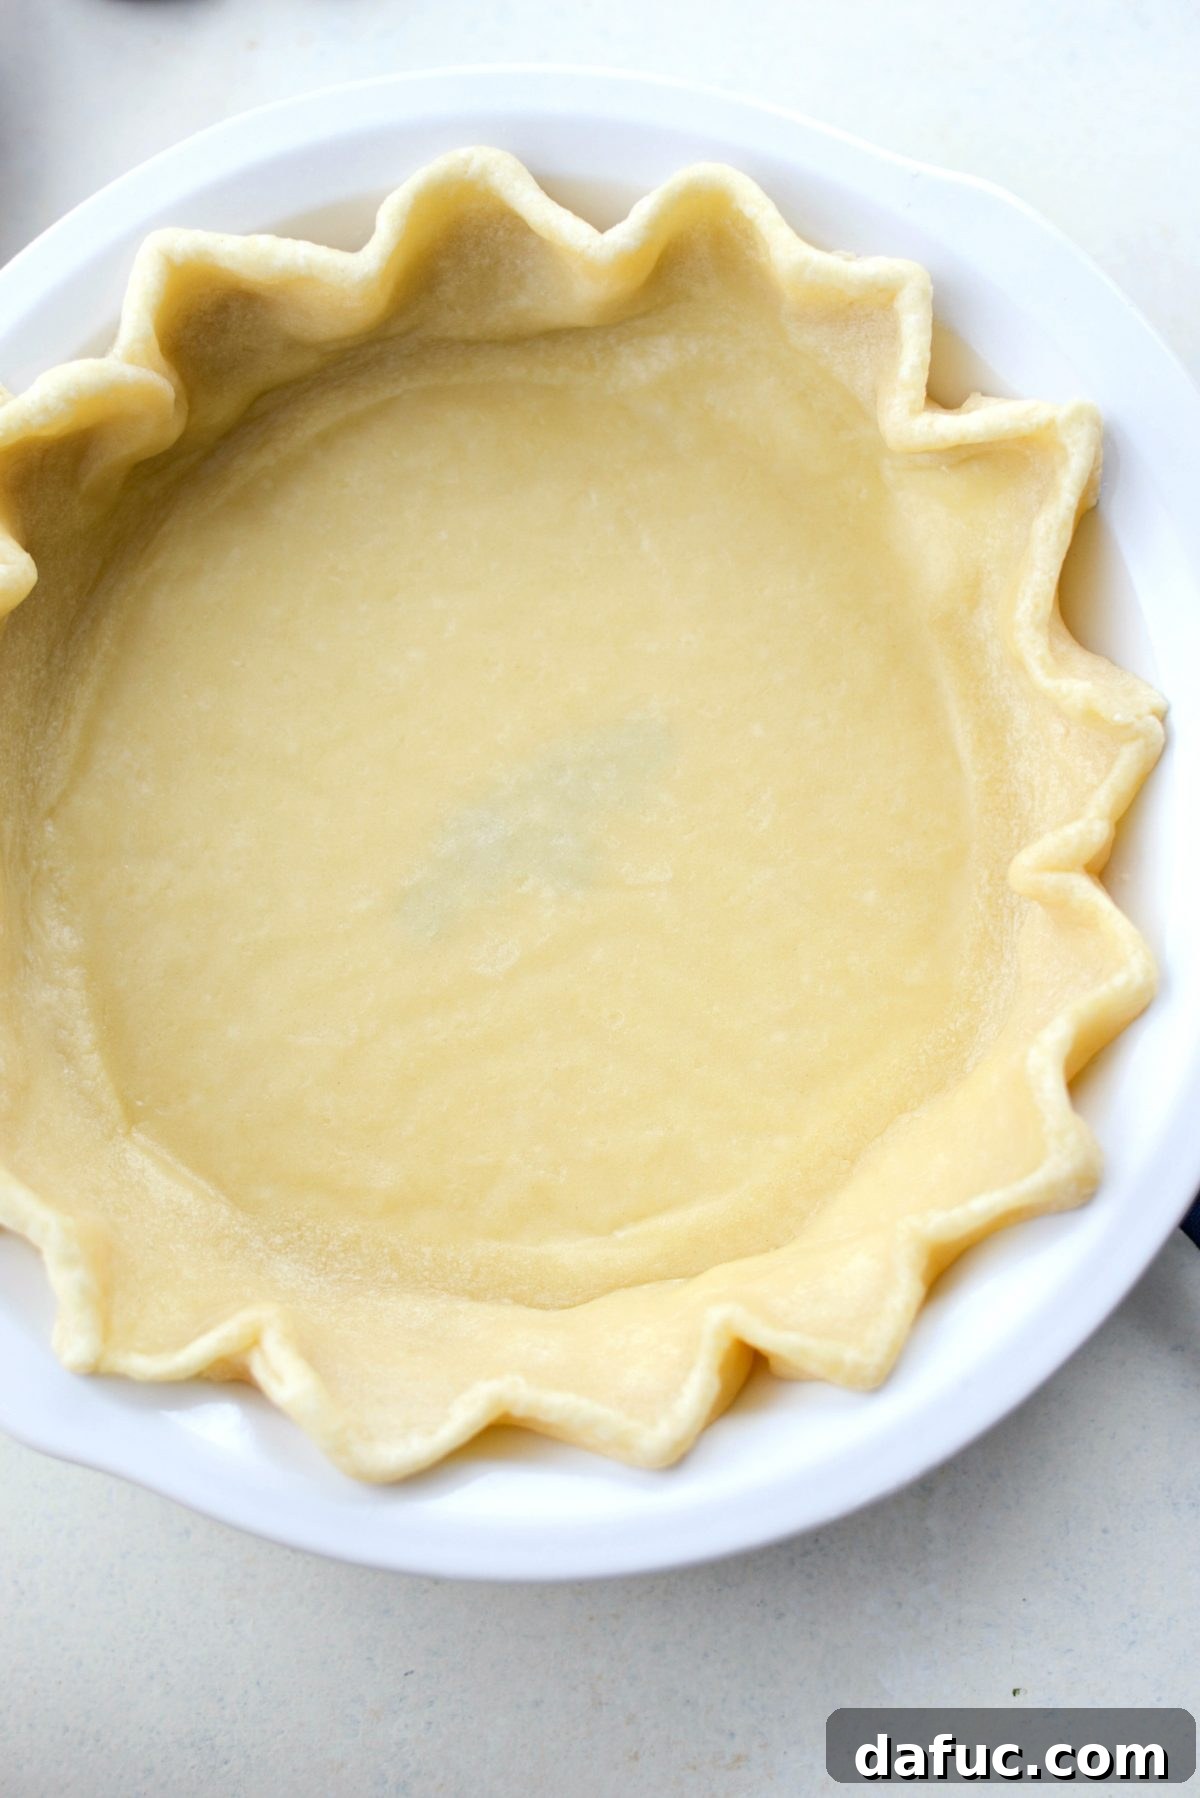
The first crucial step to ensure your classic pumpkin pie achieves optimal texture is preparing the crust. Begin by rolling out your homemade pie crust dough to a diameter of approximately 12 inches and a thickness of roughly ¼ inch. Carefully transfer the rolled dough over your 9-inch pie plate, gently pressing it into the contours of the plate without stretching. Trim any excess dough, leaving about a 1-inch overhang. Fold this overhang neatly underneath itself, then use your fingers to pinch and crimp the dough to form a decorative and sturdy edge. This not only creates a beautiful presentation but also helps prevent shrinkage during baking.
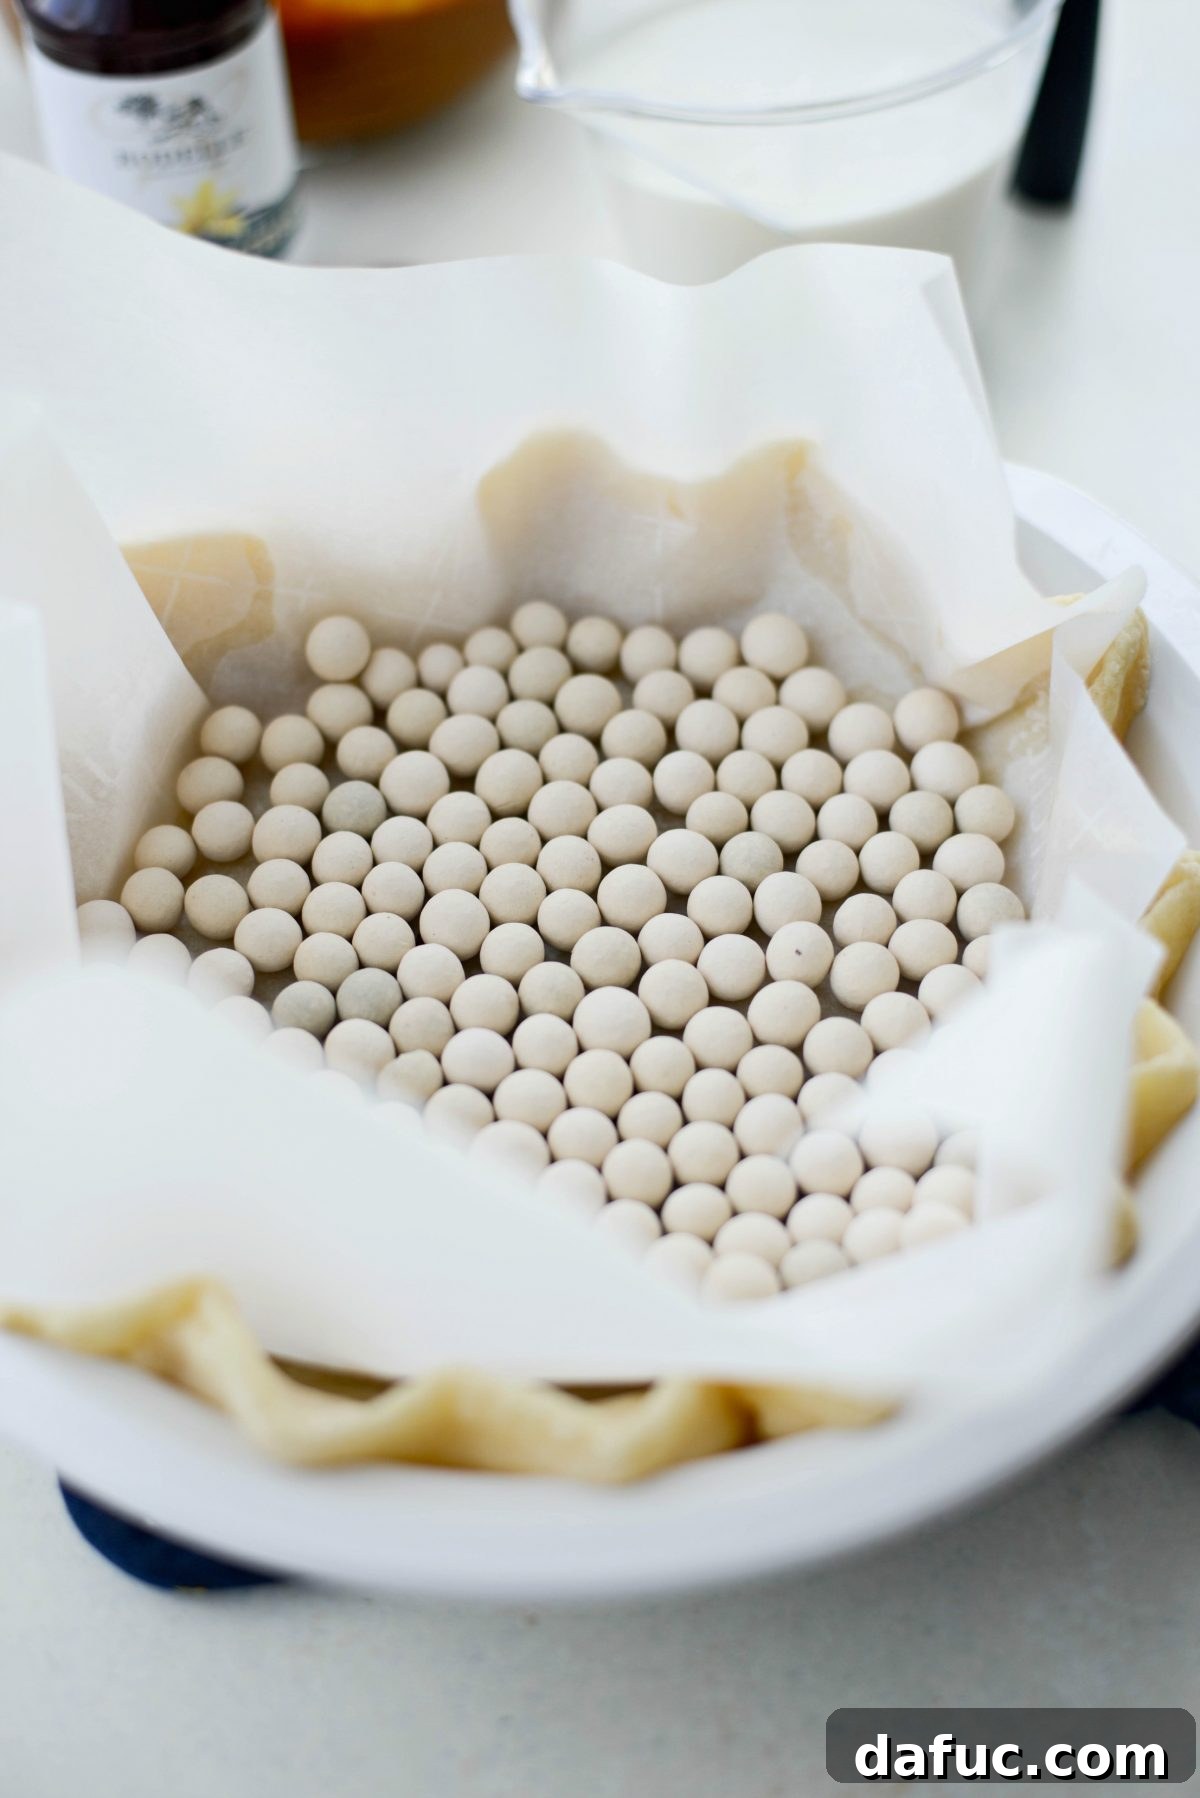
Next, adjust your oven rack to the lowest position. This placement is key as it ensures the bottom crust receives direct heat, preventing sogginess. Preheat your oven to 375°F (190°C). While the oven preheats, place your prepared pie dough in the refrigerator for about 20 minutes. This chilling period helps the butter firm up, preventing the crust from shrinking excessively during baking. After chilling, line the dough with a piece of parchment paper or aluminum foil, making sure it covers the bottom and sides. Fill the lined crust with ceramic pie weights or dried beans. These weights are essential for blind baking, as they prevent the crust from puffing up or bubbling during the initial bake.
Partially bake the weighted crust for 15 minutes. This step is known as blind baking. Once partially baked, carefully remove the parchment paper and pie weights, and allow the crust to cool slightly before adding the filling. The crust should appear lightly golden and firm, ready to receive the creamy pumpkin filling.
Why is Blind Baking So Important for Pumpkin Pie?
Blind baking is a fundamental technique for many pies, and it’s especially critical for custard-based pies like pumpkin pie. There are two primary reasons why this preliminary baking step is essential for achieving a perfect result:
- Preventing a Soggy Crust: Pumpkin pie filling is rich in moisture. Without blind baking, this moisture can seep into the raw pie dough during the long baking process, resulting in a soft, unappetizingly soggy bottom crust. Partially baking the crust beforehand creates a barrier, helping to seal the dough and making it more resistant to moisture absorption from the filling. This ensures your crust remains crisp and flaky, providing that satisfying textural contrast to the smooth custard.
- Ensuring Even Cooking: The baking times for pie crusts and many fillings can differ significantly. By blind baking, you ensure that the crust cooks thoroughly and develops its structure and flavor before the filling is added. This is particularly important for fillings that might set quickly, leaving the crust undercooked, or for no-bake fillings that require a fully baked crust. For pumpkin pie, it guarantees the crust is adequately cooked alongside the custard.
What You Need for Successful Blind Baking:
To blind bake your pie crust effectively, you’ll need a couple of simple tools:
- Parchment Paper or Aluminum Foil: These are used to line the raw pie crust before adding weights. They prevent the pie weights from sticking to the dough and make for easy removal.
- Pie Weights or Dried Legumes: Ceramic pie weights are specifically designed for this purpose, providing even pressure across the crust. If you don’t have pie weights, dried beans (like kidney beans or pinto beans) or lentils make excellent substitutes. They work just as effectively to weigh down the bottom of the crust, preventing it from puffing up and creating a perfectly flat surface for your filling.
Crafting the Velvety Pumpkin Pie Filling
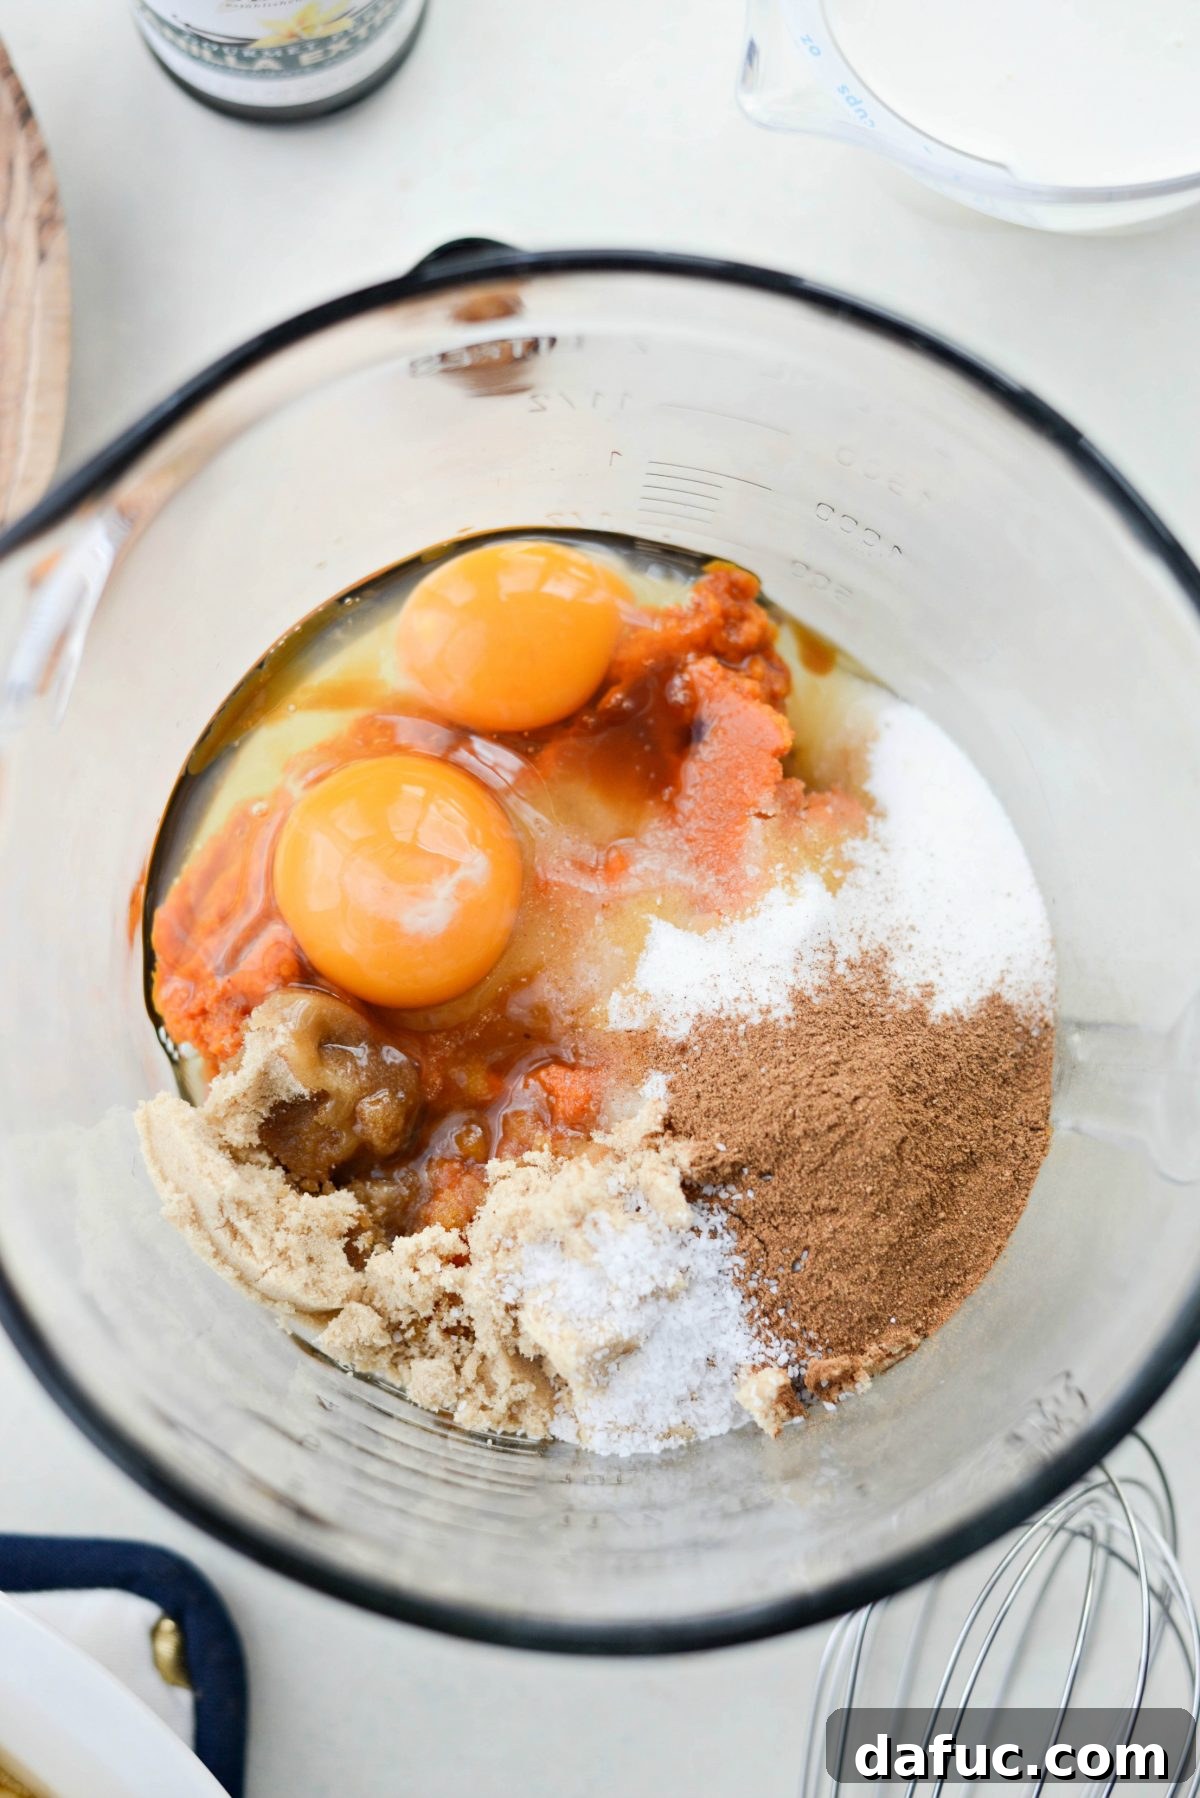
With your perfectly blind-baked crust cooling, it’s time to create the star of the show: the rich, creamy pumpkin pie filling. In a large mixing bowl, combine 1¾ cups of pumpkin puree (whether homemade or store-bought), ½ cup of granulated sugar, and ¼ cup of light brown sugar. The blend of sugars contributes to both sweetness and a nuanced depth of flavor that is characteristic of classic pumpkin pie. Add 2 teaspoons of pumpkin pie spice, ½ teaspoon of kosher salt, 2 large eggs, and finally, ½ teaspoon of pure vanilla extract. These ingredients are meticulously chosen to create a symphony of fall flavors.
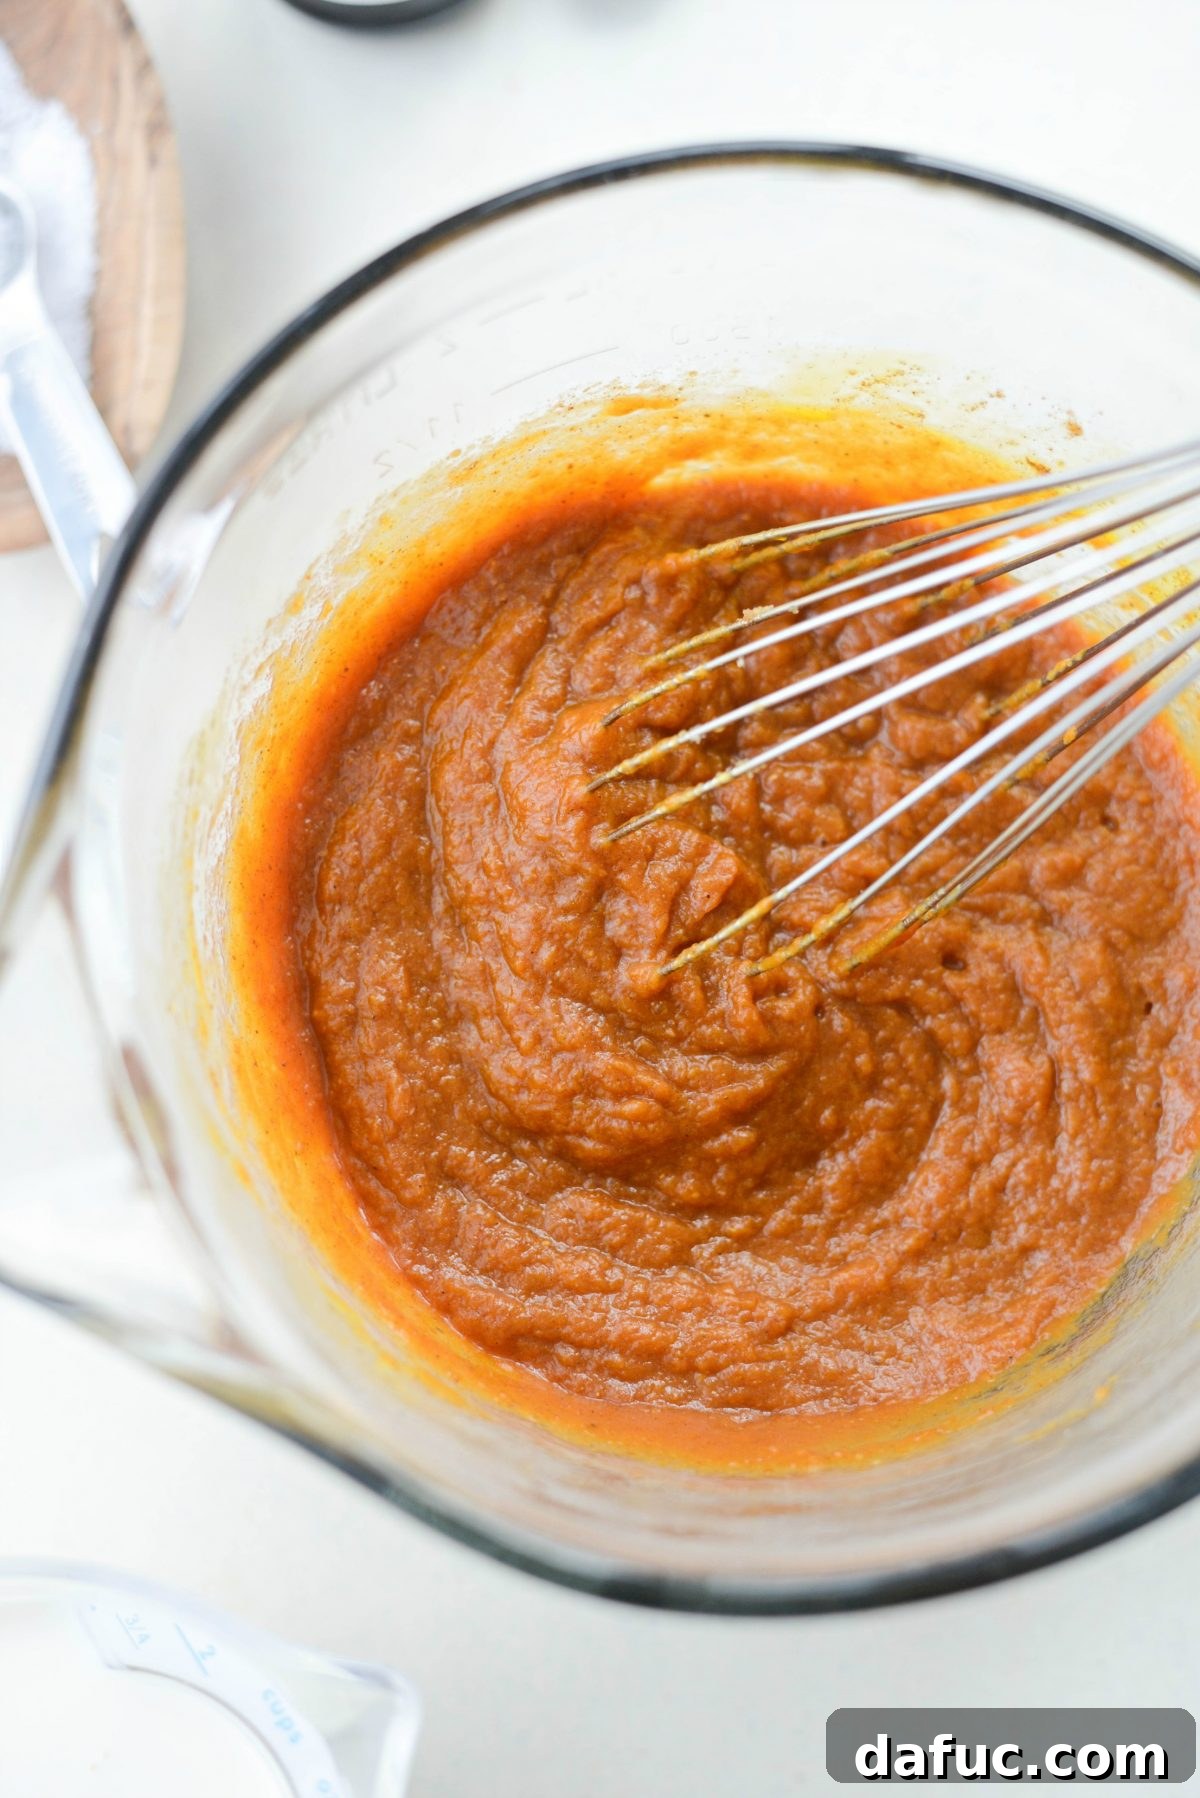
Whisk these ingredients thoroughly until they are completely combined and smooth. Ensure there are no lumps, and the sugars are fully dissolved. This initial whisking creates a uniform base, which is crucial for a silky-smooth custard.
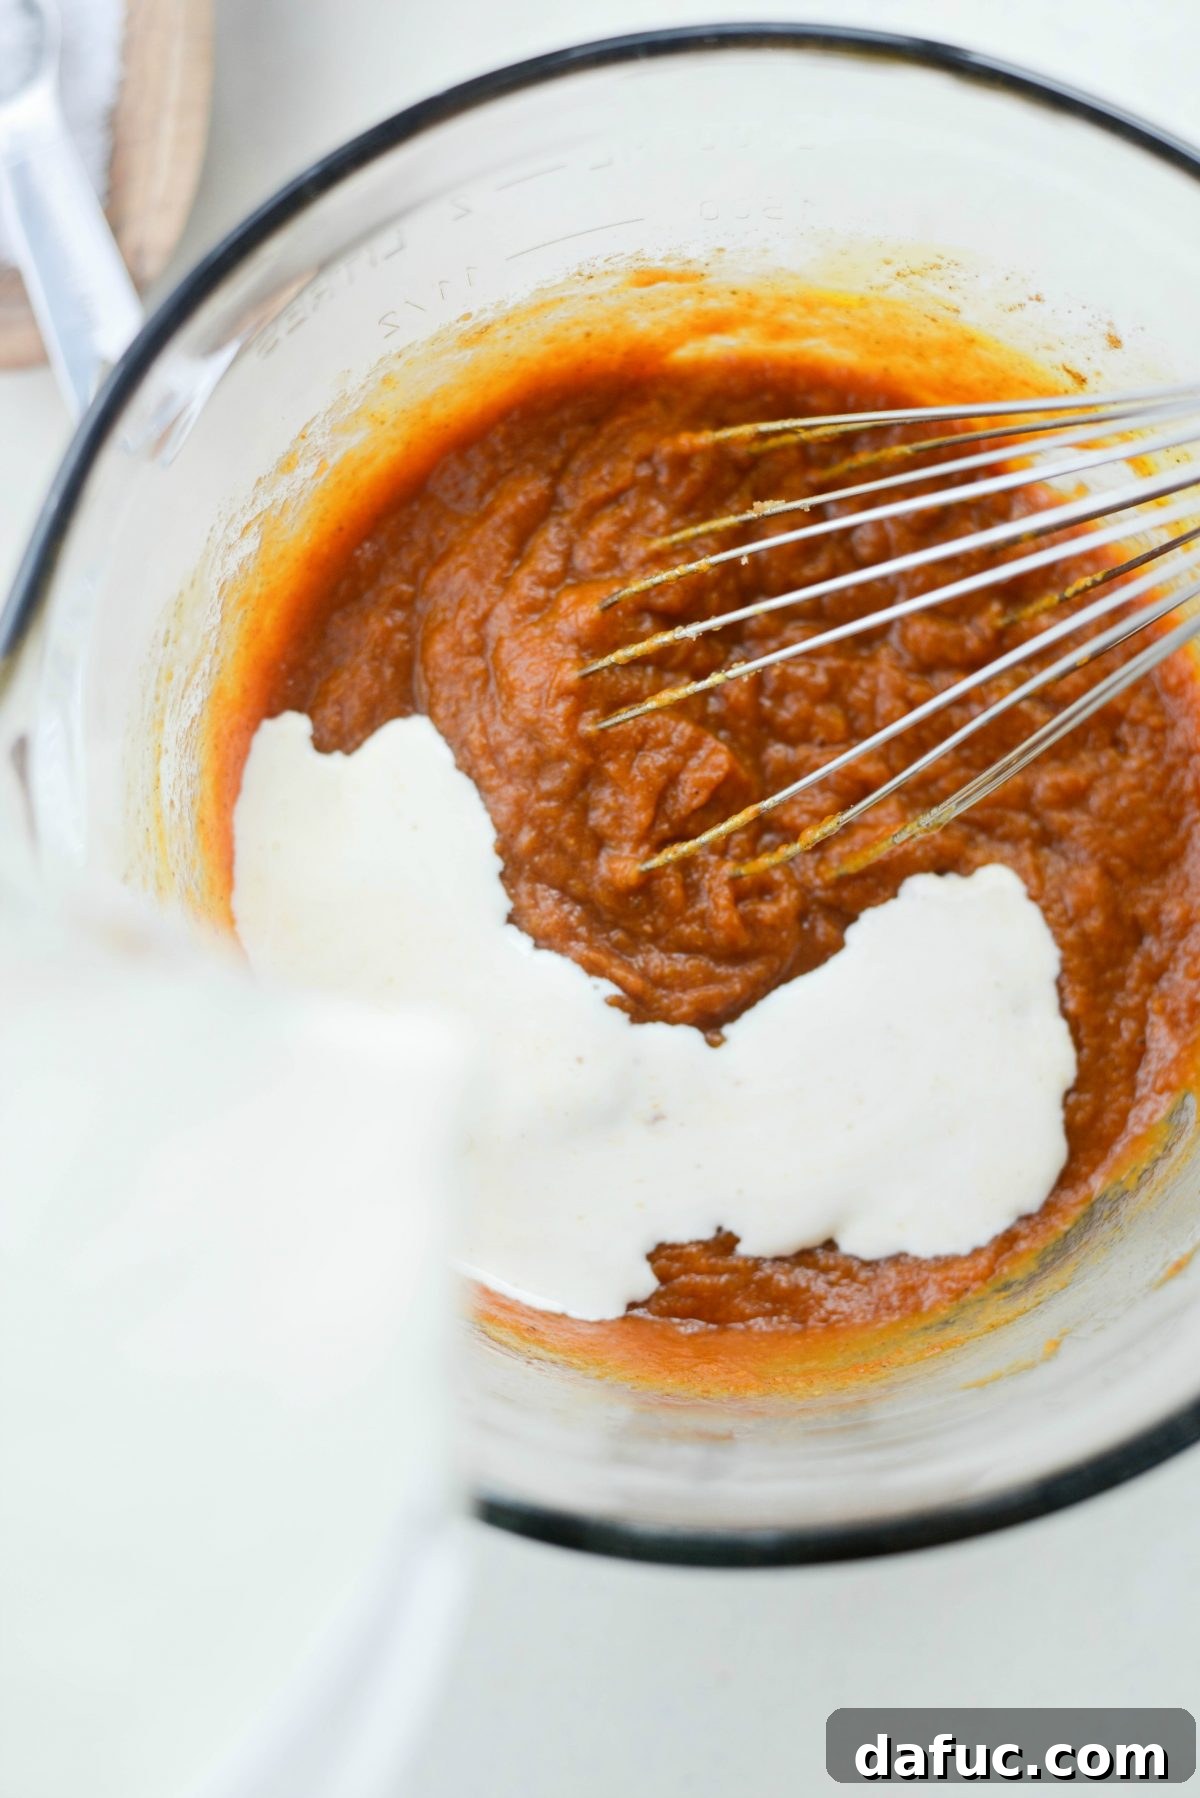
Next, pour in 1 cup of whole milk and ⅔ cup of heavy whipping cream. This combination of dairy is what gives the pumpkin pie its signature velvety texture and luxurious mouthfeel. The higher fat content of the cream contributes significantly to the richness and creaminess of the finished pie.
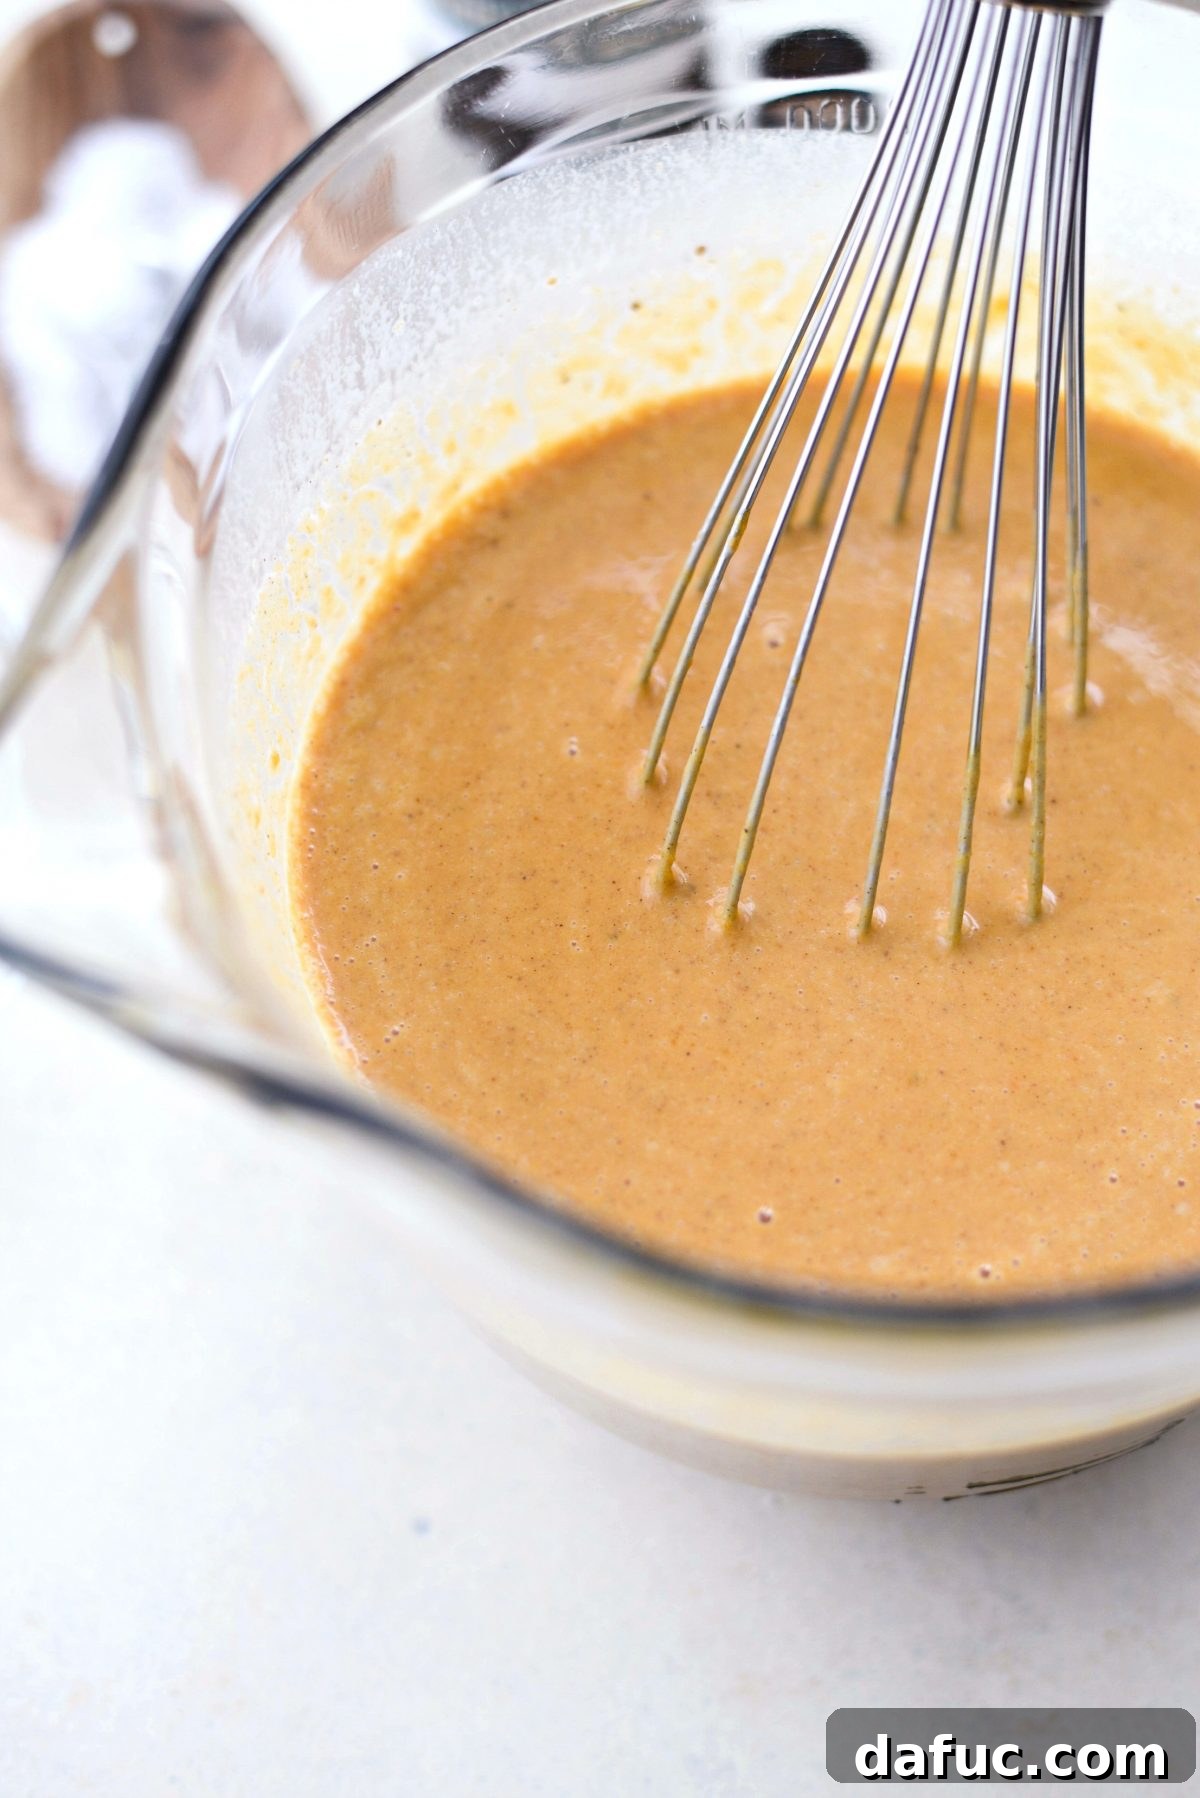
Whisk again until all the ingredients are perfectly incorporated, creating a smooth, uniform, and slightly thickened mixture. Avoid over-whisking, as too much air can cause the pie to crack during baking. The goal is a homogenous, pourable custard base. And just like that, your exquisite pumpkin pie filling is ready!
Baking Your Pumpkin Pie to Perfection
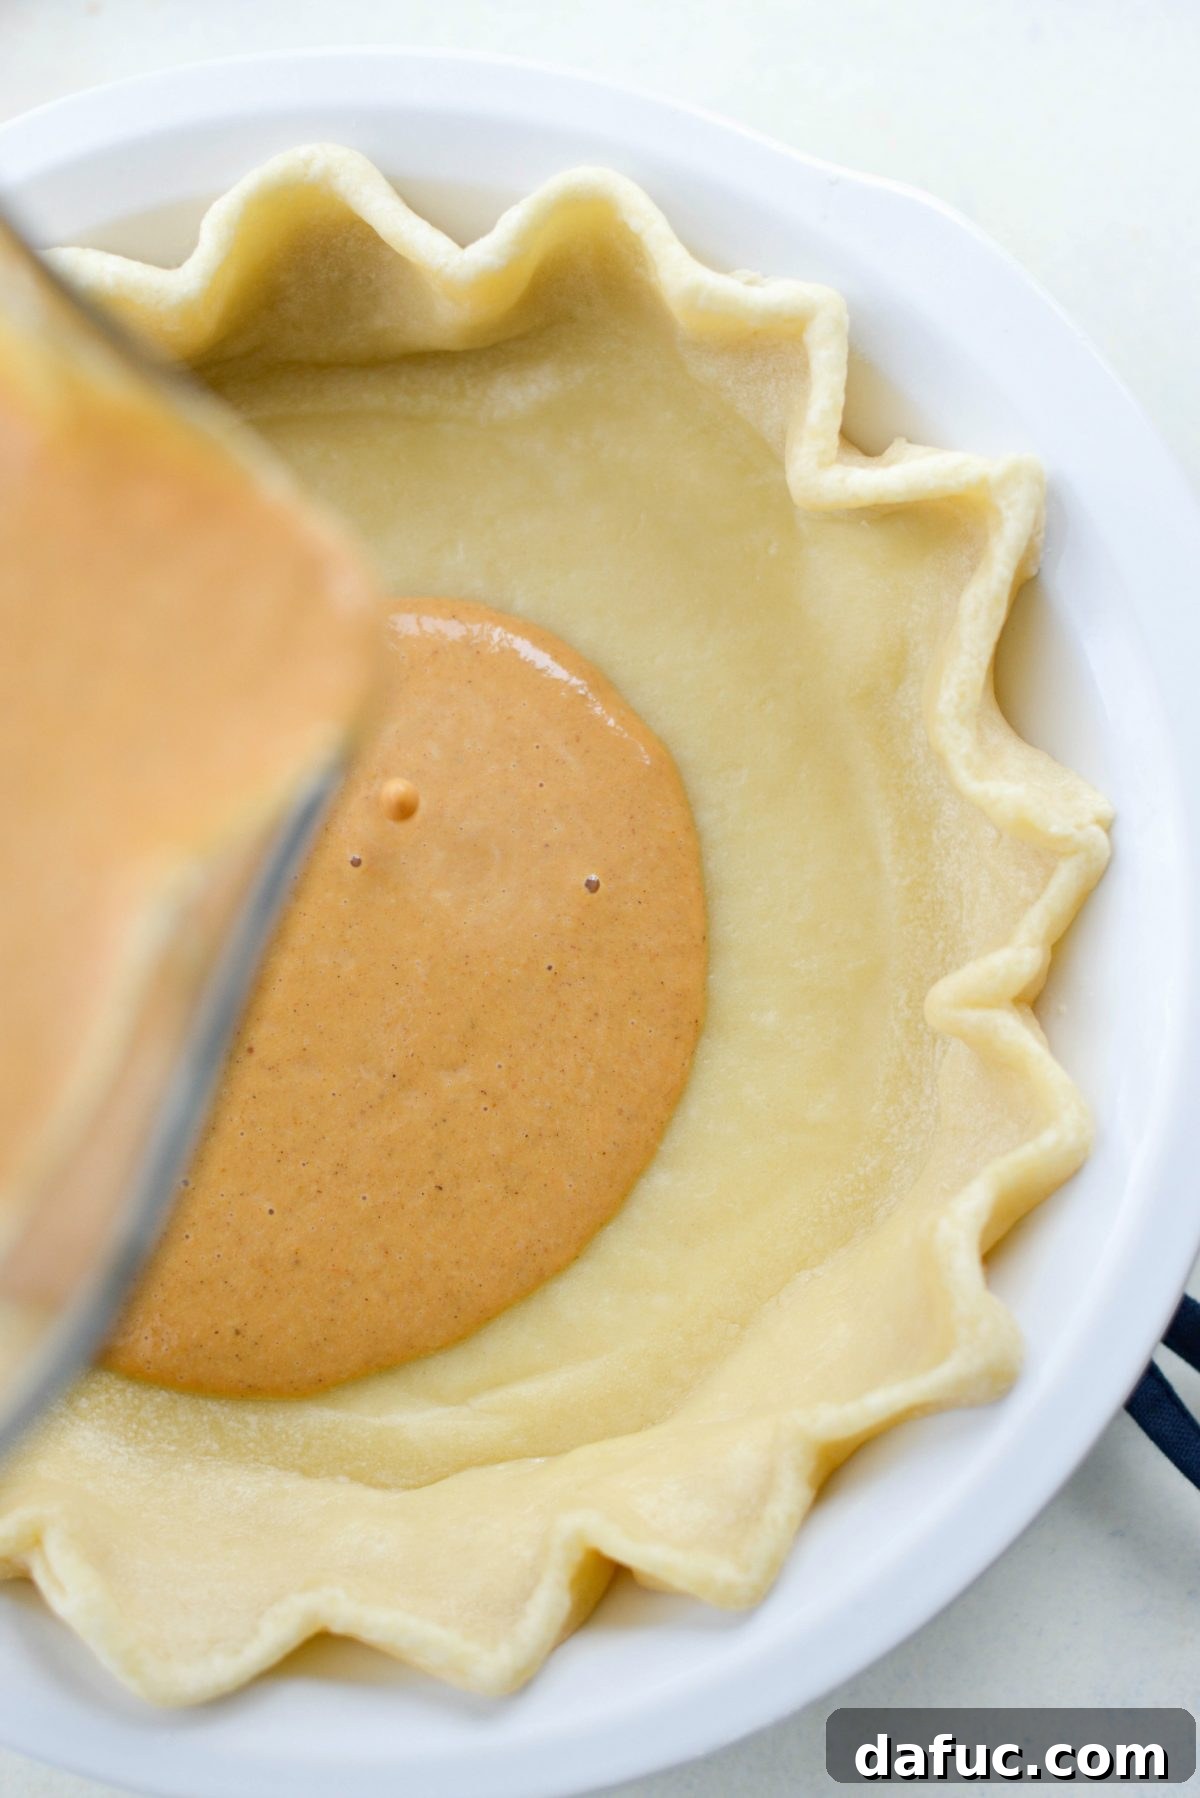
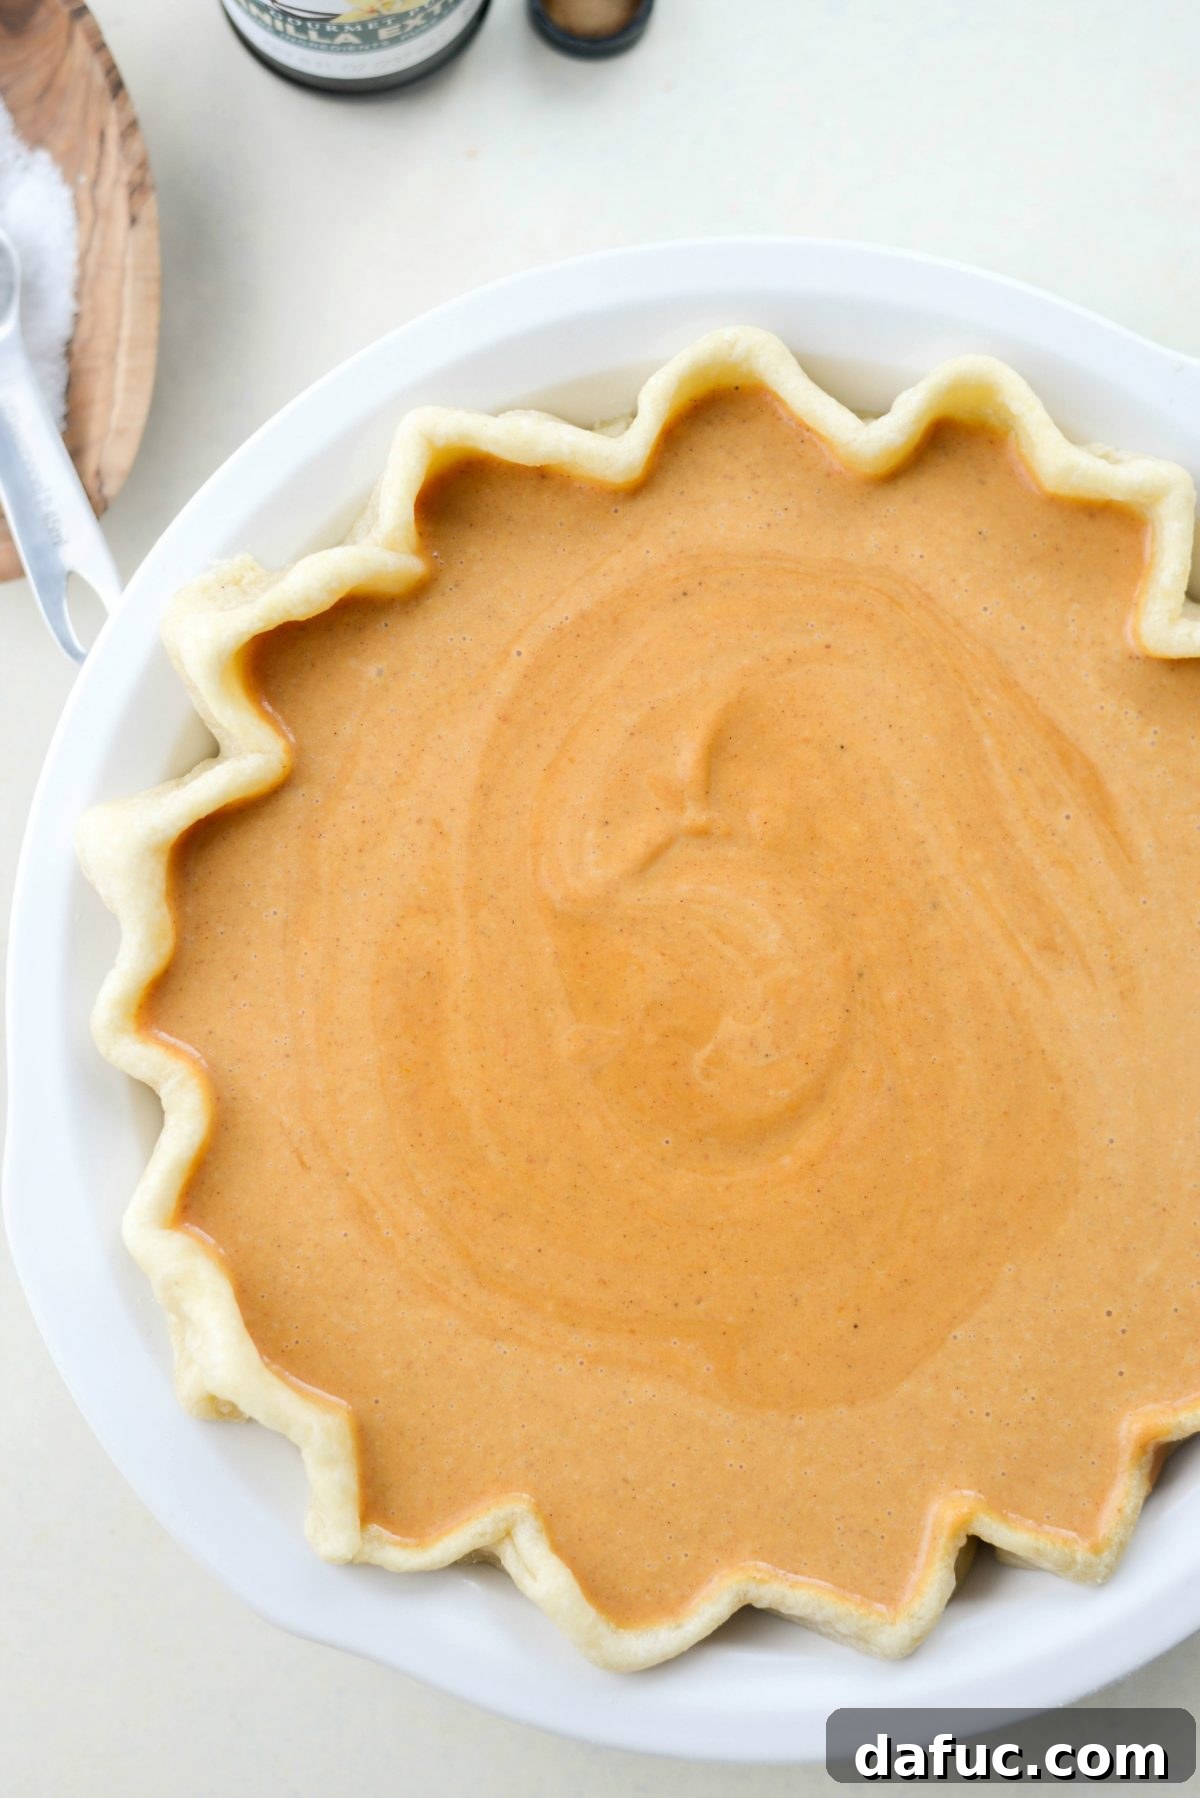
Carefully pour the prepared pumpkin pie filling into your cooled, partially baked pie crust. Ensure the filling is evenly distributed. To prevent spillage and make transferring easier, it’s often helpful to place the pie plate on the lowest rack of your oven before pouring the filling, or simply do so very carefully. Preheat your oven to 425°F (220°C). Place the filled pie on the lowest rack of your preheated oven and bake for 15 minutes. This initial high heat helps to quickly set the crust and the outer edges of the filling.
After 15 minutes, reduce the oven temperature to 350°F (175°C) and continue baking for an additional 35-40 minutes. It’s crucial not to open the oven door too frequently, as sudden temperature drops can cause the custard to crack. To check for doneness, gently jiggle the pie. The edges should be set, but the very center should have a slight, delicate jiggle. Alternatively, insert a thin knife into the center; if it comes out clean, the pie is done. Overbaking can lead to cracks and a less creamy texture.
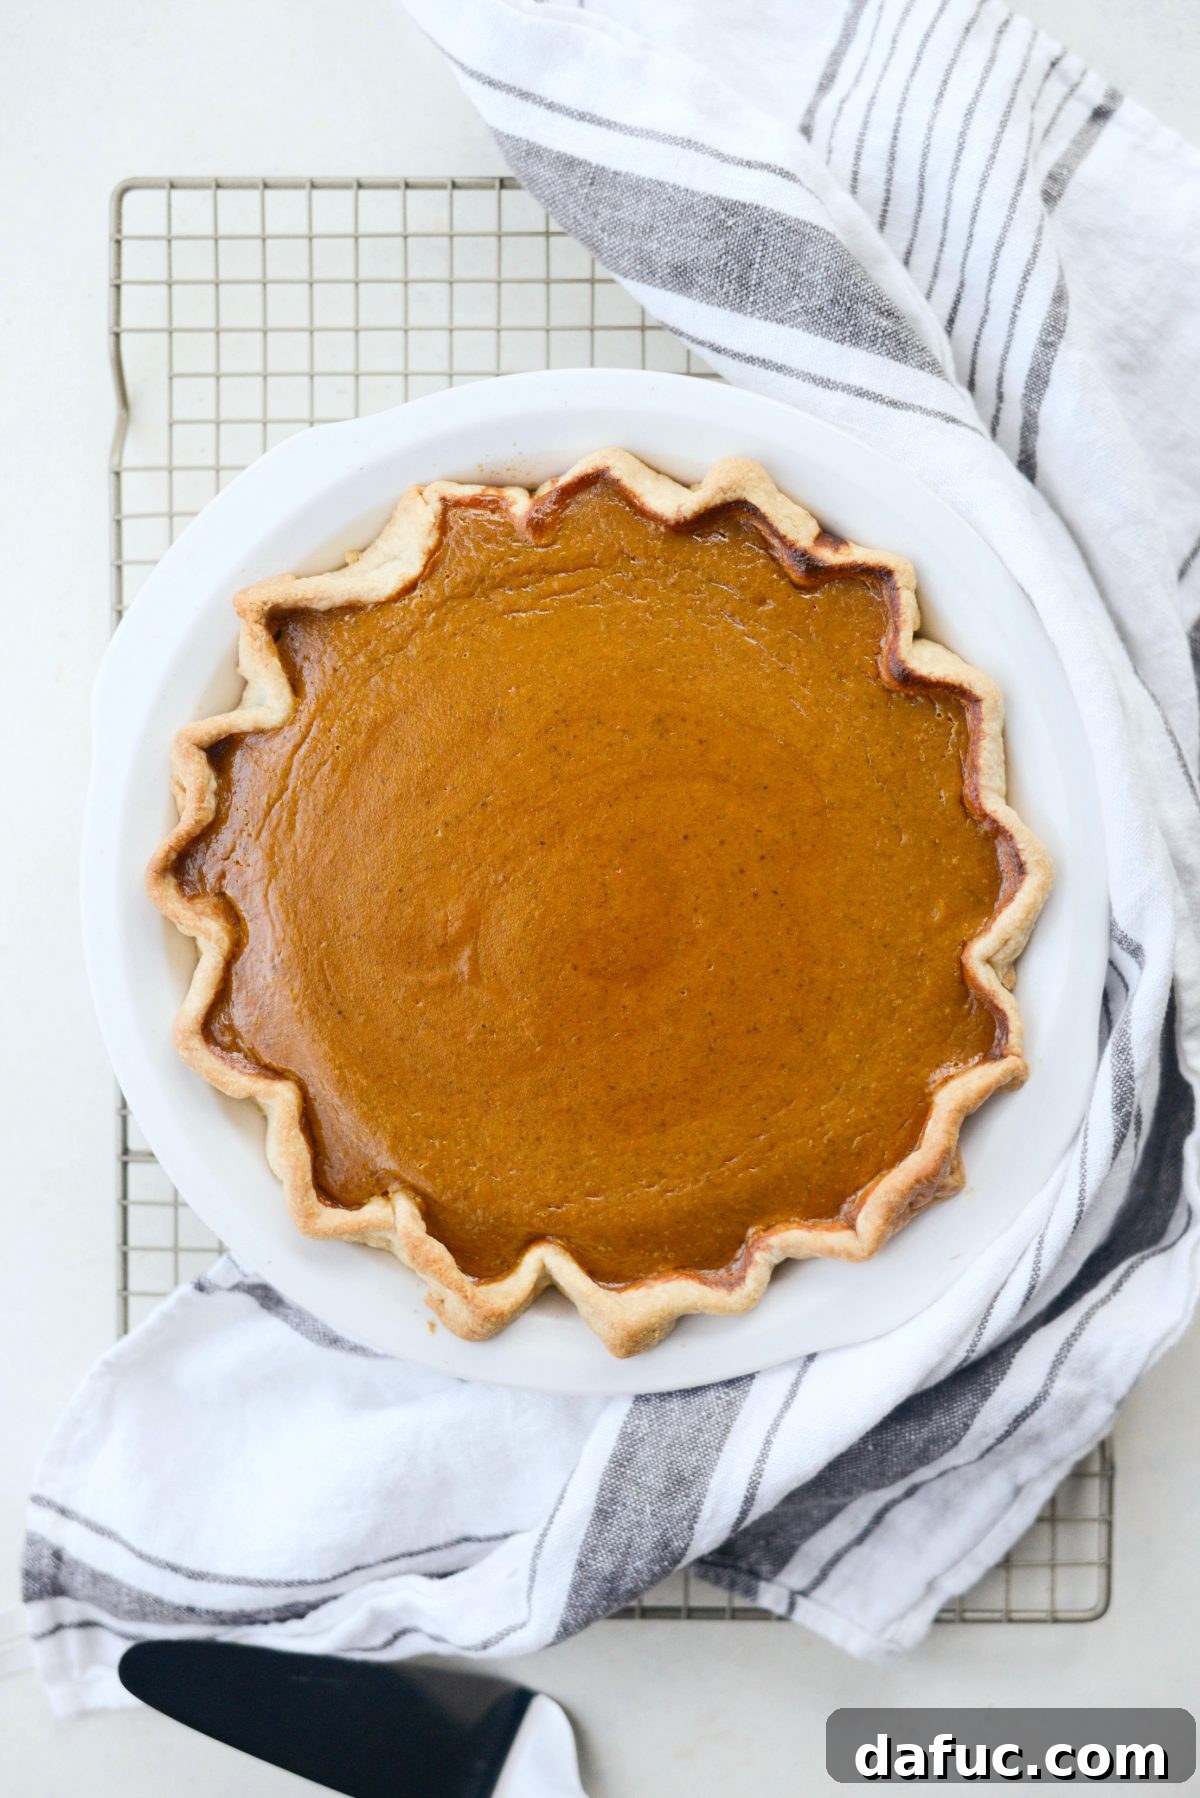
Once baked, remove the pie from the oven and allow this magnificent classic pumpkin pie to cool completely on a wire rack. This cooling period is essential for the custard to fully set and firm up, ensuring clean slices. Rushing this step can result in a gooey, unformed pie. Patience is truly a virtue when it comes to perfect pumpkin pie! After it has cooled, slice and serve with a generous dollop of freshly whipped cream and a comforting hot cup of coffee or tea.
Creative Touches and Serving Suggestions
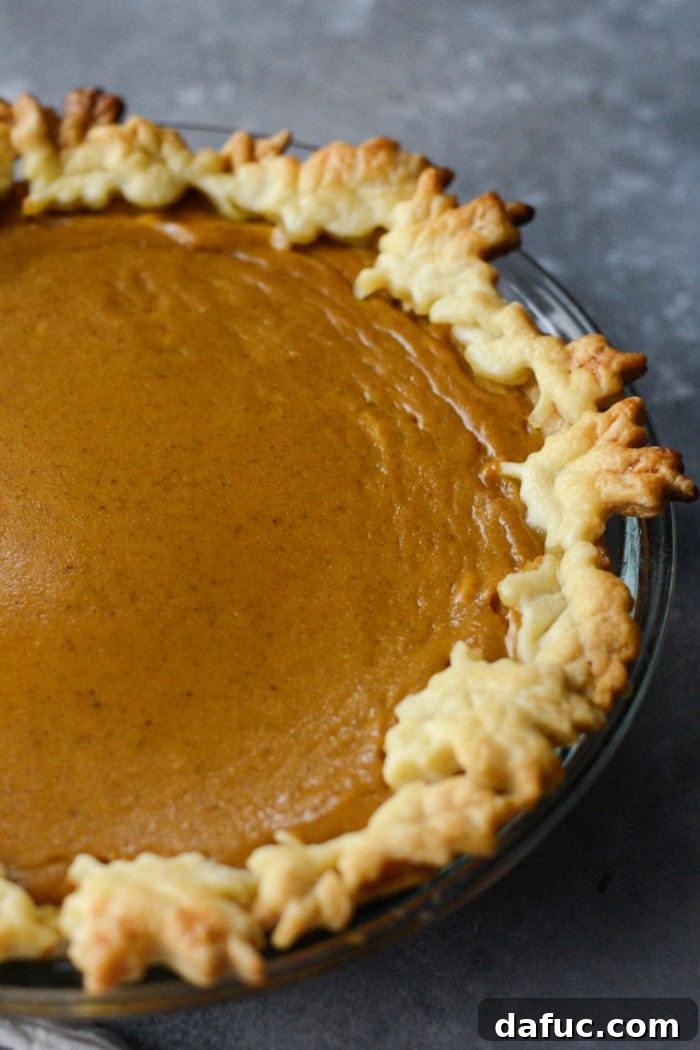
For an extra touch of elegance and to minimize waste, gather any scraps of dough from trimming your pie crust. Roll them out and use small cookie cutters or stamps (like autumn leaves or miniature pumpkins) to create decorative shapes. These can be placed on the edge of the pie before the final bake, or baked separately and used as garnish. This adds a charming, homemade detail that elevates the presentation of your classic pumpkin pie.
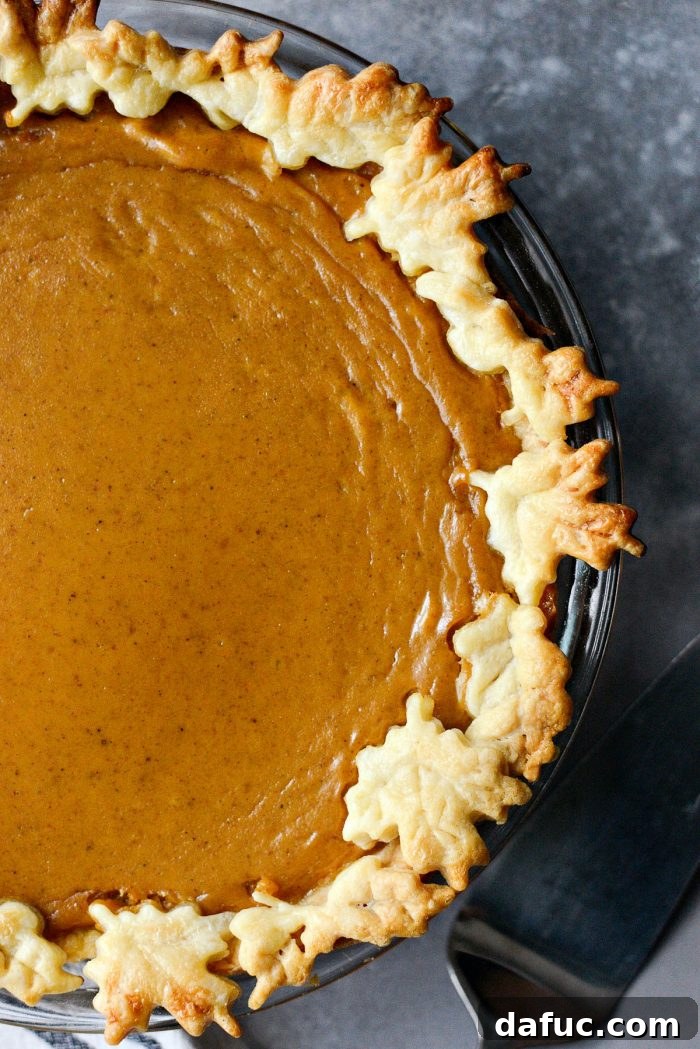
Beyond whipped cream, consider other serving enhancements. A sprinkle of cinnamon or nutmeg directly on the whipped cream adds visual appeal and aromatic depth. For a more indulgent twist, a drizzle of caramel sauce or a scattering of toasted pecans can transform this classic into an extraordinary dessert experience. Don’t forget the importance of temperature – while delicious warm, many find pumpkin pie truly shines when completely chilled, allowing the flavors to meld beautifully. Store any leftovers in the refrigerator, covered, for up to 3-4 days.
Enjoy! This classic pumpkin pie recipe is truly a labor of love that rewards you with an incredible dessert. If you give this recipe a try, we’d love to hear about it! Share your creation by snapping a photo and tagging us on Twitter or Instagram!
Print Recipe
Pin Recipe
8 servings
Classic Pumpkin Pie
5 mins
50 mins
15 mins
1 hr 10 mins
Ingredients
- 1/2 recipe homemade pie crust recipe (like one disc)
- 1¾ cups pumpkin puree (or 1 can pumpkin puree)
- 2 large eggs
- 1/2 cup granulated sugar
- 1/4 cup light brown sugar
- 2 teaspoons pumpkin pie spice
- 1/2 teaspoon salt
- 1/2 teaspoon vanilla extract
- 1 cup whole milk
- 2/3 cup heavy cream
Equipment
-
Mrs. Anderson’s Baking Ceramic Pie Crust Weights, Natural Ceramic Stoneware
-
Pyrex Glass Bakeware Pie Plate 9″ x 1.2″ Pack of 2
Instructions
FOR THE PIE CRUST:
- Preheat your oven to 375°F (190°C).
- Roll your pie crust out to 12-inches in diameter and roughly 1/4-inch thickness. Place it over your 9-inch pie plate and gently press to fit. Trim the dough so you have a 1-inch overhang, fold the overhang underneath, and then pinch the dough to form an edge.
- Move your oven rack to the lowest position. Meanwhile, place the dough in your fridge for 20 minutes. After chilling, place a piece of parchment paper in the center and fill it with pie weights or dried beans.
- Partially bake the crust for 15 minutes, then remove the weights and parchment, and cool.
FOR THE FILLING/PIE:
- Preheat oven to 425°F (220°C).
- In a bowl, whisk together the pumpkin puree, eggs, both sugars, pie spice, salt, and vanilla until smooth.
- Pour in the whole milk and heavy cream, whisking until thoroughly combined.
- Pour the filling into the partially baked pie shell. Place the filled pie into the preheated 425°F oven for 15 minutes.
- Then, reduce the heat to 350°F (175°C) and continue baking for 35-40 minutes. The pie should have a slight wiggle in the center but will firm up as it cools. A knife inserted in the middle should come out clean.
- Let cool completely before slicing and serving.
Nutrition Information (per slice):
- Serving: 1 slice
- Calories: 257 kcal
- Carbohydrates: 32g
- Protein: 4g
- Fat: 13g
- Saturated Fat: 7g
- Polyunsaturated Fat: 1g
- Monounsaturated Fat: 4g
- Trans Fat: 1g
- Cholesterol: 77mg
- Sodium: 240mg
- Potassium: 208mg
- Fiber: 2g
- Sugar: 23g
- Vitamin A: 8751IU
- Vitamin C: 2mg
- Calcium: 80mg
- Iron: 1mg
Laurie McNamara
Desserts & Sweet Treats
American