
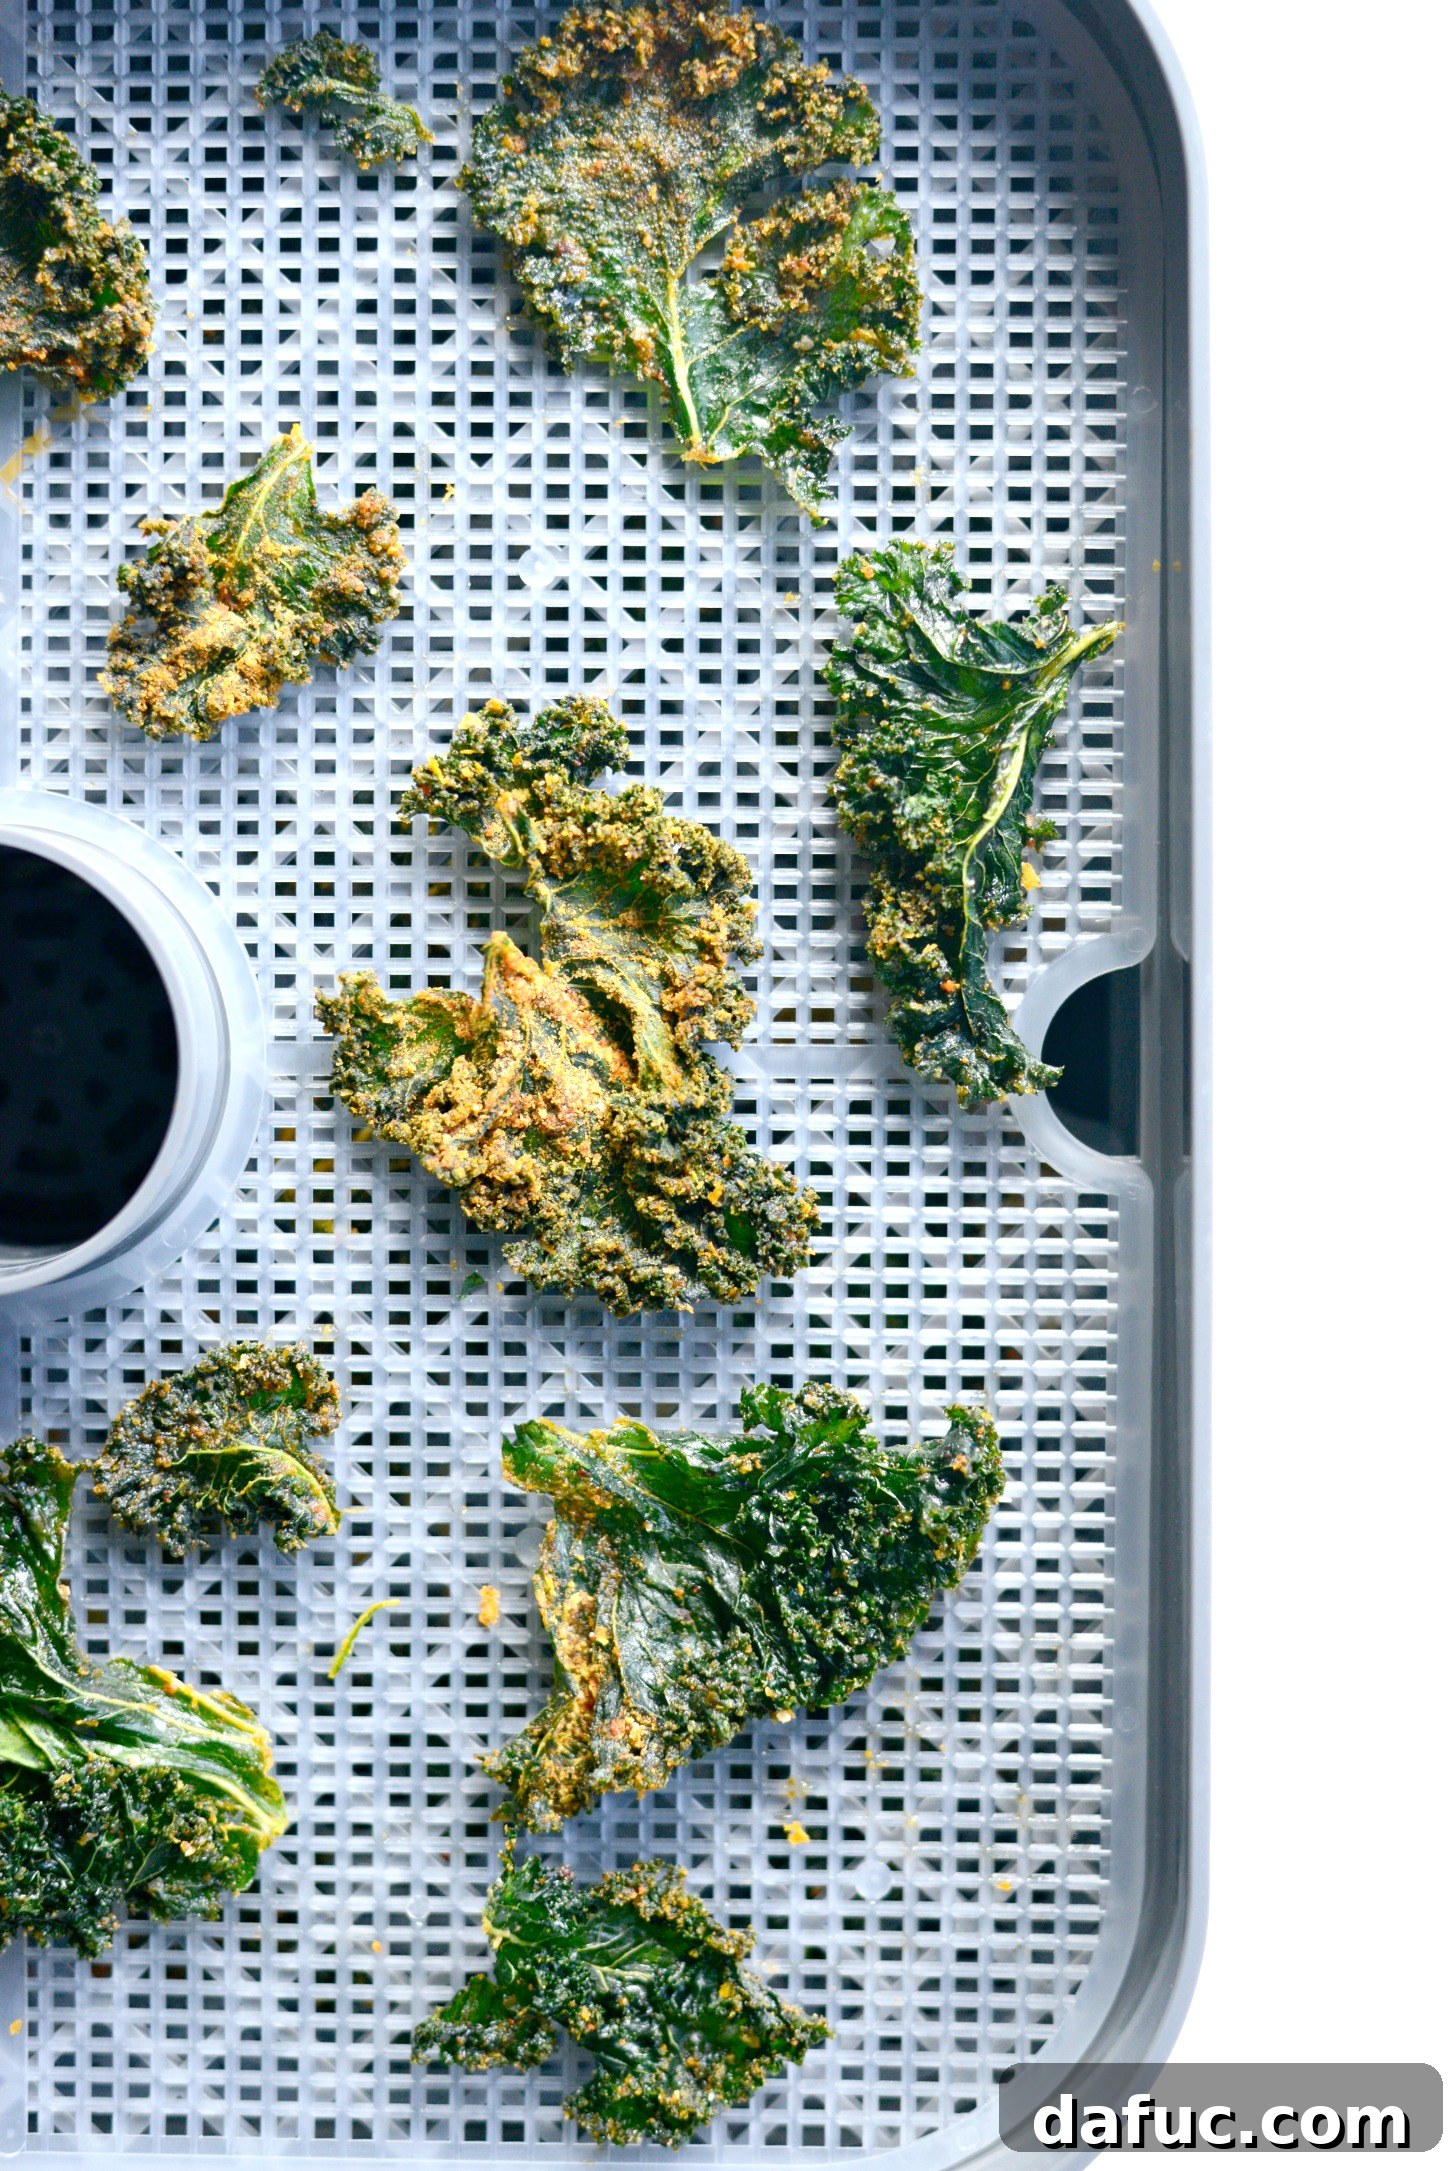
Craving a snack that’s bursting with flavor, satisfyingly crunchy, and incredibly good for you? Look no further than these **Dehydrated Sriracha Garlic Kale Chips**! Forget sad, soggy kale; prepared in a food dehydrator, these chips are consistently crisp, wonderfully spicy, and utterly addictive. They’re the perfect healthy alternative to traditional potato chips, delivering a powerful punch of sriracha and garlic in every bite.
My journey into the world of food dehydration began with a simple desire, one that simmered for what felt like an eternity. Initially, my fascination sparked from a practical need: preserving an abundance of homegrown herbs from my summer garden. The thought of extending their fresh vitality beyond the season, rather than watching them wilt away, was incredibly appealing. This quickly evolved into a creative culinary interest, imagining homemade fruit leathers bursting with natural sweetness. Then, a deeper intrigue took hold as I delved into the philosophy of raw cooking, where dehydration plays a crucial role in preparing foods at low temperatures to retain their vital enzymes and nutrients. Despite this growing passion, I consistently hesitated, unable to take the plunge and invest in a food dehydrator.
Embracing the Dehydrator: A Culinary Revelation
That all changed just recently. The arrival of the Excalibur Food Dehydrator at my doorstep was nothing short of a culinary awakening. The excitement was palpable; I had to actively calm my racing thoughts, almost needing a moment of meditation, just to decide which recipe would be the inaugural masterpiece. Consider this fair warning: prepare for a delightful cascade of upcoming dehydrating posts and recipes! I am officially, and quite un-apologetically, hooked on this incredible kitchen appliance. The possibilities seem endless, and the results are consistently superior to traditional methods.
Why Dehydrate Kale Chips? The Crispy, Flavorful Advantage
When I ponder truly healthful and satisfying snacks my family enjoys, kale chips invariably rise to the top of the list. In the past, I’d rely on my oven, a method that, while functional, often yielded inconsistent results. It was an all too common scenario: some chips perfectly crisp, while others, stubbornly, would emerge a shade too dark, sometimes even verging on burnt. While I, personally, don’t mind a hint of char, the visual appeal often suffered, and the subtle bitter notes from over-baking could detract from the overall experience.
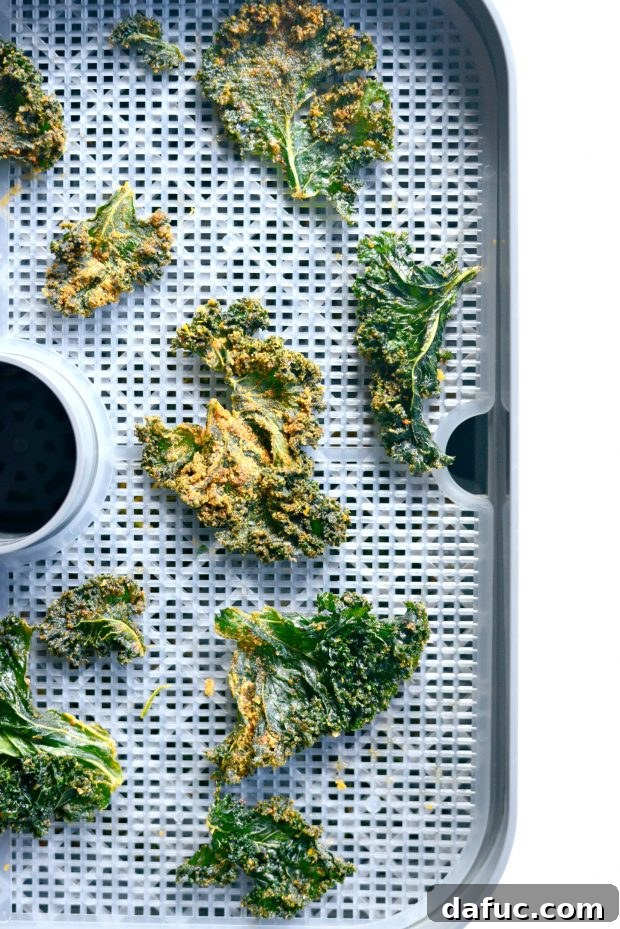
This is precisely where the food dehydrator shines. It offers a gentle, low-temperature drying process that transforms fresh kale into uniformly crisp, delightful chips without any of the bitterness or browned edges that can plague oven-baked versions. The dehydrator maintains a consistent, controlled environment, slowly drawing out moisture while preserving the vibrant green color and delicate nutrients of the kale. This methodical approach ensures that every single chip achieves that perfect, airy crunch, making for a truly superior snack. It’s a game-changer for anyone who loves kale chips but struggles with inconsistent oven results.
Crafting the Perfect Sriracha Garlic Kale Chips: A Step-by-Step Guide
Creating these intensely flavorful sriracha garlic kale chips is a straightforward process, resulting in a healthy snack that packs a serious flavor punch. The key lies in proper preparation and a balanced seasoning blend. We’re going for maximum crispness and bold taste!
Preparing Your Kale for Dehydration
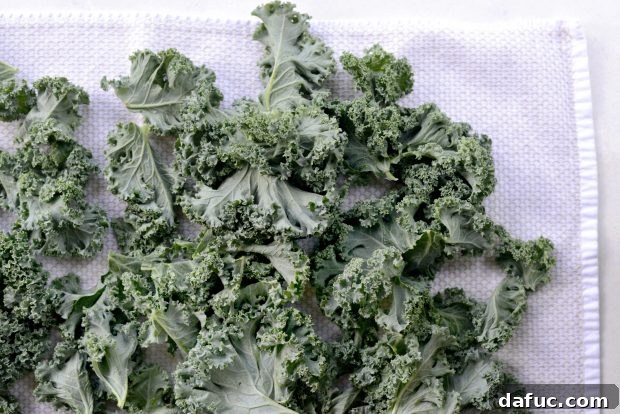
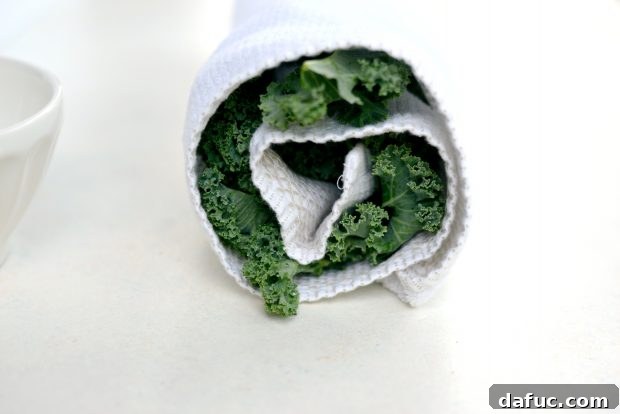
Start with a fresh bunch of curly leaf kale. The texture of curly kale works beautifully for chips, as its nooks and crannies hold onto the seasoning exceptionally well. The first crucial step is to prepare the leaves. Hold the tough stem firmly in one hand and, with your other hand, strip the leafy greens away, moving down the stem. Discard the stems, as they won’t crisp up properly. Next, hand-tear the kale leaves into bite-sized pieces, aiming for a chip-like size. Remember, they will shrink slightly during dehydration. Once torn, give them a thorough rinse under cool water to remove any dirt or debris. The most critical part of kale chip success is ensuring the leaves are *completely* dry before seasoning. Lay the washed kale pieces on a clean kitchen towel. I find it effective to then roll up the towel gently, allowing the fabric to absorb as much moisture as possible. You can also gently pat them dry. Any residual water will hinder crisping and can make the chips soggy.
Crafting the Flavorful Sriracha Garlic Seasoning
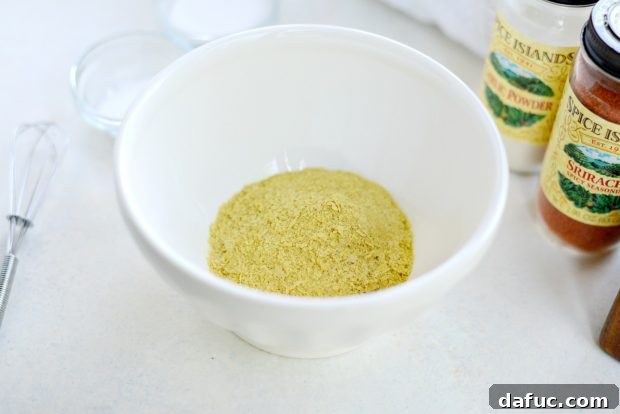
The seasoning is where these kale chips truly come alive! In a small bowl, combine 2 tablespoons of nutritional yeast. This ingredient is a powerhouse, lending a fantastic savory, almost cheddar-like flavor that’s utterly delicious and completely dairy-free. It’s an absolute game-changer for vegan snacks.
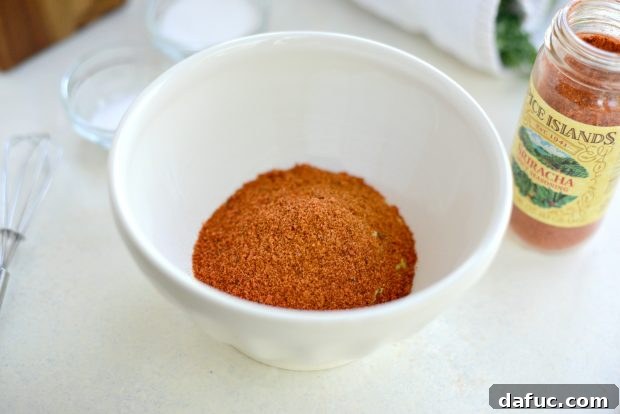
Next, add 1 tablespoon of sriracha seasoning powder. This delivers that signature spicy, tangy kick we all love. For the garlic element, incorporate ¼ to ½ teaspoon of garlic powder; adjust this amount based on your personal preference for garlicky intensity. I lean towards the more generous side, as garlic and sriracha are a match made in flavor heaven.
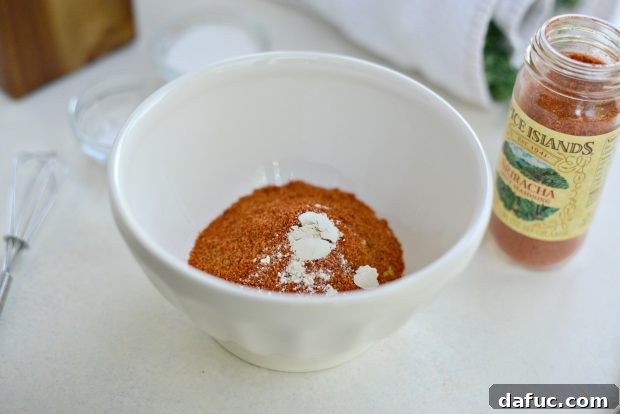
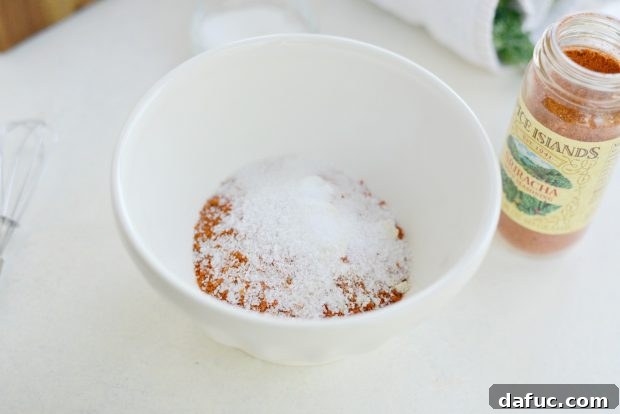
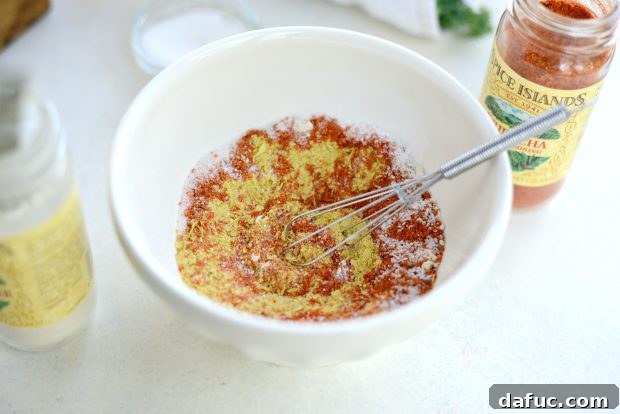
To balance the heat and enhance the overall flavor profile, add ½ teaspoon of sugar and 1½ teaspoons of kosher salt. The sugar helps to mellow the spice and highlight the other flavors, while the kosher salt provides crucial seasoning. Give all these dry ingredients a good whisk until thoroughly combined. Set this vibrant mixture aside while you prepare the kale.
Coating and Arranging for Optimal Crispness
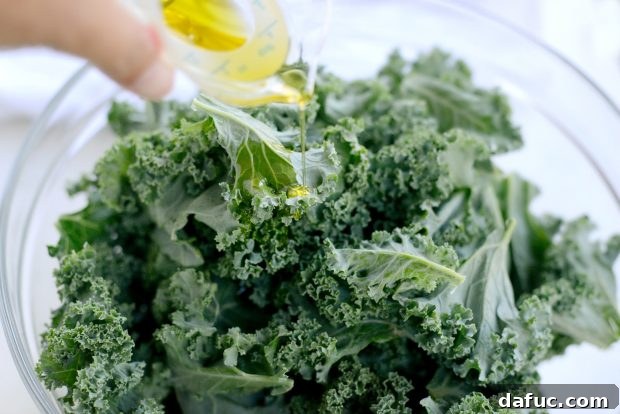
Place your thoroughly dried kale leaves into a large mixing bowl. Drizzle them with 2 to 3 tablespoons of olive oil. The exact amount will depend on the size of your kale bunch; the goal is to coat the leaves just enough so they are glossy, but not drenched. You want a light, even coating of oil to help the seasoning adhere and to ensure uniform crisping. Toss the kale vigorously with your hands, making sure every piece is lightly coated.
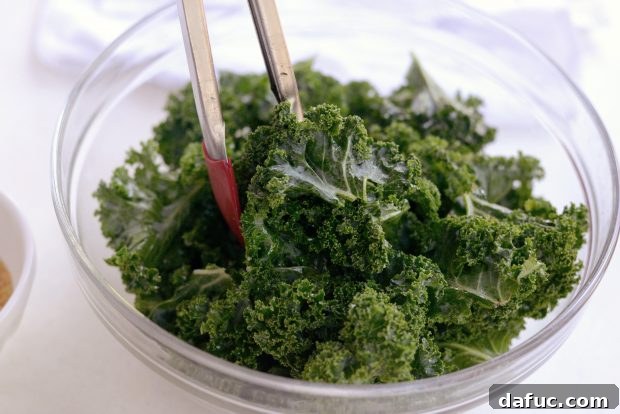
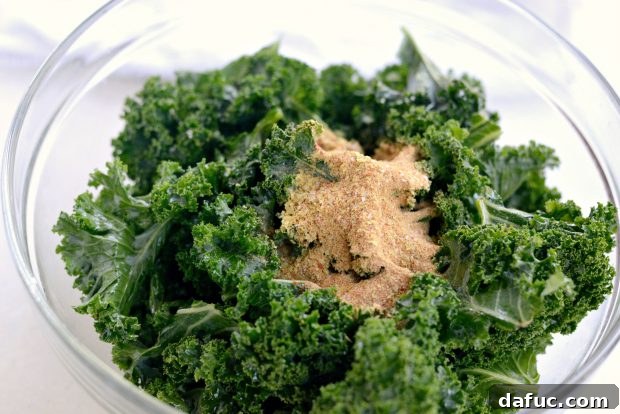
Now, add the prepared sriracha-garlic seasoning mixture to the oiled kale. Once again, use your hands to toss and massage the seasoning into the leaves. Ensure every single piece is well-coated with the vibrant, spicy blend. This hands-on approach guarantees maximum flavor distribution.
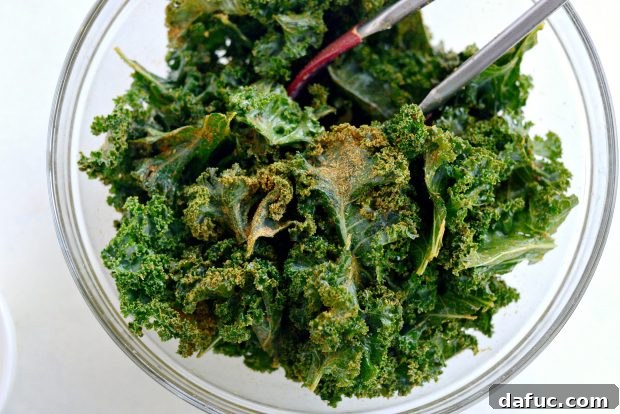
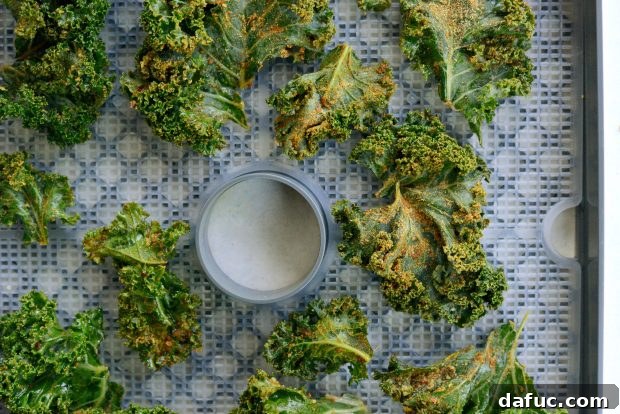
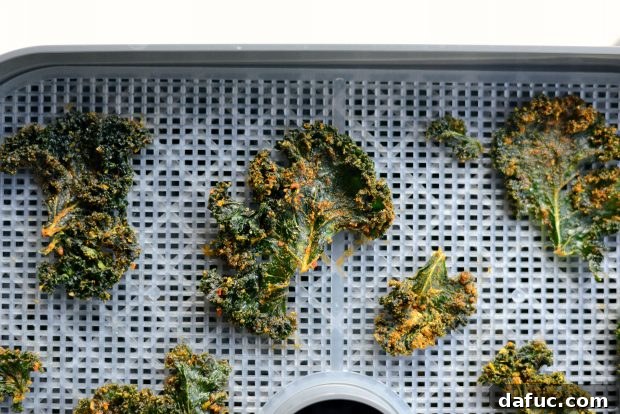
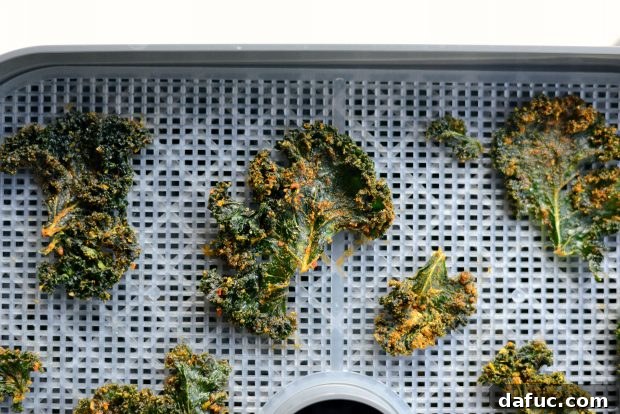
Arrange the seasoned kale leaves in a single layer on your dehydrator trays. It’s essential to avoid overlapping the pieces, as this can lead to uneven drying. Give each chip enough space to allow for optimal air circulation. This ensures uniform crispness across all trays.
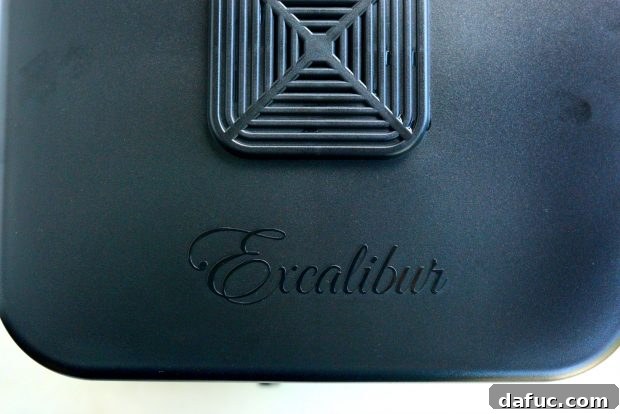
Stack the trays within your dehydrator, ensuring the lid is securely in place. Set the temperature to a gentle 115 degrees Fahrenheit (approximately 46 degrees Celsius). This low temperature is key to raw food preparation, preserving enzymes and nutrients. Flip the switch to ‘on’ and let your dehydrator work its magic for 3 to 5 hours.

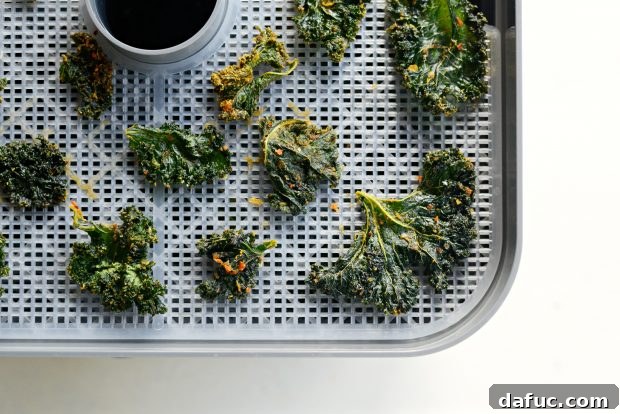
I recommend checking on the kale chips after about 2 hours, then every 30 to 45 minutes thereafter, until they reach your desired level of crispness. They should be brittle and snap easily, with no chewiness. Once perfectly dehydrated, they’re ready to be enjoyed!
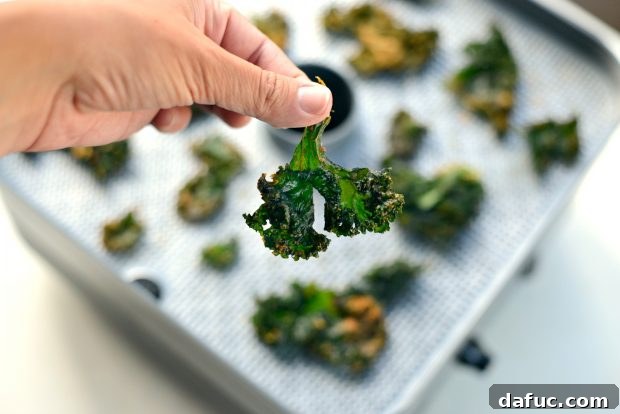
The moment they are done, it’s hard to resist sampling! That first bite confirms it: spicy, garlicky, perfectly crispy goodness. These Sriracha Garlic Kale Chips are a triumph of flavor and texture, offering a guilt-free indulgence.
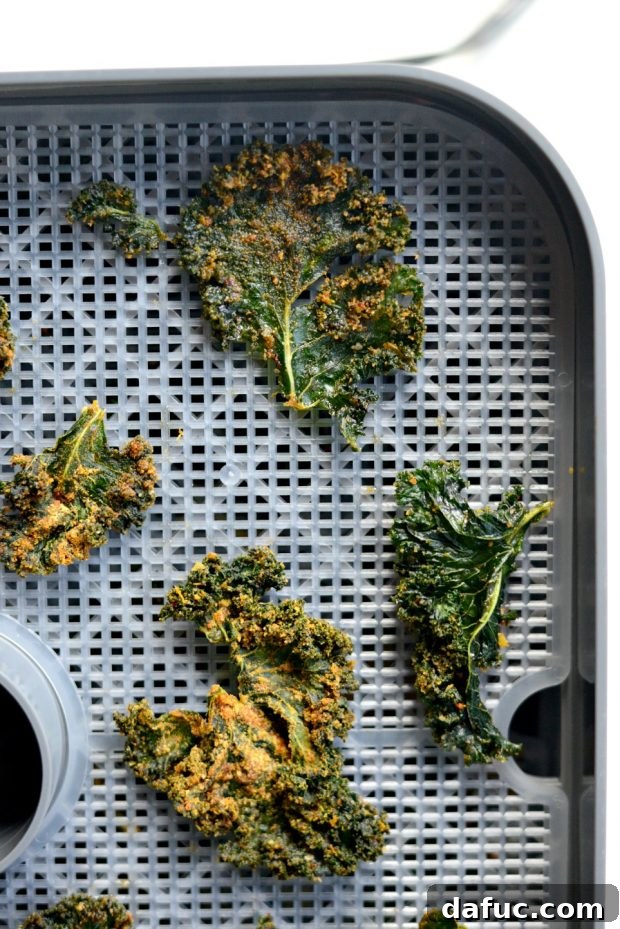
Long-Lasting Goodness: Storing Your Dehydrated Kale Chips
One of the fantastic benefits of dehydrating these kale chips is their extended shelf life. Because all the moisture has been meticulously removed, there’s no need for refrigeration. This makes them an ideal grab-and-go snack for any occasion. I recently packed a batch for my daughter’s softball tournament, and they were an absolute hit – a delicious, healthy alternative to concession stand fare. Stored in an airtight container, these crispy, spicy delights can last for up to two months. However, in my experience, they rarely make it that long; they’re simply too irresistible to resist!
Cheers to the food dehydrator for making healthy snacking effortlessly delicious and convenient! Now, with these spicy kale chips perfected, I’m already eager to dive into my next project: crafting homemade fruit leathers. The possibilities for wholesome, homemade snacks are truly exciting!
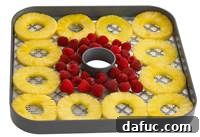
A Closer Look: Reviewing the Excalibur Food Dehydrator
My new Excalibur Food Dehydrator has quickly become an indispensable tool in my kitchen, and there’s a long list of reasons why I’m so fond of it. Firstly, its design strikes a perfect balance: it’s compact enough not to dominate my precious counter space, yet incredibly spacious inside. It easily accommodates a large bunch of kale, spreading out over multiple trays to ensure optimal air circulation and even drying. This efficient use of space is a major plus for any home cook.
Beyond its size, the versatility of the Excalibur is truly impressive. It comes equipped with various specialized liners, which are fantastic for dehydrating smaller, more delicate items like fresh garden herbs, ensuring they don’t fall through the trays. There are also specific liners designed for making homemade fruit leathers, a project I’m particularly excited to tackle next. Adding to its appeal, my Excalibur model even included containers for yogurt making, extending its functionality far beyond simple dehydration!
If I had to offer one minor point of feedback – and it is truly minor, not a deal-breaker by any means – it would be the operational noise. While it’s certainly not horrifically loud, it’s also not entirely silent. I’d compare the sound level to that of a standard kitchen range hood fan running on a low setting. Perhaps I had unrealistic expectations for complete silence, but regardless, this slight hum does not deter me from using it regularly. My positive experience with its performance and versatility far outweighs this small consideration; I genuinely love this food dehydrator!
The Undeniable Benefits of Dehydrated Foods
Food dehydration is more than just a method of preservation; it’s a way to enhance and extend the life of nutritious ingredients, bringing numerous advantages to your diet and kitchen:
- Efficient Preservation and Nutrient Retention: Dehydration is an incredibly effective technique for preserving fresh harvests, whether from your garden or the farmer’s market. Unlike some other preservation methods, it excels at maintaining a high percentage of vital vitamin content and precious antioxidants. The gentle, low-heat process helps prevent the degradation of these sensitive compounds, ensuring that your food remains packed with beneficial nutrients.
- Concentrated Flavors and Natural Sweetness: As moisture is slowly removed, the natural flavors, inherent sweetness, and rich aromas of the food become wonderfully concentrated. This intensifies the taste, turning ordinary ingredients into potent flavor bombs. Dehydrated fruits, for example, become incredibly sweet and chewy, while vegetables develop a deeper, more robust profile, making them excellent additions to various dishes or delicious standalone snacks.
- Extended Shelf Life: When stored correctly in airtight containers away from moisture and light, dehydrated foods boast an impressive shelf life, often surpassing that of other preservation methods. This means you can enjoy your seasonal bounty months after harvest, reducing food waste and ensuring a pantry stocked with wholesome ingredients ready for use.
- Significant Weight Reduction: Dehydrated food is remarkably lightweight, typically only 10% to 15% of its original “wet” weight. This makes it an ideal choice for backpackers, campers, and anyone looking to create compact, portable, and energy-dense meals or snacks. It’s also incredibly efficient for storage, as dried foods take up significantly less space.
- Minimal Preparation and Effort: The process of dehydration itself is surprisingly simple and largely hands-off. After an initial quick prep of cutting or slicing your food, you simply load the trays, set the desired temperature, and let the dehydrator do all the work. It’s a passive cooking method that frees up your time while creating healthy, shelf-stable provisions.
Enjoy the rich flavors and lasting benefits!
My Cookbook: Simply Scratch : 120 Wholesome Homemade Recipes Made Easy is now available! CLICK HERE for details and THANK YOU in advance for your support!
Print Recipe
Rating: 4 out of 5 stars from 1 rating
4 servings
Dehydrated Sriracha + Garlic Kale Chips
10 mins
5 hrs
5 hrs 10 mins
Ingredients
- 1 bunch kale leaves, washed
- 2 tablespoons nutritional yeast
- 1 tablespoon dried Sriracha
- 1/4 teaspoon garlic powder
- 1/2 teaspoon sugar
- 1½ teaspoons kosher salt
- 2 to 3 tablespoons olive oil
Instructions
- Remove the tough stems from the bunch of kale by holding the stem part in one hand and running your other hand down the length of it. Hand-tear the leaves into chip-size pieces, rinse and place on a kitchen towel and pat dry completely.
- In a small bowl, combine the nutritional yeast, Sriracha seasoning, garlic powder, sugar, and salt. Whisk until well combined.
- Place the dried kale leaves in a large bowl and drizzle with olive oil until lightly coated. Add the prepared seasoning mixture and toss thoroughly to coat every leaf evenly.
- Arrange the seasoned kale leaves in a single layer, without overlapping, onto your dehydrator trays. Cover, set the temperature to 115 degrees Fahrenheit (46°C), and turn on your food dehydrator. Dehydrate for 3 to 5 hours or until the kale is crisp and brittle.
- Store the dehydrated Sriracha Garlic Kale Chips in an airtight container at room temperature for up to 2 months.
Serving: 1 cup, Calories: 99kcal, Carbohydrates: 6g, Protein: 4g, Fat: 8g, Saturated Fat: 1g, Polyunsaturated Fat: 1g, Monounsaturated Fat: 5g, Sodium: 886mg, Potassium: 277mg, Fiber: 2g, Sugar: 1g, Vitamin A: 4109IU, Vitamin C: 39mg, Calcium: 54mg, Iron: 1mg
Disclosure: I was provided with an Excalibur Food Dehydrator in exchange for developing recipes and offering my honest review. My opinions are entirely my own, and I am genuinely thrilled with my Excalibur!