
Spooky & Delicious: The Ultimate Guide to Fudgy Black Cocoa Cobweb Brownies
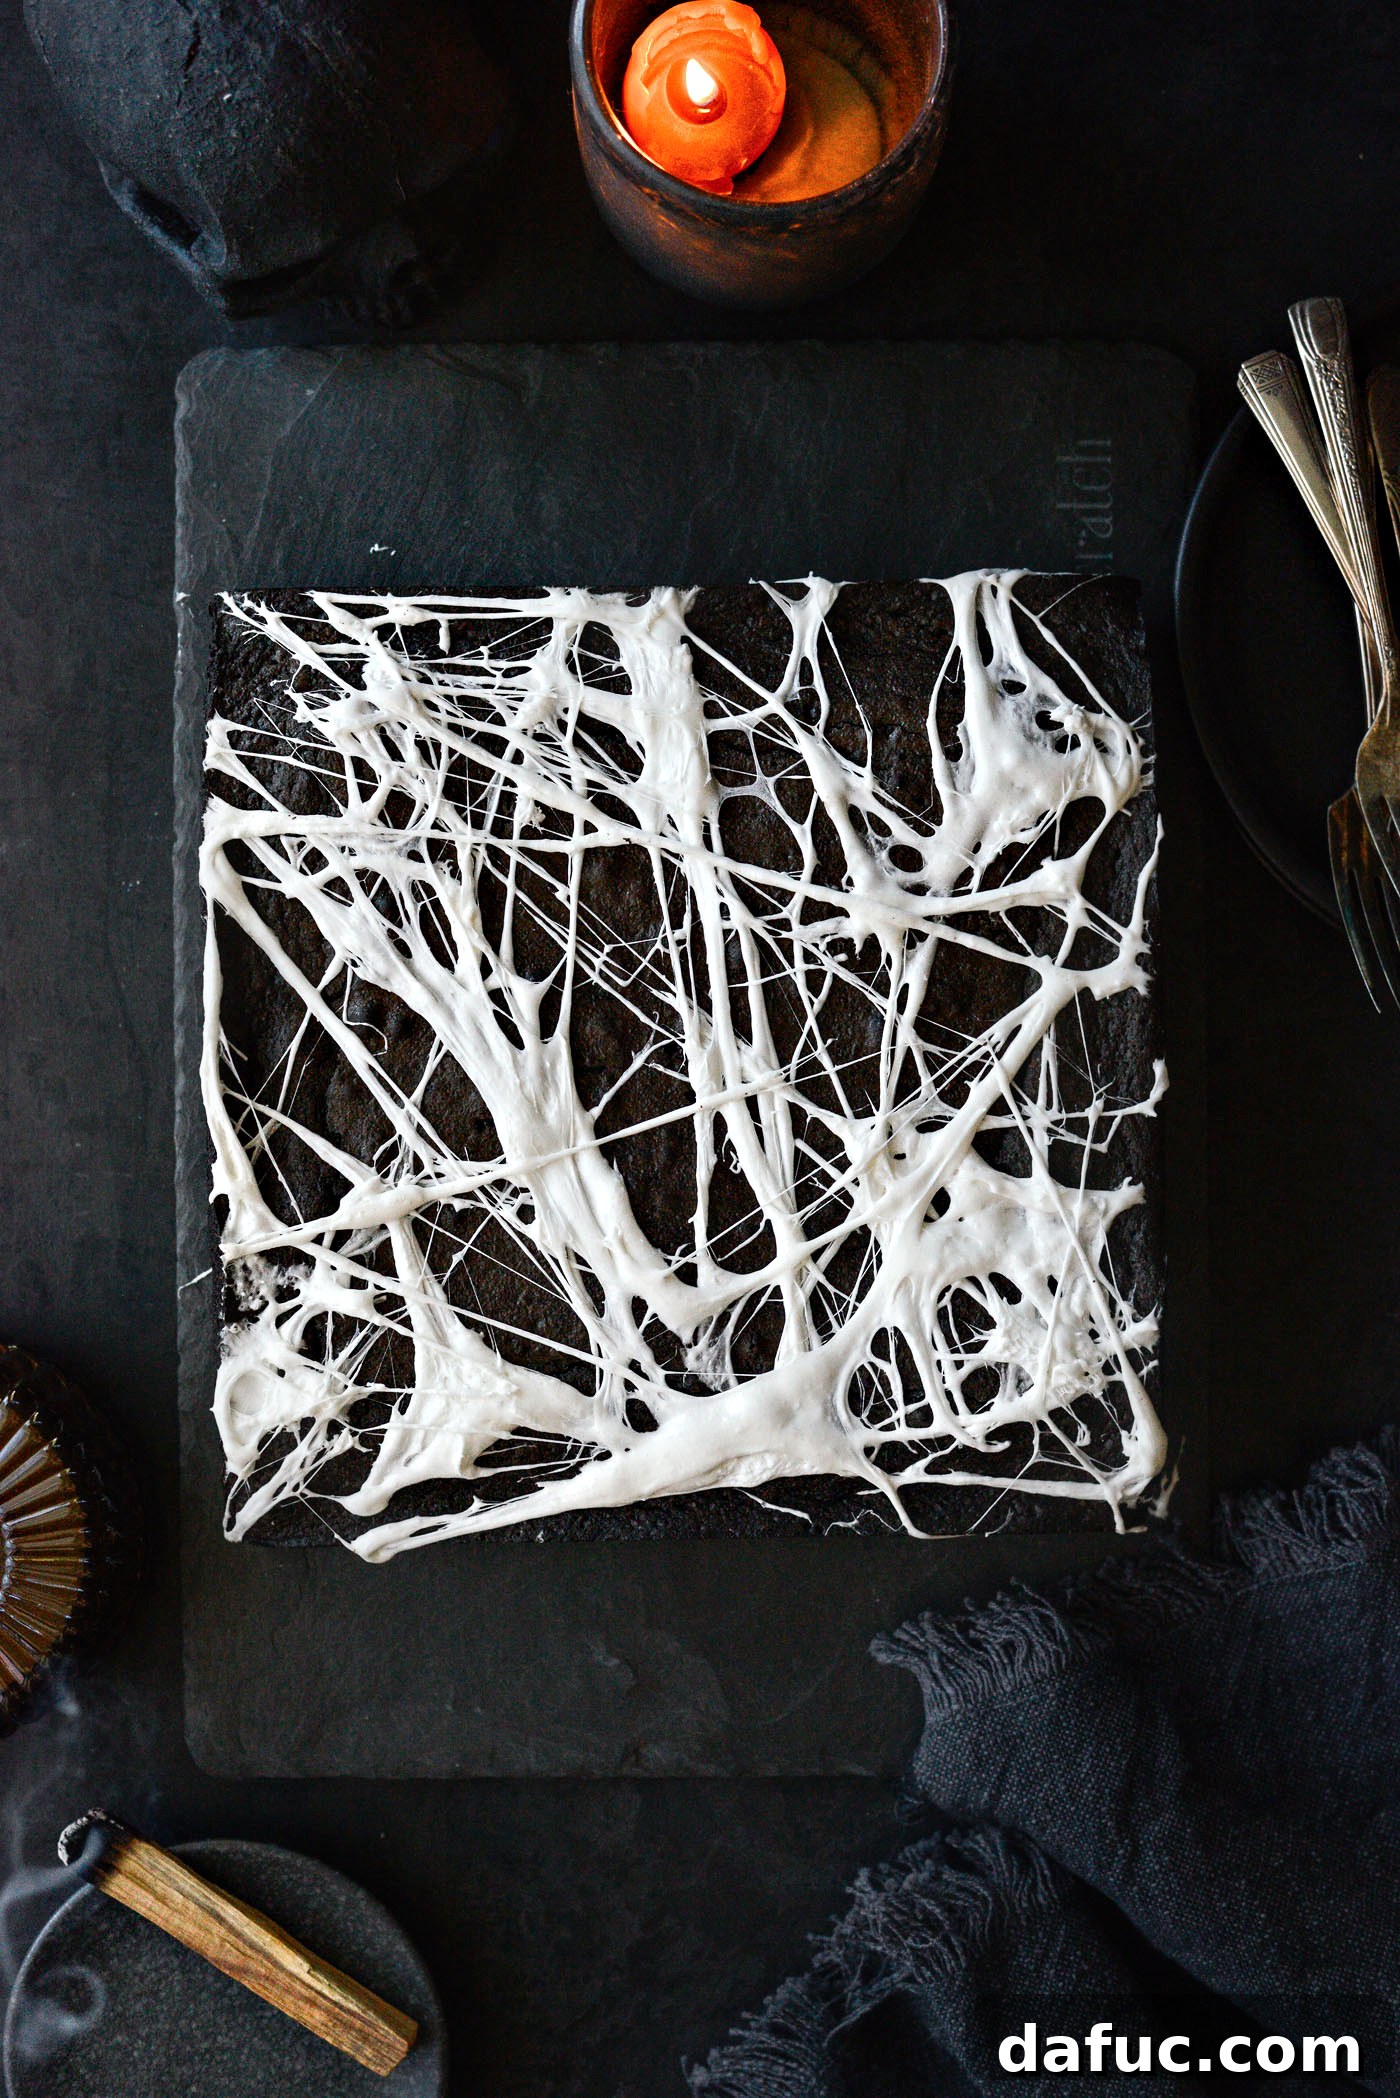
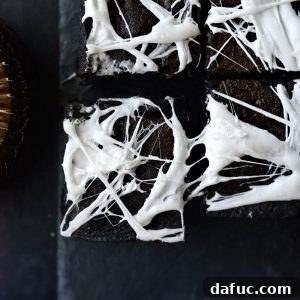
Prepare to enchant your taste buds and impress your guests with these unbelievably easy, incredibly fudgy, and absolutely delicious Cobweb Brownies. This recipe transforms classic, thick homemade black cocoa brownies into a fun and spooky delight by topping them with delicate, stretched threads of melted marshmallow, creating an eerie cobweb effect. Perfect for Halloween parties, school events, or just a fun baking project with the family, these brownies are not only visually striking but also boast a rich, deep chocolate flavor reminiscent of your favorite cream-filled sandwich cookies. This recipe is designed to yield 16 generously sized brownies, making it ideal for sharing.
Why These Cobweb Brownies Are Your Perfect Halloween Treat
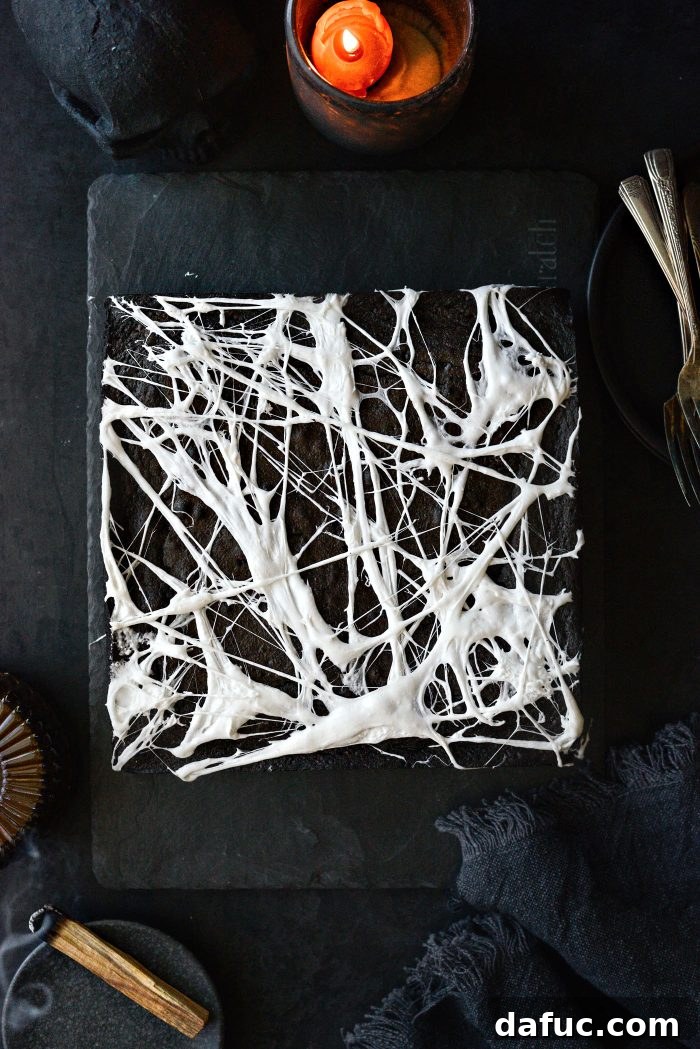
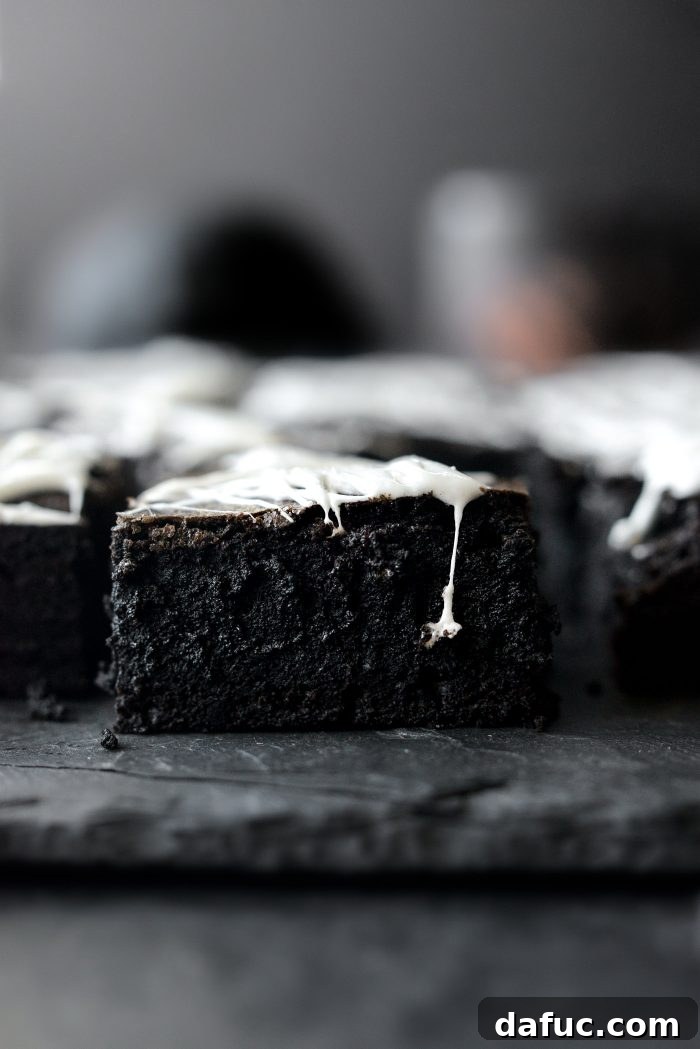
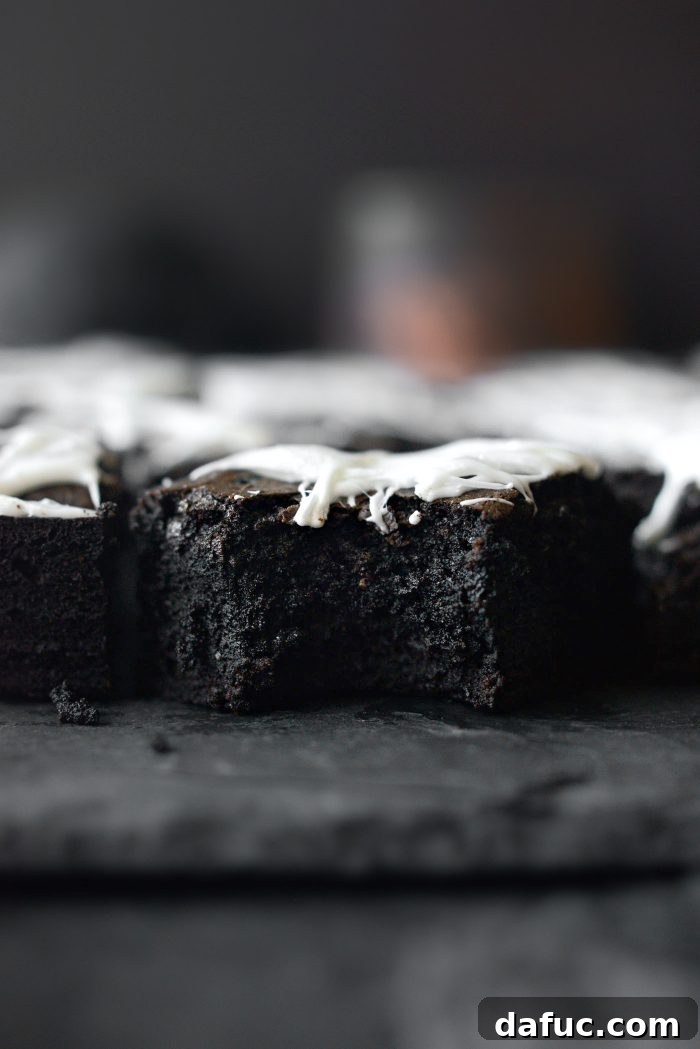
Are you searching for a dessert that’s not just super simple to make but also captures the spirit of Halloween with a playful twist? Look no further than these spectacular cobweb brownies! They brilliantly combine the irresistible comfort of a classic brownie with a touch of spooky artistry, making them an instant favorite for any autumnal gathering. The magic lies in the contrast: a dense, rich homemade black cocoa brownie base provides a dramatic, dark canvas, perfectly complemented by the ethereal white strands of stretched marshmallow that cleverly mimic delicate cobwebs. The deep, intense chocolate flavor of the brownies offers a sophisticated sweetness, striking a perfect balance with the soft, chewy marshmallow topping. Every bite delivers a harmonious blend of textures and tastes, making these decadent brownies a truly unforgettable treat.
Decoding Black Cocoa: The Secret to Oreo-Like Flavor
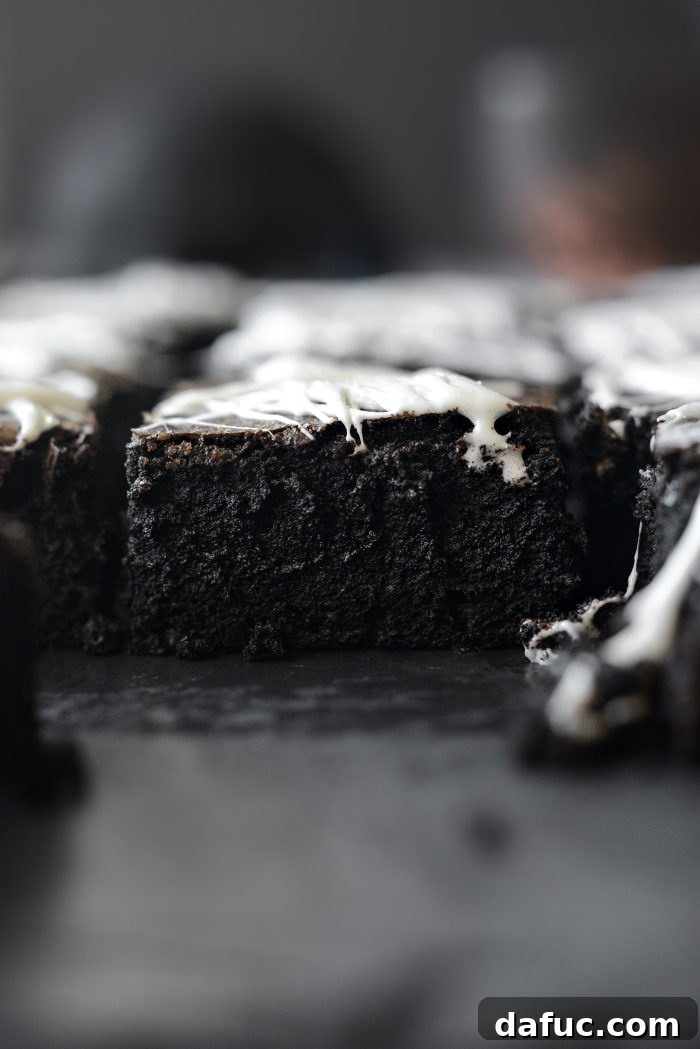
You might be wondering, “What exactly is black cocoa powder?” Black cocoa is a special type of cocoa that has undergone heavy Dutch processing, which means it has been treated with an alkaline solution to reduce its acidity. This process dramatically darkens the cocoa powder, giving it an intense, almost jet-black hue. Beyond its striking color, black cocoa has a distinct and milder chocolate flavor compared to natural cocoa. Its low acidity allows a unique, almost earthy chocolate note to shine through, making it the secret ingredient behind the iconic dark color and signature flavor of many beloved treats, most notably Oreo cookies. Using black cocoa in these brownies not only achieves that captivating deep black color but also infuses them with a rich, almost nostalgic flavor profile that sets them apart from typical brownies.
Essential Ingredients for Your Spooky Cobweb Brownies
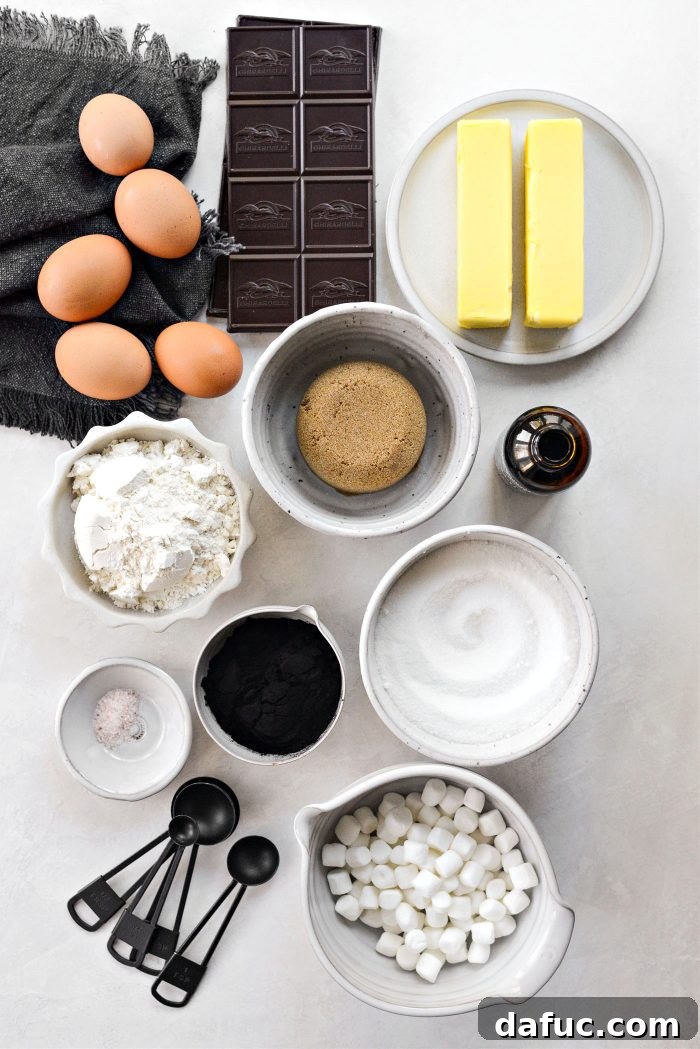
Crafting these extraordinary cobweb brownies requires a careful selection of ingredients, each playing a crucial role in achieving that perfect fudgy texture, deep flavor, and stunning appearance. Here’s a detailed look at what you’ll need and why:
- Nonstick Baking Spray with Flour: This is your first line of defense against sticking. It ensures that your brownies release cleanly from the pan, giving you beautifully intact squares every time.
- Unsalted Butter: The foundation of any rich brownie, unsalted butter contributes significant moisture, adds a luxurious richness, and carries the deep chocolate flavor beautifully. Using unsalted allows you to control the overall salt content of the recipe.
- 60% Cacao Bittersweet Chocolate: Opting for a quality bittersweet chocolate with 60% cacao provides a rich, deep, and balanced chocolate flavor without being overly sweet. It’s the backbone of the brownie’s intense chocolate profile.
- Granulated White Sugar: Provides essential sweetness and helps create that desirable crackly crust on top of your brownies.
- Dark Brown Sugar: Beyond sweetness, dark brown sugar brings a subtle caramel-like flavor and, crucially, contributes to the fudgy, chewy texture that defines a perfect brownie. Its molasses content adds depth and moisture.
- Pure Vanilla Extract: A touch of pure vanilla extract adds warmth and complexity, enhancing and harmonizing all the other rich flavors in this recipe, especially the chocolate.
- Eggs: Eggs act as a vital binding agent, holding the brownie batter together. They also help the brownies achieve a slight rise, provide structure, and add to the rich, decadent flavor and moist texture. Using them at room temperature can improve emulsification with other ingredients.
- Unbleached All-Purpose Flour: This provides the necessary structure for your brownies. Using unbleached flour can result in a slightly chewier texture.
- Black Cocoa Powder: The star of the show for both color and flavor! Black cocoa powder gives these brownies their signature dark black hue and that distinctive, mild, Oreo-like chocolate taste.
- Fine Salt: Don’t skip the salt! It’s essential for balancing the sweetness and intensifying all the other flavors, particularly the chocolate.
- Marshmallows: Whether you choose mini marshmallows for convenience or larger ones (which you can cut down), these are key to creating the iconic stretchy, web-like topping that defines these spooky treats.
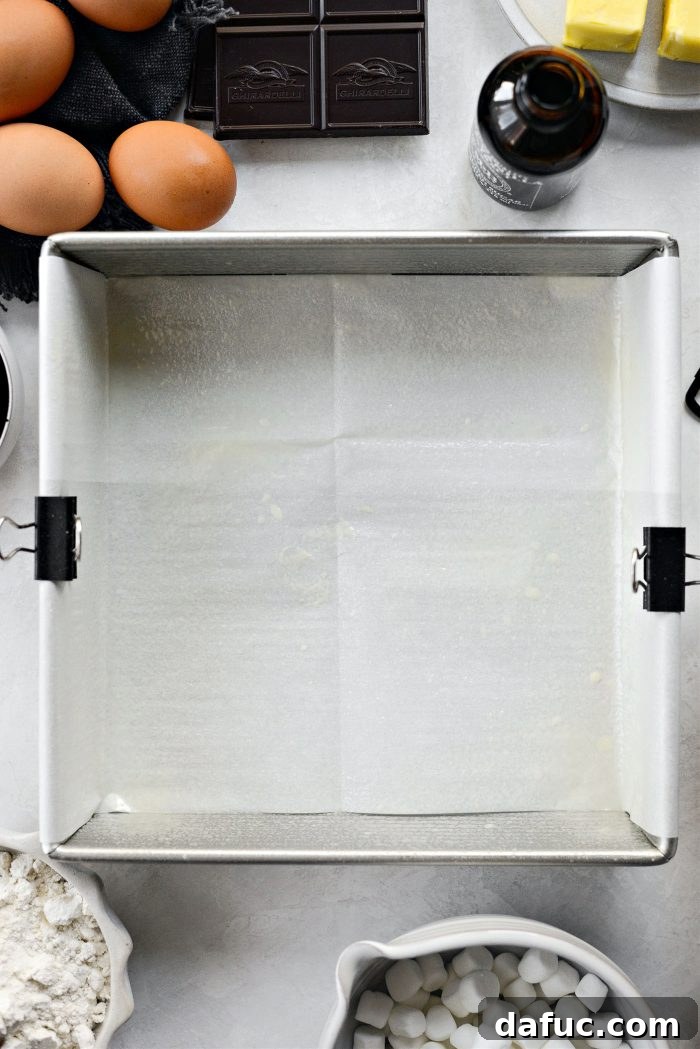
Step-by-Step: Crafting Your Fudgy Black Cocoa Brownies
Creating these fudgy, dark chocolate brownies is a straightforward process that yields impressive results. Follow these detailed steps to ensure your brownies are perfectly moist, rich, and ready for their spooky transformation.
1. Prepare Your Baking Pan and Oven
Begin by preheating your oven to 350°F (180°C). Proper preheating is crucial for even baking. Next, take a 9×9 metal baking pan and line it with parchment paper, allowing some overhang on two opposite sides. This parchment “sling” will make it incredibly easy to lift the cooled brownies out of the pan. Once lined, lightly spray the parchment and the exposed sides of the pan with nonstick baking spray with flour to ensure absolutely no sticking.
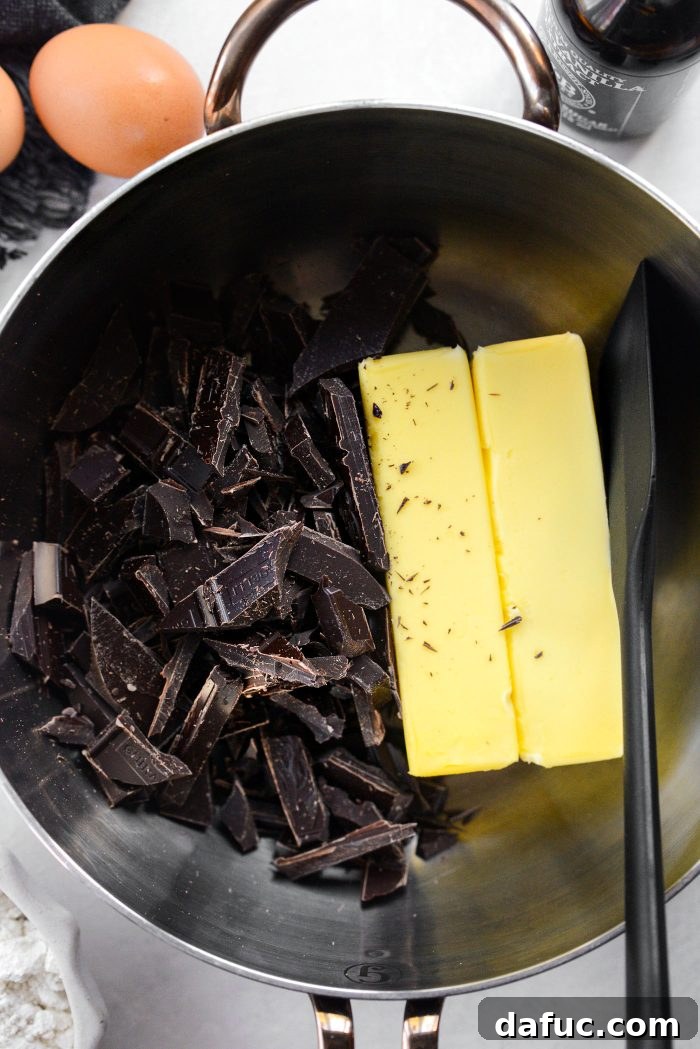
2. Melt the Chocolate and Butter
In a 3-quart saucepan, combine 1 cup of unsalted butter (sliced into pieces for faster melting) and 8 ounces of chopped 60% bittersweet chocolate baking bar. Place the saucepan over low heat. Stir continuously with a rubber spatula or wooden spoon until both the butter and chocolate are completely melted and smooth. Be careful not to overheat the mixture, as chocolate can seize. Once fully melted, remove the pan from the heat and allow the chocolate mixture to cool slightly for a few minutes while you prepare the dry ingredients. This prevents the eggs from scrambling later.
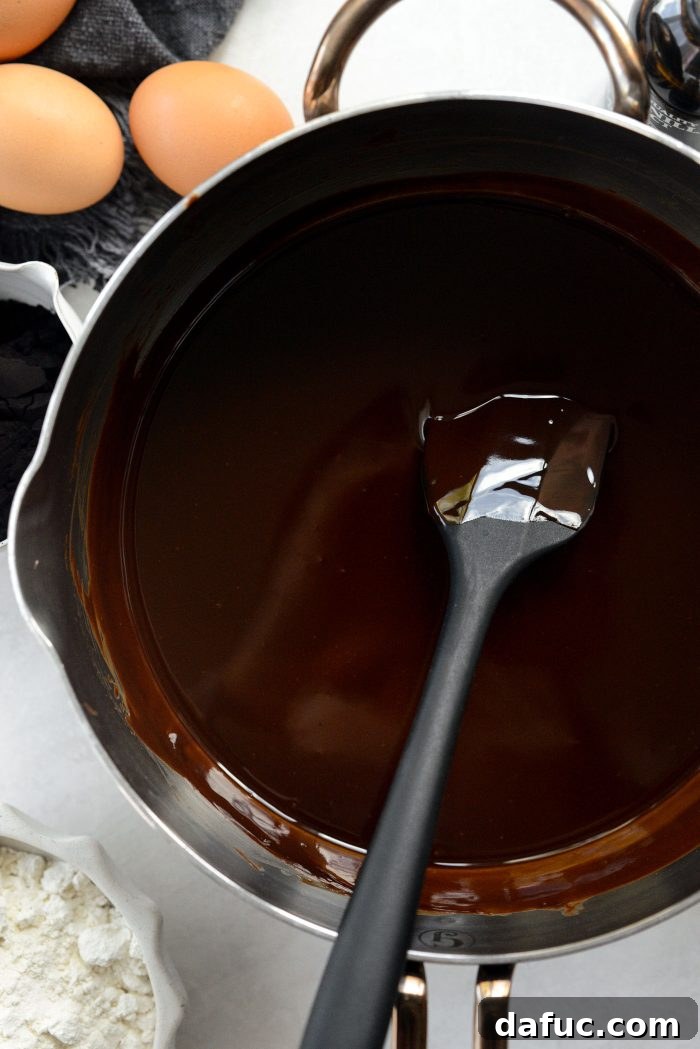
3. Combine Dry Ingredients
While the chocolate cools, in a separate medium-sized bowl, measure and add 2/3 cup of unbleached all-purpose flour, 1/3 cup of black cocoa powder, and 1/2 teaspoon of fine salt. Use a whisk to thoroughly combine these dry ingredients. Ensuring they are well mixed will help prevent lumps in your batter and ensure even distribution of flavor. Set this bowl aside for later.
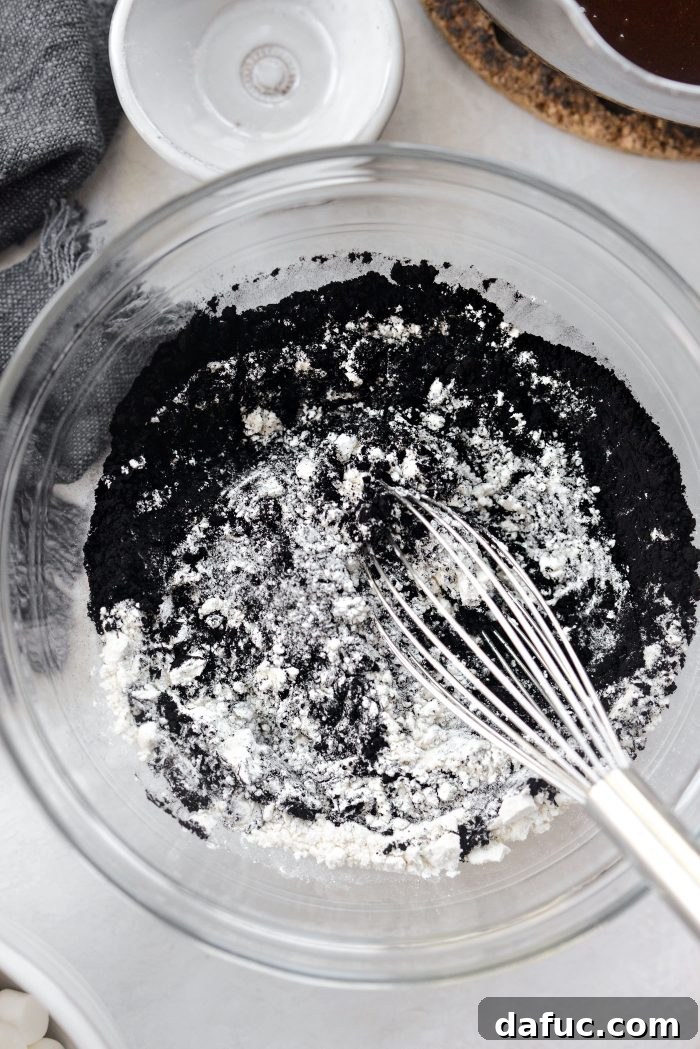
4. Mix Sugars and Vanilla into Chocolate
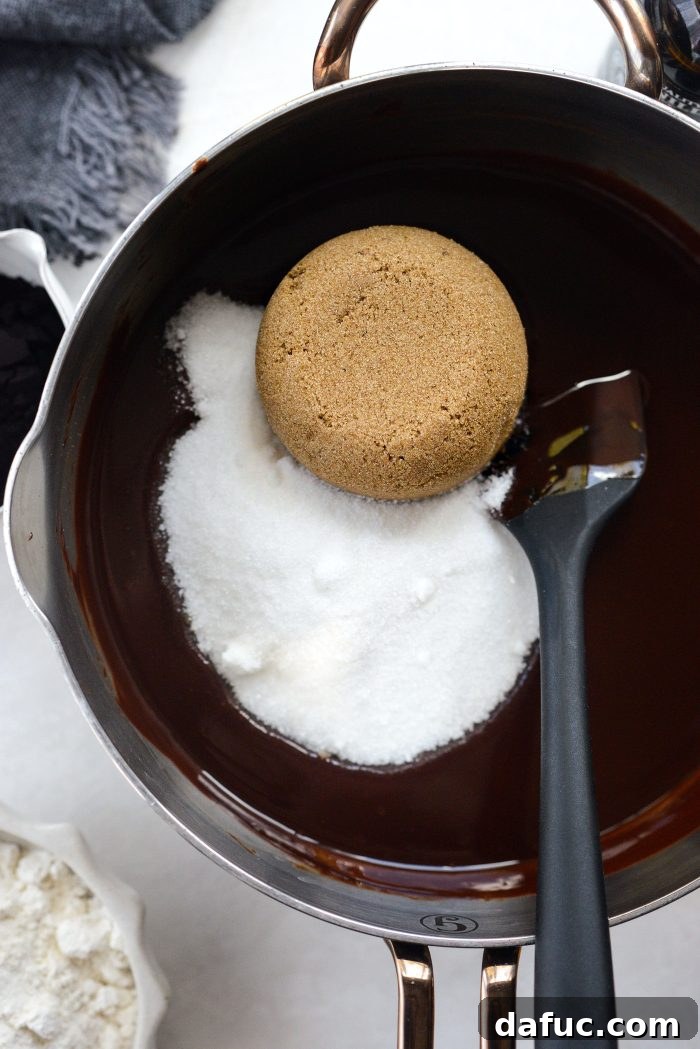
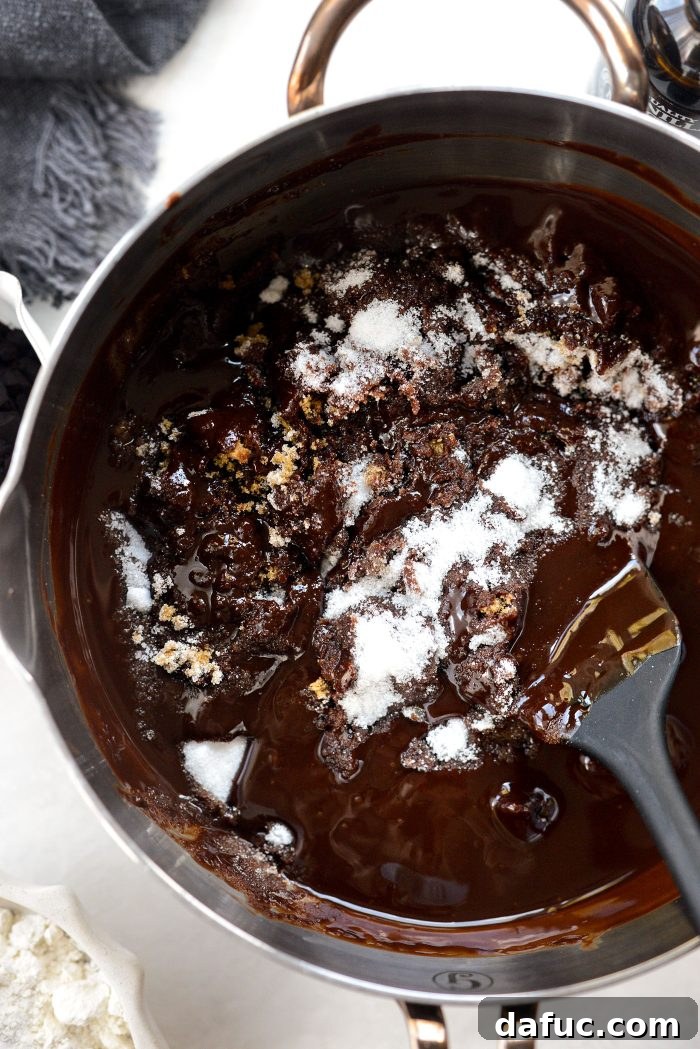
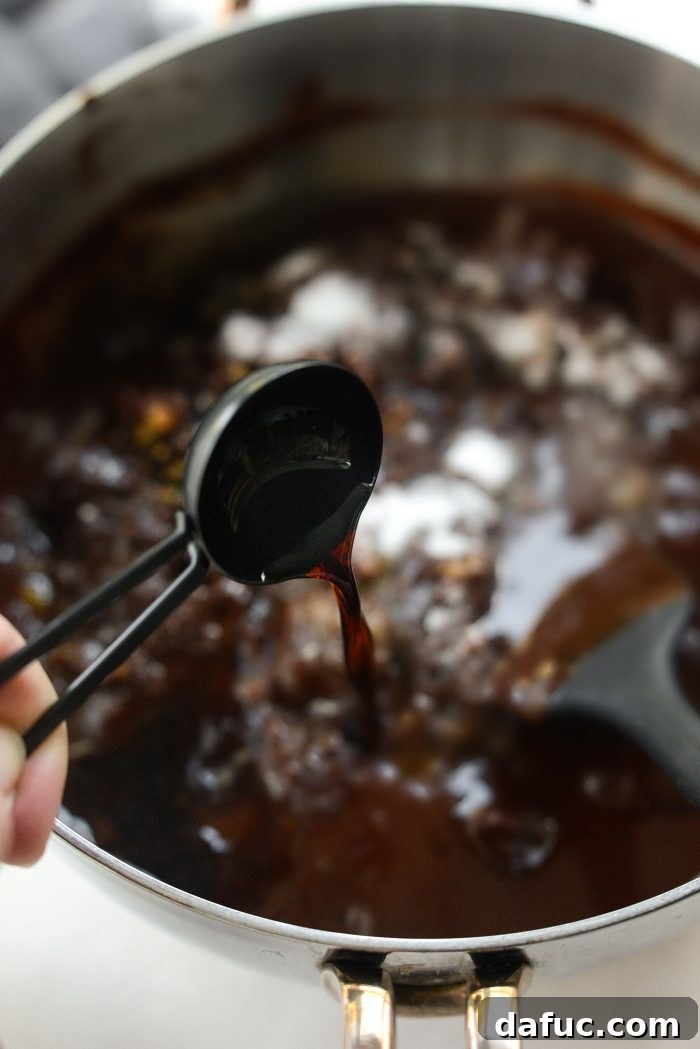
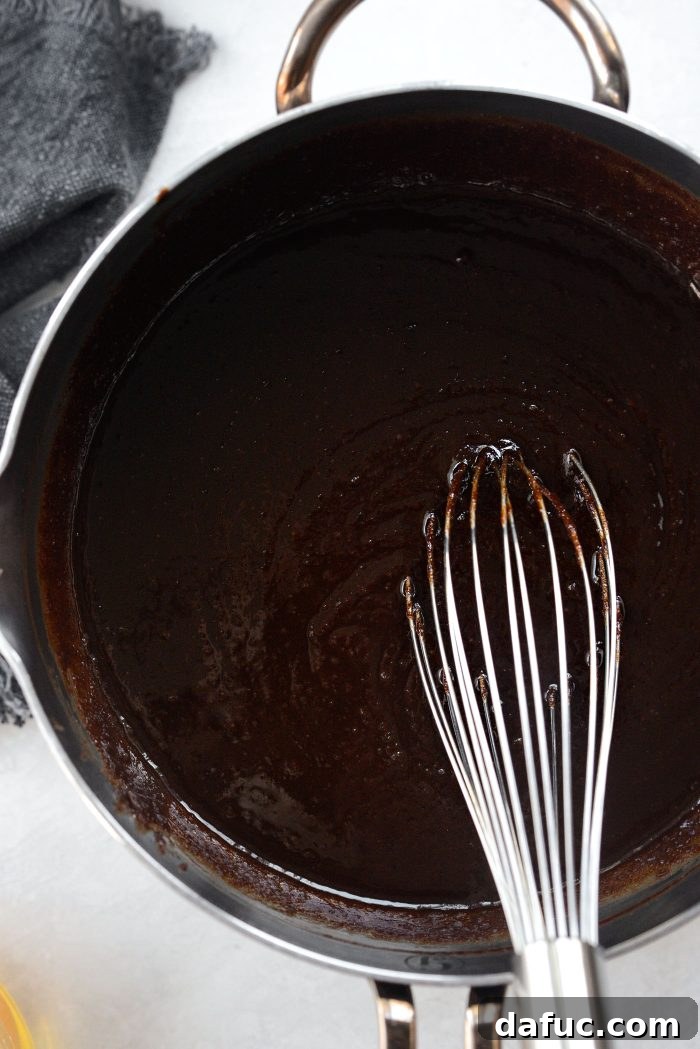
Return to your semi-cooled chocolate mixture. Add 1 cup of granulated white sugar and 3/4 cup of dark brown sugar. Stir with a spatula until the sugars are just mixed through a bit. Then, pour in 1 tablespoon of pure vanilla extract. At this point, switch from a spatula to a whisk. Whisk the mixture vigorously until it is thoroughly combined and smooth, and you see a slight sheen. This vigorous whisking helps dissolve the sugar and starts to build the brownie’s characteristic crackly top.
5. Incorporate Eggs for Perfect Texture
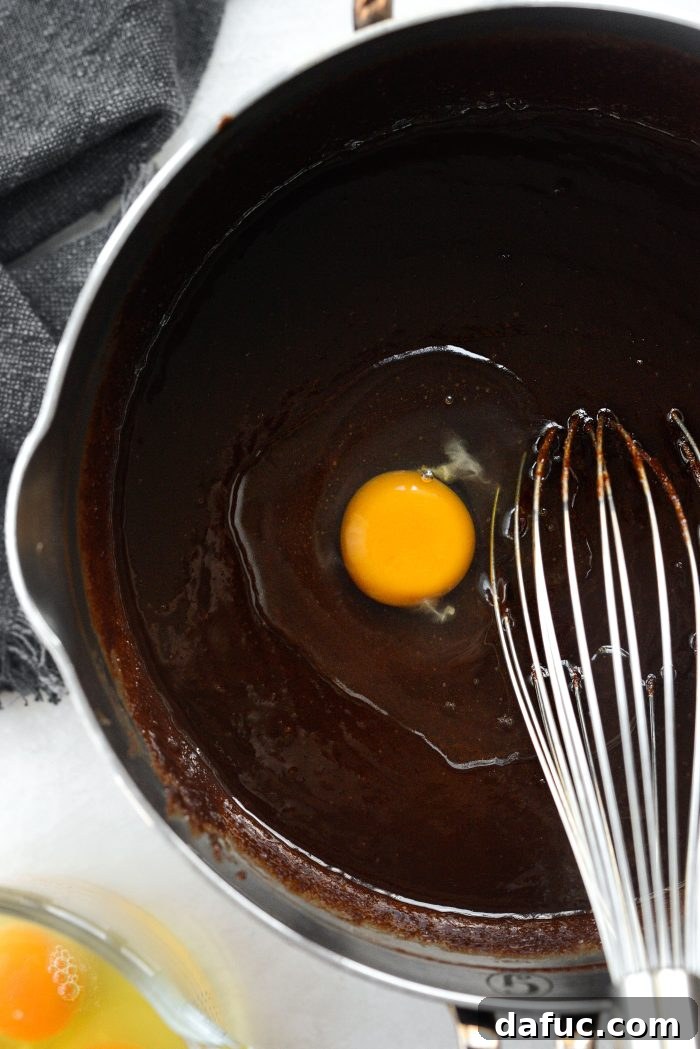
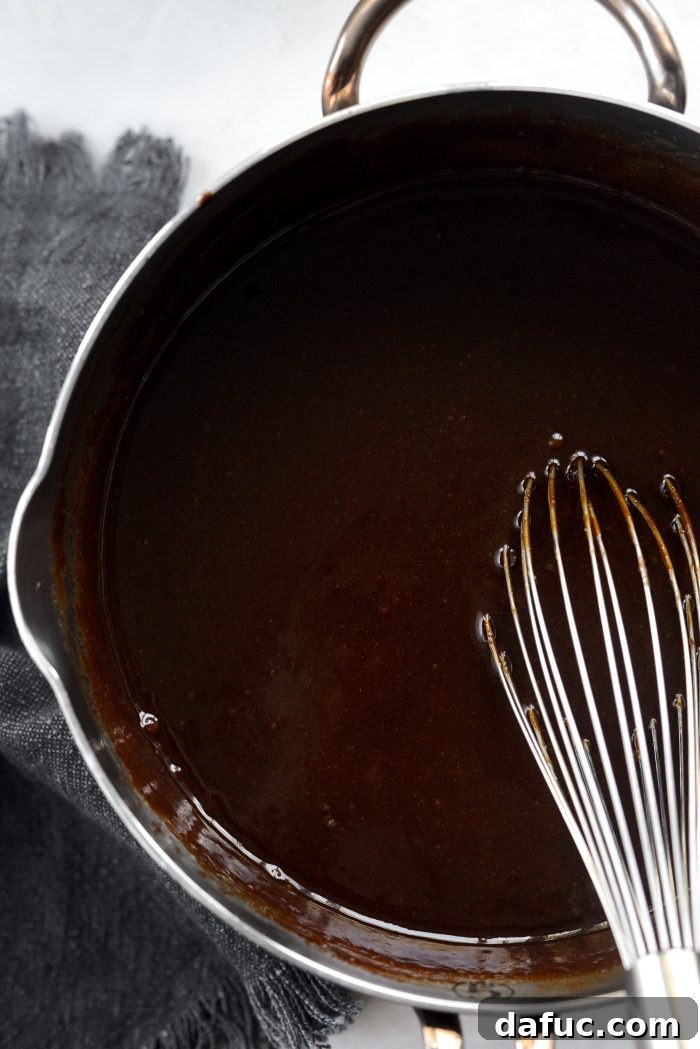
Now, it’s time to add the eggs. Crack 5 large eggs into the chocolate mixture, adding them one at a time. After each egg addition, whisk vigorously until it is fully incorporated into the batter. This step is crucial for creating the brownie’s fudgy texture. Whisking well after each egg introduces air and helps create a smooth, emulsified batter, preventing a cakey texture and promoting that beautiful glossy finish.
6. Fold in Dry Mix and Final Batter Prep
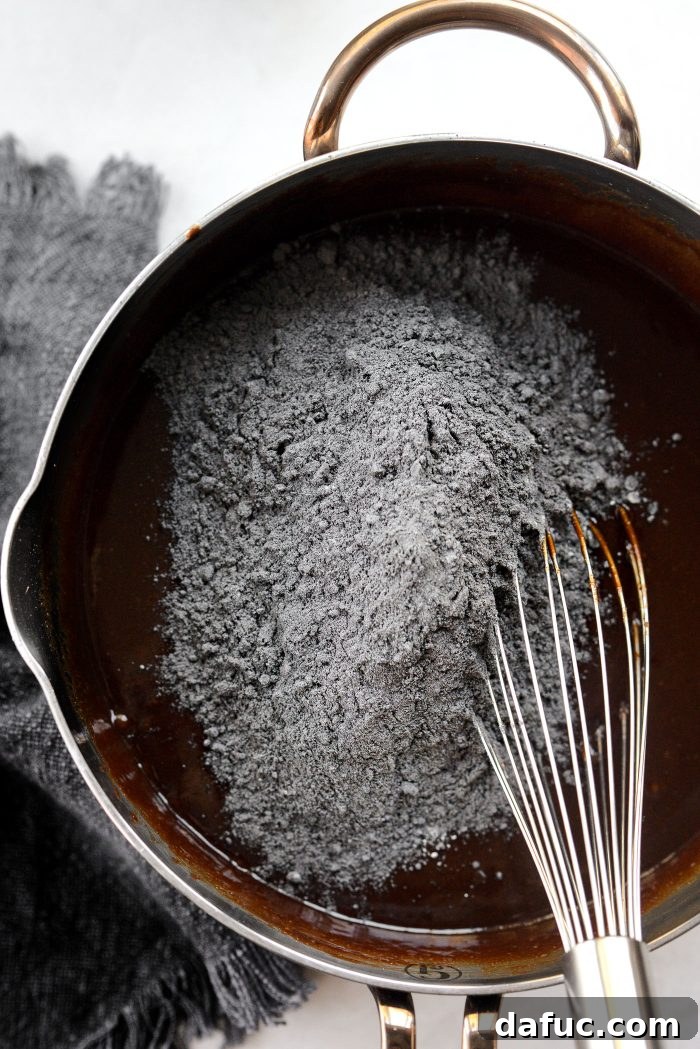
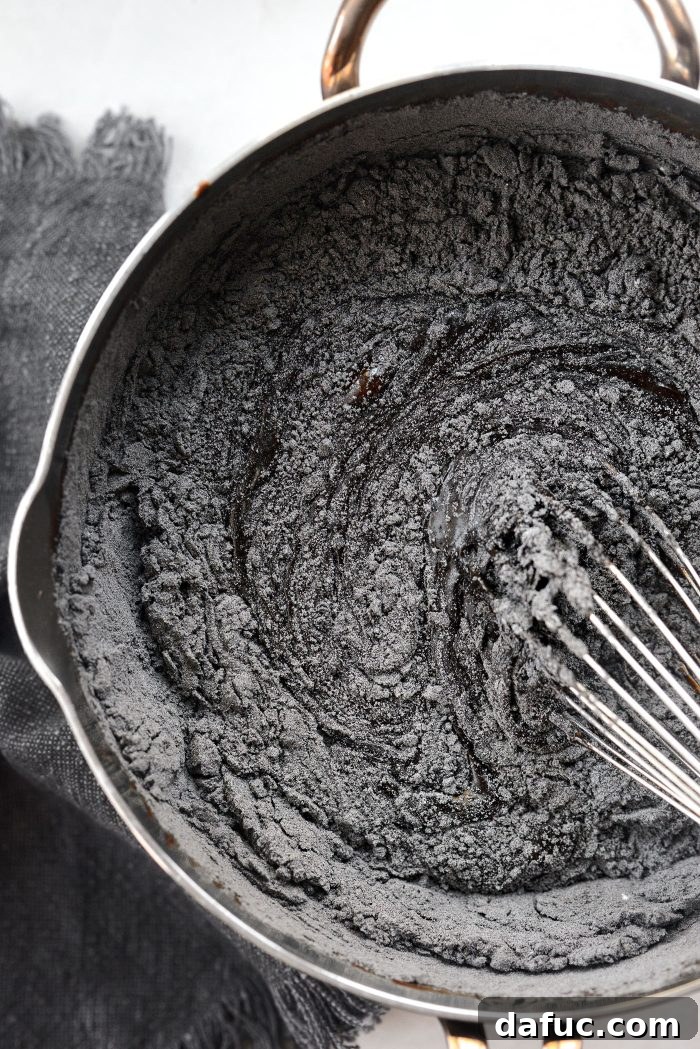
Finally, add the previously prepared black cocoa and flour mixture to the wet ingredients. Whisk gently until the dry ingredients are just incorporated. Be careful not to overmix, as overmixing can lead to tough brownies. Once combined, switch back to a rubber spatula. Use it to scrape down the sides and bottom of the saucepan, ensuring all ingredients are fully incorporated and there are no pockets of dry flour or unmixed batter.
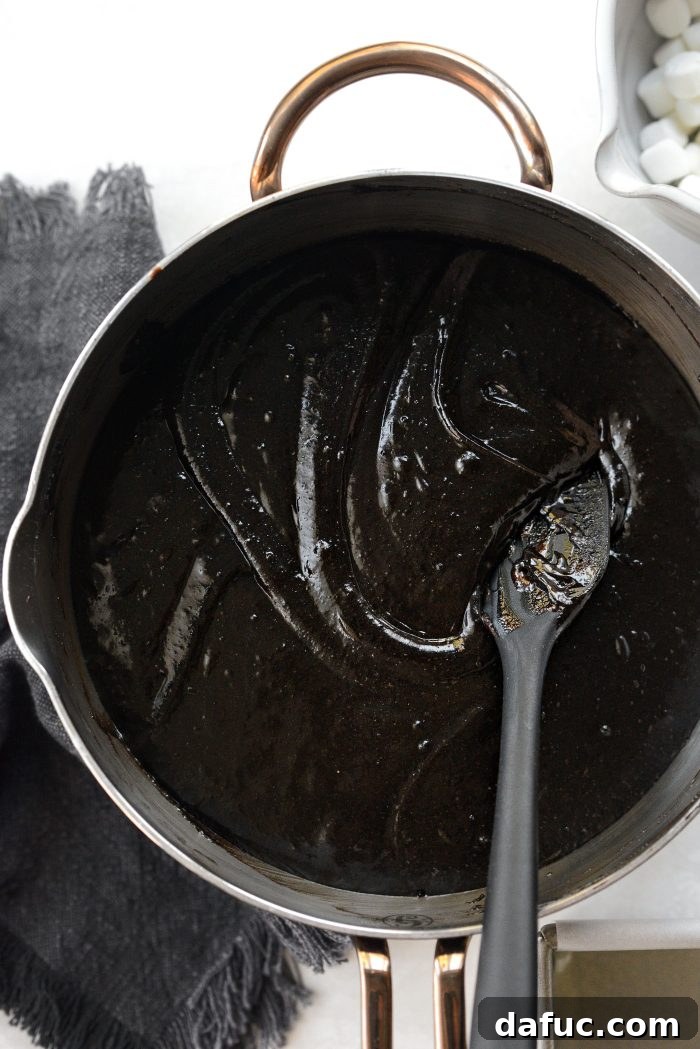
7. Baking Your Brownies to Perfection
Pour the rich brownie batter into your prepared 9×9 pan. Use the spatula to spread the batter out evenly, ensuring it reaches all corners for consistent thickness. Place the pan on the middle rack of your preheated oven and bake for 35 to 40 minutes, or until they reach your desired level of doneness. For extra fudgy brownies, a slight wobble in the center is perfectly fine. I personally prefer to bake mine for exactly 40 minutes for that ideal balance of fudgy and set. Once baked, remove the brownies from the oven and let them cool in the pan for about 15 minutes. Then, using the parchment paper overhang, carefully lift the brownies out of the pan and transfer them to a wire rack to cool completely. This cooling step is critical for proper setting and slicing, and it ensures the brownies are firm enough to handle the marshmallow cobweb topping.
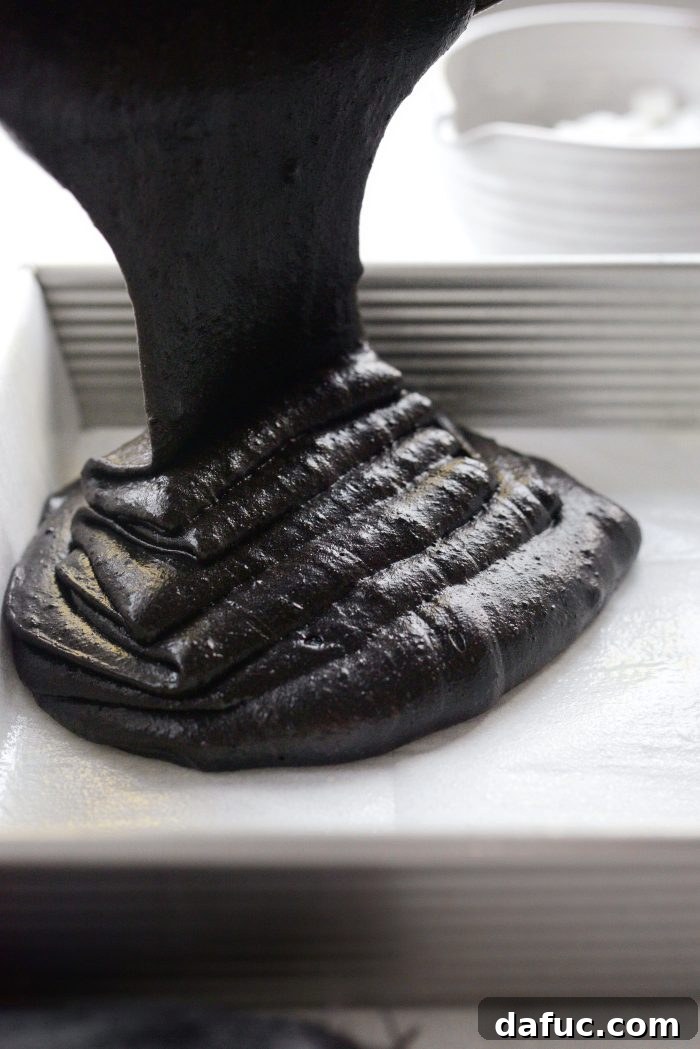
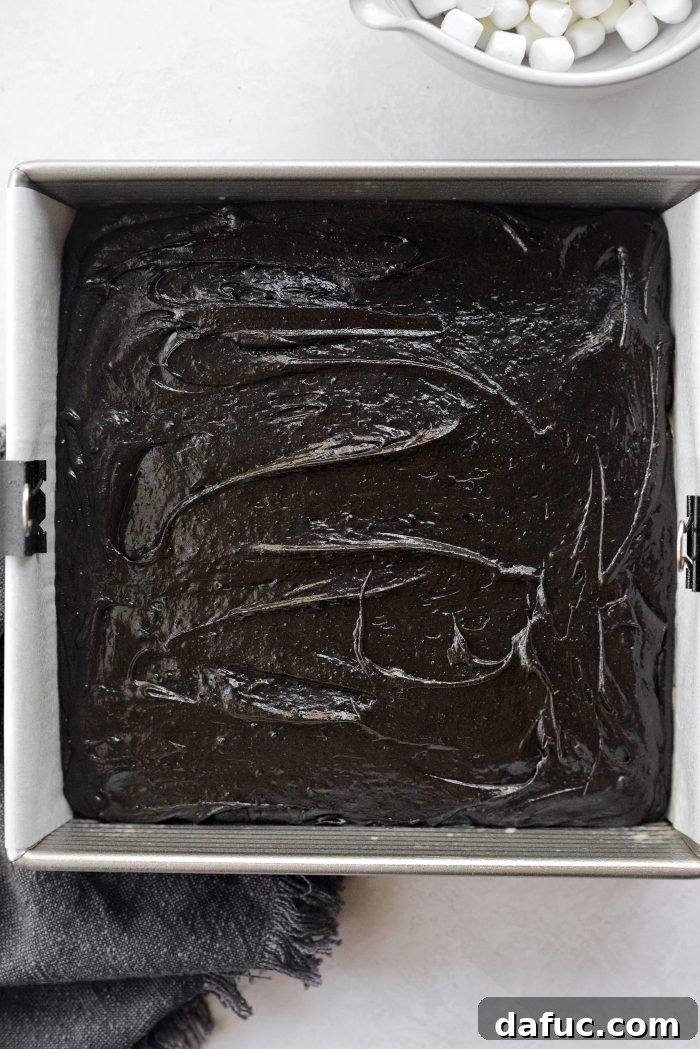
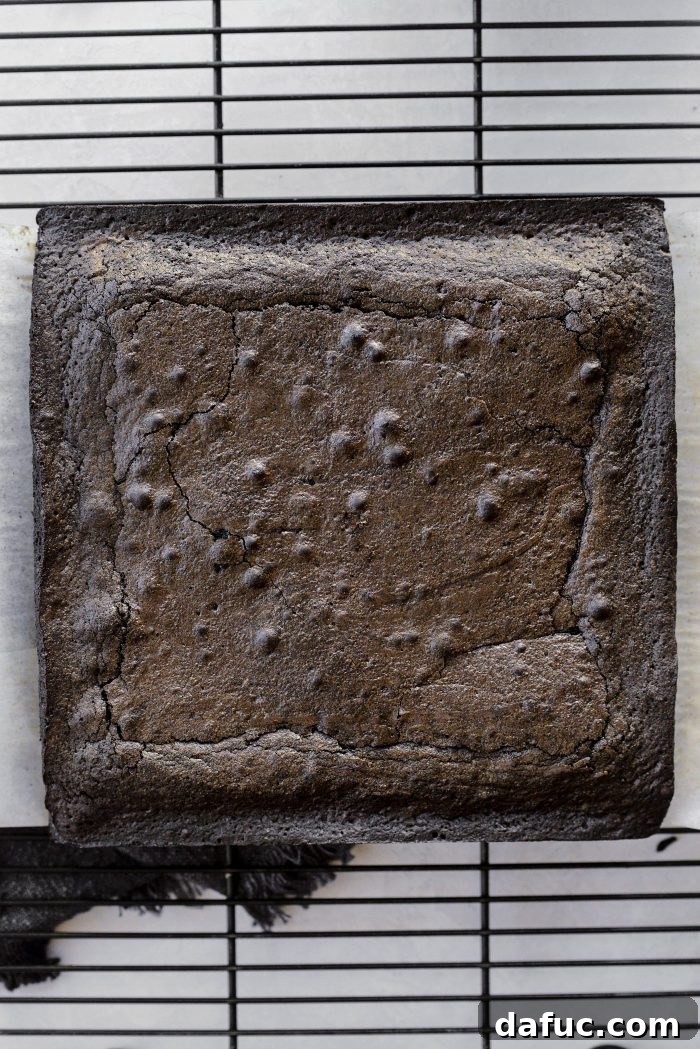
Creating Spooktacular Marshmallow Cobwebs
The cobweb effect is what truly makes these brownies a Halloween showstopper. It’s surprisingly easy and incredibly fun to do!
1. Melting the Marshmallows
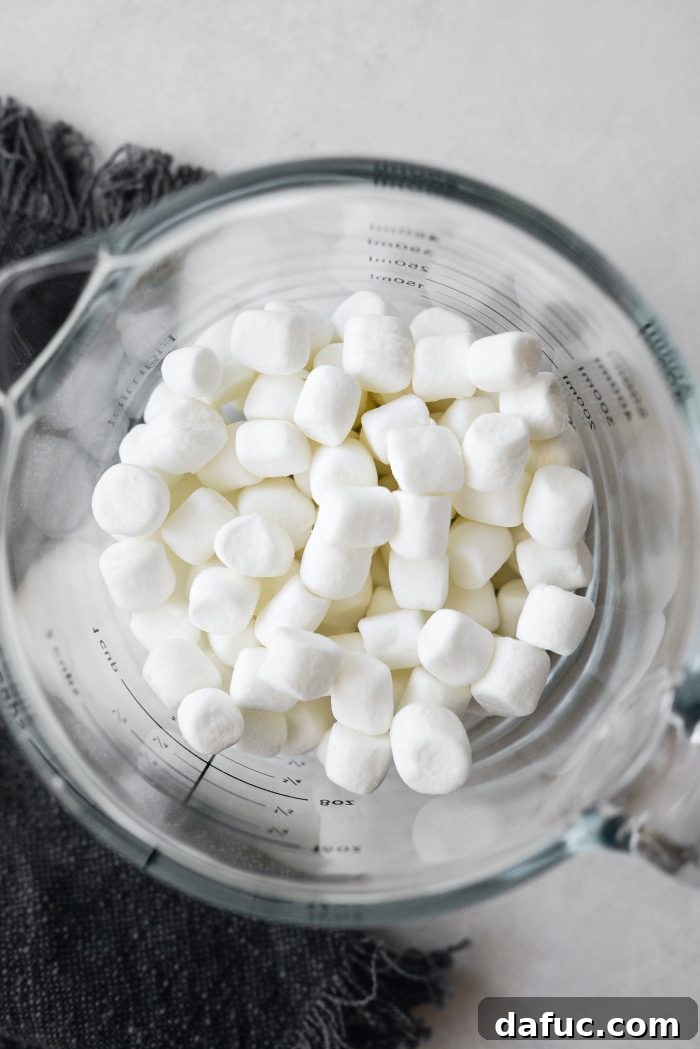
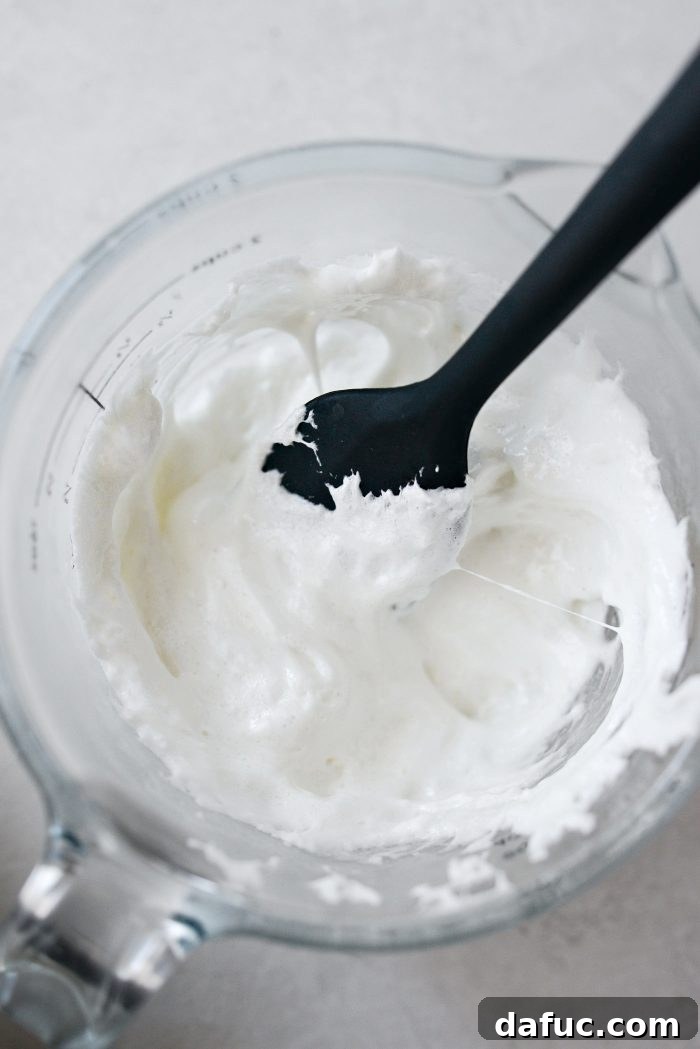
Once your brownies are completely cooled (this is important, as warm brownies will melt the marshmallows further), add 1 cup of mini marshmallows to a microwave-safe dish. Microwave them for just 15 to 20 seconds, or until they are fully melted and puffy. Marshmallows melt very quickly, so keep a close eye on them to prevent burning. Before handling, be sure to test the marshmallows to make sure they aren’t too hot, as melted marshmallows can cause burns. A quick stir can help dissipate some heat.
2. The Cobweb Technique
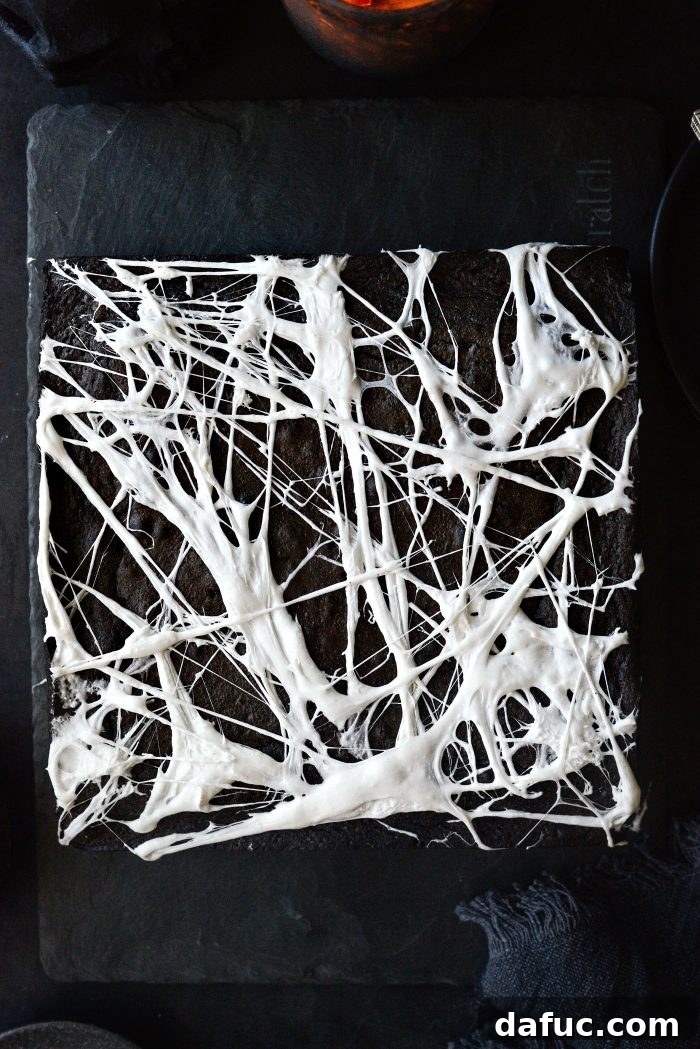
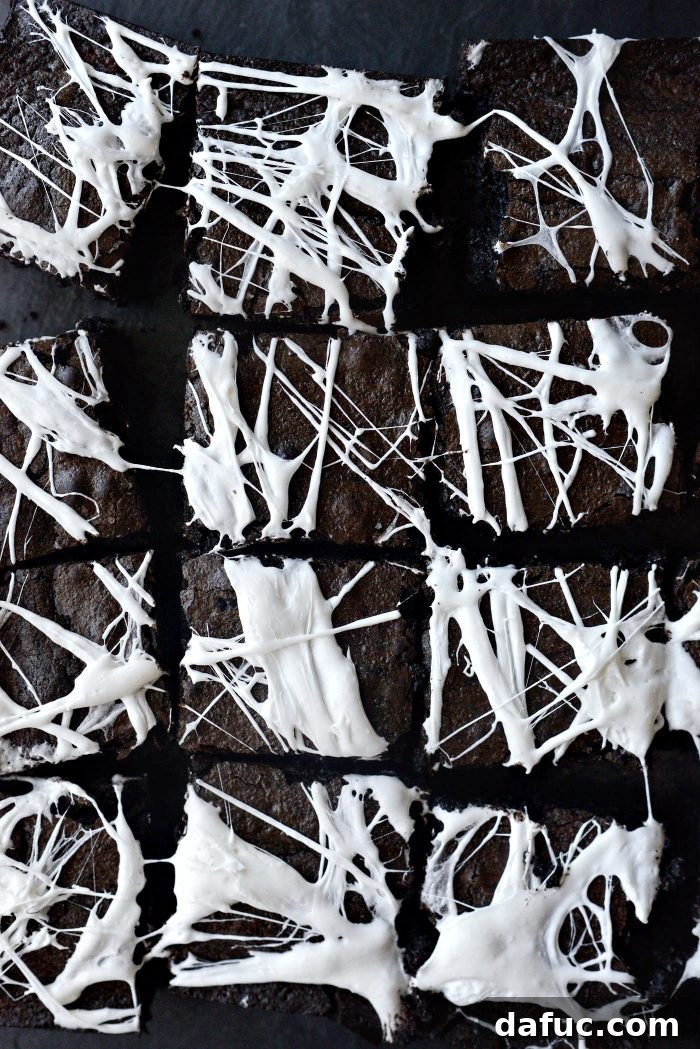
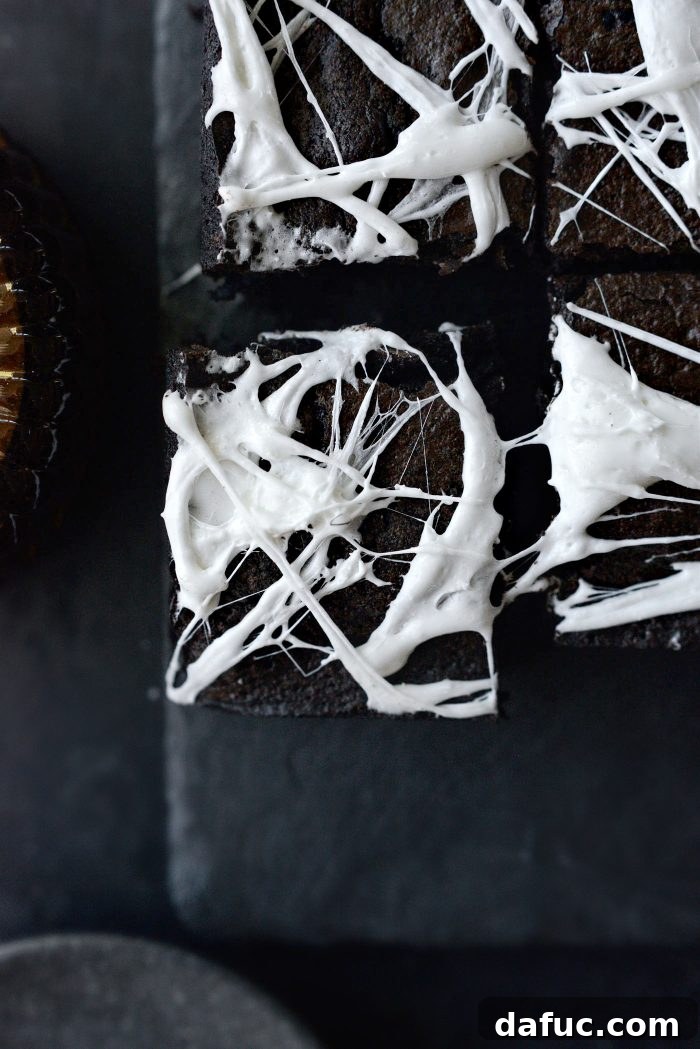
This is where the fun begins! Using both hands, lightly grease your fingertips with a tiny bit of nonstick spray or butter to prevent sticking, then grab a small amount of the warm, melted marshmallow. Gently pull and stretch it between your hands, creating thin, wispy strands. Drape these delicate marshmallow “strings” or “webs” artfully over the top of the cooled brownies. There’s really no wrong way to do this; the more haphazard and organic the better, as it mimics real cobwebs perfectly. Continue to grab and stretch small portions of marshmallow until you’ve covered the surface of your brownies with an impressive, eerie web.
3. The Grand Reveal
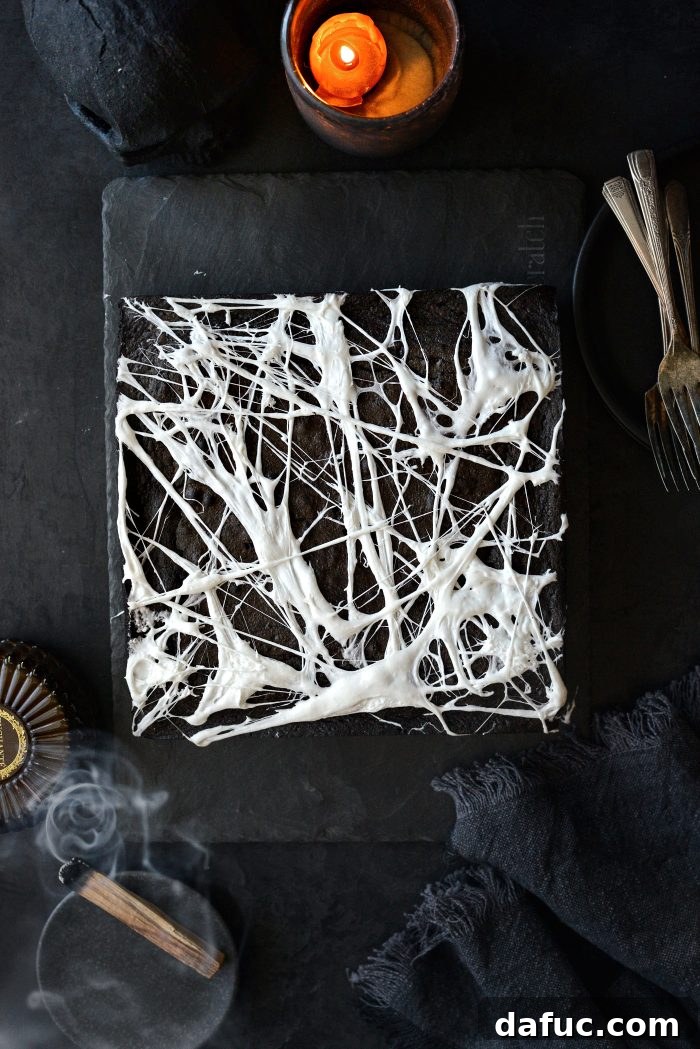
Once you’re satisfied with your cobweb design, let the marshmallows sit for about 10-15 minutes to slightly firm up. This will make slicing much easier. Then, simply slice your cobweb brownies into 16 squares and serve! Watch as your guests marvel at both the spooky presentation and the irresistible flavor.
Pro Tips for the Ultimate Cobweb Brownies
To ensure your Cobweb Brownies turn out perfectly fudgy, deeply flavorful, and beautifully spooky every time, consider these expert tips:
- Quality Ingredients Matter: Especially for chocolate and cocoa powder, investing in good quality ingredients will significantly impact the final taste. A good bittersweet chocolate and a true black cocoa make all the difference.
- Do Not Overmix: After adding the flour and cocoa mixture, mix only until just combined. Overmixing develops gluten, leading to tougher, more cake-like brownies instead of the desired fudgy texture.
- Room Temperature Eggs: Using eggs at room temperature helps them incorporate more smoothly and evenly into the batter, leading to a more consistent and emulsified mixture.
- Cool Completely: Resist the urge to cut into the brownies before they are fully cooled. This allows them to set properly, resulting in cleaner cuts and a truly fudgy texture. It’s also essential for the marshmallow cobwebs to adhere without melting.
- Don’t Overbake: Brownies continue to cook slightly after being removed from the oven. For fudgy brownies, it’s better to slightly underbake than overbake. Look for a moist crumb, perhaps with a few moist crumbs clinging to a toothpick inserted in the center, rather than a completely clean one.
- Marshmallow Safety: Be cautious when handling melted marshmallows. They can be very hot and sticky. Test a small amount for temperature before stretching, and if preferred, lightly grease your hands with butter or nonstick spray to prevent sticking.
Serving and Storing Your Halloween Masterpiece
Serving Suggestions
These Cobweb Brownies are fantastic on their own, offering a perfect balance of rich chocolate and sweet marshmallow. However, for an extra indulgent treat, consider serving them alongside a scoop of vanilla bean ice cream or a dollop of freshly whipped cream. A sprinkle of spooky edible glitter or some candy corn could also add another festive touch, though their dramatic appearance often speaks for itself.
Storage Tips
To maintain their freshness and fudgy texture, store your cobweb brownies in an airtight container at room temperature for up to 3-4 days. While they can be refrigerated, the cold can sometimes alter the texture of brownies, making them a bit firmer. If refrigerating, let them come to room temperature for about 15-20 minutes before serving for the best experience. For longer storage, you can freeze individual brownies wrapped tightly in plastic wrap and then placed in a freezer-safe bag for up to 2-3 months. Thaw at room temperature when ready to enjoy.
Frequently Asked Questions (FAQs)
- Can I use regular cocoa powder instead of black cocoa?
While you can use regular unsweetened cocoa powder, the brownies will not have the signature deep black color or the distinctive Oreo-like flavor that black cocoa provides. The overall appearance and flavor profile will be different, though still delicious.
- What if I don’t have a 9×9 inch pan?
A 9×13 inch pan can be used, but your brownies will be thinner and may bake faster, so adjust baking time accordingly (likely 25-30 minutes). For thicker brownies, a square pan is recommended.
- Can I make these brownies ahead of time?
Absolutely! The brownies can be baked a day or two in advance. Store them in an airtight container. Apply the marshmallow cobwebs just a few hours before serving for the freshest look.
- My marshmallows are too sticky to stretch. What should I do?
Ensure your marshmallows are not too hot; if they are, let them cool for another minute. Also, lightly grease your fingertips with a tiny bit of butter or nonstick cooking spray. This will significantly reduce stickiness and make stretching much easier.
Click Here For More Halloween Recipes!
Enjoy! And if you give this recipe a try, we’d love to hear from you! Snap a photo and share it on Twitter or Instagram!
Recipe: Fudgy Black Cocoa Cobweb Brownies
Print Recipe | Pin Recipe
Yield: 16 servings
Prep Time: 30 mins | Cook Time: 40 mins | Total Time: 1 hr 10 mins
These Cobweb Brownies are so easy, incredibly fudgy and delicious. Thick homemade black cocoa brownies are topped with threads of stretched melted marshmallow for fun and spooky treat.
Ingredients
- nonstick baking spray with flour
-
FOR THE BROWNIES:
- 1 cup unsalted butter
- 8 ounces 60% cacao bittersweet chocolate baking bar (I use Ghirardelli)
- 2/3 cup unbleached all-purpose flour
- 1/3 cup dutch black cocoa
- 1/2 teaspoon fine salt
- 1 cup granulated white sugar
- 3/4 cup dark brown sugar
- 1 tablespoon vanilla extract
- 5 large eggs, at room temperature
- 1 cup miniature marshmallows
Equipment
- USA Pan 9 x 9 Nonstick Square Cake Pan
- King Arthur Flour Black Cocoa
Instructions
- Preheat your oven to 350°F (or 180°C). Line a 9×9 metal baking pan with parchment and spray side and bottom of the pan with a nonstick baking spray with flour.
- In a 3-quart saucepan, add unsalted butter and chopped bittersweet chocolate. Heat over low, stirring until melted. Remove off of the heat and let cool for a few minutes.
- Meanwhile, in a medium bowl, measure and add in the flour, black cocoa powder and fine salt. Whisk to combine and set off to the side.
- To the semi-cooled chocolate, add in both sugars, stir until just mixed through a bit. Add in vanilla extract, switch over to a whisk, and whisk until thoroughly combined.
- Next add in the eggs, one at a time. Whisking well after each egg.
- Lastly, add in the black cocoa/flour mixture and whisk until incorporated. Switch back to a spatula and scrape the sides and bottom of the pan.
- Pour the brownie batter into your prepared pan and spread the batter out evenly. Bake on the middle rack for 35 to 40 minutes OR until desired doneness. I bake mine for 40 minutes. Remove and let cool completely.
- Once the brownies are cooled. Add the mini marshmallows to a microwave-safe dish. Microwave for 15 to 20 seconds or until melted. Test the marshmallows to make sure it isn’t too warm and then using both hands, grab some of the warm melted marshmallow and stretch it out, draping the strings or “webs” over the top of the brownies.
- Let sit for 15 minutes before slicing and serving.
Notes
Nutrition Disclaimer: All information presented on this site is intended for informational purposes only. I am not a certified nutritionist and any nutritional information shared on SimplyScratch.com should only be used as a general guideline.
Nutrition Information
Serving: 1 brownie, Calories: 323kcal, Carbohydrates: 38g, Protein: 4g, Fat: 18g, Saturated Fat: 12g, Polyunsaturated Fat: 1g, Monounsaturated Fat: 4g, Trans Fat: 0.5g, Cholesterol: 89mg, Sodium: 118mg, Potassium: 163mg, Fiber: 1g, Sugar: 29g, Vitamin A: 440IU, Vitamin C: 0.1mg, Calcium: 67mg, Iron: 1mg
Author: Laurie McNamara | Course: Desserts & Sweet Treats | Cuisine: American