
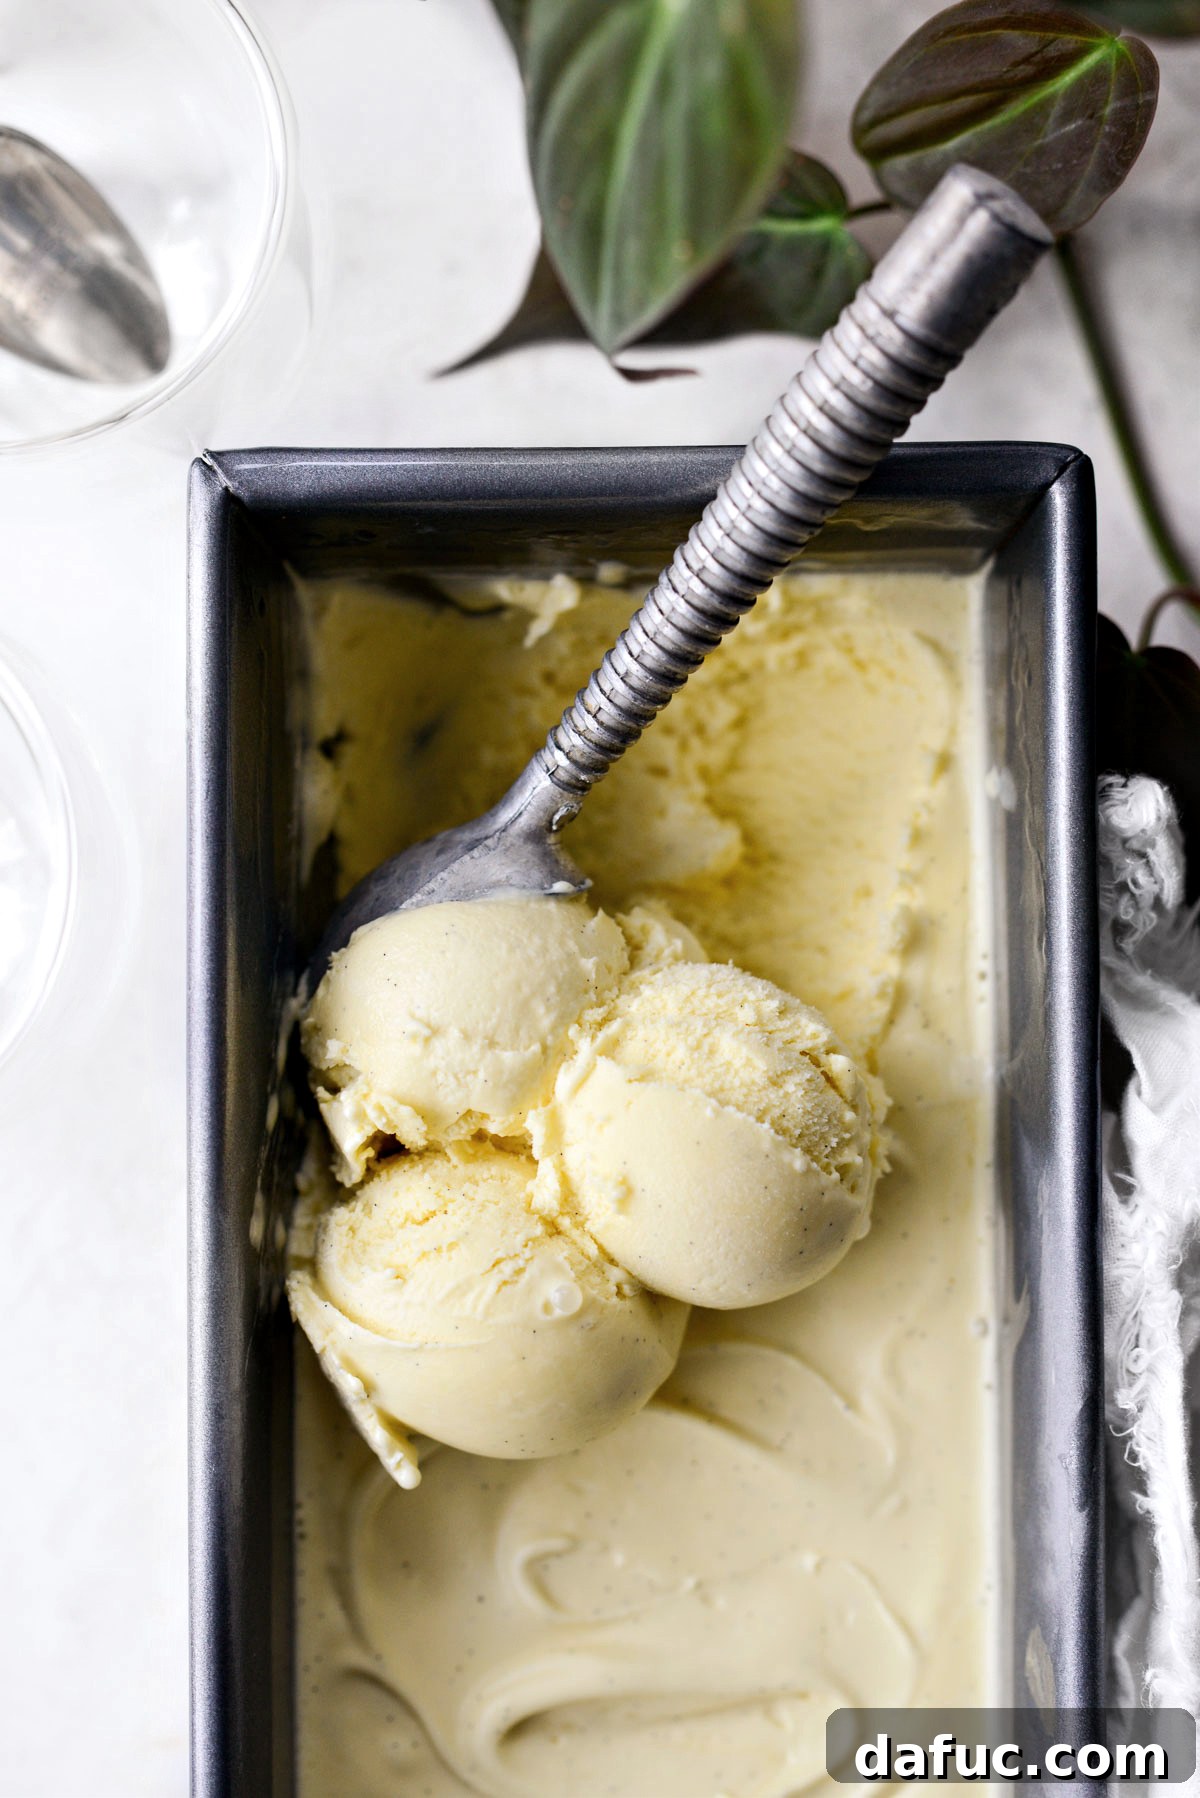
Homemade Vanilla Bean Gelato offers a delightful journey into the world of frozen desserts, combining simplicity with an unparalleled richness of flavor. This thick, creamy confection is incredibly versatile, perfect for savoring on its own, enhancing with your favorite toppings, or traditionally enjoying as an affogato, drowned in a shot of hot, robust espresso. This carefully crafted recipe yields approximately a pint of luxurious gelato, providing ample servings for four to indulge in its exquisite taste and texture. Prepare to elevate your dessert experience with this homemade classic.
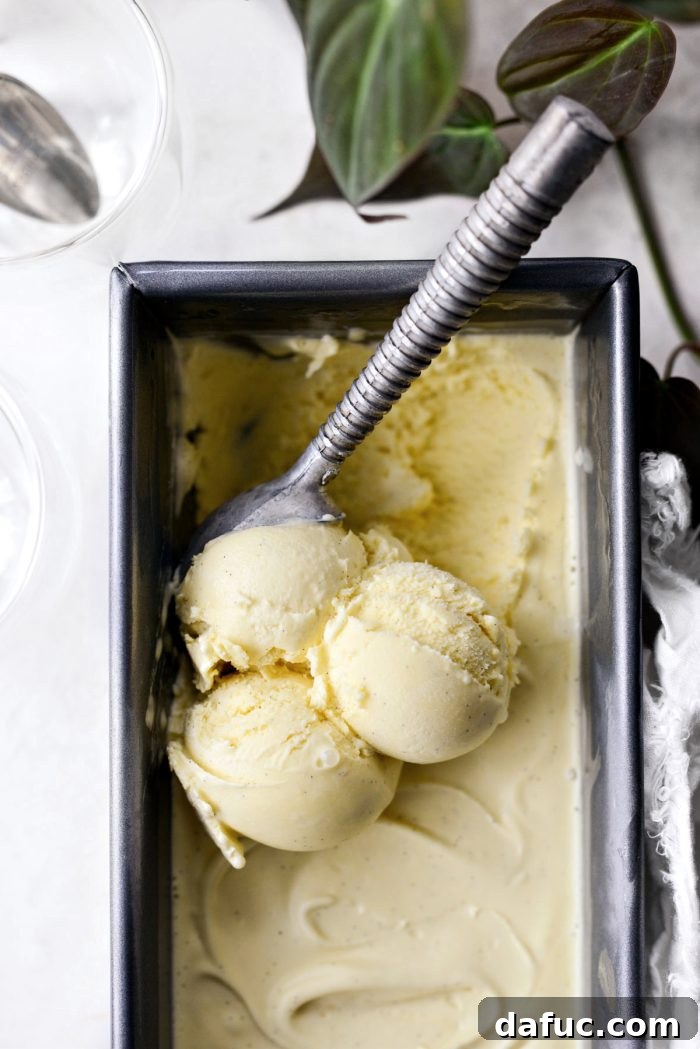
Homemade Vanilla Bean Gelato: Your Ultimate Guide to Creamy Perfection
There’s an undeniable charm to homemade desserts, and gelato, with its silky-smooth texture and vibrant flavors, stands as a testament to this truth. Crafting gelato at home allows you to control every ingredient, ensuring a fresh, authentic taste that simply can’t be replicated by store-bought options. This guide will walk you through creating an extraordinary vanilla bean gelato that promises to be a favorite, offering a rich and satisfying sweetness that will delight your palate.
The Irresistible Allure of Authentic Gelato
For many, gelato holds a special place in their hearts, often tied to cherished memories. I first fell deeply in love with gelato during my daughters’ childhood, when our shopping trips to the mall always culminated in a visit to Lik Gelato Bar. The display case was a kaleidoscope of vibrant flavors, each tray adorned with playful candies, rich chocolates, or quirky, inedible figurines that creatively hinted at the flavor profile. I gladly spent a small fortune, just to watch my girls and I sample an array of delicious options, creating sweet memories that last a lifetime.
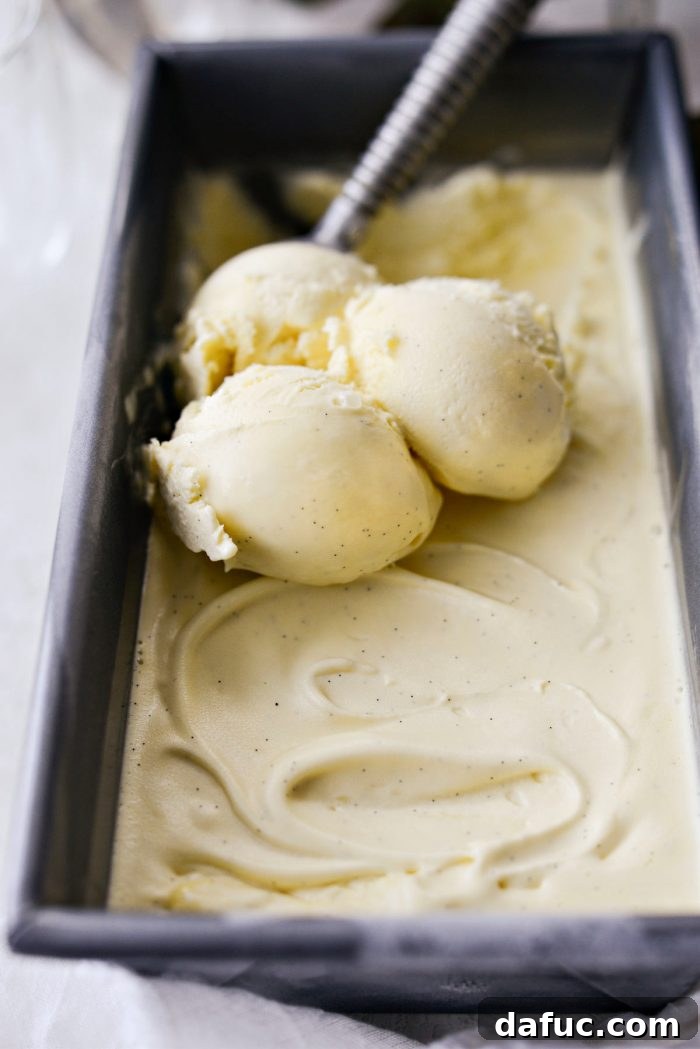
Embarking on my own gelato-making journey, I chose vanilla bean as my starting point. This classic flavor offers the perfect canvas to perfect the foundational techniques before venturing into more adventurous creations. While chocolate gelato remains a profound love of mine, this homemade vanilla bean version proved to be so exceptionally good that it quickly earned a top spot in my dessert repertoire. Its pure, aromatic flavor is truly remarkable, and I’m thrilled to share how you can achieve this culinary masterpiece in your own kitchen. But first, let’s explore what makes gelato distinctly different.
Gelato vs. Ice Cream: Unraveling the Delicious Differences
While often used interchangeably, gelato and ice cream are distinct frozen desserts, each with unique characteristics that contribute to their texture and flavor. Understanding these differences is key to appreciating the authentic Italian treat that is gelato:
- Fat Content: Gelato typically features a higher proportion of milk to cream, resulting in a lower fat content compared to traditional ice cream, which relies heavily on high-fat cream. This difference allows the flavors in gelato to shine more intensely, unmasked by a heavy fatty mouthfeel.
- Air Incorporation: Gelato is churned at a much slower speed than ice cream. This reduced churning speed incorporates significantly less air into the mixture, making gelato denser and more concentrated in flavor. Ice cream, conversely, has more air whipped into it, giving it a lighter, fluffier texture.
- Serving Temperature: Gelato is traditionally served at a slightly warmer temperature than ice cream. This warmer temperature ensures that gelato’s denser texture remains soft and pliable, allowing its complex flavors to be fully experienced by the palate.
- Texture: Due to its lower fat content and less air, gelato boasts an intensely creamy, elastic, and smooth texture that melts delicately in your mouth. Ice cream, with more fat and air, tends to be colder, firmer, and has a richer, more buttery feel.
It’s also worth noting that not all gelato recipes call for eggs. However, for this vanilla bean gelato, I’ve drawn inspiration from the rich Egg Custard Gelato recipe found in Marcella Hazan’s revered cookbook, “Essentials of Classic Italian Cooking,” which adds a luxurious depth to the base.
The Secret to Exquisite Flavor: Mastering Vanilla Bean
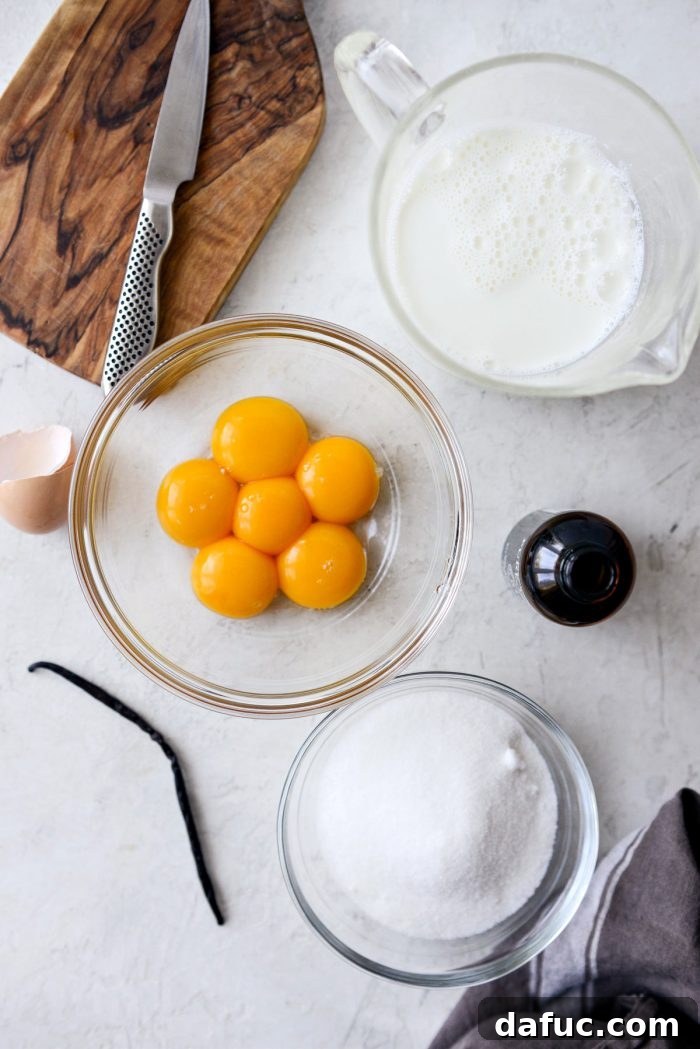
While vanilla extract is a kitchen staple, using a whole vanilla bean elevates this gelato to an entirely new level. The tiny, aromatic seeds and the infused pod release a rich, complex vanilla flavor that is both delicate and profound. Here’s why and how:
- **Unparalleled Aroma:** Vanilla beans contain hundreds of aromatic compounds that contribute to their rich and nuanced flavor profile, far surpassing the more one-dimensional taste of extract.
- **Visual Appeal:** The specks of vanilla bean seeds scattered throughout your gelato are not just beautiful; they are a visual cue of the authentic, high-quality ingredients used.
- **How to Use:** To extract maximum flavor, split the vanilla bean lengthwise with a sharp knife and scrape out the tiny, dark seeds. Both the seeds and the scraped pod should be steeped in the warm milk mixture to infuse it deeply.
Essential Ingredients for Your Vanilla Bean Gelato
Creating truly exceptional homemade vanilla bean gelato starts with a few high-quality, simple ingredients. Each component plays a crucial role in achieving the desired creamy texture and rich flavor:
- Egg Yolks: These are the secret to a rich, custardy base. Egg yolks act as an emulsifier, contributing to the gelato’s smooth, velvety texture and preventing ice crystals from forming. They also add a beautiful pale yellow hue.
- Granulated Sugar: Beyond sweetness, sugar plays a vital role in the texture of gelato. It helps lower the freezing point of the mixture, ensuring a softer, more scoopable consistency.
- Whole Milk: As gelato relies more on milk than cream, whole milk provides the primary liquid base, contributing to its lighter, yet creamy, body compared to ice cream.
- A Vanilla Bean: The star of the show! A whole vanilla bean, preferably Grade A for its moisture and plumpness, delivers an intensely fragrant and authentic vanilla flavor, complete with those signature dark flecks.
- Vanilla Extract: A touch of pure vanilla extract at the end boosts and brightens the overall vanilla flavor, enhancing the notes extracted from the bean without overpowering them.
Step-by-Step Guide: Crafting Your Own Vanilla Bean Gelato
Phase 1: Preparing the Custard Base
The foundation of any great gelato is its custard base, known as ‘crema’. This process requires a little patience but promises a smooth, rich result.
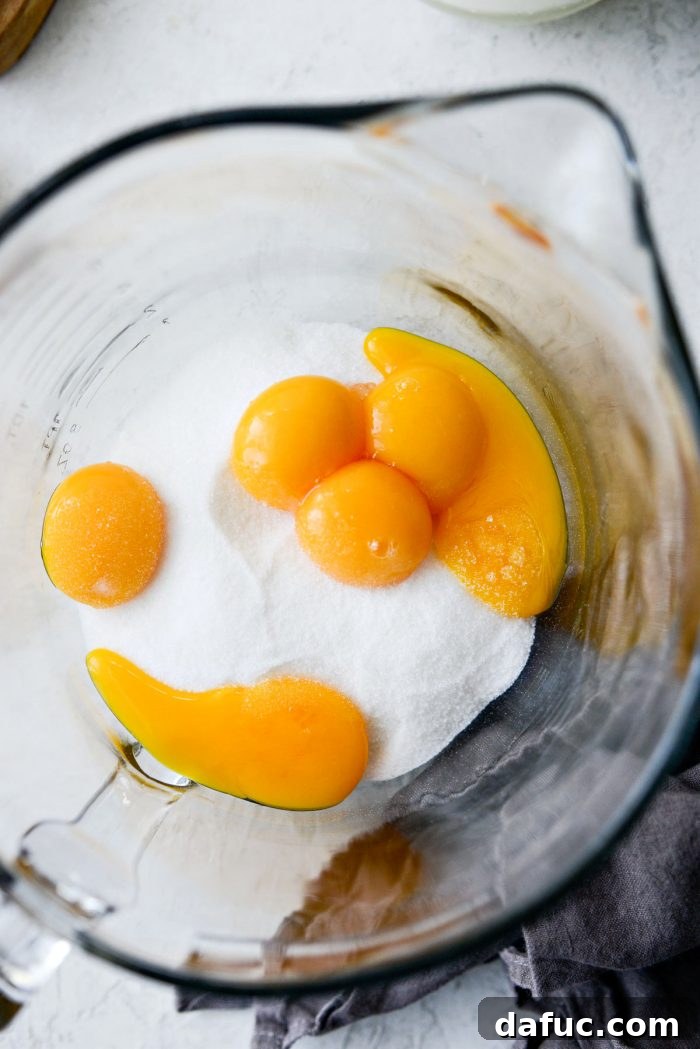
In a large mixing bowl (one with a spout is particularly helpful for pouring later), combine the granulated sugar and egg yolks.
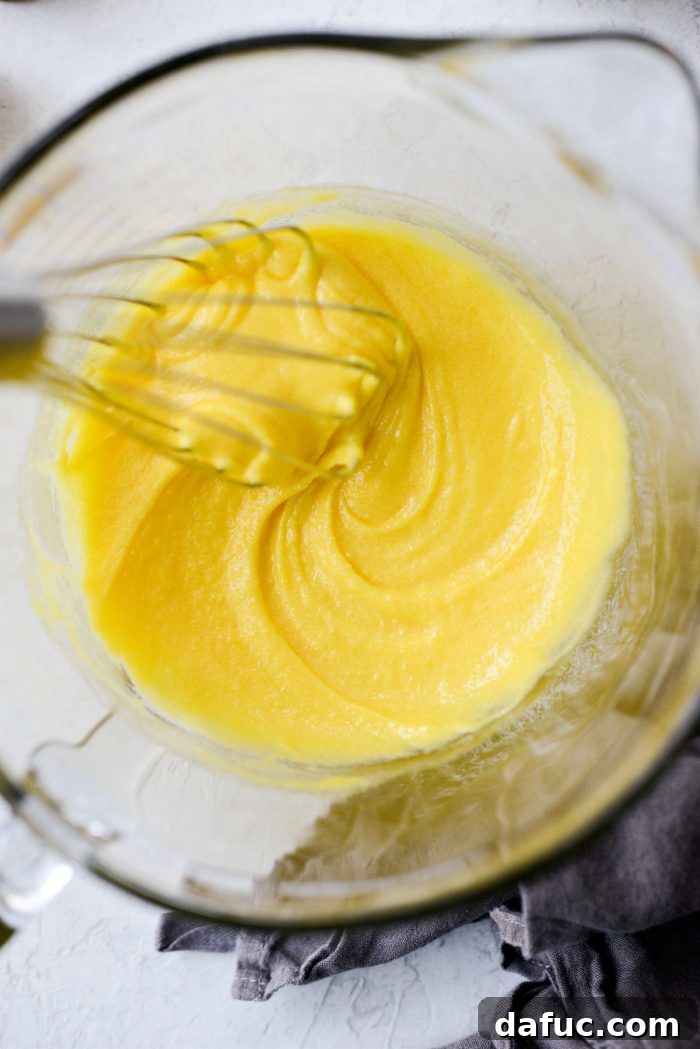
Whisk the egg yolks and sugar vigorously until the mixture becomes pale yellow and thick. When you lift the whisk, the mixture should fall back into the bowl in soft, flowing ribbons that hold their shape momentarily before disappearing. This indicates that the sugar is well dissolved and the yolks are properly aerated.
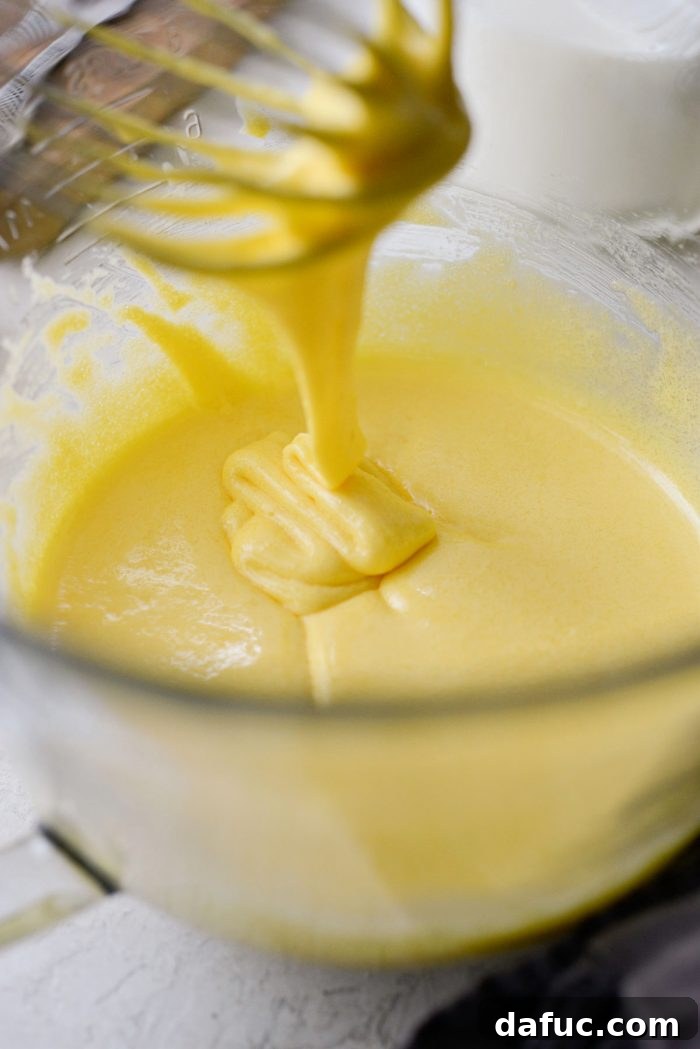
Achieving this “ribbon stage” is crucial for the texture of your gelato, ensuring a smooth and homogenous base.
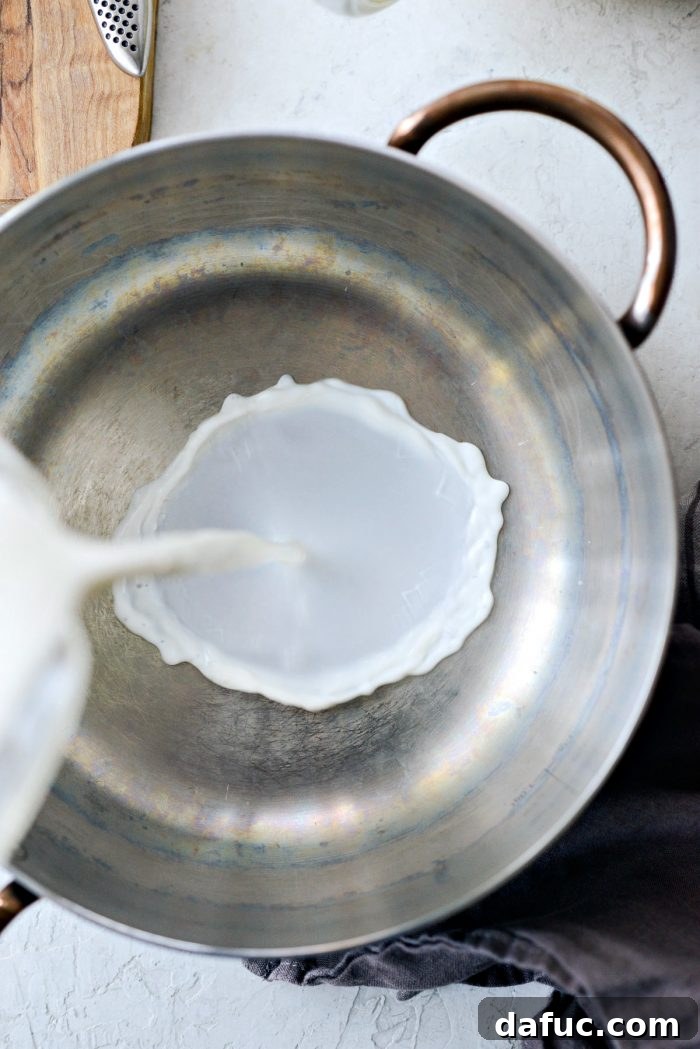
Pour 2 cups of whole milk into a medium saucepan.
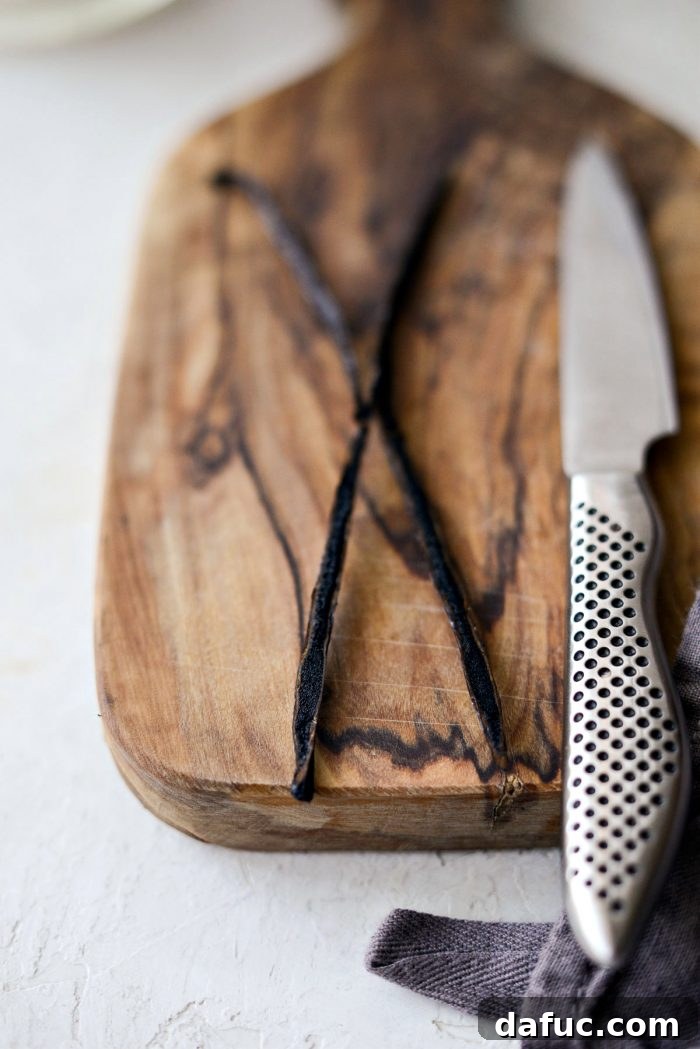
Carefully split the vanilla bean lengthwise with a sharp knife. Use the back of your knife to scrape out the tiny, fragrant seeds from inside the pod. Add both the scraped seeds and the empty vanilla bean pod into the milk in the saucepan.
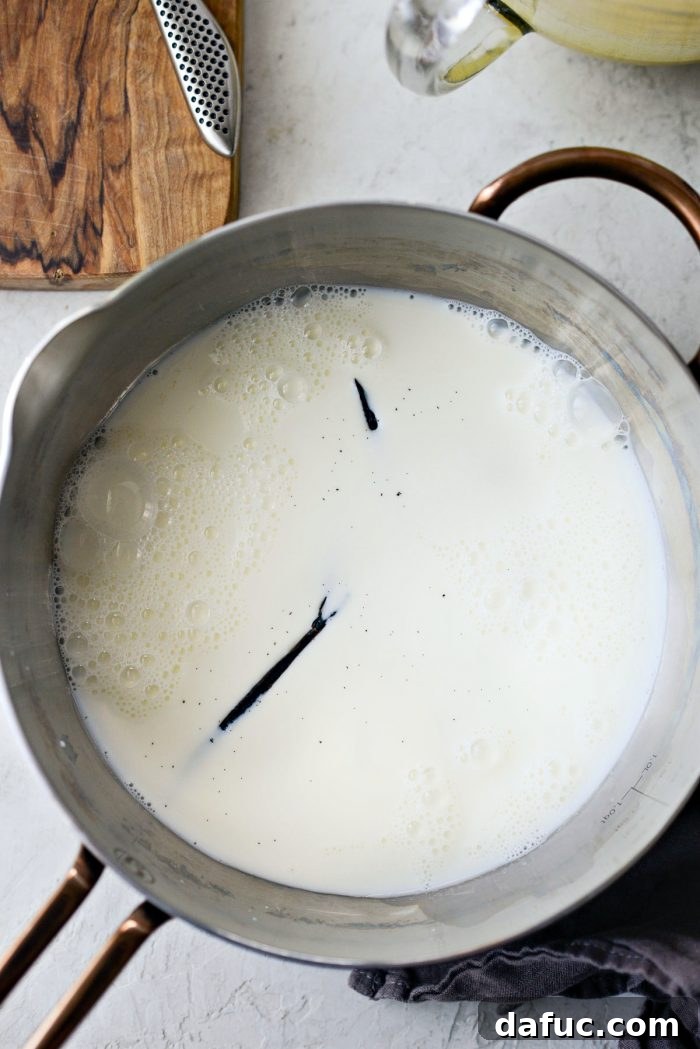
Heat the milk and vanilla bean mixture over medium heat, stirring occasionally, until it reaches a slow simmer. You’ll see small bubbles forming around the edges of the pan, but it should not come to a rolling boil. Simmering allows the vanilla bean to fully infuse its flavor into the milk.
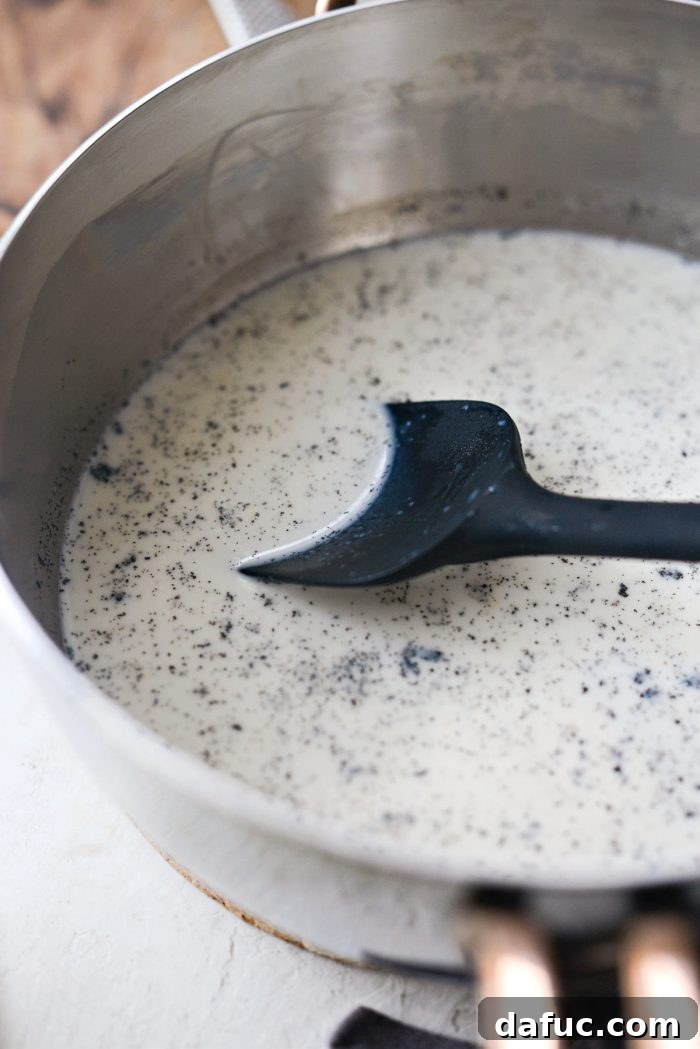
Once the milk is hot and aromatic, it’s time to temper the eggs. This critical step prevents the egg yolks from cooking too quickly and scrambling when exposed to heat.
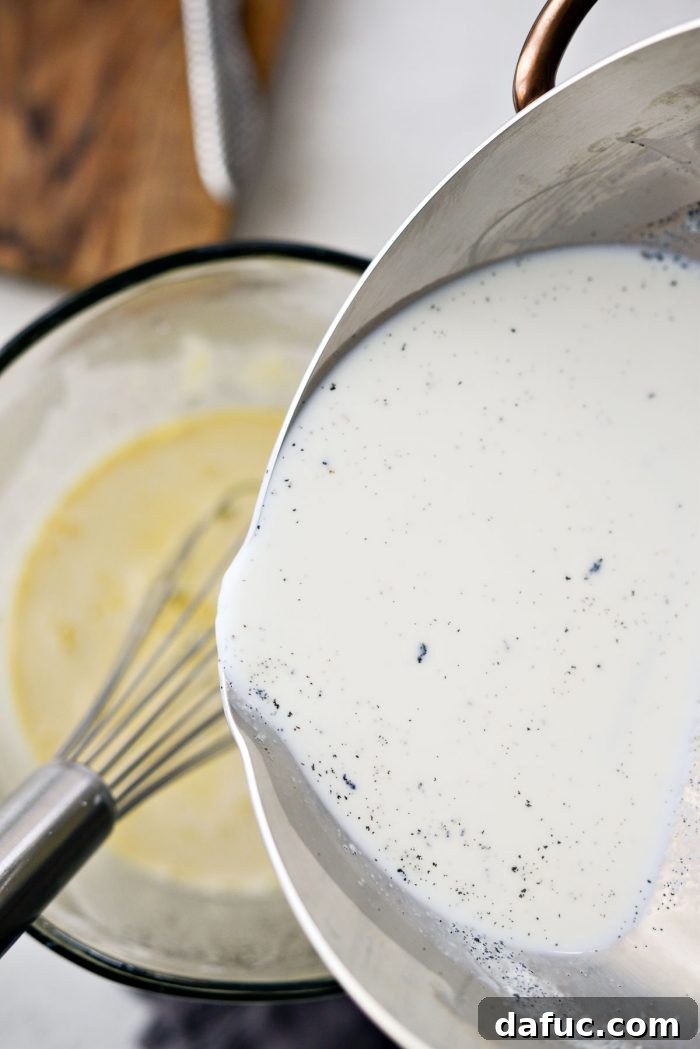
While continuously whisking the egg yolk mixture, slowly and gradually pour a small amount of the hot milk into it. This slowly brings the temperature of the eggs up without cooking them. Continue to whisk until well combined.
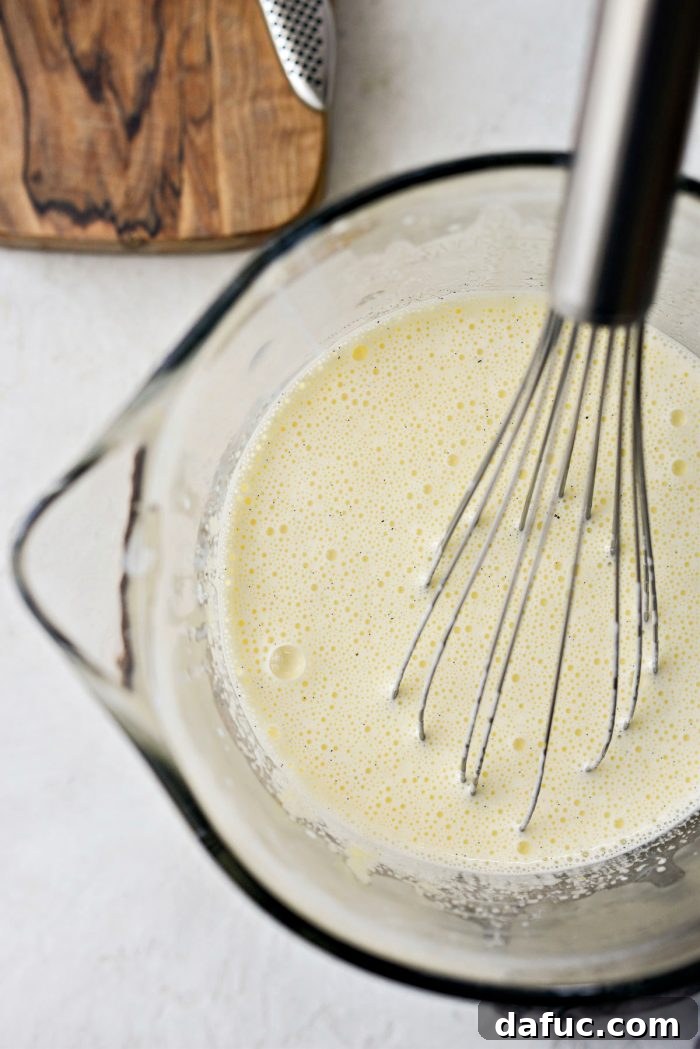
Now, you can safely and slowly pour the remainder of the hot milk into the tempered egg mixture, still whisking constantly to ensure everything is thoroughly combined into a smooth, even liquid.
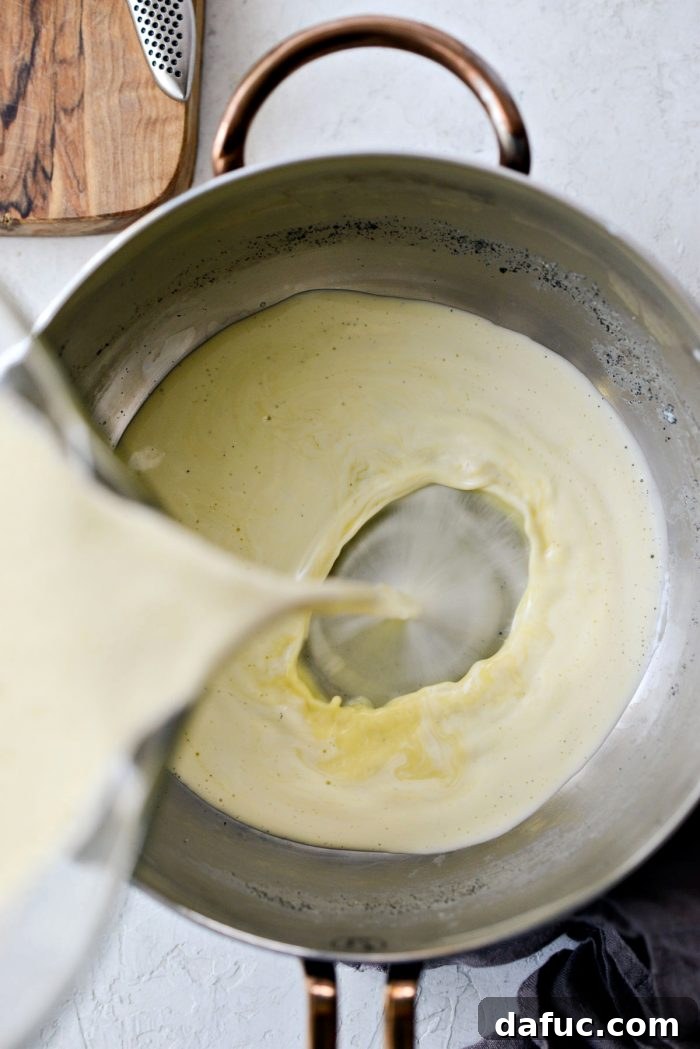
Pour the entire egg and milk mixture back into the saucepan. Return it to the stove.
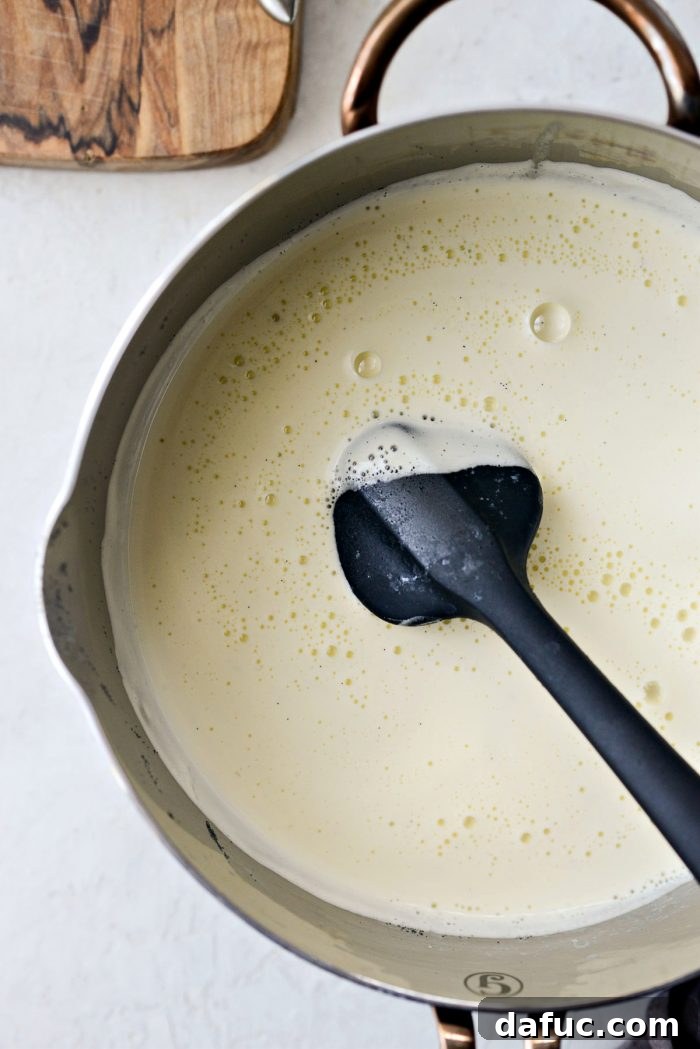
Heat the mixture over low heat, stirring occasionally with a spoon or spatula, until the gelato base has thickened. This usually takes between 2 to 5 minutes. The key is to heat it gently, allowing the egg yolks to fully thicken the custard without curdling. Again, do not boil the mixture at this stage, as boiling will cause the eggs to curdle and ruin the smooth texture.
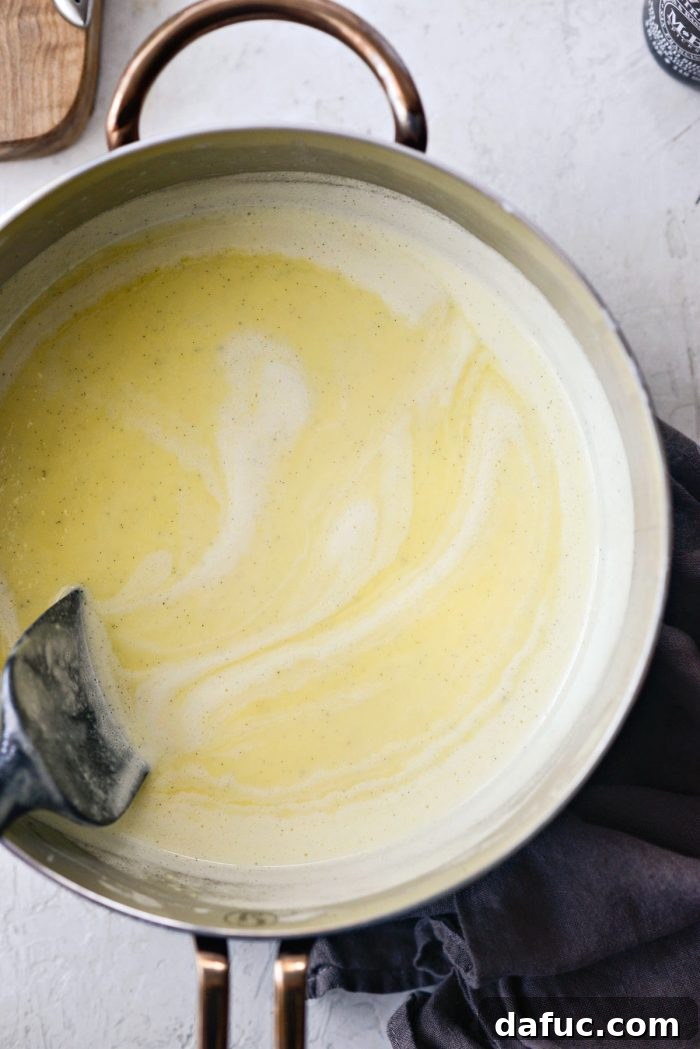
To test for thickness, dip a spoon into the custard and pull it out. The custard should be thick enough to coat the back of the spoon. Draw your finger across the back of the spoon; if the line remains clear and the custard doesn’t run back together, it’s ready. If it fills back in, continue heating and stirring for another minute or two, then test again.
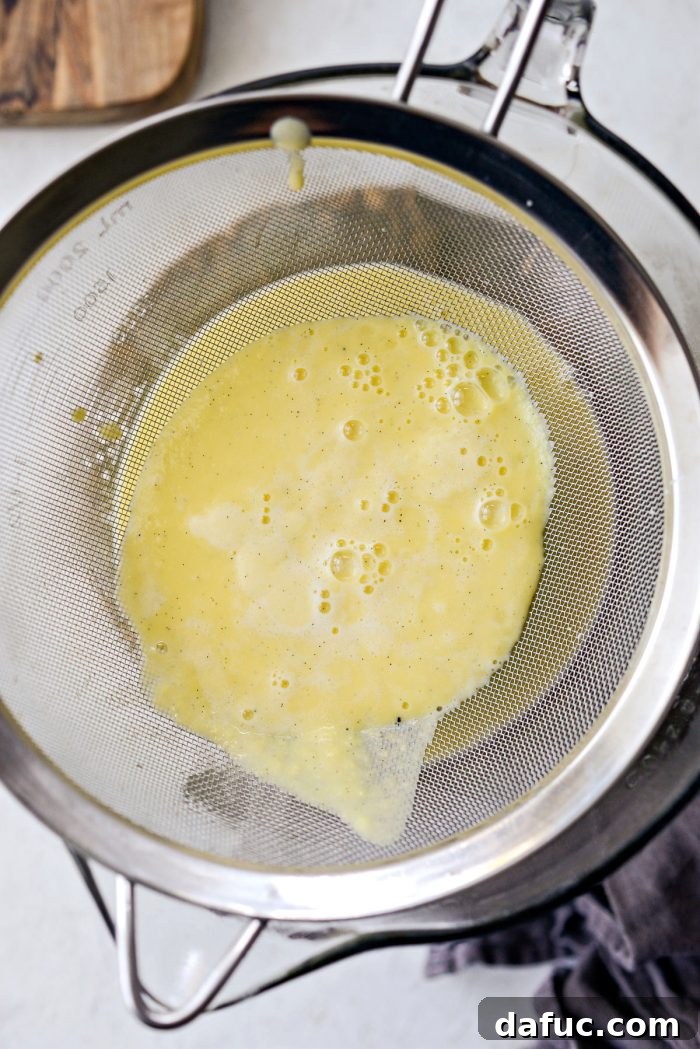
Once the gelato base reaches the correct consistency, immediately pour it through a fine mesh sieve into a clean bowl. This crucial step catches any potential impurities, such as tiny bits of cooked egg or vanilla bean fragments, ensuring your gelato will be incredibly smooth and luxurious. Gently scrape the bottom of the sieve to extract all the flavorful custard.
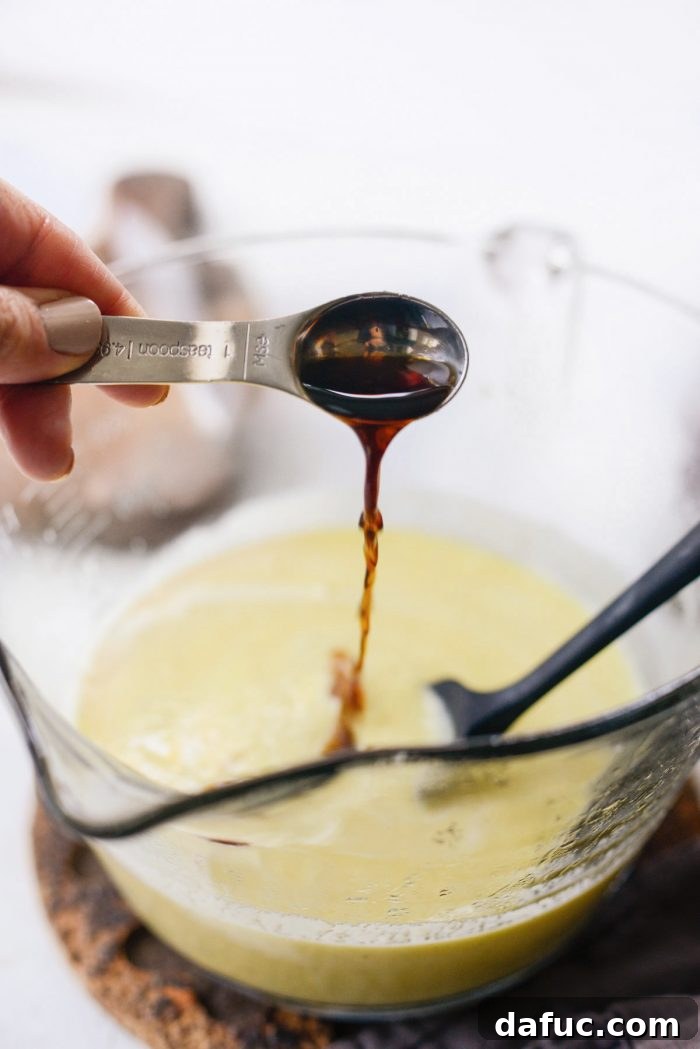
Finally, measure and stir in 1 teaspoon of pure vanilla extract. Adding the extract after the cooking process preserves its delicate flavor, boosting the vanilla notes already present from the bean.
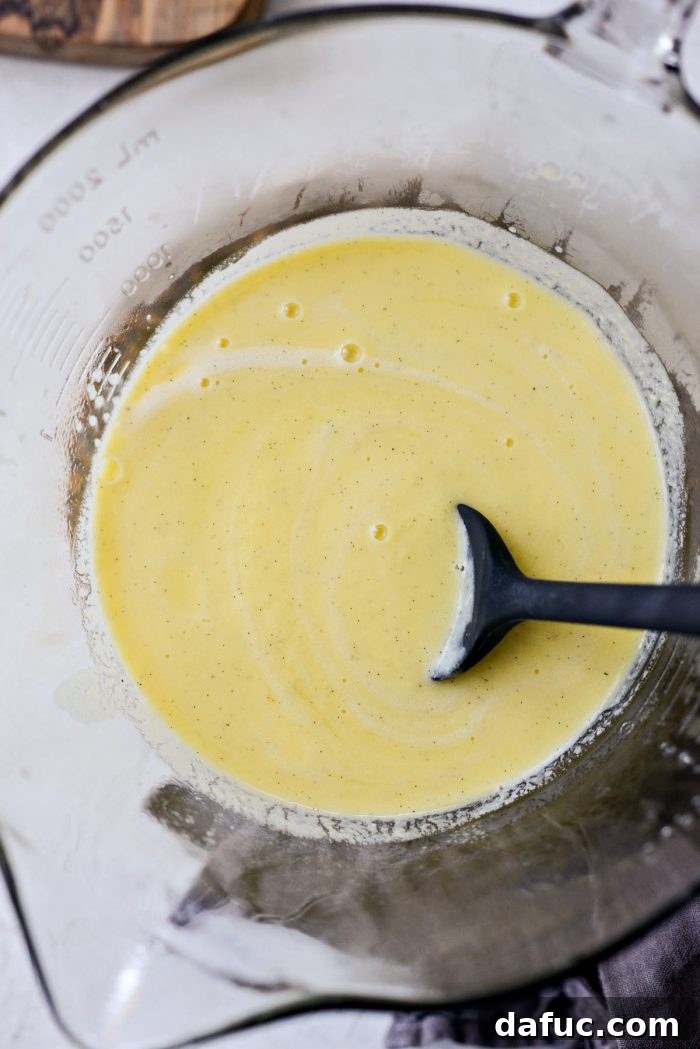
The Visual Appeal of Real Vanilla
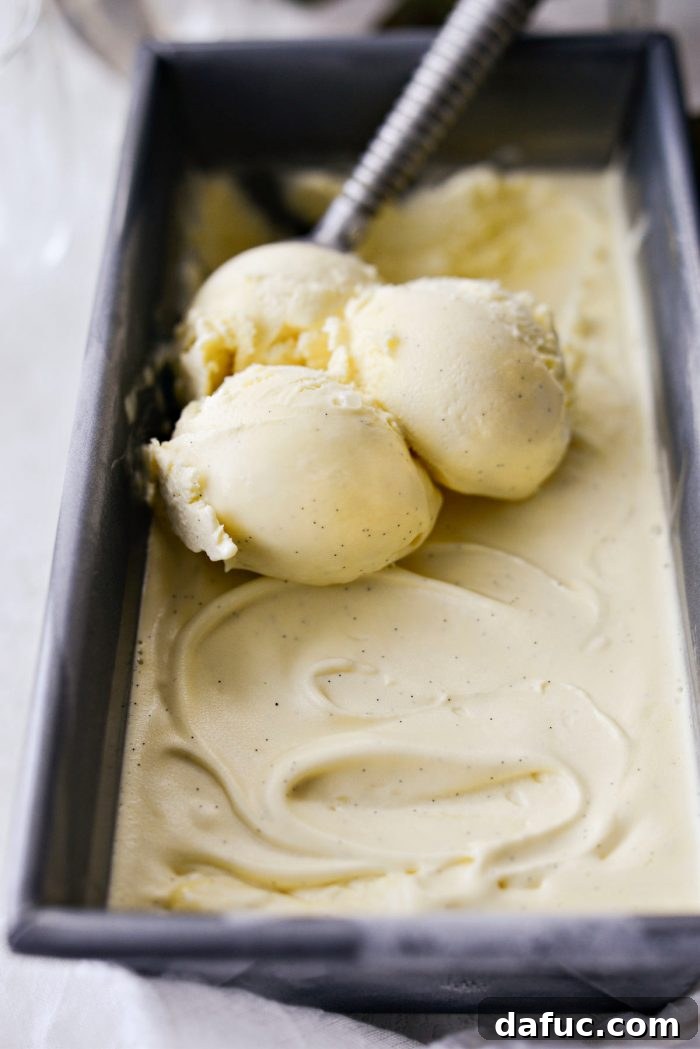
Just look at all those beautiful, tiny flecks of vanilla bean! These are the tell-tale signs of a truly authentic and flavorful vanilla bean gelato, promising a sensory experience that goes beyond mere taste.
Phase 2: Chilling and Churning for Perfect Texture
The journey to perfect gelato continues with proper chilling and churning.
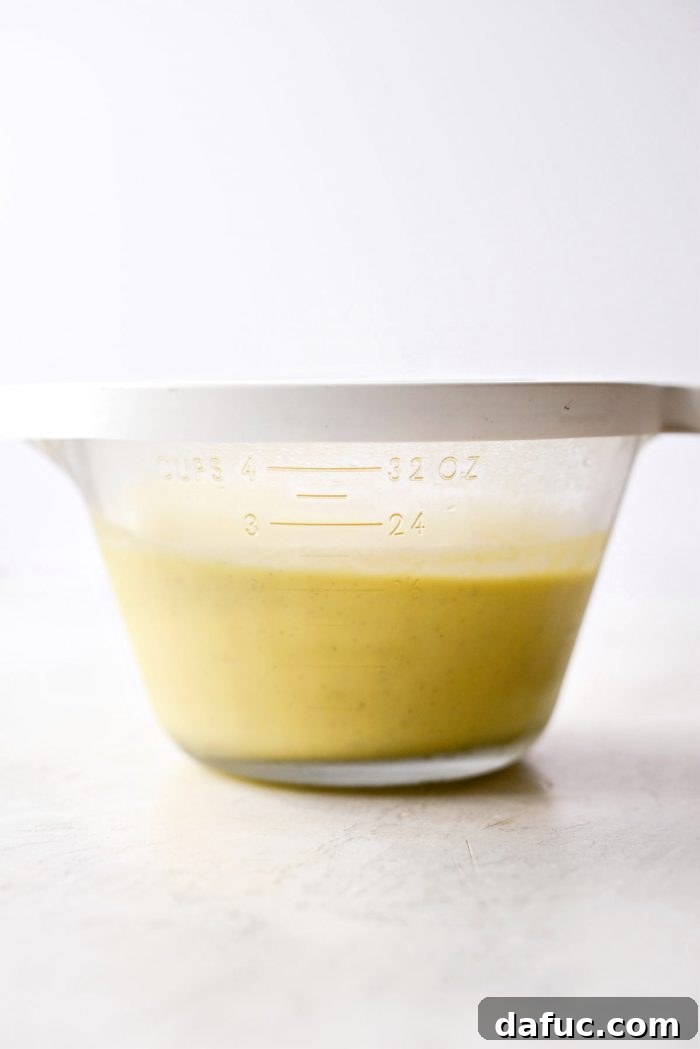
Allow the gelato base to cool completely at room temperature, then cover it tightly and refrigerate it overnight. This extended chilling period is vital, as it allows the flavors to meld and mature, and ensures the base is thoroughly cold, which is crucial for efficient churning and the ultimate smooth texture.
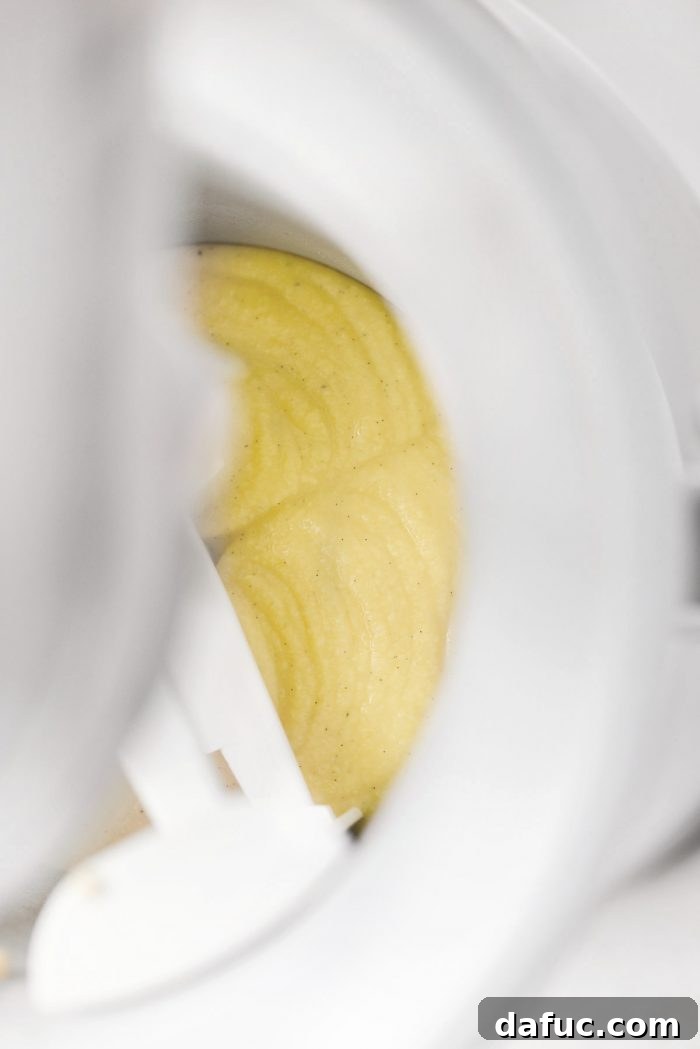
The next day, once your vanilla bean gelato base is thoroughly chilled, pour it into the chilled bowl of your ice cream maker. Follow your manufacturer’s instructions for churning. Gelato is churned at a slower speed than ice cream, incorporating less air and resulting in its characteristic dense, rich consistency. Churn until it reaches the consistency of a thick soft-serve.
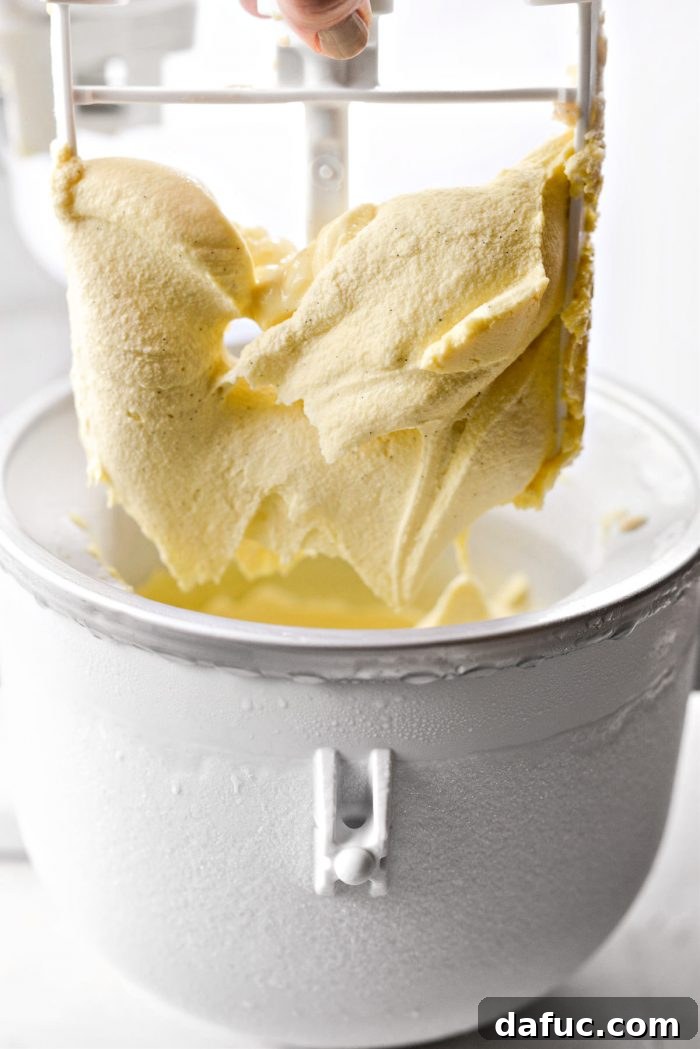
Admire the luscious, thick consistency of your freshly churned gelato. It should be dense, smooth, and utterly irresistible.
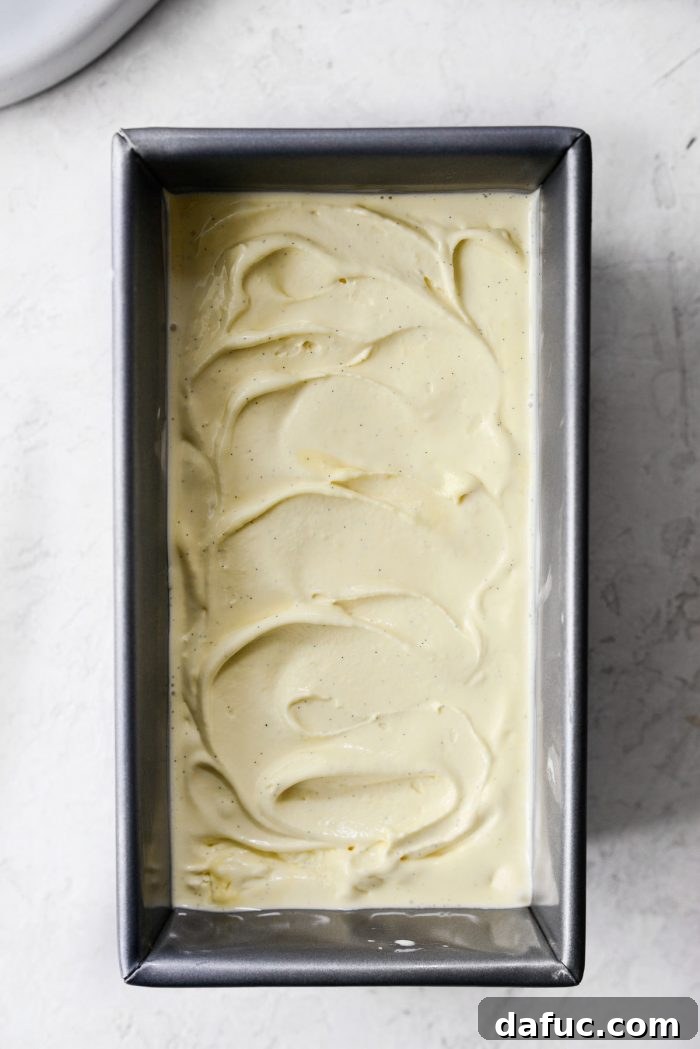
Transfer the freshly churned, thick gelato into a freezer-safe container. Cover it tightly and freeze for a minimum of 4 hours, or preferably overnight, to allow it to firm up to the perfect scoopable texture. This final freezing step is essential for setting the gelato and achieving its signature dense mouthfeel.
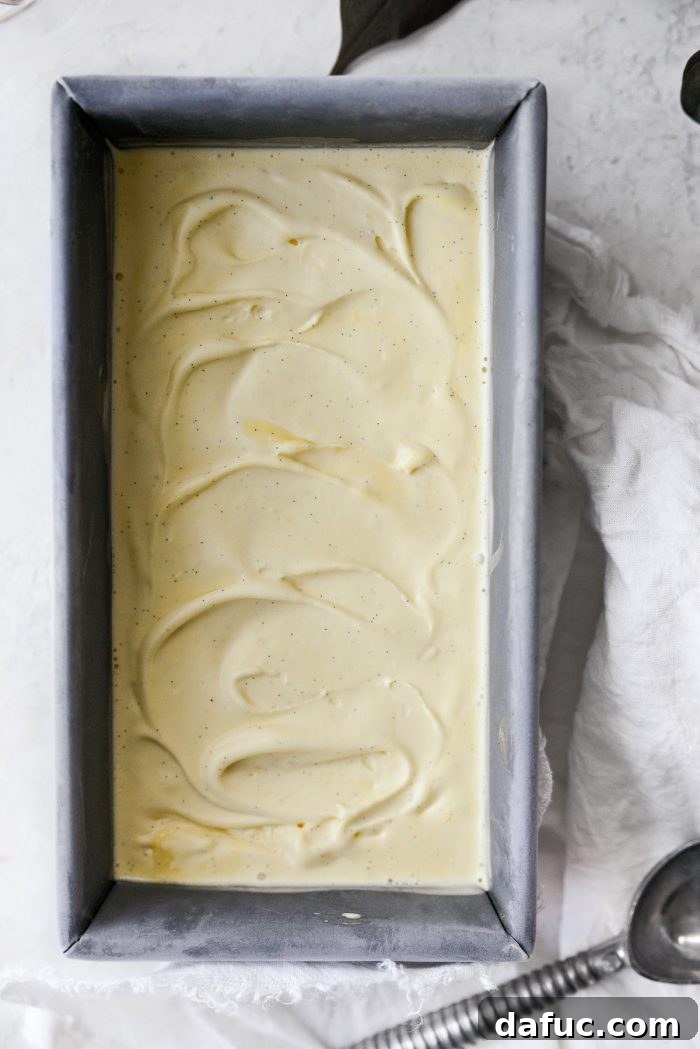
Once frozen, I recommend setting the vanilla bean gelato out on the counter for a few minutes before scooping. This allows it to soften slightly, making it easier to scoop and enhancing its characteristic creamy, pliable texture, truly bringing out its Italian charm.
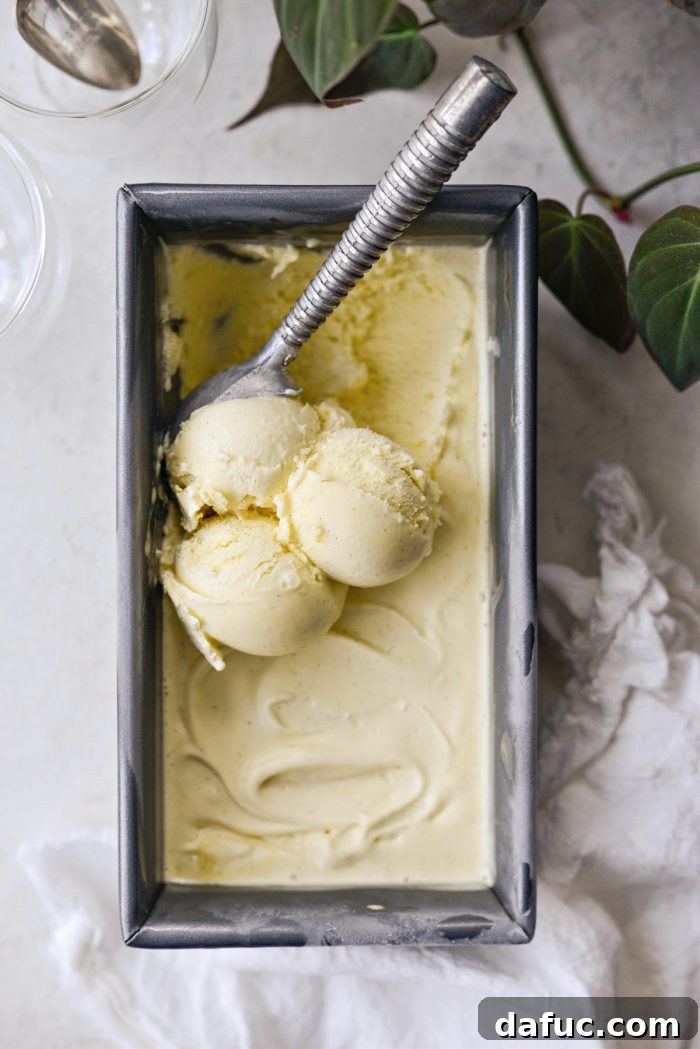
The result is an incredibly thick, smooth, and creamy gelato with a perfectly balanced and profound vanilla flavor. Each spoonful is a testament to the simple elegance of authentic ingredients and careful preparation.
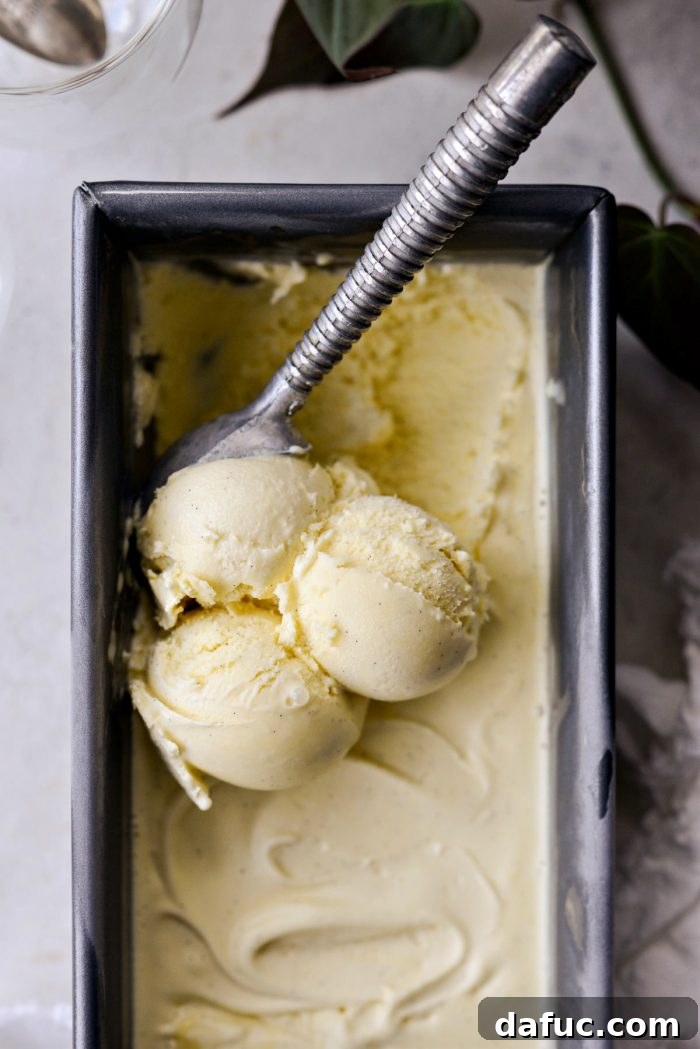
Serving Your Homemade Vanilla Bean Gelato
This homemade vanilla bean gelato is a versatile delight, perfect for any occasion. Serve it simply in a chilled bowl or a crisp cone, allowing its pure flavor to be the star. For a classic Italian treat, transform it into an affogato by pouring a shot of hot espresso over a scoop of cold gelato – the contrast in temperature and flavor is sublime. It also pairs beautifully with fresh berries, a drizzle of chocolate sauce, or as an accompaniment to warm apple pie or rich brownies. No matter how you choose to enjoy it, this gelato promises a luxurious and memorable dessert experience.
Print Recipe |
Pin Recipe
Rated 4.60 out of 5 stars by 10 users
Yield: 4 servings
Homemade Vanilla Bean Gelato
Homemade Vanilla Bean Gelato is simple and delicious. A creamy frozen dessert that’s great all on its own or drowned in hot espresso.
Prep Time: 30 mins
Cook Time: 12 hrs (Chilling/Freezing)
Additional Time: 12 hrs (Chilling)
Total Time: 1 day 30 mins
Ingredients
- 6 egg yolks
- 3/4 cup granulated sugar
- 2 cups whole milk
- 1 vanilla bean
- 1 teaspoon pure vanilla extract
Equipment
- Large mixing bowl (preferably with a spout)
- Whisk
- Medium saucepan
- Fine mesh sieve
- Ice cream maker (KitchenAid KICA0WH Ice Cream Maker Attachment recommended)
- Freezer-safe container
Instructions
- In a large mixing bowl, add egg yolks and granulated sugar. Using a whisk, beat until the mixture is pale yellow in color and forms soft ribbons when lifted. Set aside.
- Pour 2 cups of whole milk into a medium saucepan. Split the vanilla bean in half lengthwise and scrape out the seeds. Add both the scraped seeds and the empty vanilla bean pod into the milk.
- Heat the milk mixture over medium heat, stirring often, until it reaches a slow simmer. Ensure it does not boil.
- Once the milk is hot, slowly pour a small amount of it into the egg yolk and sugar mixture while continuously whisking. This tempering process gradually raises the temperature of the eggs, preventing them from scrambling. Once combined, slowly pour in the rest of the hot milk, still whisking.
- Pour the entire egg and milk mixture back into the saucepan. Heat on low, stirring frequently, until the gelato base thickens slightly. This usually takes about 2 to 5 minutes. To test, dip a spoon into the custard, and if you can run a finger down the back of the spoon leaving a clear line that doesn’t fill back in, it’s ready. Crucially, do not boil the mixture.
- When the gelato base has thickened, pour it through a fine mesh sieve into a clean bowl. This step ensures a silky-smooth texture by catching any small bits of cooked egg or vanilla bean debris. Scrape the bottom of the sieve to extract all the flavorful custard.
- Lastly, measure and stir in 1 teaspoon of pure vanilla extract.
- Allow the gelato base to cool completely at room temperature, then cover it and refrigerate overnight. This ensures it’s thoroughly chilled for optimal churning.
- The following day, once the vanilla bean gelato base is thoroughly chilled, pour it into your ice cream maker’s chilled bowl and churn according to the manufacturer’s instructions until it reaches a thick, soft-serve consistency.
- Transfer the freshly churned gelato into a freezer-safe container. Freeze for a minimum of 4 hours, or preferably overnight, to allow it to firm up to the perfect scoopable texture.
- Before serving, let the frozen gelato sit on the counter for a few minutes to soften slightly, making it easier to scoop and enhancing its creamy consistency. Serve scoops on their own, in cones, or traditionally as an affogato with a shot of hot espresso.
Nutrition Information (per serving)
Calories: 305kcal, Carbohydrates: 44g, Protein: 8g, Fat: 11g, Saturated Fat: 5g, Polyunsaturated Fat: 5g, Cholesterol: 289mg, Sodium: 65mg, Sugar: 44g
Author: Laurie McNamara
Course: Desserts & Sweet Treats
Cuisine: Italian
Leave a Review »
Share Your Sweet Success!
Enjoy every spoonful of this delightful homemade vanilla bean gelato! If you give this recipe a try, we’d absolutely love to hear about it. Snap a photo of your beautiful creation and share it with us by tagging @simply_scratch on Twitter or @simply_scratch on Instagram! Your culinary adventures inspire us.