
The Ultimate Kentucky Butter Cake: A Southern Classic You’ll Love
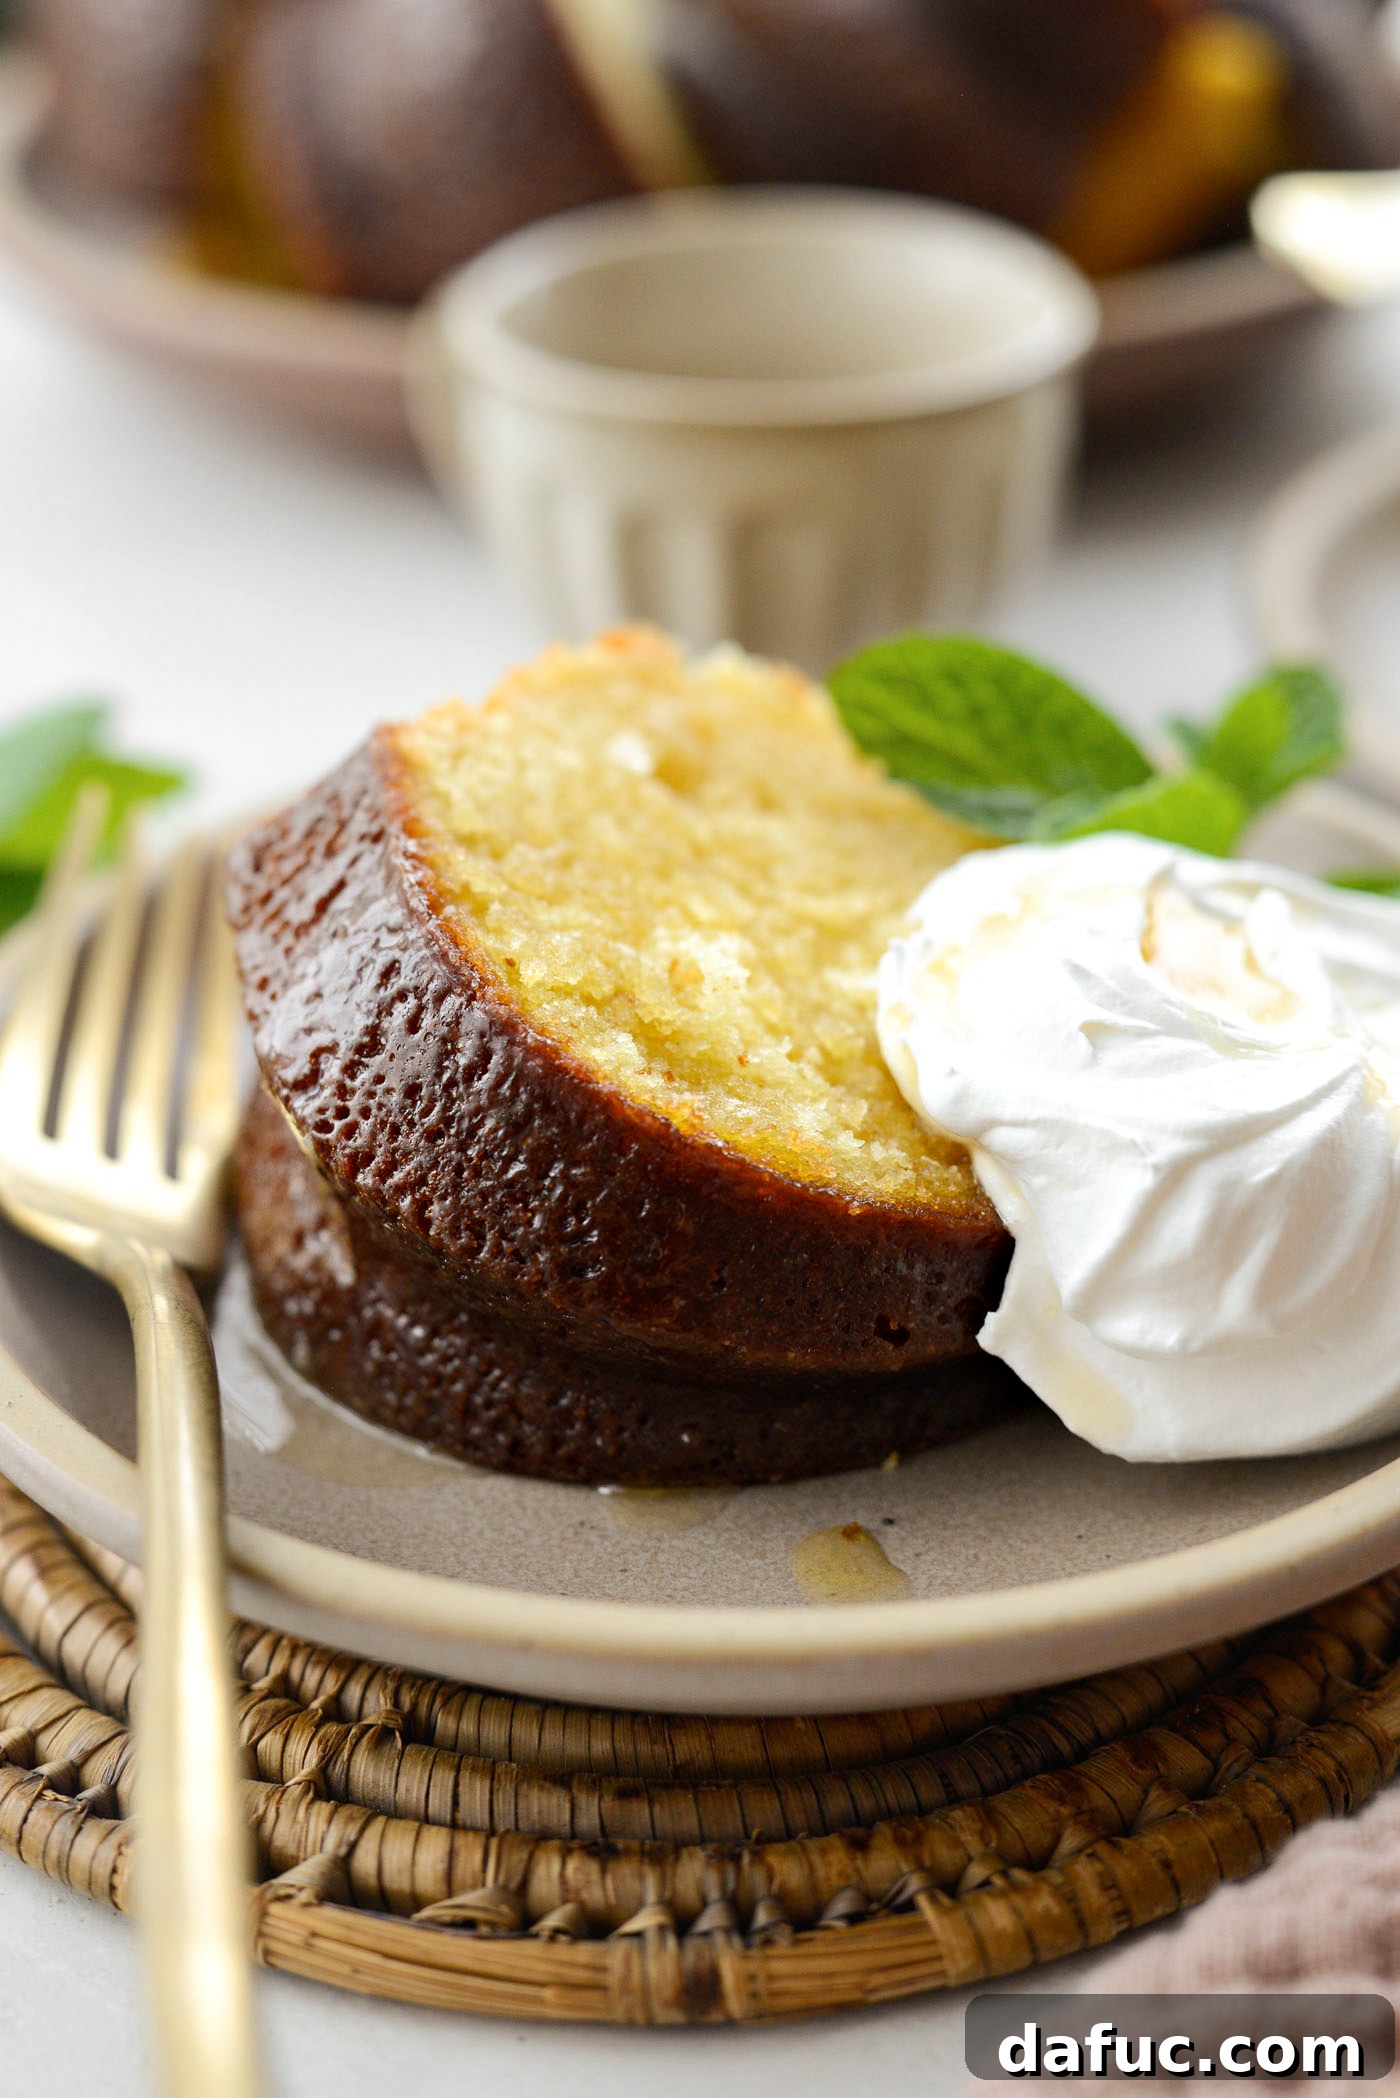
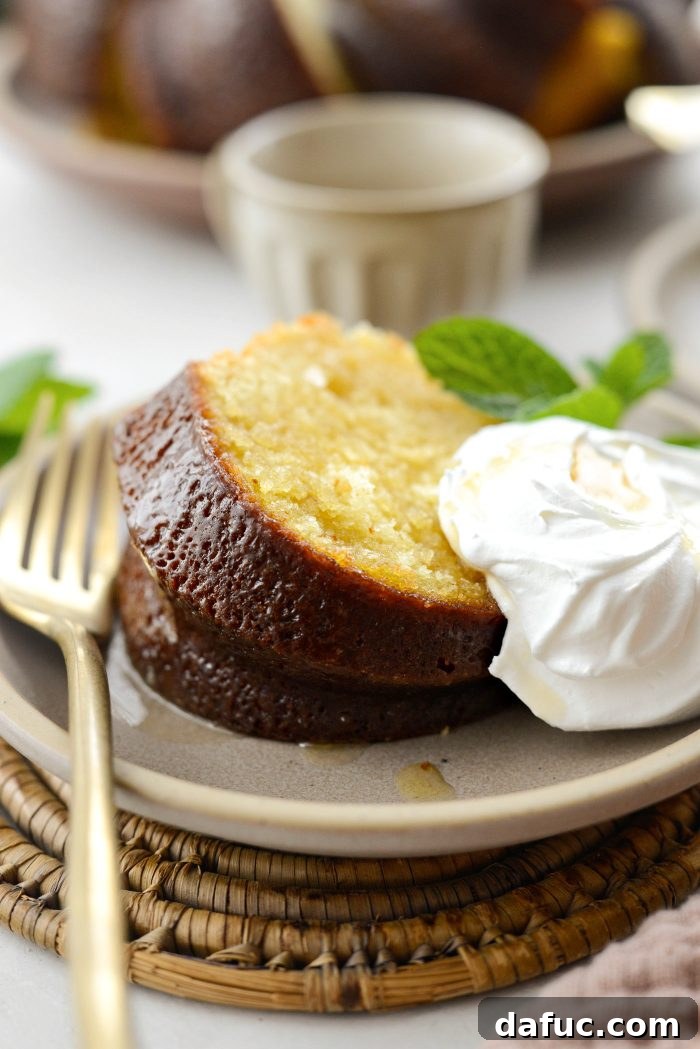
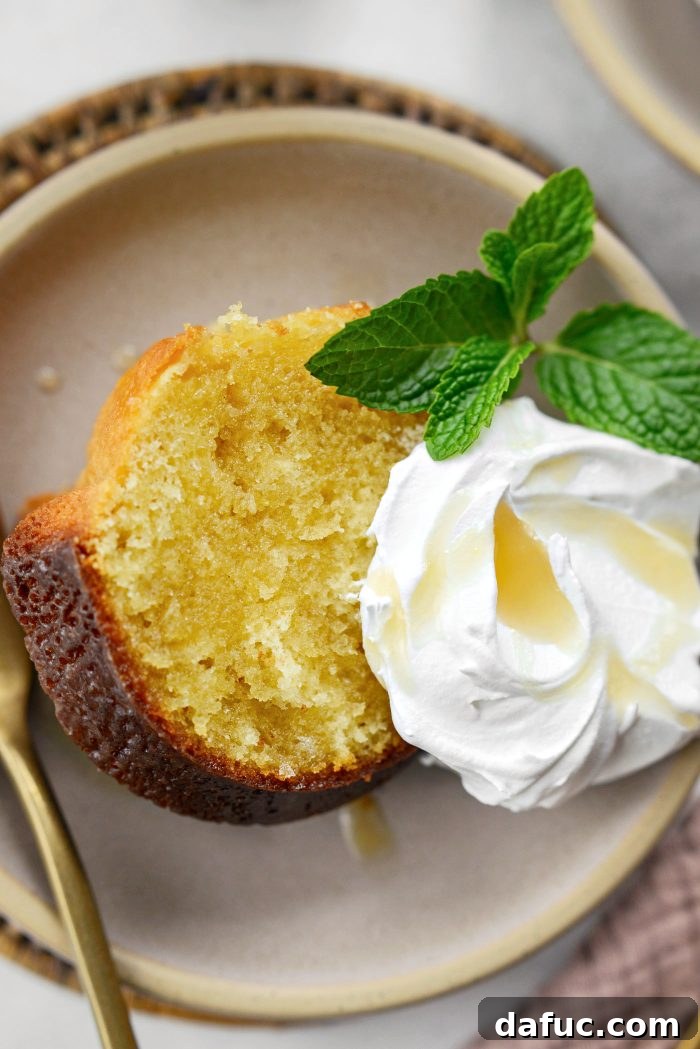
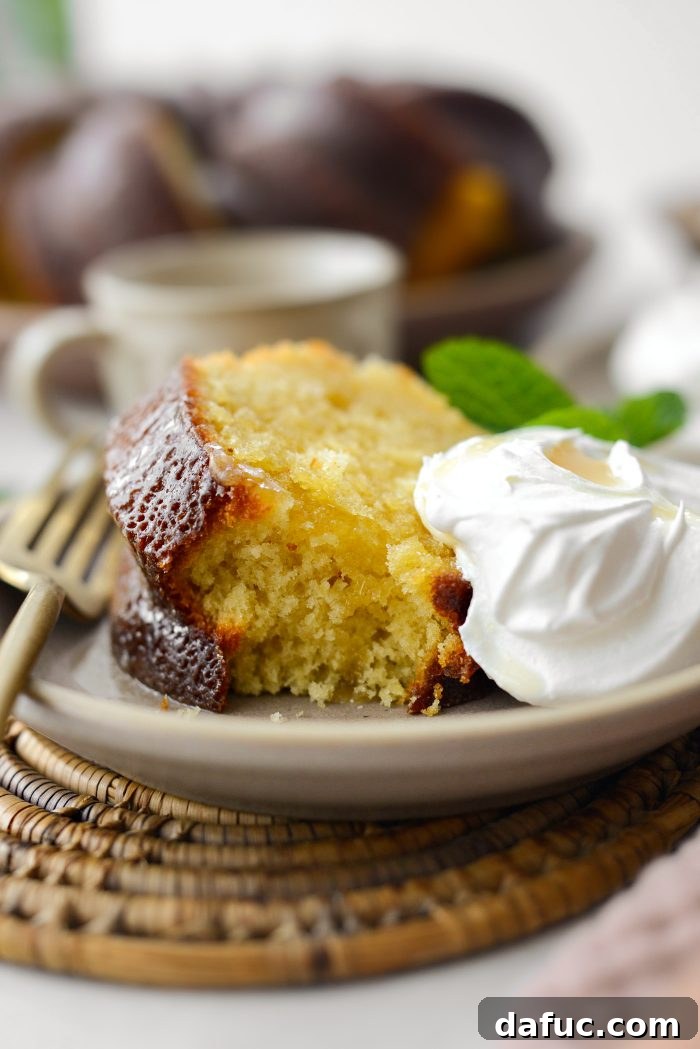
Prepare to fall in love with the Kentucky Butter Cake, a dessert that perfectly embodies Southern hospitality and comfort. This isn’t just any vanilla buttermilk cake; it’s an experience. Imagine a beautifully golden, incredibly moist and tender Bundt cake, infused with a rich vanilla flavor, that’s then generously brushed with a warm, sweet, buttery glaze. As the cake cools, this magical glaze transforms, forming a delightful sugar crust reminiscent of your favorite glazed cake doughnut. Each bite offers a symphony of textures and flavors, from the tender crumb to the slightly crisp, sweet exterior. Served with a dollop of freshly whipped cream and an extra drizzle of the warm, luscious glaze, this cake is pure perfection and destined to become a staple in your recipe collection.
The Irresistible Allure of Kentucky Butter Cake
The origins of the name “Kentucky Butter Cake” remain a delightful mystery, sparking conversations and theories among bakers. Is it the generous amount of butter used, making it exceptionally rich and tender? Could it be the tangy buttermilk that lends such a unique depth of flavor and incredible moisture? Or perhaps it’s the signature vanilla-sugar glaze that not only coats the outside but also deeply soaks into the cake, creating pockets of unparalleled sweetness? Whatever the true reason, one thing is certain: this cake is an absolute masterpiece. My own journey with this extraordinary dessert began years ago when a dear friend, Colleen, surprised me with a mini-Bundt version. It was love at first bite, and since then, this has become my unwavering favorite, a recipe I’ve baked dozens of times, always to rave reviews.
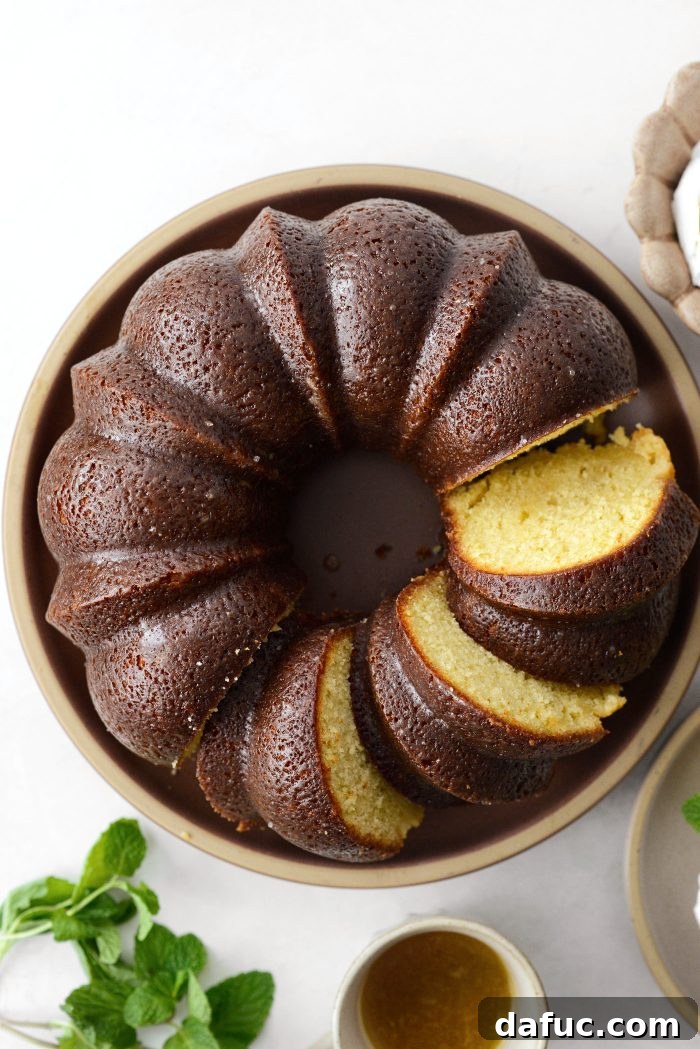
The magic of this cake lies in its simplicity and ingenious glazing method. Once baked, the warm cake is lovingly perforated with small holes. Into these holes, and over the entire surface, spoonfuls of the warm, sugary vanilla glaze are poured, allowing the rich liquid to seep deep into the crumb. This process ensures every slice is saturated with flavor and moisture. After a brief cooling period, the cake is inverted, revealing its perfect Bundt shape. Then, another generous layer of the same glaze is brushed over the exterior, which firms up as it cools, creating that signature, slightly crunchy sugar crust. For an extra touch of indulgence, I always reheat any leftover glaze and spoon it over individual slices just before serving, elevating each bite to a state of pure bliss.
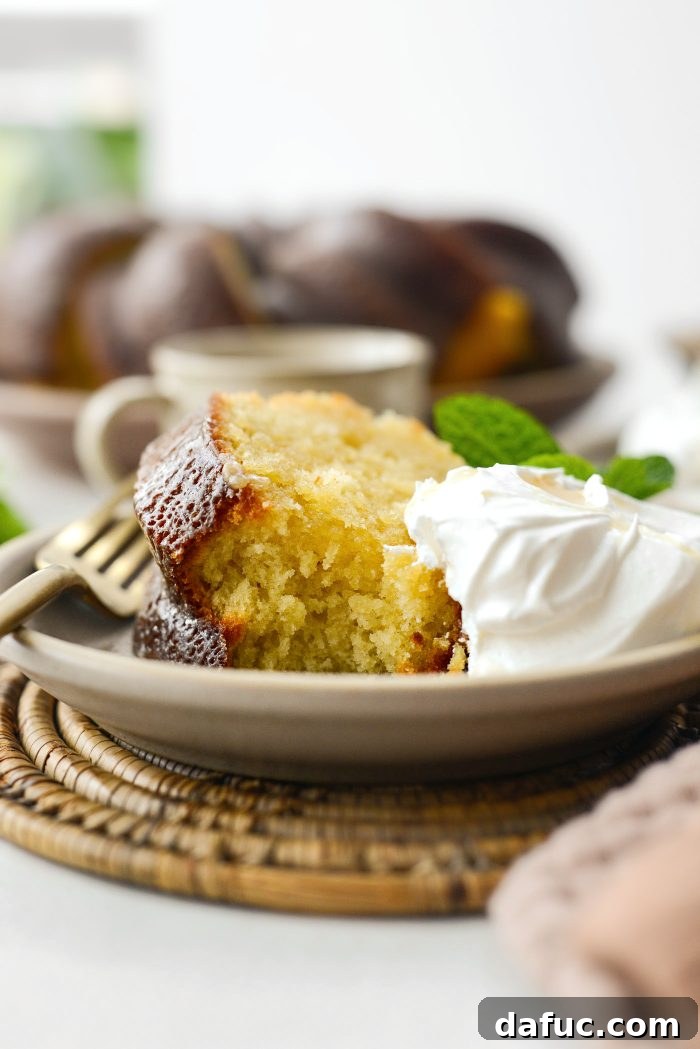
Over the years, this Kentucky Butter Cake has cemented its place as my ultimate go-to dessert. Whether for special occasions, holidays, or simply a comforting treat, it never disappoints. I’ve yet to encounter anyone who hasn’t been completely enchanted by its rich flavor, moist texture, and delightful glaze. It’s a testament to classic baking, combining familiar ingredients in a way that creates something truly extraordinary. This recipe is not just about baking a cake; it’s about creating moments of joy and sharing a truly special dessert that leaves a lasting impression.
Key Ingredients for a Flawless Kentucky Butter Cake
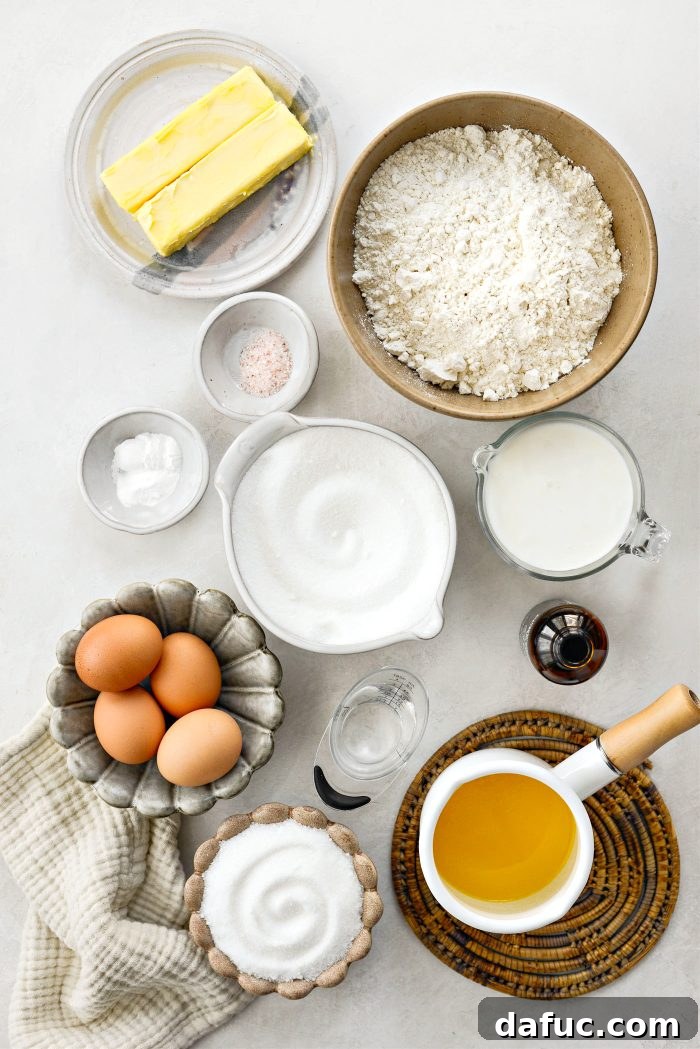
Crafting this iconic Kentucky Butter Cake begins with selecting the right ingredients. Each component plays a vital role in achieving the cake’s signature moist crumb, rich flavor, and irresistible glaze. Using high-quality ingredients and ensuring they are at the correct temperature will guarantee a successful and delicious outcome every time.
For the Cake:
- Unbleached All-Purpose Flour: The foundation of our cake’s structure. Unbleached flour contributes to a tenderer crumb and a slightly richer flavor compared to bleached varieties.
- Fine Salt: Essential for balancing the sweetness and enhancing all the other flavors. I recommend a good quality sea salt or pink Himalayan salt for optimal taste.
- Baking Powder: A leavening agent that creates air pockets in the batter, providing lift and contributing to the cake’s light and fluffy texture.
- Baking Soda: This powerful leavener reacts with the acidity in the buttermilk, producing carbon dioxide that helps the cake rise and ensures an incredibly light and airy result.
- Unsalted Butter: The namesake ingredient, providing unparalleled richness, moisture, and a tender crumb. Using unsalted butter allows you to control the overall salt content in the recipe. Ensure it’s softened to room temperature for proper creaming.
- Granulated Sugar (White): Contributes to the cake’s sweetness, helps retain moisture, and creates a delicate crust during baking.
- Eggs: Add richness, bind the ingredients together, and contribute to the cake’s structure and overall flavor. Using large eggs at room temperature helps them emulsify better with the other ingredients.
- Buttermilk: The secret to this cake’s legendary tang and moistness. Buttermilk reacts with the baking soda for a perfect rise and imparts a unique, slightly tart flavor that complements the vanilla beautifully.
- Pure Vanilla Extract: A cornerstone flavor that adds warmth, depth, and enhances all the other sweet and dairy notes in the cake. Opt for pure vanilla for the best flavor.
For the Glaze:
The glaze is not just an afterthought; it’s a critical component that defines the Kentucky Butter Cake, creating its famous sugary crust and infusing it with extra moisture.
- Unsalted Butter: Provides the rich, buttery base for the glaze, contributing to its luscious texture and incredible flavor.
- Granulated Sugar (White): Sweetens the glaze and, as it cools, creates that signature hard, delicious crust on the outside of the cake.
- Water: Helps dissolve the sugar and butter, thinning the glaze to the perfect consistency for soaking into the cake and coating its exterior.
- Pure Vanilla Extract: Infuses the glaze with a warm, aromatic flavor, mirroring and enhancing the vanilla notes in the cake itself.
Step-by-Step Baking Guide: Crafting Your Kentucky Butter Cake
Baking this Kentucky Butter Cake is a truly rewarding experience. Follow these detailed steps to ensure your cake turns out perfectly moist, tender, and beautifully glazed every time.
Preparing Your Bundt Pan
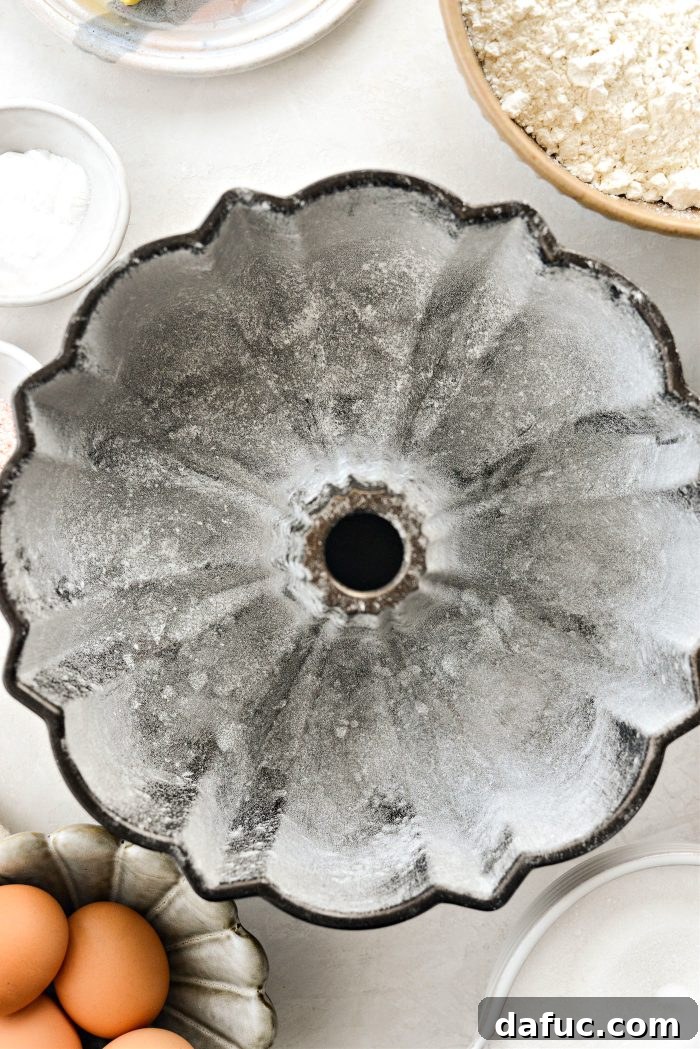
Preheating your oven is the first step in successful baking. Set your oven to 325℉ (160℃). A perfectly prepared Bundt pan is crucial to prevent sticking and ensure your cake releases flawlessly, showcasing its intricate design. My preferred method involves melting about a tablespoon of unsalted butter and using a pastry brush to thoroughly coat every nook and cranny of a 12-cup Bundt pan. Be diligent, ensuring no spot is missed, but avoid using so much butter that it pools at the bottom. This excess can lead to a greasy crust. Once adequately buttered, add a generous tablespoon of unbleached all-purpose flour to the pan. Rotate and tap the pan vigorously to evenly coat the entire buttered surface, then invert and gently tap out any excess flour. Set your perfectly prepared Bundt pan aside, ready for the batter. As an alternative, a high-quality nonstick baking spray that contains flour can also be used, but the butter-and-flour method often yields the best release.
Mixing the Dry Ingredients
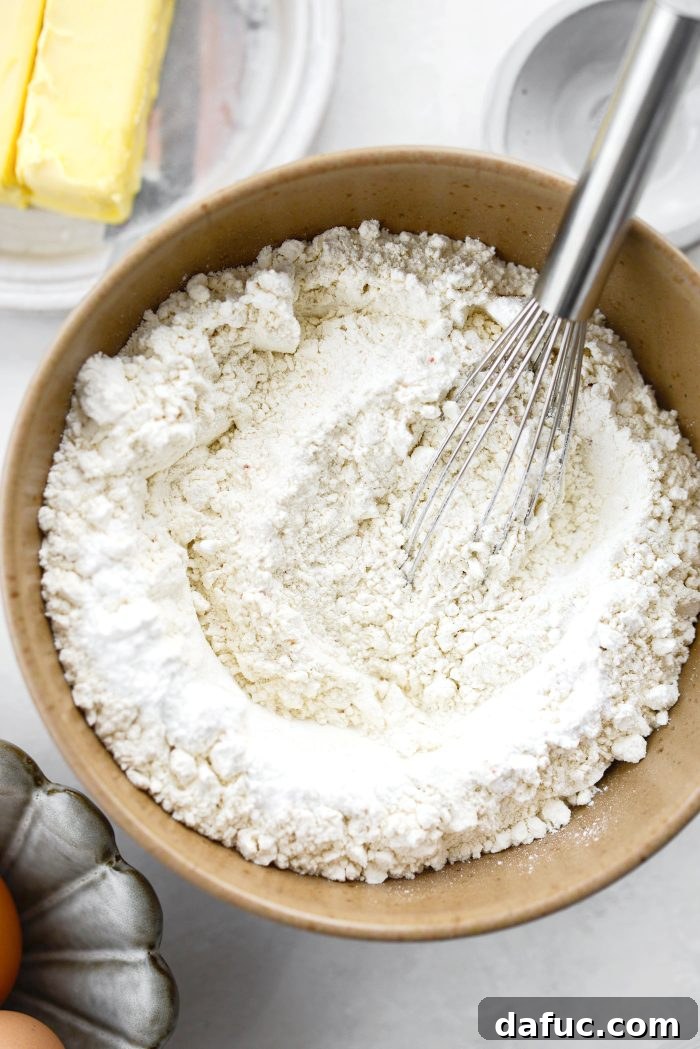
In a medium-sized bowl, combine the 3 cups of unbleached all-purpose flour, 1 teaspoon of fine salt, 1 teaspoon of baking powder, and 1/2 teaspoon of baking soda. Use a whisk to thoroughly blend these dry ingredients together. Whisking not only combines them but also aerates the flour, preventing lumps and ensuring an even distribution of the leavening agents throughout the batter. Once combined, set this mixture aside.
Creaming Butter and Sugar to Perfection
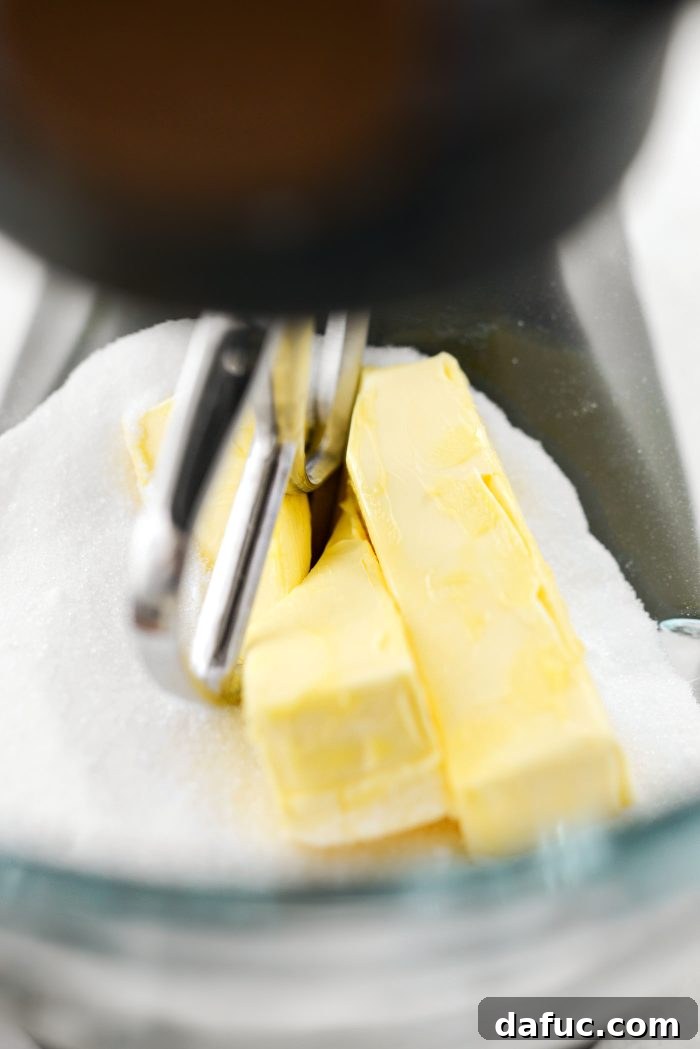
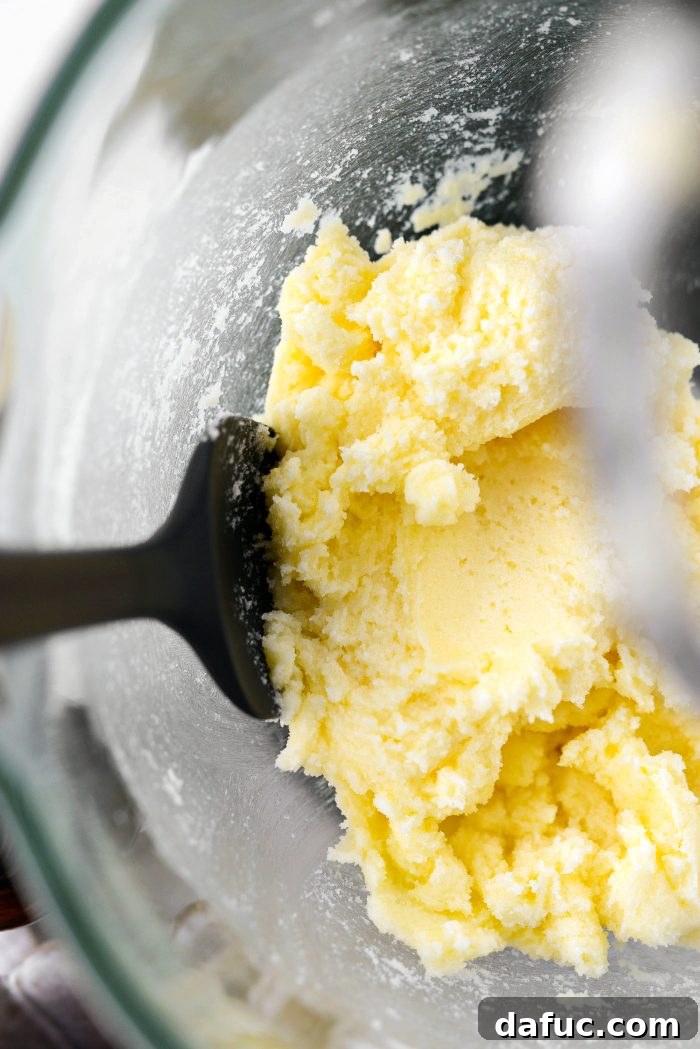
In the bowl of your stand mixer, fitted with the paddle attachment, add 1 cup of softened unsalted butter and 2 cups of granulated white sugar. Cream these together on medium-low speed for approximately 3 minutes, or until the mixture becomes light, fluffy, and pale in color. This creaming process incorporates air into the butter and sugar, which is crucial for the cake’s texture. After creaming, pause to use a rubber spatula to scrape down the sides and bottom of the bowl, ensuring all ingredients are thoroughly incorporated.
Incorporating Wet Ingredients
Next, add the 4 large eggs (at room temperature), 1 cup of buttermilk (at room temperature), and 2 teaspoons of pure vanilla extract to the creamed butter and sugar. Mix on medium-low speed until just combined. It’s important not to overmix at this stage. You might notice the mixture looking a bit lumpy or slightly curdled after this step, but don’t worry—this is perfectly normal and will resolve once the dry ingredients are added. Again, scrape down the sides and bottom of the bowl halfway through to ensure everything is evenly mixed.
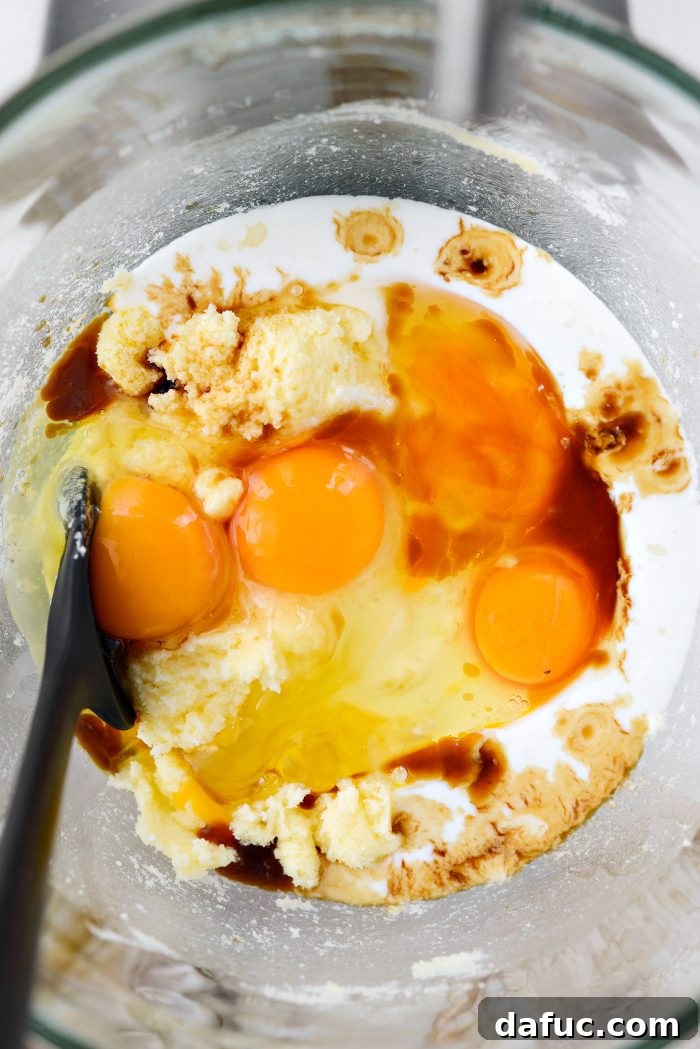
Don’t Have Buttermilk? Here’s a Quick Substitute:
No buttermilk on hand? No problem! You can easily make your own. For every 1 cup of buttermilk required, simply combine 1 tablespoon of fresh lemon juice or white vinegar with 1 cup of whole milk or half-and-half. Stir gently and let it sit for 5-10 minutes until it slightly curdles. This homemade version works wonderfully to activate the baking soda and impart that signature tangy flavor.
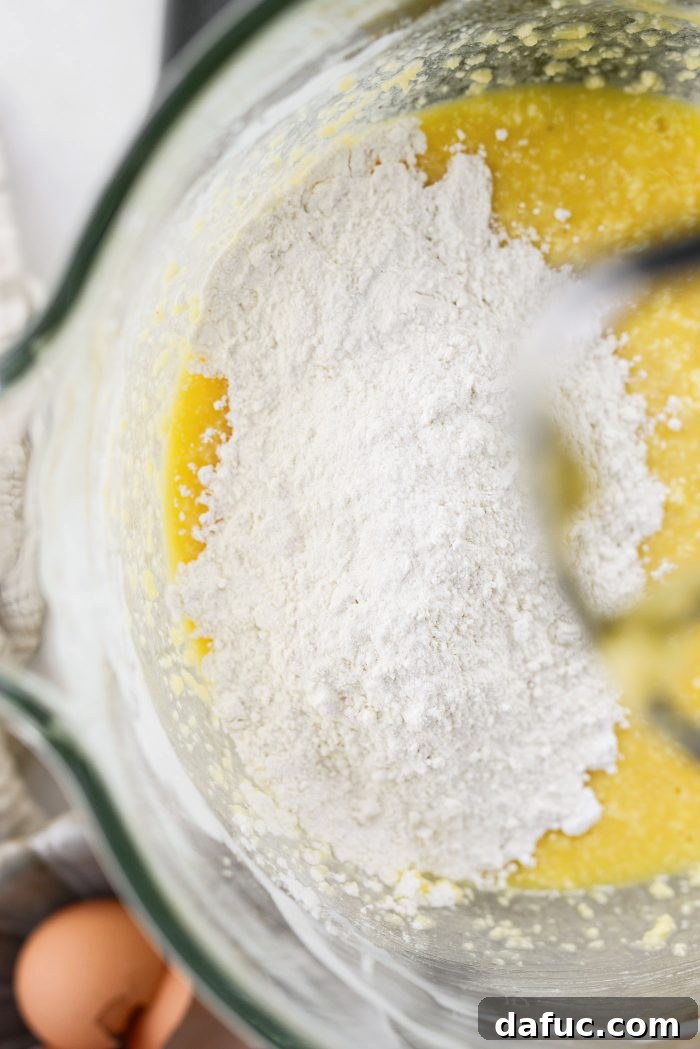
Combining Wet and Dry Ingredients
With your mixer still on low speed, gradually add the whisked dry ingredients to the wet mixture. Add about a third of the dry ingredients at a time, mixing until just incorporated before adding the next portion. Be sure to scrape down the sides and bottom of the bowl in between each addition to ensure everything is evenly blended. Continue mixing until the flour streaks have just disappeared; overmixing at this stage can lead to a tough cake.
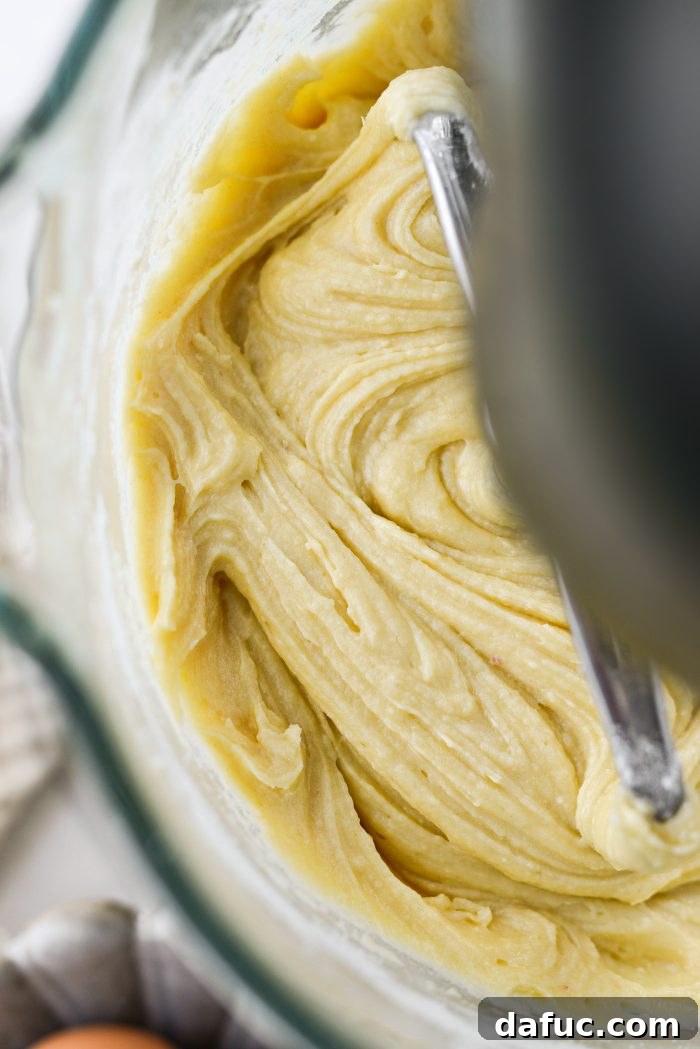
Filling the Pan and Baking
The Kentucky butter cake batter is wonderfully thick, which helps create its dense yet moist crumb. I find it easiest to spoon the batter into the meticulously prepared Bundt pan. Once the pan is filled, gently tap it on the counter a few times to help settle the batter and release any trapped air bubbles. Use a spatula to smooth the top surface of the batter. Bake in your preheated oven for 50 to 60 minutes. The cake is done when it’s beautifully golden brown and a cake tester (like a wooden skewer or toothpick) inserted into the center comes out clean. Avoid opening the oven door too frequently during baking to prevent the cake from sinking.
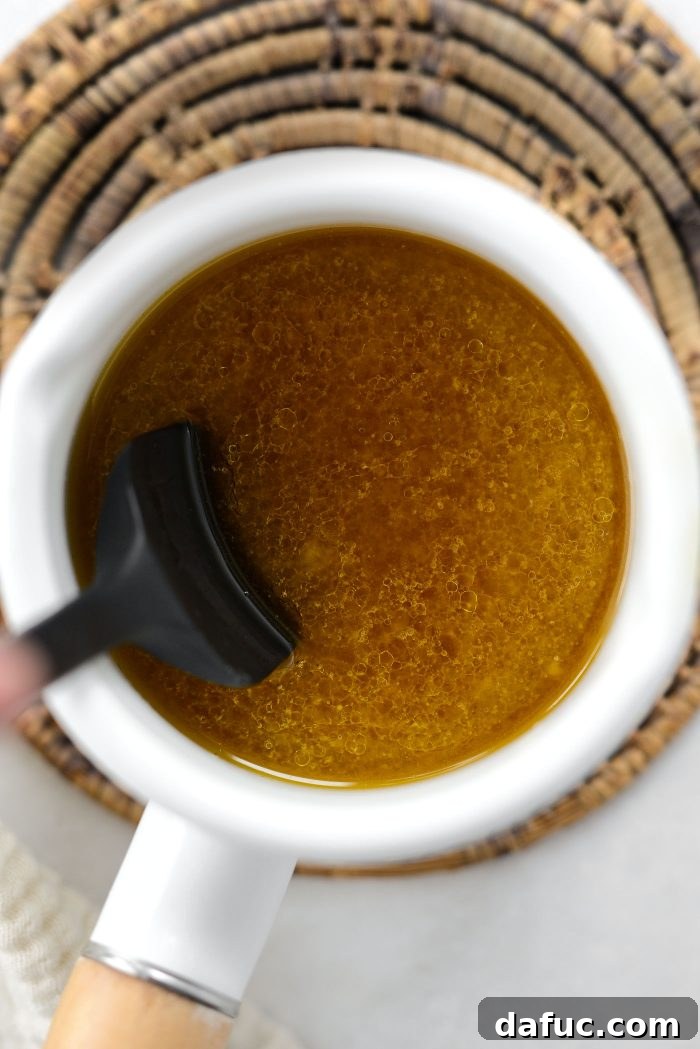
The Irresistible Vanilla Sugar Glaze
The signature vanilla sugar glaze is what truly elevates the Kentucky Butter Cake from good to unforgettable. This luscious glaze soaks into the cake, providing immense moisture and flavor, while also forming a delightful sugary crust on the exterior.
Making the Glaze
Timing is key when preparing the glaze. About 5 minutes before your cake is expected to be done, begin making the glaze. In a small saucepan, combine 1/3 cup of unsalted butter, 3/4 cup of granulated sugar, 3 tablespoons of water, and 2 teaspoons of pure vanilla extract. Heat this mixture over low heat, stirring continuously until the butter is completely melted and the sugar is fully dissolved. It’s crucial not to bring the glaze to a boil; you want a warm, syrupy consistency, not a caramelized one. Once smooth and clear, remove the glaze from the heat.
Glazing the Warm Cake
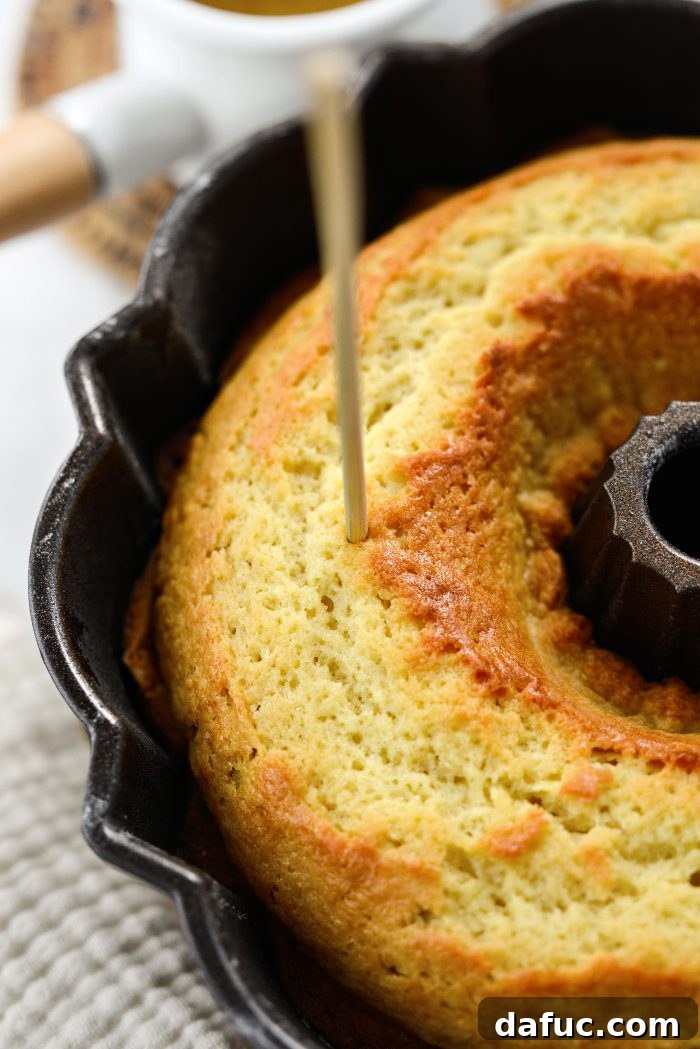
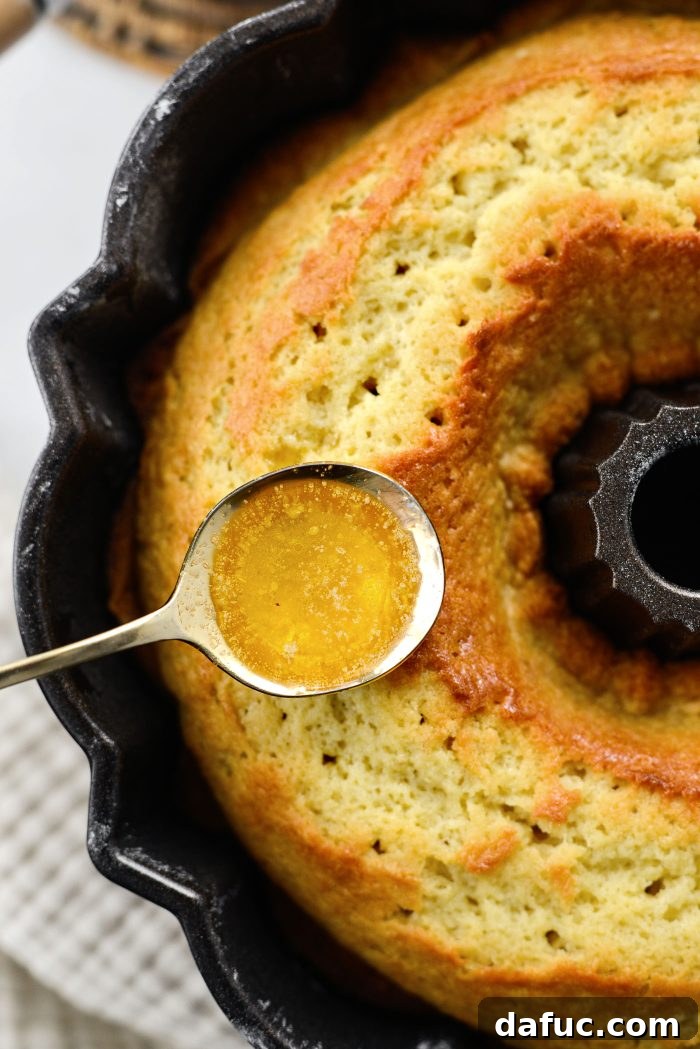
As soon as the cake emerges from the oven, still hot, it’s time for the first layer of glaze. Using a wooden skewer or the handle of a spoon, poke numerous holes all over the top surface of the cake. These holes will act as channels for the glaze to seep deep into the cake. Then, generously spoon about one-third of the warm glaze over the entire cake. Be deliberate, ensuring the glaze drips into those freshly poked holes, creating little pockets of delicious, buttery sweetness throughout the cake’s interior.
Cooling and Inverting
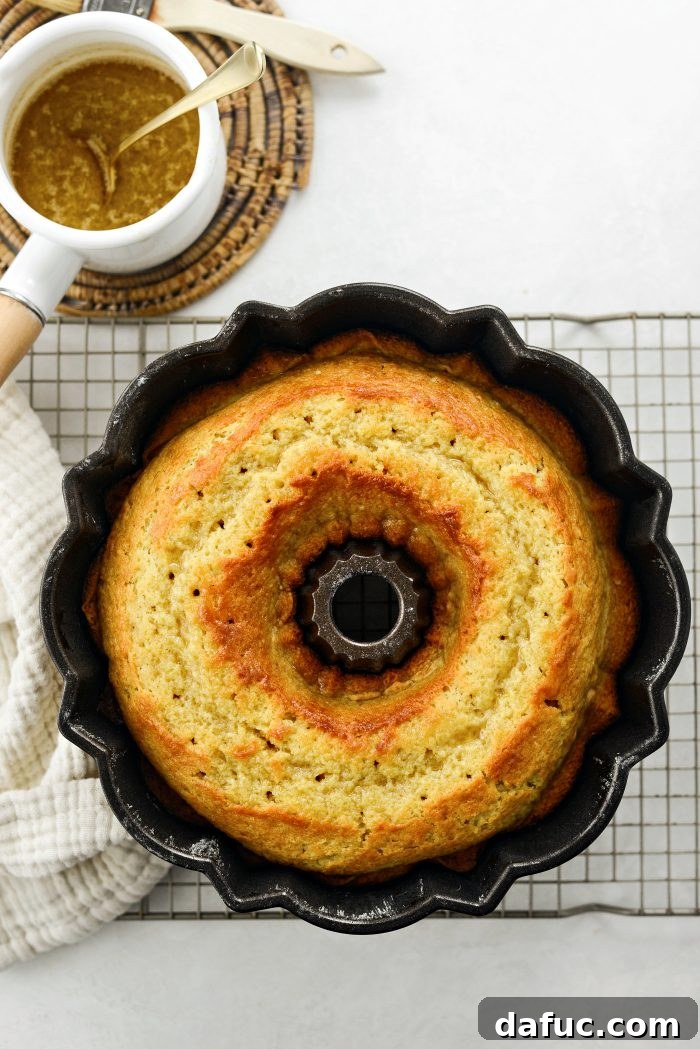
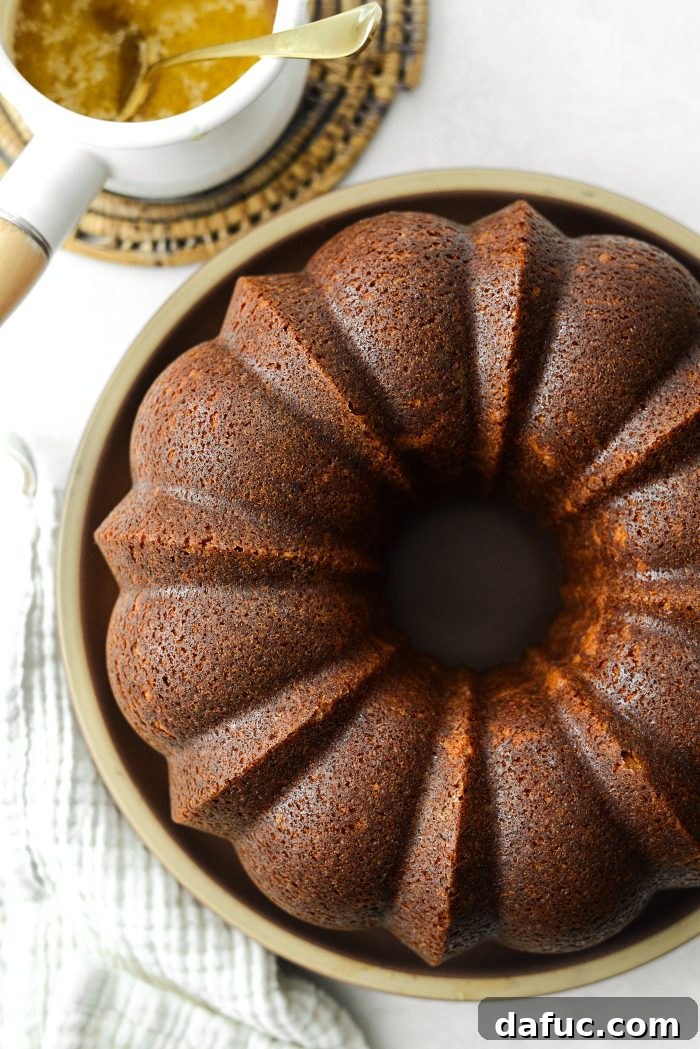
Allow the glazed cake to cool in the Bundt pan for 15 to 20 minutes. This cooling period is important as it allows the cake to set slightly and the glaze to begin absorbing, making it easier to invert without breaking. Once cooled for the appropriate time, carefully place a serving platter or cake stand upside down over the Bundt pan. With a swift, confident motion, flip the pan and platter together to invert the cake. Gently lift the Bundt pan, revealing your perfectly formed, glistening Kentucky Butter Cake. If the remaining glaze has thickened, you can gently reheat it over low heat until it reaches a pourable consistency again.
Finishing Touches: The Second Glaze Coat
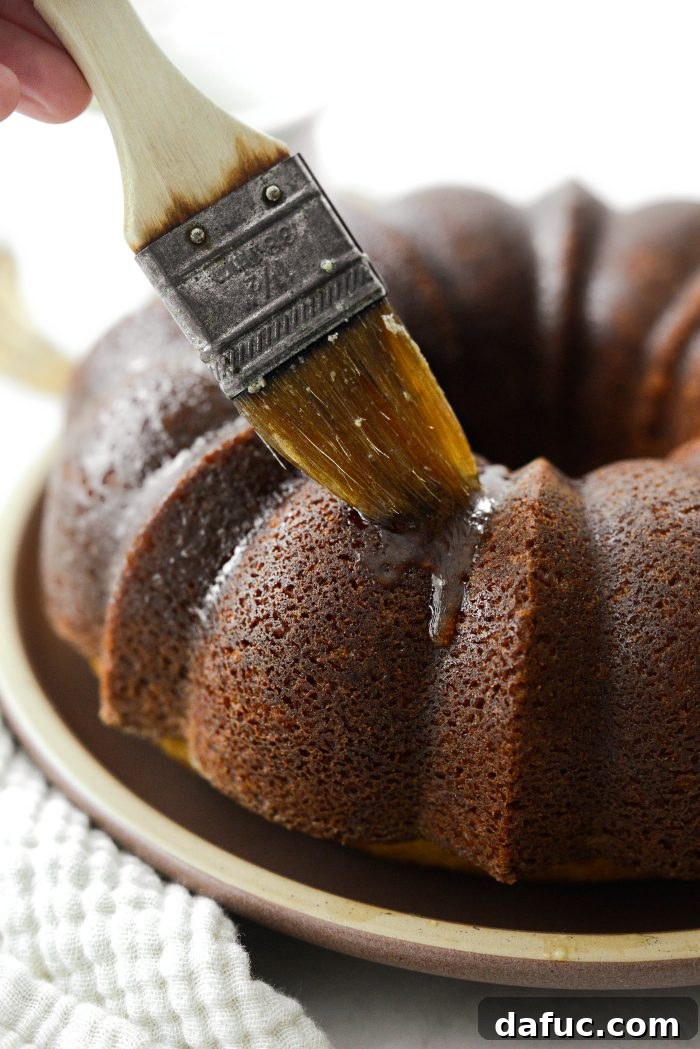
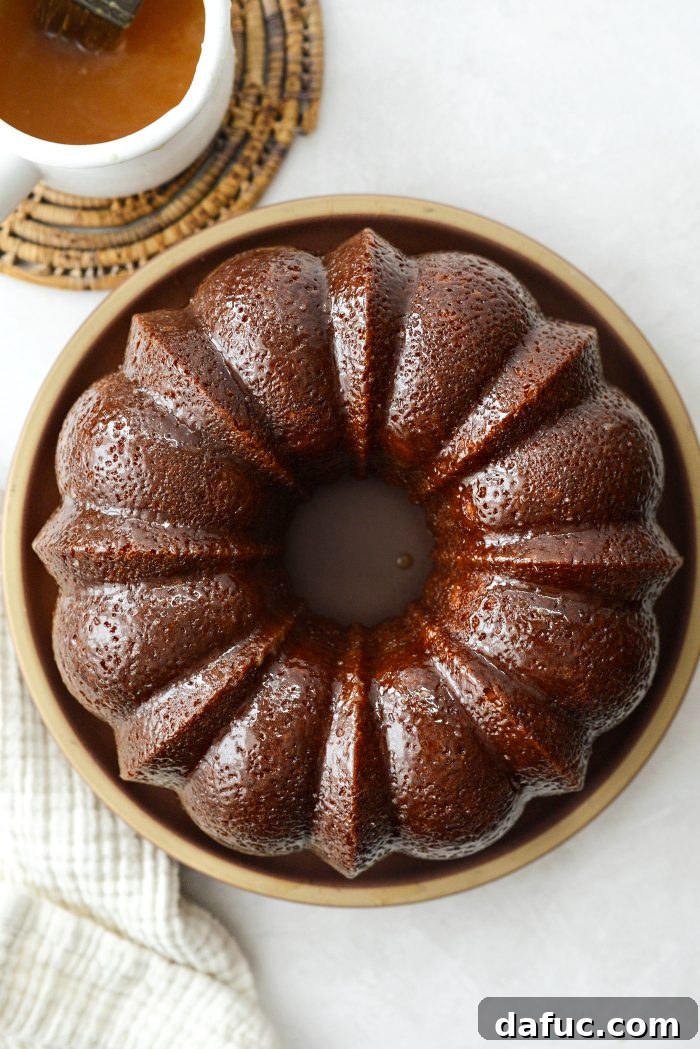
With the cake now beautifully presented on its stand, it’s time for the final, glossy glaze coat. Dip your pastry brush into the reheated remaining glaze and generously brush it over the entire exterior of the cake. Cover every curve and crevice, aiming for a stunning, even sheen. For an extra layer of deliciousness and a truly professional finish, I typically apply two coats of glaze. This final brushing ensures that perfect sugary crust everyone loves. The cake will look incredibly pretty and enticing!
Serving Your Kentucky Butter Cake
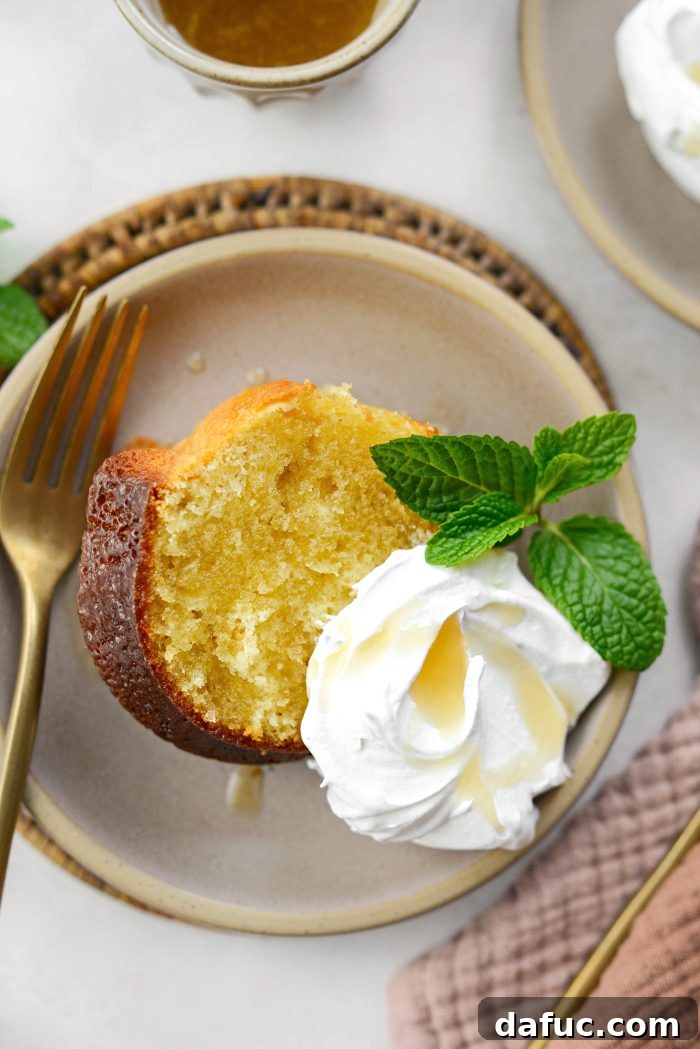
Now that your Kentucky Butter Cake is perfectly glazed and glistening, it’s time to enjoy the fruits of your labor! The beauty of this cake lies in its versatility. It’s delightful served simply on its own, allowing the rich vanilla and buttery glaze to shine through. However, for an extra touch of decadence, slice the cake and serve each piece with a generous dollop of homemade whipped cream. The cool, light cream provides a wonderful contrast to the rich, warm cake. For the ultimate indulgence, remember that reserved glaze? Reheat it slightly if necessary and drizzle a spoonful or two over each slice just before serving. This creates a beautifully glossy finish and an extra burst of sweet, buttery flavor that makes every mouthful an absolute dream. Pair it with a cup of coffee or tea for a truly delightful experience.
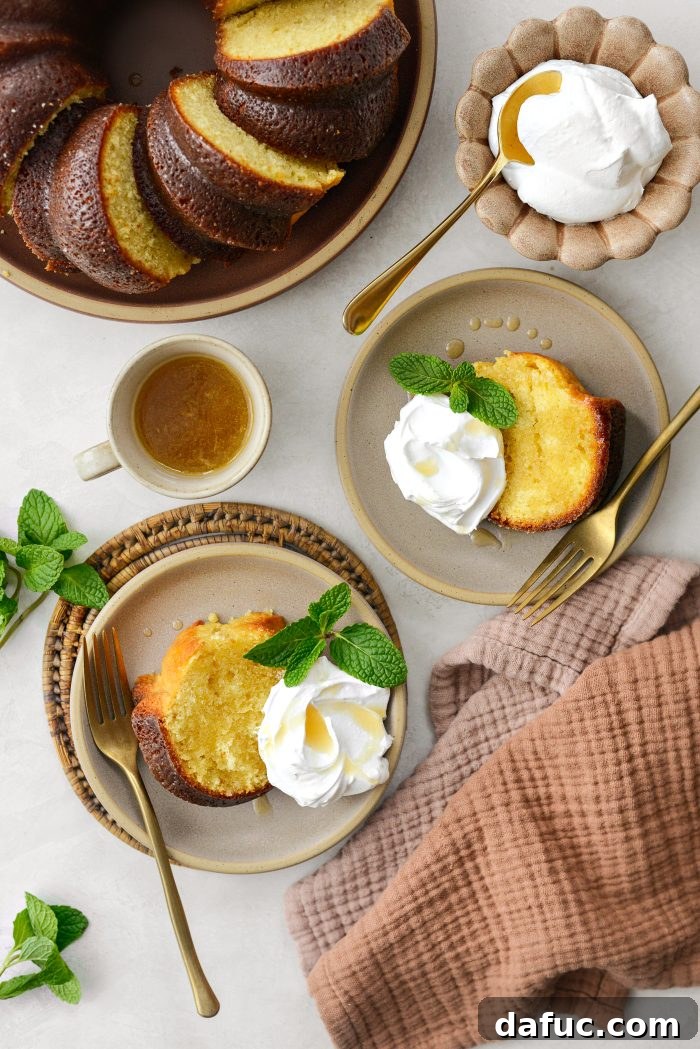
This simple yet incredibly delicious dessert is guaranteed to impress. The combination of its moist crumb, tangy buttermilk notes, and the sweet, crisp glaze makes it an unforgettable treat that guests will rave about. It’s a comforting classic that brings warmth and joy to any table.
Storage and Freezing Tips for Your Kentucky Butter Cake
One of the many great things about the Kentucky Butter Cake is how well it stores, allowing you to enjoy its deliciousness for days or even weeks. Proper storage ensures the cake retains its moisture and flavor, making it a convenient make-ahead dessert.
How to Store Bundt Cakes:
To keep your Kentucky Butter Cake fresh and moist at room temperature, it’s crucial to store it in an airtight container. If your Bundt pan came with a custom-fitting cover, that’s ideal. Otherwise, a large cake dome or any container that seals well will do the trick. This cake, with its non-dairy glaze, can be safely stored at room temperature for up to 5 days. If you’re baking a Bundt cake with an icing or filling that contains dairy (like a cream cheese frosting), it should always be stored in the refrigerator to maintain freshness and prevent spoilage.
How to Freeze Bundt Cakes:
Freezing a Bundt cake is an excellent way to prepare ahead or save leftovers for a future craving. First, ensure the cake has cooled completely to room temperature. Then, wrap it tightly in two layers of plastic wrap, making sure to cover every surface to prevent freezer burn. Follow this with a layer of aluminum foil for added protection. The cake can be frozen whole or, for convenience, you can slice it into individual servings before wrapping and freezing. Properly wrapped, the Kentucky Butter Cake can be stored in the freezer for up to 3 months without compromising its taste or texture.
How to Thaw a Bundt Cake:
When you’re ready to enjoy your frozen Kentucky Butter Cake, simply remove it from the freezer and unwrap it. Place the cake (or individual slices) on your kitchen counter and allow it to thaw at room temperature for several hours or overnight. Once thawed, it will be as moist and delicious as the day it was baked.
For even more delightful cake recipes, explore my extensive collection here.
Enjoy this incredible Kentucky Butter Cake! We love seeing your creations. If you give this recipe a try, please share your photos and tag me on Twitter or Instagram!
Print Recipe
Pin Recipe
Leave a Review »
Kentucky Butter Cake
Ingredients
- 1 tablespoon melted butter, for greasing pan
- 1 tablespoon unbleached all-purpose flour, for dusting pan
FOR THE CAKE:
- 3 cups unbleached all-purpose flour
- 1 teaspoon fine salt
- 1 teaspoon baking powder
- 1/2 teaspoon baking soda
- 1 cup unsalted butter, softened
- 2 cups white sugar
- 4 large eggs, at room temperature
- 1 cup buttermilk, at room temperature
- 2 teaspoons vanilla extract
FOR THE GLAZE:
- 3/4 cup white sugar
- 1/3 cup unsalted butter
- 3 tablespoons water
- 2 teaspoons vanilla extract
- homemade whipped cream, optional – for serving
Equipment
-
Nordic Ware Platinum Collection Anniversary Bundt Pan
-
Boar Bristle Pastry Brush Set
Instructions
-
Preheat your oven to 325℉ or 160℃.
-
Brush an even layer of melted butter on the inside of a 12-cup Bundt pan, being mindful to avoid any excess drips or pooling. Add in a tablespoon of flour, turning and tapping the pan to coat. Tip any excess flour out of the pan and set aside. (This is my preferred method for greasing Bundt pans.)
Alternatively, you can use a nonstick baking spray that also has flour in it.
MAKE THE CAKE:
-
In a medium bowl, whisk together the flour, salt, baking powder, and baking soda, then set aside.
-
In a large bowl, cream the butter and sugar together until light and fluffy – about 3 minutes. Then add the eggs, buttermilk, and vanilla extract and mix until just combined. Use a rubber spatula to scrape down the sides and bottom of the bowl. At this point, it may look lumpy or curdled, but don’t worry, it will come together.
-
With the mixer on low, gradually add the dry ingredients. Scrape down the sides and bottom of the bowl in between each addition and mix until just combined. Spoon the cake batter into your prepared Bundt pan and tap a few times on the counter to settle the batter. Bake on the middle rack in your pre-heated oven for 50-60 minutes or until a cake tester comes out clean.
MAKE THE GLAZE:
-
With 5 minutes left on your timer, prepare the glaze by combining the sugar, butter, water, and vanilla extract in a small saucepan. Heat on low until melted, stirring occasionally until the sugar has dissolved. Do NOT bring to a boil.
-
Once the cake is baked, carefully remove it from the oven and then use a skewer to poke holes all over the warm cake. Spoon about 1/3 of the glaze all over, ensuring the glaze seeps into the holes.
-
Let the cake cool for 15 to 20 minutes before inverting it onto a plate or cake stand and removing the Bundt pan. Once removed, reheat the remaining glaze over low heat if it has thickened. Use a pastry brush to brush the remaining glaze over the entire cake – I recommend doing about 2 coats for maximum shine and flavor. Save any additional remaining glaze.
-
Serve slices of cake with whipped cream (optional) and a spoonful of reserved glaze (reheating if necessary) over top.
Notes
Calories: 391kcal,
Carbohydrates: 54g,
Protein: 5g,
Fat: 18g,
Saturated Fat: 11g,
Polyunsaturated Fat: 1g,
Monounsaturated Fat: 5g,
Trans Fat: 1g,
Cholesterol: 91mg,
Sodium: 243mg,
Potassium: 70mg,
Fiber: 1g,
Sugar: 35g,
Vitamin A: 587IU,
Calcium: 48mg,
Iron: 1mg
This recipe was originally posted on March 31, 2010, and has been updated with clear and concise instructions, new photography, and helpful information to enhance your baking experience.