
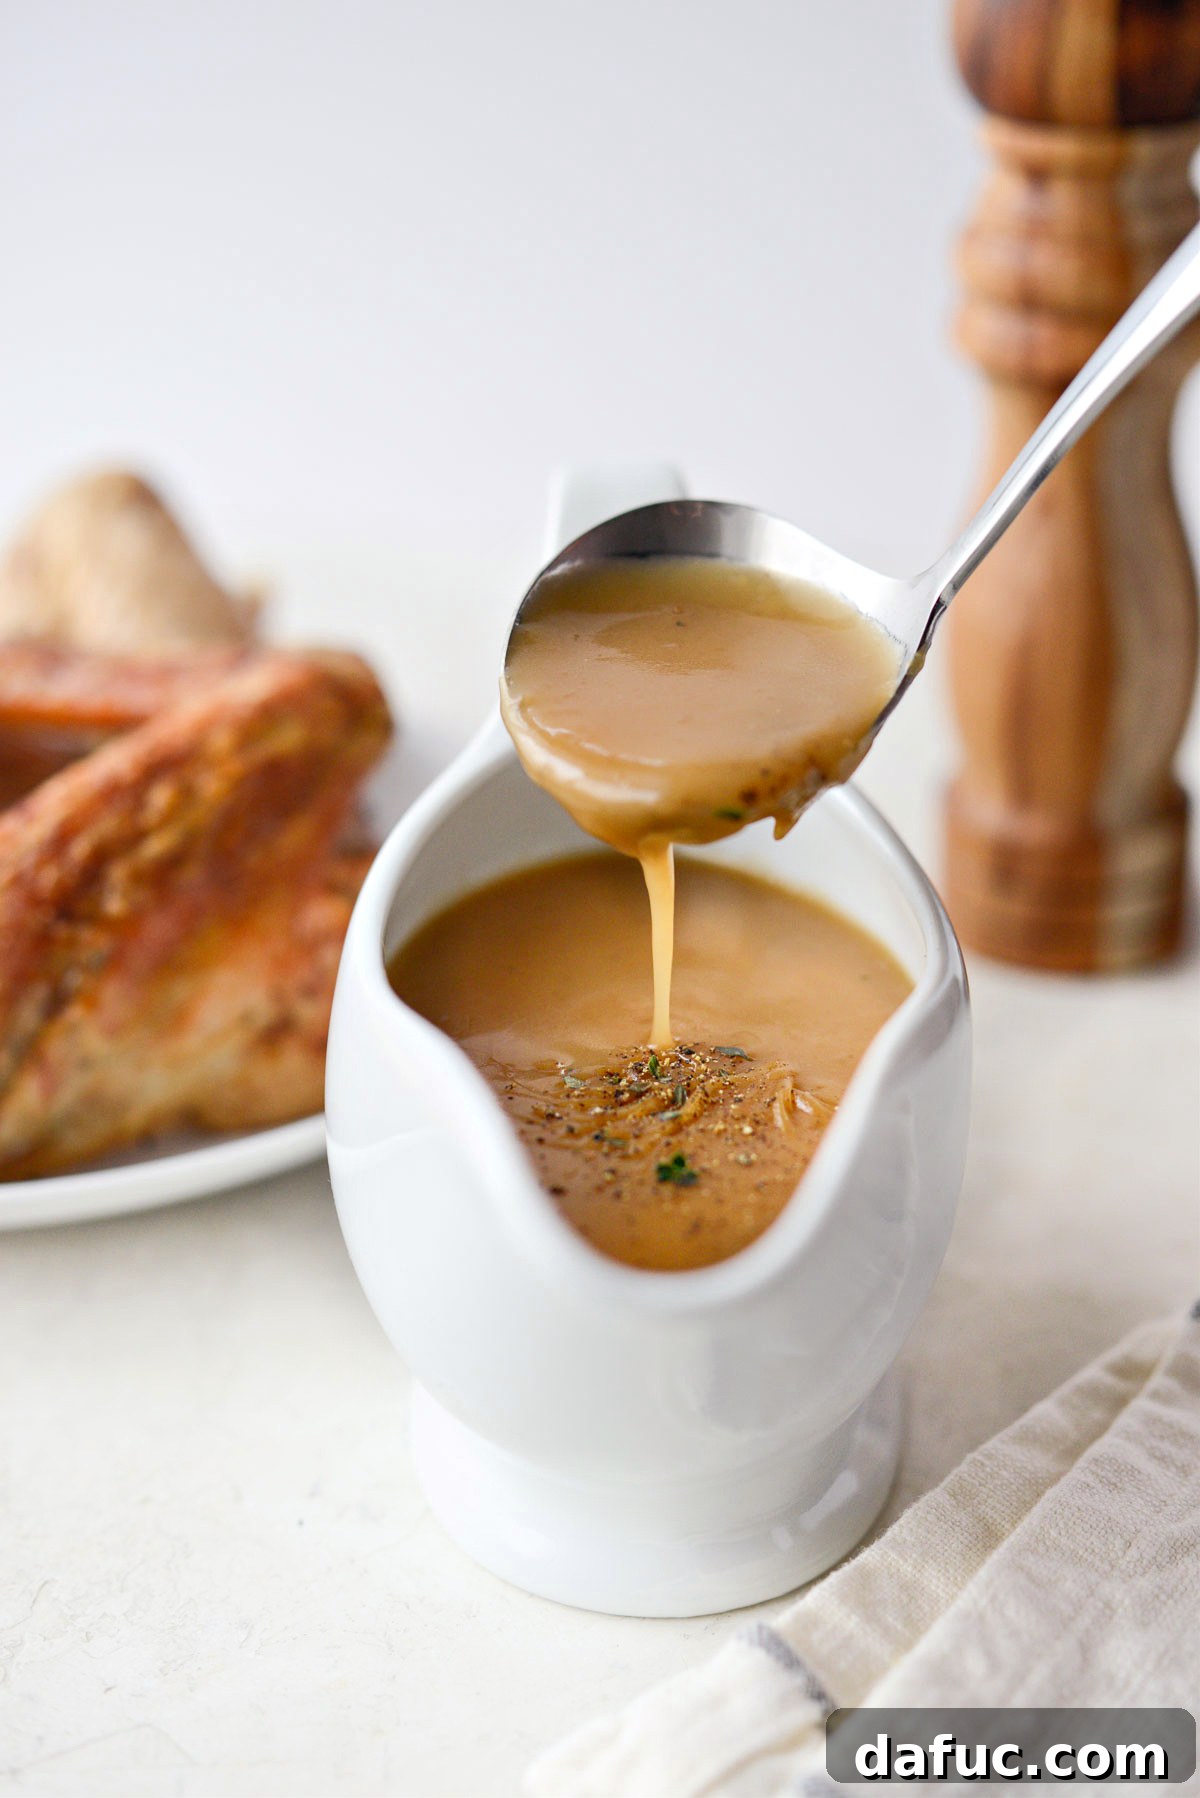
Elevate Your Holiday Feast: The Ultimate Make-Ahead Turkey Gravy Recipe
Imagine a Thanksgiving or Christmas dinner where the gravy is not an last-minute scramble but a rich, deeply flavorful masterpiece prepared days, or even weeks, in advance. This isn’t just a dream; it’s a reality with our ultimate Make-Ahead Turkey Gravy recipe. Crafted from succulent turkey wings, aromatic vegetables, and fresh herbs, slow-roasted to perfection, then simmered with a touch of wine and robust turkey stock, this gravy promises to be the star of your holiday table. Forget about lumps and last-minute stress; this recipe yields about 4 cups of liquid gold, ready to elevate every bite of your festive meal.
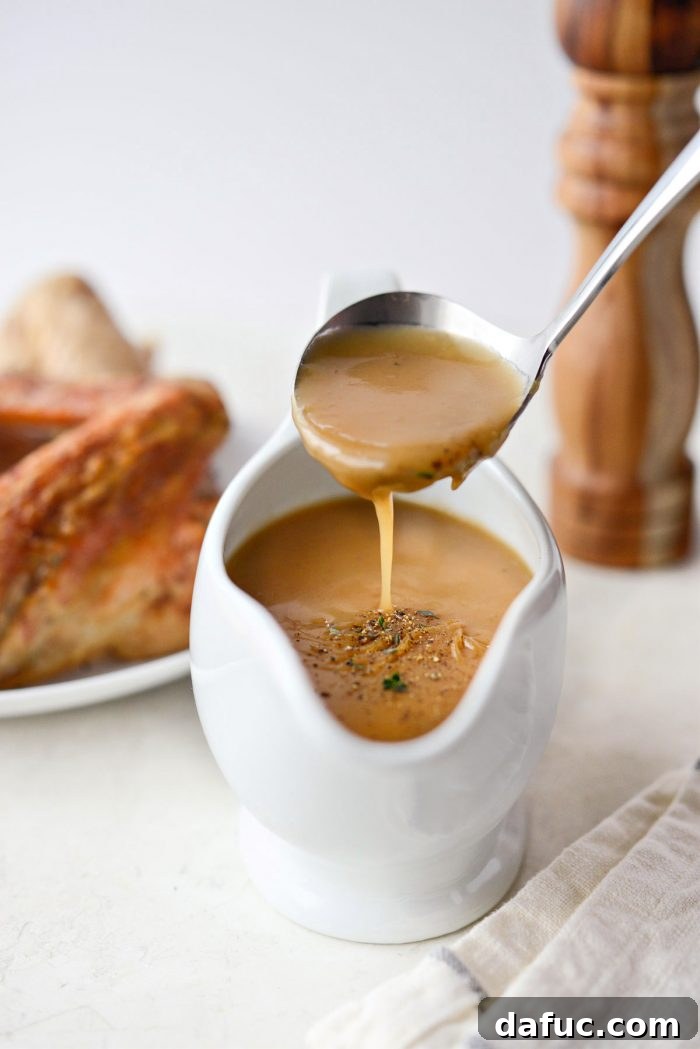
Discover the Secret to Stress-Free Holiday Gravy
The holidays are a time for joy, family, and incredible food, but they often come with a side of kitchen chaos. Gravy, in particular, can be a source of last-minute panic, especially when you’re juggling a roasted turkey, mashed potatoes, and all the trimmings. This make-ahead recipe is your ticket to a more relaxed and enjoyable holiday cooking experience. By preparing your gravy in advance, you not only free up precious stovetop space and time on the big day, but you also allow the flavors to deepen and meld, resulting in an even more exquisite sauce.
I recently rediscovered the magic of make-ahead gravy thanks to my sister, Kelly, who shared a fantastic TikTok recipe she was using for Thanksgiving. Intrigued by the simplicity and promise of a less stressful holiday, I immediately delved into the method. While I made a few minor adjustments to suit my taste and preferred techniques, the core brilliance of the recipe remained: building a rich, flavorful base through roasting.
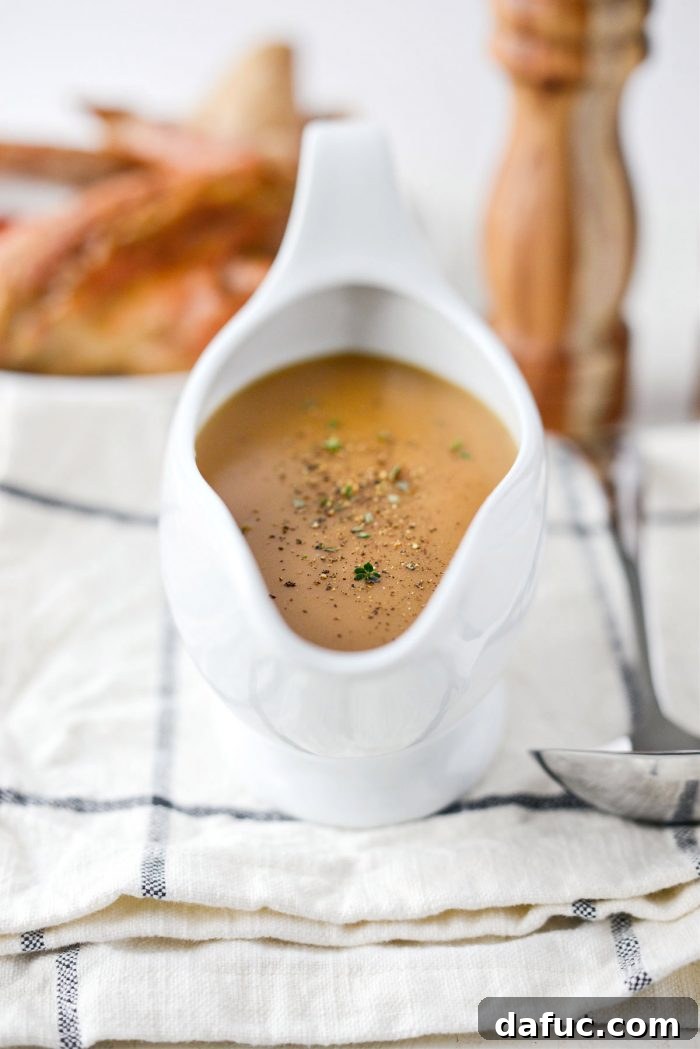
The foundation of this incredible gravy begins with roasting turkey wings alongside a medley of aromatic vegetables and fresh thyme. This slow roasting process caramelizes the ingredients, extracting maximum flavor and creating those coveted browned bits at the bottom of the pan – the ‘fond’ – which are essential for a truly spectacular gravy. Once roasted, a splash of dry white wine is used to deglaze the pan, unlocking all those rich flavors, followed by a generous pour of quality turkey stock. This aromatic liquid is then strained, forming the concentrated essence that will be gradually whisked into a buttery roux, simmering until it reaches perfect, velvety thickness.
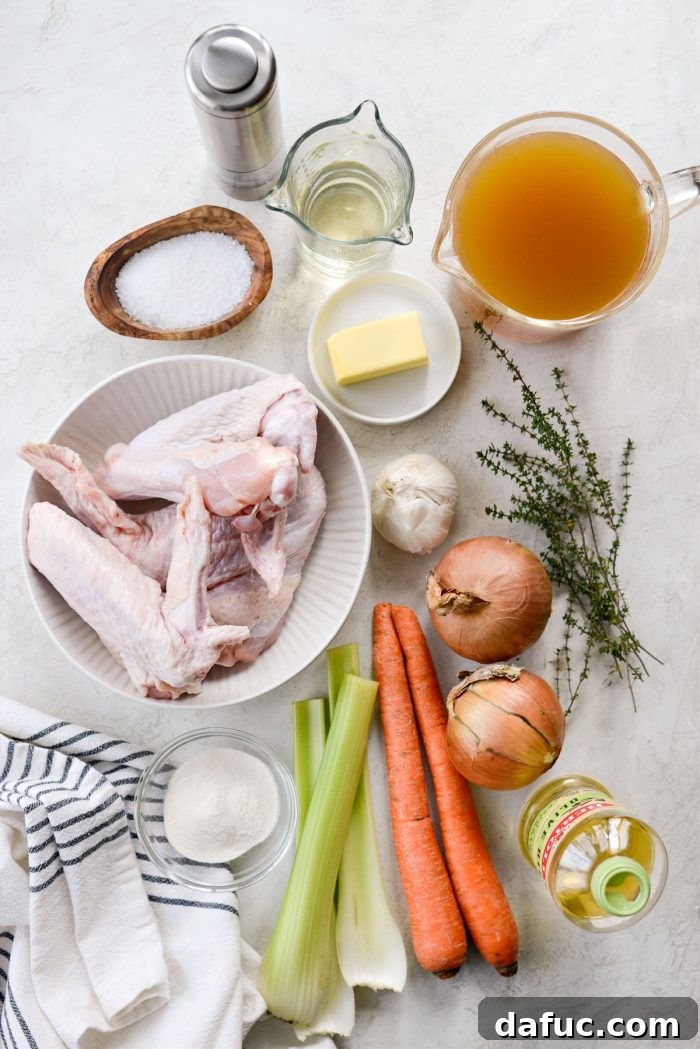
Key Ingredients for a Flavorful Make-Ahead Gravy
Crafting exceptional gravy starts with selecting quality ingredients. Here’s what you’ll need for this robust recipe and why each component plays a vital role:
- Olive Oil: Used for roasting, it helps caramelize the vegetables and turkey wings, adding a subtle richness.
- Yellow Onions, Celery, Carrots (Mirepoix): This classic aromatic base is non-negotiable for deep flavor. Roasting them brings out their natural sweetness and earthiness.
- Garlic: A whole head, halved, releases incredible fragrance and savory notes as it roasts.
- Thyme: Fresh thyme sprigs infuse the gravy with an essential herbaceous aroma that complements turkey beautifully.
- Kosher Salt & Black Pepper: Essential for seasoning at every stage, ensuring a balanced and well-rounded flavor profile.
- Turkey Wings: The hero ingredient for depth of flavor and collagen, which contributes to the gravy’s body. During the holidays, these are usually easy to find in the refrigerated meat or freezer sections of your grocery store. A single package typically contains three wings.
- Dry White Wine: Crucial for deglazing, it lifts all the browned bits from the roasting pan, adding a layer of sophisticated acidity and complexity. Choose a Chardonnay or Sauvignon Blanc that you enjoy drinking.
- Turkey Stock: The liquid base for the gravy. Homemade turkey stock is ideal if you have it, but a high-quality store-bought version works perfectly well. Chicken stock can be substituted in a pinch.
- Unsalted Butter: Forms the fat component of the roux, providing richness and a smooth texture.
- Wondra Instant Flour: The secret to a lump-free, velvety gravy. Its finely milled, pre-cooked nature ensures it dissolves easily.
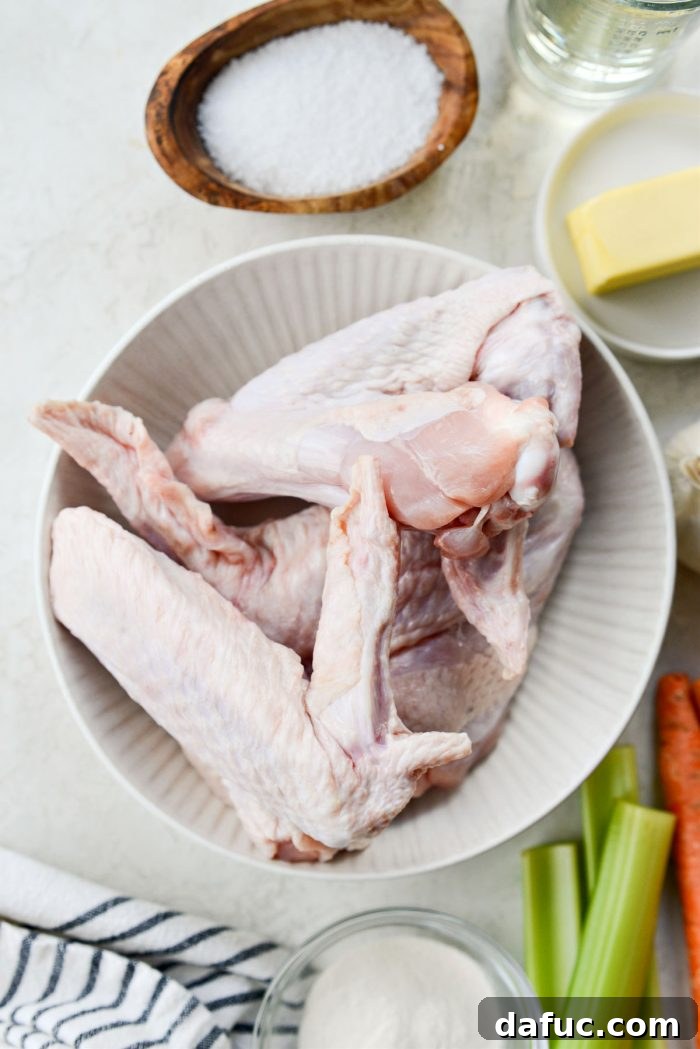
A Quick Note on Turkey Wings: If your turkey wings are frozen, remember to thaw them completely in your refrigerator for a few days before you plan to start this recipe. This ensures even roasting and better flavor extraction.
Step-by-Step Guide to Crafting Your Make-Ahead Gravy
The beauty of this recipe lies in its methodical approach, transforming simple ingredients into a deeply savory gravy. Follow these steps for an unparalleled result:
Roasting for Richness: The Flavor Foundation
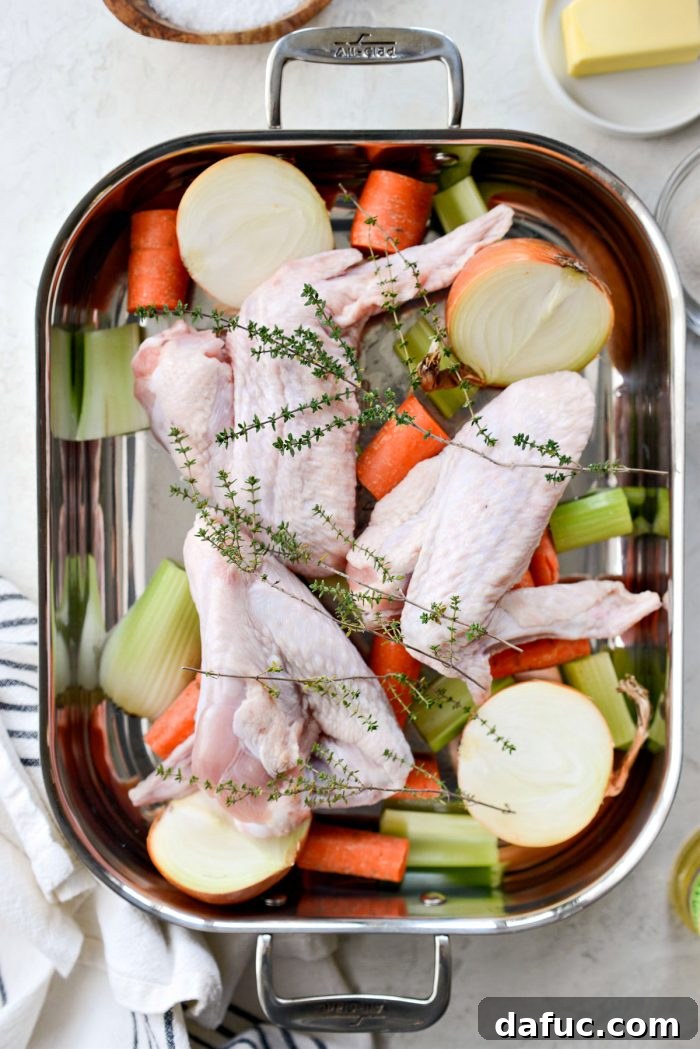
Begin by preheating your oven to 400°F (200°C). This high temperature is key to achieving excellent caramelization on your turkey wings and vegetables. Drizzle a light coating of olive oil into a sturdy roasting pan. Then, arrange your ingredients: two halved yellow onions (skin on for extra flavor and color), three roughly chopped celery stalks, two large roughly chopped carrots, one head of garlic (cut horizontally to expose the cloves), one package (usually three) of thawed turkey wings, and five to six sprigs of fresh thyme.
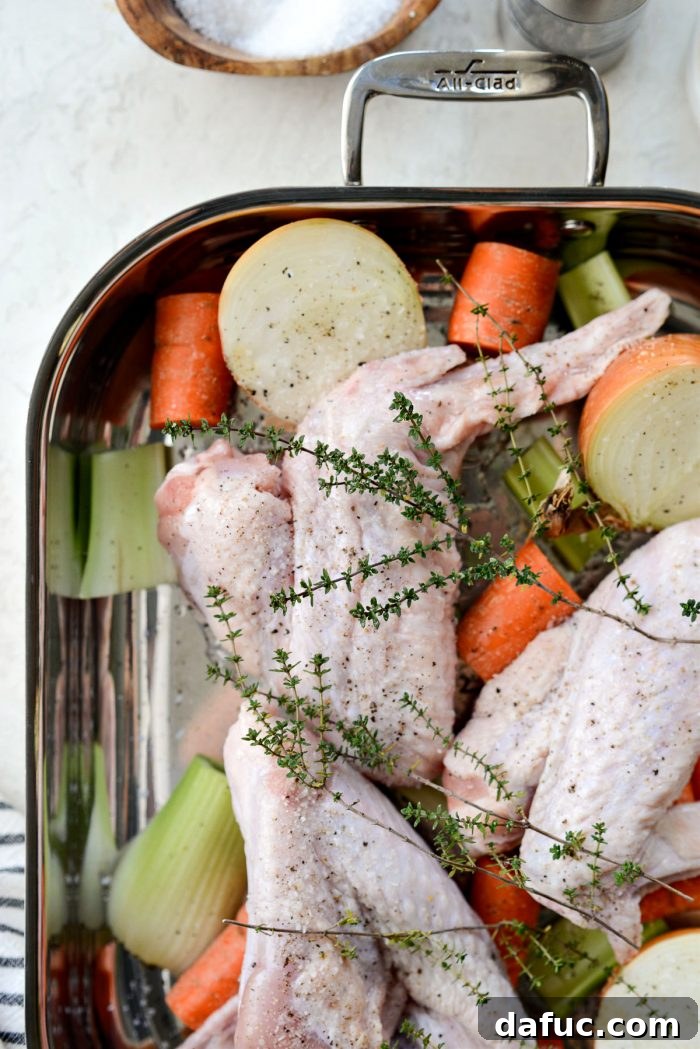
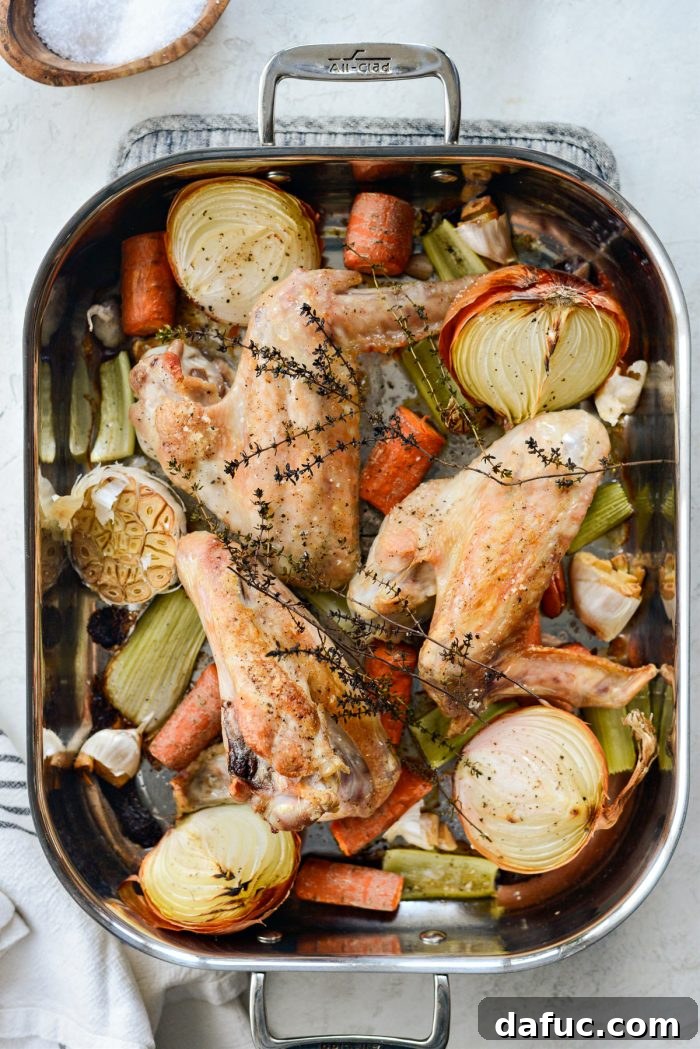
Finish with another drizzle of olive oil, then season generously with kosher salt and freshly ground black pepper. These seasonings are crucial for developing deep flavors during the roasting process. Place the uncovered roasting pan on the middle rack of your preheated oven and roast for a full hour. This initial roast is where much of the gravy’s foundational flavor is built, as the turkey wings brown and the vegetables soften and caramelize.
Deglazing and Simmering: Extracting Every Drop of Flavor
After an hour, carefully remove the roasting pan from the oven. The bottom of the pan will have delicious browned bits – this is the ‘fond,’ packed with concentrated flavor. To capture it, pour in 1/2 cup of dry white wine. Using a sturdy wooden spoon or spatula, scrape up all those flavorful bits from the bottom of the pan while the wine gently simmers. This process, known as deglazing, adds incredible depth to your gravy.
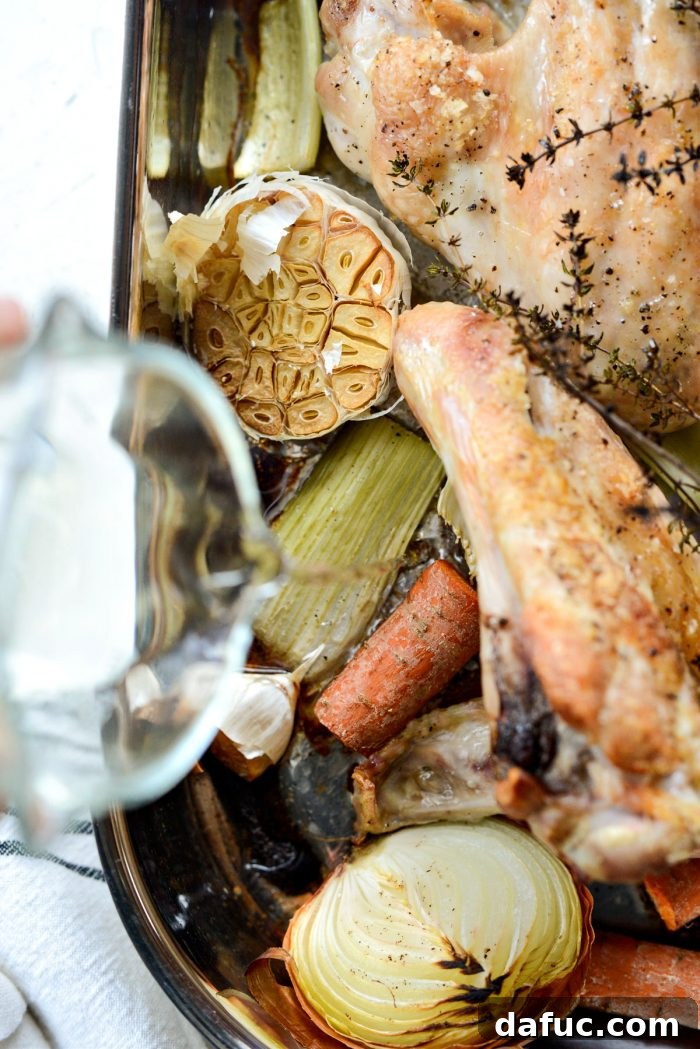
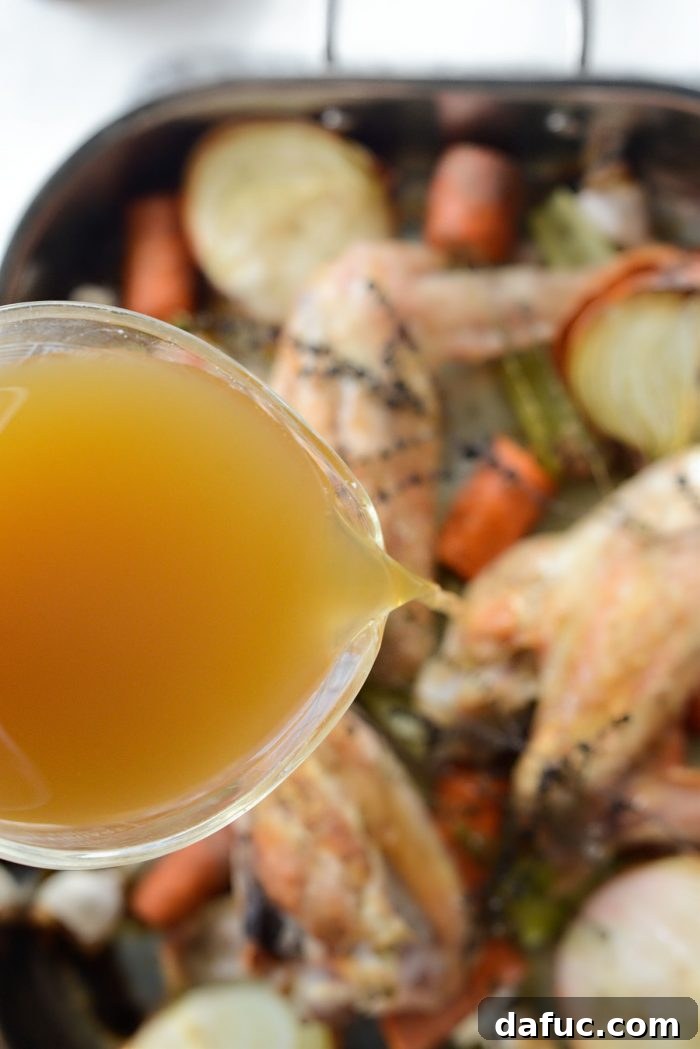
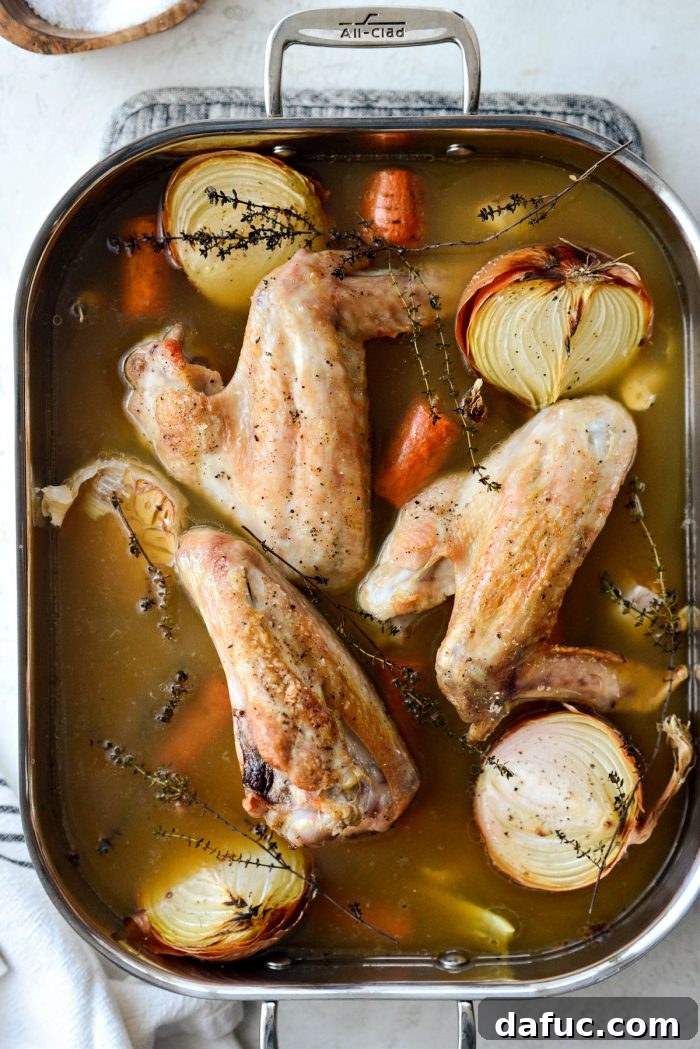
Next, pour in 6 cups of quality turkey stock. If you have homemade stock, this is the time to use it for an even richer result. If not, a good store-bought turkey or even chicken stock will work wonderfully. Give everything a good stir to combine the liquids with the roasted ingredients. Return the pan to the oven for an additional 45 minutes, allowing the liquid to simmer and reduce, intensifying its flavor by almost half.
Straining for Smoothness: The Liquid Gold
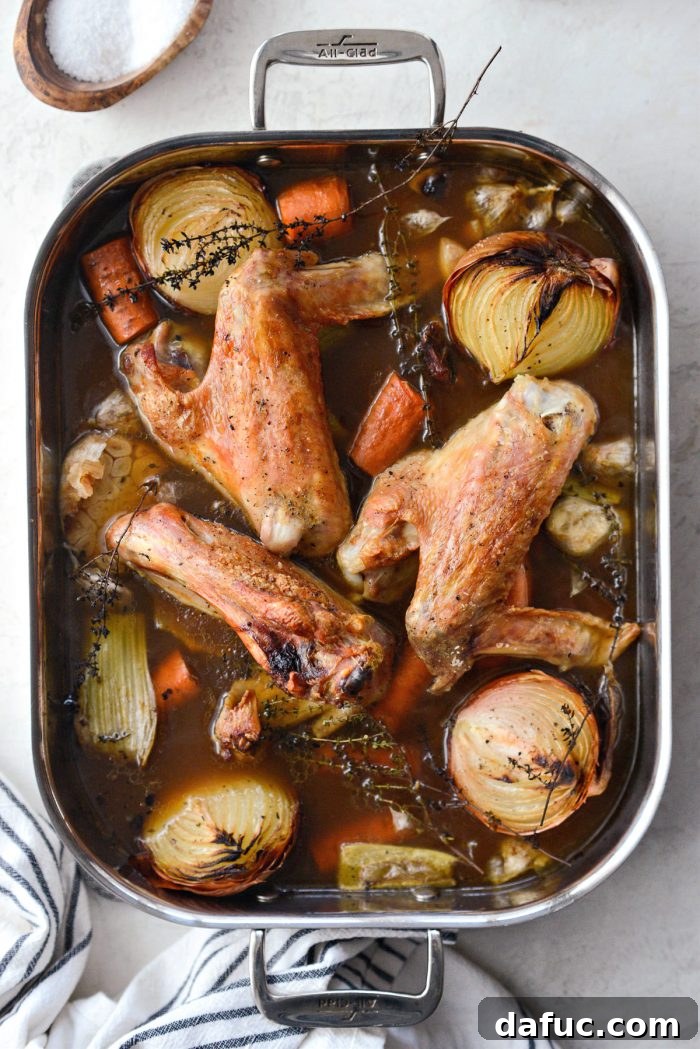
Once the simmering and reduction are complete, your kitchen will be filled with the intoxicating aroma of Thanksgiving! This is truly “liquid gold.” Carefully remove the pan from the oven. Using tongs, transfer the turkey wings to a carving board. You can pick off any meat for use in other dishes, like a hearty turkey soup or salad, or simply discard the wings after they’ve given their all to the gravy.
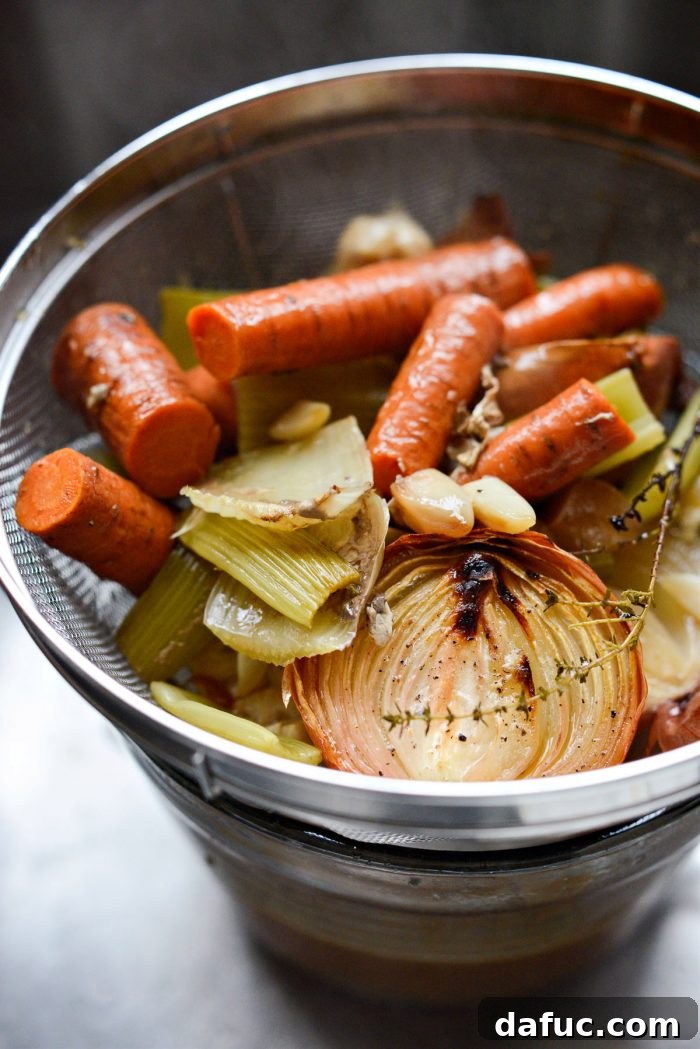
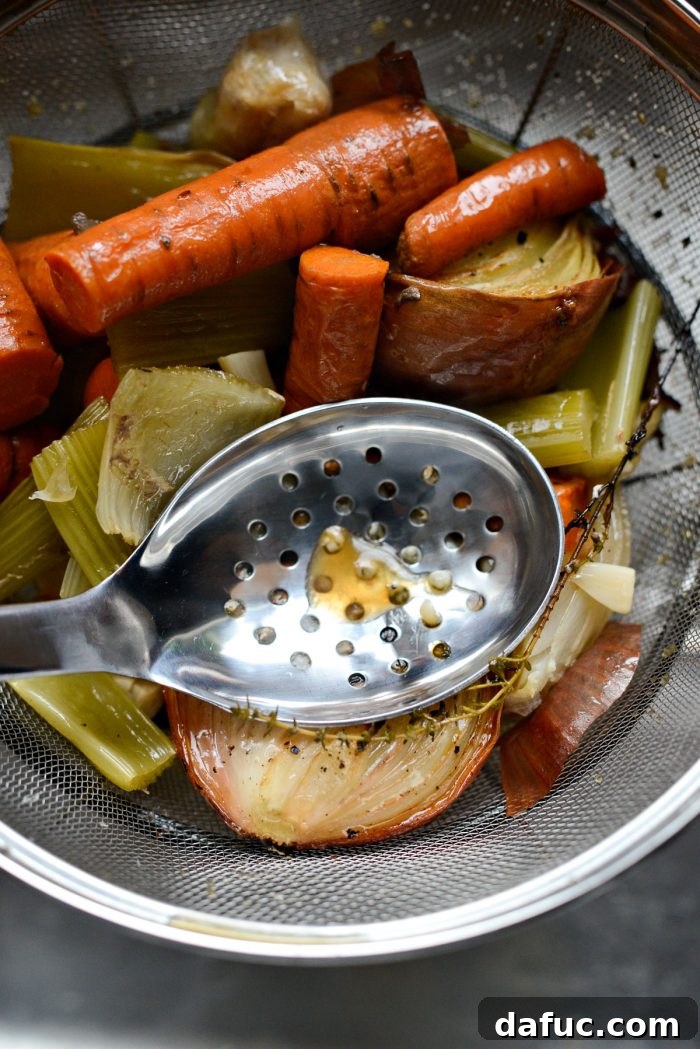
Place a fine-mesh sieve over a large, heatproof bowl. Carefully pour all the cooking liquids and roasted vegetables through the sieve. Once the liquid has passed through, use the back of a metal or wooden spoon to press firmly on the vegetables in the sieve. This extracts every last drop of flavorful juice, ensuring your gravy base is as rich and potent as possible. Discard the spent vegetables.
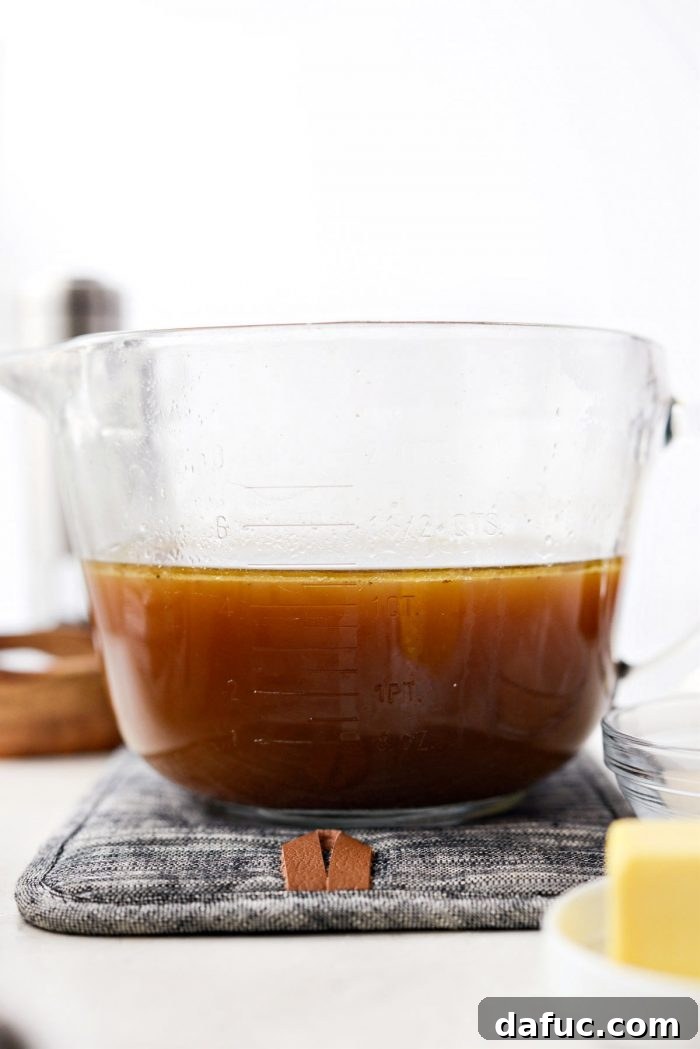
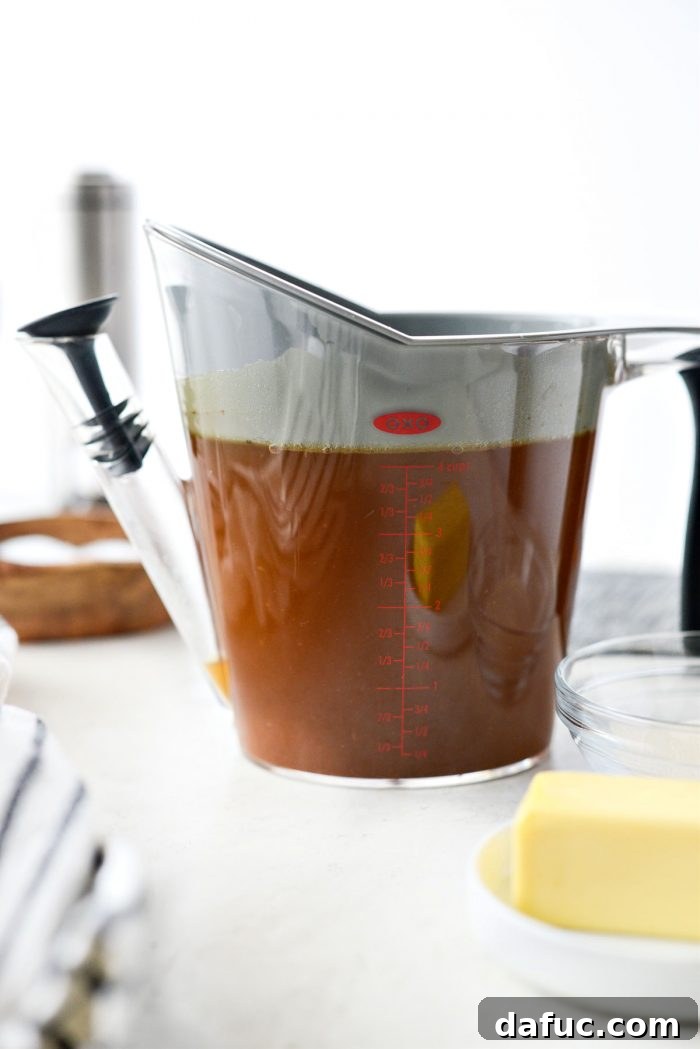
For an even silkier gravy, especially if you prefer it less fatty, transfer the strained liquid into a fat separator. Allow the fat to rise to the top, then pour the flavorful broth from the bottom spout into a clean bowl or back into your saucepan. This step ensures a clean, rich flavor without excess grease.
Building the Roux and Thickening the Gravy
Now it’s time to transform your flavorful broth into luscious gravy. In a clean saucepan, melt 4 tablespoons of unsalted butter over medium heat. Once the butter is fully melted and slightly shimmering, whisk in 6 tablespoons of Wondra instant flour. Stir continuously for about 1 minute until the flour is fully dissolved and forms a smooth paste (the roux). Wondra flour is a game-changer here because it’s ultra-fine and pre-cooked, preventing lumps and creating a consistently smooth gravy.
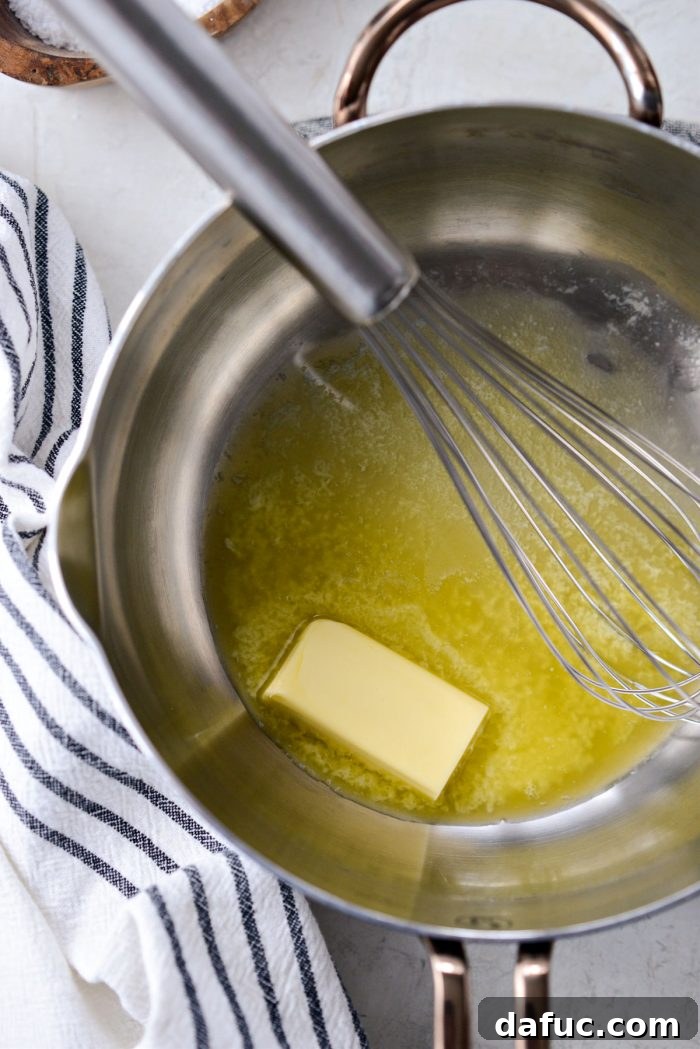
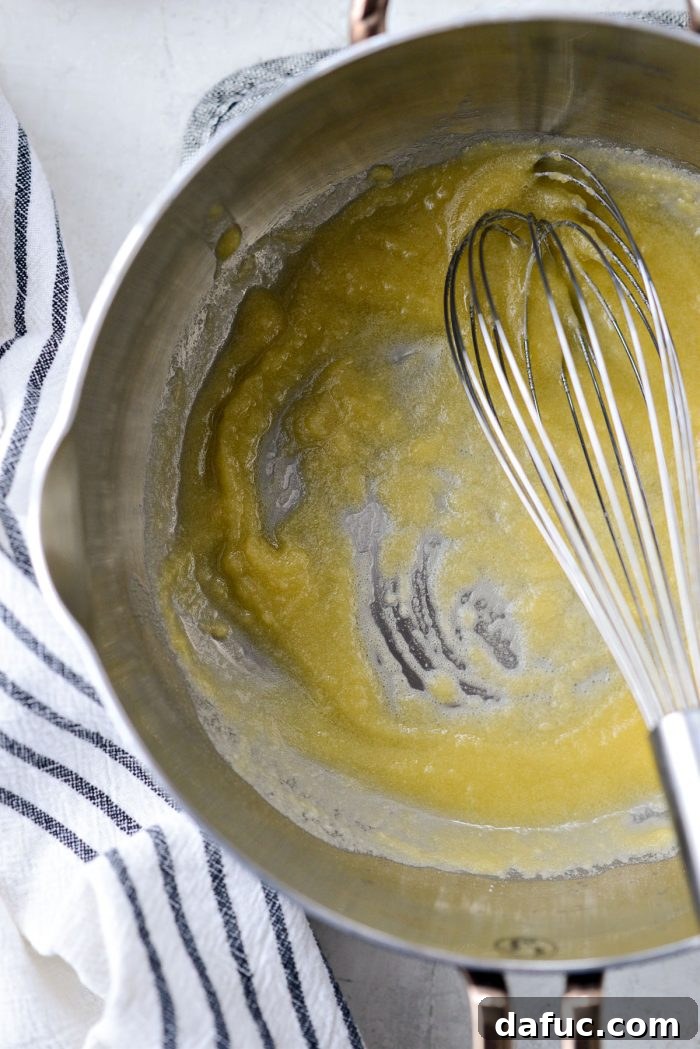
What is Wondra Flour? Wondra is an instant, low-protein flour that has been specially processed (pre-cooked and dried). Its ultra-fine texture allows it to dissolve instantly in liquids, making it perfect for creating smooth, lump-free sauces and gravies. It’s truly a secret weapon for home cooks aiming for professional results.
Once your roux is ready, slowly begin pouring in your strained turkey stock, whisking constantly to incorporate the liquid smoothly into the flour mixture. Continue whisking as you add all of the “liquid gold.”
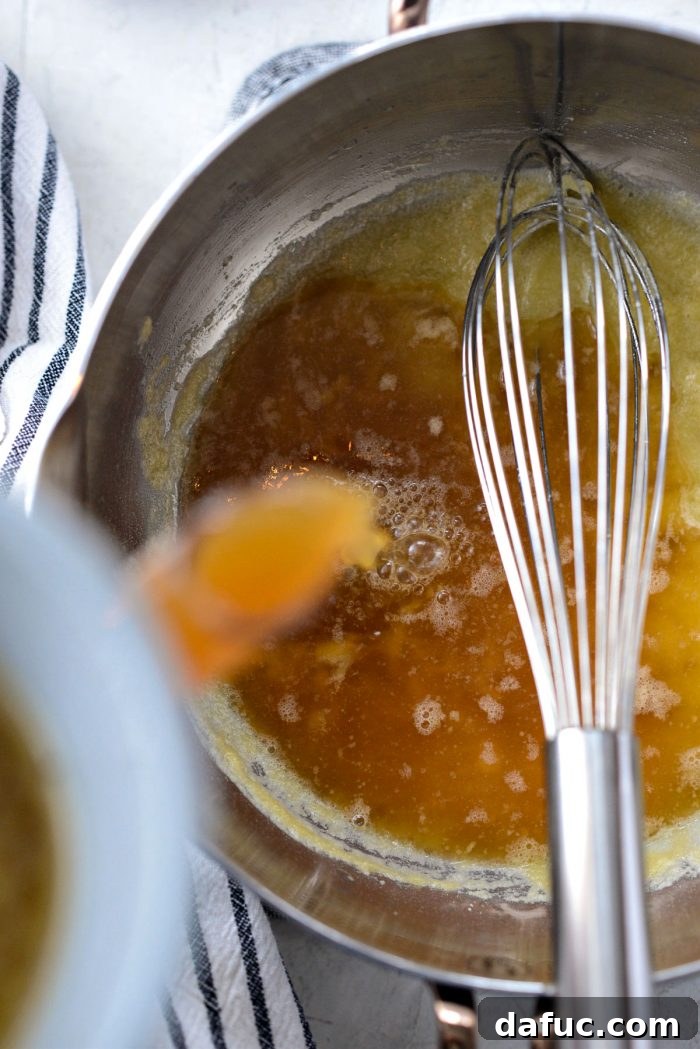
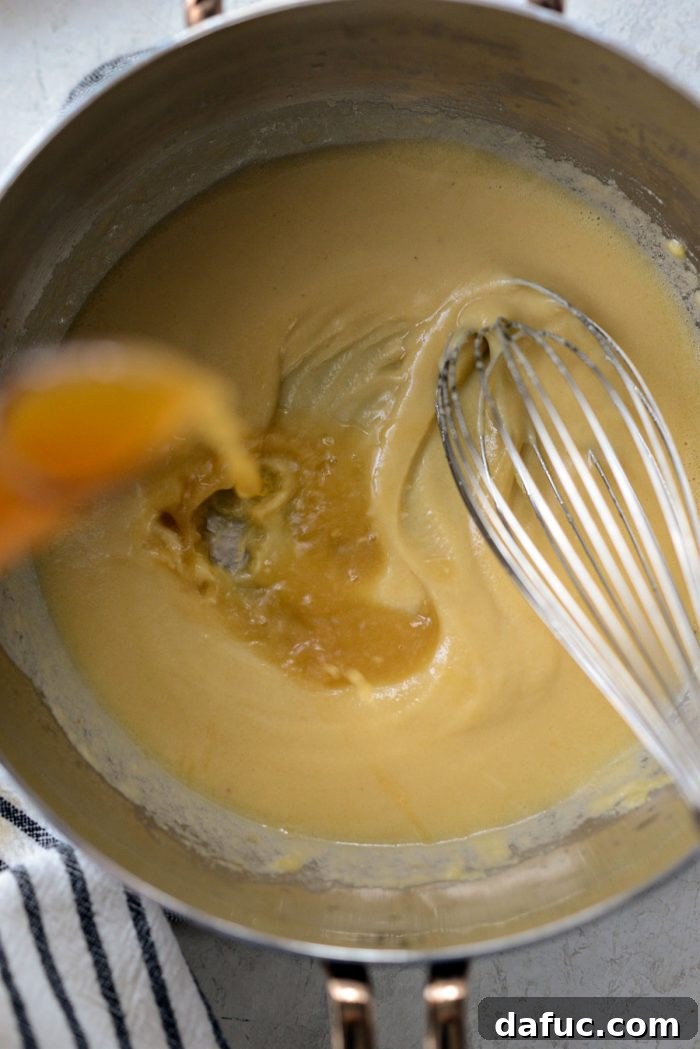
Bring the gravy to a simmer over medium heat, then reduce the heat to medium-low and continue to whisk frequently while the gravy gently simmers. This simmering process allows the flour to fully thicken the liquid and for the flavors to marry beautifully.
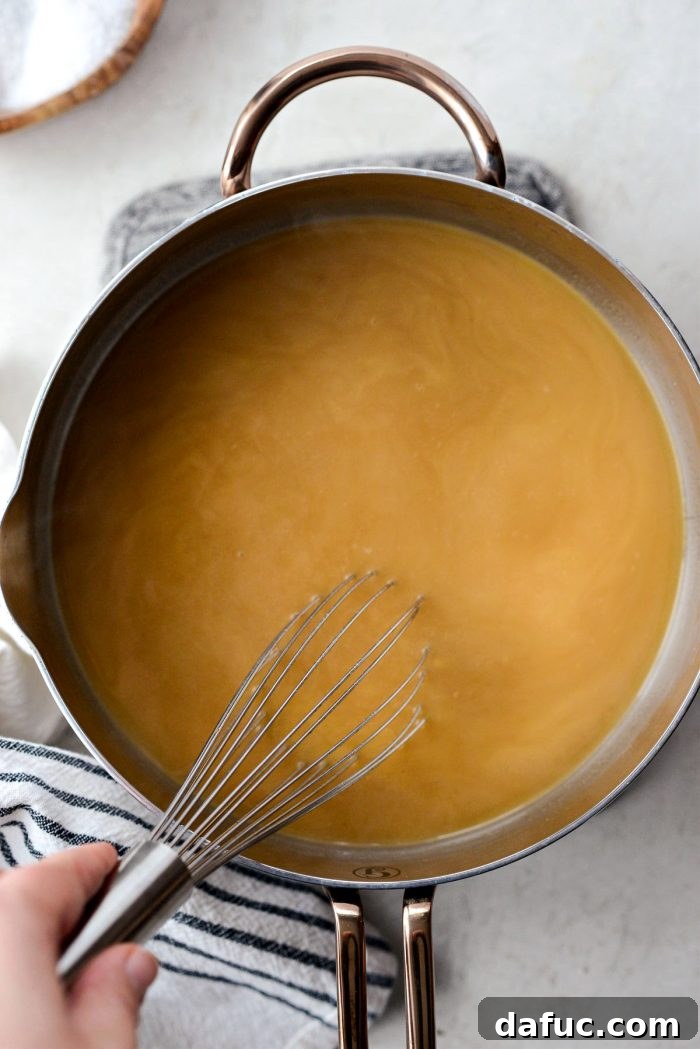
Achieving Perfect Gravy Consistency
How Long Will It Take Homemade Gravy To Thicken? Patience is a virtue when it comes to gravy, and achieving the perfect thickness can take anywhere from 45 minutes to an hour of simmering and whisking. However, if you’re like me and short on time (or simply eager to enjoy your gravy!), there’s a quick trick. After about 30 minutes of simmering, you can introduce a cornstarch slurry. For a thinner gravy, whisk 2 tablespoons of cornstarch with 2 tablespoons of cold water until smooth, then whisk it into the simmering gravy. For a thicker, more luxurious gravy (which is how we prefer it!), use 3 tablespoons of cornstarch mixed with 3 tablespoons of cold water. Add the slurry gradually, whisking constantly, until your desired thickness is reached. The gravy will thicken considerably within a few minutes.
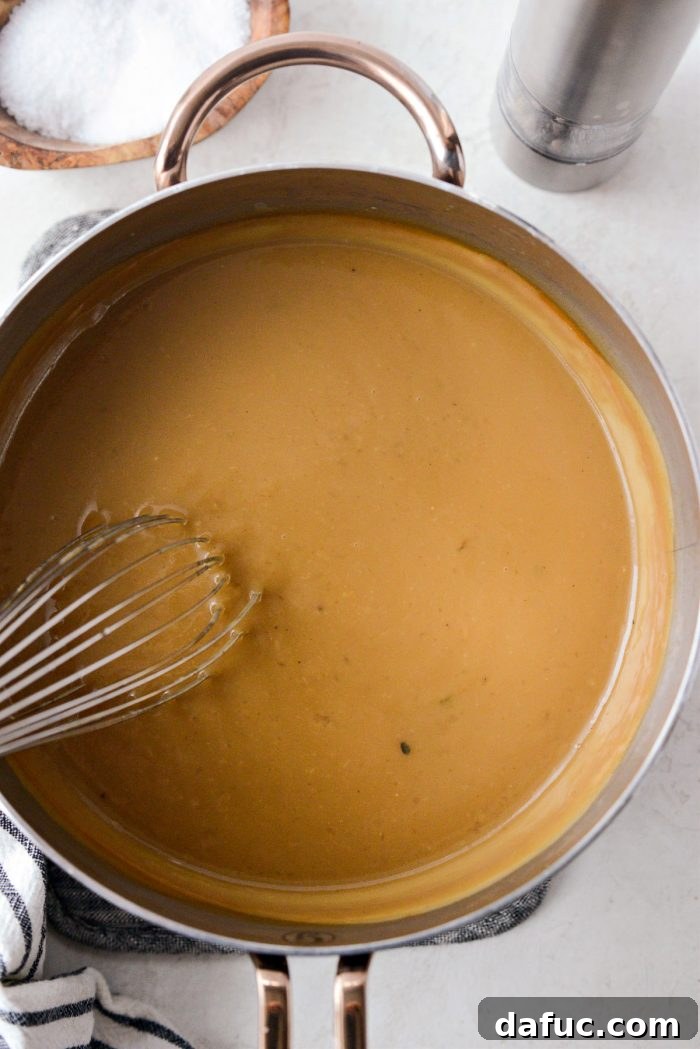
Once your gravy has reached the desired consistency, taste it and adjust the seasoning with more kosher salt and freshly ground black pepper if needed. Remember, the flavors will continue to meld as it cools. Allow the gravy to cool completely before transferring it to storage containers.
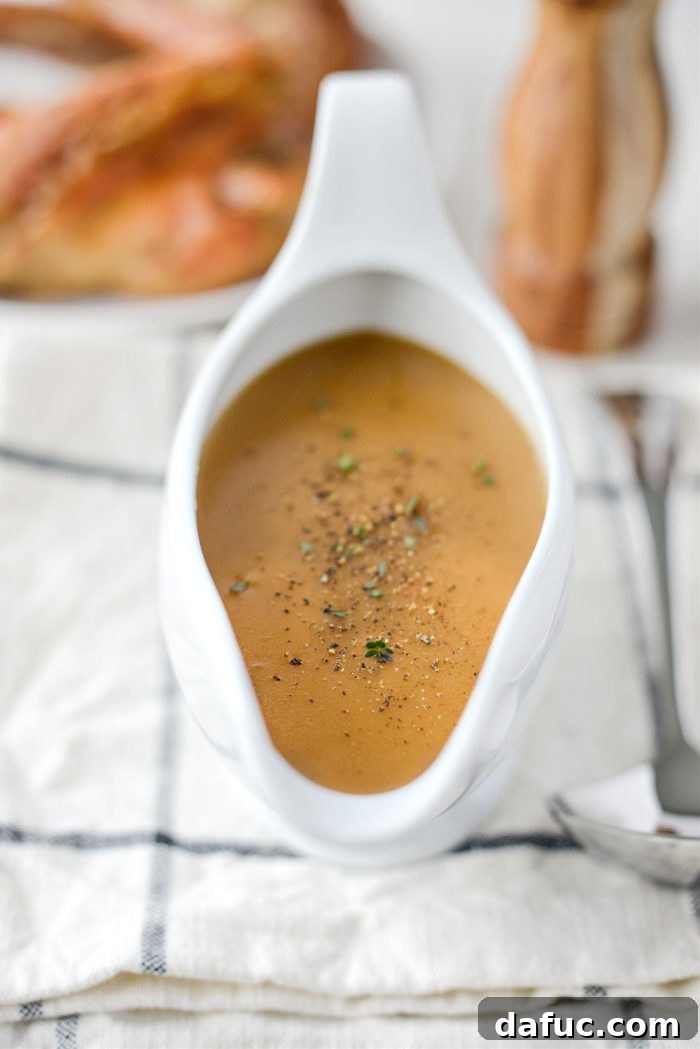
Storing, Freezing, and Reheating Your Make-Ahead Gravy
The beauty of this Make-Ahead Turkey Gravy lies in its versatility for storage:
When To Make “Make Ahead Turkey Gravy”?
You can prepare this glorious gravy as early as a month in advance! Simply cool it completely, then transfer it to freezer-safe containers or bags and freeze. When you’re ready to use it, remember to thaw it completely in the refrigerator before reheating. If you prefer to make it closer to the holiday, it can be prepared 3 to 4 days in advance and kept refrigerated in an airtight container.
How To Reheat Make Ahead Turkey Gravy:
On the day of your feast, transfer the gravy to a saucepan and reheat gently over low heat, stirring occasionally, until it is hot and steaming. If the gravy appears too thick after reheating, don’t worry! Simply whisk in a few splashes of turkey stock or low-sodium chicken broth until it reaches your preferred consistency. Avoid boiling it rapidly, as this can sometimes cause the gravy to break or become lumpy.
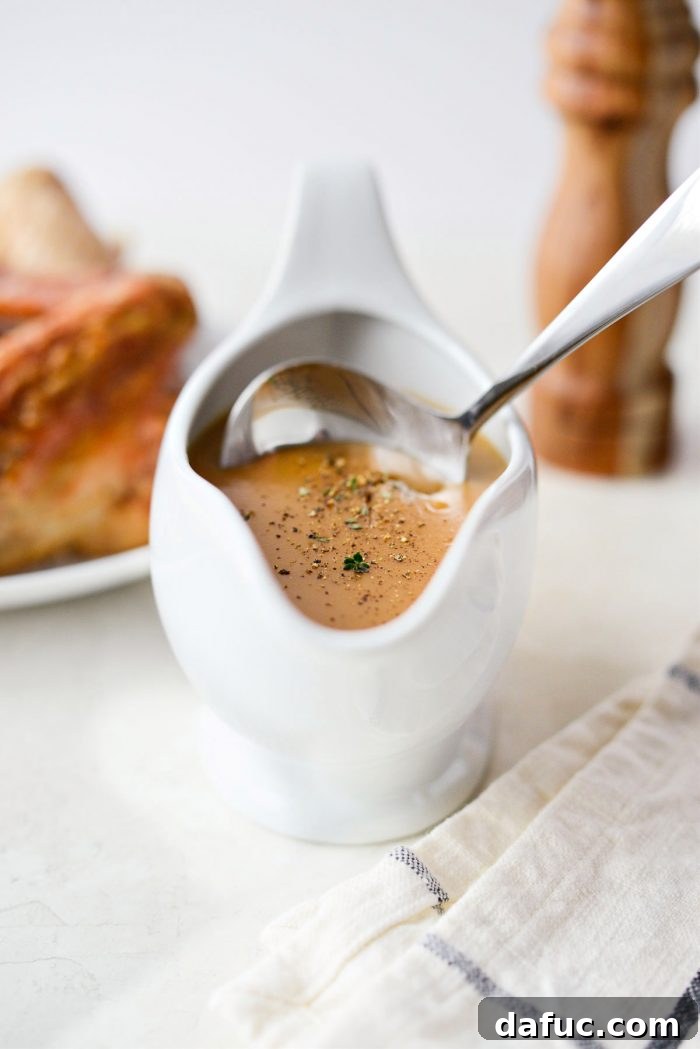
Pro Tip for Serving Gravy:
To ensure your gravy stays warm throughout your meal, especially important during a lengthy holiday dinner, try this simple trick: While your gravy is reheating, fill your gravy boat with very hot water. Just before serving, empty the hot water, quickly wipe the boat dry, and then fill it with your freshly warmed gravy. The residual heat from the gravy boat will help keep your gravy wonderfully warm at the table.
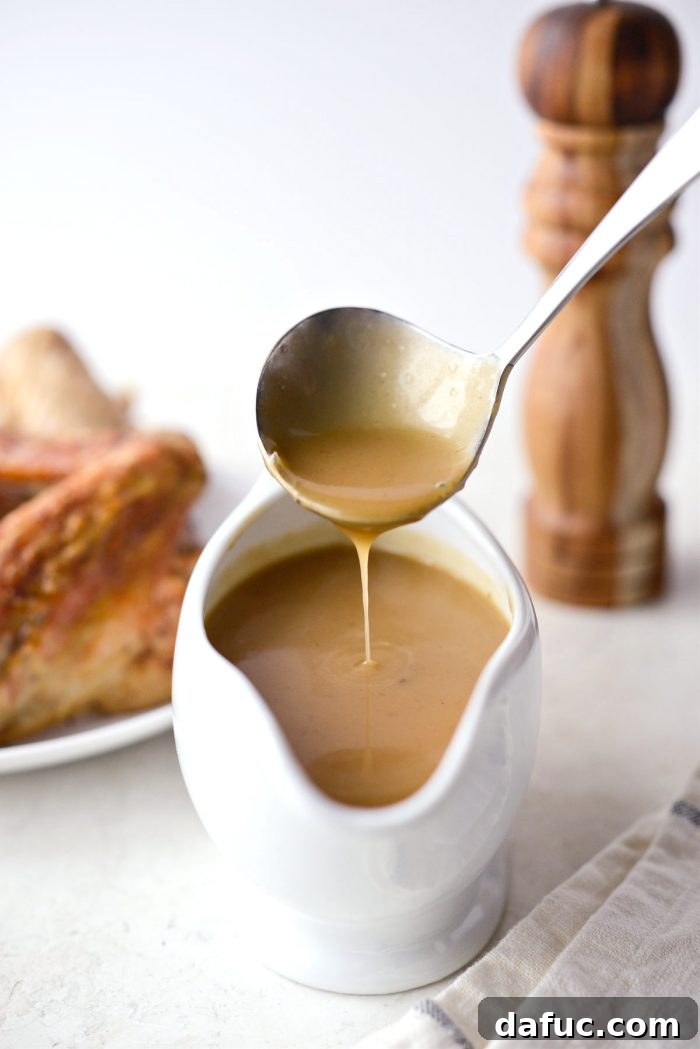
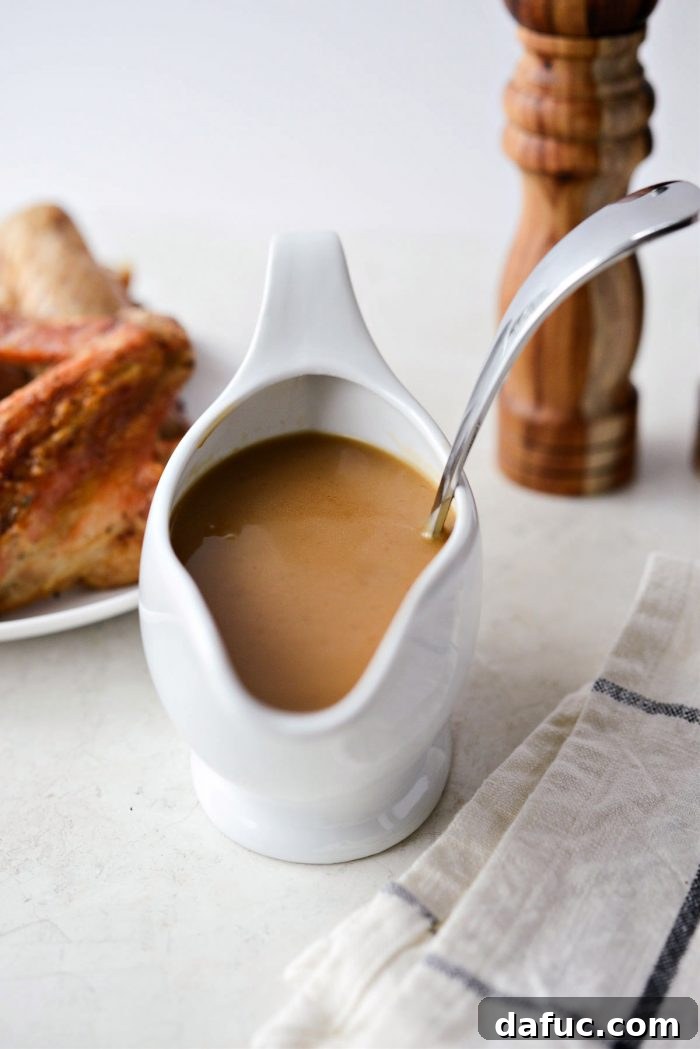
Enjoy your perfectly crafted, stress-free gravy! If you try this Make Ahead Turkey Gravy recipe, I’d love to hear about it. Snap a photo and share it, tagging me on Twitter or Instagram! Your feedback and creations truly inspire me.

Print Recipe
Pin Recipe
★
★
★
★
Leave a Review »
Make Ahead Turkey Gravy
Ingredients
- olive oil
- 2 yellow onions, halved, skin left on
- 2 carrots, washed, unpeeled and chopped into 2-inch pieces
- 3 short stalks celery, coarsely chopped into 2-inch pieces
- 1 head garlic, cut in half horizontally
- 1 package (of 3) turkey wings, thawed if frozen
- kosher salt
- freshly ground black pepper
- 6 sprigs thyme, about 4 to 5-inches long
- 1/2 cup dry white wine, like chardonnay or sauvignon blanc
- 6 cups turkey stock, or sub with chicken stock
- 4 tablespoons unsalted butter
- 6 tablespoons Wondra instant flour, or sub with unbleached all-purpose flour *see notes beforehand
Equipment
-
All-Clad 00830 Stainless-Steel Lasagna Pan with 2 Oven Mitts/Cookware, Silver
-
Anchor Hocking 8-cup Liquid Measuring cup or Mixing Bowl
-
1 litre Oxo Good Grips Gravy Separator , Strainer , Filter , Pourer and Server .
-
Cuisinart Mesh Strainer Set of 3
Instructions
-
Preheat your oven to 400℉ (or 200℃).
-
Add a little olive oil to the bottom of your roasting pan. Add onions, carrots, celery, garlic, turkey wings and thyme.
-
Drizzle more olive oil over top and season with a few pinches kosher salt and some freshly ground black pepper. Roast uncovered for 1 hour.
-
Deglaze the pan with wine. Pour in the broth and return the pan to the oven and continue roasting for 45 more minutes or until the liquids have reduced by half.
-
Remove turkey wings to a cutting board. Use the meat for a recipe (like soup!) or discard.
-
Strain the broth through a mesh strainer set into a bowl. Press the vegetables before discarding to get any liquids from them as well.
-
In a saucepan, melt the butter. Once melted, whisk in the flour until dissolved. Then gradually pour in the hot broth.
-
Bring to a simmer over medium heat then reduce to medium-low and continue whisking while the gravy simmers. This could take 45 to 1 hour. Or if you’re like me and don’t want to wait that long, after about 30 minutes, make a cornstarch slurry and whisk it in. For a thinner gravy, whisk 2 tablespoons cornstarch with 2 tablespoons water. And for a thicker gravy (what we like!) I do 3 tablespoons of each.
-
Taste and season with more salt and pepper, if desired.
-
Once thickened, let cool before storing.
-
Make this as early as a month in advance and freeze – thaw before reheating. Or prepare it 3 to 4 days in advance and keep refrigerated in an air-tight container and reheat the day of.
To Reheat:
-
Thaw completely if frozen.
-
Add the gravy to a sauce pan and heat on low until hot.
-
If the gravy is too thick once reheated, add a few splashes of turkey stock or low-sodium chicken broth to thin it out
Notes
Pro Tip: While the gravy is warming, I fill the gravy boat with very HOT water. Then when it’s time to serve the meal, I empty the gravy boat and quickly wipe it out before filling it with the gravy. This will keep it nice and warm.
Nutrition Disclaimer: All information presented on this site is intended for informational purposes only. I am not a certified nutritionist and any nutritional information shared on SimplyScratch.com should only be used as a general guideline.