
Mastering Smoked Pork Shoulder: Your Ultimate Guide to Tender, Juicy Pulled Pork
Welcome to the ultimate guide for creating mouth-watering smoked pork shoulder right in your own backyard! In this comprehensive post, we’ll walk you through our tried-and-true method for brining, rubbing, smoking, and serving the most incredibly tender, fall-apart, and deliciously smoky pulled pork. Whether you’re a novice looking to embark on your smoking journey or an experienced enthusiast seeking new tips, this detailed recipe promises results that will rival—if not surpass—your favorite BBQ establishments.
Our journey into the world of smoking began recently, but it quickly transformed into a profound passion. Inspired by friends and extensive research, we invested in an electric smoker from Smokin-It, a highly-recommended Michigan-based family business. This particular model, a Smokin-It Model #3D Wifi Gen 4, has become an invaluable tool in our kitchen arsenal, making the process both enjoyable and efficient.
Beyond the smoker itself, successful pulled pork requires a few key items: a spacious brining bucket, ample refrigerator space for said bucket, high-quality hardwood chunks for that authentic smoky flavor, heavy-duty aluminum foil, a reliable cooler, and a collection of old towels. We also highly recommend keeping a dedicated notebook to jot down not just recipes, but precise weights, times, and temperatures. This personal log is crucial for replicating success and continually refining your technique. Modern smokers often feature digital thermometers with multiple probes, offering real-time insights into both smoker and meat temperatures, a convenience that greatly simplifies the entire process.
This guide is packed with information, meticulously broken down into easy-to-follow sections. While we’ve honed our craft, much of our learning comes from consulting seasoned pitmasters, forums like the Smokin-It community, and adapting methods perfected by those who mastered the art of smoking long before us. Every technique and recipe shared here is a testament to that collective wisdom, ensuring you have the best possible foundation for your smoking adventure.
The moment we tasted our first batch of homemade pulled pork, we knew we had to share this experience. The succulent tenderness and profound smoky flavor were simply unbelievable, easily rivaling the best BBQ joints we’d ever visited, from legendary spots like Stubb’s in Austin, Texas, to cherished local eateries around Detroit. Smoking meat at home has truly redefined our barbecue standards, a delicious “blessing” that makes every future restaurant visit a tough comparison.
1. Essential Smoker Setup: Preparing for the Smoke
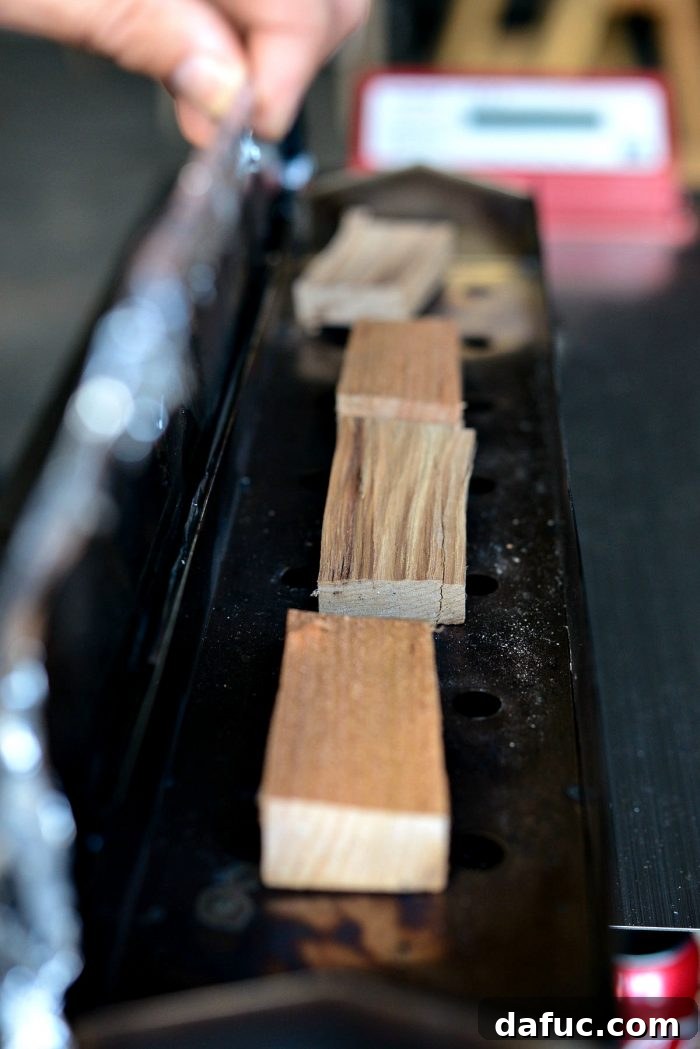
The journey to perfect pulled pork begins with proper smoker preparation. There’s a vast array of smokers available, but our electric smoker, which utilizes hardwood chunks for long smokes and wood chips for quicker cooks, is ideal for a pork shoulder. The choice of wood is paramount; for pork shoulder, we favor a blend of cherry and hickory for a balanced, sweet, and robust smoky profile.
Our routine ensures everything is in place before the meat is ready. While the brine is being prepared, we focus on setting up the smoker. This involves lining the bottom of the smoker and the top of the smoke box with heavy-duty aluminum foil. This simple step is a game-changer for cleanup, as it catches the inevitable drippings and ash. Next, we carefully measure out the hardwood—typically 6 ounces total, split between 3 ounces of cherry and 3 ounces of hickory, as this combination imparts a beautiful color and a depth of flavor that complements pork exceptionally well. Finally, a small can (with the top removed) filled with water is placed inside the smoker. This water pan is crucial for adding moisture to the smoking environment, preventing the meat from drying out and helping to create that desired tender texture.
2. The Art of Brining: Infusing Flavor and Juiciness
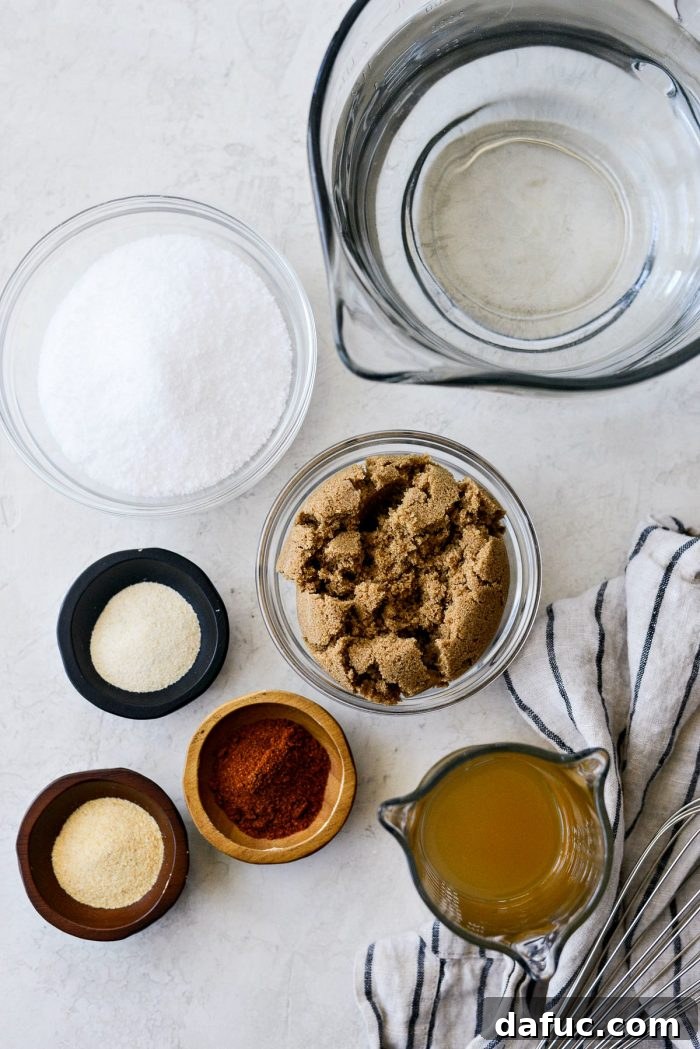
Brine Ingredients You’ll Need:
- Kosher salt
- Dark brown sugar
- Apple cider vinegar
- Garlic powder
- Onion powder
- Cayenne pepper
- Water
- Ice
Brining is a critical step that significantly enhances the flavor and moisture retention of your pork shoulder. It’s essential to prepare the brine the day before you plan to smoke. We typically make the brine in the morning, allowing it to cool completely before the meat begins its 12 to 14-hour bath.
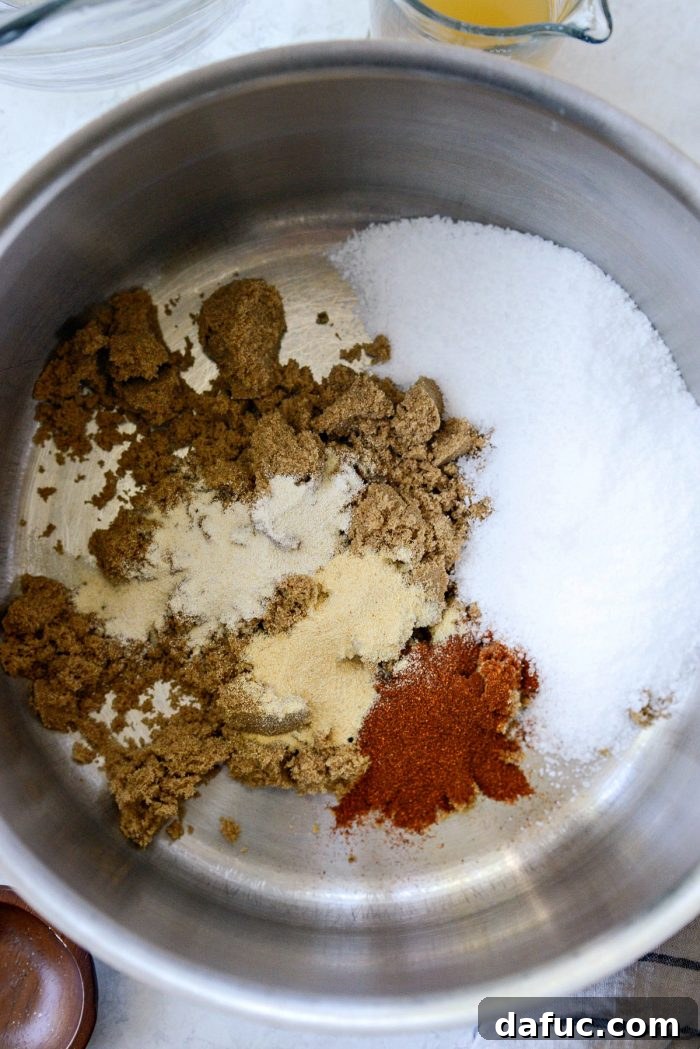
In a large stockpot, combine the following ingredients: 1 cup plus 2 tablespoons of kosher salt, 1 cup of dark brown sugar, 1/2 cup of apple cider vinegar, 1 tablespoon of garlic powder, 1 tablespoon of onion powder, and 1 tablespoon of cayenne pepper.
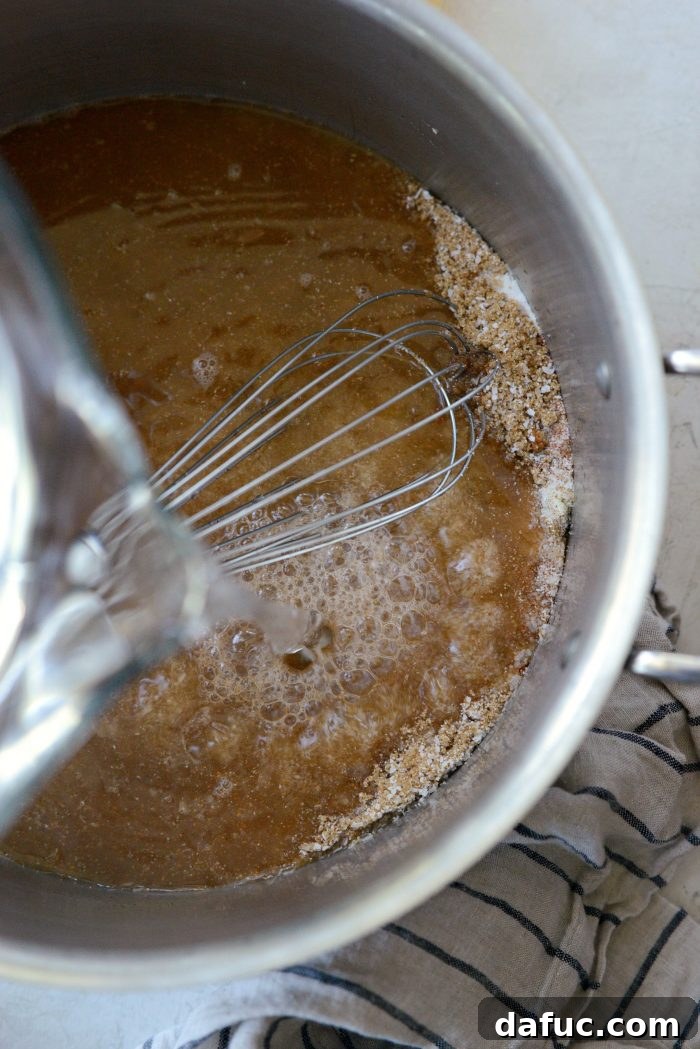
Pour in 8 cups of cool water and whisk the mixture thoroughly until all ingredients are well combined.
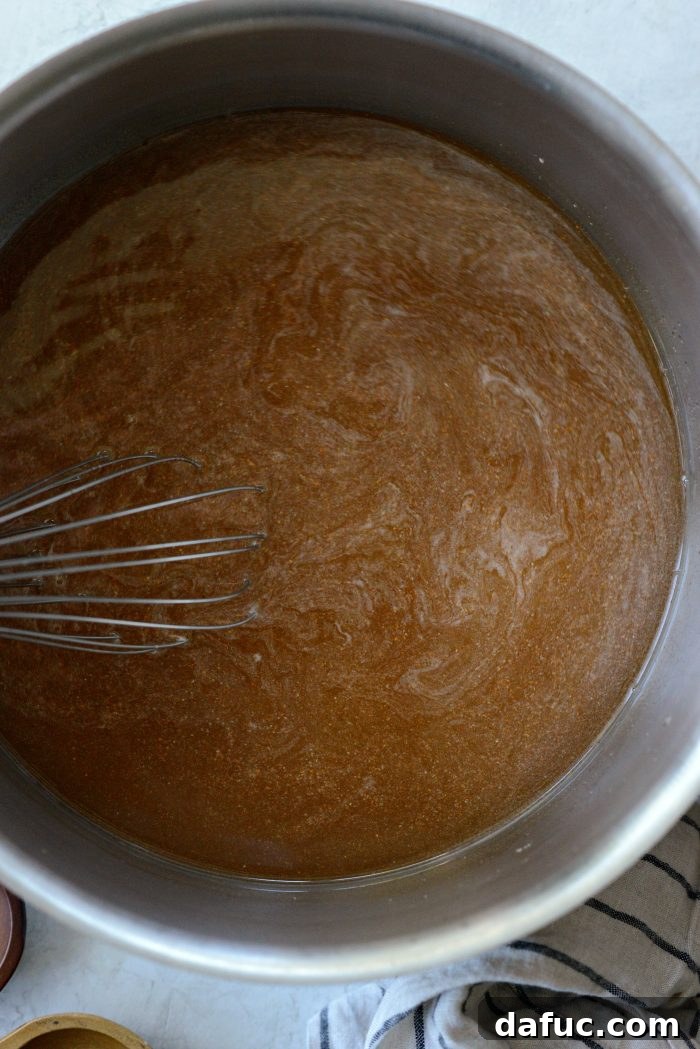
Place the stockpot over medium heat, stirring occasionally. Continue heating until both the sugar and salt have completely dissolved. This ensures maximum flavor infusion into the pork.
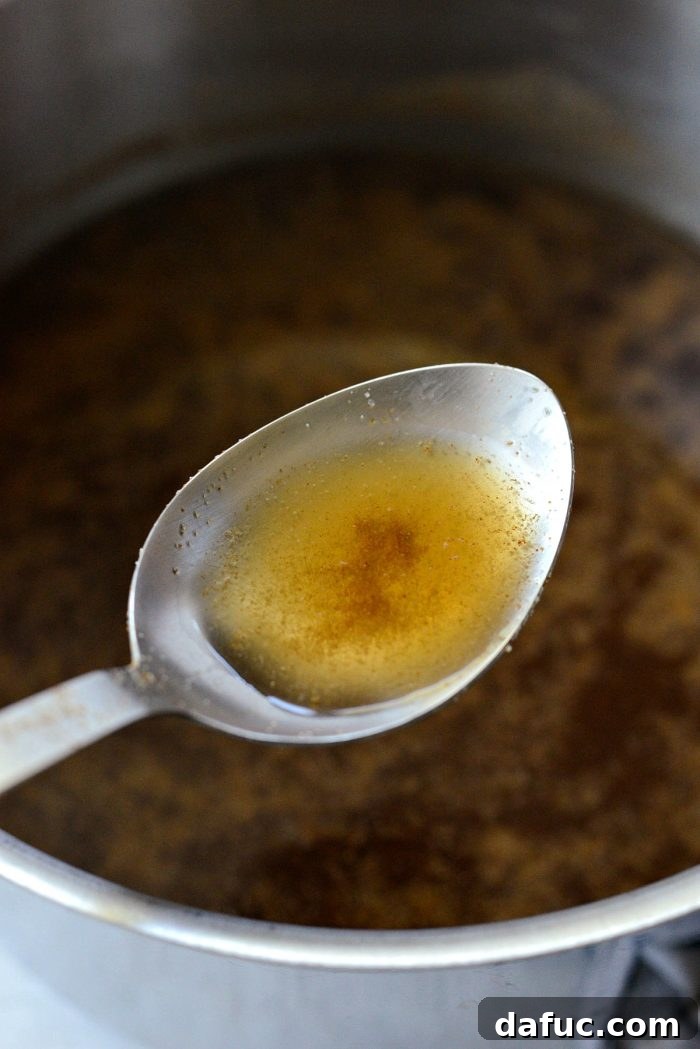
To confirm dissolution, we often use a large spoon to scrape the bottom and sides of the pot. Repeat this a few times until you are certain no granules remain.

Next, measure out 9 to 10 cups of ice. An 8-cup liquid measuring cup, overfilled, usually does the trick.
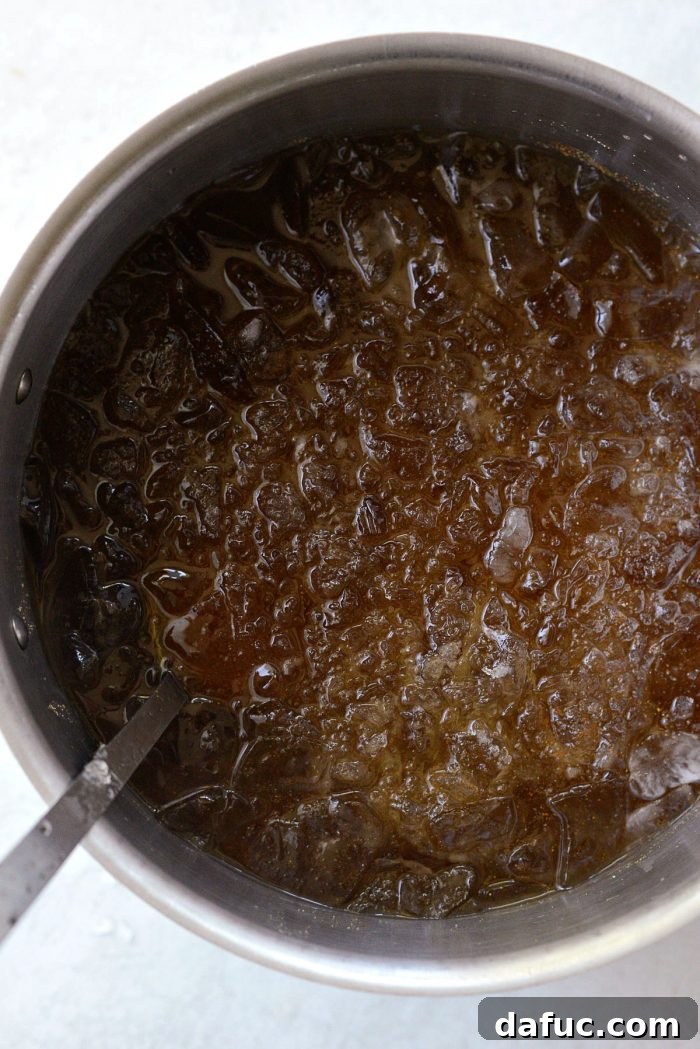
Carefully add the ice to the warm brine mixture and stir until all the ice has melted and the brine is completely cooled. It’s crucial for the brine to be cold before adding the meat to prevent any unsafe temperature zones.

Invest in a Brining Bucket
From our experience, we cannot stress enough the convenience and necessity of a dedicated brining bucket. Our first attempt without one, due to a lost delivery, involved submerging a pork shoulder in a stockpot—a messy, overflowing, and difficult-to-transport ordeal. A large brining bucket simplifies the process immensely, especially when handling multiple pork shoulders or large cuts like beef brisket. Be aware that these buckets are typically quite large, so ensure you have adequate refrigerator space. We keep a second fridge in our basement for this purpose, adjusting shelves as needed to accommodate the bucket.
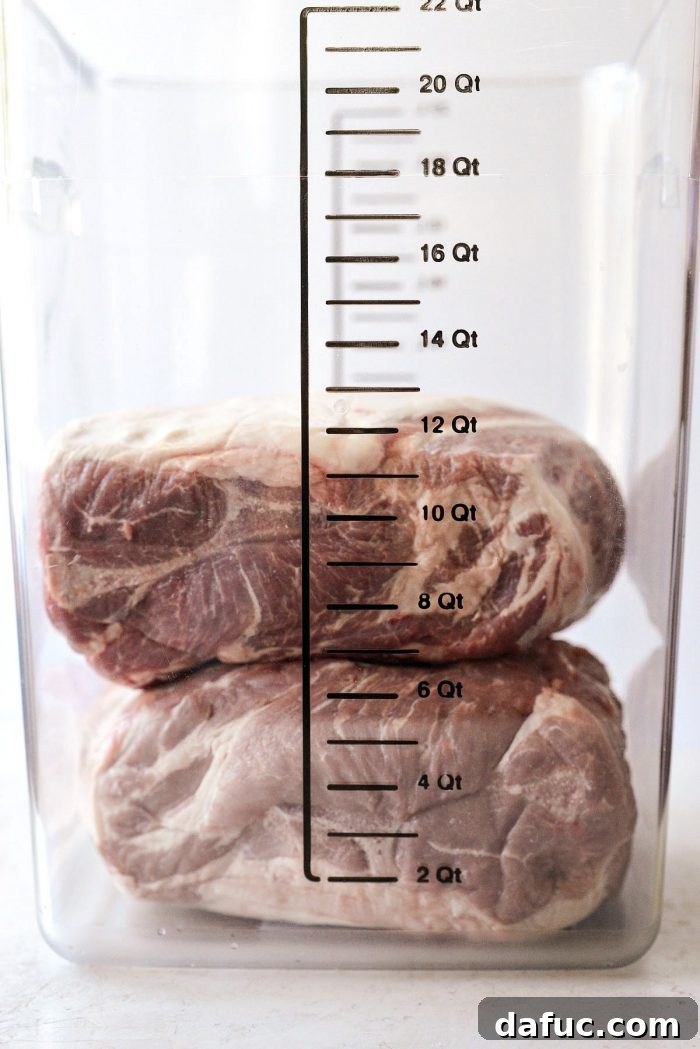
Carefully place your pork shoulder(s) into the brining bucket. For a recent gathering with 12 friends, we smoked two 7-pound pork shoulders to ensure plenty of servings and delicious leftovers. Note that we did not double the brine recipe for two shoulders of this size.
Why Two Smaller Pork Shoulders Instead of One Large One?
We’ve previously perfected the timing for a single 7-pound pork shoulder. For this occasion, using two allowed us to maintain consistent cooking times while also experimenting with two different dry rubs, adding an element of comparative tasting to our process.
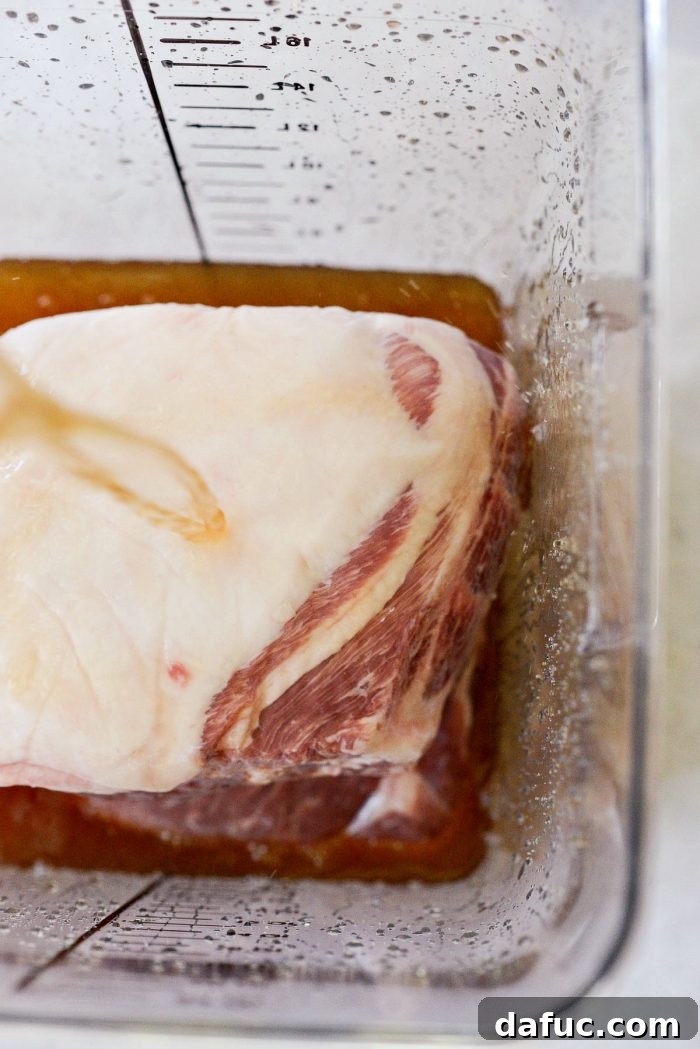
Carefully pour the completely cooled brine over the pork shoulder(s), ensuring they are fully submerged.
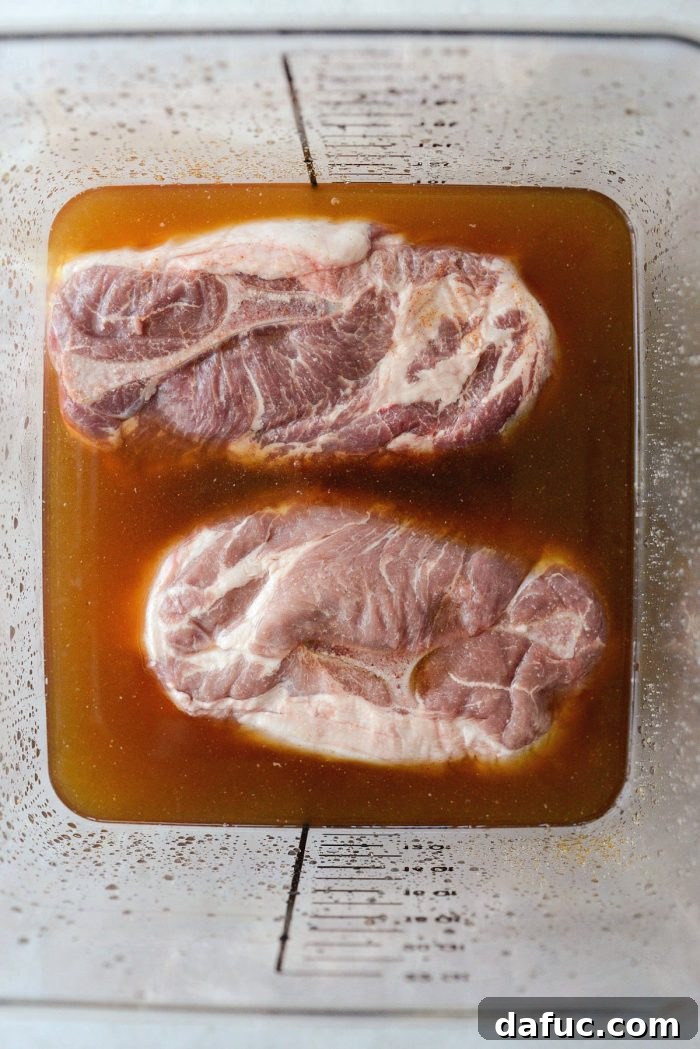
Adjust the shoulders if necessary to fit snugly. Secure the lid on the brining bucket and refrigerate for a total of 12 to 14 hours. For even brining, we make sure to flip the pork shoulders halfway through the brining period.
3. Crafting the Perfect Bark: Rinsing, Drying, and Applying the Rub
Smoking is an Event, and Preparation is Key!
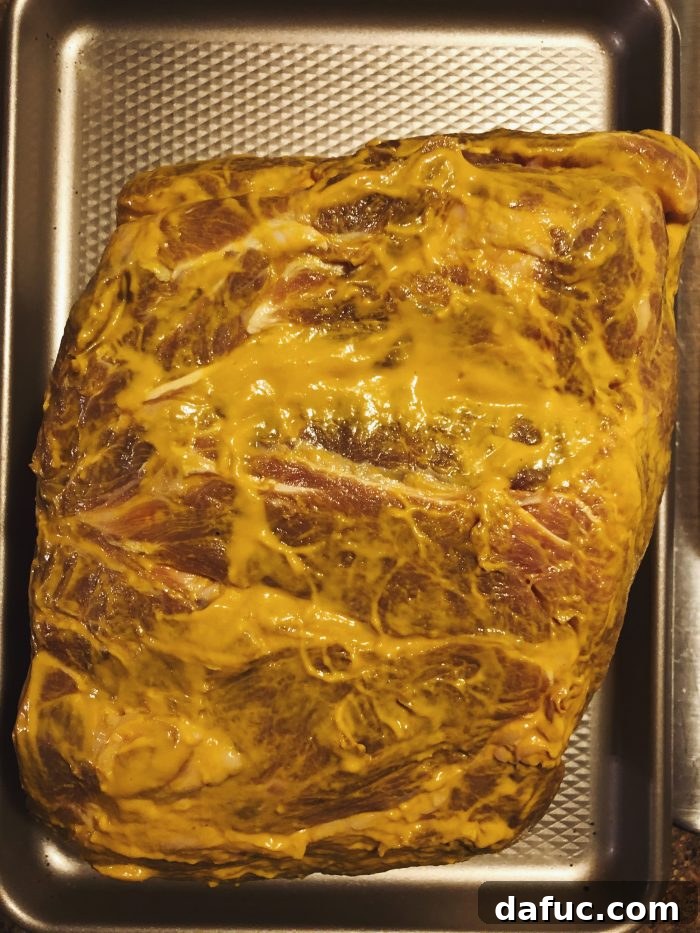
Smoking truly is an exciting event, often spanning late nights and early mornings to accommodate the slow cooking process, potential “stalls,” and crucial resting time. Around 1:30 AM (hence the cell phone photos!), we carefully remove the pork shoulders from the brine. It’s vital to rinse them thoroughly under cool running water to remove any excess salt from the surface, then pat them completely dry with paper towels. This thorough drying is essential for achieving a beautiful, crispy “bark” during smoking. After rinsing and drying, the pork shoulders are left on the counter for about 30 to 40 minutes to allow them to come closer to room temperature, ensuring a more even cook.
Once the pork has rested, generously rub it with plain yellow mustard. Don’t worry, the mustard flavor won’t overpower the pork; it acts as a fantastic binder for the dry rub and helps to create that desired dark bark. Ensure you get into all the nooks and crannies for even coverage.
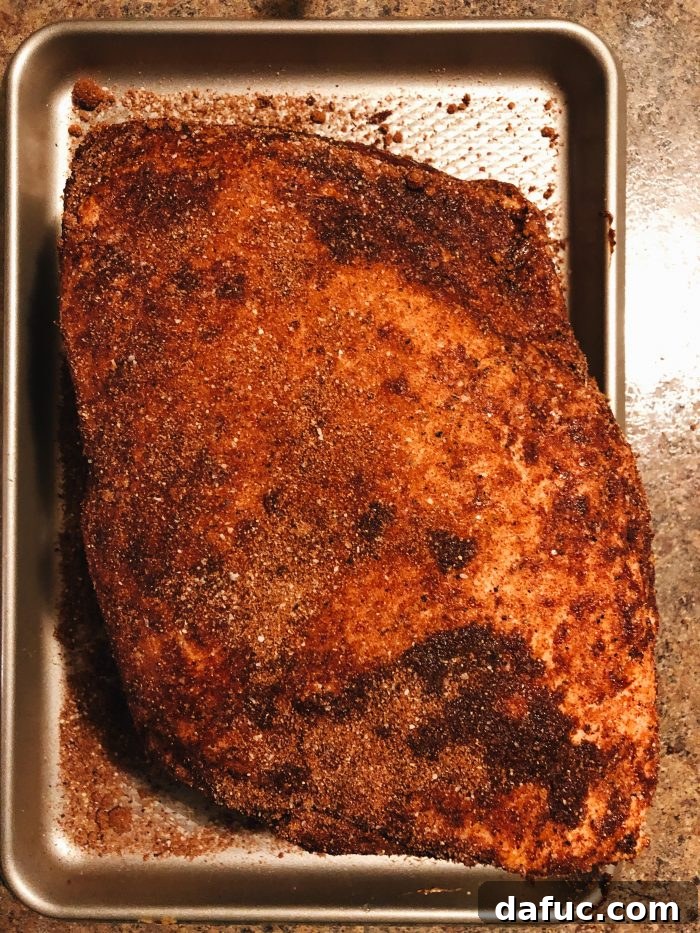
With the mustard applied, it’s time for the dry rub. We passionately massage the rub over the entire surface of the pork shoulder. On this particular occasion, we experimented with two different rubs: a readily available Famous Dave’s Rib Rub and a special, super-secret homemade rub gifted by a friend. While we don’t have a specific rub recipe to share at this moment, a good rub typically contains a blend of brown sugar, paprika, garlic powder, onion powder, black pepper, and a touch of cayenne for heat. As my husband always says, “Just when you think you’ve put on enough rub, add more!”
4. The Art of the Smoke: Low and Slow Cooking
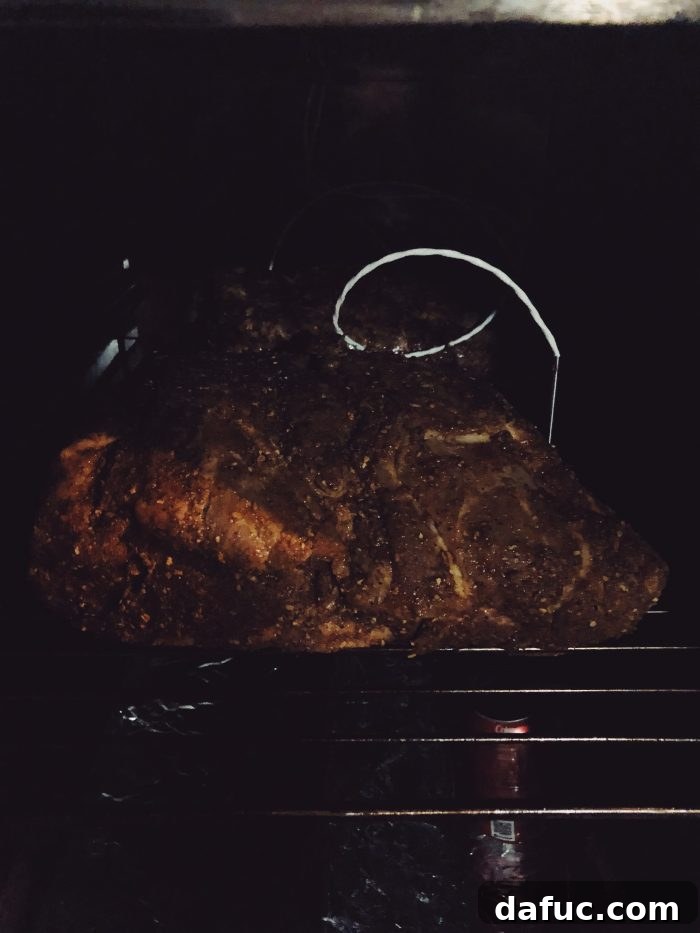
Roughly around 3 AM, the real fun begins. We carefully place the rubbed pork shoulders onto the smoker rack, fat cap side down. Positioning the fat cap on the bottom helps to render the fat, allowing it to slowly baste the meat as it cooks, keeping it incredibly moist. We then insert two temperature probes, one into the thickest part of each pork shoulder, ensuring they reach the center of the meat while avoiding bone. These probes are essential for precisely monitoring the internal temperature of each piece of meat throughout the long smoke. After closing the smoker door, we set the smoker temperature to a consistent 225℉ (approximately 108℃) and the target food temperature on the probes to 195℉ (approximately 90℃). With the settings in place, we watch for the first plumes of fragrant wood smoke to emerge from the top of the smoker before heading off for a few hours of much-needed rest.
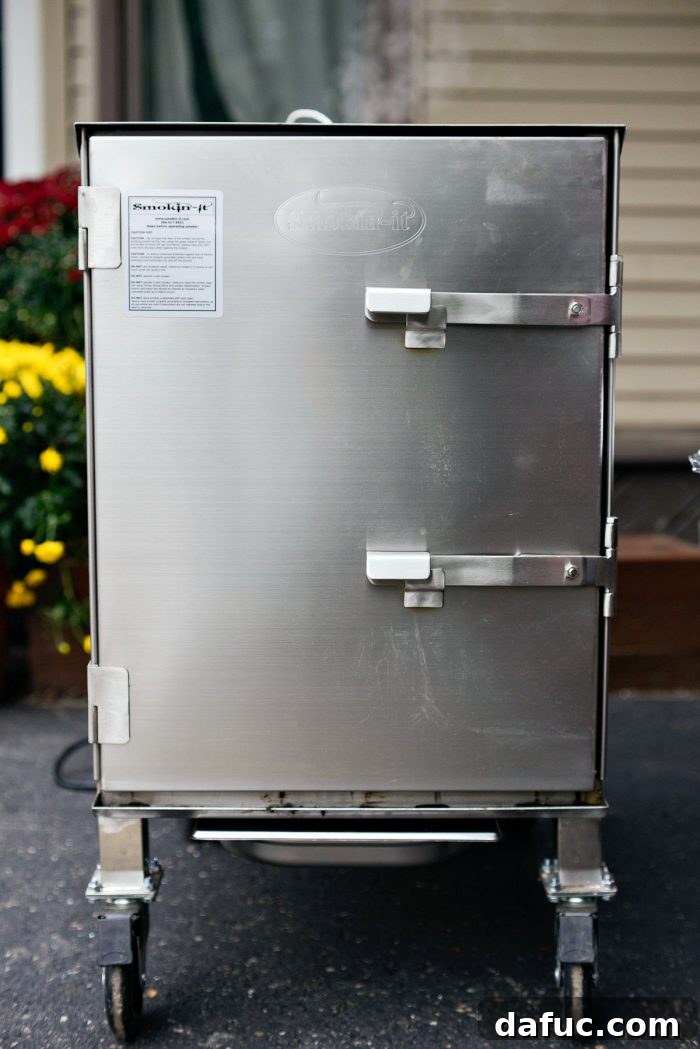
Waking up to the irresistible aroma of wood smoke drifting through the air is truly one of life’s simple pleasures.
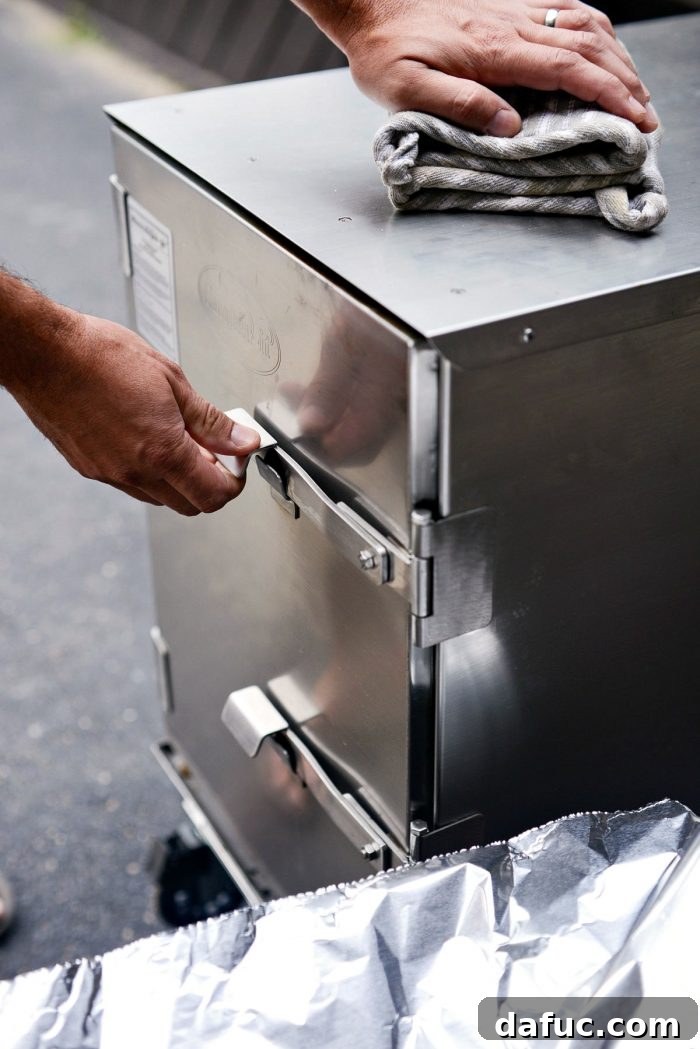
Once the internal food temperature reaches 160℉ (approximately 70℃), it’s time for a crucial step known as the “Texas Crutch.” This involves removing the pork from the smoker and wrapping it in heavy-duty foil to limit further smoke penetration and push through the “stall.” We always have a dedicated station ready, complete with a rimmed baking sheet and a roll of heavy-duty foil, anticipating this moment.
The Exciting Mid-Smoke Reveal!
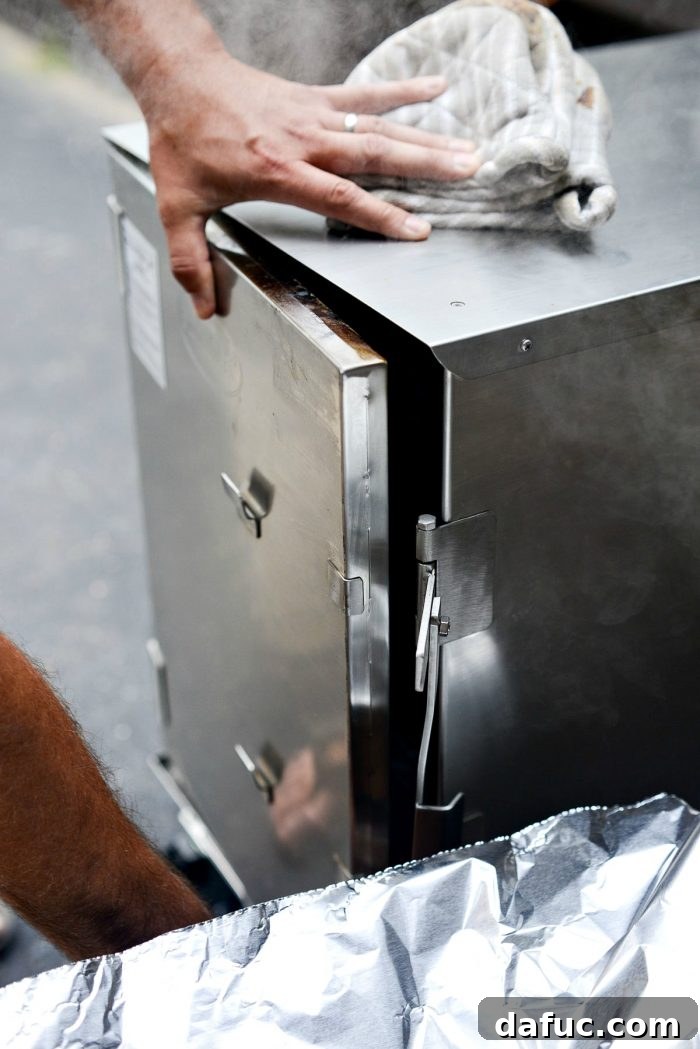
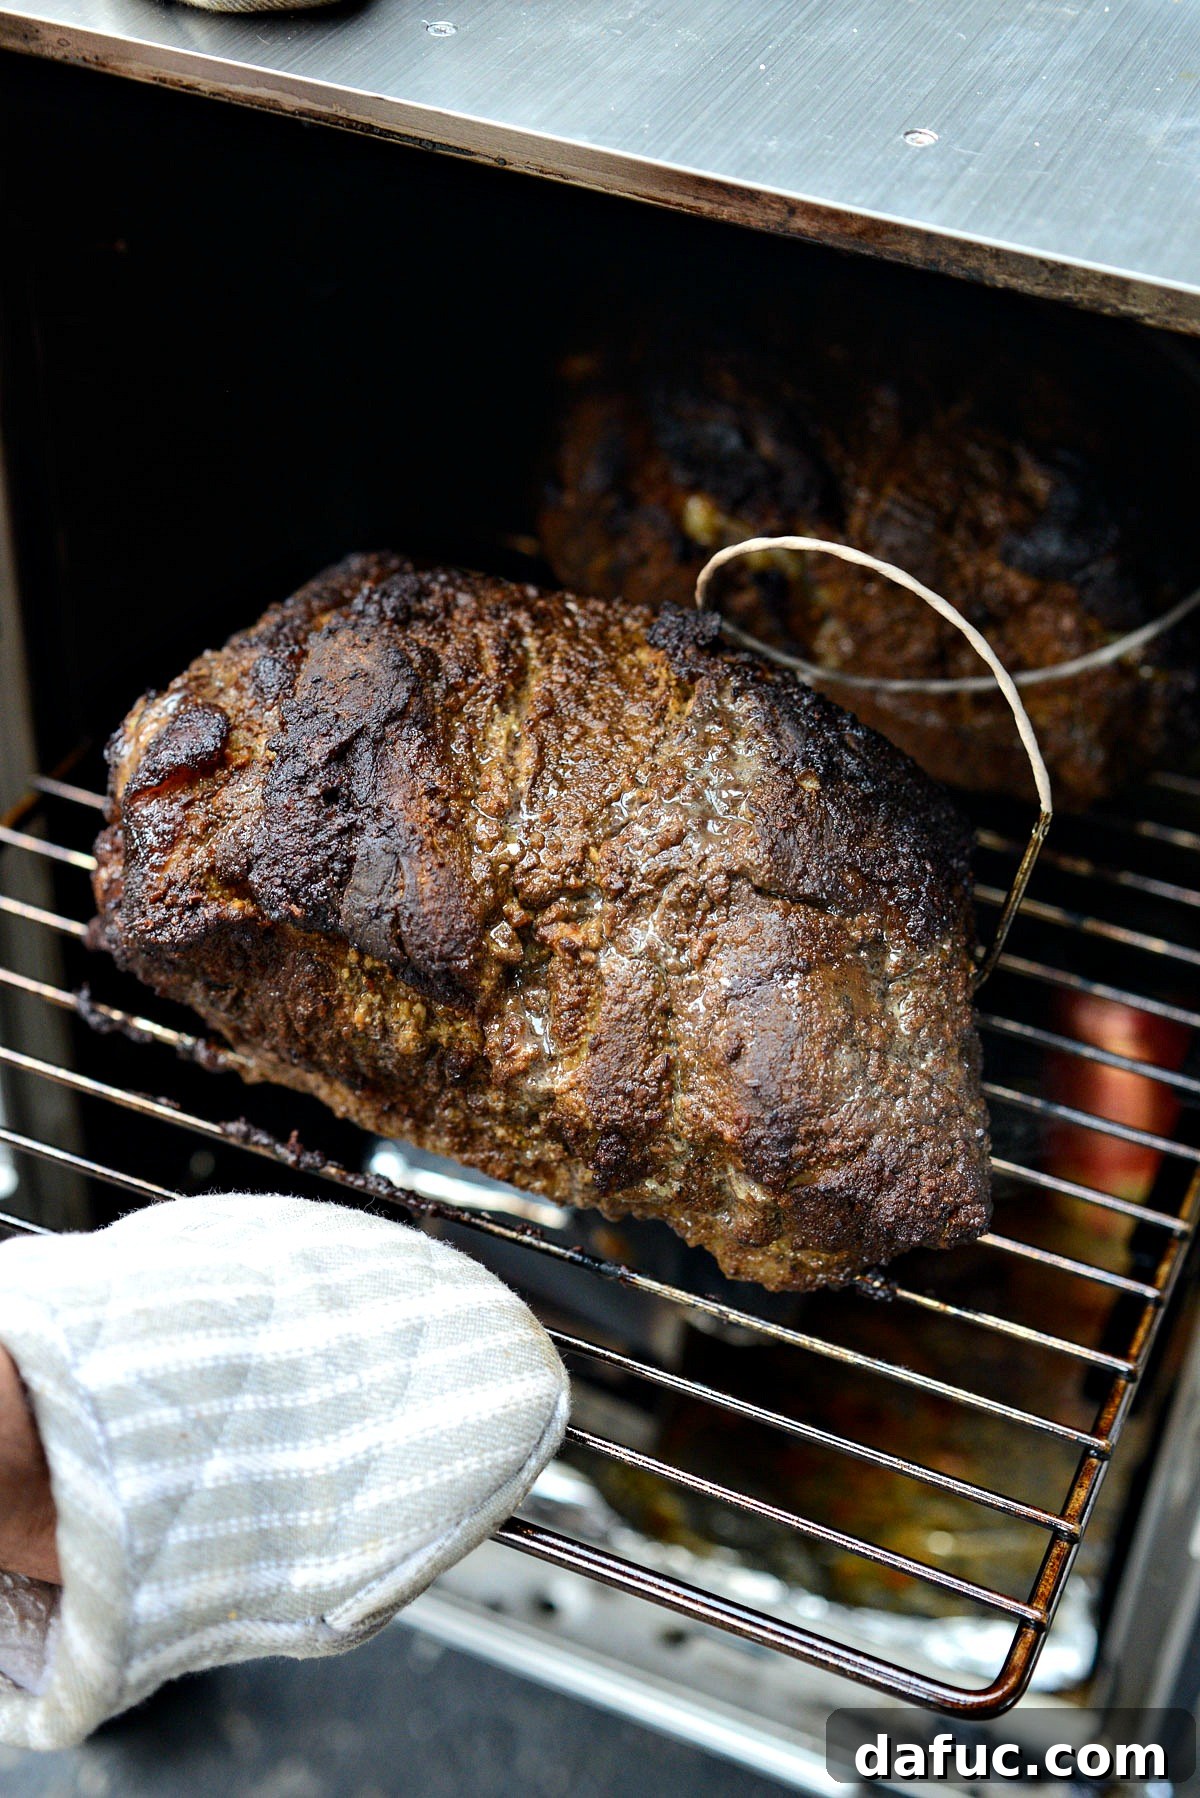
With eager anticipation, the smoker door is opened…
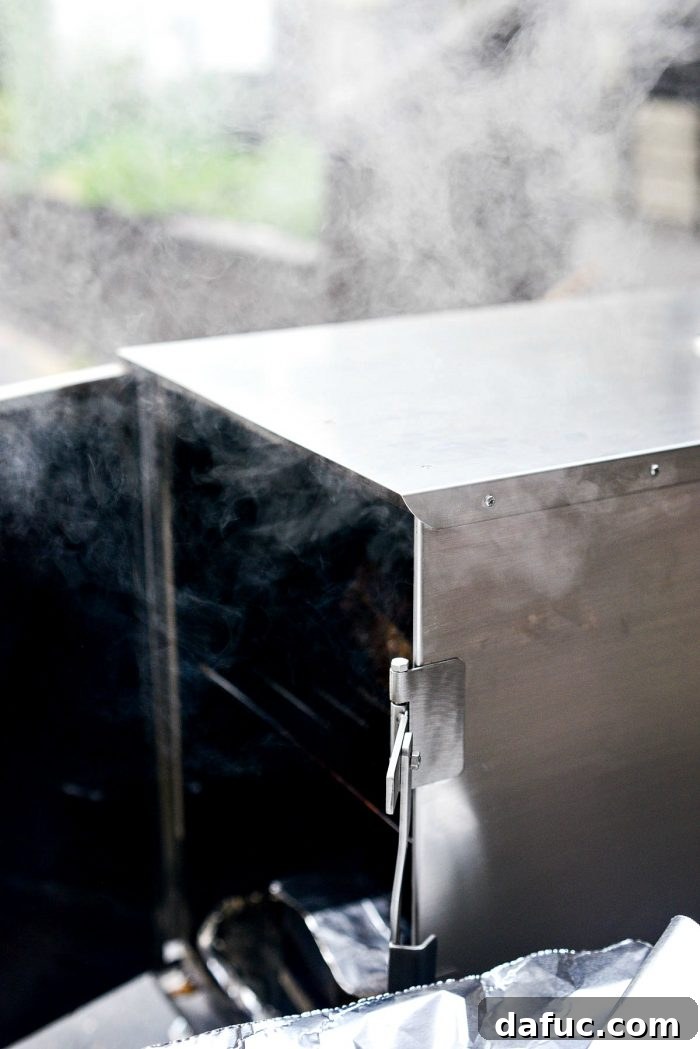
…revealing a magnificent plume of smoky goodness.
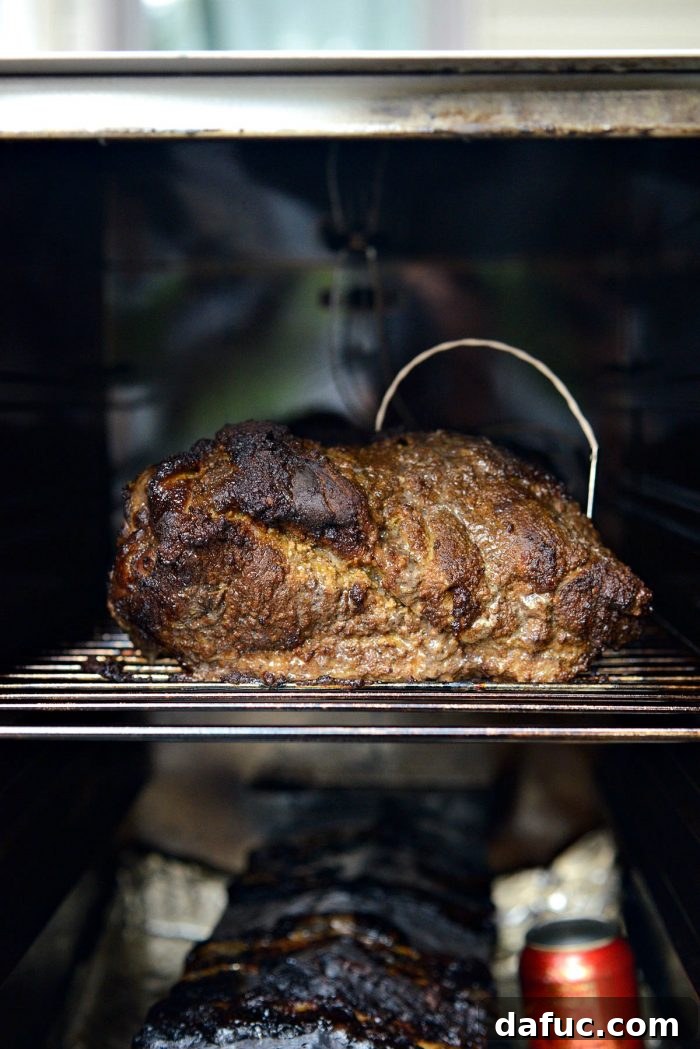
Our First Glimpse of the Transforming Pork Shoulder!
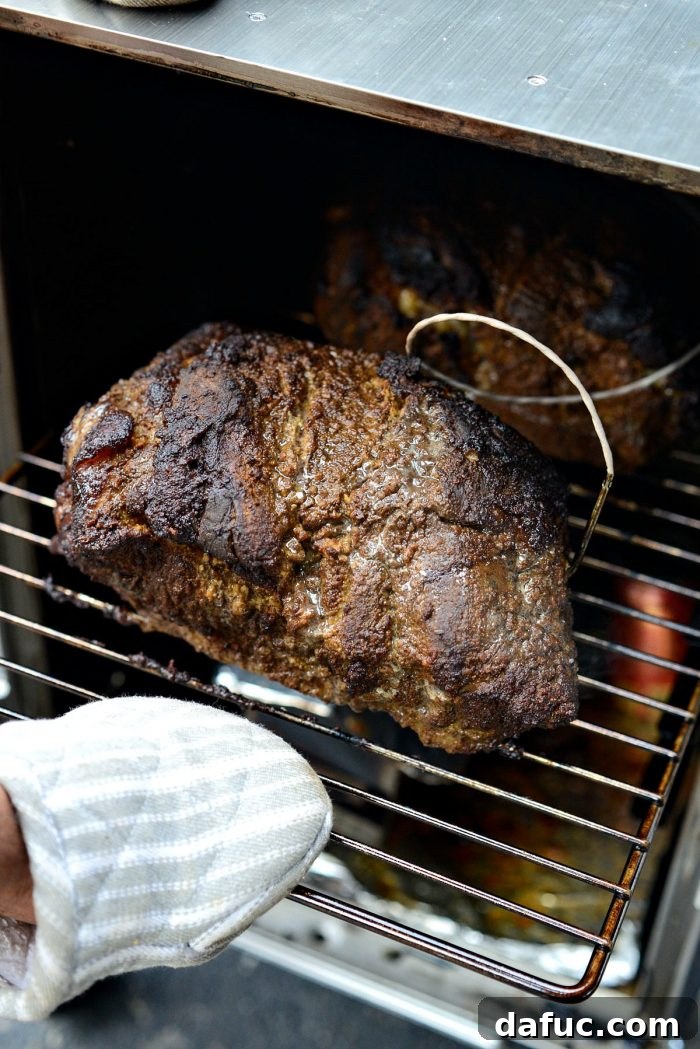
Behold the beauty! At 160 degrees, the pork has developed a wonderful bark and rich color. Looking below the rack, you can clearly see why lining the smoke box with foil is so important – it can get quite messy!
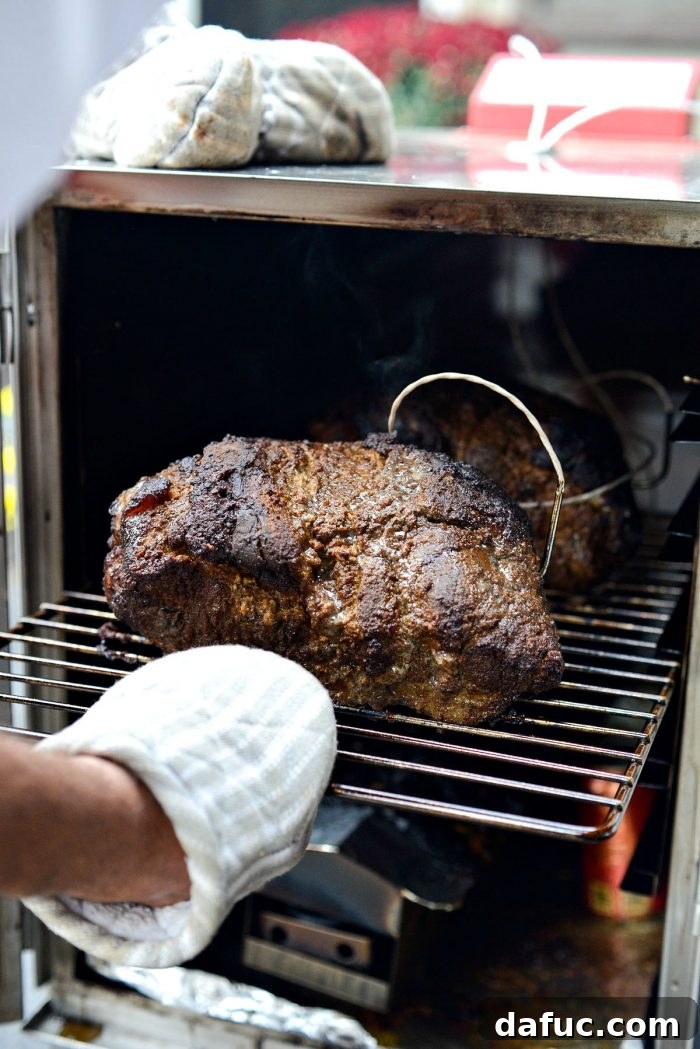
Carefully pull out the rack with the pork shoulder, being mindful of the heat.
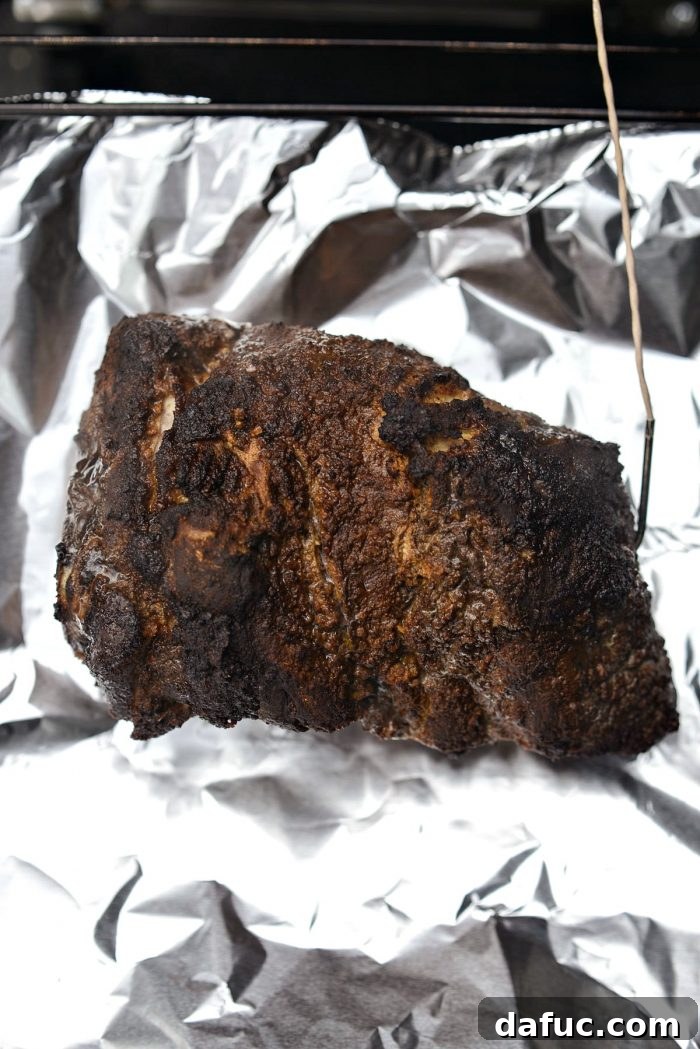
Transfer the pork shoulder onto a large piece of heavy-duty aluminum foil. The “heavy-duty” aspect is crucial here; regular foil risks tearing under the weight and heat, leading to precious juices escaping or unwanted additional smoke flavor. Position the pork so the temperature probe is accessible near the short end of the foil, allowing for a tight wrap around it.
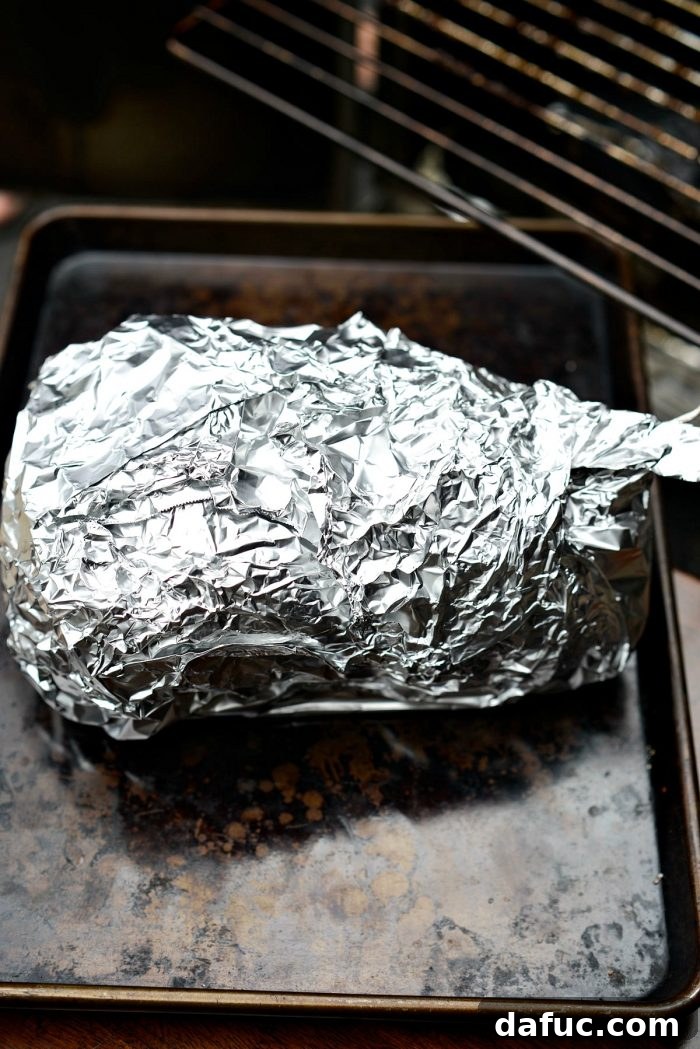
For ultimate protection and to prevent further smoke absorption, *double wrap* the pork shoulder securely in heavy-duty foil. This creates a steamy environment that helps tenderize the meat and pushes it through the dreaded “stall” phase, where the internal temperature seems to plateau.
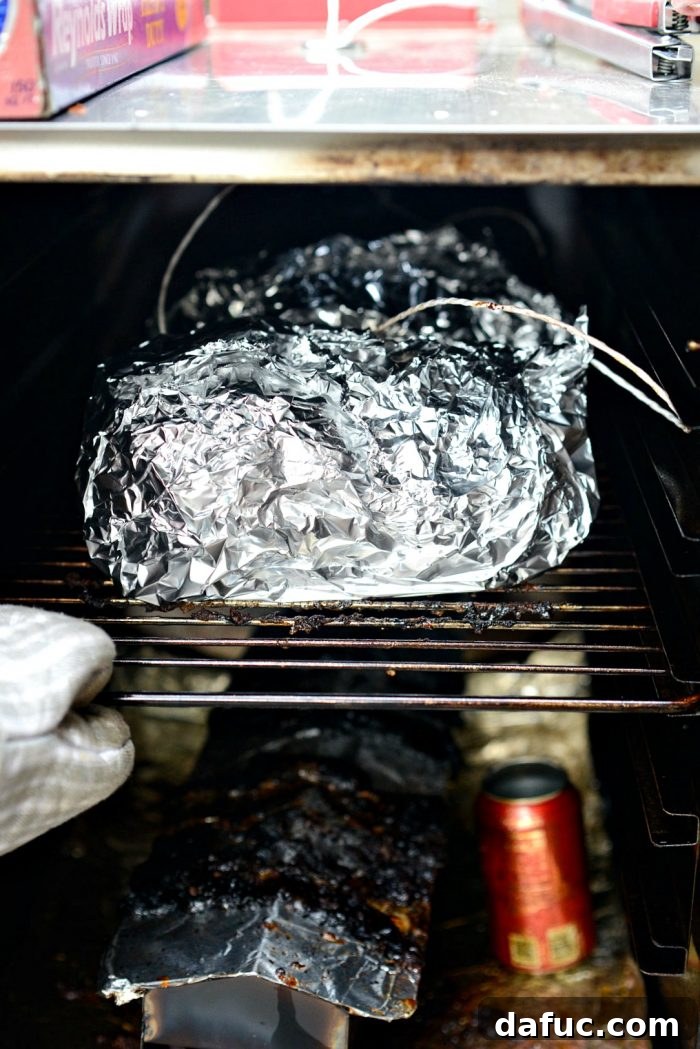
Return the double-wrapped pork shoulder to the smoker. Continue cooking until the internal probe temperature reaches the final target of 195℉ (approximately 90℃). This phase can take anywhere from 2 to 4 hours or even longer. Don’t be alarmed if the meat temperature seems to stall, perhaps hovering around 170°F for an extended period; this is a completely normal part of the smoking process as collagen breaks down. Patience is truly a virtue here!
5. The Crucial Rest: Achieving Ultimate Tenderness
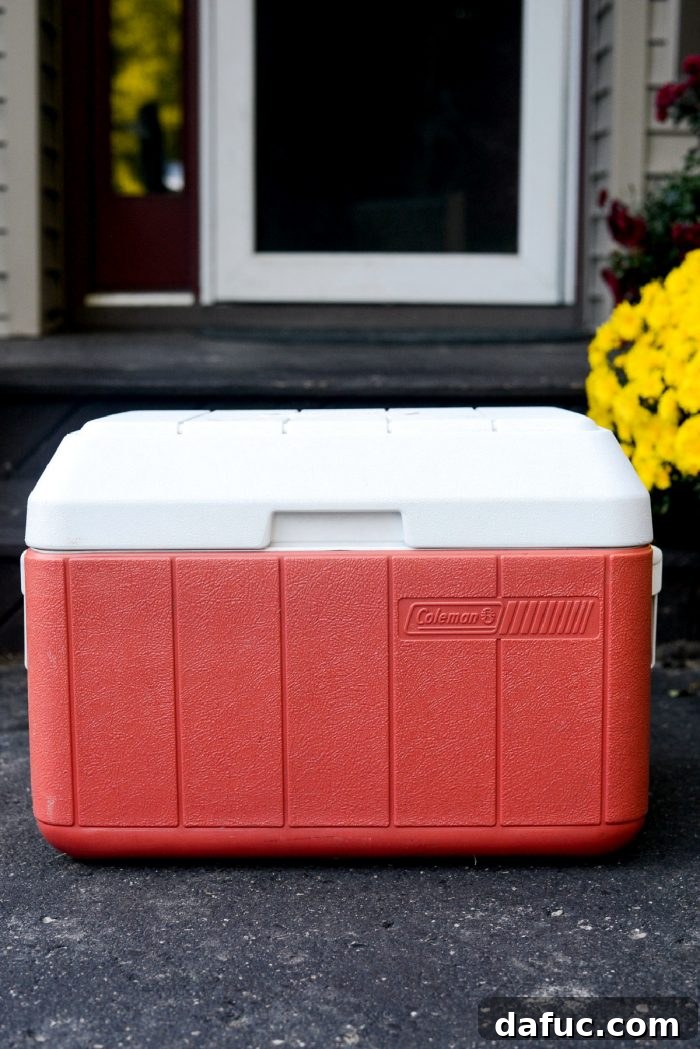
Resting the Meat: As Important as Brining, Rubbing, and Smoking
Once your smoked pork shoulder reaches the ideal internal temperature of 195°F, the cooking process isn’t quite finished. Resting the meat is an absolutely critical step that can make or break the final product. This period allows the muscle fibers to relax, reabsorbing the flavorful juices that have migrated to the surface during cooking. The result is an incredibly tender, moist, and juicy pulled pork.
Carefully remove the hot probes from the wrapped pork. Transfer the foil-wrapped meat into a cooler that has been lined and packed with clean, old towels. The towels serve as an excellent double insulation, keeping the pork warm and allowing it to rest effectively. It’s important to designate specific towels and coolers solely for smoked meat, as they will inevitably retain a faint, lingering smoke aroma, regardless of washing. We maintain a collection of coolers in various sizes, choosing the appropriate one based on the amount of meat we’re smoking.
6. The Grand Finale: Pulling Your Perfect Pork
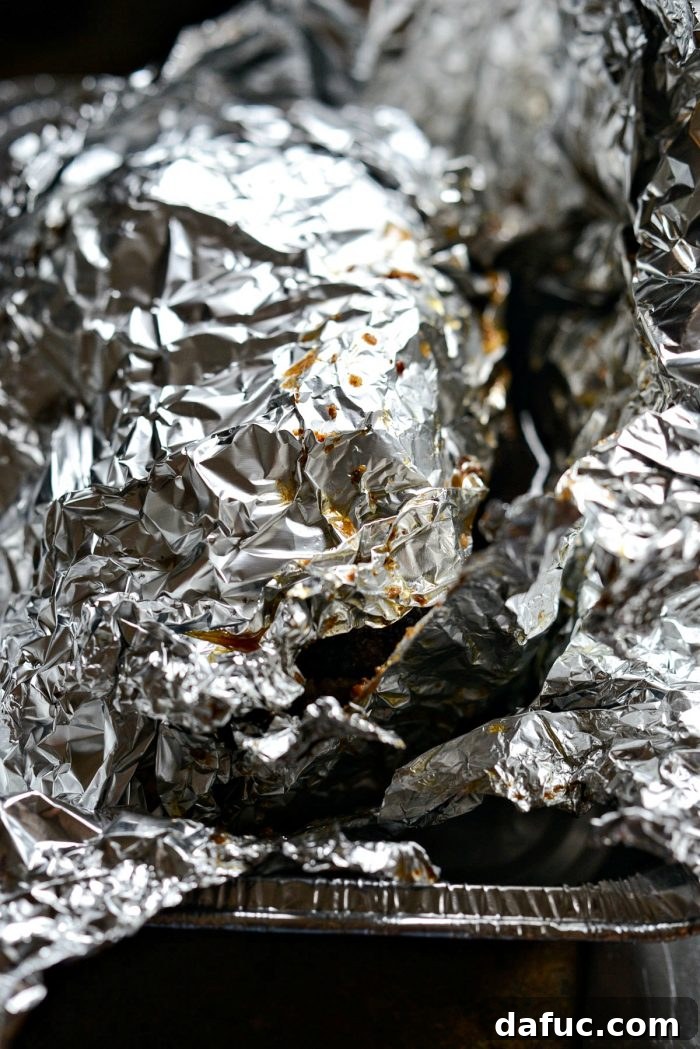
After a patient rest of 2 to 4 hours in the cooler, the moment of truth arrives. It’s time to unveil your smoked masterpiece, unwrap it, and begin the satisfying process of pulling and shredding the incredibly tender meat, ready for serving.
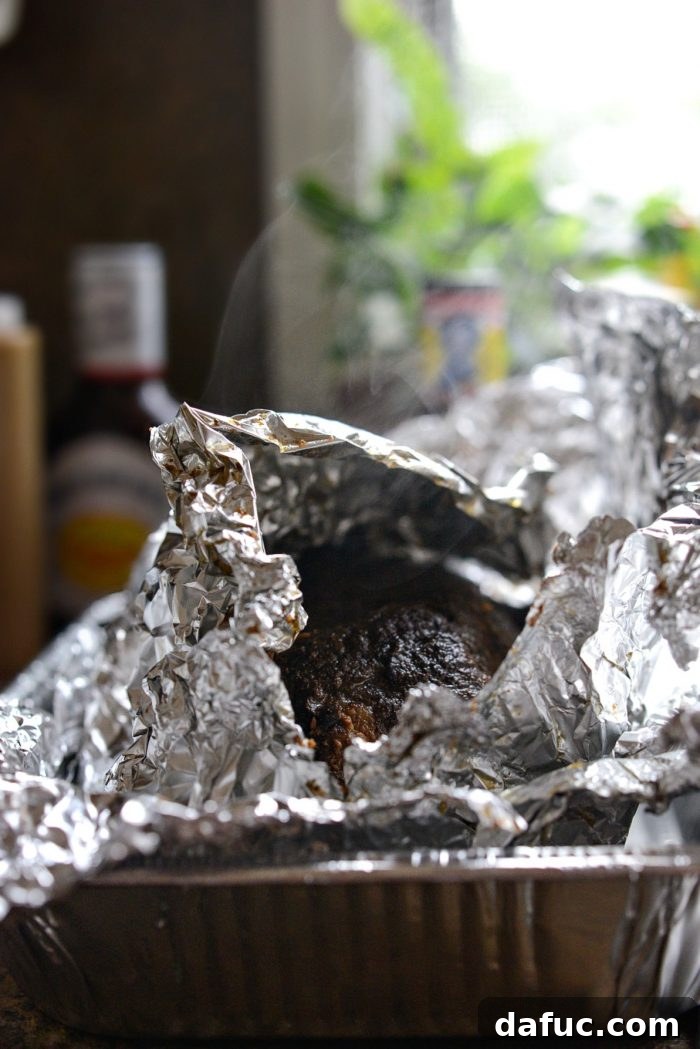
Even after a generous 4-hour rest, the pork shoulder remains wonderfully hot, a testament to the effective insulation of the cooler and towels.
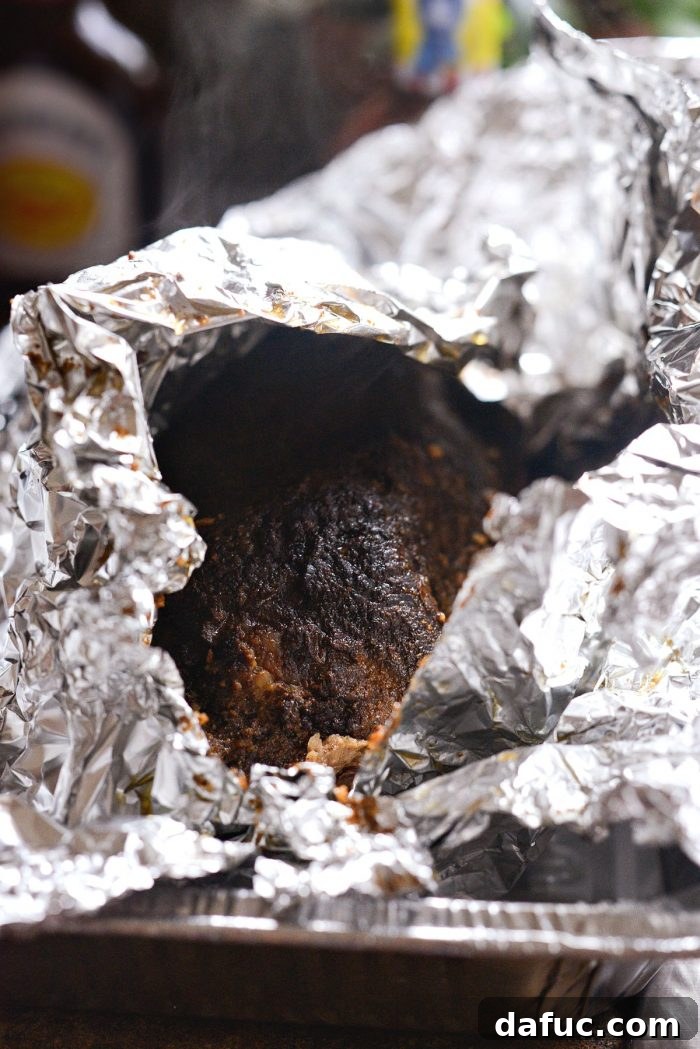
A close-up view reveals the steaming, juicy interior, perfectly cooked and ready to be shredded.
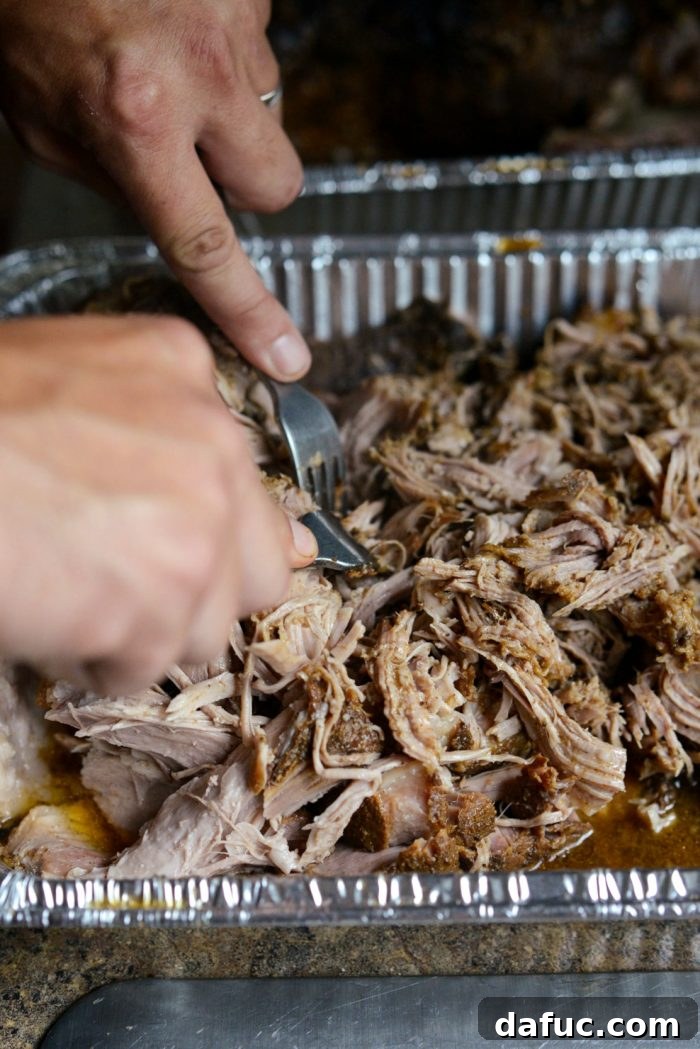
We transfer the smoked pork shoulder from the foil into disposable aluminum pans. The high sides of these pans make shredding much easier and less messy than a flat sheet tray. Plus, they double as convenient storage containers for any delicious leftovers.
Using two forks or specialized shredding claws, begin to pull the incredibly tender meat apart. It should practically fall off the bone and shred with minimal effort, a clear sign of a perfectly smoked pork shoulder.
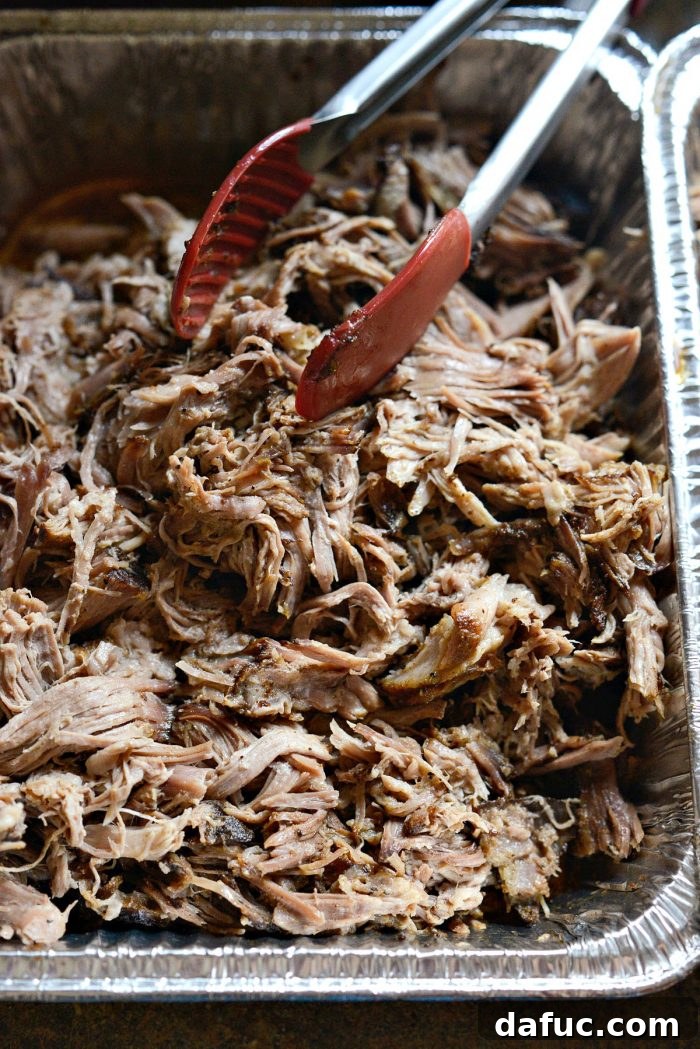
Pure Heaven.
7. Serving Suggestions: Crafting the Ultimate Pulled Pork Sandwich
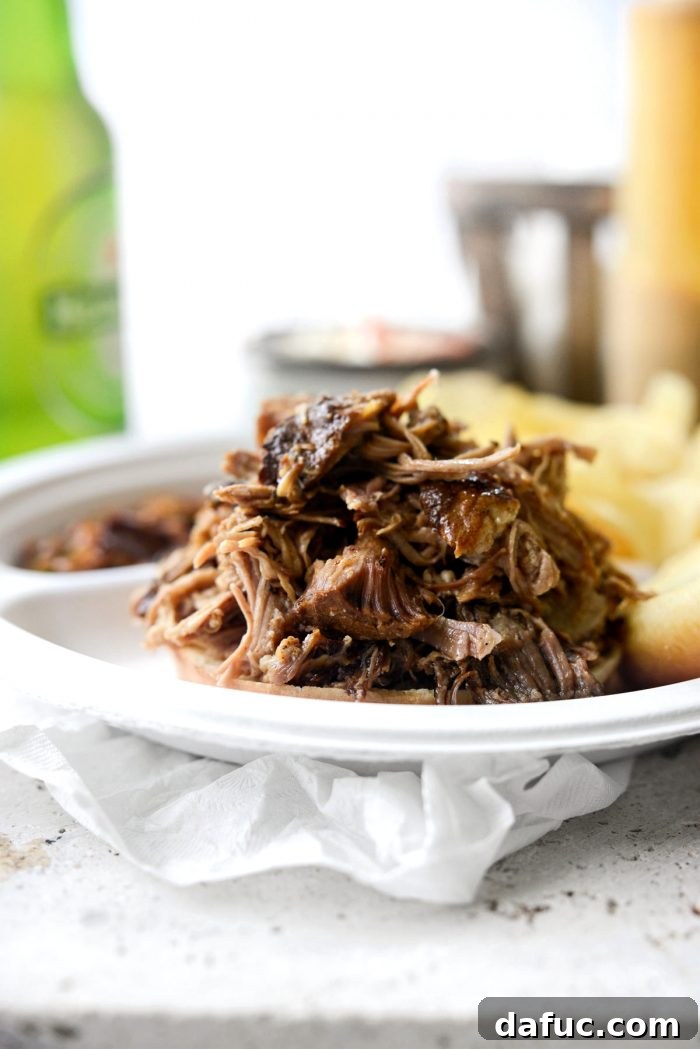
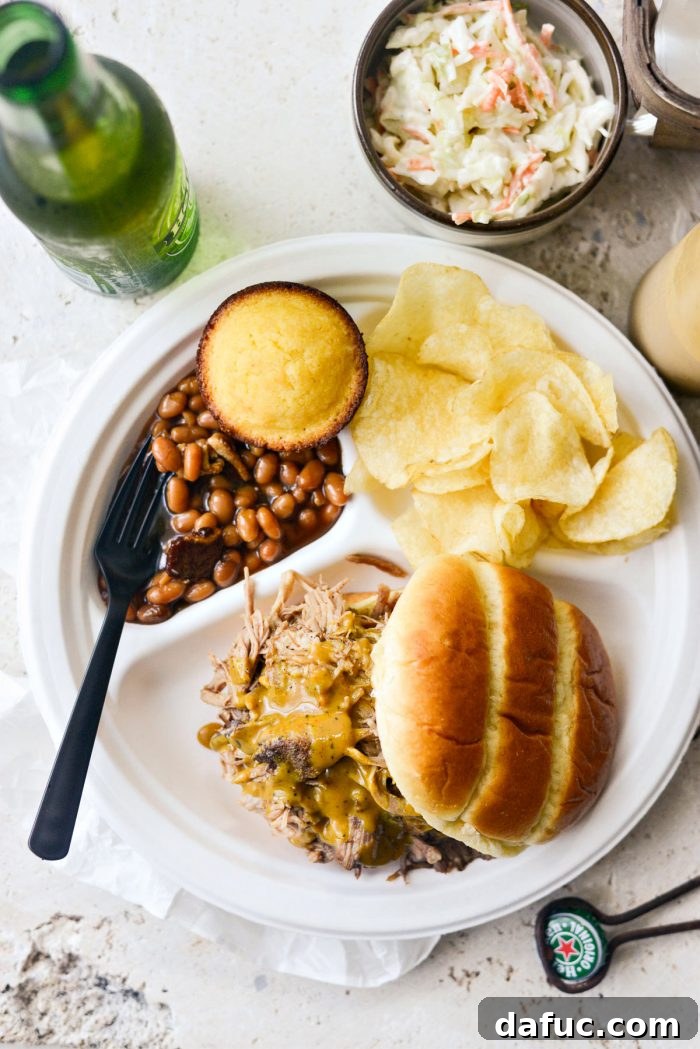
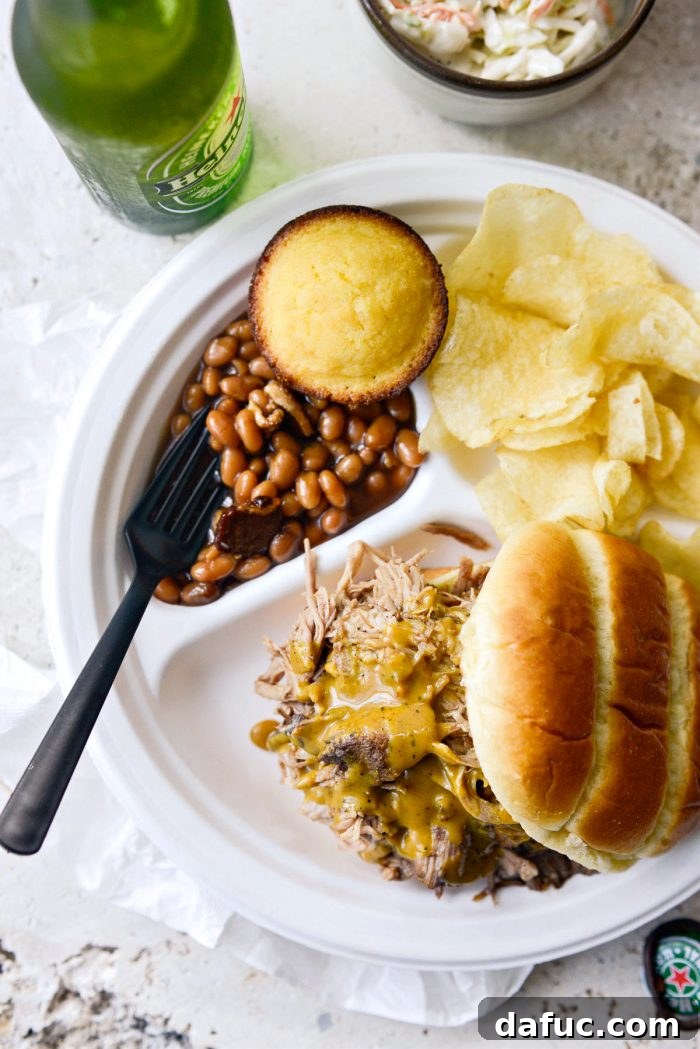
The classic way to enjoy this smoky delight is piled high on a soft bun. We often opt for pretzel buns or brioche buns, sometimes even offering both to guests for variety. The rich, buttery flavor of brioche or the slightly salty chew of pretzel bread perfectly complements the savory pork.
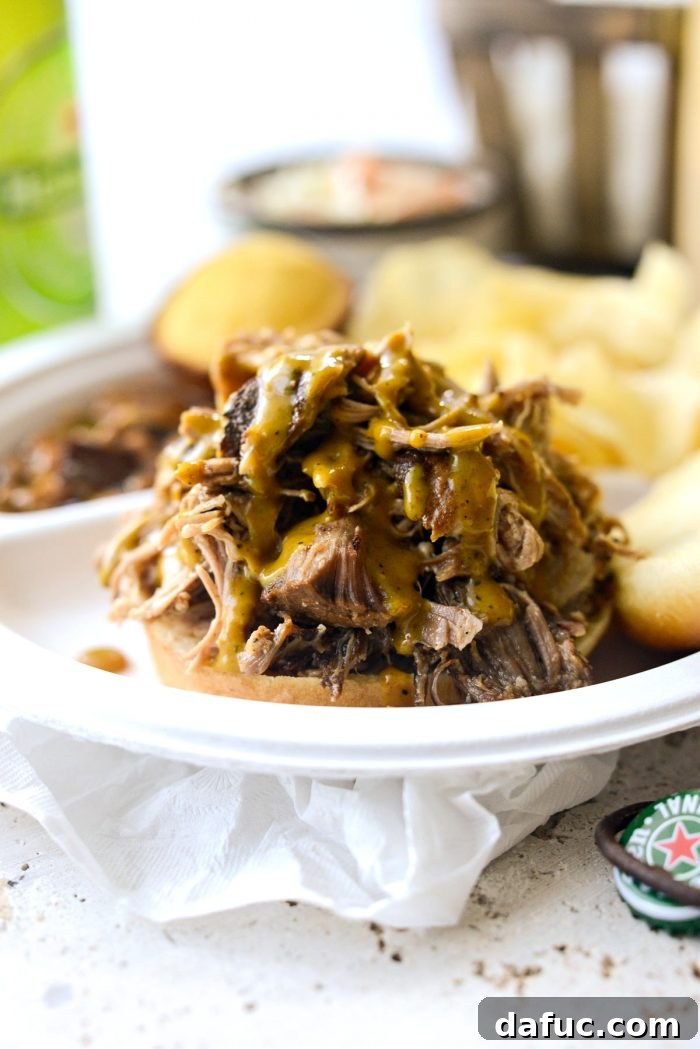
Drizzle your favorite BBQ sauce generously over the pulled pork. If this were my plate, after a liberal application of Carolina mustard BBQ sauce, I would then top it with a scoop of creamy coleslaw for a refreshing crunch and tangy counterpoint. However, feel free to customize your sandwich to your heart’s content!
8. Elevate Your Experience: Signature BBQ Sauces
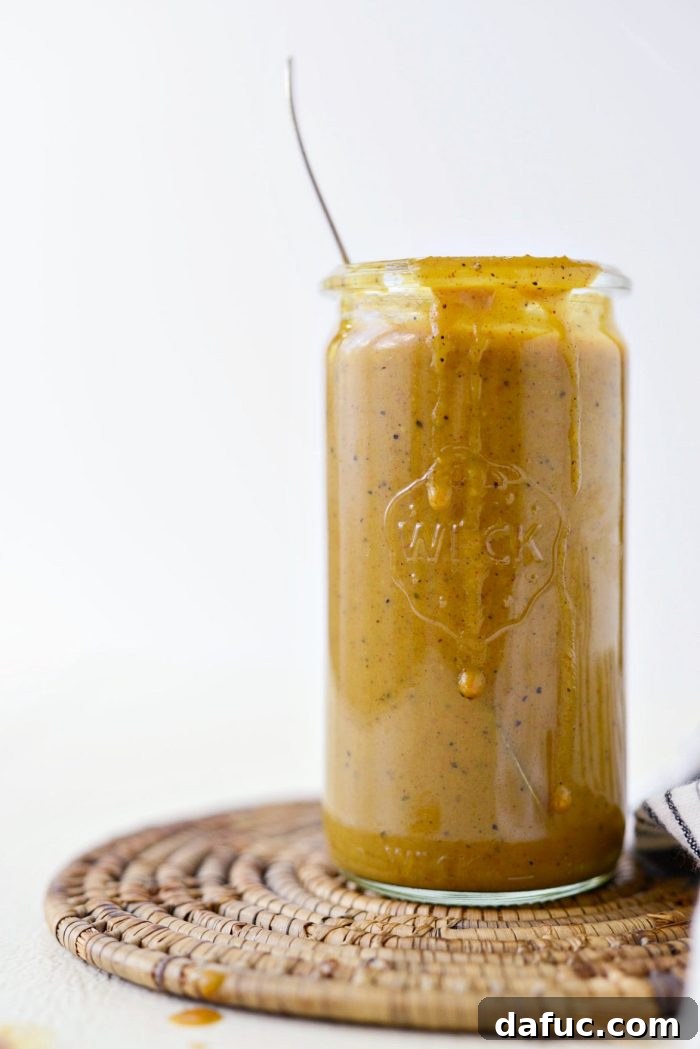
Carolina Mustard BBQ Sauce – This vibrant, tangy sauce offers a delightful zing without being overly mustardy or spicy. Its balanced flavor profile makes it a versatile choice, excellent not only with pulled pork but also grilled chicken or smoked turkey sausage. It’s undoubtedly our top pick for pulled pork.
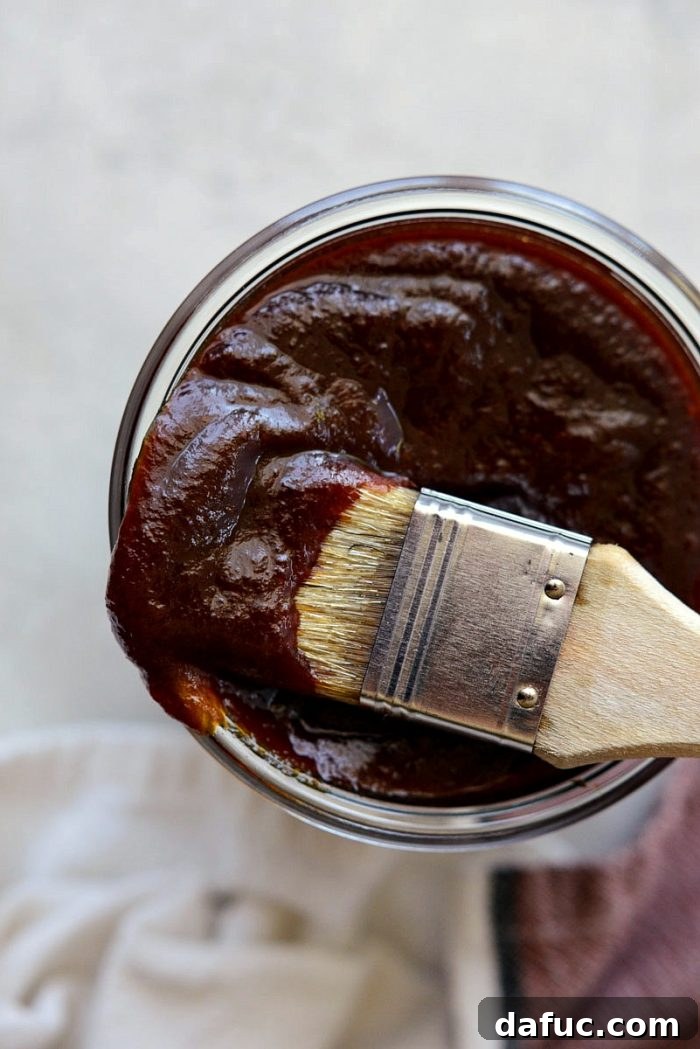
Coca-Cola Habanero BBQ Sauce – For those who enjoy a thick, sweet, and tangy sauce with a kick, this is a fantastic option. The beauty of this recipe lies in its adaptability; you can easily control the heat by adjusting the amount of habanero seeds you include.
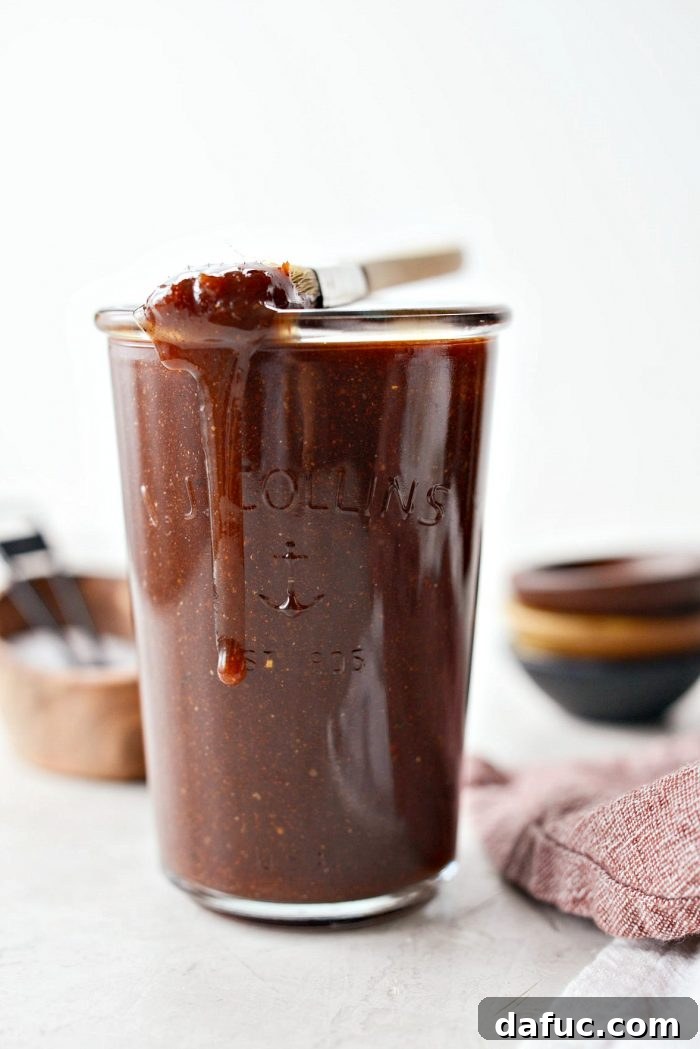
Homemade Sweet Barbecue Sauce – If you’re a fan of the classic, sweet, and savory flavor of Sweet Baby Ray’s, this copycat recipe is a must-try. It’s a deliciously rich and satisfying sauce that perfectly complements any BBQ.
9. Beyond the Sandwich: Creative Leftover Pulled Pork Recipes
Smoking a pork shoulder, especially multiple ones, often blesses you with a generous amount of delicious leftovers. After smoking 14 pounds of pork and feeding a hungry crowd, we still had approximately 4 pounds remaining. After enjoying a few more incredible sandwiches, we were left with about 2 pounds, which inspired us to create a couple of truly delectable recipes. These innovative uses for leftover smoked pork are just as amazing as the original dish.

Smoky Pulled Pork Chili: Transform your leftover smoked pulled pork into an incredibly rich and flavorful chili! This recipe combines smoky pork with hearty pinto and kidney beans in a spicy BBQ-infused chili base. It’s absolutely delicious served with sweet corn cake, a generous sprinkle of cheddar cheese, and all your favorite chili toppings.

White Bean and Smoked Pork Soup: This cozy White Bean and Smoked Pork Soup is another fantastic way to utilize leftover pulled smoked pork. It’s a simple yet comforting blend of fresh vegetables and smoky pork simmered in a light tomato broth. This heartwarming soup is best enjoyed with a hearty hunk of crusty bread for dipping.
Your Journey to Pitmaster Perfection
Enjoy! We encourage you to try this Smoked Pork Shoulder recipe and share your culinary successes! Snap a photo and tag us on Twitter or Instagram!
Our brine recipes, rub techniques, and smoking tips were gratefully borrowed and adapted from the insights of DivotMaker from the Smokin’ It forum. Recipes for Carolina Mustard BBQ Sauce and Coca-Cola Habanero BBQ Sauce were slightly adapted from theblackpeppercorn.com.
Smoked Pork Shoulder Recipe
Enjoy Smoked Pork Shoulder at home! This guide provides our favorite method to brine, rub, smoke, and serve this incredibly tender and deliciously smoky pulled pork.
Yield: 12 servings
Prep Time: 14 hours
Cook Time: 10 hours
Total Time: 1 day
Ingredients
For the Brine:
- 1 cup kosher salt, plus 2 tablespoons
- 1 cup dark brown sugar
- 1/2 cup apple cider vinegar
- 1 tablespoon garlic powder
- 1 tablespoon onion powder
- 1 tablespoon cayenne pepper
- 7 pound bone-in pork shoulder (or butt)
For the Rub:
- Yellow mustard
- Famous Dave’s Rib Rub, or use your favorite
For Sauces:
- Carolina Mustard BBQ Sauce
- Coca-Cola Habanero BBQ Sauce
- Sweet BBQ Sauce
For Serving:
- Sandwich buns – pretzel or brioche
- Homemade coleslaw
- Wicked baked beans
- Cornbread
- Pickle slices
- Sliced jalapeños
- Potato chips
Equipment
- Rubbermaid Brining Bucket
- 17″ Long Heavy Duty Tongs
- Heavy Duty Aluminum Foil
- Ove Glove
Instructions
To Make the Brine:
- Add salt, sugar, vinegar, garlic and onion powder, and cayenne into a large stockpot.
- Pour in 8 cups of water and whisk to combine. Heat on medium, stirring occasionally until the salt and sugar have dissolved.
- Remove from the heat and carefully add 9 to 10 cups of ice. Stir until all the ice has melted and the brine is cool.
- Place pork shoulder (do not trim off the fat) in brining buckets and carefully pour the brine over top. Secure the lid and refrigerate for 12 hours.
- Meanwhile, prep your smoker by lining the bottom and the top of the smoke box with foil. Fill a can (top portion removed with a can opener) with water. Measure out 6 ounces of hardwood (hickory, cherry, or apple, for example).
For the Rub:
- After 12 hours, remove the pork from the brine and rinse thoroughly with water. Pat very well with paper towel. Set the pork out on your counter for 30 to 40 minutes to take the chill off.
- Then, rub the pork generously with yellow mustard (no precise measurement is needed, just ensure good coverage).
- With a heavy hand, massage the dry rub all over the pork. Be sure to get all the sides completely covered and even in the nooks and crannies. When you think you’ve put on enough rub, add more! (This is my husband’s golden rule.)
To Smoke the Pork Shoulder:
- Place the rubbed pork shoulder fat cap side down on the smoker rack. Insert the probe through the middle on the side of the pork shoulder (avoiding the bone) until it reaches the center of the meat.
- Set the smoker temp to 225℉ (around 108℃) and the probe (food temp) target to 195℉ (around 90℃).
- Once the probe temperature reads 160℉ (around 70℃), open the smoker and carefully remove the pork shoulder. Place it on a baking sheet layered with 2 pieces of heavy-duty aluminum foil.
- Double-wrap the pork shoulder tightly to prevent any additional smoke from penetrating the meat. Be sure to wrap the foil around the probe. Place the wrapped pork back into the smoker until the probe (food temp) reads 195℉ (around 90℃).
- When the pork reaches temperature, remove it and place it into a cooler, packing it tightly with towels (do not use your best towels or cooler here!). Allow the pork to rest for 2 to 4 hours before removing and pulling/shredding.
- Serve on buns with BBQ sauce and sides of your choice.
Nutrition Information
Serving: 1g, Calories: 138kcal, Carbohydrates: 23g, Protein: 4g, Fat: 4g, Saturated Fat: 1g, Polyunsaturated Fat: 2g, Cholesterol: 13mg, Sodium: 1174mg, Sugar: 21g
Author: Laurie McNamara
Course: Mains & Entrees
Cuisine: American