
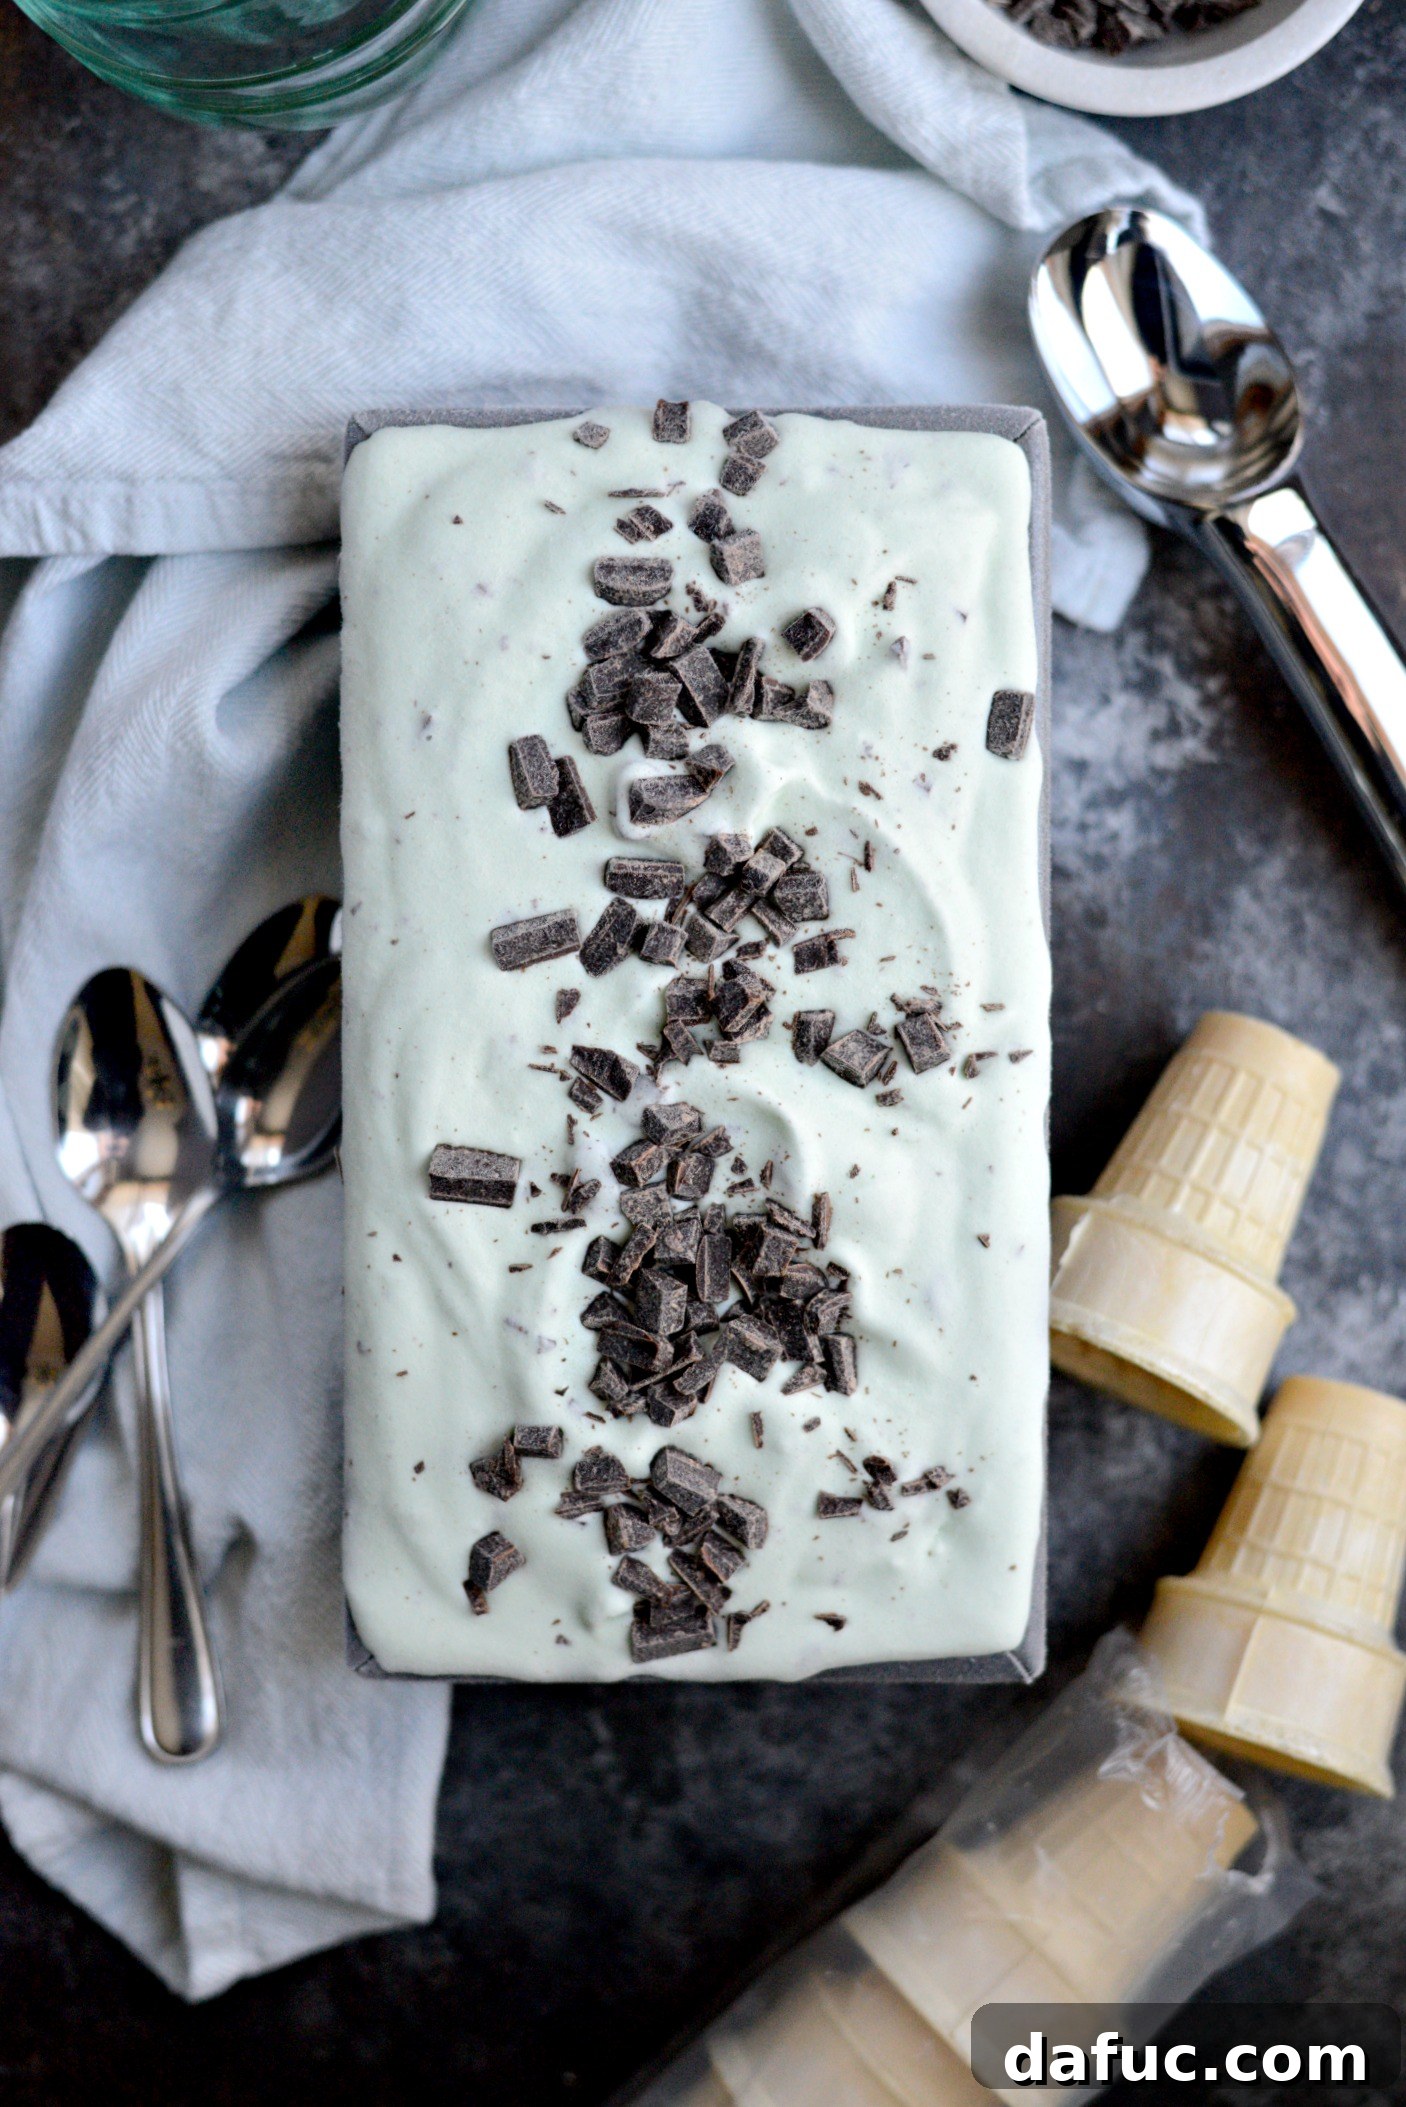
The Ultimate Guide to Homemade Mint Chocolate Chip Ice Cream
There are few desserts as universally beloved and uniquely refreshing as Mint Chocolate Chip Ice Cream. Its vibrant green hue, cool peppermint embrace, and delightful crunch of chocolate chips create a symphony of flavors and textures that captivate the senses. While you can find this classic in almost any grocery store freezer, nothing quite compares to the rich, creamy decadence of a batch made right in your own kitchen. This guide will walk you through crafting the perfect homemade version, ensuring every scoop is a taste of pure bliss. And yes, you can absolutely skip the green food coloring if you prefer a more natural look, but I confess a fondness for that iconic minty shade!
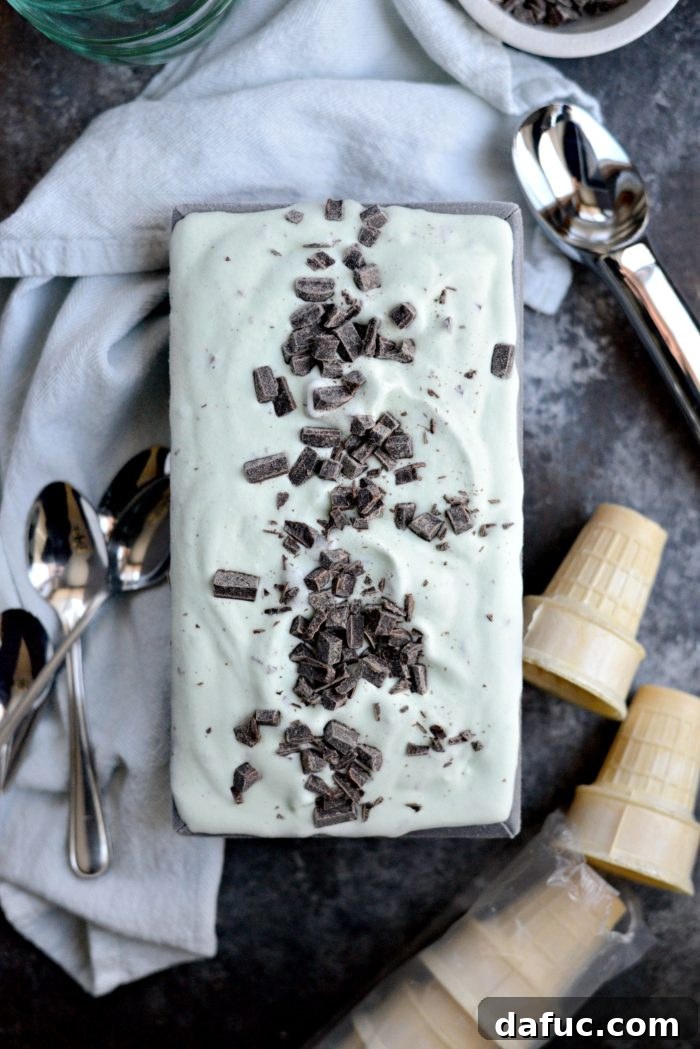
A Seasonal Delight: Welcoming Spring with Mint & Chocolate
While an ice cream recipe in March might seem a little premature for some, it’s actually the perfect time to embrace this verdant treat. As St. Patrick’s Day approaches, the festive green color of mint chocolate chip ice cream makes it an ideal celebration dessert. More than just a holiday treat, it’s also a hopeful harbinger of spring. After enduring the long, often dreary months of winter, the thought of warm weather, green landscapes, and sun-drenched afternoons becomes a powerful longing. This creamy, cool dessert is my secret weapon for ushering in those much-anticipated warmer days. I’m secretly hoping that by whipping up a batch of this refreshing ice cream, I can manifest sunshine and temperatures pleasant enough to enjoy a cone outdoors.
This time of year often brings a deep yearning for the simple pleasures of spring: the sight of fresh green leaves on trees, the smell of freshly cut grass, the joy of open windows, and lazy afternoons spent lounging on the patio. I’m ready to trade brisk winds and power outages for light sweaters and gentle breezes. This homemade Mint Chocolate Chip Ice Cream isn’t just a dessert; it’s a culinary petition for spring to arrive, and to arrive quickly!
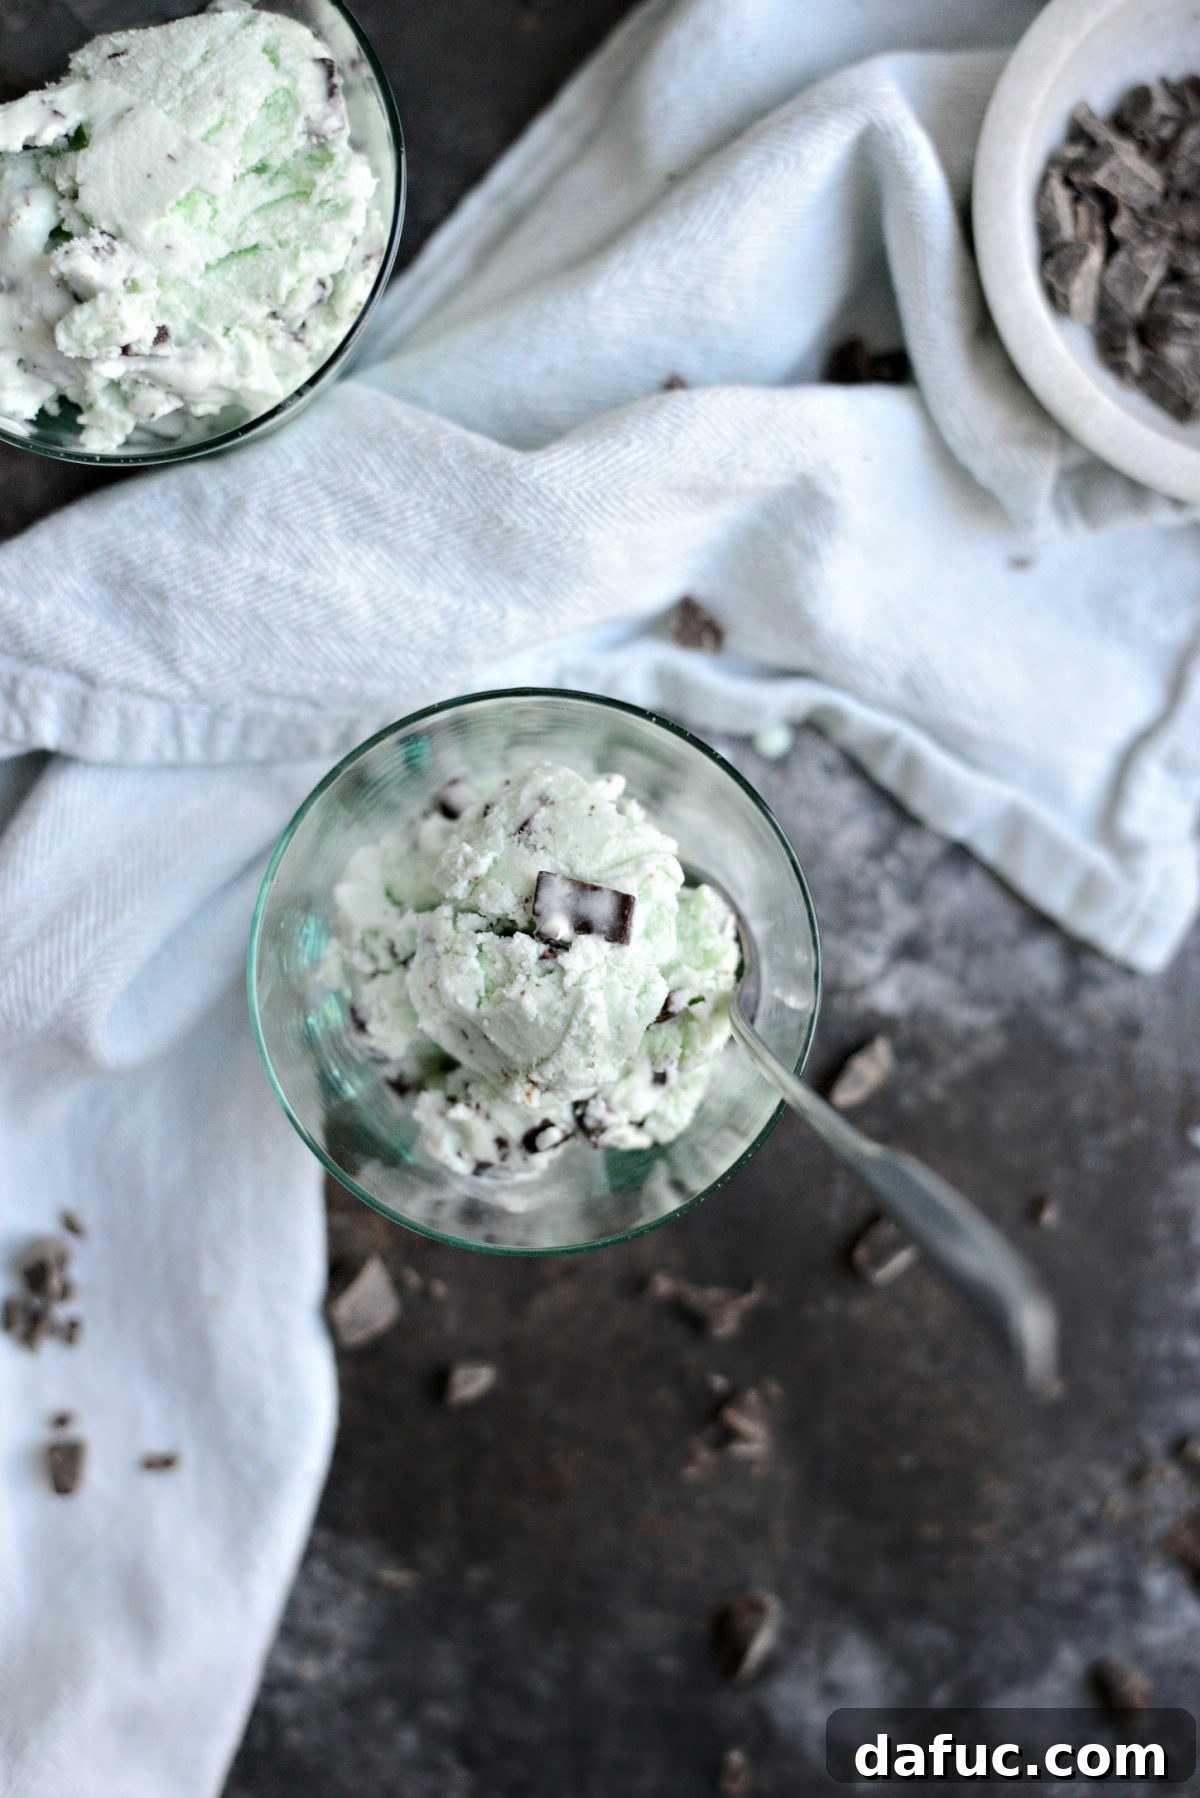
The Allure of Homemade Mint Chocolate Chip
Why is mint chocolate chip such a beloved flavor? It’s the exquisite balance. The vibrant, palate-cleansing coolness of peppermint perfectly complements the deep, rich bitterness or sweetness of chocolate. When combined within a velvety, smooth ice cream base, it creates an experience that is both invigorating and deeply comforting. The tiny pieces of chocolate chips, whether they’re delicate shards or substantial chunks, add a crucial textural contrast, transforming each spoonful into a delightful adventure. It’s this harmonious blend that truly completes my world, especially when crafted from scratch with fresh ingredients.
Making ice cream at home offers unparalleled control over flavor and texture. You can choose the quality of your ingredients, adjust the intensity of the mint, and select your preferred type and size of chocolate. This customization ensures that your homemade creation isn’t just good, but absolutely perfect for your personal taste. There’s a distinct satisfaction that comes from transforming simple ingredients into such a luxurious dessert, a pride that store-bought simply cannot replicate.
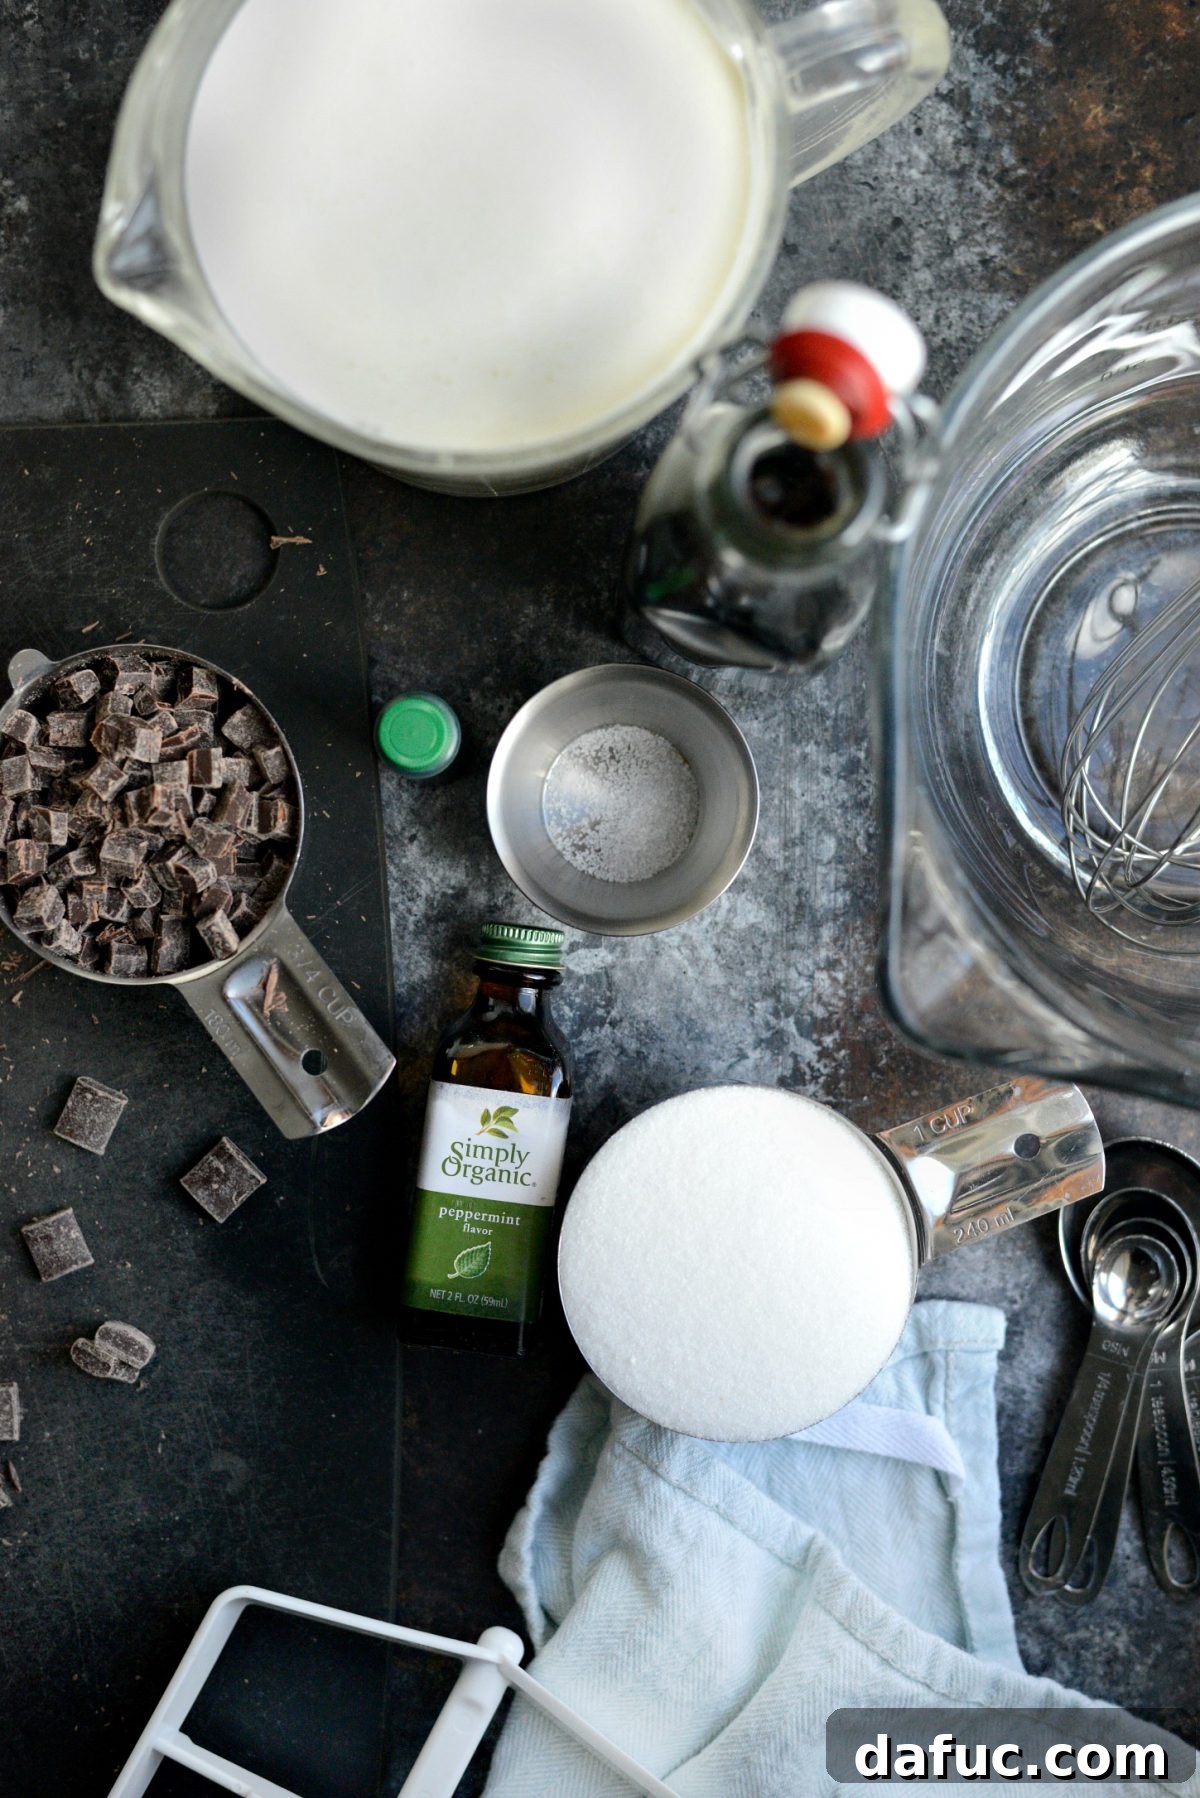
Essential Ingredients for Your Creamy Masterpiece
Crafting this delightful ice cream requires a handful of simple, high-quality ingredients. Each plays a vital role in achieving that signature creamy texture and refreshing flavor:
- Granulated Sugar: Provides sweetness and helps create the smooth texture by interfering with ice crystal formation.
- Fine Sea Salt: A generous pinch enhances all the other flavors, particularly the chocolate and mint, and balances the sweetness.
- Heavy Whipping Cream: The cornerstone of rich, creamy ice cream, providing essential fat content.
- Half & Half: A lighter dairy component that contributes to creaminess without being overly heavy. If half & half isn’t available, a 1:1 ratio of whole milk and heavy cream works wonderfully as a substitute.
- Vanilla Extract: A crucial background note that rounds out and deepens the overall flavor profile.
- Peppermint Extract: The star flavor! Choose a good quality extract for the best, cleanest mint taste.
- Chocolate Chips or Chunks: The “chip” in mint chocolate chip! Whether you prefer mini chips, regular chips, or finely chopped chocolate, these provide the essential crunch and chocolatey goodness.
- Green Food Coloring (Optional): For that iconic emerald hue.
Crafting Your Perfect Batch: Step-by-Step Instructions
The process of making homemade ice cream is surprisingly straightforward, but patience is key, especially during the chilling and freezing stages. Follow these steps for a perfectly creamy, minty, and chocolatey treat:
1. Prepare the Base
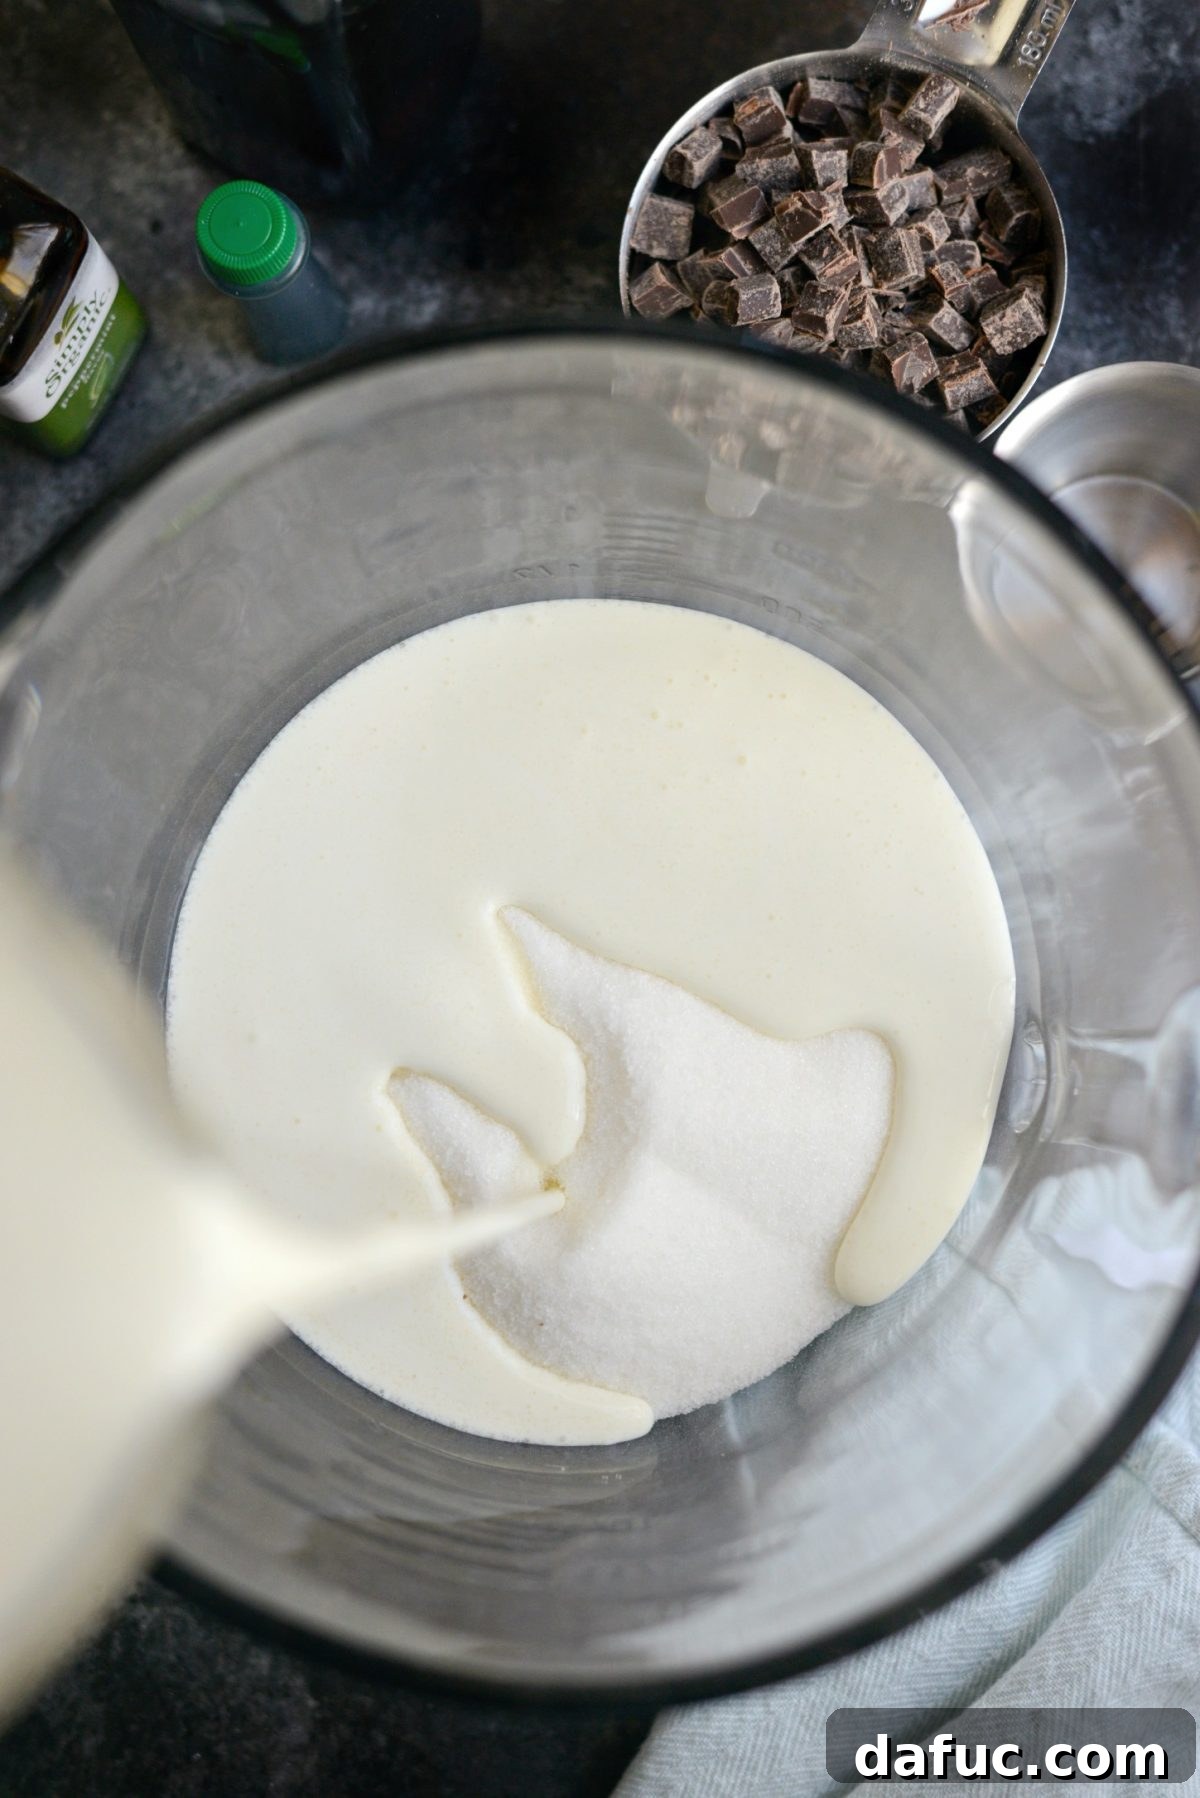
Begin by combining 1 cup of granulated sugar and a generous pinch of fine sea salt in a large, 8-cup liquid measuring cup or a mixing bowl equipped with a convenient pour spout. This ensures easy transfer later on. Next, pour in 2 cups of rich heavy whipping cream and 2 cups of half & half. If half & half is elusive in your area, don’t fret! A simple substitution of 1 cup of heavy cream and 1 cup of whole milk will yield a similar luscious base. Whisk these ingredients vigorously until the sugar is completely dissolved. This step is crucial for preventing a grainy texture in your finished ice cream.
2. Flavor and Color
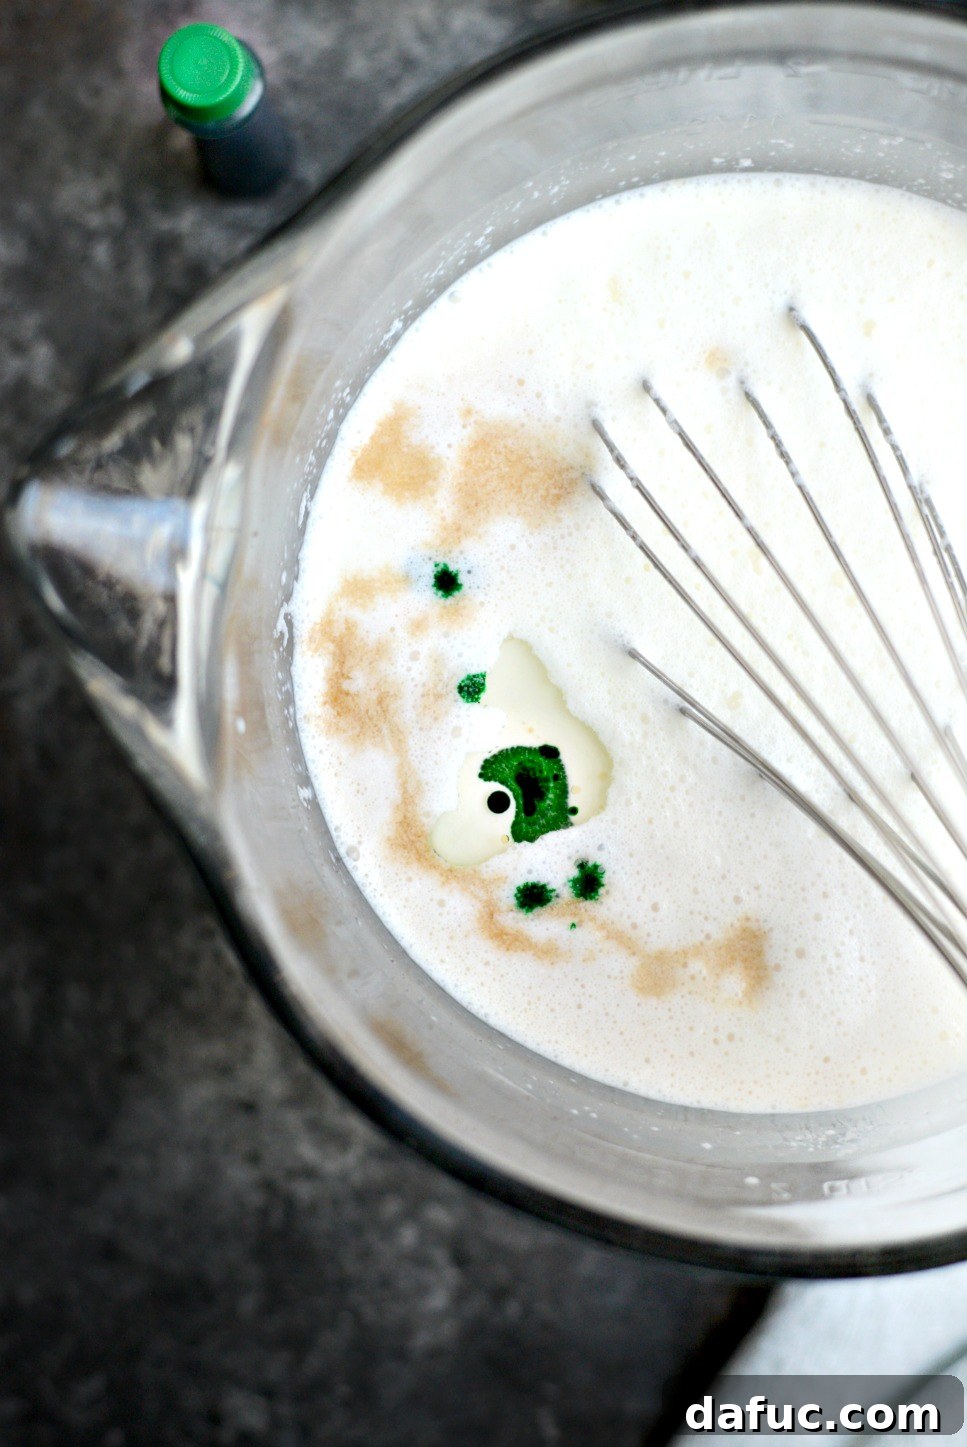
Now it’s time to infuse that wonderful minty flavor! Add a teaspoon of pure vanilla extract, which provides a lovely foundational warmth, alongside a teaspoon of quality peppermint extract. The peppermint extract is where the magic happens, so choose one with a clean, authentic mint flavor. I recently discovered an organic peppermint extract that I absolutely adore for its vibrant taste. For that classic mint chocolate chip look, squeeze in about 6 drops of green food coloring. This is entirely optional, of course! If artificial food colorings aren’t your preference, feel free to omit it. The ice cream will taste just as incredible, perhaps with a more sophisticated, natural white hue. Personally, I love the visual contrast between the bright green and the dark chocolate chips.
3. Chill Thoroughly
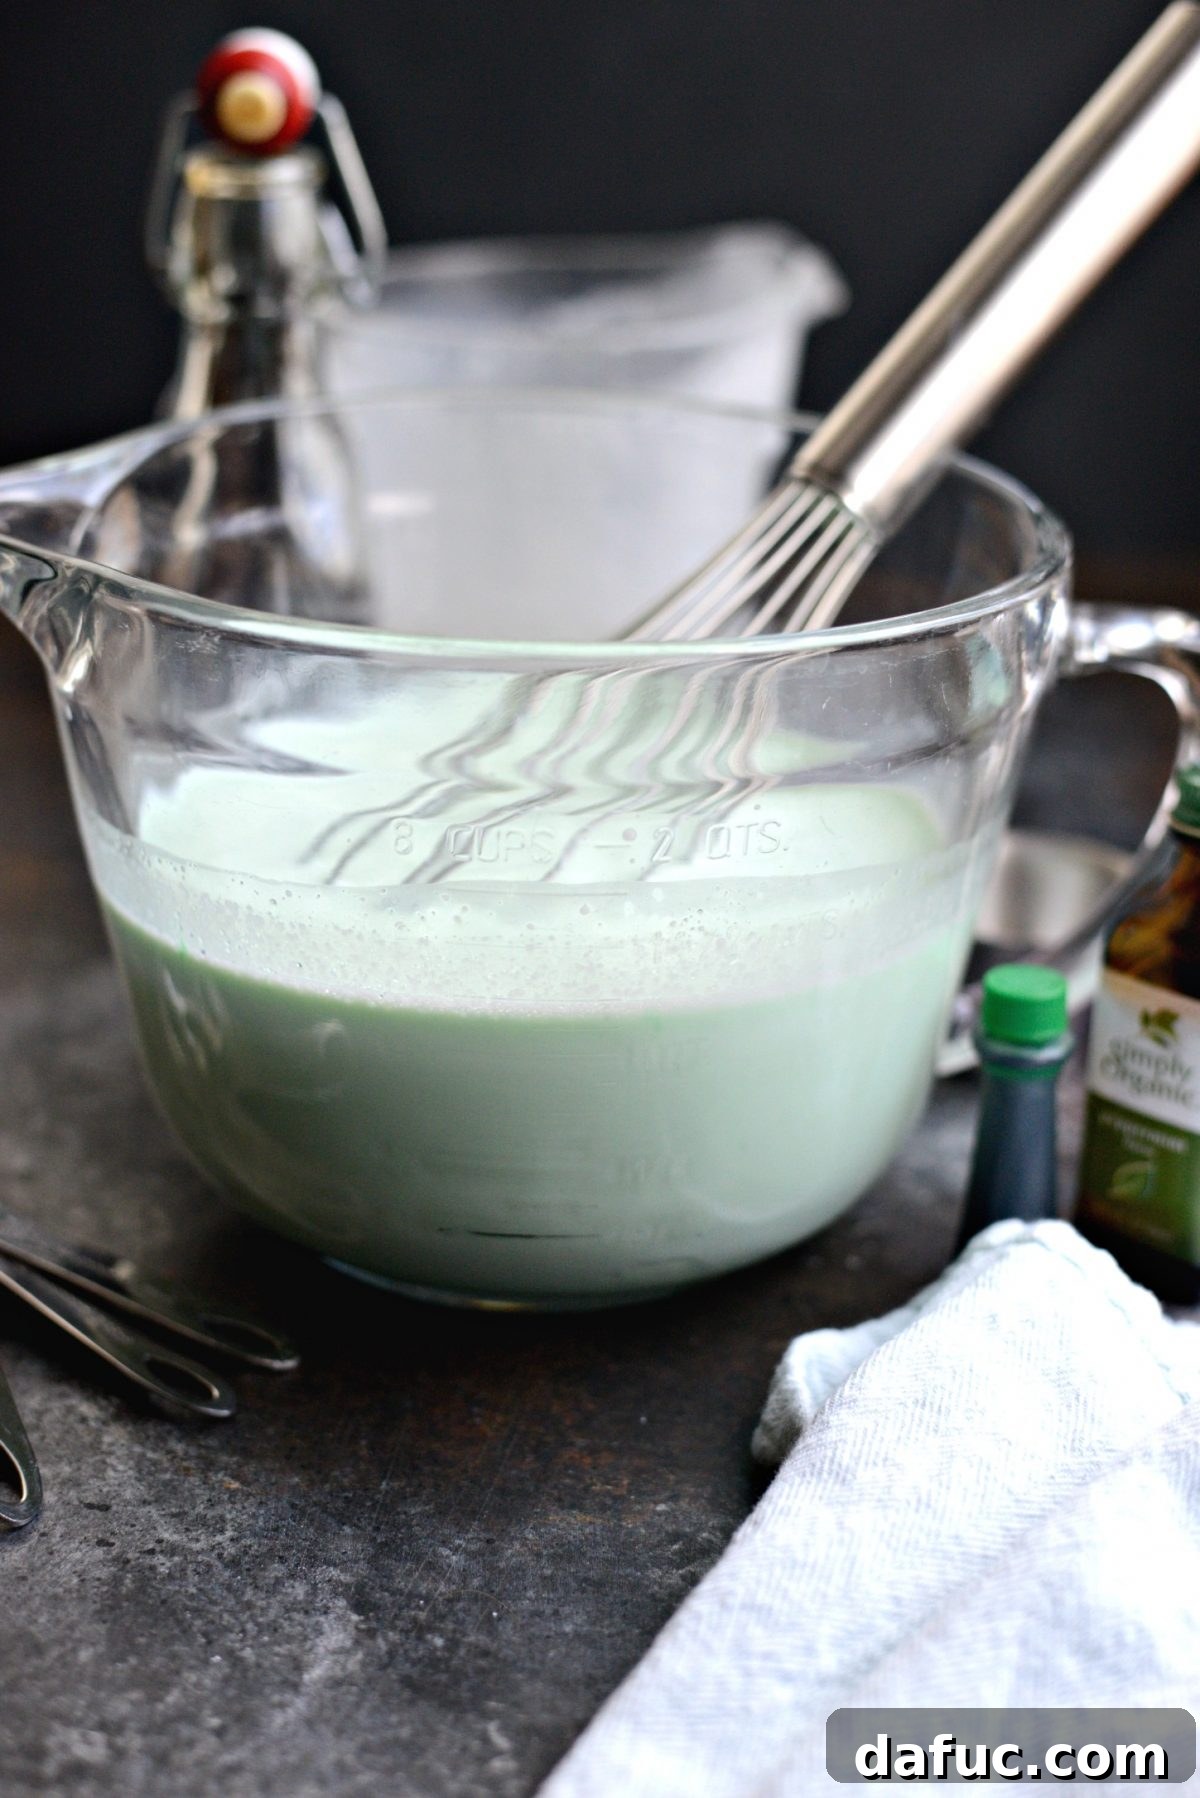
Give the mixture another good whisk to ensure all the extracts and coloring are evenly distributed. Once combined, cover your bowl or measuring cup and refrigerate the base for a minimum of 1 to 2 hours, or until it is thoroughly chilled. This chilling period is essential; a cold base churns more efficiently and results in a smoother, creamier ice cream with smaller ice crystals. Don’t rush this step!
4. Churn to Perfection
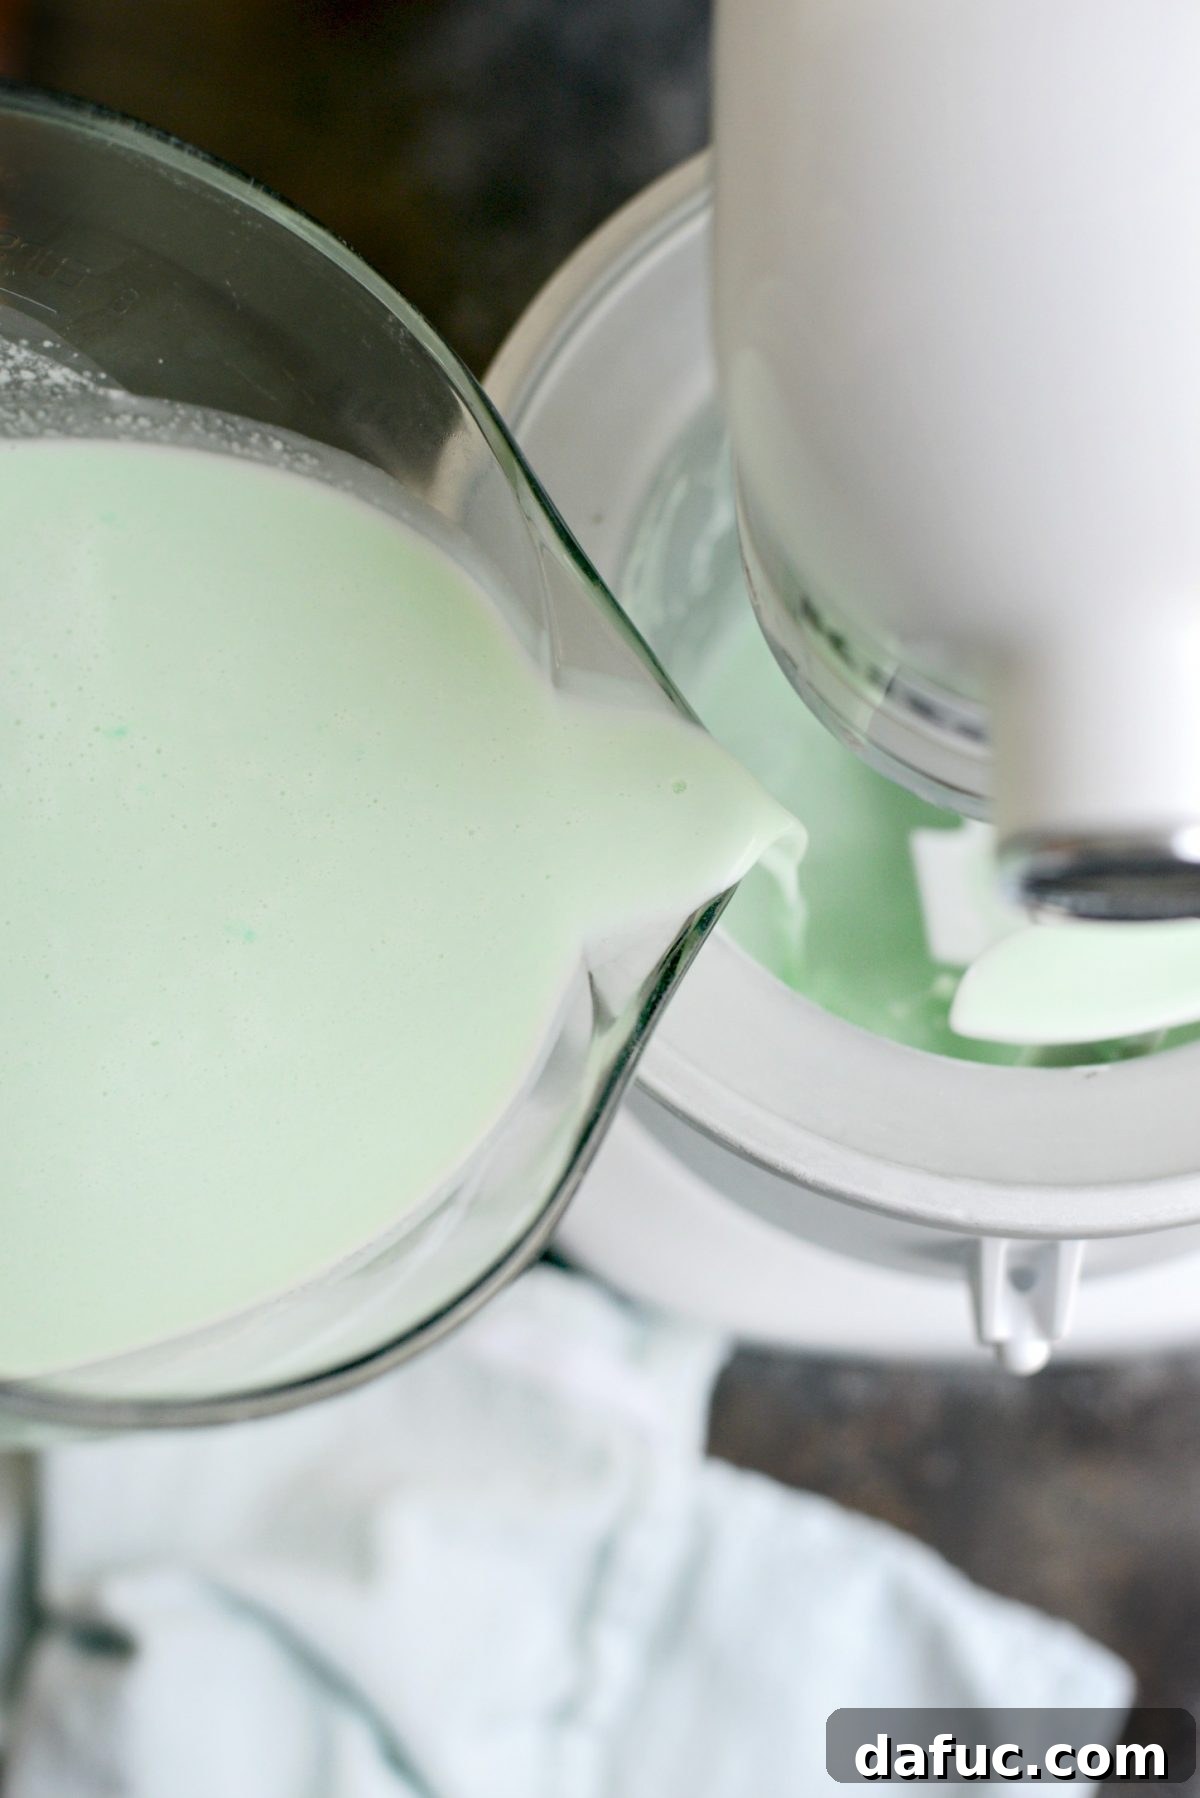
Once your base is perfectly chilled, it’s time for the ice cream maker to shine! Following your manufacturer’s specific instructions, pour the cold ice cream base into the frozen bowl of your ice cream machine. Begin churning. The duration can vary depending on your machine; for my KitchenAid mixer with the ice cream attachment, it typically takes about 20 to 25 minutes for the mixture to reach a thick, soft-serve consistency. You’re looking for a texture that’s noticeably thickened but still soft and easy to stir.
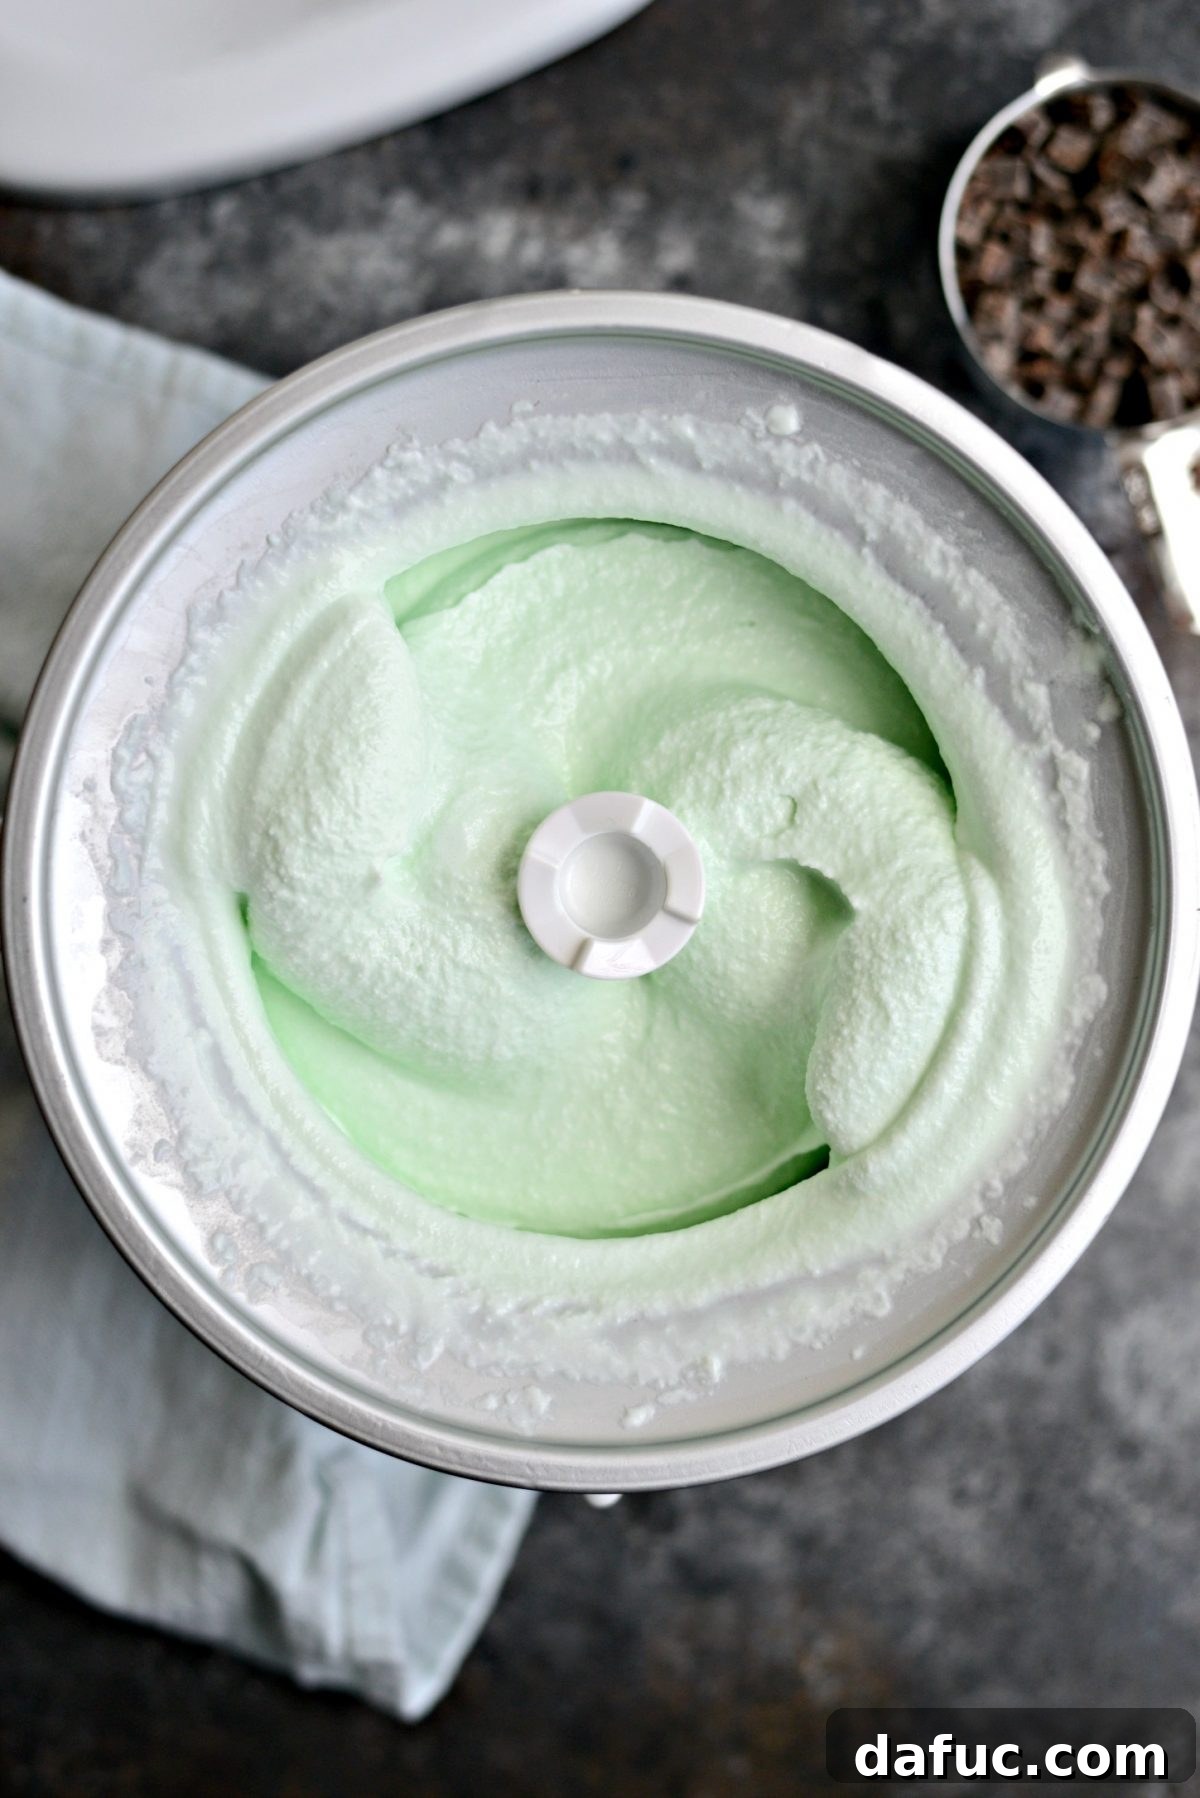
A good ice cream maker, like the KitchenAid attachment I use (which is linked in the recipe below), makes this process effortless. The goal here is to incorporate air and freeze the mixture slowly, creating that wonderfully smooth and creamy texture we all crave in homemade ice cream.
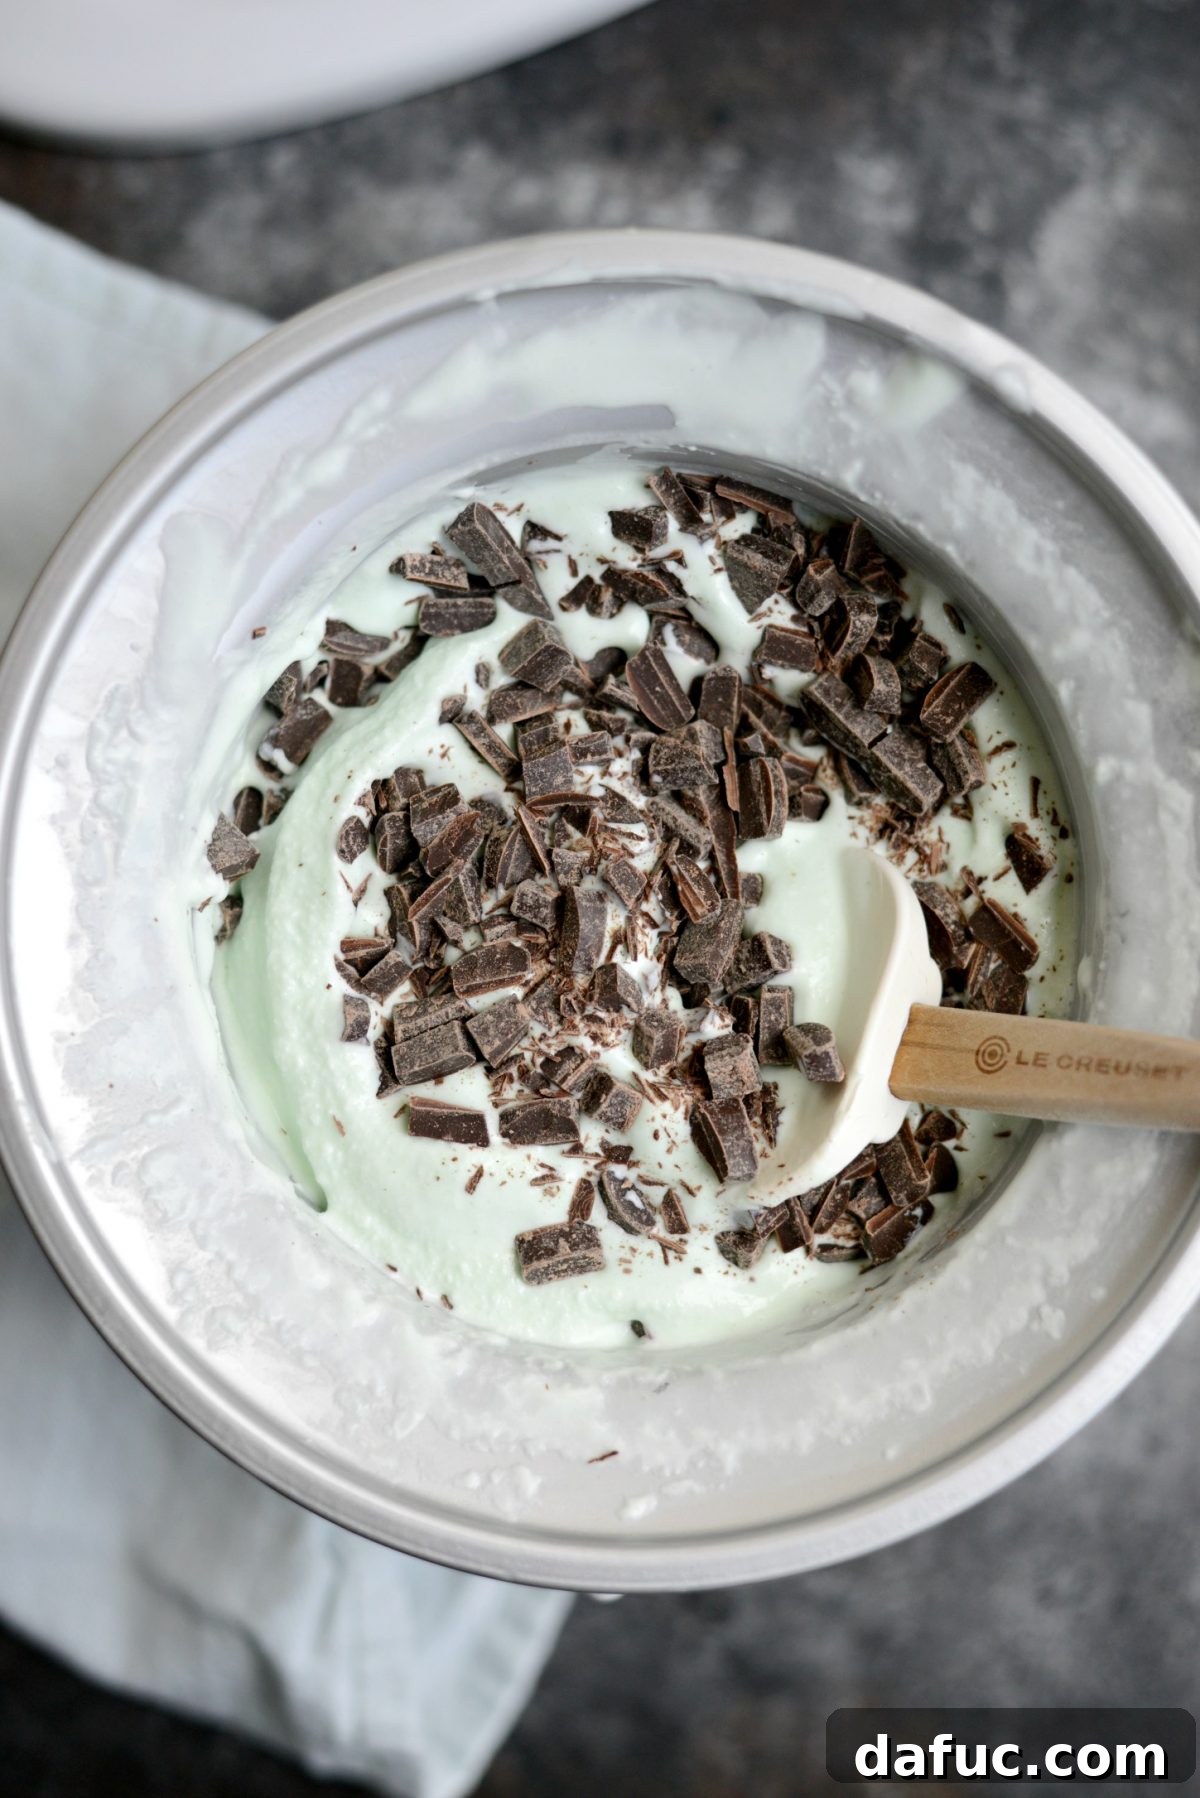
5. Add the Chocolate
Once the ice cream has reached the desired thick consistency, it’s time for the star addition: the chocolate! Gently fold in about 1 heaping cup of small chocolate chunks or mini chocolate chips. The amount is flexible – feel free to add more or less depending on how chocolatey you like your ice cream. I often find larger chocolate chunks in stores, so I usually take a moment to chop them into smaller, more bite-sized pieces to ensure they’re well distributed throughout the ice cream without being overwhelming. This step is about integrating the chocolate evenly to ensure every scoop delivers that perfect mint-chocolate synergy.
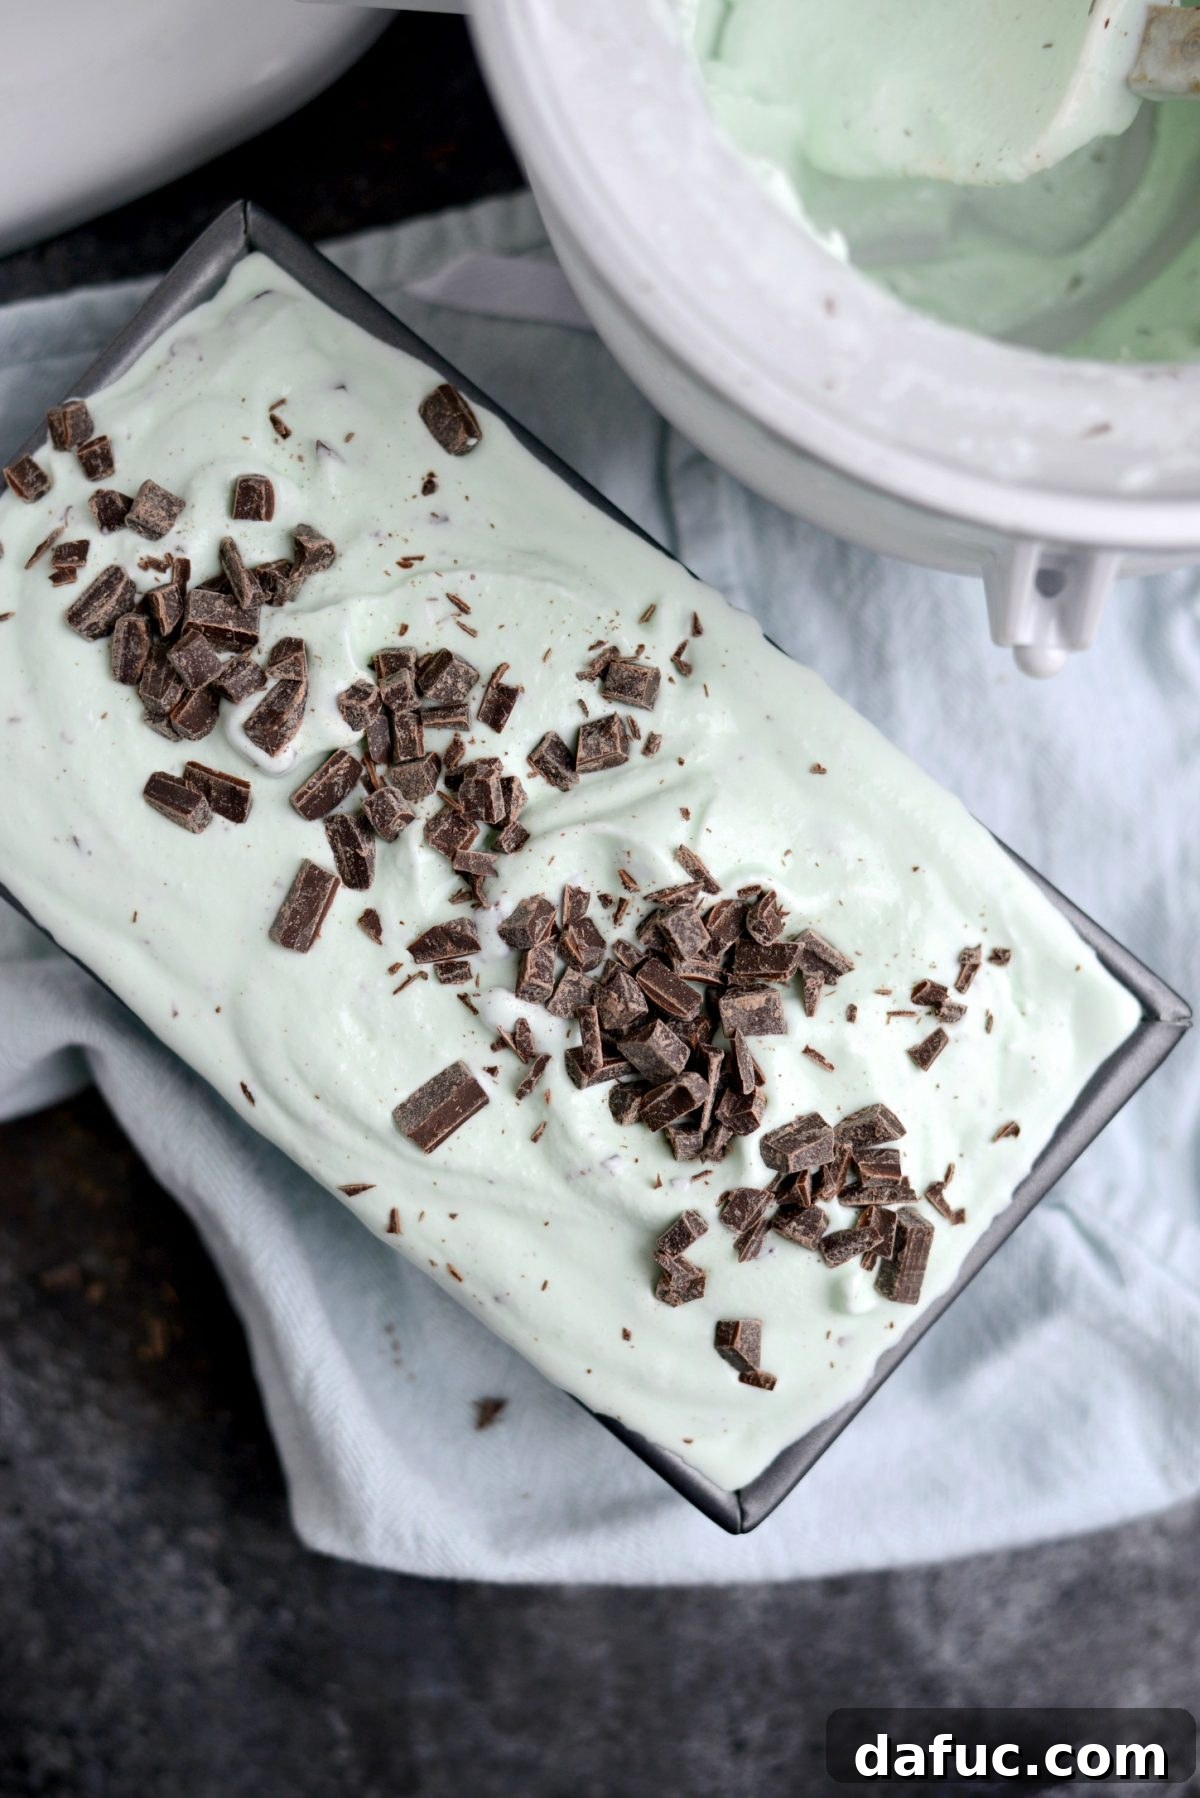
6. The Final Freeze
Finally, carefully transfer your freshly churned, chocolate-studded ice cream into a freezer-safe container. Press a piece of parchment paper or plastic wrap directly onto the surface of the ice cream to prevent ice crystals from forming. Then, place the container into your freezer. For optimal texture and firmness, allow the ice cream to freeze for 4 to 6 hours, or ideally, overnight. While 4 hours will give you a soft scoop, letting it firm up overnight yields the best, most satisfyingly scoopable consistency. Now, we enter the most challenging phase: the waiting game.
The Sweet Anticipation
Oh, the agony of waiting! Knowing there’s a glorious batch of homemade Mint Chocolate Chip Ice Cream chilling in the freezer is almost unbearable. My mind immediately drifts to cozy evenings on the couch, re-watching favorites like “Big Little Lies” (a show I’m utterly obsessed with, and its Spotify playlist is currently on repeat!) with a generous scoop of this creamy delight in hand. The anticipation only makes the eventual reward even sweeter.
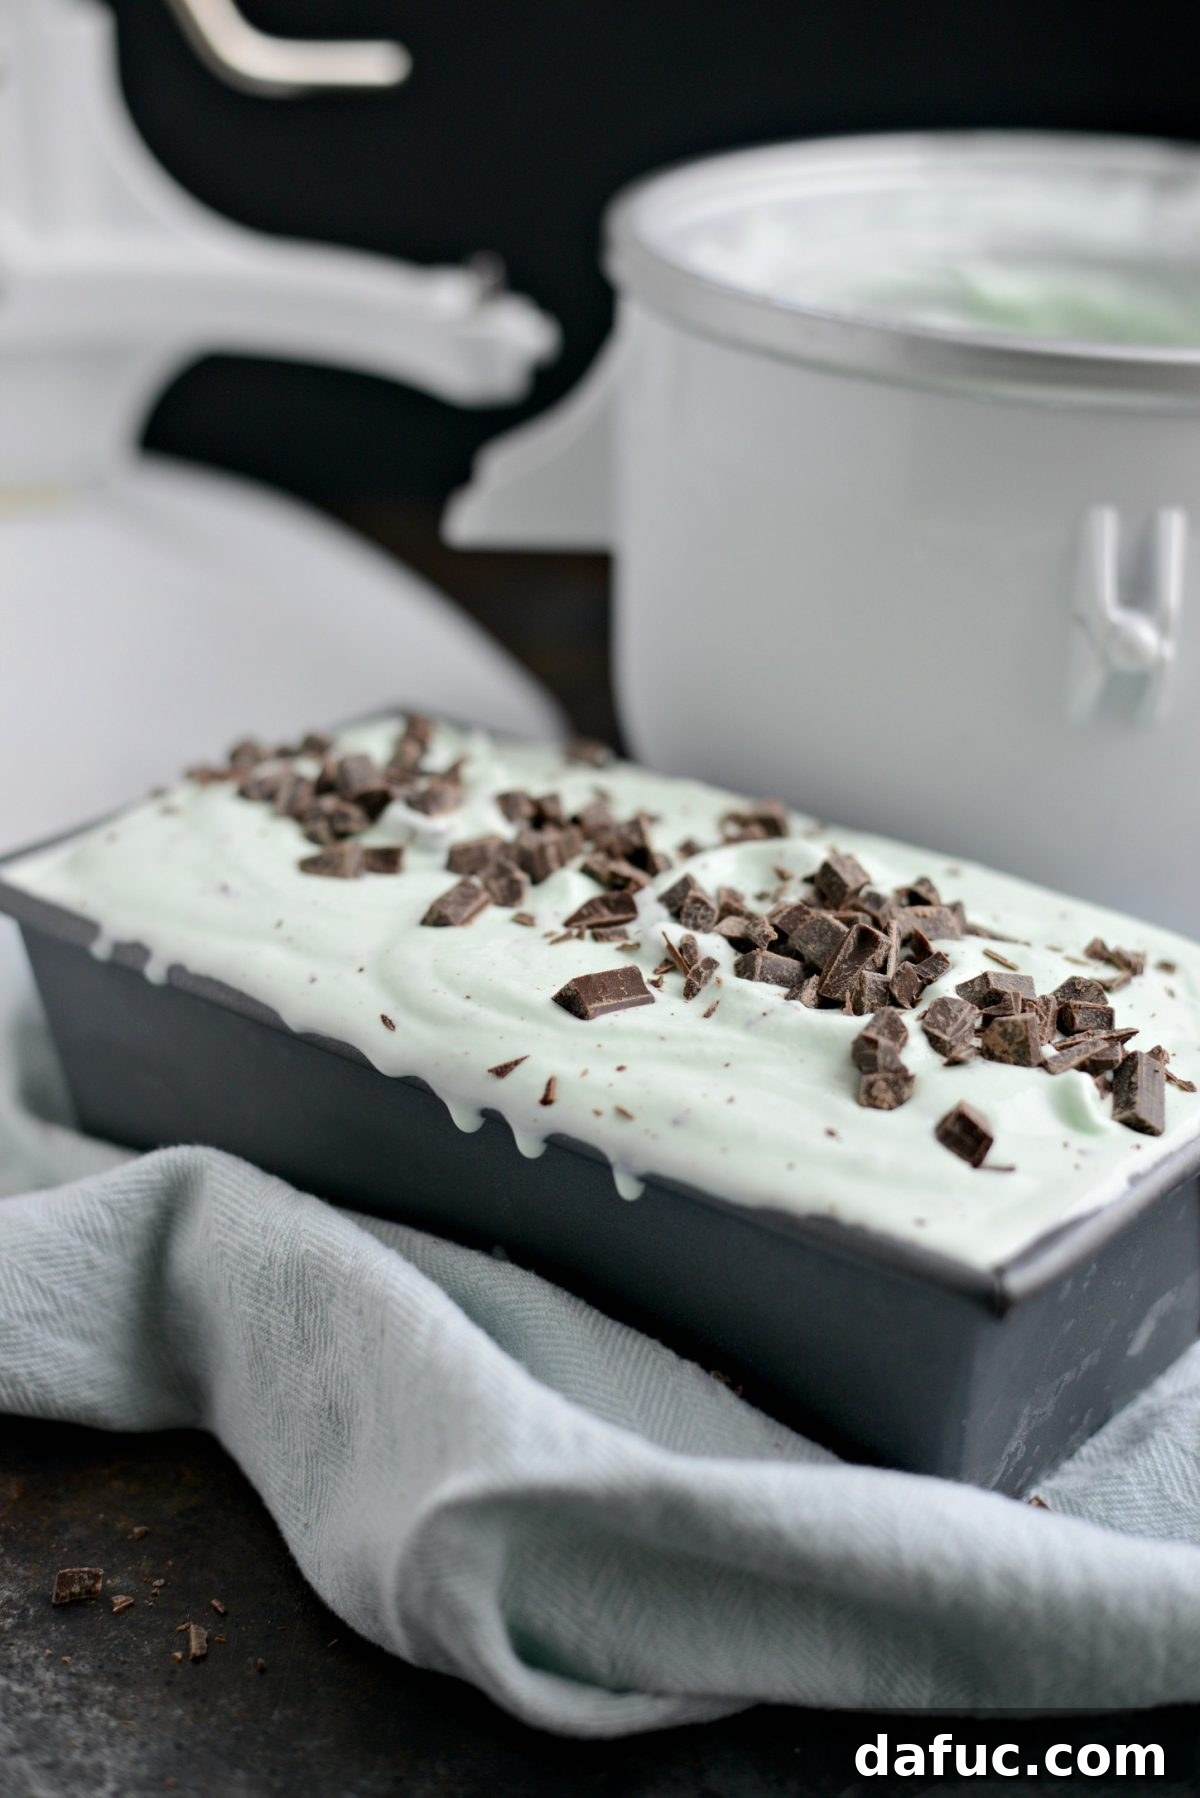
Mint chocolate chip ice cream, in my world, isn’t just a dessert; it’s a culinary hug, a refreshing escape, and a celebration of simple pleasures. There’s a reason it remains one of the most beloved and coveted ice cream flavors.
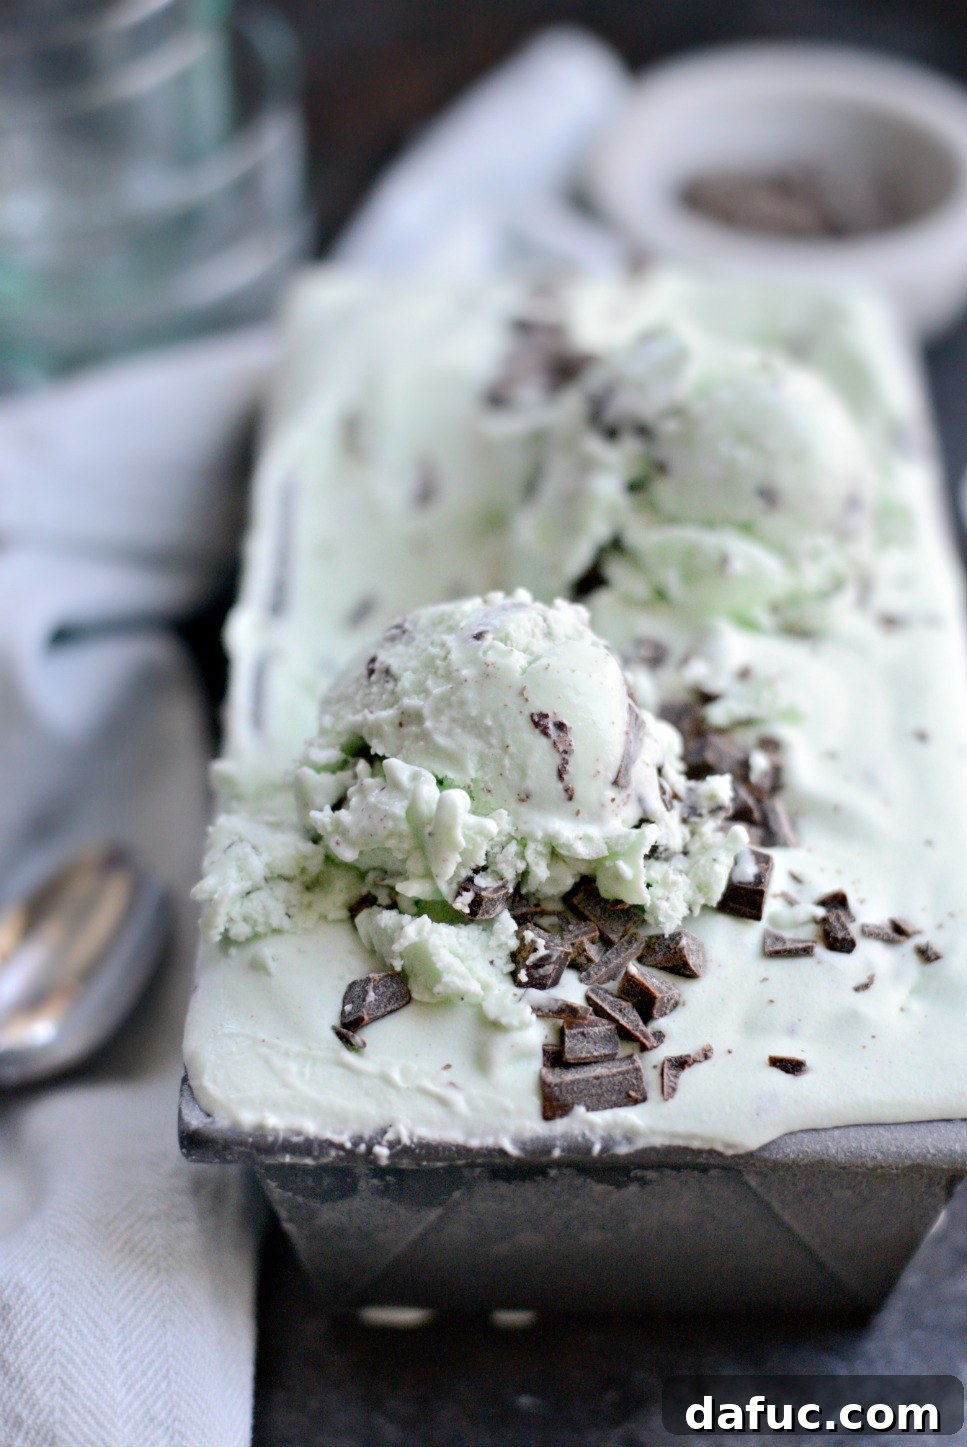
I’m always curious to know what other ice cream flavors capture your heart. What’s your absolute favorite? Let me know in the comments below – who knows, perhaps your suggestion will inspire my next homemade ice cream adventure!
Looking for More Homemade Ice Cream Recipes? Click Here.
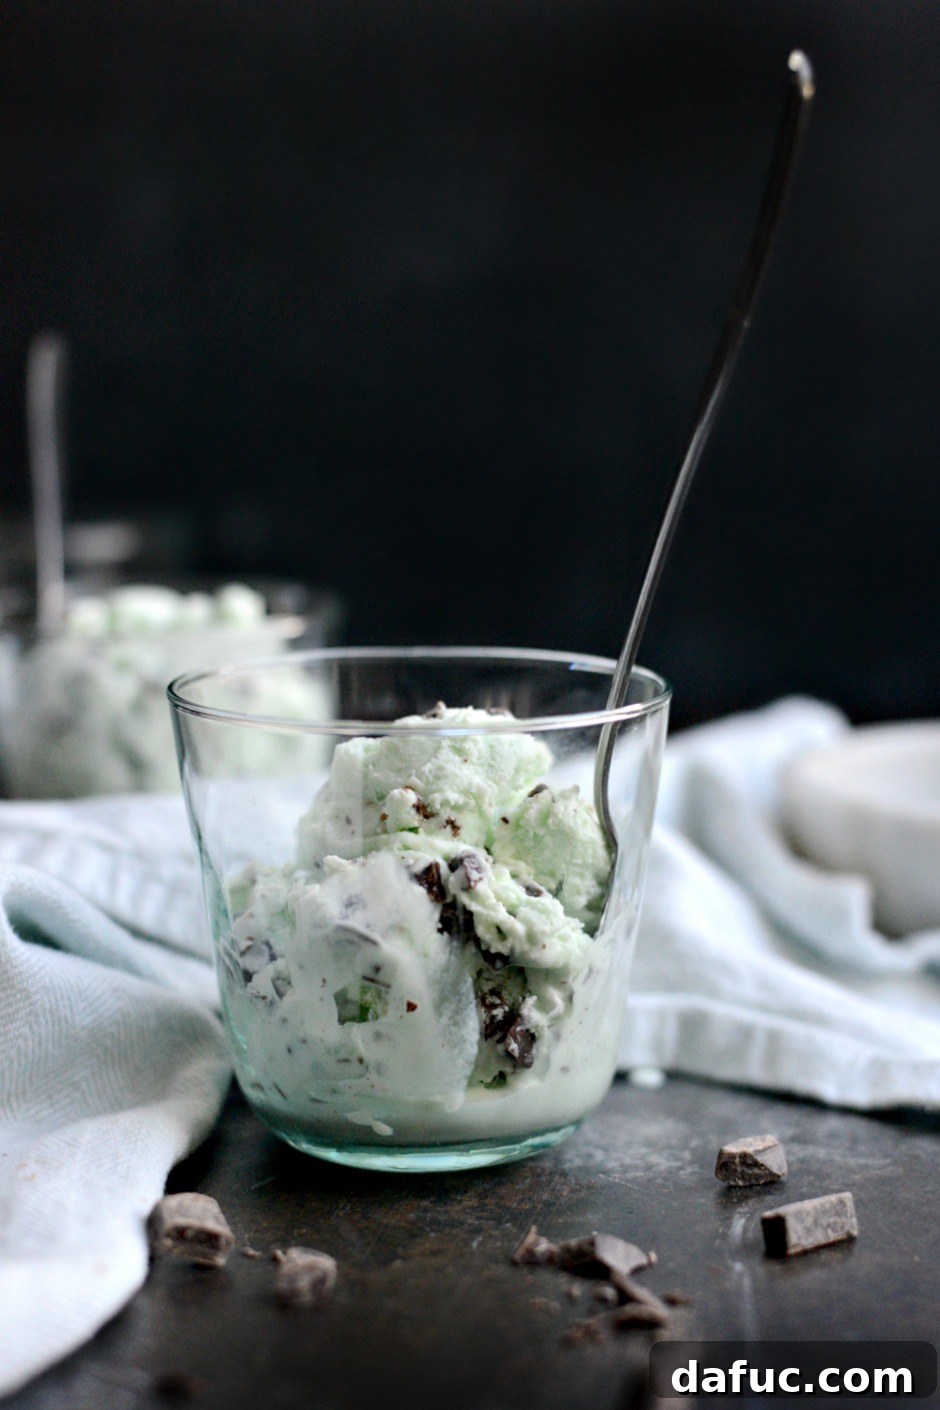
Enjoy! If you give this Mint Chocolate Chip Ice Cream recipe a try, I’d love to hear about it! Snap a photo and tag me on Twitter or Instagram!
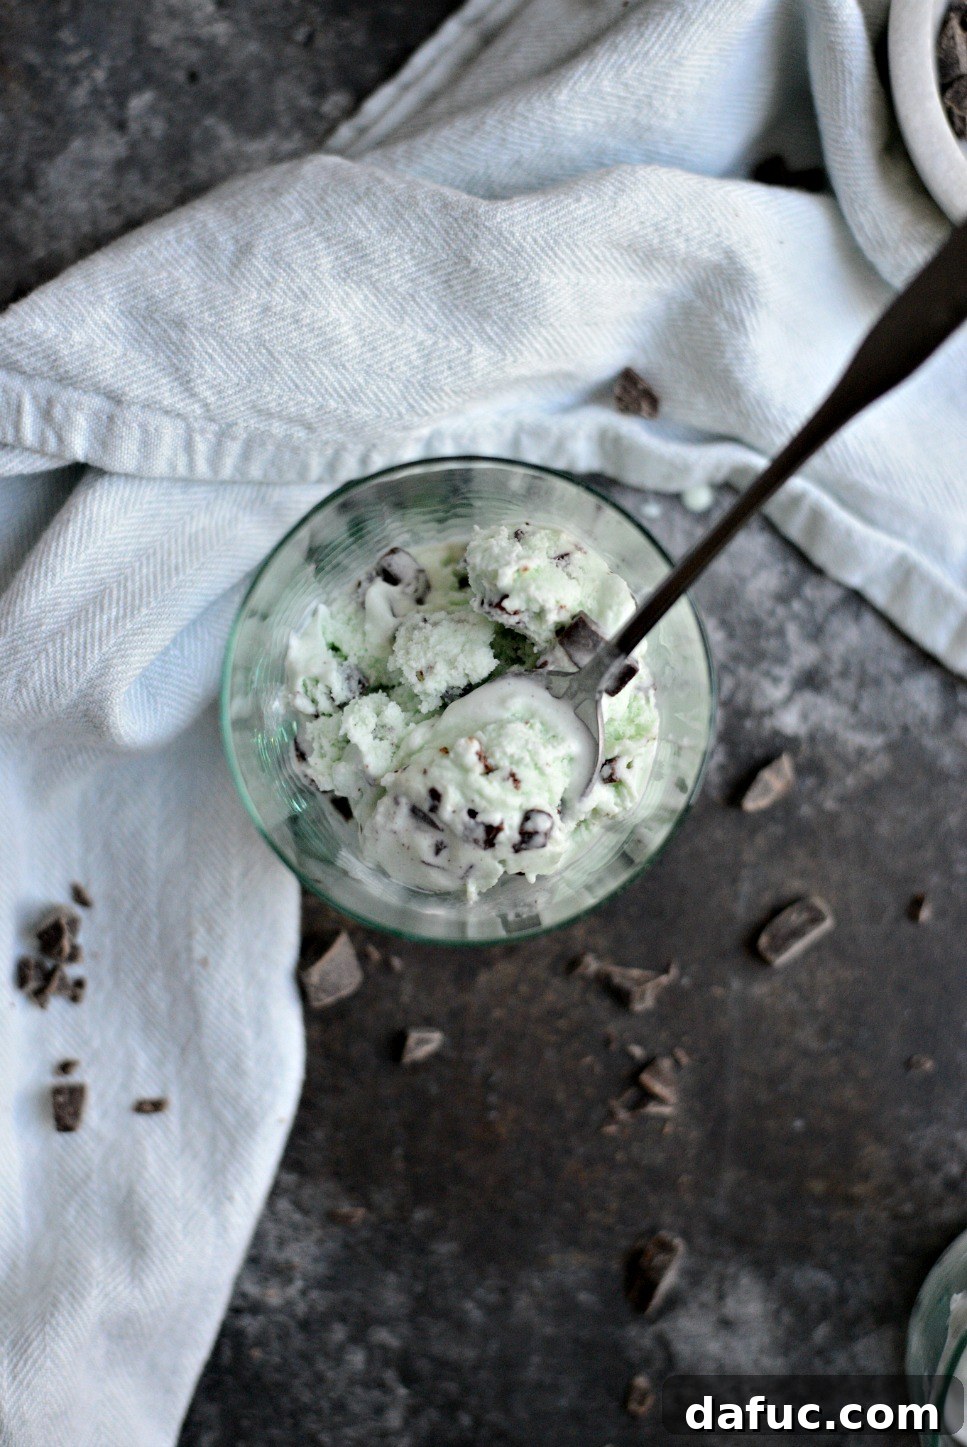
Mint Chocolate Chip Ice Cream
This homemade Mint Chocolate Chip Ice Cream is my all-time favorite dessert! Enjoy cool, creamy mint-flavored ice cream studded with tiny pieces of delicious chocolate, all made from scratch.
Yield: 8 servings
Prep Time: 2 hrs 10 mins
Additional Time: 3 hrs 50 mins
Total Time: 6 hrs
Ingredients
- 1 cup granulated sugar
- 1 generous pinch fine sea salt
- 2 cups heavy whipping cream
- 2 cups half & half (or substitute with 1 cup whole milk and 1 cup heavy cream)
- 1 teaspoon vanilla extract
- 1 teaspoon peppermint extract
- 6 drops green food coloring (optional)
- 3/4 cup small chocolate chunks or mini chocolate chips
Equipment
- KitchenAid KP26M1XWH 6 Qt. Professional 600 Series Bowl-Lift Stand Mixer (Optional, but recommended for easy mixing)
- KitchenAid KICA0WH Ice Cream Maker Attachment (Essential for churning, excludes 7, 8, and most 6 Quart Models)
- Large (8-cup) liquid measuring cup or bowl with a pour spout
- Whisk
- Freezer-safe container
Instructions
- Add the granulated sugar, fine sea salt, heavy cream, and half & half into a large (8-cup) liquid measuring cup or a bowl with a pour spout. Whisk thoroughly until the sugar dissolves completely.
- Next, stir in the vanilla extract, peppermint extract, and the 6 drops of green food coloring (if using). Whisk again until all ingredients are well combined.
- Cover the mixture and refrigerate for at least 2 hours, or until it is thoroughly chilled. This step is crucial for the best results.
- Following your ice cream maker’s manufacturer instructions, pour the chilled ice cream base into the machine and churn until it reaches a thick, soft-serve consistency. This usually takes 20-25 minutes.
- Using a spatula, gently fold in the small chocolate pieces. Once evenly distributed, pour the ice cream base into a freezer-safe container.
- Place the container in your freezer for 4 to 6 hours, or ideally, overnight, for it to fully harden. Overnight freezing yields the best texture.
- Scoop and serve your glorious homemade Mint Chocolate Chip Ice Cream!
Nutrition Information (per serving)
- Serving: 1g
- Calories: 476kcal
- Carbohydrates: 38g
- Protein: 4g
- Fat: 35g
- Saturated Fat: 22g
- Polyunsaturated Fat: 1g
- Monounsaturated Fat: 10g
- Trans Fat: 1g
- Cholesterol: 105mg
- Sodium: 98mg
- Potassium: 216mg
- Fiber: 1g
- Sugar: 31g
- Vitamin A: 1097IU
- Vitamin C: 1mg
- Calcium: 112mg
- Iron: 1mg
Author: Laurie McNamara
Course: Desserts & Sweet Treats
Cuisine: American