
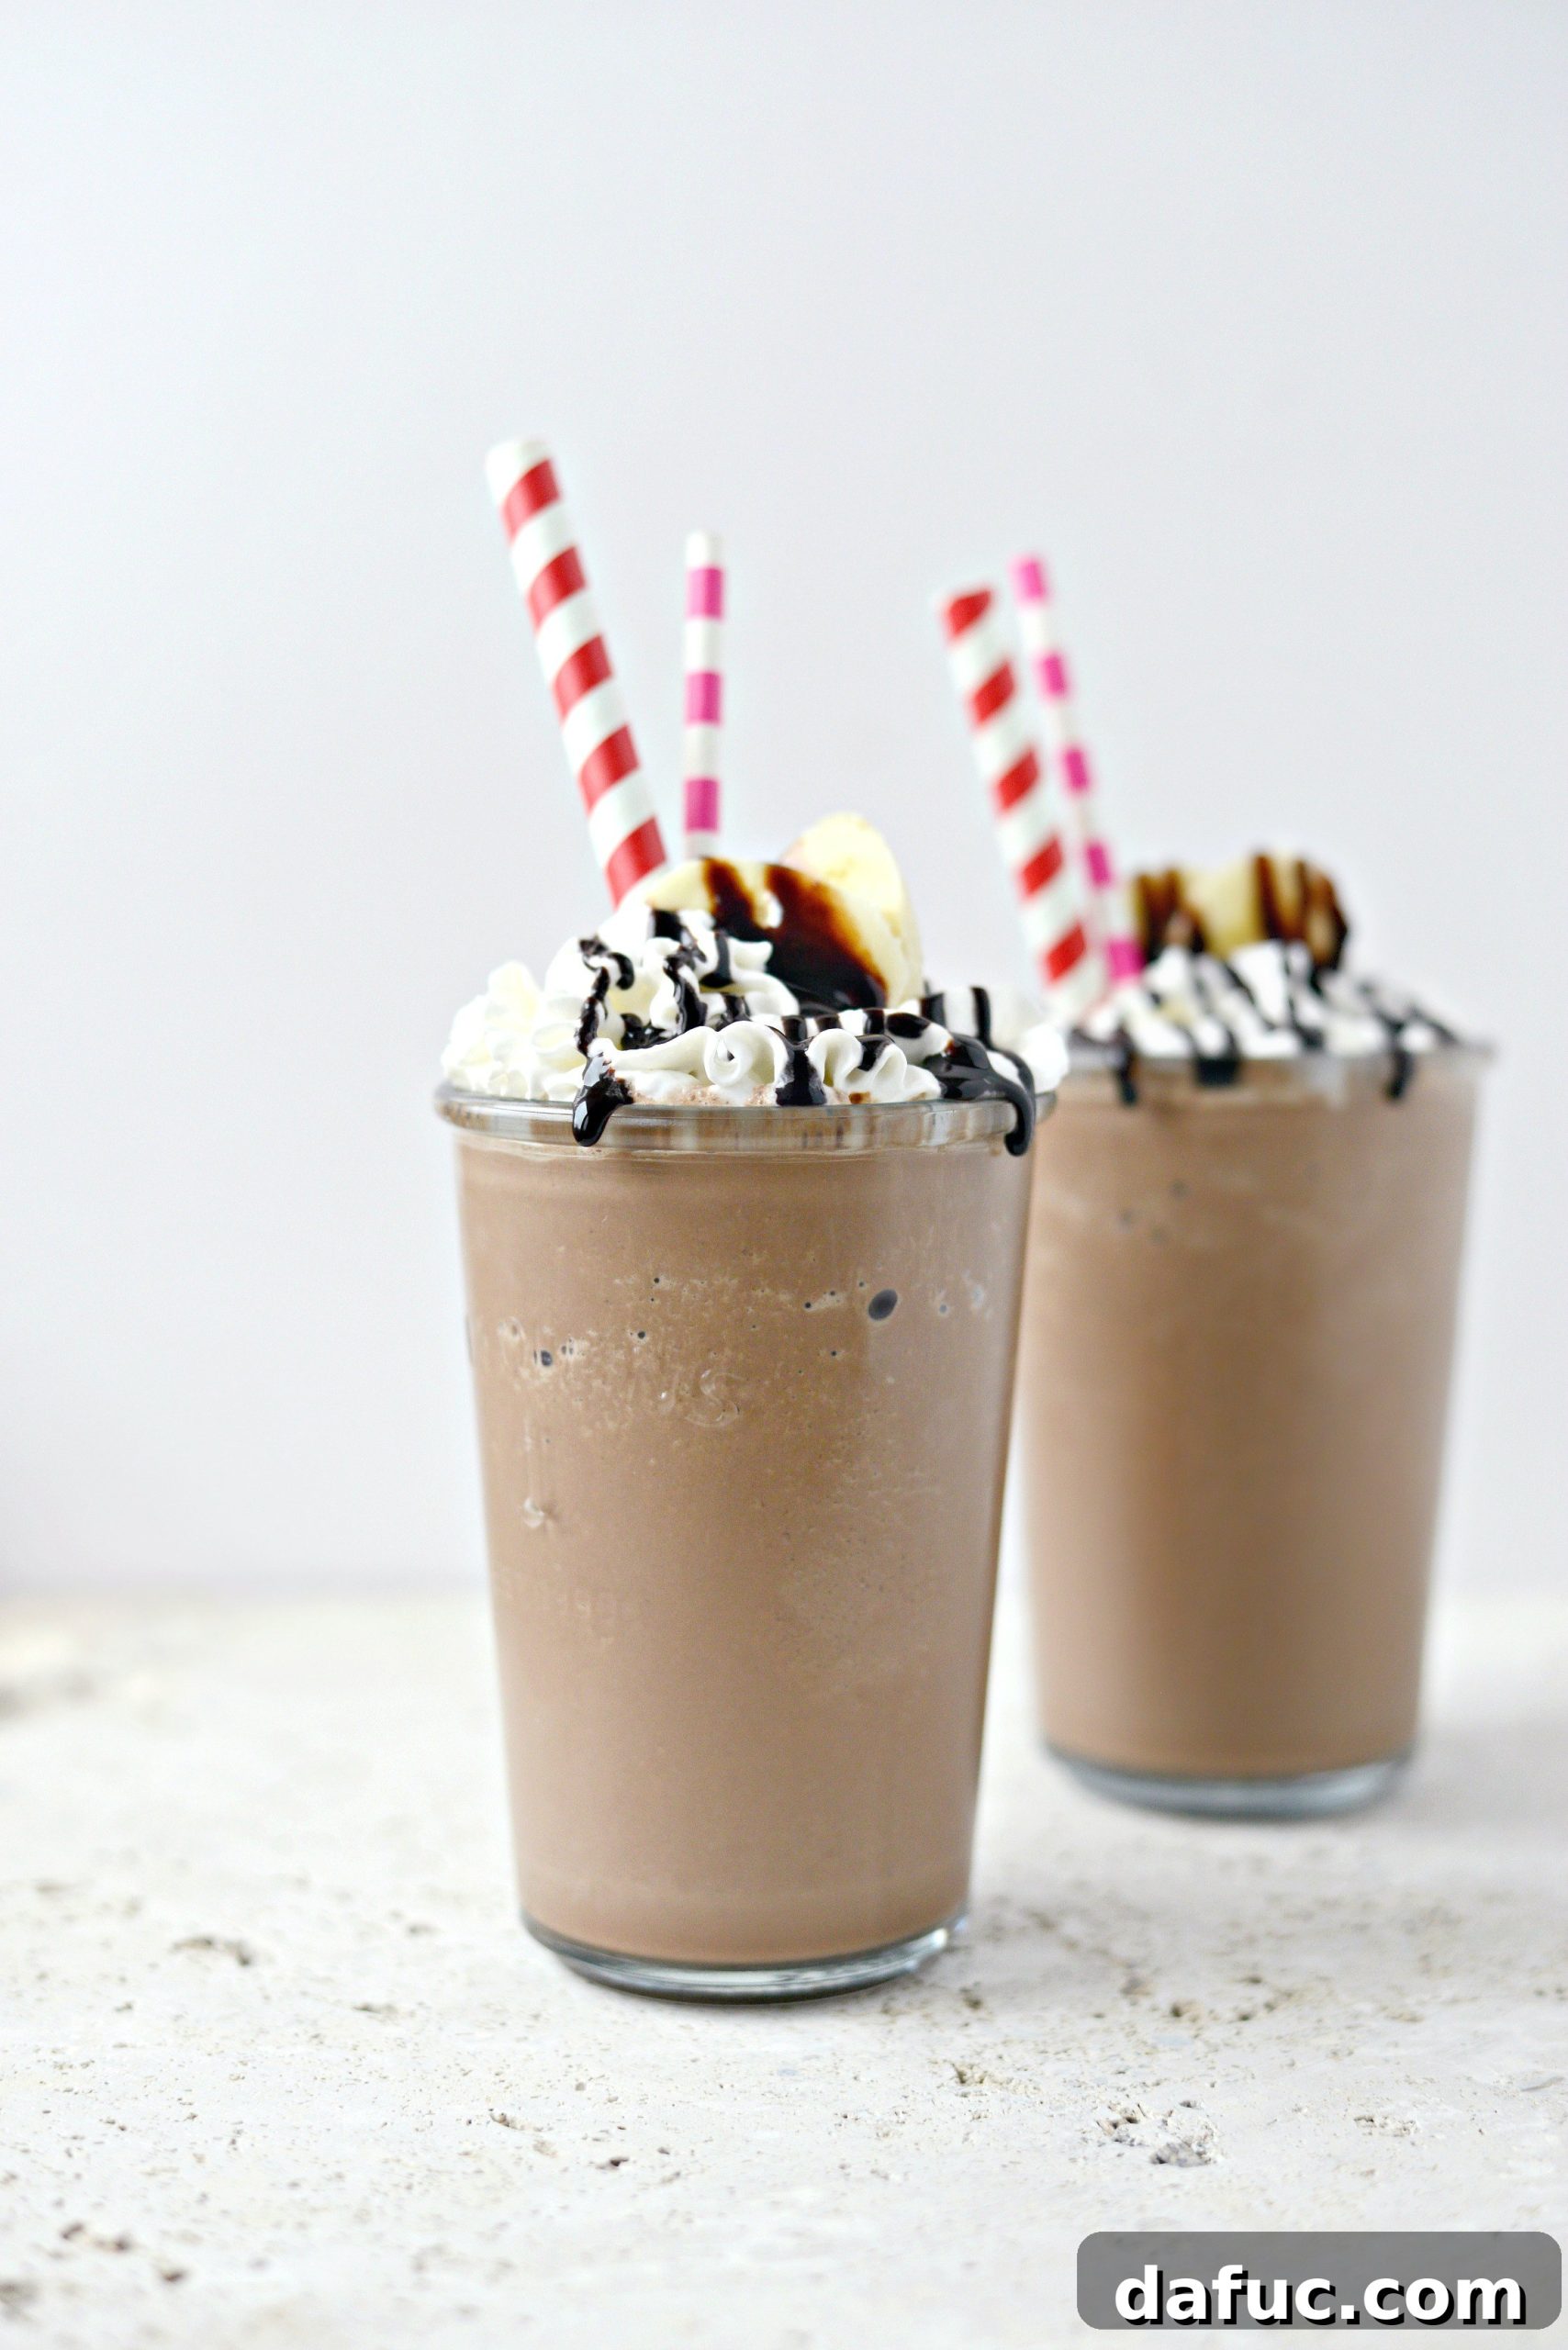
Indulge in the ultimate homemade treat! This recipe combines luscious chocolate syrup, perfectly frozen bananas, and creamy ice cream to create an irresistibly thick and decadent chocolate banana milkshake. Get ready to fire up your blender – pure deliciousness awaits!
The Ultimate Homemade Chocolate Banana Milkshake: A Rich and Creamy Delight
Craving a truly exceptional chocolate banana milkshake? Forget the drive-thru and prepare for a homemade experience that will redefine your expectations. There’s nothing quite like a shake crafted from scratch, brimming with fresh ingredients and bursting with flavor. This recipe isn’t just about making a drink; it’s about creating a moment of pure, frosty bliss that can brighten any day.
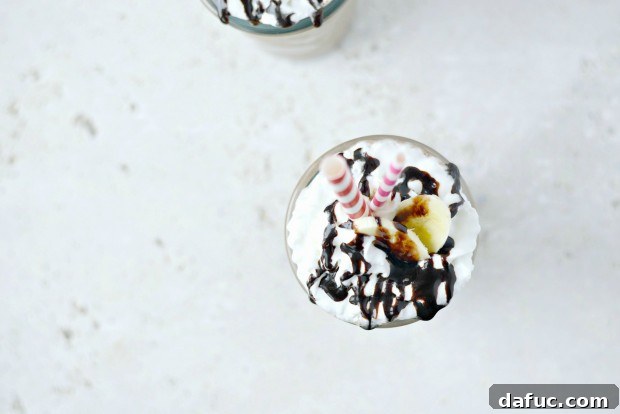
Why settle for an ordinary shake when you can whip up an extraordinary one in minutes? This particular chocolate banana milkshake is engineered for maximum thickness and flavor, thanks to a carefully selected blend of ingredients. It’s the kind of treat that makes you wonder why you ever bought a milkshake from a store.
Why Homemade Truly Tastes Better
The beauty of a homemade milkshake lies in your ability to control every ingredient, ensuring peak freshness and quality. Unlike many store-bought versions that rely on artificial flavors and excessive sugars, our homemade chocolate banana milkshake uses real fruit, high-quality dairy, and, crucially, a homemade chocolate syrup. This syrup is a game-changer, offering a depth of chocolate flavor that no commercial syrup can match. The result is a richer, more authentic taste that feels indulgent without being overly processed.
The Secret to an Ultra-Thick Milkshake: Frozen Bananas
One of the key elements that elevates this milkshake from good to absolutely phenomenal is the use of frozen bananas. Freezing the bananas before blending accomplishes several things: it eliminates the need for excessive ice (which can dilute flavor), it adds natural sweetness and a delightful creamy texture, and it ensures your milkshake is perfectly chilled from the first sip to the last. This creates that desirable “extra thick” consistency that requires an extra-wide straw – a true hallmark of a premium milkshake.
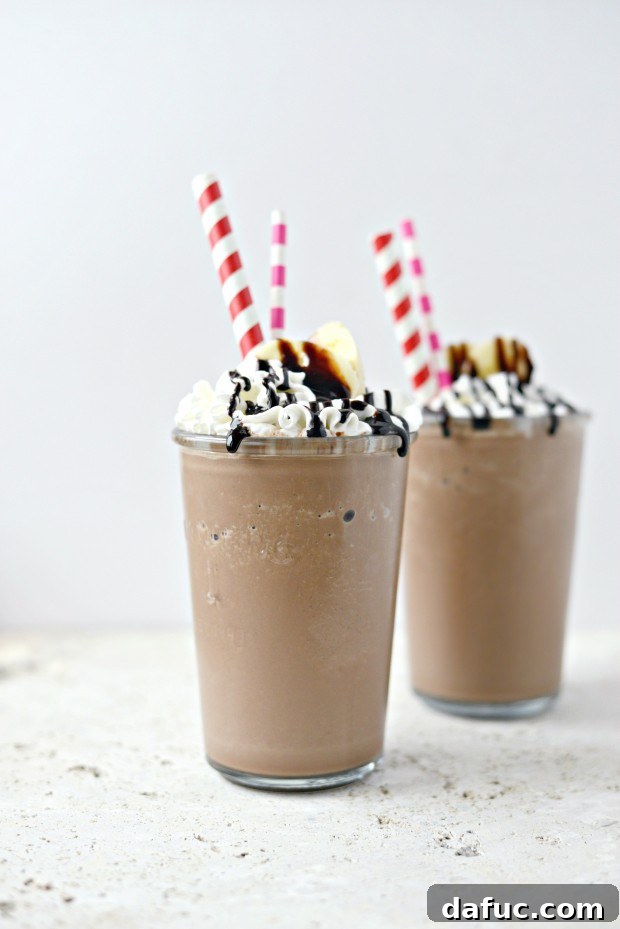
Indeed, you’ll want some extra large straws for this incredibly thick and satisfying shake. Each sip is a journey through creamy chocolate and sweet banana notes, perfectly balanced and utterly refreshing.
Gather Your Ingredients for a Bonkers Amazing Shake
Creating this “bonkers amazing” milkshake is surprisingly simple, requiring just a few staple ingredients and your trusty blender. Here’s a detailed look at what you’ll need and why each component is essential for achieving the perfect balance of flavor and texture.
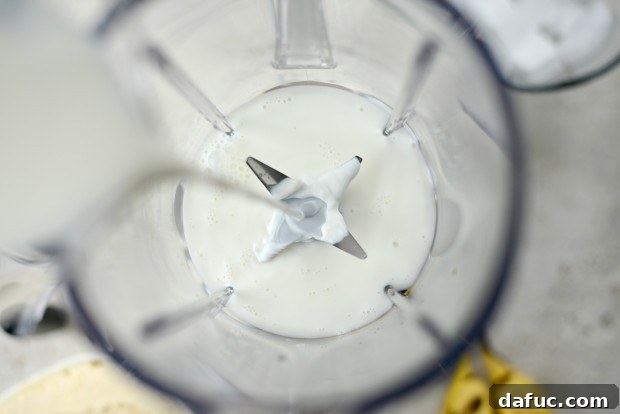
The Foundation: Whole Milk and Homemade Chocolate Syrup
Start with 2/3 cup of whole milk poured directly into your blender pitcher. Whole milk provides a rich, creamy base that helps emulsify all the ingredients beautifully, contributing to the overall decadent feel of the shake. If you prefer, you can use a lower-fat milk, but for that truly indulgent experience, whole milk is recommended.
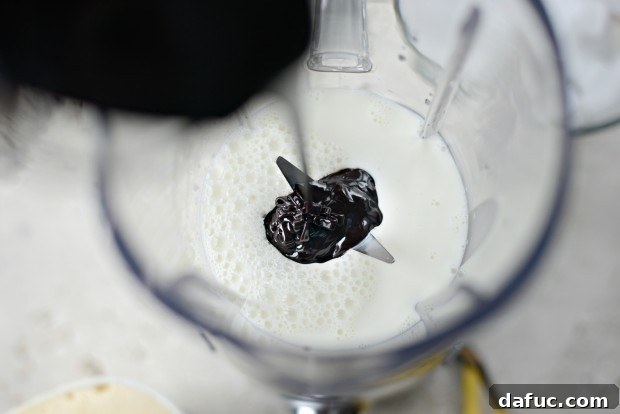
Next, add 1/2 cup of my homemade chocolate syrup. This is where a significant portion of the magic happens! Homemade chocolate syrup offers a depth of flavor and a natural sweetness that far surpasses anything you’d buy from a bottle. It’s simple to make and truly makes a monumental difference in the final taste of your milkshake. If you don’t have homemade, a high-quality store-bought syrup can be used, but I highly encourage you to try the homemade version for an unparalleled experience.
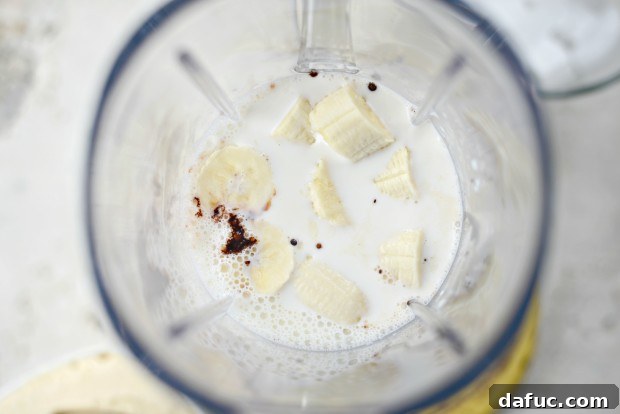
The Key to Creaminess: Frozen Bananas and Vanilla Ice Cream
Now, drop in the frozen bananas. One large sliced frozen banana is perfect for two servings, providing a wonderful natural sweetness and an incredible creaminess that’s essential for a thick milkshake. The frozen state is crucial; it acts as a natural thickener and chill-agent.
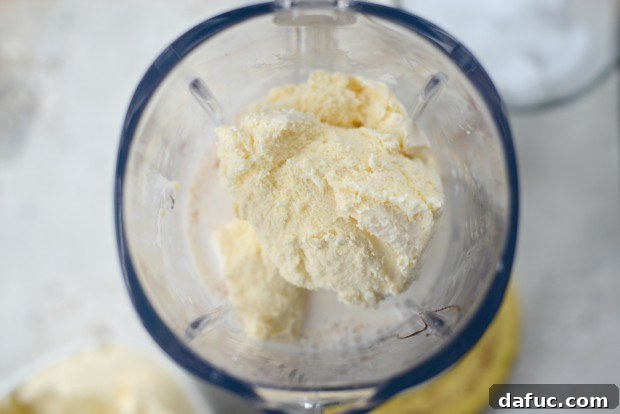
Follow that with two heaping cups of vanilla ice cream. Don’t be shy here; “heaping” means exactly that! The ice cream contributes richness, sweetness, and a lovely chill. While vanilla is the traditional choice and allows the chocolate and banana flavors to shine, feel free to experiment with chocolate ice cream for an extra dose of decadence, or even a hint of coffee ice cream for a unique twist.
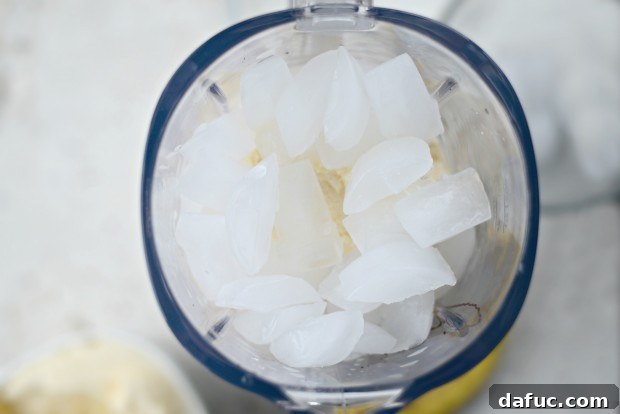
The Final Chill Factor: Ice
Lastly, add two cups of ice. While the frozen banana helps considerably, a bit of ice ensures the milkshake reaches that perfectly frosty temperature and maintains its thick consistency, especially if your other ingredients aren’t super-chilled. This also helps with the overall volume and creates a refreshing texture.
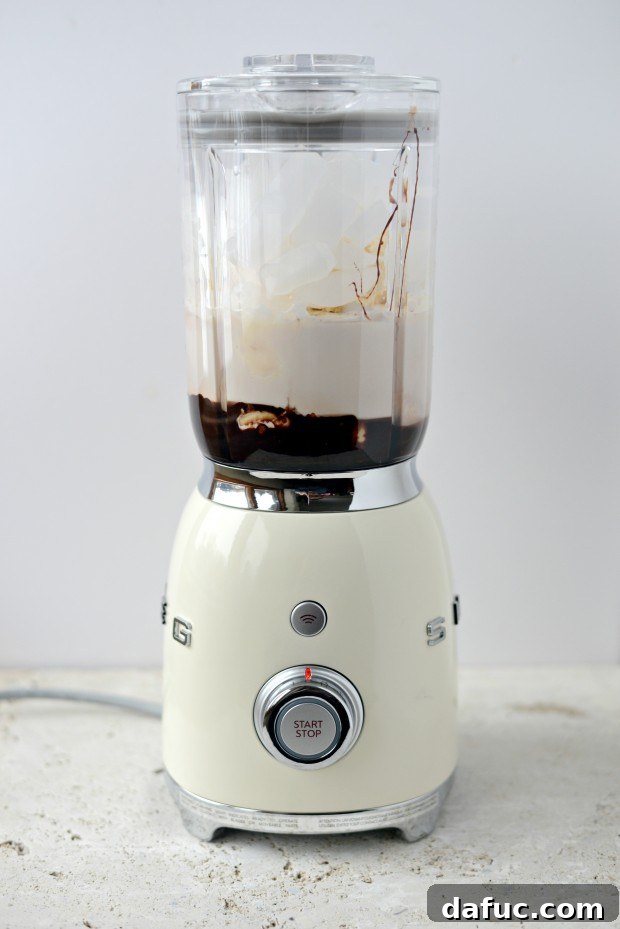
Blending Your Way to Bliss: Step-by-Step Instructions
With all your ingredients in the pitcher, it’s time to bring this chocolate banana milkshake to life. The blending process is quick and straightforward, transforming individual components into a cohesive, creamy masterpiece.
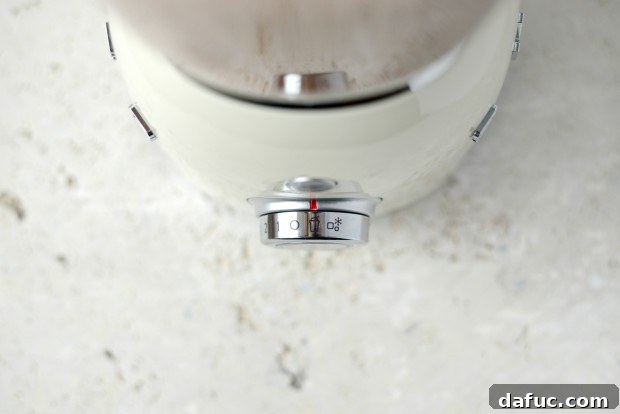
Secure the lid firmly onto your blender pitcher. Ensure it’s properly seated to prevent any splatters, especially when dealing with a thick mixture like this. Then, plug in your blender and prepare for the magic to unfold.
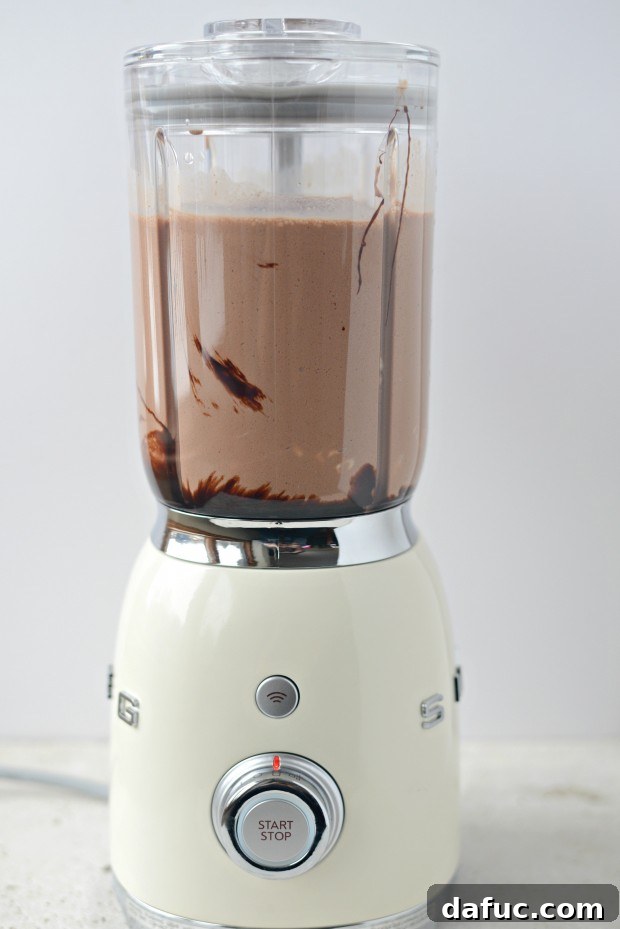
Turn the dial to the smoothie or milkshake speed setting. Most blenders have a dedicated setting for shakes that is designed to handle thicker liquids and ice efficiently. If your blender doesn’t have such a setting, a medium-high speed will work perfectly.
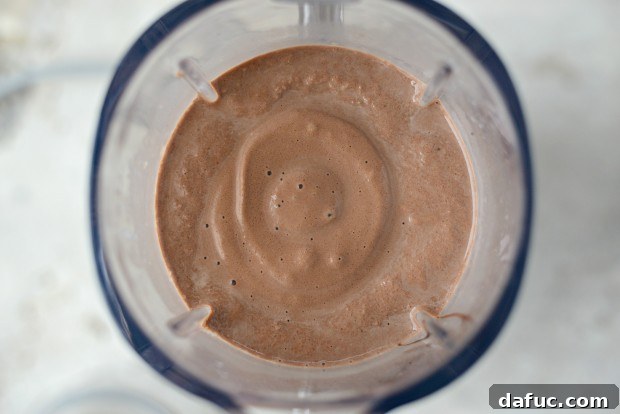
Press the start button and behold the transformation. Watch as the ingredients swirl and combine, breaking down into a thick, homogenous mixture. Blend until the milkshake ingredients are perfectly combined, thick, and smooth. You might need to use the tamper that comes with some blenders to push down ingredients, or briefly stop and scrape down the sides of the pitcher to ensure everything is incorporated without over-blending.
Serving Your Masterpiece: Tips and Toppings
Once your chocolate banana milkshake has reached its peak of creamy perfection, it’s time for the best part: serving and enjoying! A beautifully presented milkshake tastes even better, so take a moment to add some delightful garnishes.
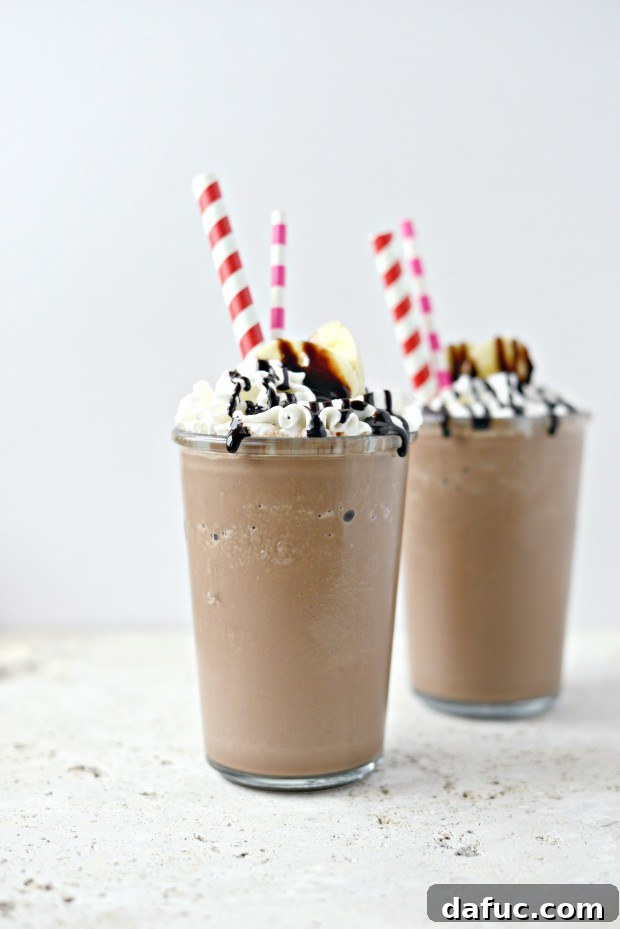
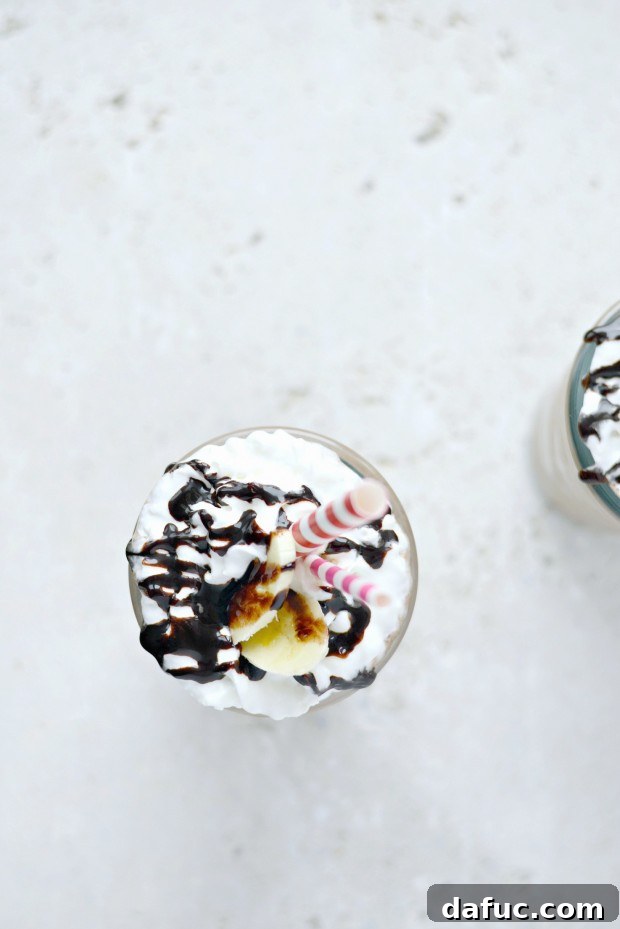
Pour your thick, luxurious milkshake into chilled glasses. Chilling the glasses beforehand helps keep your milkshake colder for longer, enhancing the refreshment factor. Top generously with a dollop of whipped cream – homemade or store-bought, whatever you prefer. Add a few fresh slices of banana for extra fruitiness and visual appeal, and for the ultimate chocolate lover’s touch, drizzle more of that incredible homemade chocolate syrup over the whipped cream and bananas. This not only looks fantastic but adds another layer of rich chocolate flavor.
Insert those extra-large straws and prepare for pure indulgence. SO GOOD! There’s truly nothing like a homemade chocolate shake, especially when paired with the sweet creaminess of banana. Nothing compares.
Customization and Variations
This chocolate banana milkshake recipe is fantastic as is, but it also serves as an excellent base for various customizations:
- Banana-Free Chocolate Shake: If bananas aren’t your favorite, simply omit them! You’ll still get a super good chocolate milkshake, thick and creamy, perfect for dipping french fries into (yes, some of us do that!).
- Peanut Butter Lover’s Dream: Add 2 tablespoons of creamy peanut butter to the blender for a rich chocolate banana peanut butter shake.
- Coffee Kick: Incorporate 1-2 tablespoons of instant coffee powder or a shot of espresso for a mocha banana twist.
- Mint Chocolate Magic: A few drops of peppermint extract will transform it into a refreshing mint chocolate banana shake.
- Dairy-Free Option: Substitute whole milk with almond or oat milk, and use dairy-free vanilla ice cream for a delicious vegan version.
- Healthier Twist: Reduce the amount of ice cream and add more frozen banana or a scoop of protein powder for a more nutritious shake. You could also swap half the ice cream for Greek yogurt.
Experiment with different toppings too: chopped nuts, chocolate shavings, a sprinkle of cinnamon, or even a cherry on top can elevate your milkshake experience.
FAQs About Your Homemade Chocolate Banana Milkshake
Q: Can I use fresh bananas instead of frozen ones?
A: While you can use fresh bananas, it’s highly recommended to use frozen ones. Frozen bananas contribute significantly to the thick, creamy texture and coldness of the milkshake without diluting the flavor. If you use fresh bananas, you might need to add more ice, which can make the shake less creamy and more icy. If you only have fresh bananas, consider freezing them for at least an hour before blending.
Q: How can I make my milkshake even thicker?
A: For an even thicker shake, you can reduce the amount of milk slightly or add an extra frozen banana slice. Ensuring your ice cream is very firm and not melted will also help. Adding a tablespoon of chia seeds or oat flour can also act as a natural thickener, though this will slightly alter the texture.
Q: What’s the best way to store leftover milkshake?
A: Milkshakes are best enjoyed immediately for optimal taste and texture. If you have leftovers, you can store them in an airtight container in the freezer for a short period (up to a few hours). It will solidify, so you’ll need to let it soften at room temperature for about 15-20 minutes or re-blend it with a splash of milk to restore its consistency.
Q: Can I prepare the chocolate syrup in advance?
A: Absolutely! Homemade chocolate syrup can be prepared several days or even weeks in advance and stored in an airtight container in the refrigerator. Having it on hand makes whipping up this milkshake (or other chocolatey treats) incredibly quick and easy.
Enjoy every delightful sip of this homemade masterpiece! It’s a simple pleasure that brings immense satisfaction.
Enjoy! And if you give this Chocolate Banana Milkshake recipe a try, let me know! Snap a photo and tag me on twitter or instagram! We love seeing your delicious creations!
Note: This post has been sponsored by SMEG USA. I was given a 50’s Retro Style Blender in return for my honest review. As always my thoughts are my own and this blender totally rocks!
My cookbook Simply Scratch : 120 Wholesome Homemade Recipes Made Easy is now available! CLICK HERE for details and THANK YOU in advance!
Print Recipe
Pin Recipe
Leave a Review »
2
servings
Chocolate Banana Milkshake
5 minutes
5 minutes
Ingredients
- 2/3 cup whole milk
- 1/2 cup homemade chocolate syrup, plus more for serving
- 1 large frozen sliced banana, plus fresh banana slices for serving
- 2 heaping cups vanilla ice cream
- 2 cups ice
Instructions
-
Add the milk, syrup, banana, ice cream and ice to the pitcher of your blender.
-
Blend until thick and smooth.
-
Pour into chilled glasses add a dollop of whipped cream, a few banana slices and drizzle with more chocolate syrup.
-
Insert straws and enjoy!