
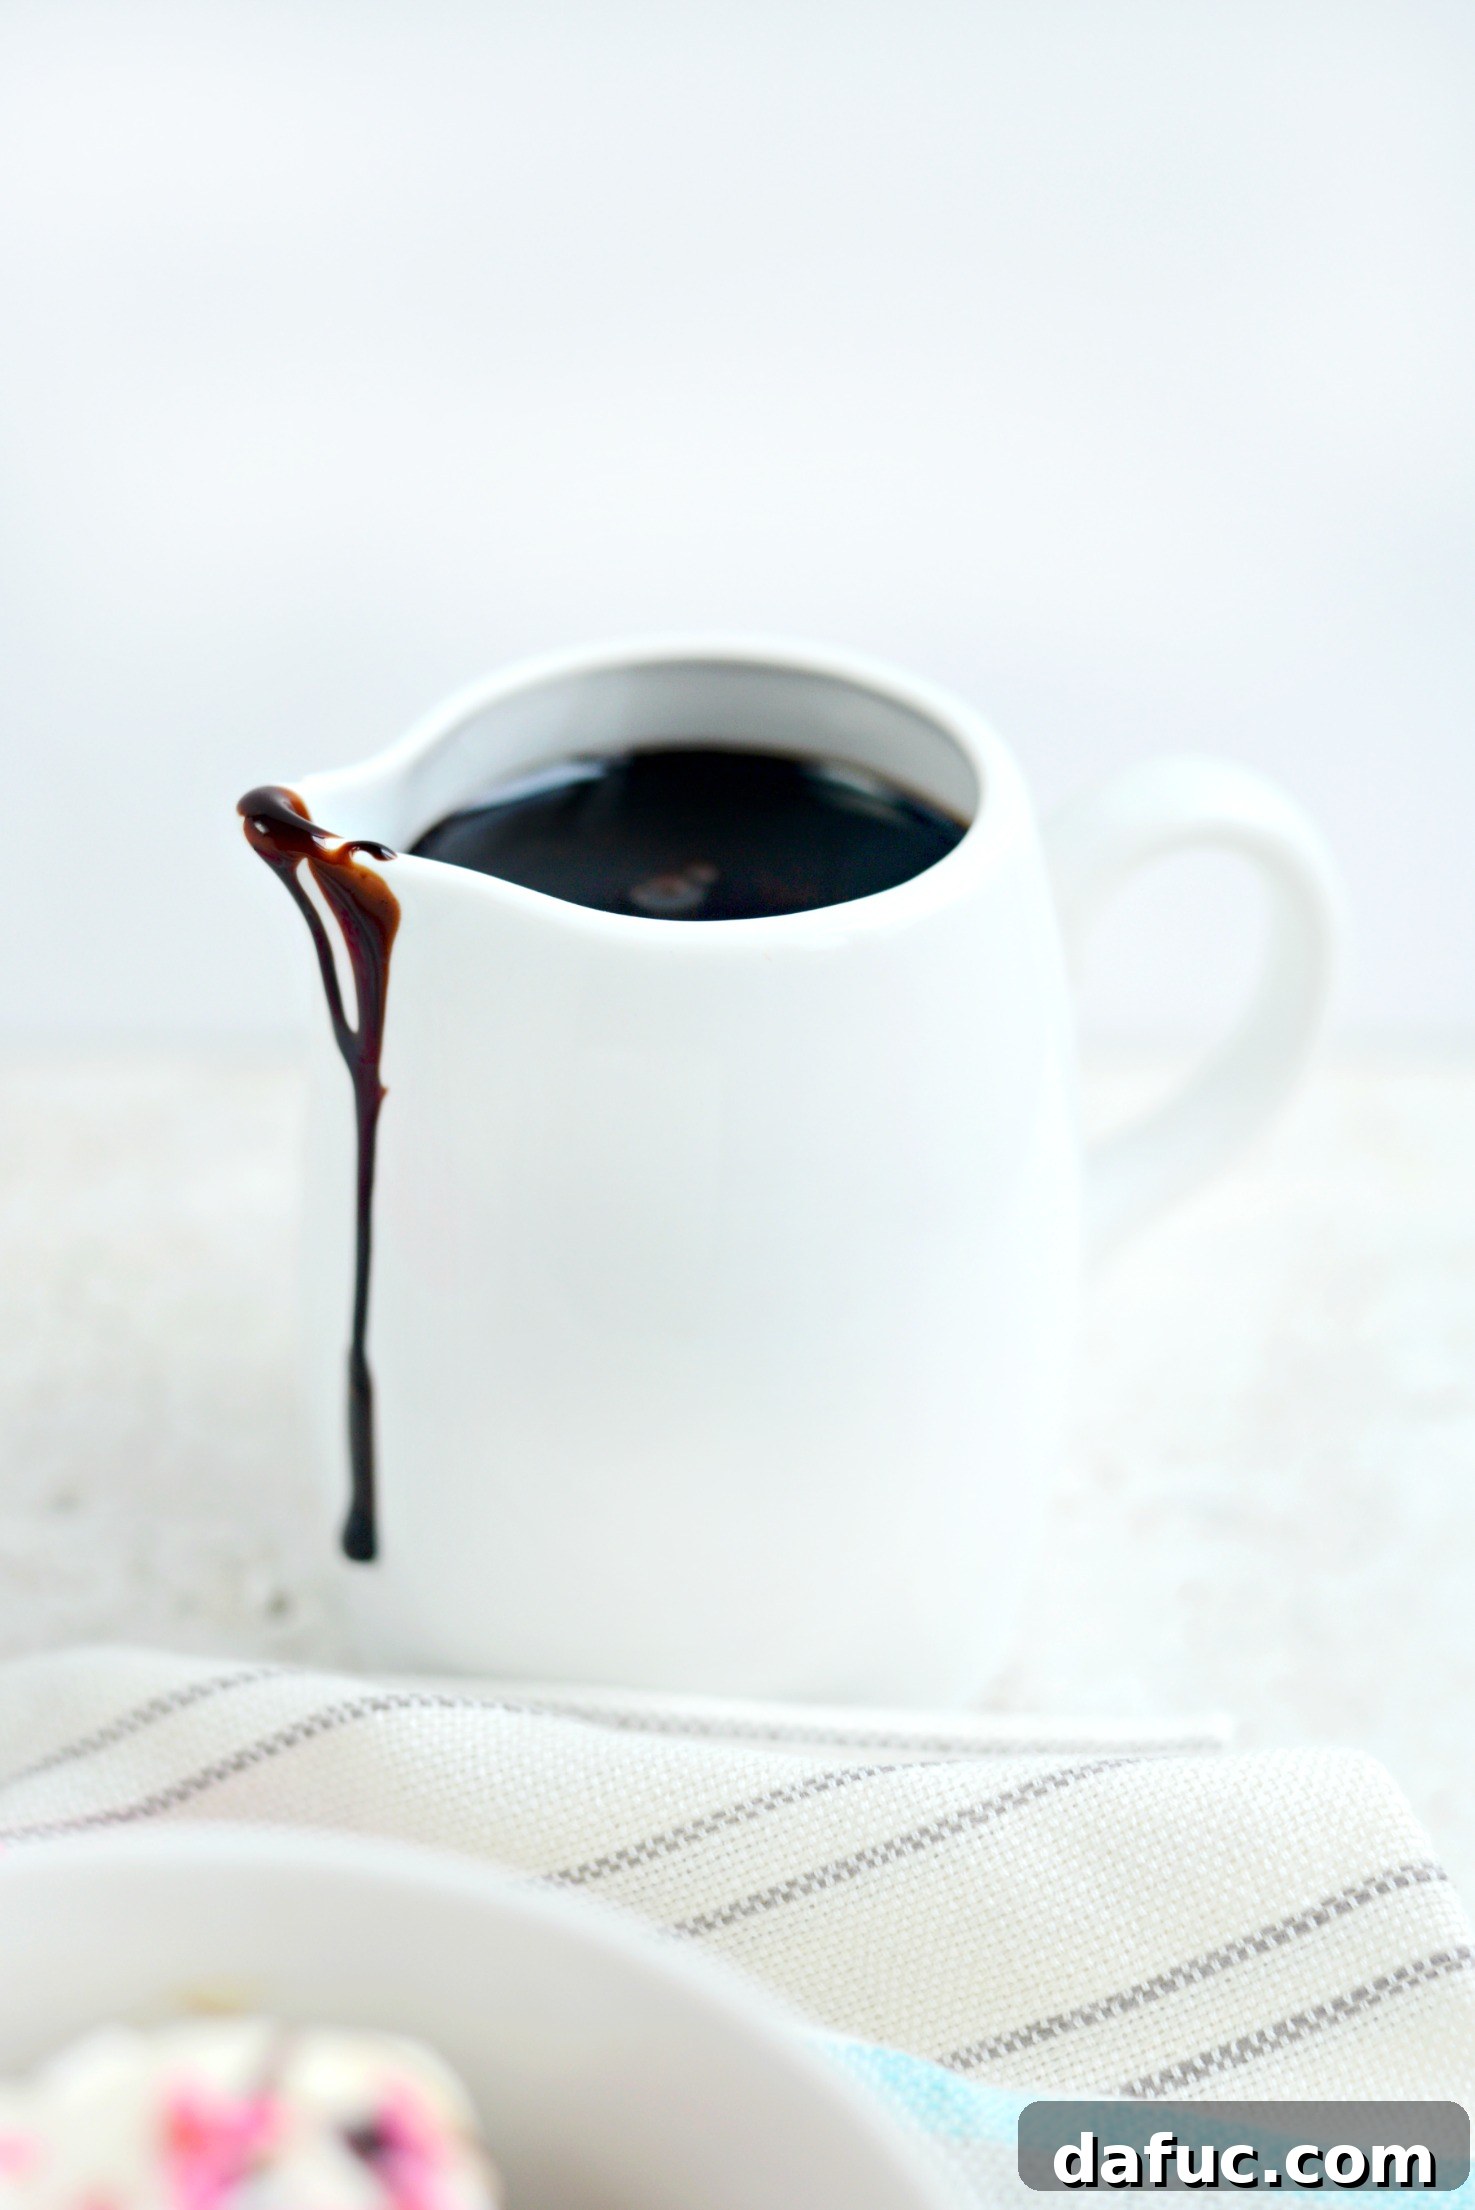
Homemade Chocolate Syrup: The Ultimate Guide to Rich, Delicious, and Easy Chocolate Sauce
Forget bland, overly sweet, store-bought syrups! Elevate your desserts, drinks, and snacks with a luscious homemade chocolate syrup that’s surprisingly easy to make and infinitely more satisfying. This recipe yields a rich, velvety chocolate sauce that’s perfect for everything from classic chocolate milk to decadent ice cream sundaes and sophisticated dessert drizzles. Get ready to transform your kitchen into a chocolate lover’s paradise with a syrup that boasts depth, flavor, and a touch of homemade magic.
Why Homemade Chocolate Syrup Triumphs Over Store-Bought
As a devoted home cook and a fervent proponent of making things from scratch, I must confess to a recent, albeit brief, moment of culinary weakness. Faced with an unexpected craving for chocolate milkshakes from my daughter and her boyfriend (yes, they’re growing up fast!), and finding my fridge surprisingly devoid of homemade syrup after a long day of errands, I committed the unthinkable: I bought a bottle of store-bought chocolate syrup. It was a first for me, and I felt a pang of guilt as I checked out, half-expecting a “busted!” shout from a fellow scratch-cooking enthusiast. Thankfully, my secret was safe.
However, the next day, my culinary conscience compelled me to rectify the situation. I immediately whipped up a fresh batch of my homemade chocolate syrup, but not before conducting a fun, albeit slightly biased, blind taste test with my family. The results were overwhelmingly in favor of homemade! Three out of four family members chose my rich, perfectly balanced syrup over the mass-produced alternative. Even my daughter, who initially favored the store-bought version due to its runnier consistency, upon learning it wasn’t mine, reconsidered. It seems my homemade recipe is a universal winner!

The Undeniable Benefits of Crafting Your Own Chocolate Sauce
Beyond the undeniable taste test victory, the advantages of making your own chocolate syrup are manifold. Firstly, the flavor profile is simply incomparable. This homemade version is rich, deeply chocolatey, and—crucially—you have complete control over the sweetness level. Many store-bought syrups are overly saccharine, often masking the true, nuanced cocoa flavor with an artificial sweetness. With this recipe, you get a pure, unadulterated chocolate experience.
Secondly, homemade means knowing exactly what goes into your food. You can pronounce every ingredient, ensuring a cleaner, more wholesome treat for your family. There are no artificial flavors, high-fructose corn syrup, or obscure preservatives here. This luscious chocolate sauce is destined to become a staple in your refrigerator. Imagine having it on hand for those sudden chocolate cravings, impromptu dessert nights, or when your loved ones request a gourmet milkshake. It’s incredibly versatile and always a crowd-pleaser, providing a touch of homemade luxury to everyday treats.
Essential Ingredients for Your Perfect Chocolate Syrup
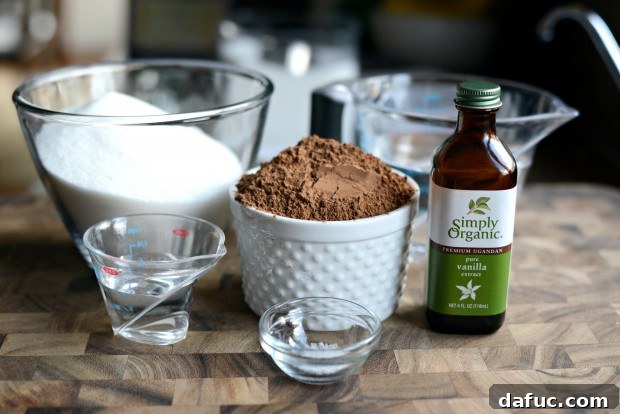
If you’ve ever wondered how to achieve that glossy, deep chocolate syrup you find in gourmet cafes, the secret lies in a few simple, quality ingredients. The beauty of this recipe is its straightforward nature, relying on pantry staples to create something truly extraordinary. Here’s what you’ll need to gather to embark on your homemade chocolate syrup adventure:
- Granulated Sugar: The primary sweetener, providing both structure and sweetness to our syrup base.
- Water: Essential for dissolving the sugar and creating the liquid foundation for the syrup.
- Dutch-Processed Cocoa Powder: This is a non-negotiable ingredient for achieving that desirable rich, dark color and mellow chocolate flavor. We’ll delve into the specifics of why this type of cocoa is superior below.
- Corn Syrup: A crucial component for preventing crystallization and achieving a smooth, pourable, and glossy consistency that lasts.
- Pure Vanilla Extract: A tablespoon of good quality vanilla extract enhances the overall chocolate flavor and adds a touch of aromatic warmth.
- Sea Salt: Just a pinch of sea salt (about ¼ teaspoon) works wonders to balance the sweetness and deeply intensify the chocolate notes, making the flavor truly pop.
The Magic of Dutch-Processed Cocoa Powder
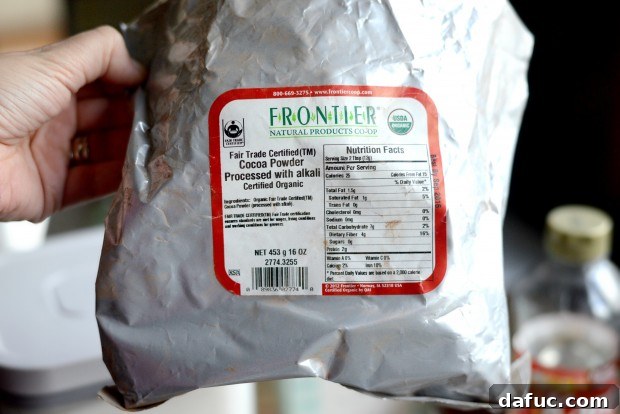
When it comes to homemade chocolate syrup, the type of cocoa powder you use makes a significant difference in both flavor and appearance. I highly recommend using Dutch-processed cocoa powder, also known as cocoa powder processed with alkali. This means the cocoa beans have been treated with an alkaline solution to neutralize their natural acidity. Why is this important for your syrup?
- Deeper, Richer Color: Dutch-processed cocoa results in a much darker, almost black-brown color, giving your syrup that classic, inviting chocolate hue. Natural cocoa, in contrast, tends to produce a lighter, reddish-brown syrup.
- Milder, Smoother Flavor: By reducing acidity, Dutch-processed cocoa offers a less bitter, more mellow, and smoother chocolate flavor. This allows the sweetness of the syrup to shine without being overwhelmed by tartness, creating a more balanced and palatable taste.
- Improved Solubility: It blends more easily and completely into liquids, helping to prevent any stubborn lumps from forming in your finished syrup, ensuring a silky-smooth texture.
While natural unsweetened cocoa powder works wonderfully in baking recipes that call for baking soda (as its acidity reacts with the leavening agent to create lift), for a luscious, pourable syrup, Dutch-processed is truly superior. Look for brands that explicitly state “Dutch-processed” or “processed with alkali” on the packaging. Using a high-quality Dutch cocoa will elevate your homemade syrup from good to absolutely phenomenal.
Crafting Your Homemade Chocolate Syrup: A Step-by-Step Guide
Follow these simple steps to create your own irresistible chocolate syrup. Before you begin, gather all your ingredients and pre-measure them for a smooth, stress-free cooking process.
The Syrup Base: Sugar and Water
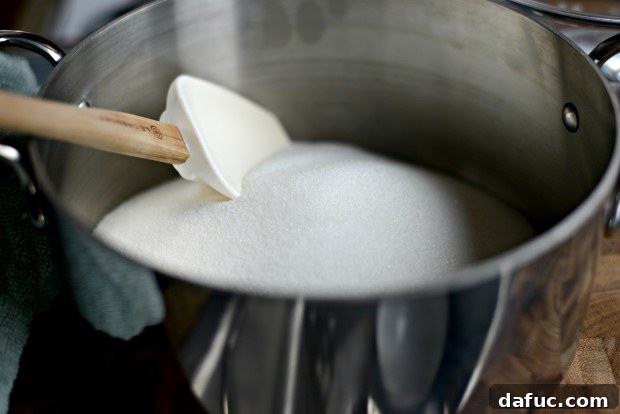
1. Combine Sugar and Water: In a sturdy, heavy-bottomed saucepan, combine 2½ cups of granulated sugar and 1½ cups of water. You might think 2½ cups of sugar sounds like a lot, but remember this recipe yields approximately 3½ cups of syrup, meaning each serving (around a tablespoon) will only contain a manageable amount. This syrup is potent and a little goes a long way!
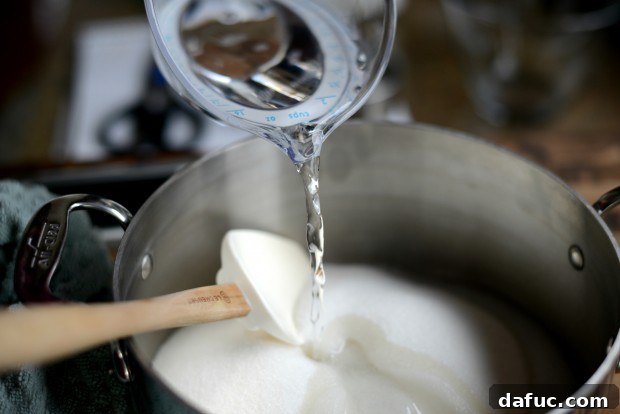
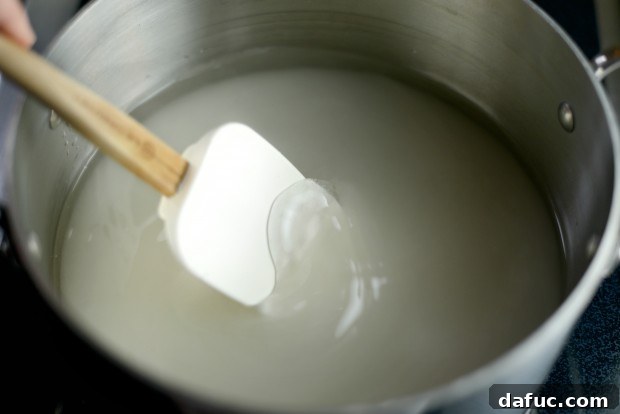
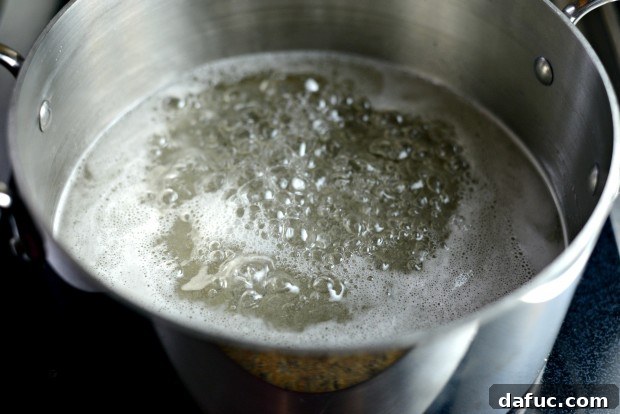
2. Bring to a Boil: Stir the sugar and water together thoroughly until the sugar begins to dissolve. Place the saucepan over high heat and bring the mixture to a rapid, rolling boil. Continuously stir during this stage to prevent the sugar from scorching on the bottom of the pan. The goal is to fully dissolve the sugar and create a clear syrup base.
Adding the Chocolate and Thickener
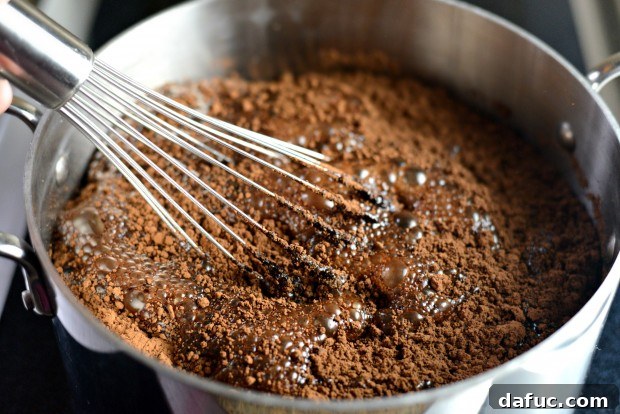
3. Whisk in Cocoa Powder: Once the sugar-water mixture is actively boiling, reduce the heat slightly to medium-high. Gradually, and with caution to avoid splattering, whisk in 1½ cups of Dutch-processed cocoa powder. Continue whisking vigorously until the cocoa powder is completely incorporated and no dry lumps or streaks remain. This step is crucial for developing the deep chocolate flavor.
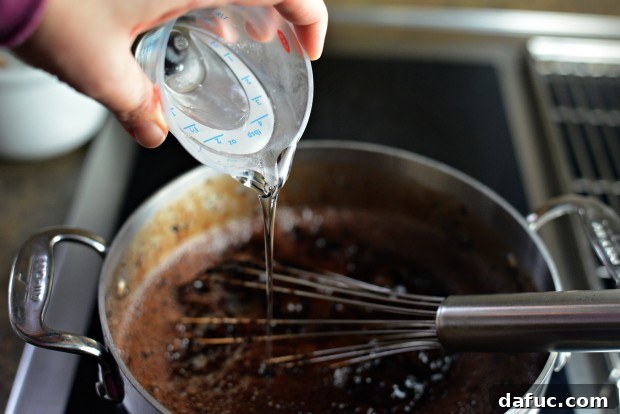
4. Incorporate Corn Syrup: Next, pour in 3 tablespoons of corn syrup. Corn syrup is a key ingredient here, acting as an anti-crystallizing agent. This ensures your syrup remains beautifully smooth and liquid even after cooling and refrigeration, preventing it from becoming grainy. It also contributes to the desirable glossy texture of the finished product.
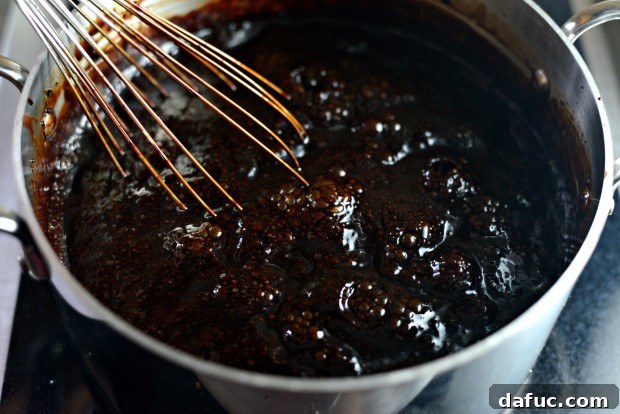
5. Thicken the Syrup: Continue whisking the mixture over medium heat for about 1 to 2 minutes, allowing it to gently simmer. During this time, the chocolate sauce will begin to thicken slightly to your desired consistency. Remember that it will thicken further as it cools, so don’t overcook it.
Finishing Touches and Storage
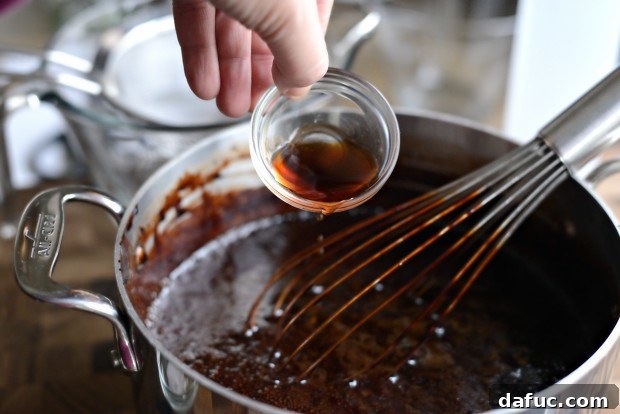
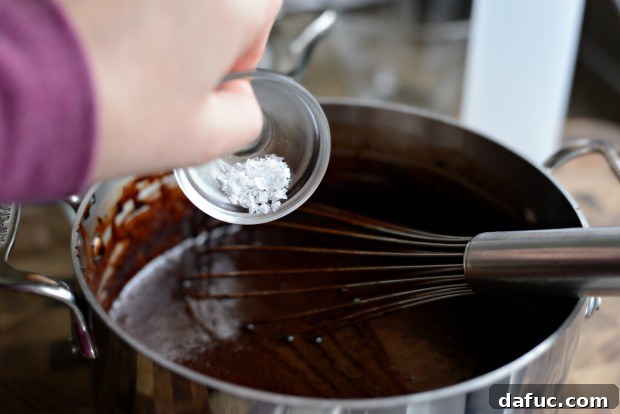
6. Add Vanilla and Salt: Remove the pot from the heat immediately. Whisk in 1 tablespoon of pure vanilla extract. Vanilla beautifully complements and deepens the chocolate flavor, adding a layer of sophisticated warmth. Then, stir in ¼ teaspoon of sea salt. The salt is crucial; it helps to balance the sweetness and brings out the hidden nuances of the chocolate, making the overall flavor truly pop and preventing it from tasting flat.
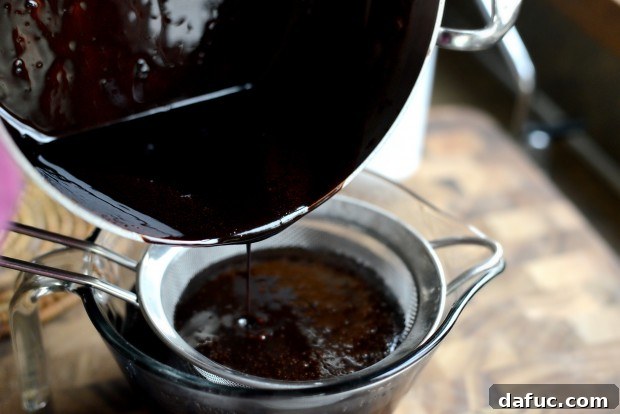
7. Strain for Silkiness: For an exceptionally smooth and lump-free syrup, pour the hot chocolate mixture through a fine-mesh strainer set over a large bowl or a 4-cup liquid measuring cup. This crucial step catches any stubborn cocoa lumps or undissolved sugar crystals that may not have dissolved completely during whisking, ensuring a perfectly silky texture every time.
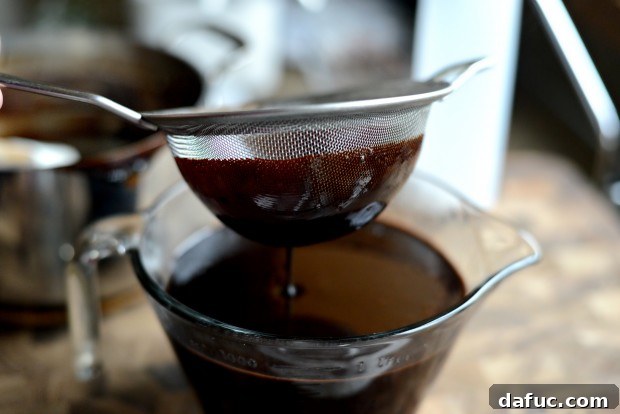
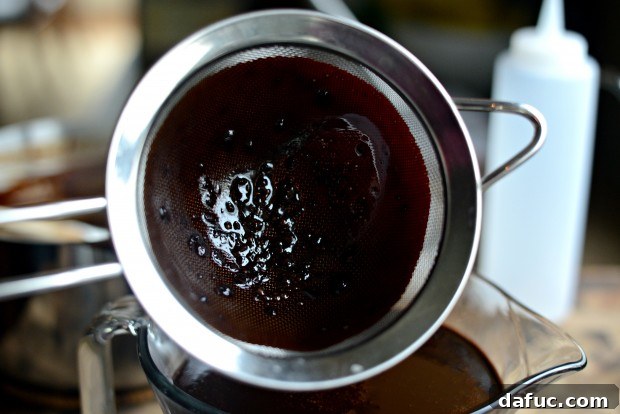
As you can see, the strainer effectively collects any remaining solids, guaranteeing a truly professional and refined finish to your homemade syrup.
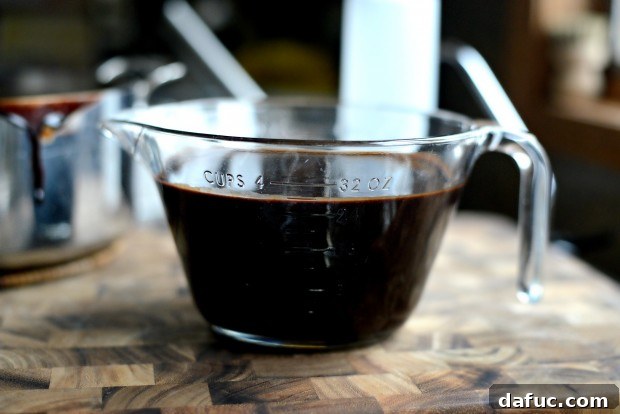
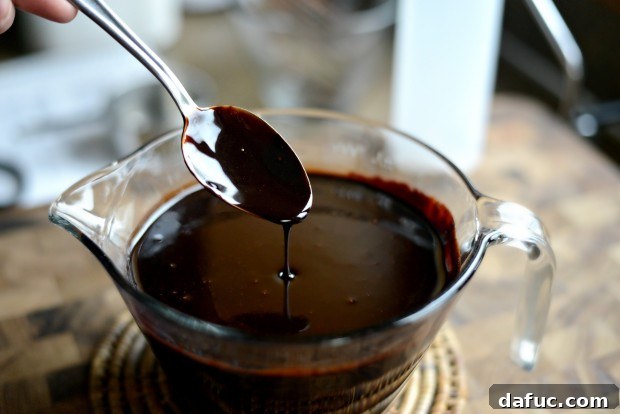
8. Cool and Store: Allow the strained chocolate syrup to cool completely to room temperature on your counter. This is important for its final consistency, as it will continue to thicken as it cools. Once thoroughly cooled, transfer the syrup into a clean squeeze bottle (these are readily available at kitchen supply stores, some supermarkets, or even online) or a clean, airtight glass jar. Store it in the refrigerator, where it will keep beautifully for several months. If the syrup becomes too thick in the fridge, simply warm the bottle or jar under hot tap water for a few seconds before serving to loosen it up.
Delicious Ways to Enjoy Your Homemade Chocolate Syrup
Now that you’ve mastered the art of homemade chocolate syrup, the fun truly begins! The possibilities for enjoying this versatile condiment are endless. Here are just a few ideas to get your culinary creativity flowing:
- Classic Chocolate Milk: A generous drizzle into a cold glass of milk, stirred until perfectly combined, makes for the ultimate chocolate milk experience. It’s truly a game-changer!
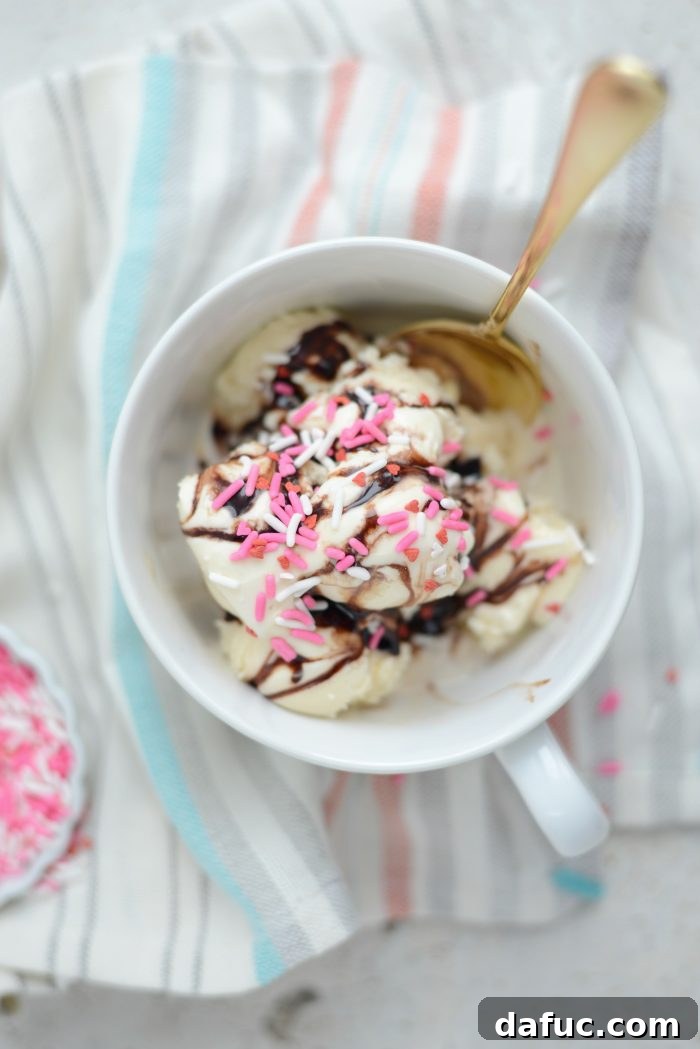
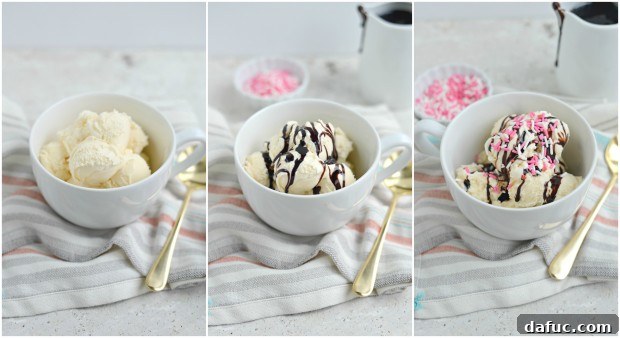
- Ice Cream Sundaes: Pour it generously over scoops of vanilla, chocolate, or mint chip ice cream. My personal favorite way to enjoy it is with a mid-day bowl of ice cream, letting the rich chocolate flavor truly shine and satisfy my sweet tooth.
- Gourmet Milkshakes: For an indulgent treat, blend it with milk and a scoop (or two!) of your favorite ice cream for a thick, creamy, and intensely chocolatey milkshake.
- Dessert Topping Extraordinaire: Drizzle it elegantly over slices of pie, cakes, brownies, cheesecakes, or even fresh fruit for an elevated and professional-looking touch.
- Coffee & Hot Chocolate Enhancer: Stir a spoonful into your morning coffee, latte, or a steaming cup of hot chocolate for an extra layer of chocolatey goodness and richness.
- Dipping Sauce Delight: Serve it warm as a decadent dipping sauce for churros, crispy pretzels, or skewers of fresh fruit like strawberries and banana slices.
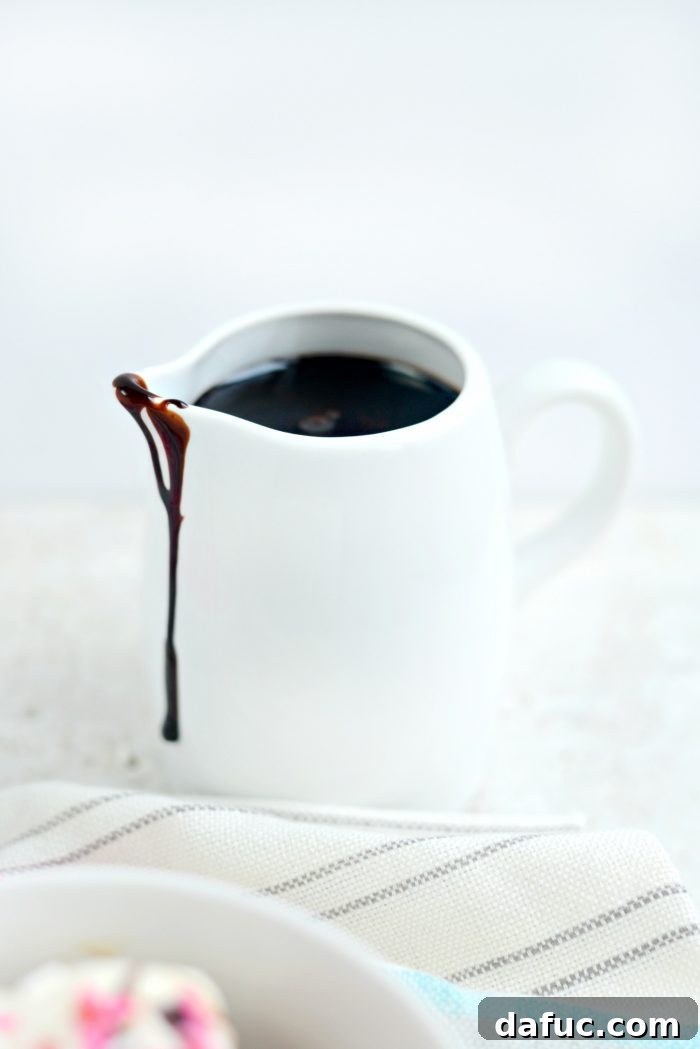
I truly cannot overstate my love for the flavor of this homemade chocolate syrup. It’s phenomenal! As someone who isn’t a fan of overly sweet things (which is precisely why I find many store-bought syrups too cloying), this recipe strikes the perfect balance. It’s rich, deeply chocolatey, and just sweet enough to satisfy without overwhelming your palate. It’s the kind of syrup that makes you want to lick the spoon!
A Sprinkle of Joy and Comfort
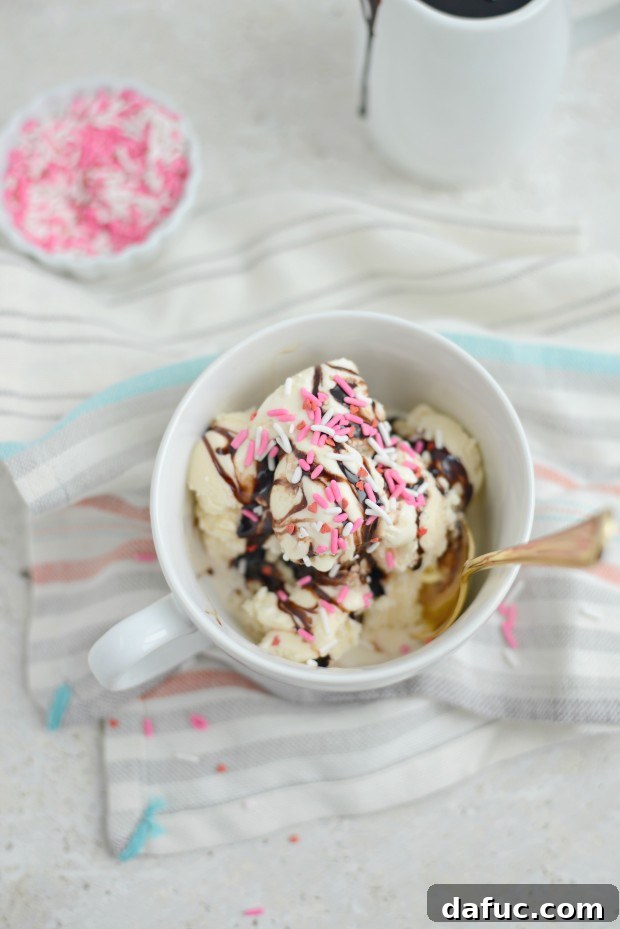
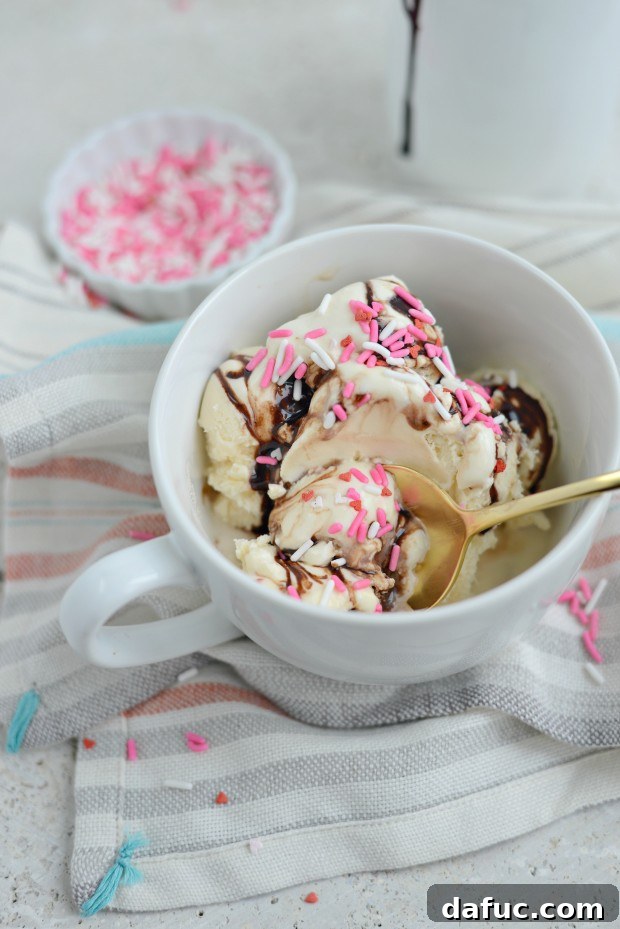
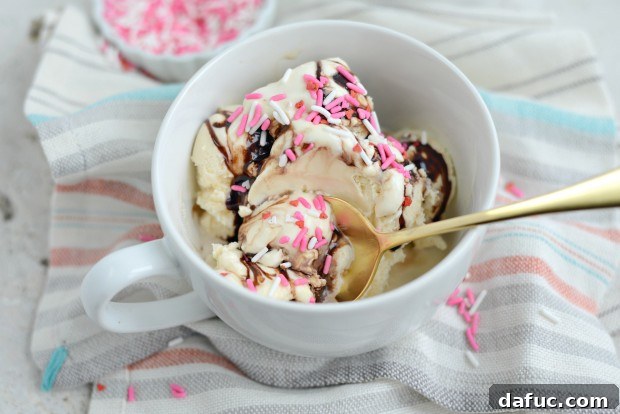
And what’s a bowl of ice cream without a festive touch? I recently unearthed some adorable Valentine’s Day sprinkles from my ever-growing pantry collection. While the little kissy-lip candies seem to have mysteriously disappeared (likely “taste-tested” by tiny fingers when I wasn’t looking!), the hearts are still wonderfully cute and add a cheerful splash of color to any treat.
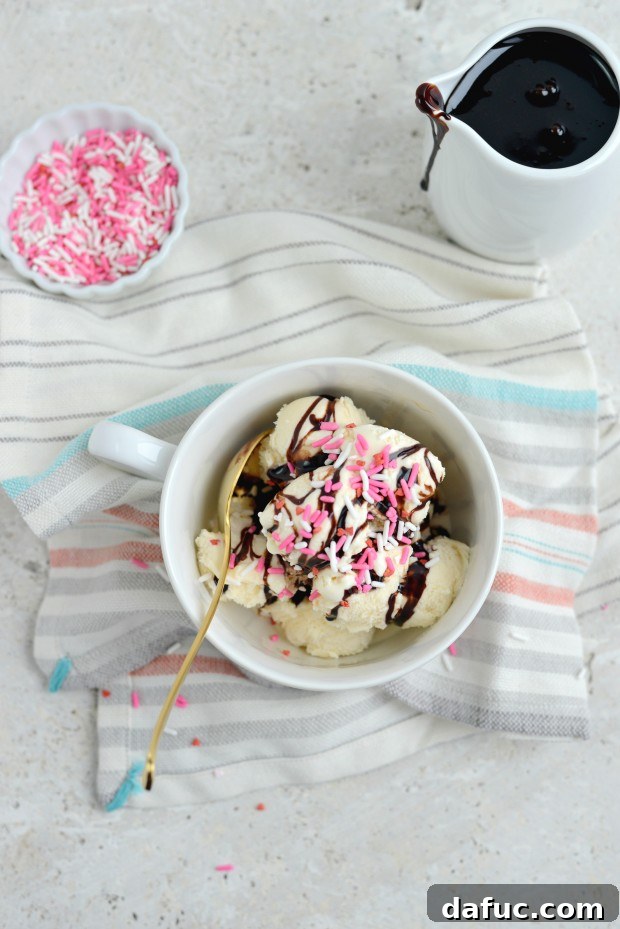
Inspired by my good friend Heidi, we’ve also adopted the delightful habit of eating ice cream in coffee mugs. It’s surprisingly practical and comfortable, making it much easier and less messy to enjoy a sweet treat, especially when curled up in bed for a relaxing evening. It’s these small, comforting rituals that make life a little sweeter.
If you’re looking for more ways to enhance your homemade desserts and elevate your baking game, be sure to explore our extensive collection of other incredible dessert toppings and glazes. From decadent caramels to vibrant fruit sauces, we have everything you need to become a dessert maestro:
Discover More Homemade Dessert Toppings Here!
Whip Up Your Own Batch Today!
Making homemade chocolate syrup is a rewarding experience that yields a superior product to anything you can buy in a store. With just a few basic ingredients, a little time, and some love, you’ll have a versatile, delicious, and all-natural chocolate sauce ready to elevate any sweet creation. It’s an investment in flavor that truly pays off, transforming simple treats into extraordinary delights. Give this recipe a try, and you might just find yourself saying goodbye to store-bought syrup for good!
Enjoy every luscious drop! And if you do give this homemade chocolate syrup recipe a whirl, please share your creations! Snap a photo and tag me on Twitter or Instagram. I love seeing what you make and how you enjoy your delicious homemade treats!

Print Recipe
Pin Recipe
Leave a Review »
Homemade Chocolate Syrup
Ingredients
- 2½ cups sugar
- 1½ cups water
- 1½ cups dutch cocoa powder, treated with alkali
- 3 tablespoons corn syrup
- 1 tablespoon pure vanilla extract
- 1/4 teaspoon sea salt
Equipment
-
Heavy-bottomed Pot
-
Whisk
-
Fine-mesh Strainer
-
Airtight Glass Jar or Squeeze Bottle for storage
Instructions
-
Pre-measure all ingredients and have them ready to go before beginning.
-
In a heavy-bottomed pot, stir together the sugar and water. Heat on high and bring to a boil.
-
Once at a boil, carefully whisk in cocoa powder and corn syrup. Whisk until the cocoa powder is completely blended in and the syrup has slightly thickened, about 1 to 2 minutes.
-
Remove off of the heat and whisk in the vanilla extract and sea salt.
-
Pour the chocolate syrup into a mesh strainer set into a 4-cup liquid measuring cup to strain out any solids that didn’t get whisked in.
-
Allow the chocolate syrup to cool until at room temperature. Pour into a squeeze bottle or store in a glass jar.
-
Can keep for a few months if kept refrigerated in an airtight container.