
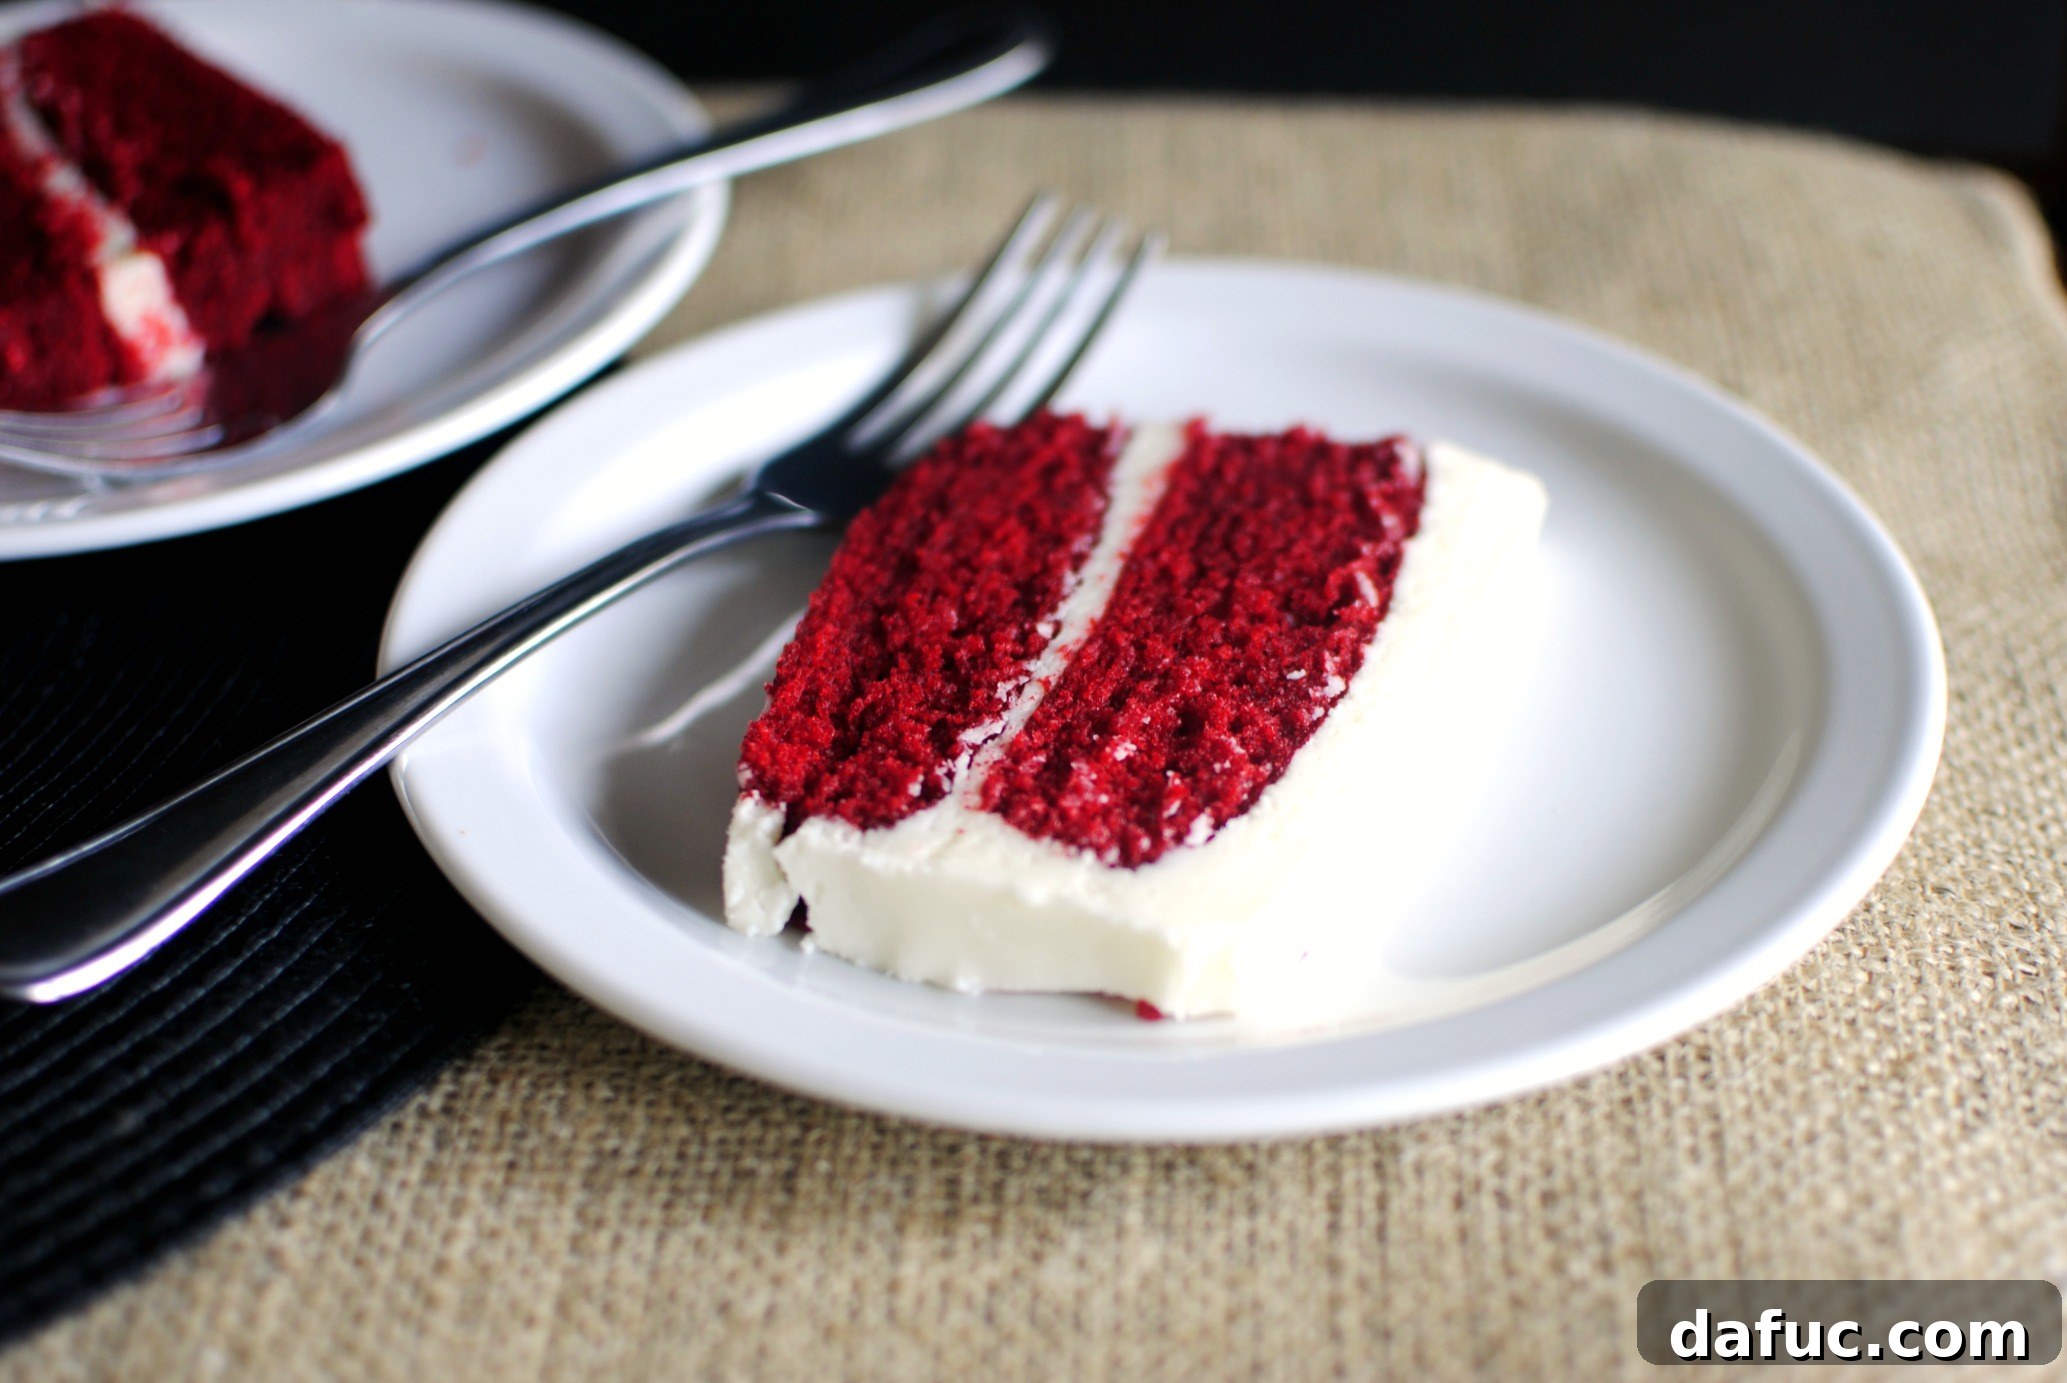
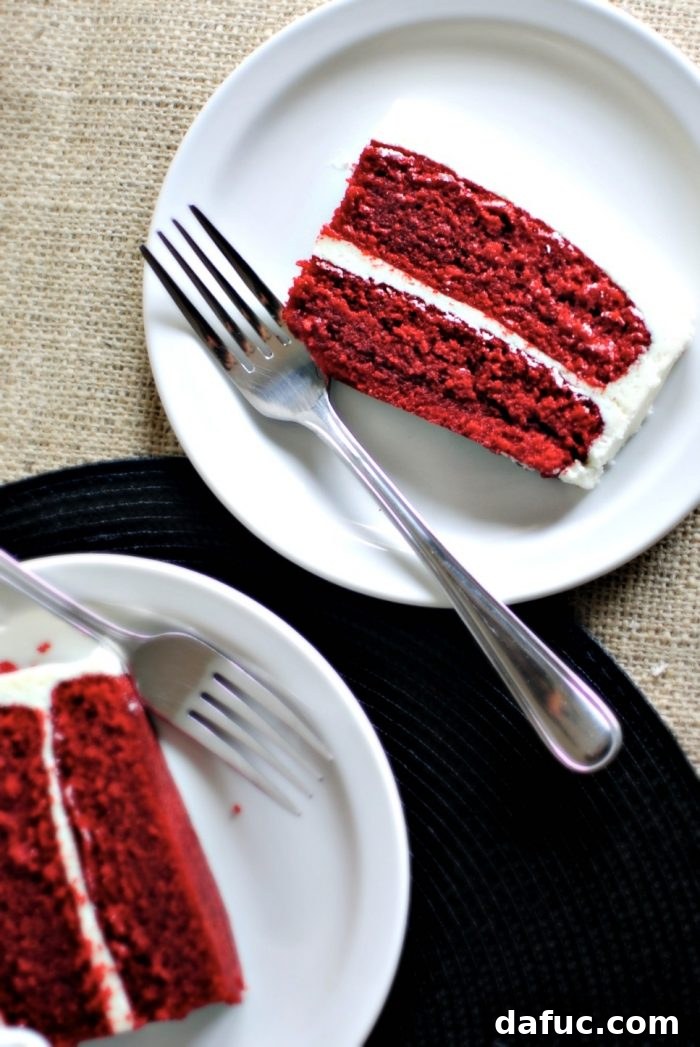
Prepare to be enchanted by the timeless allure of a truly classic dessert: the Classic Red Velvet Cake. This isn’t just any cake; it’s a moist, rich, and utterly decadent masterpiece. Imagine a luxurious two-tiered ruby red buttermilk cake, perfectly balanced in flavor and texture, crowned with a simple yet irresistible tangy cream cheese frosting. Whether you’re a seasoned baker or just starting your culinary journey, this homemade recipe promises to deliver an unforgettable experience that will leave everyone asking for more.
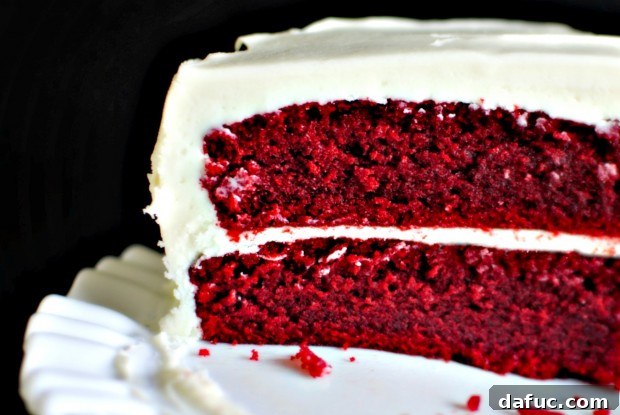
Before diving into this magnificent creation, you might have noticed a few healthier recipes gracing our pages. Think of it as a prelude, a gentle warm-up before we unveil this showstopper. Sometimes, a little indulgence is exactly what the soul craves, and this red velvet cake is the epitome of joyful indulgence.
The Enduring Charm of Red Velvet: A Personal Journey
Growing up, birthdays were always a grand affair in our household – and honestly, they still are! My sisters and I eagerly anticipated our special day, not just for the presents, but for the culinary choices we got to make. We’d pick our favorite birthday dinner and, most importantly, the flavor of our birthday cake. However, as a child, I had a peculiar aversion to traditional cakes; it was always about the frosting for me. So, my go-to choices were often chocolate chip cookie bars or a rich cheesecake instead. It’s a tradition I’ve lovingly continued with my own daughters.
My oldest, who shares her dad’s taste, consistently requests a classic chocolate-chocolate chip cake with a fluffy buttercream frosting, which is, of course, utterly delicious. But my youngest, much like me (apologies, my dear, but it’s true!), isn’t entirely enamored with cake, either. For her, too, it’s primarily a frosting preference. If she does opt for cake, it absolutely must be paired with cream cheese frosting, and nothing else will do. This discerning palate led her to request this New York-style cheesecake for her birthday cake for two years straight.
This year, however, brought a delightful surprise. For her 8th birthday, she specifically requested a Red Velvet Cake. What 8-year-old dreams of red velvet cake for their birthday? A true foodie in the making, that’s who! I couldn’t have been prouder – it was a moment of pure culinary connection!
Why This Classic Red Velvet Recipe Stands Out
Having only ever enjoyed red velvet cakes made by others, the idea of baking one myself felt a bit daunting, primarily due to the generous amount of red food coloring involved. But when those soft hazel eyes looked up at me with a kitten-like plea for “her” special birthday cake, I simply couldn’t resist. All she had to say was “red velv-” and I was completely on board.
After a good deal of research, experimenting, and fine-tuning, I developed what I truly believe is the best red velvet cake I’ve ever tasted. This recipe strikes the perfect balance between the traditional depth of cocoa and the subtle tang of buttermilk, resulting in an exceptionally moist crumb. It’s not just about the striking color; it’s about the harmonious blend of flavors and textures that make this cake truly unforgettable. This recipe proves that with a little dedication, you can create a show-stopping dessert that’s both deeply satisfying and surprisingly simple to execute.
Unveiling the Ruby Red Secret: Essential Ingredients for Your Classic Red Velvet Cake
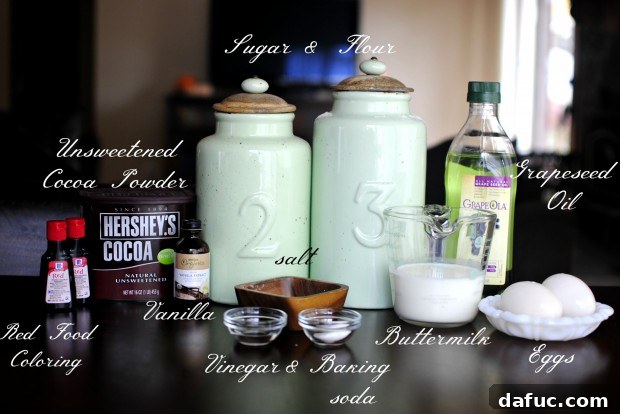
For the Moist Red Velvet Cake Layers:
- 2 large eggs: Essential for structure and richness.
- 1½ cups grapeseed oil or a light, flavorless oil: Grapeseed oil lends a beautiful moistness and delicate texture to cakes without imparting any flavor, and it’s a healthier fat option.
- 1 cup low-fat buttermilk: Crucial for the classic tangy flavor and contributes significantly to the cake’s tender crumb and moistness. It also reacts with the baking soda to create lift.
- 1 tablespoon distilled vinegar: Works in conjunction with buttermilk and baking soda to create a light, airy texture and intensifies the red color.
- 1¼ teaspoon pure vanilla extract: Enhances the overall flavor profile.
- 2 ounces red food coloring: Yes, two whole bottles! This is what gives red velvet its iconic, vibrant ruby hue. Don’t be shy!
- 2½ cups unbleached all-purpose flour: The structural backbone of the cake.
- 2 cups granulated sugar: Provides sweetness and helps keep the cake moist.
- 1½ tablespoons unsweetened cocoa powder: Just enough cocoa to give a hint of chocolate flavor, defining the “velvet” in red velvet without overpowering the other elements.
- 1 teaspoon kosher salt: Balances the sweetness and enhances all the flavors.
- 1 teaspoon baking soda: The primary leavening agent, which reacts with the acidic buttermilk and vinegar.
For the Tangy Cream Cheese Frosting:
- 16 ounces softened cream cheese: The star of this frosting, providing a wonderful tang and creamy texture. Ensure it’s very soft.
- 8 tablespoons unsalted butter, softened and at room temperature: Adds richness and helps create a stable, pipeable frosting.
- 2 teaspoons pure vanilla extract: Complements the cream cheese and butter beautifully.
- 4 cups powdered sugar (confectioners’ sugar): Sweetens the frosting and gives it its smooth, velvety consistency. Sift it for the best results!
Step-by-Step Guide to Baking the Perfect Red Velvet Cake
Before you begin, preheat your oven to 350°F (175°C). Prepare two 9-inch round cake pans by greasing them thoroughly, dusting with flour, and then lining the bottoms with parchment paper. This meticulous preparation ensures your beautiful cake layers release easily.
Preparing the Wet Ingredients: The Heart of the Red Velvet
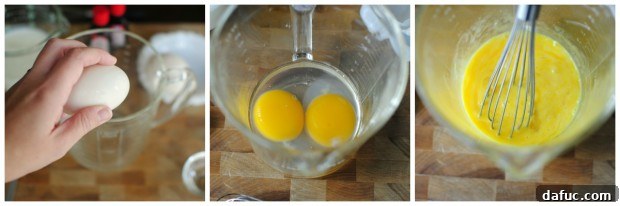
- Start by cracking the 2 large eggs into a large measuring cup or a bowl with a pouring spout. This makes it incredibly easy to transfer to your mixing bowl later. Give them a quick, light beating with a whisk.
- Next, add 1 cup of low-fat buttermilk and 1 tablespoon of distilled white vinegar to the beaten eggs. The acidity from these ingredients is vital for tenderizing the cake and reacting with the baking soda to create a perfect rise.
- Stir in 1¼ teaspoons of pure vanilla extract. The rich aroma of vanilla truly complements the subtle cocoa notes in red velvet.
- Now for the showstopper: carefully pour in 2, yes, two (1-ounce) bottles of red food coloring. Embrace the intensity! It’s called red velvet for a reason, after all, and this vibrant hue is its hallmark.
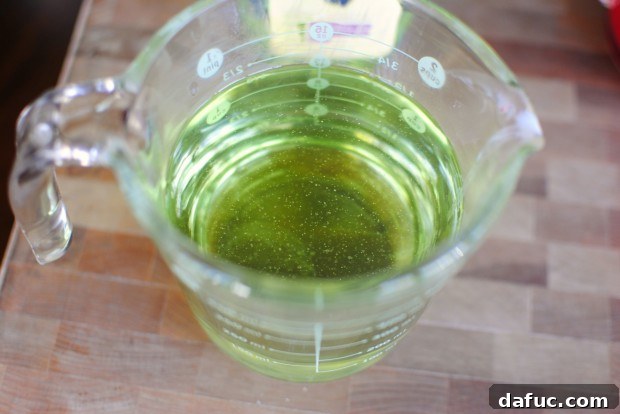
- Finally, add 1½ cups of grapeseed oil to the egg mixture. Grapeseed oil is a fantastic choice for cakes because of its mild flavor and light texture, contributing immense moisture without any heaviness. Plus, it’s a healthier alternative! We need some balance, especially with all that gorgeous red dye.
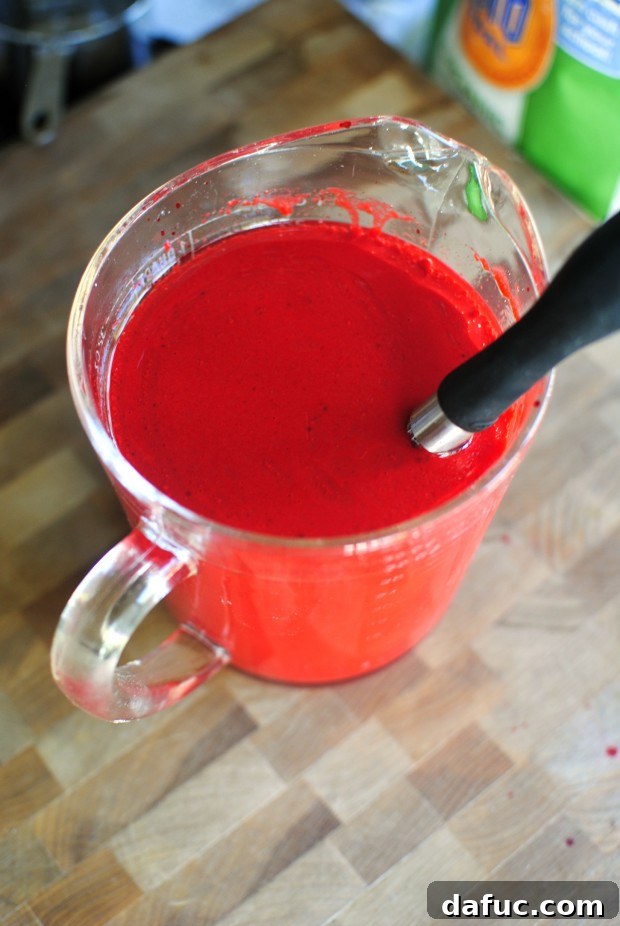
- Stir everything together until well combined. A word of caution: red droplets will stain anything and everything! Trust me, I speak from experience – farewell, my favorite funky-floral kitchen towel, you are dearly missed. Set this vibrant wet mixture aside.
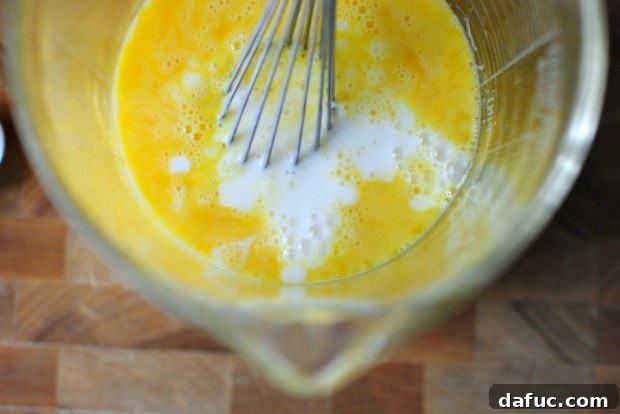
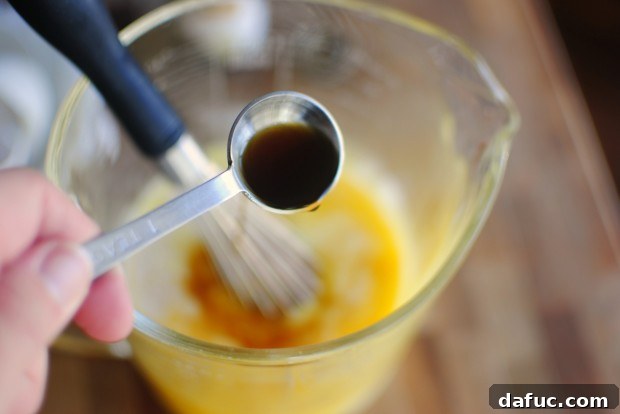
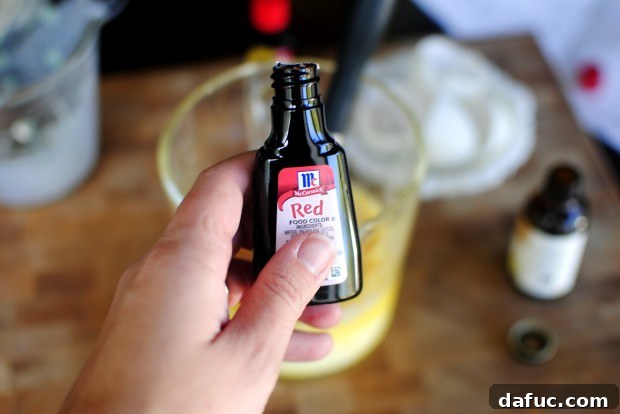
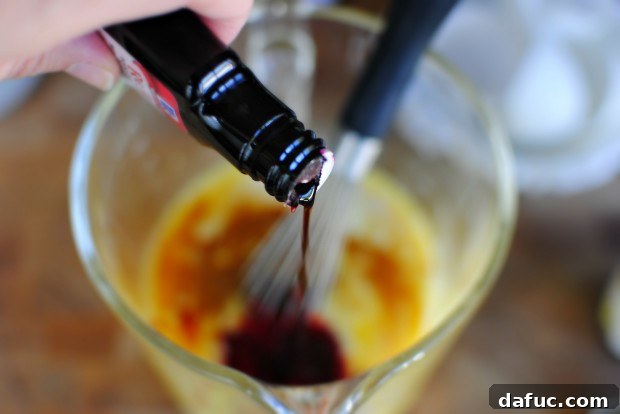
It’s called red velvet for a reason, right?
Mixing the Dry Ingredients: Laying the Foundation
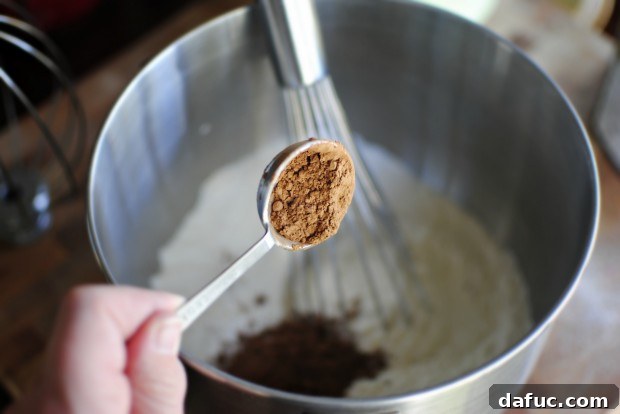
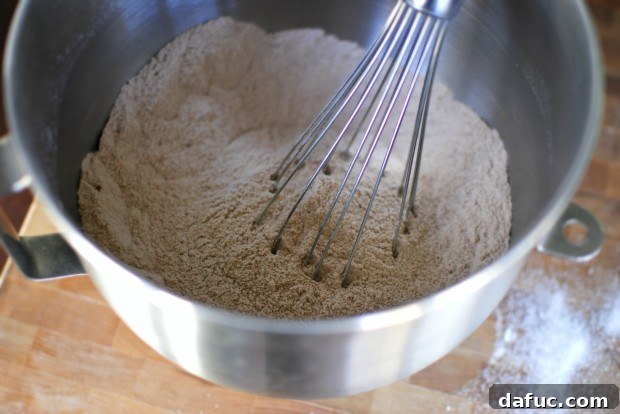
- In the bowl of your stand mixer (or a large mixing bowl), combine the 2½ cups all-purpose flour, 2 cups granulated sugar, 1½ tablespoons unsweetened cocoa powder, 1 teaspoon kosher salt, and 1 teaspoon baking soda.
- Give these dry ingredients a quick whisk to ensure they are thoroughly combined and aerated. This step prevents lumps and ensures even distribution of the leavening agent. Now, get ready for the spectacular red transformation!
Combining and Baking: Watch the Magic Unfold
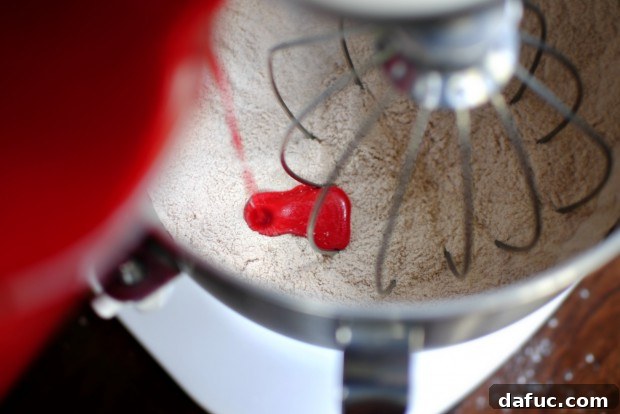
- Add the brilliant red wet ingredients into the dry mixture. Fit your stand mixer with a whisk attachment.
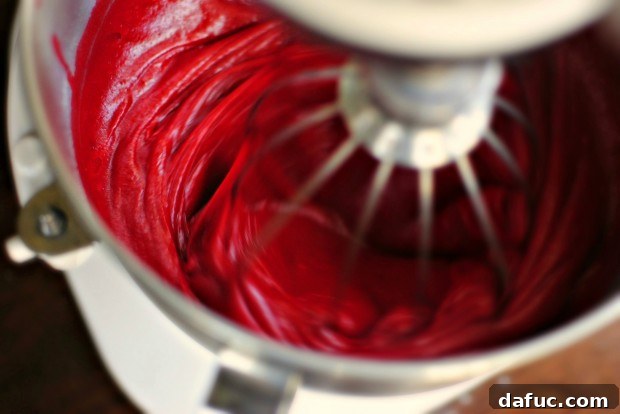
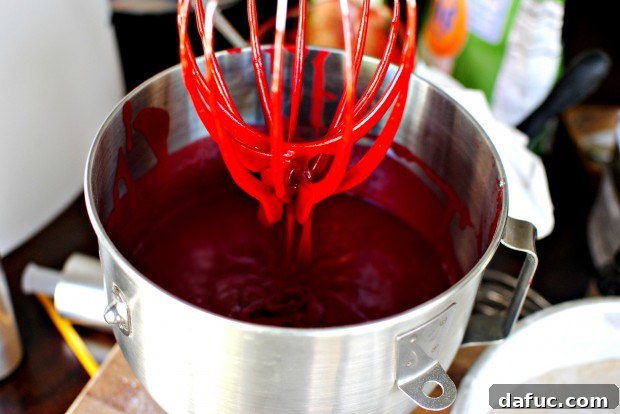
- Turn your mixer on medium speed and mix until everything is completely blended, scraping down the sides and bottom of the bowl once or twice to ensure no dry spots remain. Be careful not to overmix, as this can lead to a tough cake.
- Seriously, just look at that color! It’s absolutely insane. I want a lipstick, a pair of shoes, a clutch, and maybe even nail polish in that exact shade!
- For even baking and perfectly symmetrical layers, I always recommend using a measuring cup to divide the batter evenly between your two prepared cake pans. This little trick makes all the difference!
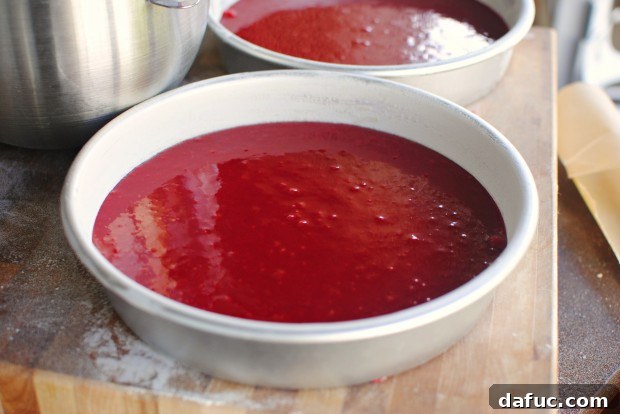
- Pour the batter into the pans.
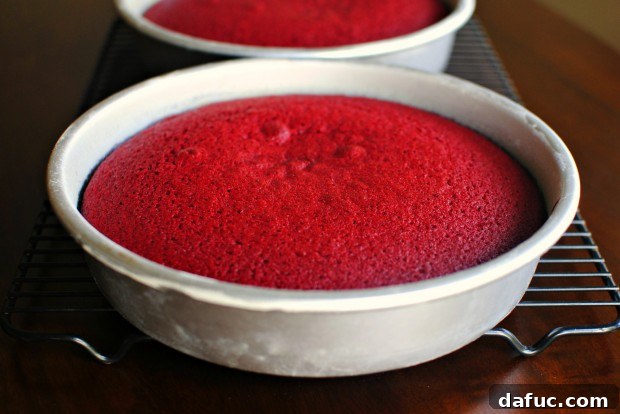
- Gently tap the cake pans a few times on your counter. This helps to release any trapped air bubbles, ensuring a smooth, even texture in your finished cake. Now, slide them into your preheated 350°F (175°C) oven and bake for approximately 25-30 minutes. Baking times can vary, so keep an eye on them. You might also need to rotate the pans halfway through for perfectly even baking. The cake is done when a wooden skewer or toothpick inserted into the center comes out clean.
- Allow the cakes to cool in their pans for a full 10 minutes. This crucial resting period helps them firm up slightly before you attempt to remove them.
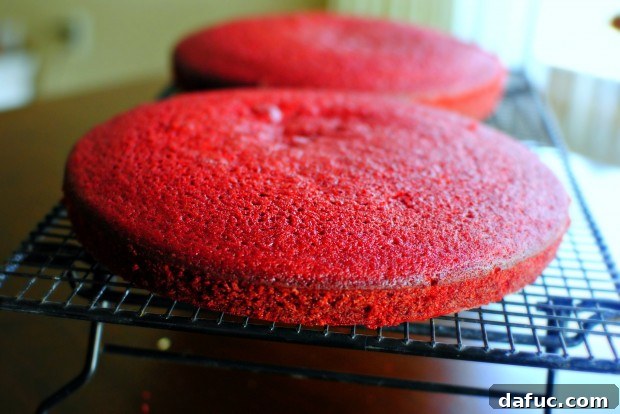
- Once removed from the pans, transfer the cake layers to a wire rack and let them cool completely. Patience is a virtue here! For ultimate convenience, I sometimes bake the cake layers a day in advance. Once fully cooled, I wrap them individually in plastic wrap and store them in the fridge until frosting day. This step is entirely optional but can help streamline your baking process.
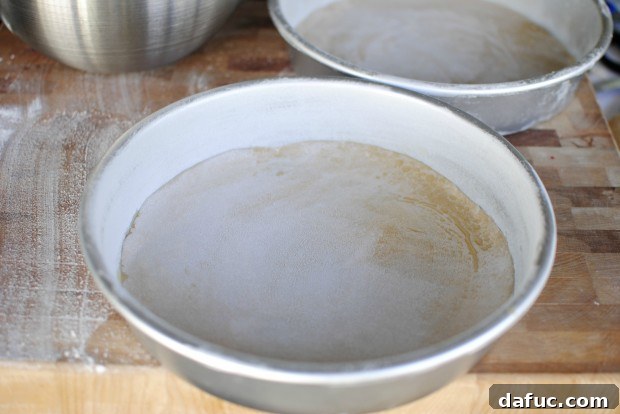
I meticulously greased, floured, and lined my 9-inch cake pans.
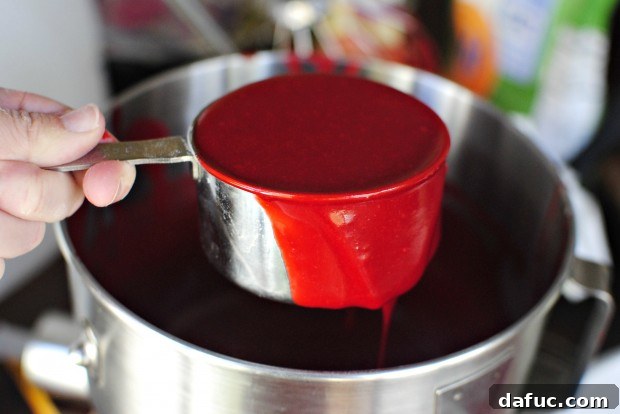
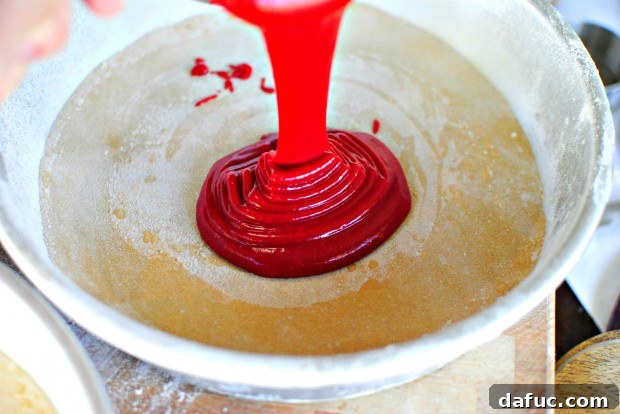
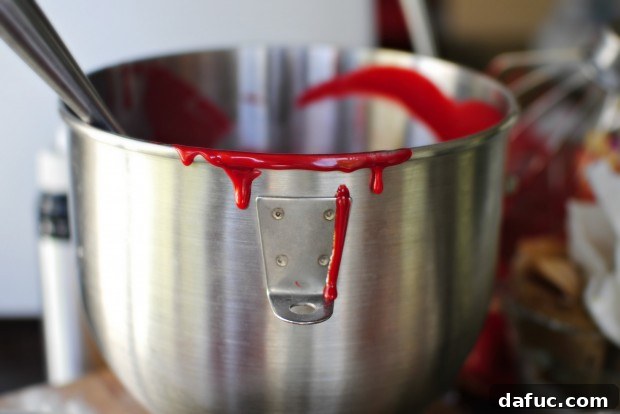
Permission to do a finger swipe and taste! It’s a baker’s prerogative!
Crafting the Creamy Dream: Classic Cream Cheese Frosting
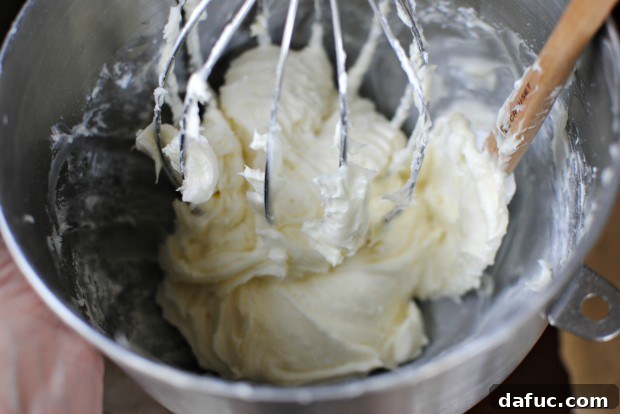
Ah, cream cheese frosting. It’s the stuff dreams are made of, and frankly, I adore it! I’m not a fan of overly sweet frostings that overwhelm the cake’s flavor, which is why this recipe is absolutely perfect. Its delightful tang beautifully complements the subtle cocoa of the red velvet cake, creating a harmonious and addictive bite every time.
For a detailed, step-by-step recipe on how to make this ultimate cream cheese frosting, please Click Here.
Making the Frosting: Smooth Perfection
- To achieve the best consistency, remember to pull your cream cheese and butter out of the fridge about 1 hour before you plan to make the frosting. They need to be truly softened to room temperature.
- Place the softened cream cheese into the bowl of your stand mixer. Blend on medium speed until it’s light and creamy, ensuring no lumps remain.
- Use a rubber spatula to scrape down the sides of the bowl. Then, add in the softened unsalted butter and vanilla extract. Blend on low speed until thoroughly combined with the cream cheese.
- Gradually add the 4 cups of confectioners’ sugar, about ⅓ to ½ cup at a time, mixing well after each addition. This gradual process prevents a dusty cloud and ensures a smooth, lump-free frosting.
- Once all the sugar is combined, scrape down the sides of the bowl once more. Switch to the whisk attachment and mix on high speed for 10 to 15 seconds. This final burst of whipping will make your frosting incredibly light and fluffy.
- This recipe yields enough frosting for a generous two-layer 9-inch cake, a 9×13 inch sheet cake, or approximately two dozen cupcakes.
Assembling Your Masterpiece: Layer by Layer
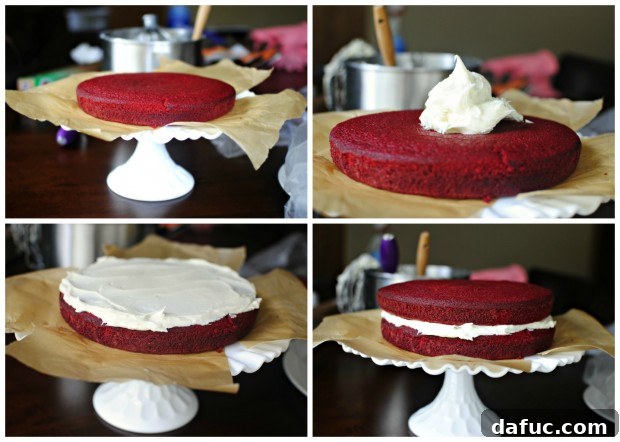
Now comes the truly fun part: assembling your beautiful cake!
- Carefully place one cooled cake layer onto your chosen cake stand or serving plate.
- Dollop a generous amount of cream cheese frosting onto the center of this first layer. Using an offset spatula, gently spread the frosting out evenly, allowing a little to cascade over the edges – this adds to the homemade charm.
- Carefully place the second cake layer directly on top of the first, aligning it as perfectly as possible.
- Place a larger dollop of frosting on top of the second layer. Smooth it out over the top surface and then work your way around the sides, covering the entire cake with a thin, even layer of frosting.
- Now, for a professional touch that ensures a flawless finish, use your spatula to lightly scrape the frosting around the entire cake. This creates what bakers call a “crumb coat” – a thin layer of frosting that traps any loose crumbs. Once applied, pop the cake into the fridge for at least one hour to allow this crumb coat to firm up. This step is optional but highly recommended for a neat final frosting layer.
- After the crumb coat has chilled and hardened, retrieve your cake. Now, generously dollop the remainder of your cream cheese frosting over the top and spread it smoothly and evenly over the top and sides, building upon that firm crumb coat. This final layer will be pristine and crumb-free!
- Bam! Your magnificent Classic Red Velvet Cake is complete.
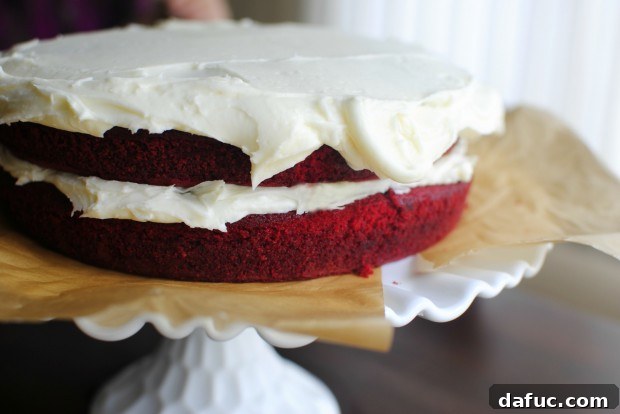
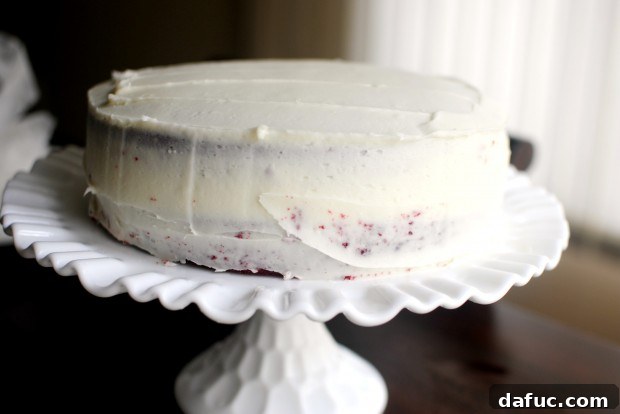
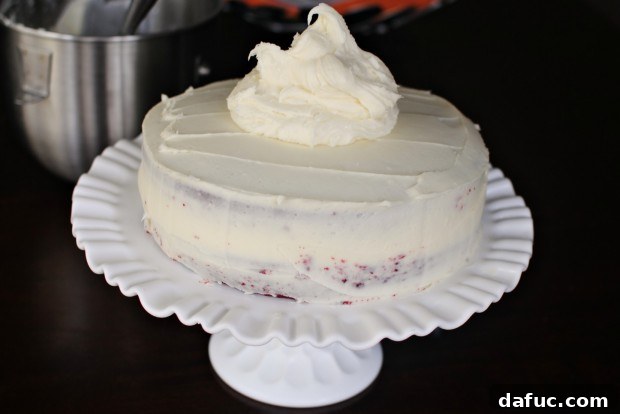
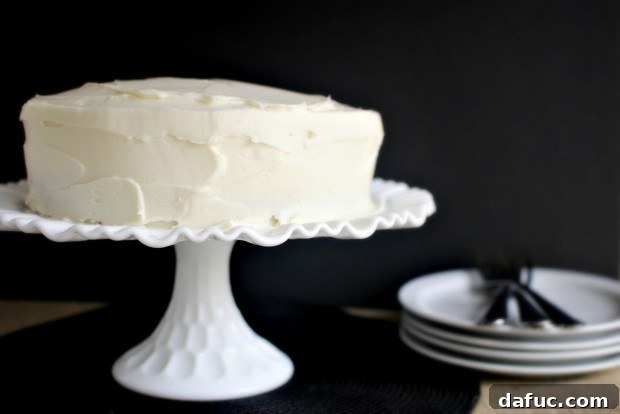
Savoring the Moment: Enjoying Your Homemade Red Velvet Cake
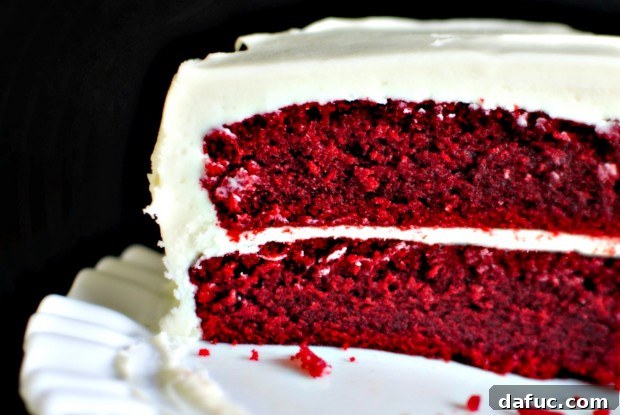
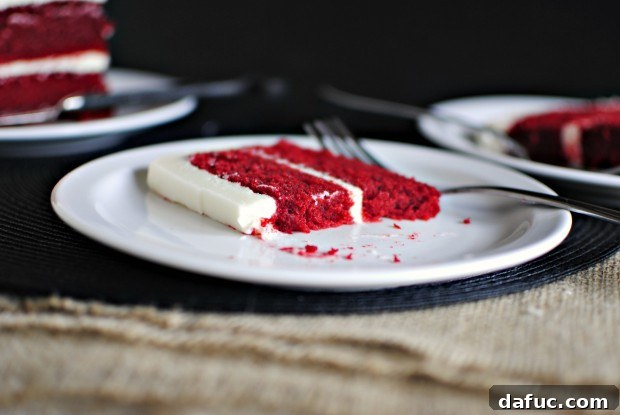
Red Velvet perfection.
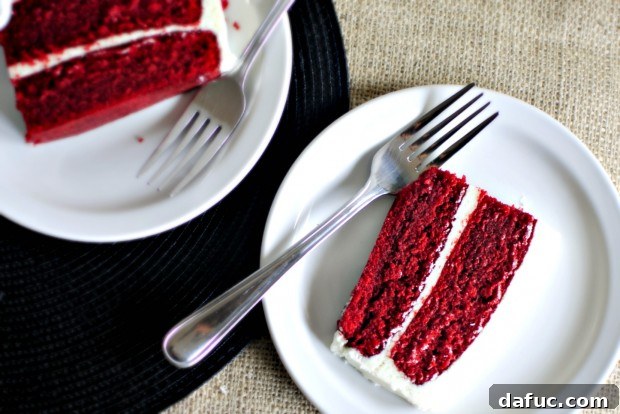
I don’t typically use superlatives lightly, but this seriously is the most incredibly moist cake I have ever had the pleasure of tasting. And coming from someone who isn’t even a massive cake enthusiast, that’s truly saying something! The crumb is unbelievably tender, almost melting in your mouth, and the subtle cocoa paired with the tangy cream cheese frosting is a match made in dessert heaven.
But what was even better than this Classic Red Velvet Cake itself?
It was the moment my daughter looked at me, beaming, and said, “Thank you, Mom,” adding how “lucky she felt to have a mom who likes to bake.” Gosh! I know… I’m still choked up just thinking about it. Those are the moments that make every flour-dusted countertop and every whisked batter entirely worth it. Sharing delicious homemade treats, especially for special occasions, creates memories that last a lifetime.
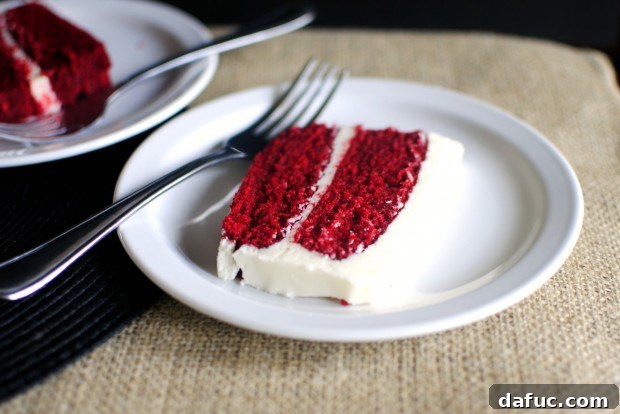
So, this weekend, I wholeheartedly encourage you to try making this Classic Red Velvet Cake. Take pictures of your beautiful creation and share them with the world – or, even better, share them with me on Facebook or Instagram! I promise you, this recipe makes cake-making as easy and rewarding as it gets. The cake layers are perfectly tender, the ratio of cream cheese frosting to cake is absolutely spot on, making every bite a delight. There’s simply no reason not to give it a try!
P.S. Red velvet is officially the new chocolate. 😉
If you’re wondering if this Classic Red Velvet Cake recipe can be transformed into individual treats, the answer is a resounding YES! Red velvet cupcakes are an absolute delight. For details on how to make the BEST Red Velvet Cupcakes, including specific baking temperatures and times, and even a variation with white chocolate cream cheese frosting, check out our dedicated post.
Enjoy your baking! And if you give this Classic Red Velvet Cake recipe a try, don’t keep it a secret! Snap a photo and tag me on Twitter or Instagram! I can’t wait to see your ruby-red masterpieces!
Classic Red Velvet Cake Recipe
This homemade Classic Red Velvet Cake is moist, rich, and decadent. A luxurious two-tiered ruby red buttermilk cake with a simple cream cheese frosting. This recipe yields one double-layer 9-inch cake, which can generously serve 8 to 18 people, or up to 32 if sliced into smaller portions.
Print Recipe |
Pin Recipe
Yield: 18 servings (depending on slice size)
Prep Time: 35 mins
Cook Time: 30 mins
Total Time: 1 hr 5 mins
Ingredients
RED VELVET CAKE:
- 2 large eggs
- 1½ cups extra light olive oil (or grapeseed oil)
- 1 cup low-fat buttermilk
- 1 tablespoon distilled vinegar
- 1¼ teaspoon vanilla extract
- 2 ounces red food coloring
- 2½ cups unbleached all-purpose flour
- 2 cups granulated sugar
- 1½ tablespoons unsweetened cocoa powder
- 1 teaspoon kosher salt
- 1 teaspoon baking soda
CREAM CHEESE FROSTING:
- 16 ounces cream cheese, softened
- 8 tablespoons unsalted butter, softened and at room temperature
- 2 teaspoons pure vanilla extract
- 4 cups powdered sugar
Instructions
MAKE THE CAKE:
- Preheat your oven to 350°F (175°C).
- Line, spray, and dust with flour (shake out the excess flour) two 9-inch cake pans. Set those aside.
- Lightly beat the eggs with a whisk, then add in the oil, buttermilk, vinegar, vanilla, and food coloring. Whisk together until combined.
- In the bowl of your mixer, stir together the flour, sugar, cocoa, baking soda, and salt.
- Add the wet ingredients into the dry and mix on medium until combined, scraping the bottom of the bowl once or twice to ensure everything is incorporated.
- Use a measuring cup to divide the batter evenly among the prepared pans. Tap the pans a few times on the counter to release any trapped air bubbles.
- Bake for 25-30 minutes, or until a cake tester inserted into the center comes out clean. Depending on your oven, you might want to rotate the pans for even baking.
- Let the cakes cool for 10 minutes in the pans before carefully removing them to a wire rack.
- Once the cake layers are completely cool, they are ready for frosting.
MAKE THE FROSTING:
- Pull the cream cheese and butter out of the fridge and place them on your counter at least 1 hour before making the frosting to allow them to soften to room temperature.
- Place the softened cream cheese into the bowl of your stand mixer. Blend on medium speed until thoroughly creamed and smooth.
- Use a rubber spatula to scrape down the sides of the bowl before adding in the butter and vanilla extract. Blend on low speed until perfectly combined with the cream cheese.
- Gradually add the 4 cups of confectioners’ sugar (about 1/3 to 1/2 cup at a time), mixing well after each addition until smooth.
- Once all ingredients are combined, scrape down the sides of the bowl and switch over to the whisk attachment. Mix on high speed for 10 to 15 seconds to achieve a light and airy consistency.
- This recipe yields enough frosting for one 9-inch two-layer cake, one 9×13 inch sheet cake, or approximately 2 dozen cupcakes.
Notes
For an extra whipped and airy frosting, beat (with the whisk attachment) for an additional 10 seconds on high speed.
For some of my cakes, I like to apply a “crumb coat,” which is a thin layer of frosting used to seal in any loose crumbs. For this recipe, I often make a slightly larger batch of frosting or plan carefully. First, apply a generous amount between the layers, then a thin coating over the entire outside of the cake. I then refrigerate the cake for about an hour before applying the final, thicker frosting layer. This step is completely optional, but if you decide to crumb coat, add an additional hour to the prep time. You might have a little frosting leftover, but I’m sure you can get creative on how to use it up!
Nutrition Information
Serving: 1 slice | Calories: 559kcal | Carbohydrates: 64g | Protein: 5g | Fat: 33g | Saturated Fat: 11g | Polyunsaturated Fat: 3g | Monounsaturated Fat: 17g | Trans Fat: 1g | Cholesterol: 62mg | Sodium: 295mg | Potassium: 91mg | Fiber: 1g | Sugar: 50g | Vitamin A: 531IU | Vitamin C: 1mg | Calcium: 49mg | Iron: 1mg
Author & Details
Author: Laurie McNamara
Course: Desserts & Sweet Treats
Cuisine: American