
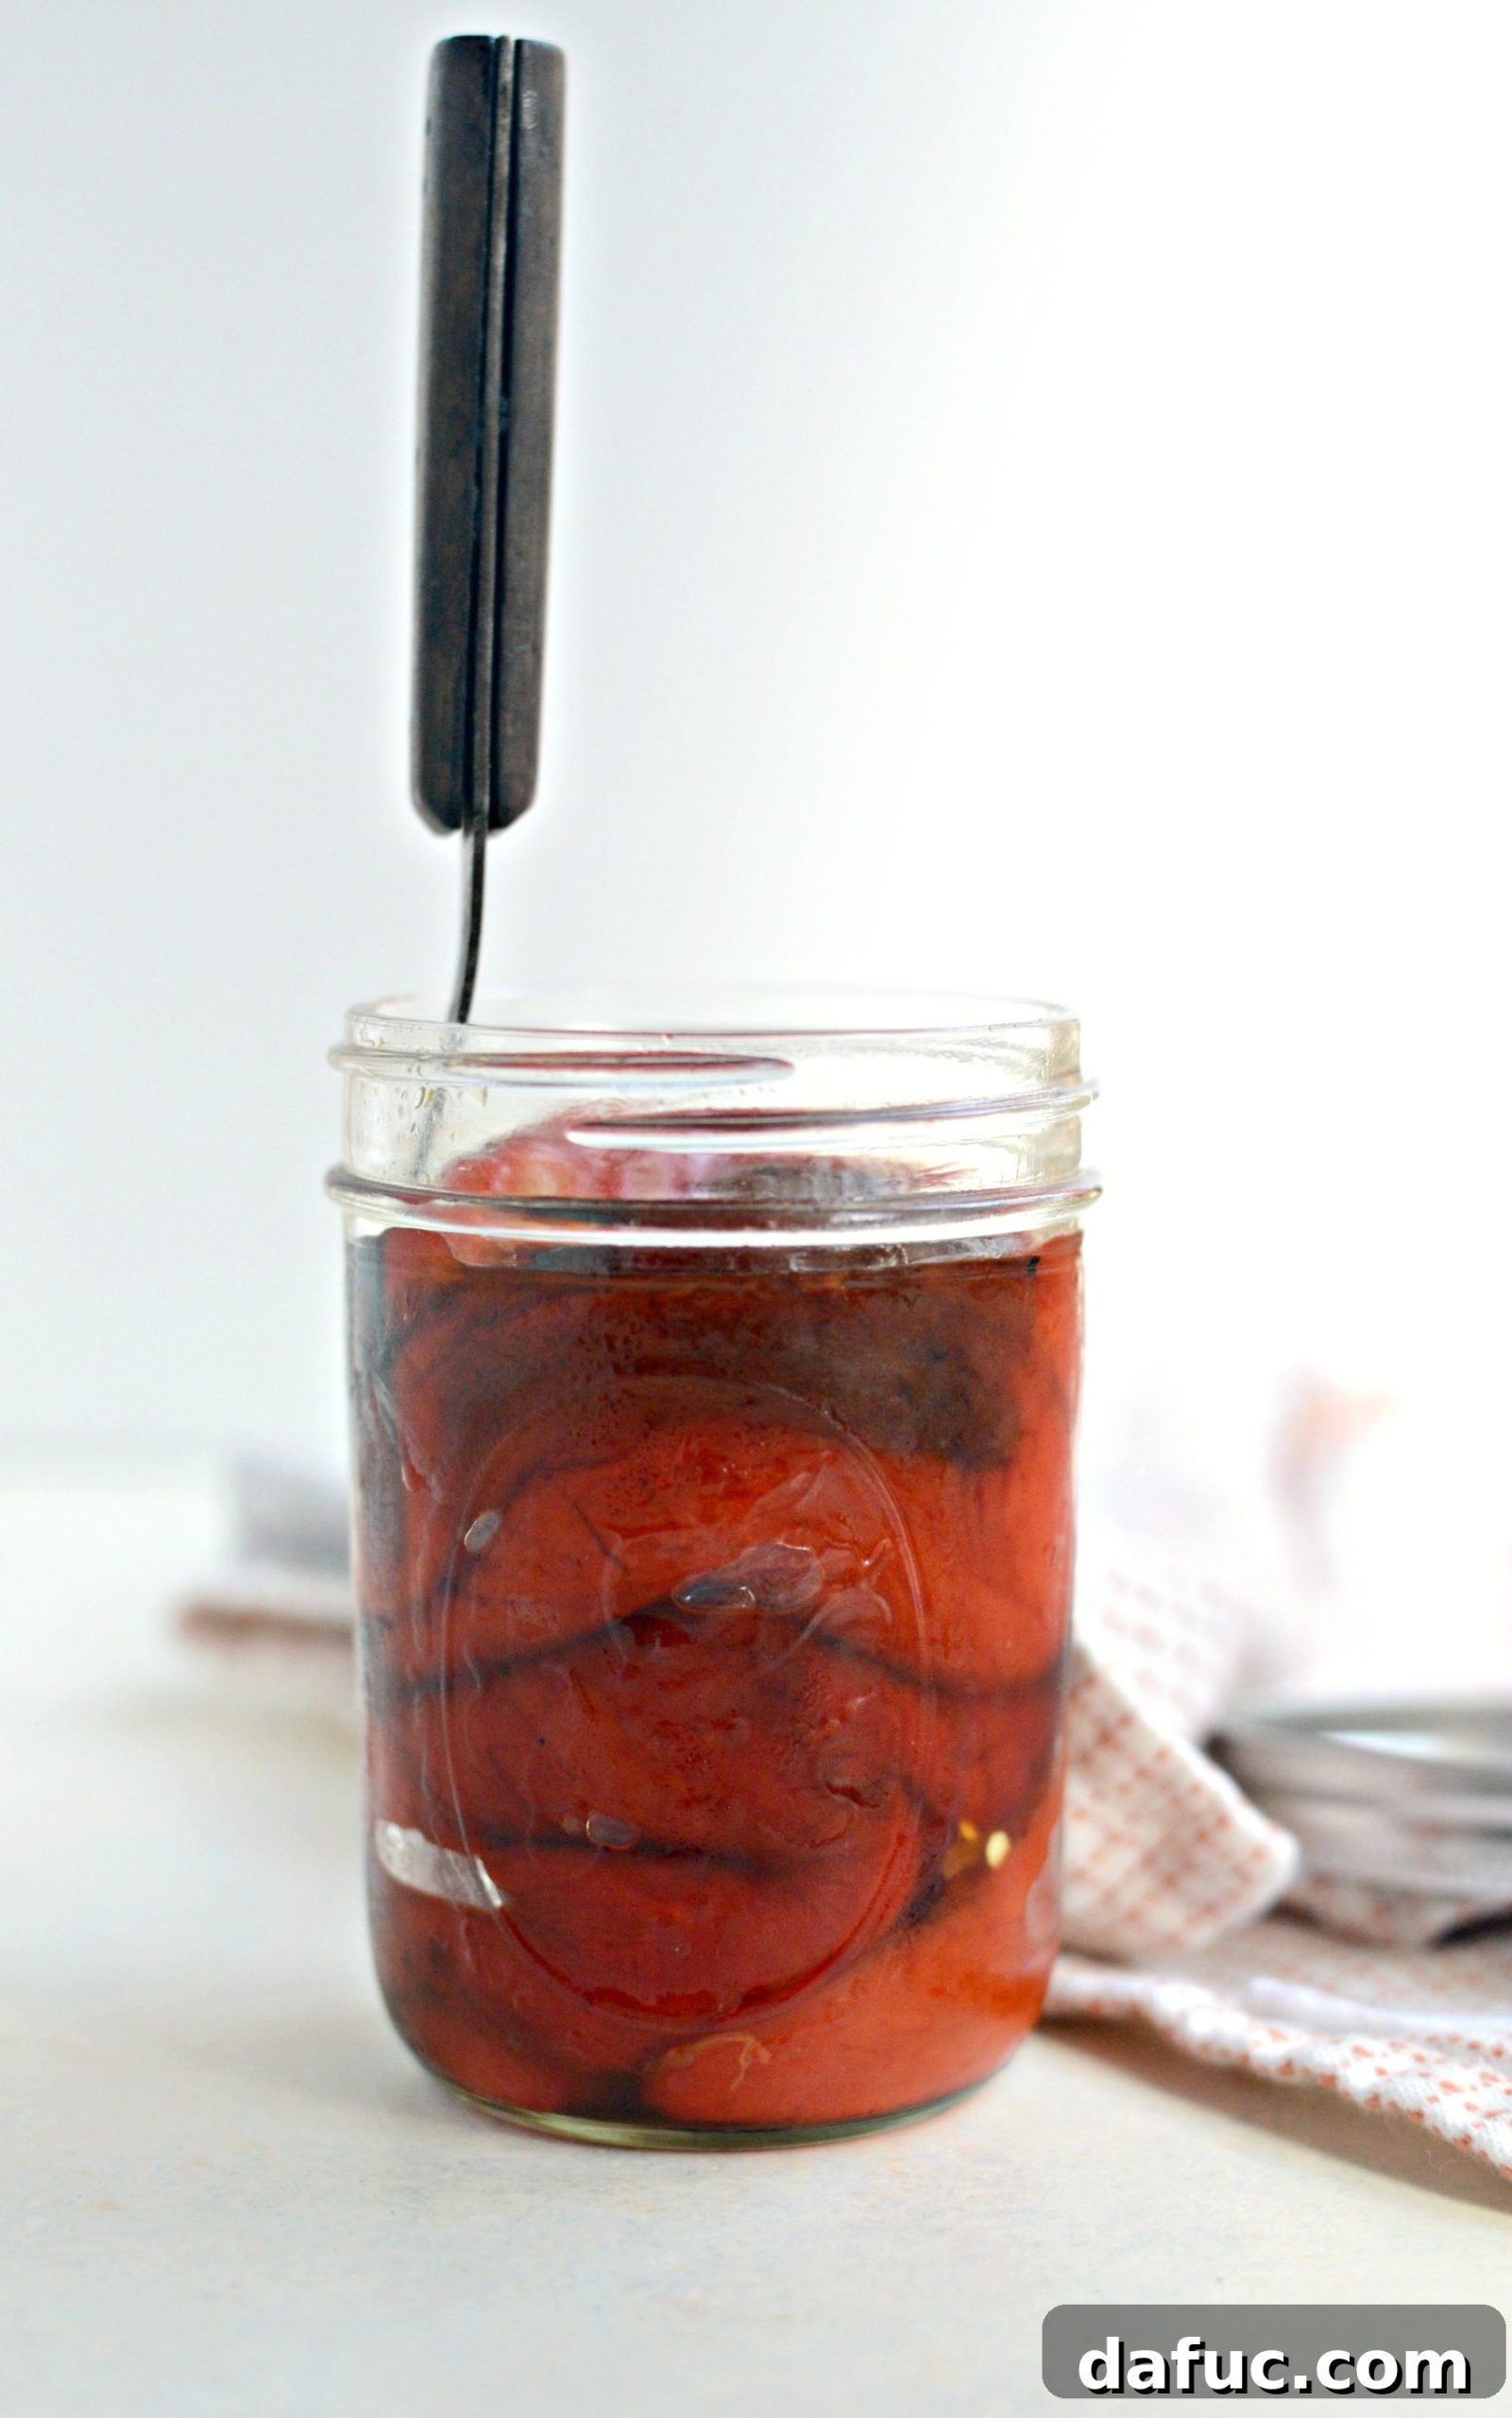
In the culinary world, convenience often takes precedence, and there’s absolutely no shame in reaching for a jar of roasted red peppers. These pantry staples are incredibly handy for those busy evenings when you need to quickly assemble a vibrant pasta sauce or whip up a batch of creamy roasted red pepper hummus for an impromptu gathering. They offer a quick fix, saving precious time in the kitchen. However, for those who truly appreciate depth of flavor, superior texture, and the wholesome goodness of homemade, there’s an undeniable charm and significant difference in roasting your own peppers from scratch. This comprehensive guide will illuminate the path to mastering homemade oven-roasted red peppers, transforming a simple ingredient into a versatile culinary delight that elevates any dish.
Mastering Homemade Oven-Roasted Red Peppers: A Flavorful Guide
While the convenience of store-bought jars is tempting, the experience of roasting your own bell peppers at home is a truly rewarding endeavor. It’s not just about cooking; it’s about crafting an ingredient that boasts unparalleled flavor, a captivating aroma, and a wholesome quality that simply cannot be replicated by pre-packaged alternatives. This guide will walk you through every step, from selecting the perfect peppers to storing your delicious homemade bounty, ensuring you achieve perfect results every time. Prepare to unlock a new level of culinary excellence in your kitchen.
Why Homemade Oven-Roasted Peppers Are Superior
The decision to roast your own peppers is an investment in flavor, health, and culinary satisfaction. Here’s a closer look at the compelling advantages of going the DIY route:
Unrivaled Flavor and Aromatic Depth
The most striking difference between homemade and jarred roasted peppers is, without a doubt, the flavor. High-temperature oven roasting instigates the Maillard reaction, a complex chemical process that leads to the delightful browning and caramelization of the peppers’ natural sugars. This process develops a deep, smoky sweetness, complemented by a slight char that adds incredible complexity. Unlike jarred peppers, which often taste acidic or somewhat muted, freshly roasted peppers burst with vibrant, earthy notes and a pronounced sweetness that enhances any recipe. Moreover, the warm, inviting aroma that fills your home as the peppers roast is a sensory experience in itself, promising the deliciousness to come.
A Healthier, Fresher Choice
Most commercially prepared roasted red peppers are packed in oil, often with added sodium, citric acid, or other preservatives to maintain freshness and prolong shelf life. When you roast your own, you gain complete control over the ingredients. You can choose a high-quality extra virgin olive oil, adjust the amount of seasoning to your preference, and entirely avoid unnecessary additives. This makes homemade roasted peppers a significantly healthier option, allowing you to savor their natural goodness without concern for hidden ingredients. You’re also guaranteed the freshest possible product, free from the often stale or processed taste that can sometimes characterize jarred goods.
Economical and Eco-Friendly Benefits
When bell peppers are in season, they are generally quite affordable. Buying fresh peppers in bulk and roasting them at home can be substantially more cost-effective than regularly purchasing smaller jars from the grocery store. This financial saving accumulates over time, especially if roasted peppers are a frequent ingredient in your kitchen. Furthermore, choosing fresh produce and storing your homemade creation in reusable glass jars or containers significantly reduces packaging waste, contributing to a more sustainable and environmentally conscious culinary practice. It’s a small change that yields both economic and ecological benefits.
Unmatched Versatility and Customization
Roasting peppers at home offers an incredible degree of versatility. While red bell peppers are traditionally favored for their intense sweetness when ripe, yellow and orange varieties also roast beautifully, offering slightly different nuances in flavor profile. The ability to select your peppers allows for customization to suit specific recipe needs or personal taste preferences. You can also easily experiment with other types of peppers, such as poblanos for a mild, earthy spice or jalapeños for a notable kick, simply by adjusting the roasting time according to their size and thickness. This level of control ensures your roasted peppers are perfectly tailored to your culinary vision.
Choosing Your Bell Peppers for Perfect Roasting
The foundation of exceptional roasted peppers lies in selecting the best possible produce. Look for bell peppers that are firm to the touch, possess a vibrant, unblemished color, and feel heavy for their size—a sign of good water content. Avoid any peppers with soft spots, wrinkles, or dark patches, as these indicate they are past their prime. While red bell peppers are often the go-to for their unparalleled sweetness once roasted, don’t hesitate to experiment with yellow and orange varieties. Each color brings its own subtle flavor profile, adding depth and visual appeal to your culinary creations. This method also works wonderfully for other peppers like jalapeños, poblanos, or even anaheims; just be mindful to adjust the roasting time based on their size.
The Step-by-Step Guide to Oven Roasting Peppers
Achieving beautifully charred and tender roasted peppers is a straightforward process that yields incredibly rewarding results. Follow these detailed steps to ensure perfection every time:
Step 1: Preheat for Success
Begin by preheating your oven to a high temperature of 500℉ (or 260℃). This intense heat is crucial for quickly charring the pepper skins, which is essential for developing that coveted smoky flavor and for making the peeling process much easier. A hot oven ensures the exterior blisters before the interior overcooks.
Step 2: Prepare Your Pan
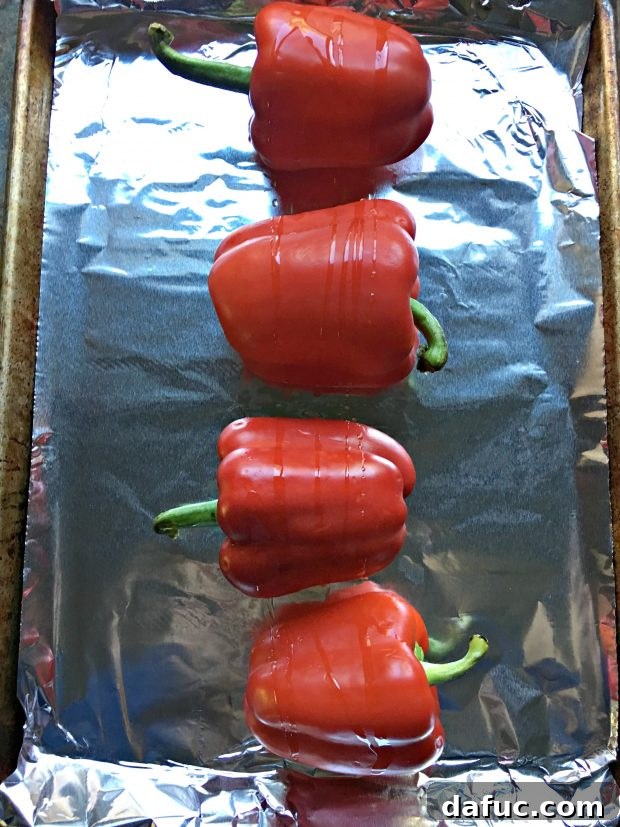
Line a sturdy, rimmed baking sheet with aluminum foil. This step is a double win: it facilitates easier cleanup by catching any juices or charred bits, and the reflective surface of the foil can also assist in the charring process, promoting even cooking and browning of the pepper skins.
Step 3: Drizzle and Arrange
Thoroughly wash your chosen bell peppers and pat them completely dry with a clean kitchen towel. Place the whole, dry peppers directly onto the foil-lined baking sheet. Drizzle them lightly with a good quality olive oil. Just a small amount is needed to encourage even charring and to infuse a hint of rich flavor. There’s no need to pierce, seed, or remove the stems at this stage; they will be handled after roasting.
Step 4: Roast Until Perfectly Charred
Carefully slide the baking sheet onto the middle rack of your preheated oven. Roast the peppers for approximately 25 to 35 minutes. The exact timing will depend on the size and thickness of your individual peppers. During the roasting process, it’s vital to turn the peppers every 10 to 15 minutes using a pair of tongs. This ensures all sides are exposed to the direct heat, allowing them to blister and blacken evenly. You’re looking for skins that are mostly collapsed, deeply wrinkled, and almost entirely blackened, indicating that the sweet flesh inside has softened beautifully and absorbed that wonderful smoky essence.
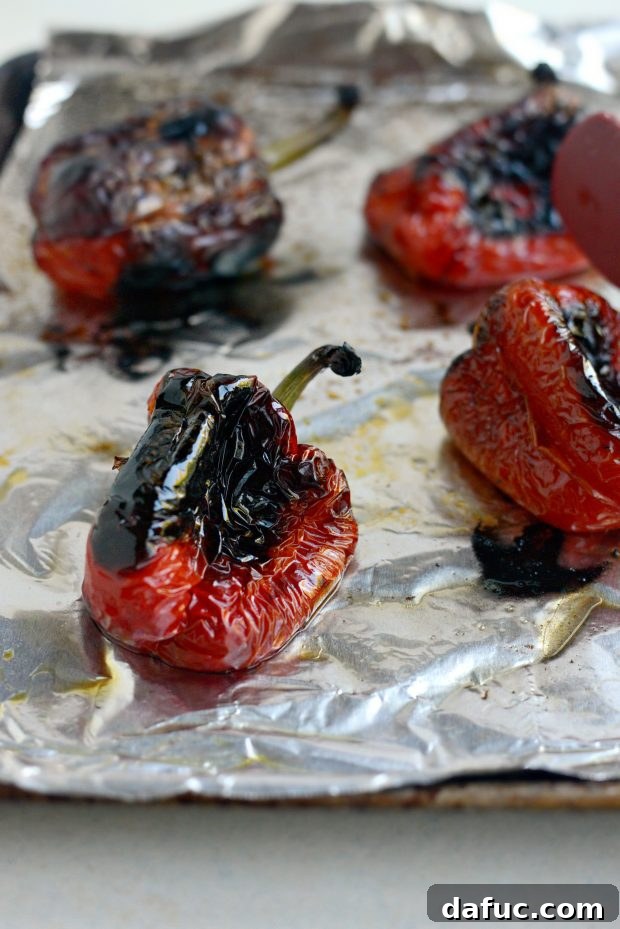
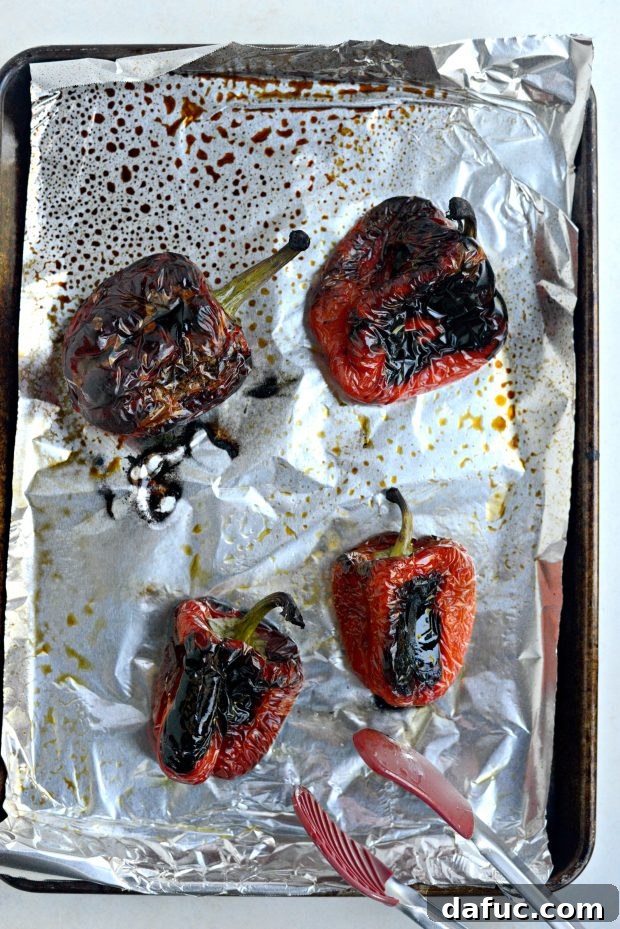
Step 5: The Essential Steaming Process
Once the peppers are perfectly roasted and beautifully charred, immediately transfer them from the hot baking sheet into a heat-safe bowl. Cover the bowl tightly with plastic wrap, a tight-fitting lid, or even another plate. If you’ve only roasted one or two peppers, you can simply gather the aluminum foil from the baking sheet around them, creating a sealed pouch. Allow the peppers to sit undisturbed for 10 to 15 minutes. This steaming period is critical; the trapped steam helps to loosen the charred outer skin from the tender, cooked flesh underneath, making the subsequent peeling process incredibly easy and satisfying.
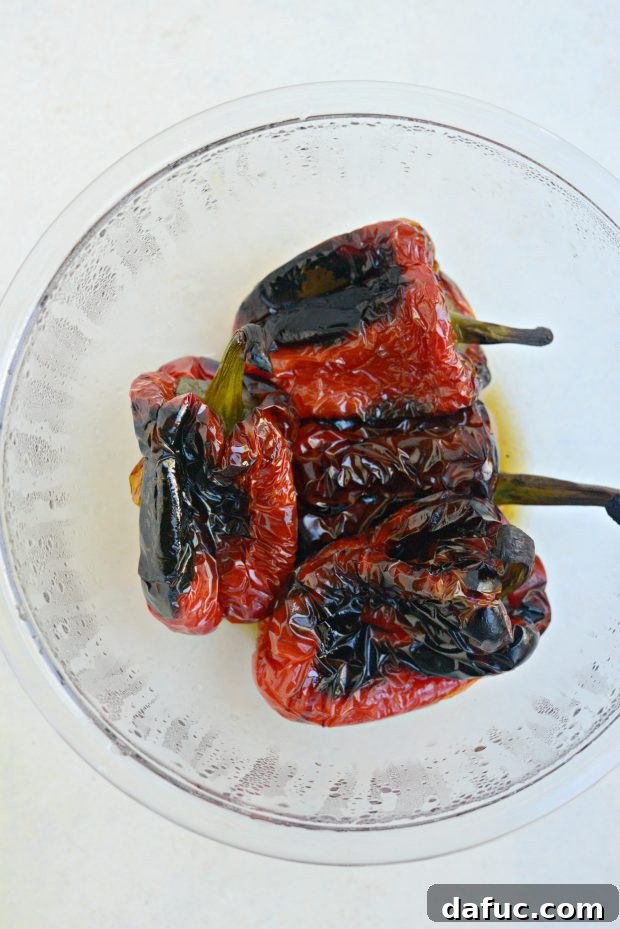
Peeling and Seeding Made Easy
After the peppers have had a chance to steam and cool enough to handle comfortably, it’s time for the final preparation steps. This part of the process, which transforms the charred exterior into a vibrant, ready-to-use ingredient, can be quite enjoyable:
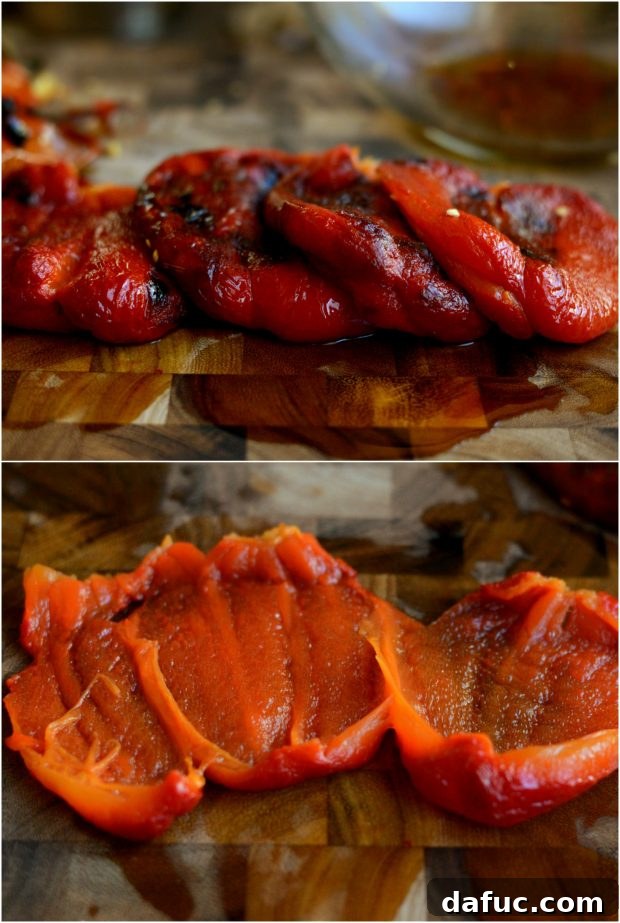
- Remove Stem and Initial Seeds: Work over the bowl where the peppers steamed; any flavorful liquids that collect are valuable. Gently pull the stem out from the top center of the pepper. Often, this action will remove a good portion of the seeds and core simultaneously. Tip the pepper upside down to drain any trapped liquids and loose seeds into the bowl.
- Peel the Skin: Using your fingers, carefully peel off the blistered and charred outer skin from each pepper. Thanks to the steaming process, the skin should separate from the tender flesh with remarkable ease. Discard the removed skin.
- Final Seeding and Preparation: Lay the peeled pepper onto a clean cutting board. Make a single slit along one side of the pepper to open it up flat. Then, using the blunt (non-sharp) side of your knife or a small spoon, gently scrape out any remaining errant seeds and the pale white ribs. These ribs can have a slightly bitter taste and tougher texture, so removing them ensures a purer, sweeter end product.
This hands-on transformation, revealing the sweet, vibrant flesh beneath the charred skin, is often described as cathartic and deeply satisfying for home cooks.
Storing Your Roasted Pepper Bounty
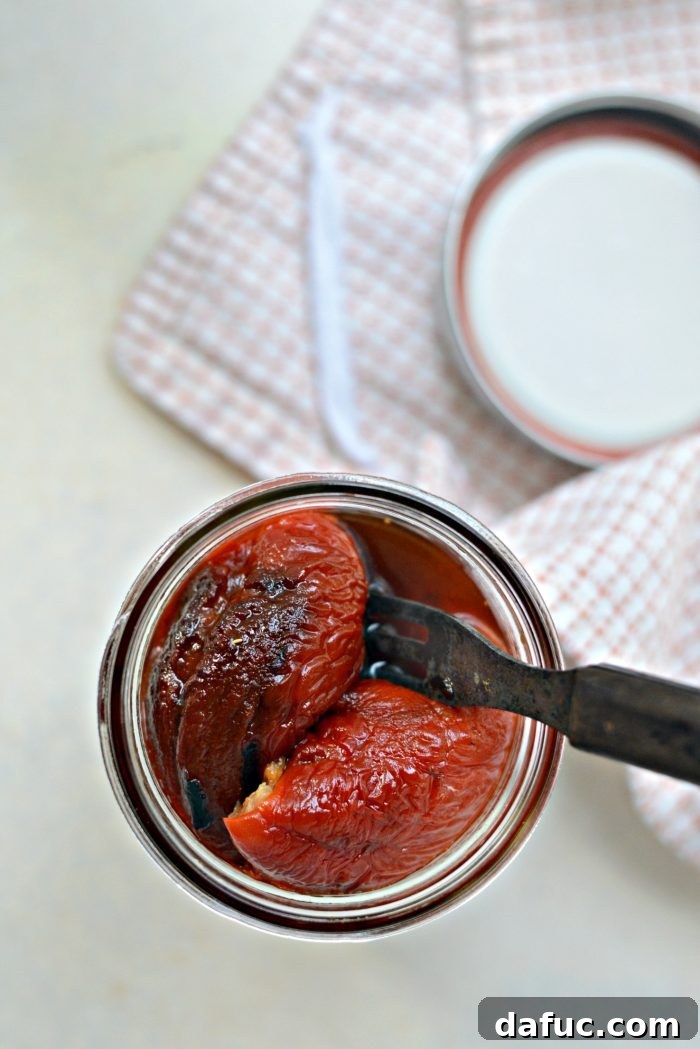
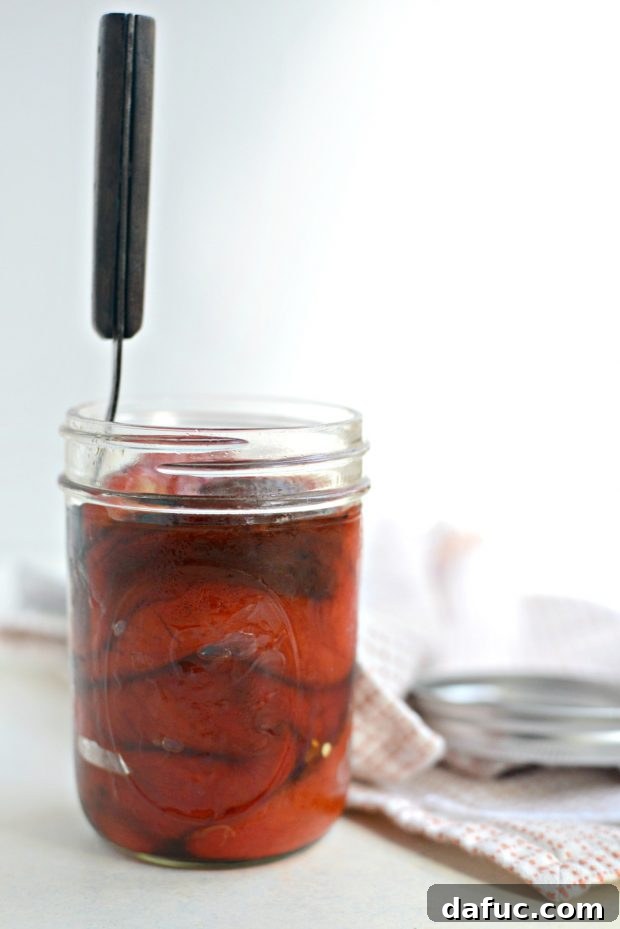
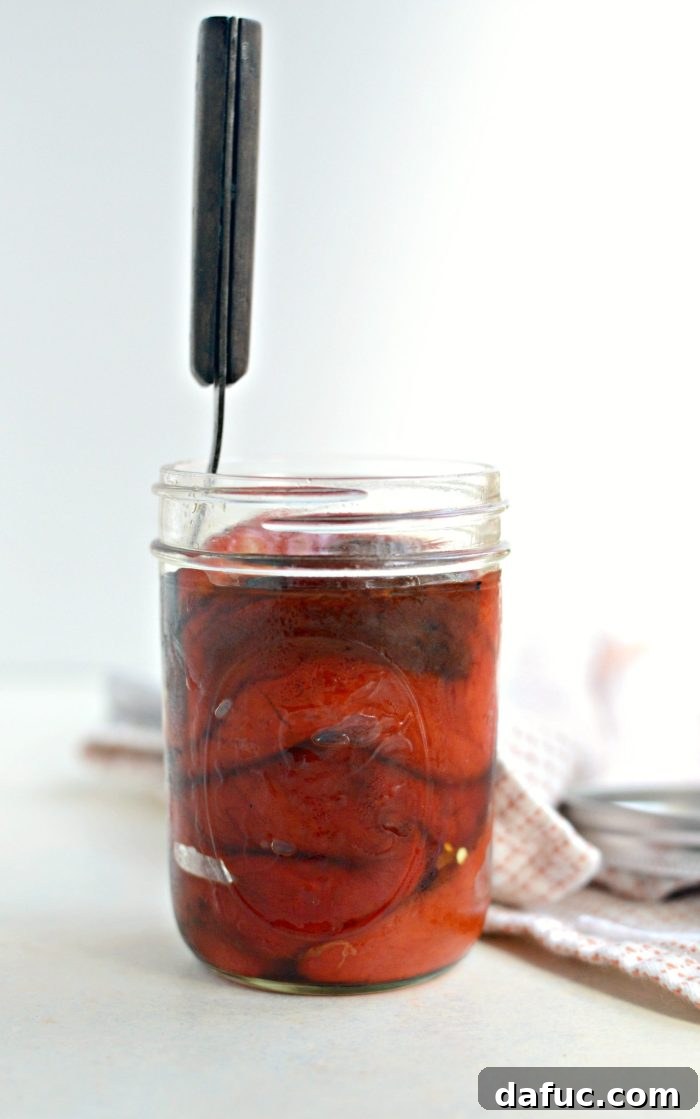
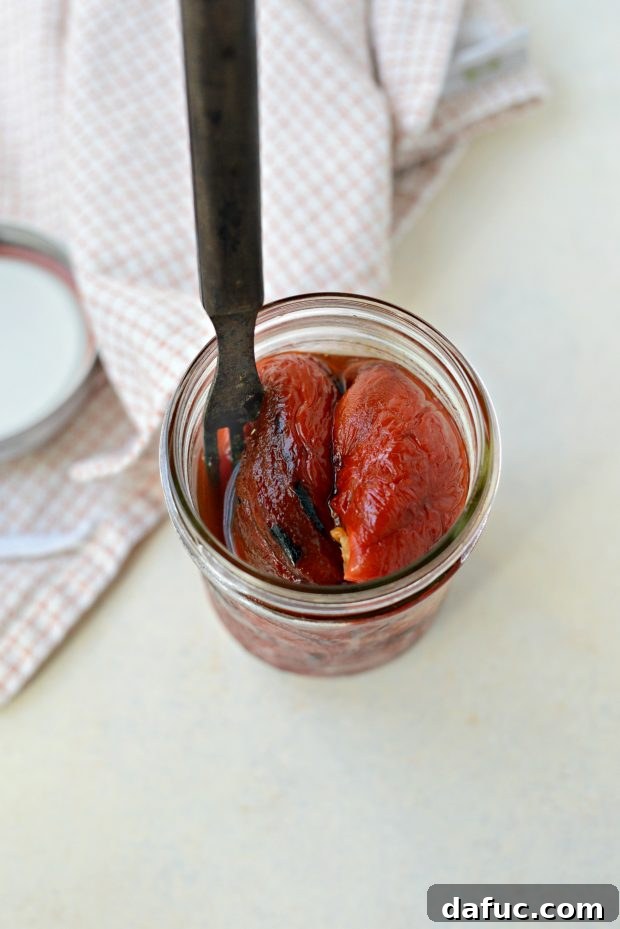
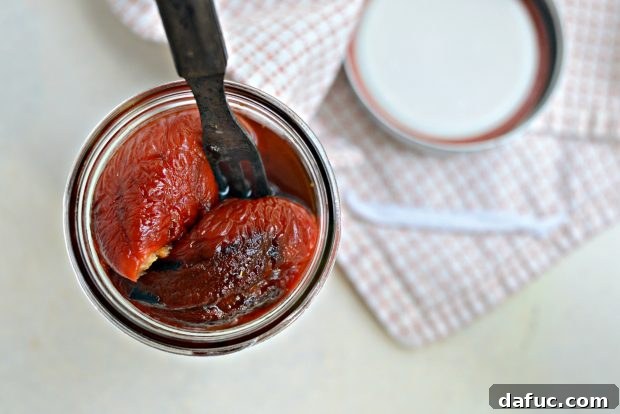
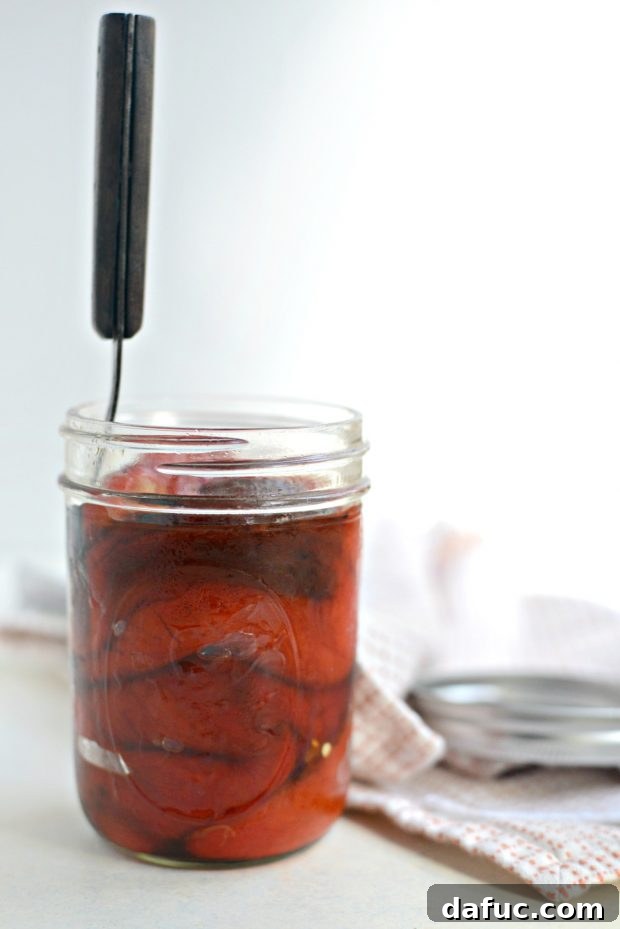
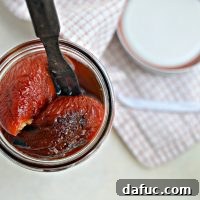
Once your peppers are beautifully roasted, peeled, and seeded, they are ready to be either incorporated into a dish immediately or stored for future use. For the best flavor development, I often recommend preparing them a day or two in advance. To store, simply place the prepared peppers into a clean, airtight glass jar. Crucially, pour any flavorful liquids that have collected in the bowl during the peeling process over the peppers in the jar. This liquid not only adds another layer of flavor but also helps to keep the peppers moist and prevents them from drying out. Seal the jar with a tight-fitting lid and refrigerate. Homemade roasted peppers will maintain their deliciousness in the refrigerator for up to one week. For longer preservation, they can also be frozen for several months, either whole or diced, in freezer-safe bags or containers. Simply thaw them in the refrigerator before use.
Having a batch of these versatile, flavorful homemade roasted red peppers ready in your fridge means gourmet meals are always within reach, simplifying your cooking and amplifying the taste.
Unlock Culinary Potential: Recipes with Roasted Bell Peppers
The sweet, smoky, and tender goodness of homemade roasted bell peppers makes them an incredibly versatile ingredient, capable of enhancing a vast array of dishes. Their unique flavor profile can transform simple meals into something truly extraordinary. Here are some fantastic and creative ways to utilize your freshly roasted batch:
- Gourmet Pizza Sauce: Elevate your homemade pizza by blending roasted red peppers with San Marzano tomatoes, garlic, and a hint of fresh basil for a sauce that’s bursting with sweet and savory notes.
- Creamy Roasted Red Pepper Hummus: Take classic hummus to a new level by blending roasted peppers with chickpeas, tahini, lemon juice, and a touch of smoked paprika. It’s perfect for dipping vegetables or pita bread.
- Hearty Soups and Stews: Integrate diced or pureed roasted peppers into soups like black bean and corn soup, tomato soup, or even a spicy chili. They add a rich depth and subtle sweetness.
- Pasta Perfection: Toss sliced roasted peppers with pasta, olive oil, garlic, and Parmesan cheese for a quick and flavorful vegetarian meal. Alternatively, blend them into a creamy sauce with mascarpone or cashew cream.
- Elevated Sandwiches and Wraps: Layer strips of roasted peppers into your favorite sandwiches, paninis, or wraps. They pair beautifully with grilled chicken, mozzarella, pesto, or a tangy goat cheese spread.
- Vibrant Salads and Antipasto: A classic addition to mixed green salads, grain bowls, or as a star component on an antipasto platter alongside olives, artisanal cheeses, and cured meats.
- Delectable Dips and Spreads: Beyond hummus, blend them with cream cheese, Greek yogurt, or white beans for a delightful dip for crackers or a spread for crostini.
- Flavorful Egg Dishes: Chop and fold roasted peppers into omelets, frittatas, or scrambled eggs for a colorful and savory breakfast or brunch.
- Marinades and Dressings: Puree them into a base for marinades for chicken or fish, or whisk them into a homemade vinaigrette for a unique salad dressing.
Savor the Homemade Difference! There’s immense joy and satisfaction in crafting such a delicious and versatile ingredient from scratch. We wholeheartedly encourage you to try this DIY Oven-Roasted Peppers recipe. If you do, we’d absolutely love to see your culinary creations! Feel free to snap a photo and tag us on Twitter or Instagram!
Print Recipe
Pin Recipe
Leave a Review »
DIY Oven-Roasted Peppers
Ingredients
- 4 large bell peppers, red, orange or yellow bell peppers**
- olive oil
Instructions
-
Preheat your oven to 500℉ (or 260℃).
-
Line a rimmed, metal baking sheet with aluminum foil.
-
Place peppers onto the pan and slide onto the middle rack of your oven and roast for 25-35 minutes, depending on the size of your peppers. Use tongs to turn the peppers every 10 minutes.
-
Once roasted, transfer the charred peppers to a bowl and cover tightly with plastic wrap. If roasting only 1 our 2 peppers, fold up in the foil. Allow the peppers to sit for 10-15 minutes.
-
Once the peppers are safe to handle, pull the stems out and peel the outer skin off of the pepper. Cut one side to open the pepper up and use the blunt side of your knife to scrape any seeds out. Discard stem, skin and seeds.
-
Use immediately or store peppers in a glass jar (with a tight fitting lid), along with any liquid that has collected in the bowl.
-
Refrigerate for up to a week.
-
**this method can be done with jalapenos, poblano peppers etc. Just adjust the time depending on the size of your peppers.