
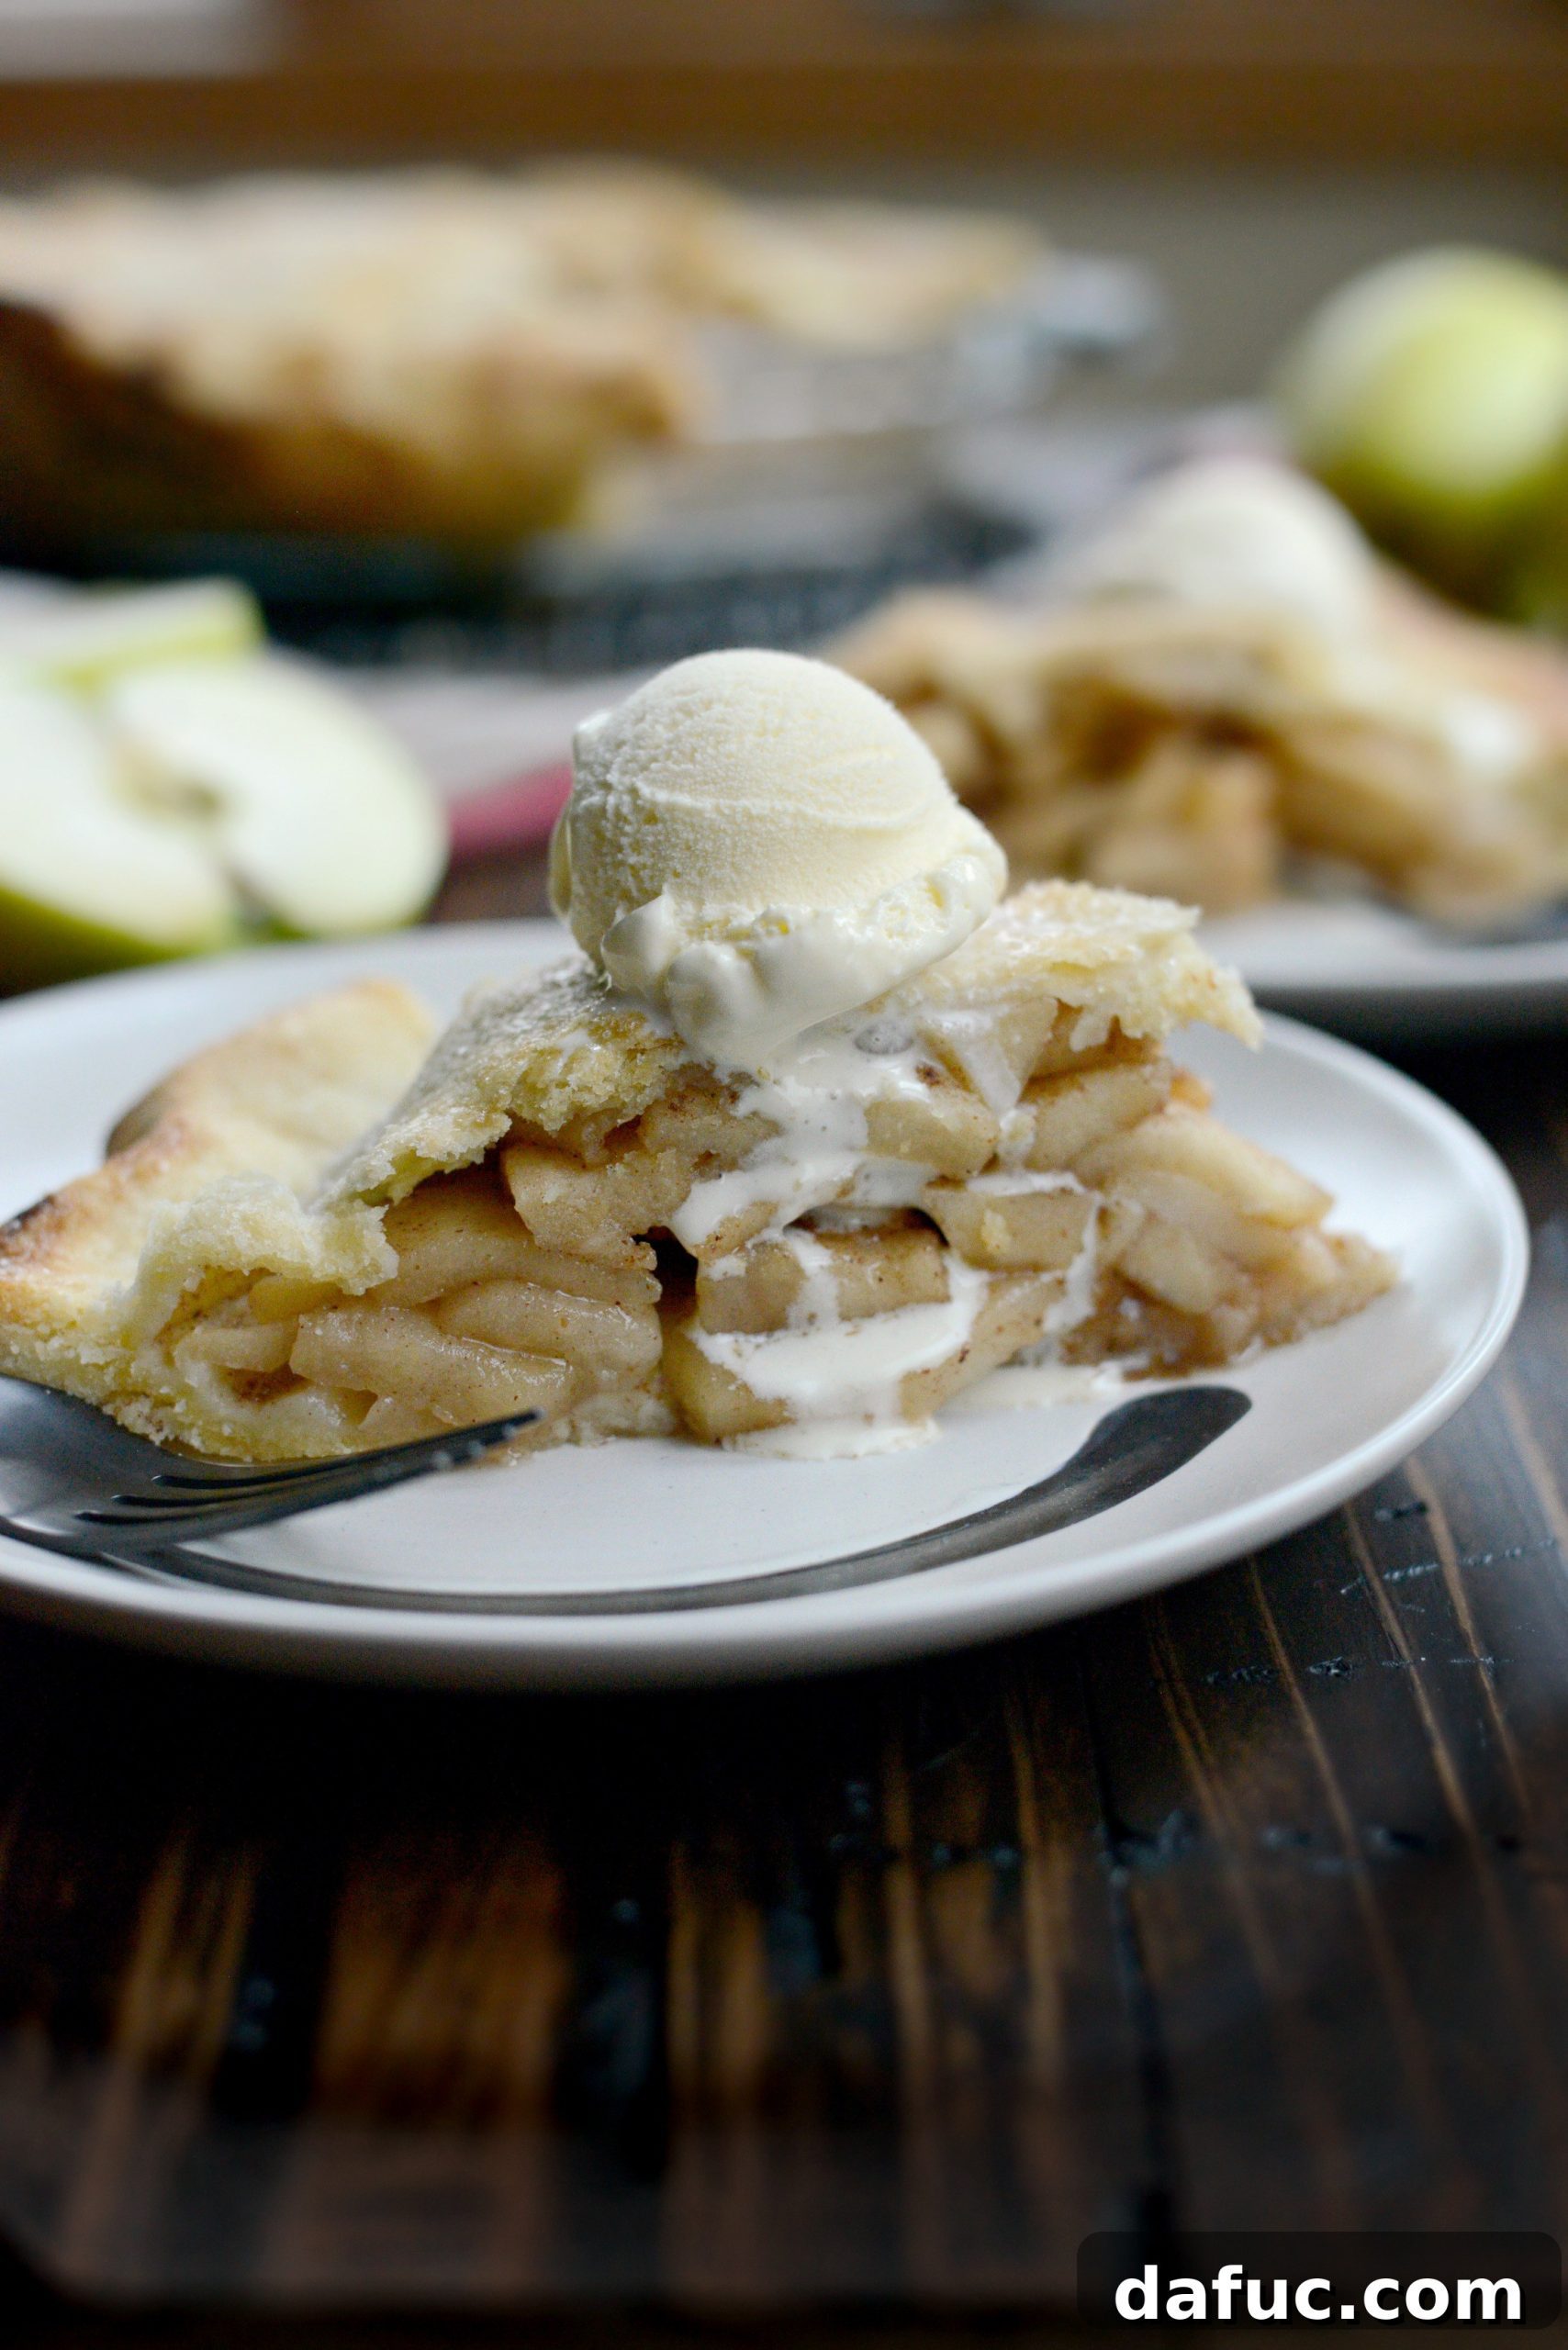
The Ultimate Homemade Apple Pie Recipe: Flaky Crust, Perfect Filling
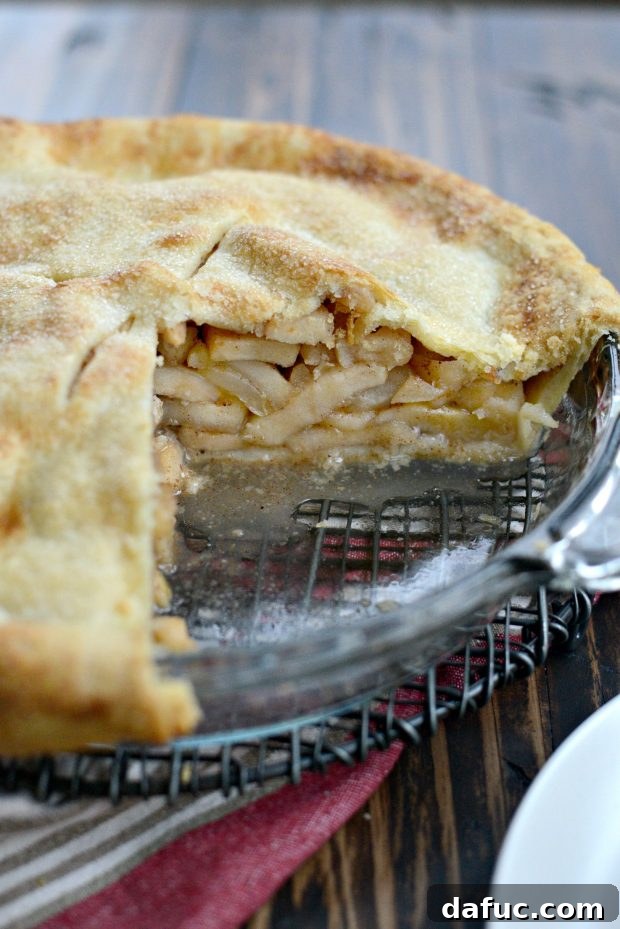
There’s nothing quite like the comforting aroma and taste of a freshly baked homemade apple pie. It evokes feelings of warmth, family, and tradition, making it a timeless dessert cherished across generations. This particular Homemade Apple Pie recipe stands out for a very specific reason: the apples are partially cooked and allowed to cool before being nestled into the pie crust. This crucial step is a game-changer, designed to prevent the common pitfalls of a sunken filling and a gap between the crust and the delicious fruit. By pre-cooking the apples, we eliminate excess moisture, which in turn prevents the dreaded shrinkage during baking and guarantees a beautifully full pie every time. The result? Copious amounts of perfectly tender, spiced apple filling, encased in a wonderfully flaky crust, ready to be enjoyed with a scoop of vanilla ice cream.
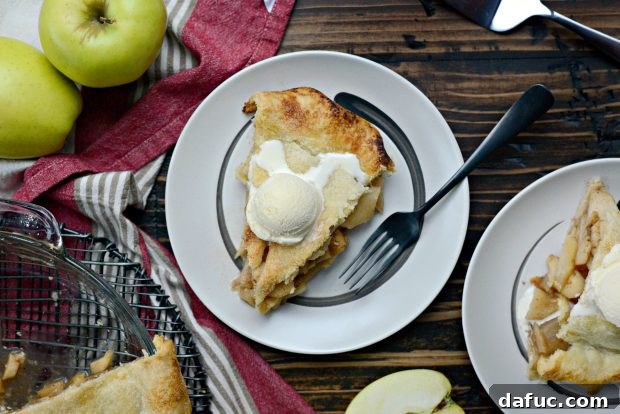
Why This Homemade Apple Pie Stands Apart
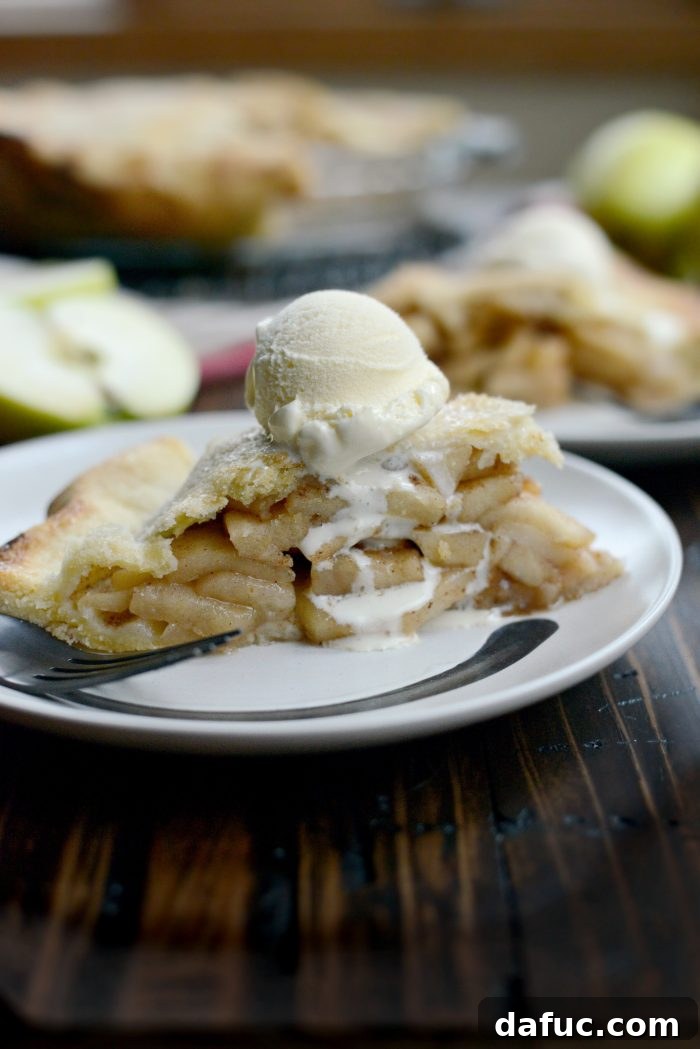
For years, I’ve refined my approach to baking, and this apple pie recipe is a testament to that journey. After countless recipes and culinary explorations, I’m thrilled to finally share my absolute favorite way to make apple pie. The secret truly lies in the pre-cooking technique. Imagine the disappointment of pulling a pie from the oven only to find a noticeable air pocket between the golden-brown top crust and the collapsed filling. That’s a problem of the past with this method! By gently cooking the apples first, they release a significant amount of their juices and begin to soften, locking in their flavor and shape. Once cooled, they fill the pie crust perfectly, ensuring a robust and satisfying texture with every slice. This also helps in achieving that coveted “flaky bottom crust” by preventing it from becoming soggy.
I still remember the feeling of bliss on a cold, rainy fall day here in Michigan, sipping coffee and enjoying a slice of this warm, homemade apple pie. The dreary weather seemed to set the perfect ambiance for this comforting treat. It’s more than just a recipe; it’s an experience, a memory-maker, and a true celebration of the season. And after years of blogging and sharing hundreds of recipes, it feels right to finally present this jewel as a timeless classic.
Choosing Your Apples: The Golden Delicious Secret
The foundation of any great apple pie is, naturally, the apples themselves. While many varieties can make a decent pie, selecting the right one can elevate your creation from good to extraordinary. For this recipe, I swear by Golden Delicious apples, and for good reason. My culinary journey, sparked by “The Joy of Cooking” cookbook given to me by my mother years ago, led me to this discovery. The authors of that esteemed book champion Golden Delicious for their ability to hold their shape beautifully during baking, preventing the pie from becoming a watery mess. I wholeheartedly agree! Beyond their structural integrity, their flavor profile is pure perfection—a delightful balance of sweetness and a hint of tartness that shines through the warming spices.
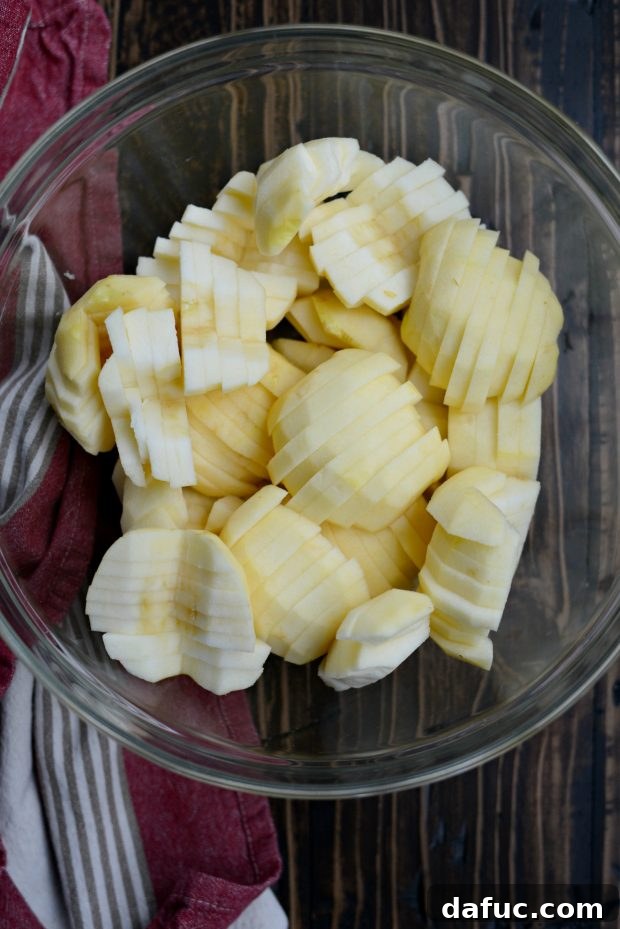
While Golden Delicious remain my top choice, other excellent alternatives include Gala and Fuji apples. These varieties also offer a good balance of flavor and texture that can withstand baking. However, for the absolute best results, start with three pounds of crisp, firm Golden Delicious apples. The first step is to peel, core, and slice them uniformly, about 1/4 inch thick. This consistent sizing ensures even cooking, contributing to that perfect bite in your finished pie.
Crafting the Irresistible Apple Pie Filling
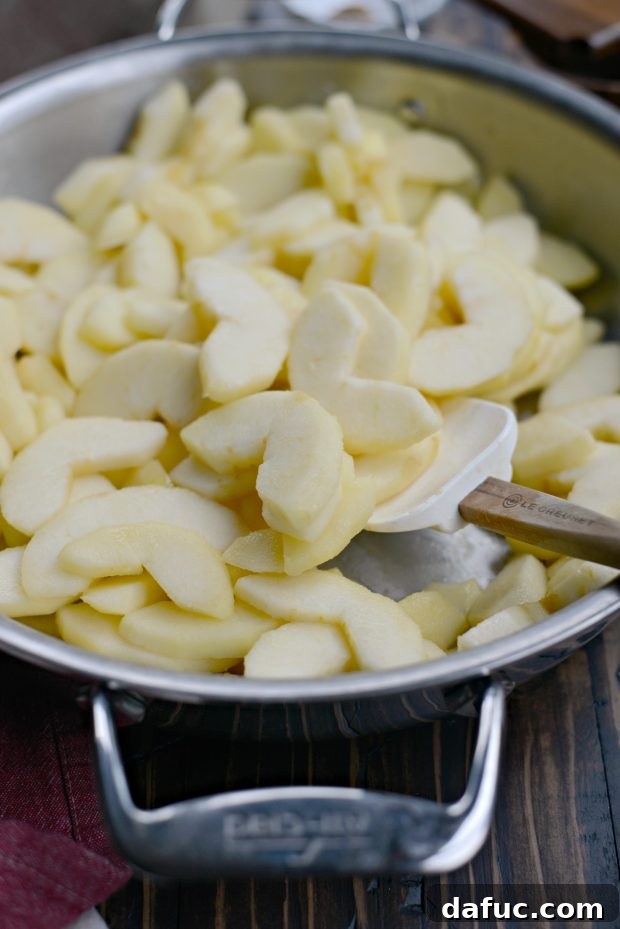
With your apples prepared, it’s time to create the filling that will define your pie. Begin by heating a large skillet – a 12-inch, deep-sided pan is ideal – over medium-high heat. Once the pan is sufficiently hot, add three tablespoons of unsalted butter. You’ll know it’s ready when the butter sizzles invitingly in the pan. Immediately add all of your sliced apples, tossing them gently to ensure each slice is coated in the melted butter. This initial coating adds a layer of richness and helps the apples cook evenly.
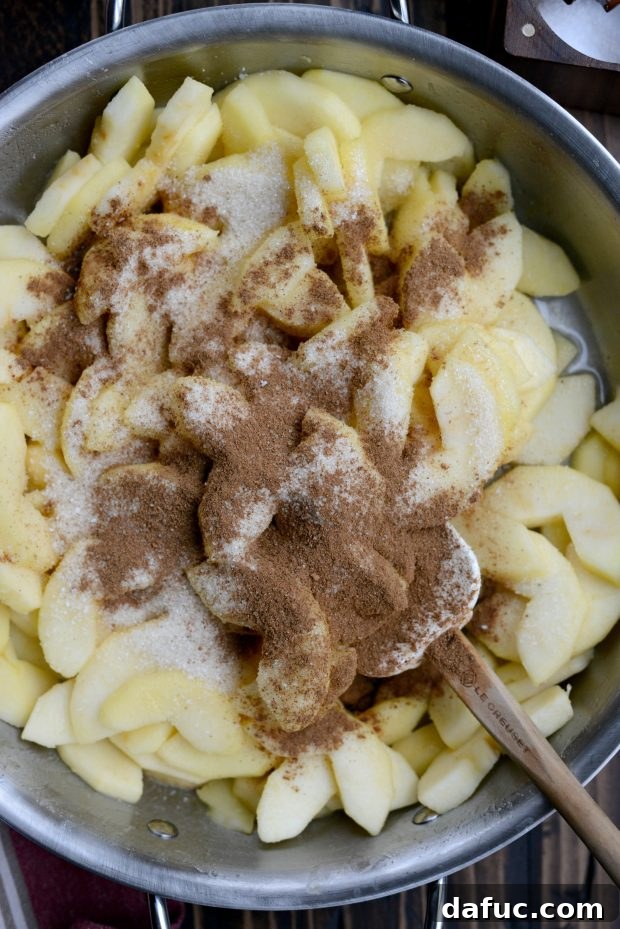
Reduce the heat to medium, cover the skillet, and allow the apples to cook for approximately 3 to 5 minutes. The goal here is to achieve an “al dente” texture: tender on the outside, but still retaining a slight crunch in the center. This partial cooking is what prevents the apples from turning to mush and ensures they maintain a pleasant bite in the baked pie. After this initial softening, stir in one tablespoon of lemon juice, half a cup of sugar, and one and a half teaspoons of homemade apple pie spice. If you don’t have apple pie spice, a teaspoon of ground cinnamon can be a wonderful substitute. I often add a few extra shakes of cinnamon for an even deeper, warmer flavor. Increase the heat to high and stir frequently. You’ll notice the juices releasing from the apples and the mixture beginning to thicken slightly, creating a luscious syrup that clings to the fruit.
Assembling Your Masterpiece: The Flaky Crust
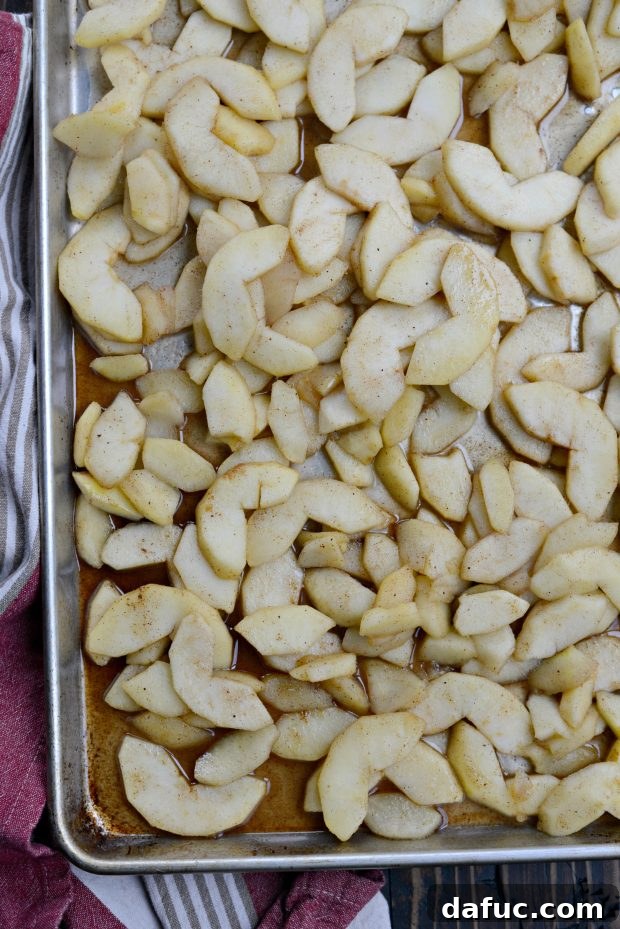
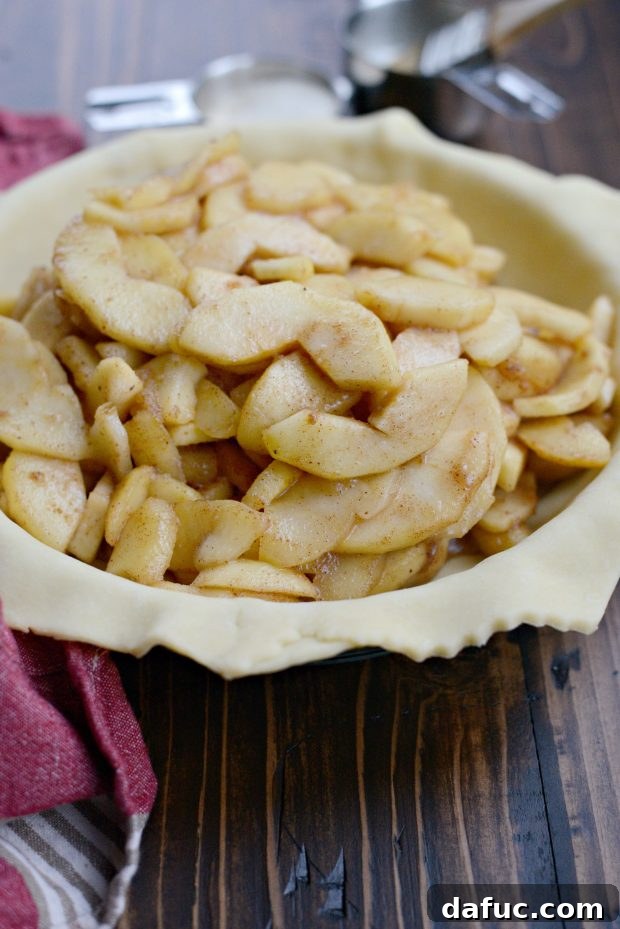
Once the apple filling is perfectly cooked and slightly thickened, transfer it to a rimmed metal baking sheet. Spread the apples out evenly to facilitate quicker cooling. This cooling step is critical for preventing a soggy bottom crust and takes approximately 30 minutes. While the apples are cooling, you can turn your attention to the pie crusts. For a truly authentic homemade apple pie, a homemade pie crust is essential, offering unparalleled flakiness and flavor. If you have a favorite recipe for pie crust, now is the time to prepare it. Divide your homemade pie crust dough into two disks and chill them.
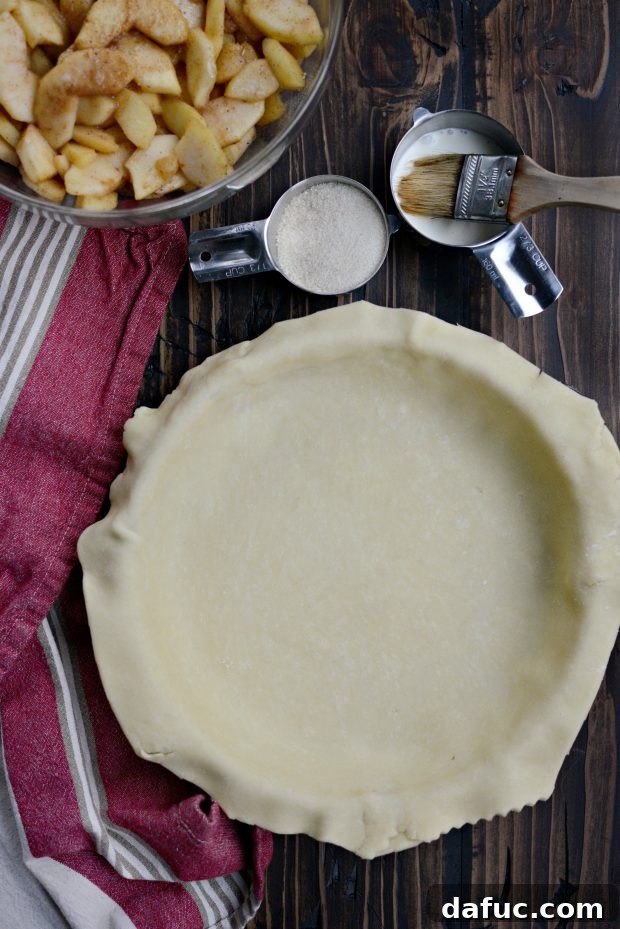
Roll out one disk of chilled pie dough to a 12 to 13-inch round. Carefully place it into a 9-inch deep-sided pie plate. Trim the edges with kitchen scissors, leaving an approximately one-inch overhang around the rim of the plate. This overhang will be crucial for crimping later. Pop this bottom crust back into the refrigerator to keep it cool while you roll out the second disk for the top crust. Having both crusts chilled ensures they remain flaky and manageable throughout the assembly process.
Preheat your oven to 425℉ (or 220℃). Make sure your oven rack is positioned in the lower third of the oven, which helps to ensure an evenly baked bottom crust.
Baking to Golden Perfection
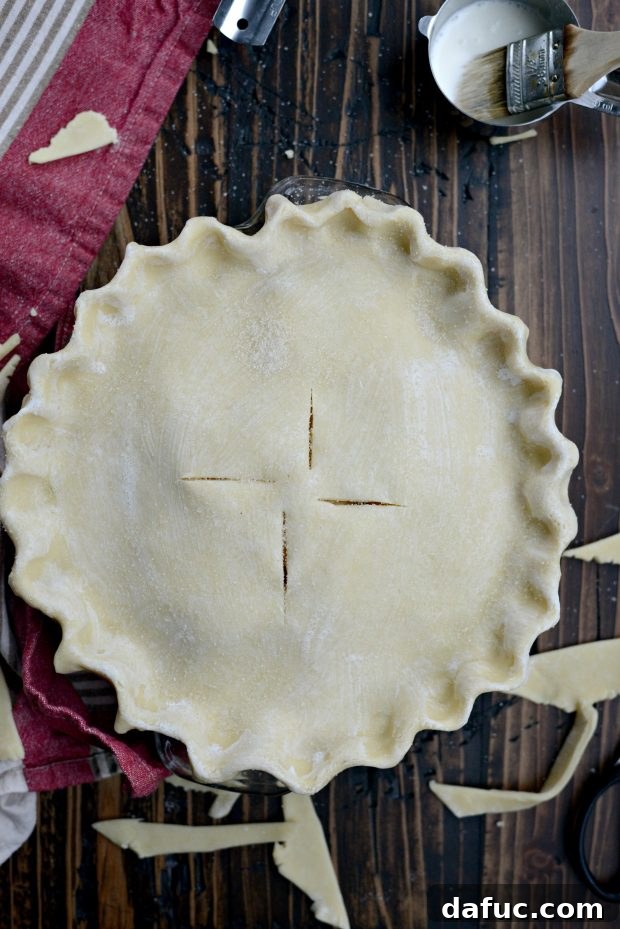
With your cooled apple filling and chilled pie crusts ready, it’s time for the final assembly. Pour the completely cooled apple filling into the chilled bottom crust, mounding it slightly in the center. Lightly brush the one-inch overhang of the bottom crust with a little water or heavy cream. This acts as a sealant, helping the top crust adhere. Carefully place the second, rolled-out pie crust over the filling. Trim the edge of the top crust to align with the bottom crust, then gently fold the bottom crust’s overhang over the top crust, pressing firmly to crimp the edges. This creates a beautiful, rustic seal that helps to hold the pie together and prevent filling from bubbling out.
For that irresistible golden finish, brush the entire top crust generously with more heavy cream and sprinkle it with a generous amount of sugar. This creates a beautiful caramelization and a delightful crunchy texture. Finally, use a paring knife to make several slits or decorative vents in the top crust. These vents are essential, allowing steam to escape during baking and preventing the pie from bursting. Immediately slide your assembled pie into the preheated oven.
The Grand Finale: Cooling and Serving
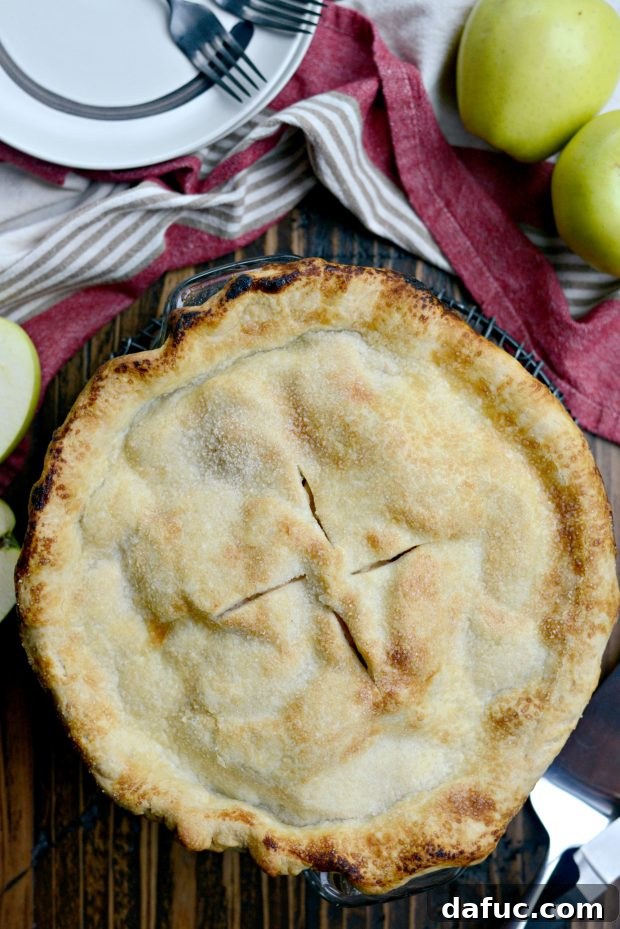
Bake your homemade apple pie for 30 to 40 minutes, or until the crust achieves a deep, rich golden brown color. Don’t be afraid of a little imperfection in the crimps; it’s often the charming hallmark of a truly homemade pie! Rotating the pie halfway through baking ensures even browning. Once baked, remove the pie from the oven and, as tempting as it may be to slice into it immediately, allow it to cool for a crucial 3 to 4 hours before serving. This extended cooling period is vital; it allows the filling to fully set and thicken, ensuring that you get neat, beautiful slices rather than a runny mess. Patience is truly a virtue here, and it will be rewarded with perfection.
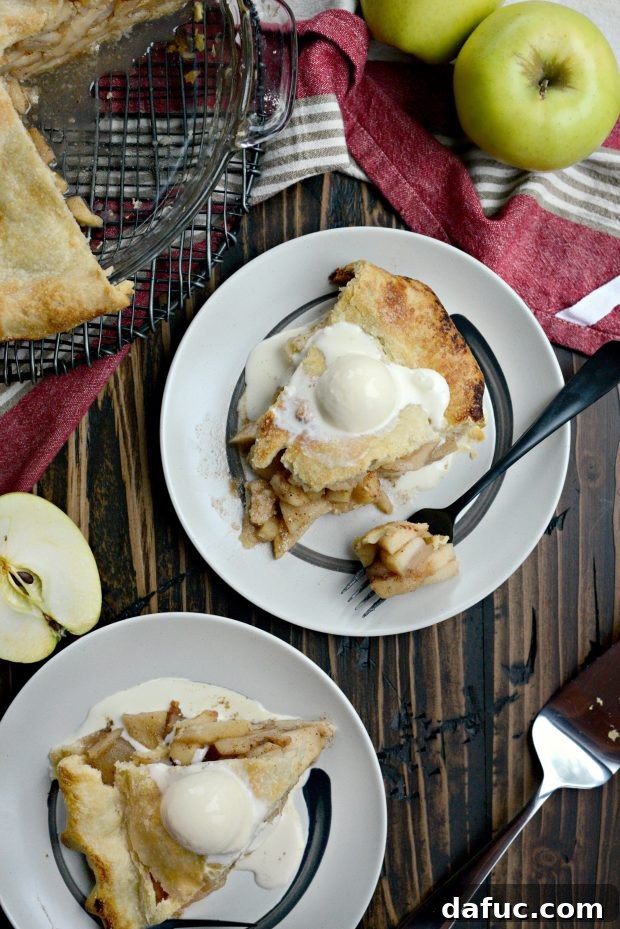
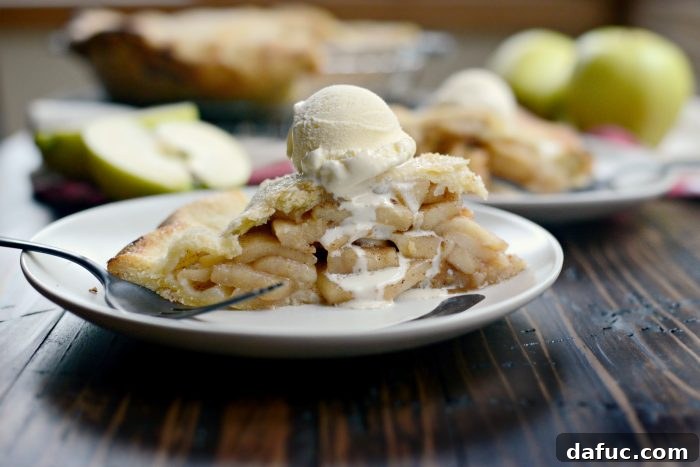
The beauty of this pie is its versatility. Serve it warm with a dollop of vanilla ice cream, a spoonful of whipped cream, or simply on its own with a hot cup of coffee. The blend of tender, spiced apples and a buttery, flaky crust is an experience in itself. This recipe has even won over tough critics; I once made it for my father-in-law during Thanksgiving, and his genuine compliment—”best pie he’s had in a long time”—meant the world. It’s a testament to the simple yet effective techniques employed in this recipe, guaranteeing a memorable dessert every time.
Enjoy! And if you give this Homemade Apple Pie recipe a try, let me know! Snap a photo and tag me on Twitter or Instagram!
Print Recipe
Pin Recipe
Leave a Review »
8
servings
Homemade Apple Pie
35
40
3
45
5
Ingredients
- 3 pounds golden delicious apples, peeled, cored and sliced 1/4 of an inch thick
- 3 tablespoons unsalted butter
- 1 tablespoon lemon juice, strained of seeds and pulp
- 1/2 cup sugar
- 1½ teaspoon homemade apple pie spice
- 2 shakes ground cinnamon
- 1/8 teaspoon of kosher salt
- 1 recipe homemade pie crust, divided and formed into 2 disks and chilled in refrigerator
- heavy cream, for brushing
- sugar, for sprinkling
Equipment
-
Pyrex Glass Bakeware Pie Plate 9″ x 1.2″ Pack of 2
Instructions
-
Heat a large 12-inch skillet over medium to medium-high heat. Once the pan is hot, add in the butter– it should sizzle.
-
Add in the apple slices, stir to coat in the butter. Reduce heat to medium, cover and cook stirring occasionally until the apples are softened on the outside but still slightly crunchy on the inside. About 3 to 5 minutes.
-
Stir in the lemon juice, 1/2 cup of sugar, apple pie spice (1 teaspoon of ground cinnamon can be substituted) and salt. Increase the heat under the pan to high, stir often until the juice release from the apples and thicken slightly. About 3 minutes.
-
Spread apples onto a rimmed metal baking sheet to cool completely. Meanwhile, roll out pie crust to 12 inches and place into a deep pie dish. Trim off excess pie crust, leaving a 1-inch border. Roll out the top crust and refrigerate both crusts while apples cool.
-
Position your oven rack to the lower third of your oven and preheat to 425℉ (or. 220℃).
-
Pour cooled apples into the pie crust, and brush the crust edge with a little heavy cream. Place the second crust over top and trim the edge to align with the bottom crust. Fold and crimp edges. Brush the top of the pie with more heavy cream and sprinkle with more sugar. Use a paring knife to make air vents and immediately slide the pie into your preheated oven.
-
Bake for 30-40 minutes or until the crust is deep golden brown, rotating it halfway through baking.
-
Allow the pie to cool for 3 to 4 hours before slicing.
-
Can be stored at room temperature for 3 to 4 days.
Serving:
1
g
,
Calories:
440
kcal
,
Carbohydrates:
46
g
,
Protein:
2
g
,
Fat:
30
g
,
Saturated Fat:
19
g
,
Polyunsaturated Fat:
1
g
,
Monounsaturated Fat:
8
g
,
Trans Fat:
1
g
,
Cholesterol:
80
mg
,
Sodium:
336
mg
,
Potassium:
208
mg
,
Fiber:
5
g
,
Sugar:
33
g
,
Vitamin A:
1017
IU
,
Vitamin C:
9
mg
,
Calcium:
29
mg
,
Iron:
1
mg
Laurie McNamara
Desserts & Sweet Treats
American
Recipe adapted slightly from Joy of Cooking