Indulge Guilt-Free: The Ultimate Guide to Air Fryer Glazed Doughnuts
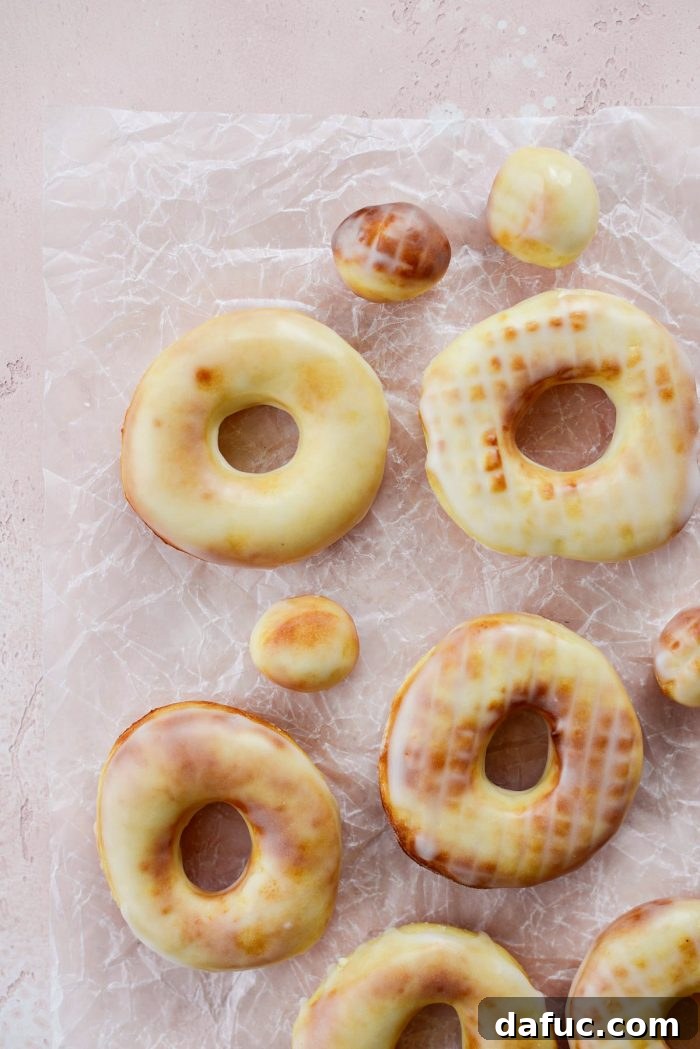
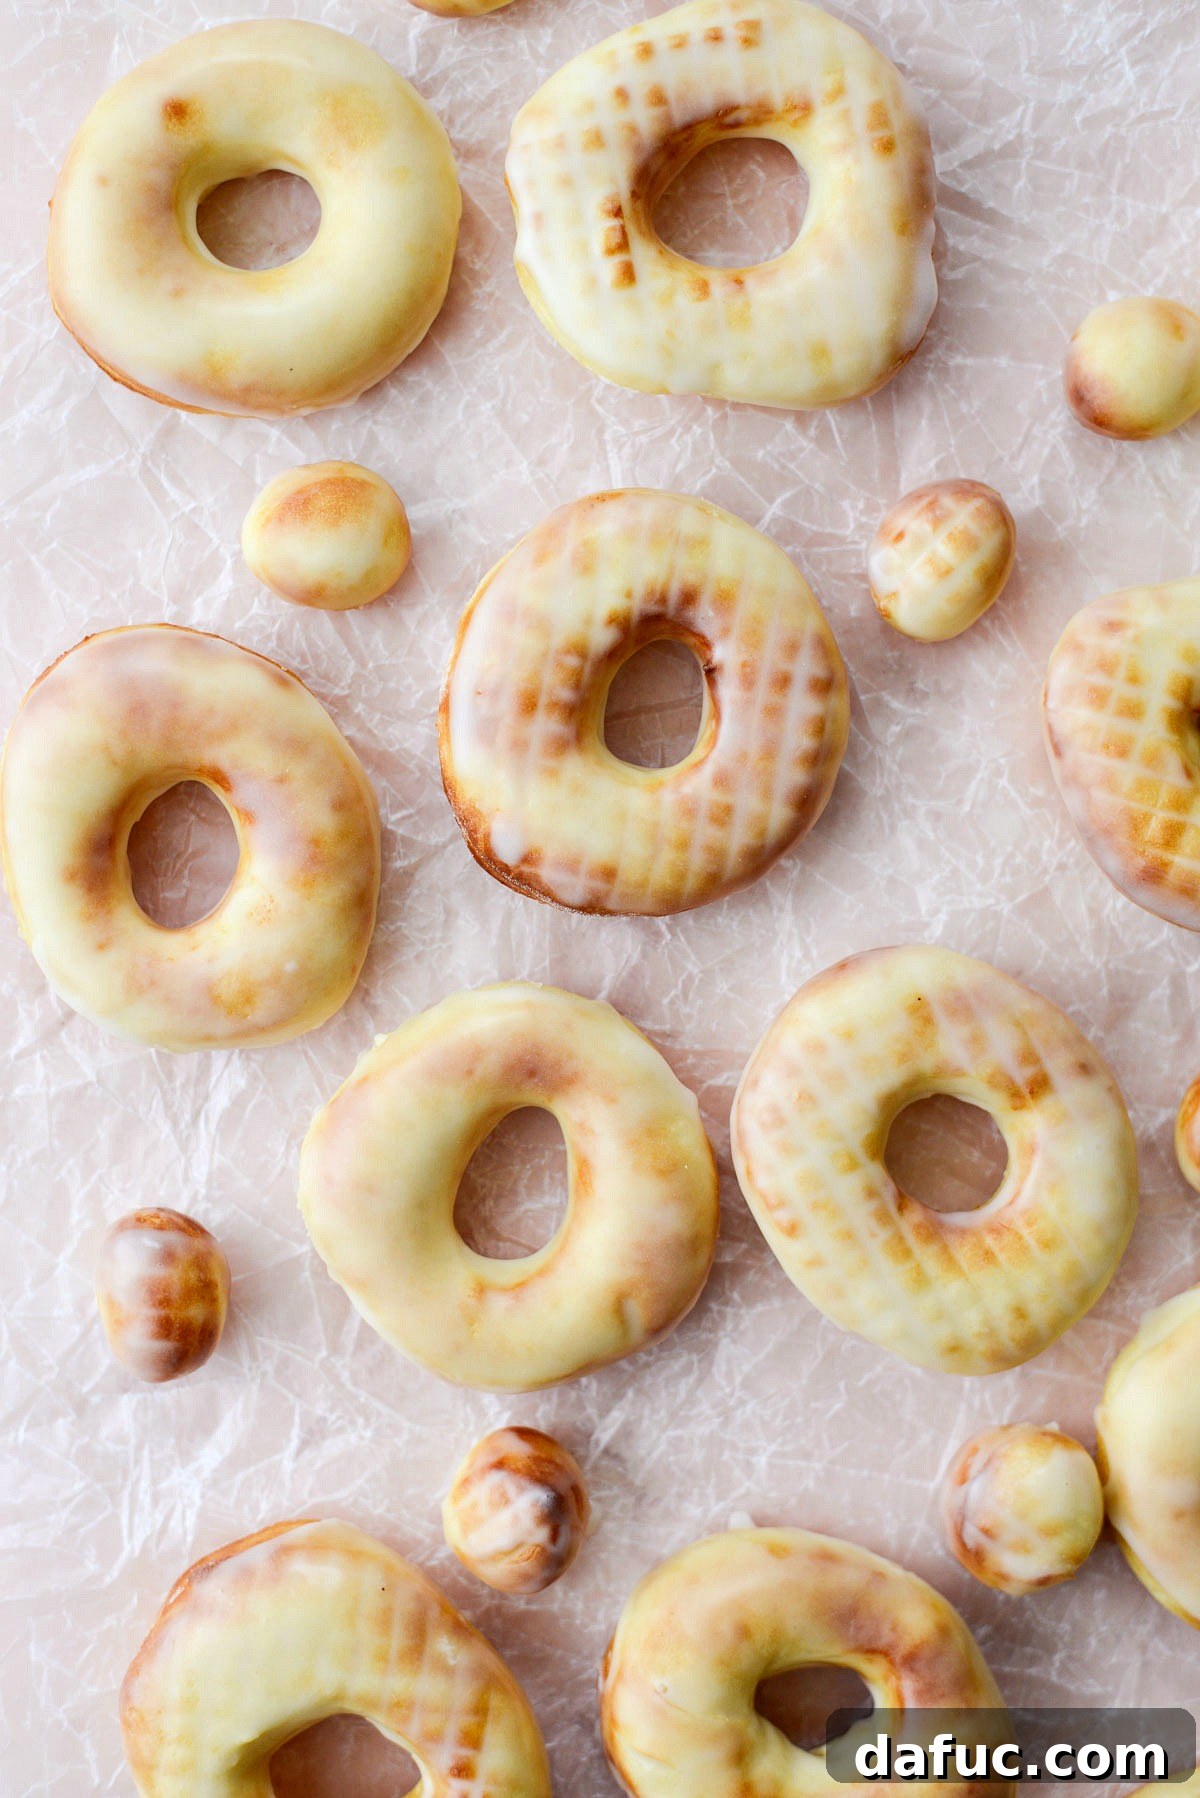
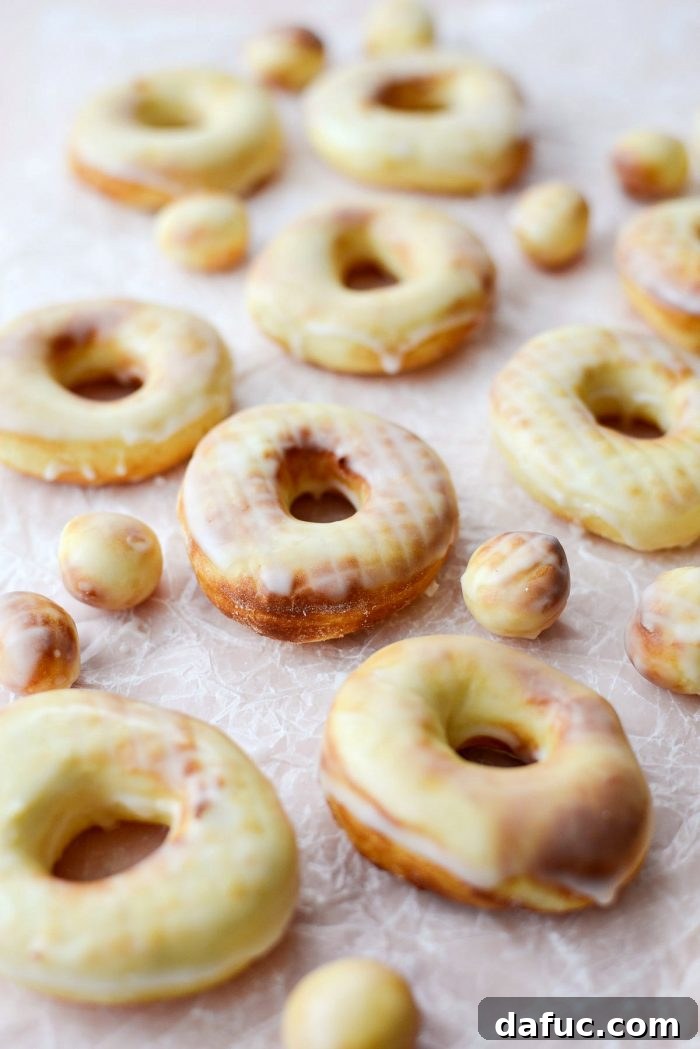
Imagine sinking your teeth into a warm, fluffy doughnut, glistening with a sweet glaze, knowing it’s not only incredibly delicious but also a fraction of the calories of its deep-fried counterpart. Sounds like a dream, right? Well, prepare to turn that dream into a delightful reality with these sensational Air Fryer Glazed Doughnuts! This innovative recipe unlocks the secret to enjoying classic doughnuts without the mess, fuss, and excessive oil of traditional frying. Get ready to impress your taste buds and your guests with these homemade air-fried treats that yield a generous dozen doughnuts, plus their adorable accompanying doughnut holes.
Revolutionize Your Doughnut Experience with the Air Fryer
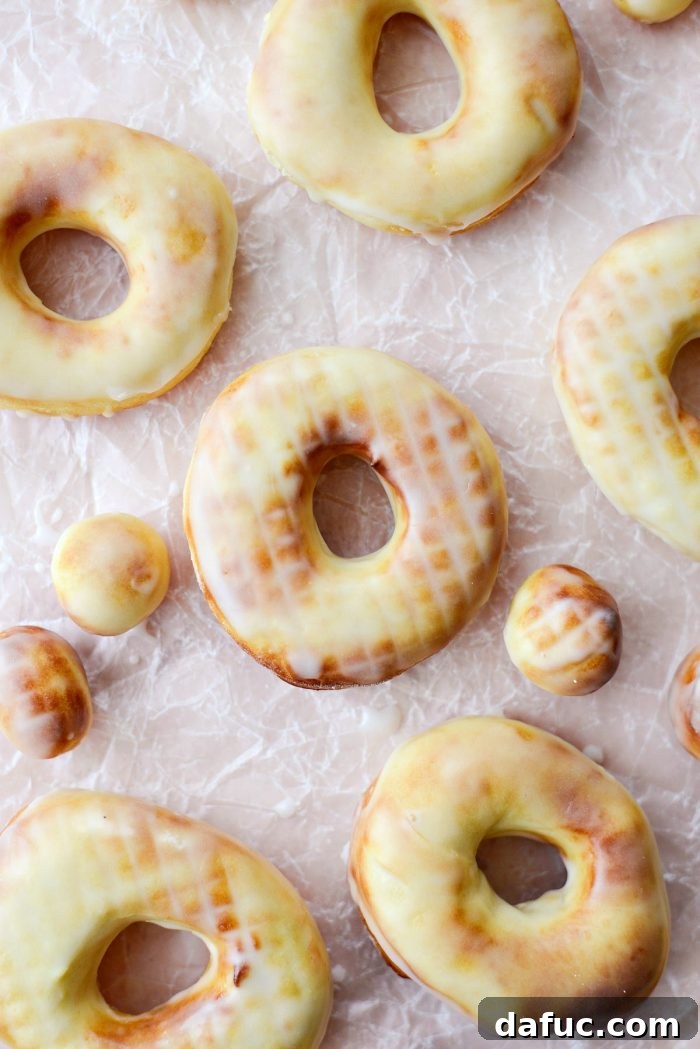
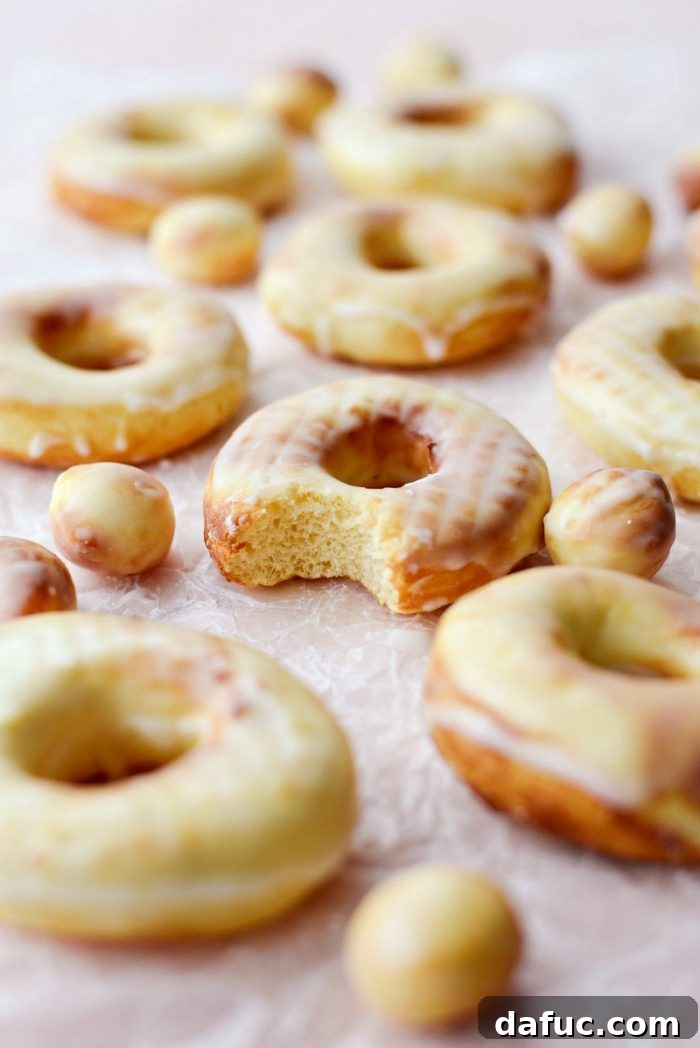
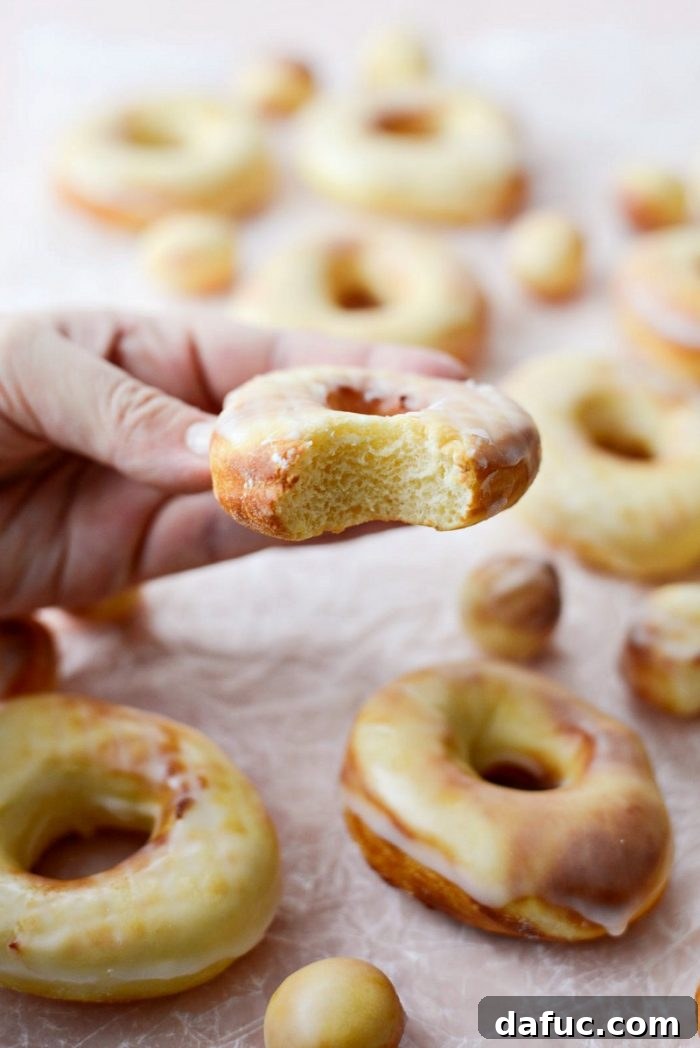
The air fryer has quickly become a beloved kitchen appliance for its ability to transform once-greasy dishes into healthier, equally crispy versions. And when it comes to doughnuts, it’s nothing short of miraculous! Forget about pots of splattering hot oil, the lingering smell of fried food, and the heavy feeling that often follows a traditional doughnut indulgence. With the air fryer, you can achieve that sought-after golden exterior and wonderfully soft, brioche-like interior with minimal oil. This method makes homemade doughnuts accessible to everyone, even those who might be hesitant about deep frying or are consciously striving for a lighter approach to their favorite treats.
The beauty of these air-fried glazed doughnuts lies in their simplicity and the incredible balance they strike between indulgence and health-consciousness. Inspired by a recipe that proved just how effortless and rewarding this baking method can be, we’re thrilled to share this adapted guide with you. It’s perfect for anyone craving a substantial, satisfying doughnut that still aligns with a desire to eat well. Prepare to satisfy every single doughnut craving with a smile, knowing you’re making a smarter, yet equally delightful, choice.
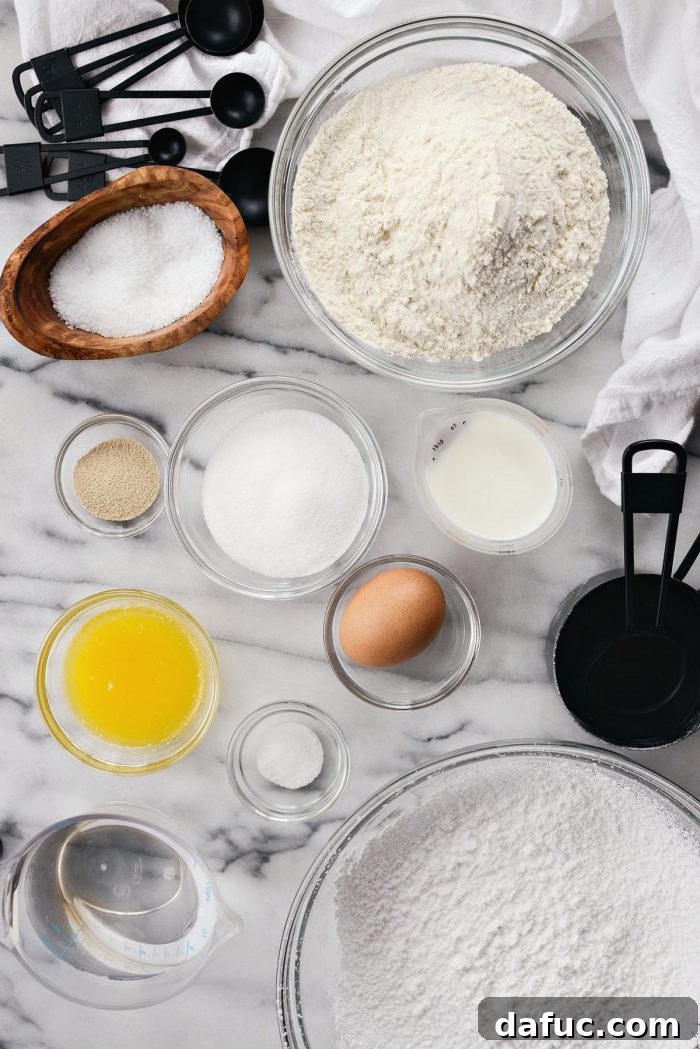
Essential Ingredients for Your Air Fryer Doughnuts
Creating these light and airy glazed doughnuts begins with a few pantry staples. Each ingredient plays a crucial role in developing the perfect texture and flavor. Here’s what you’ll need to gather:
- Active Dry Yeast: The leavening agent that gives our doughnuts their signature fluffiness. Ensuring it’s active is key for a good rise.
- Granulated Sugar: Used in both the dough to feed the yeast and add sweetness, and for the simple, classic glaze.
- Warm Water: Crucial for activating the yeast. The temperature range (100-110°F or 38-43°C) is vital – too cold and the yeast won’t activate; too hot and it will kill it.
- Unbleached All-Purpose Flour: Provides the structure for the dough. Unbleached flour offers a slightly stronger gluten structure and a nuanced flavor.
- Kosher Salt: Balances the sweetness and enhances the overall flavor profile of the doughnut.
- Whole Milk: Adds richness and tenderness to the dough, contributing to that desirable brioche-like consistency. Make sure it’s at room temperature for optimal dough development.
- Unsalted Butter (melted): Incorporates moisture and richness without adding extra salt, allowing you to control the seasoning.
- Large Egg: Binds the ingredients, adds moisture, and contributes to the dough’s structure and color.
- Powdered Sugar: The star of our simple, sweet glaze, providing a smooth and melt-in-your-mouth finish.
Step-by-Step Guide to Crafting Your Air Fryer Glazed Doughnuts
Follow these detailed steps to create perfectly risen, golden, and deliciously glazed doughnuts in your air fryer.
Preparing the Dough: The Foundation of Flavor and Texture
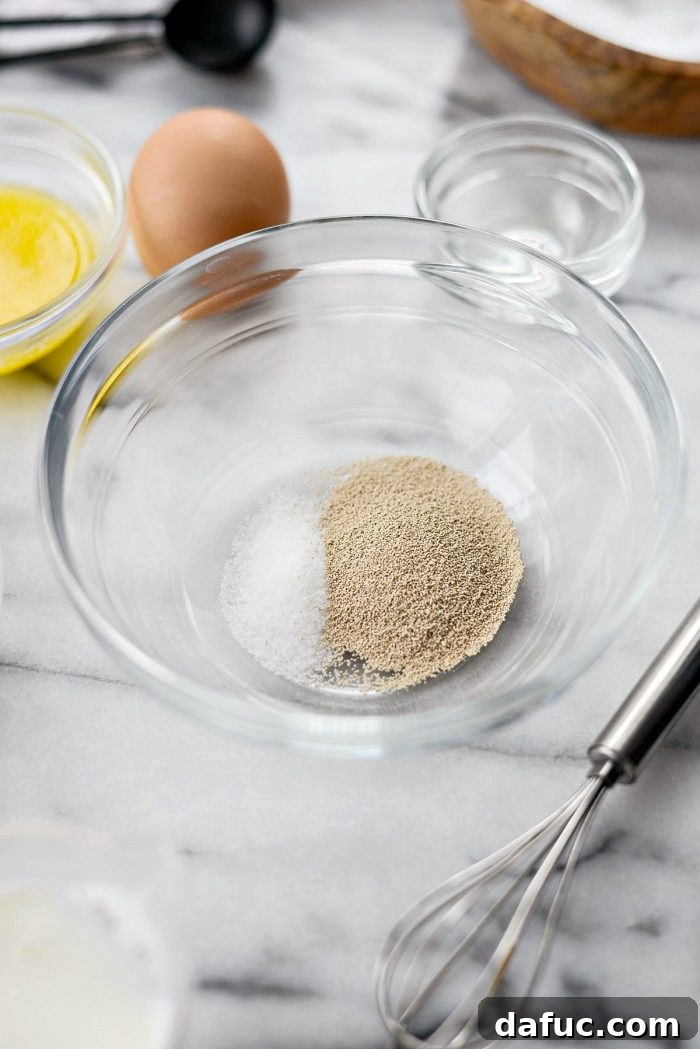
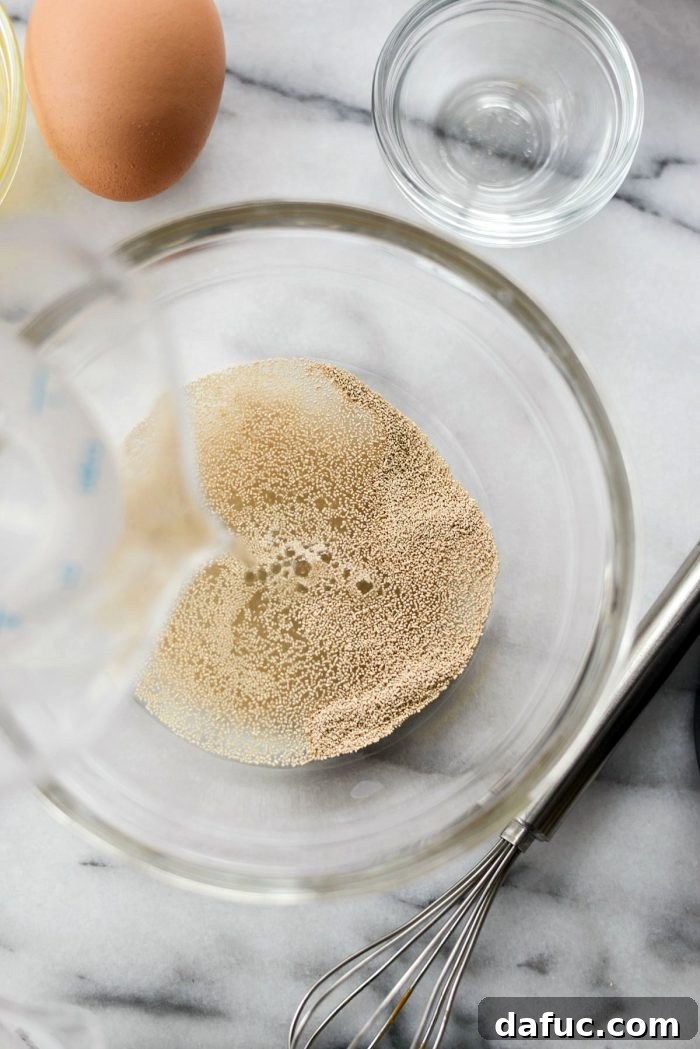
- Activate the Yeast: In a medium mixing bowl, combine 1 teaspoon of active dry yeast with 1/2 teaspoon of granulated sugar. Pour in 1/4 cup of warm water (ensure it’s between 100-110°F or 38-43°C – use a thermometer if unsure). Gently stir and then set the bowl aside for 5 to 10 minutes. This gives the yeast time to bloom; you’ll know it’s active when a foamy layer forms on the surface. If no foam appears, your yeast may be old or the water temperature was off, and you should start again.
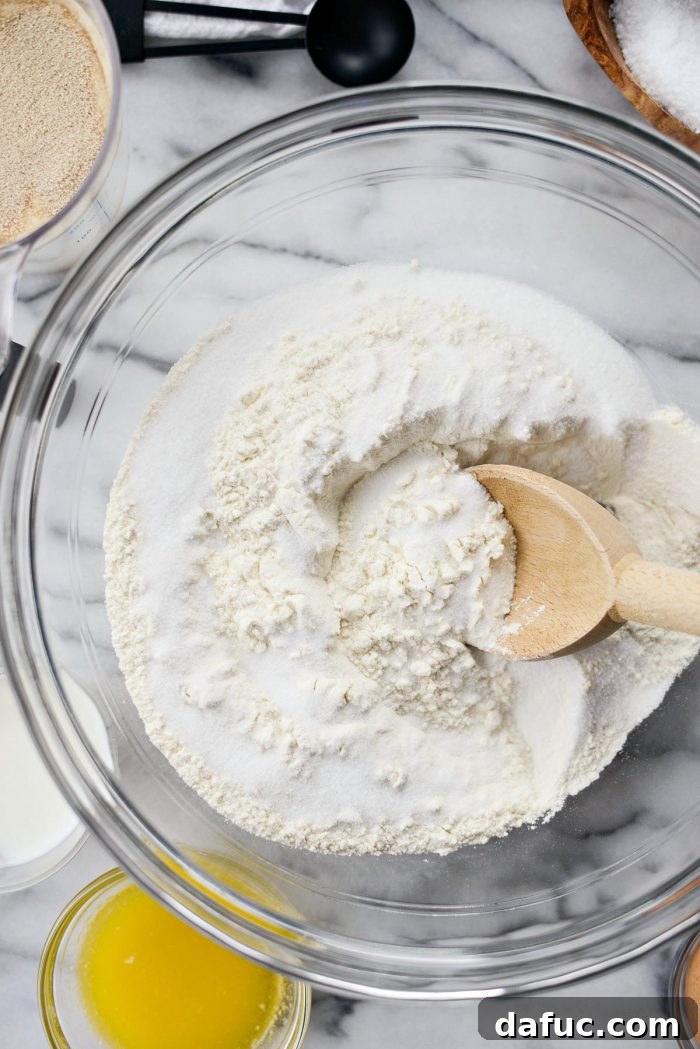
- Combine Dry Ingredients: While the yeast is activating, in a separate, large mixing bowl, whisk together 2 cups of unbleached all-purpose flour, the remaining 1/4 cup of granulated sugar, and 1/4 teaspoon of kosher salt. Stir well to ensure all ingredients are evenly distributed.
- Mix Wet and Dry: Once your yeast mixture is beautifully foamy, pour it into the large bowl with the flour mixture. Add 1/4 cup of room temperature whole milk, 2 tablespoons of melted unsalted butter, and 1 large egg.
- Form the Dough: Using a sturdy wooden spoon or a dough hook on a stand mixer, stir all the ingredients together until a soft, shaggy dough forms. It might look a bit sticky at this stage, which is perfectly normal.
- Knead for Smoothness: Lightly flour a clean work surface. Turn the dough out onto the floured surface and knead it gently for 1 to 2 minutes. The goal is to develop the gluten just enough for the dough to become smooth and elastic. Avoid over-kneading, which can make the doughnuts tough.
- First Rise: Lightly oil a clean bowl. Place the kneaded dough in the oiled bowl, turning it once to coat all sides with a thin layer of oil. Cover the bowl loosely with a clean kitchen towel or plastic wrap. Find a warm spot in your kitchen (like near a sunny window or in a slightly warm, off oven) and let the dough rise for 1 hour, or until it has roughly doubled in size. This first rise is crucial for developing flavor and a tender texture.
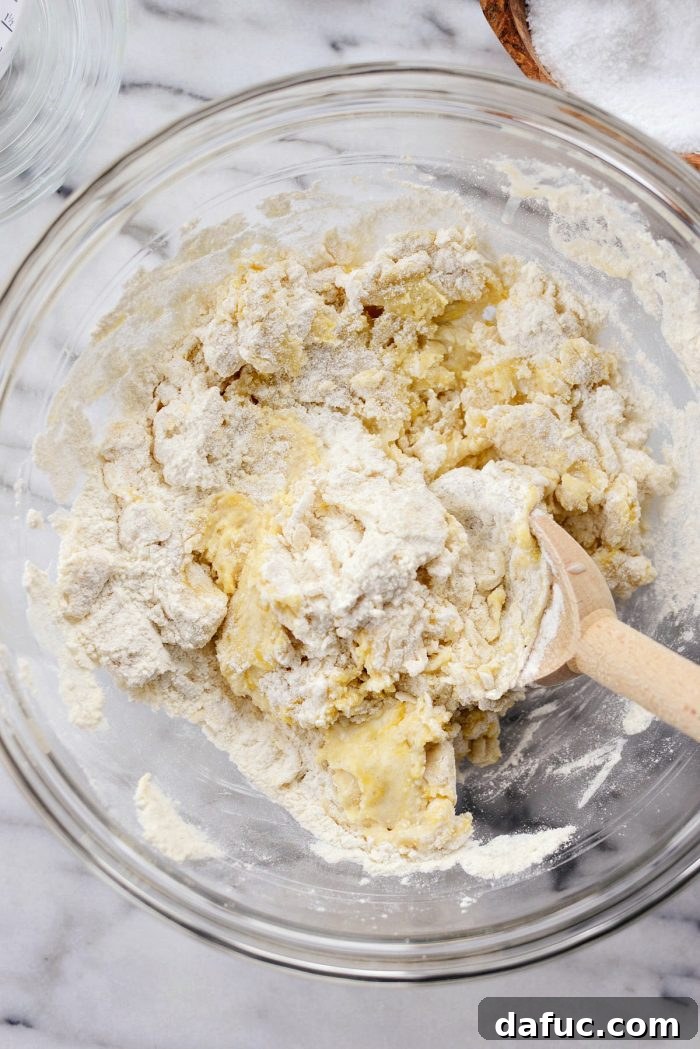
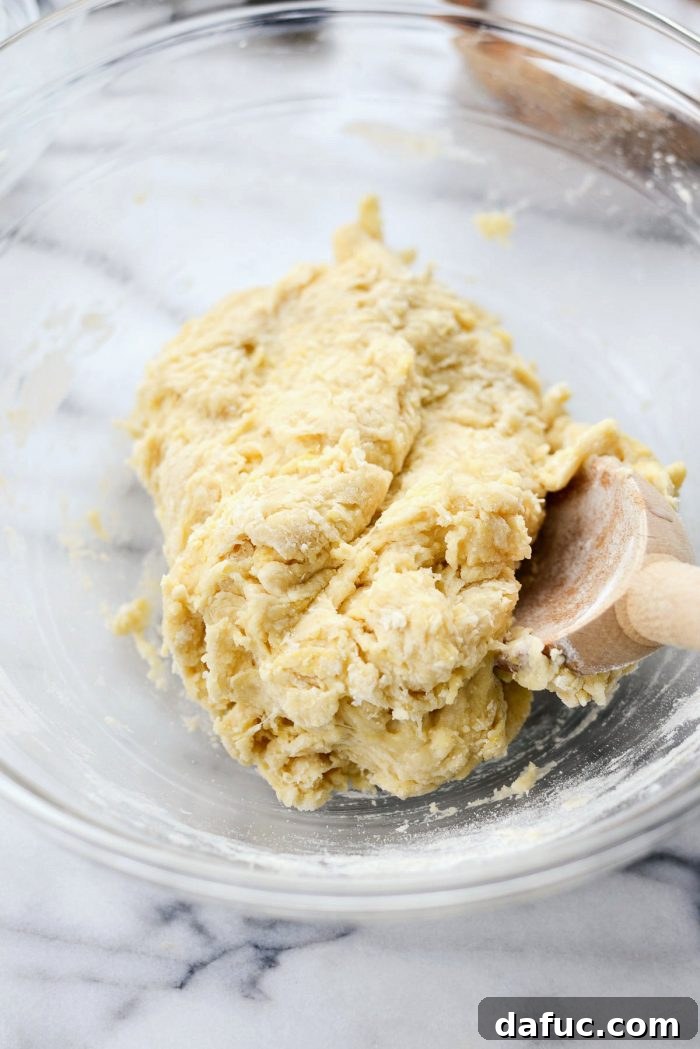
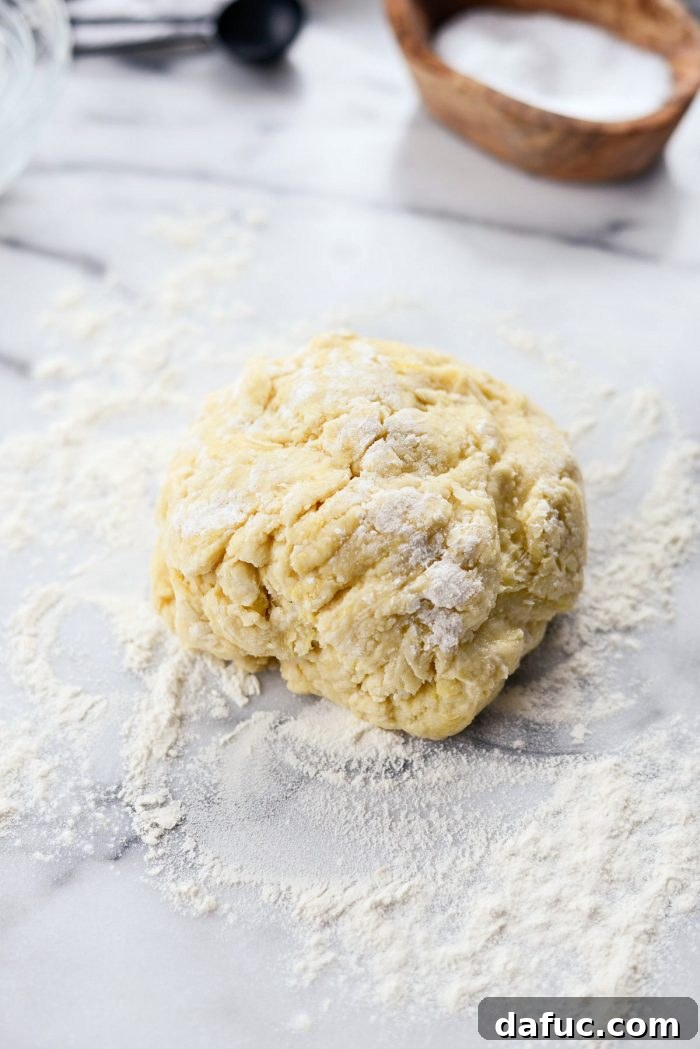
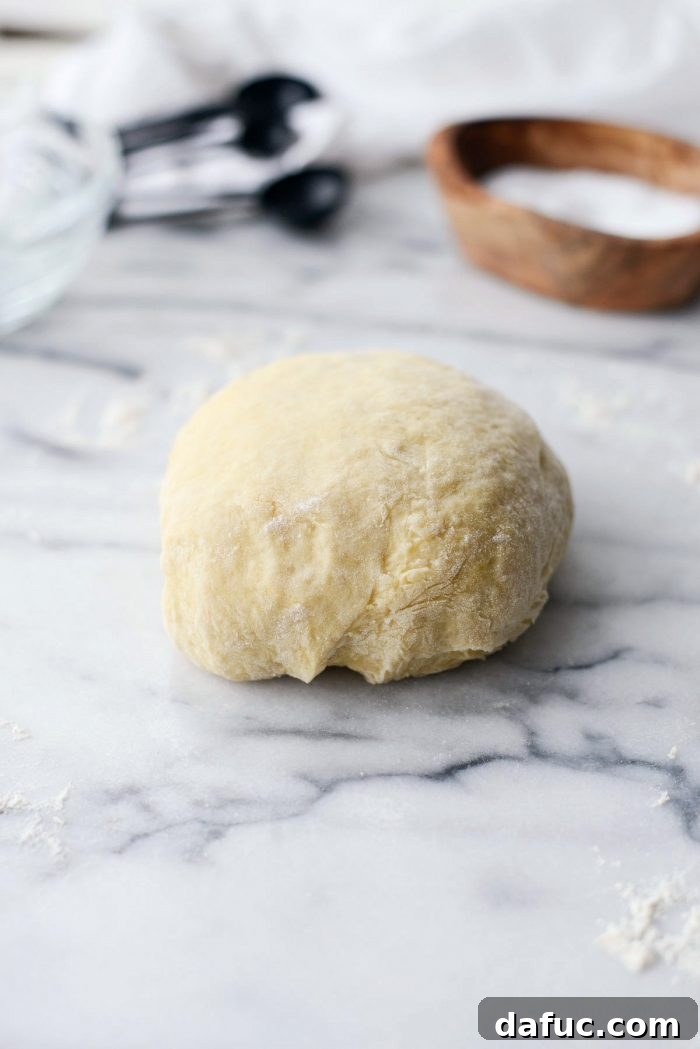
Shaping and Second Rise: Preparing for Air Frying
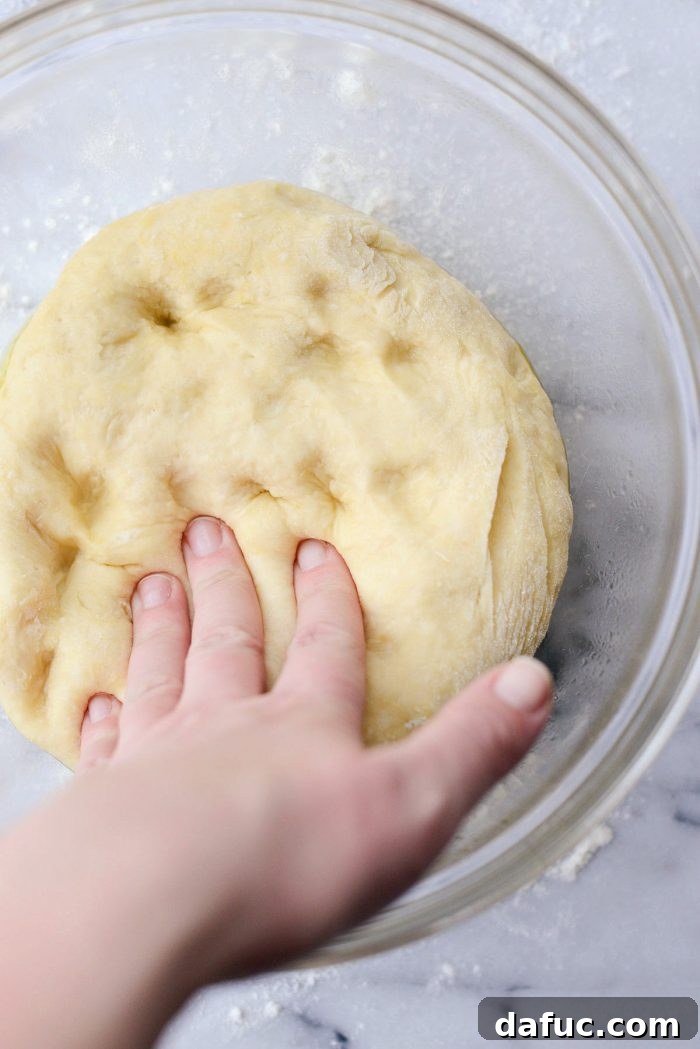
- Degas the Dough: After the first rise, gently press your fingers into the dough to release the accumulated air. This step is known as “punching down” the dough.
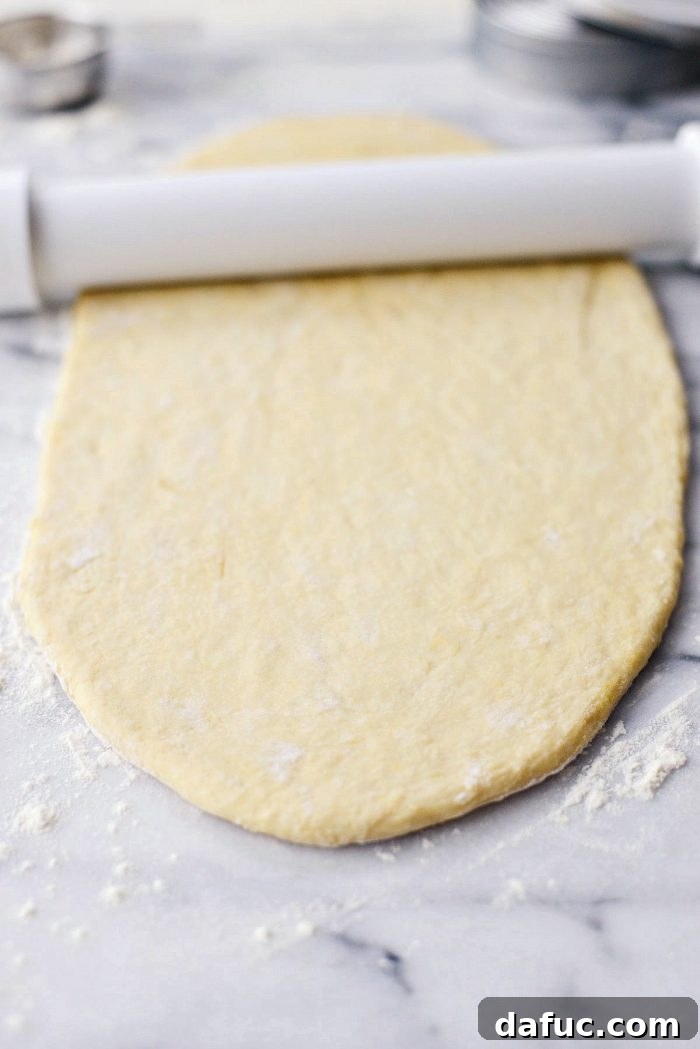
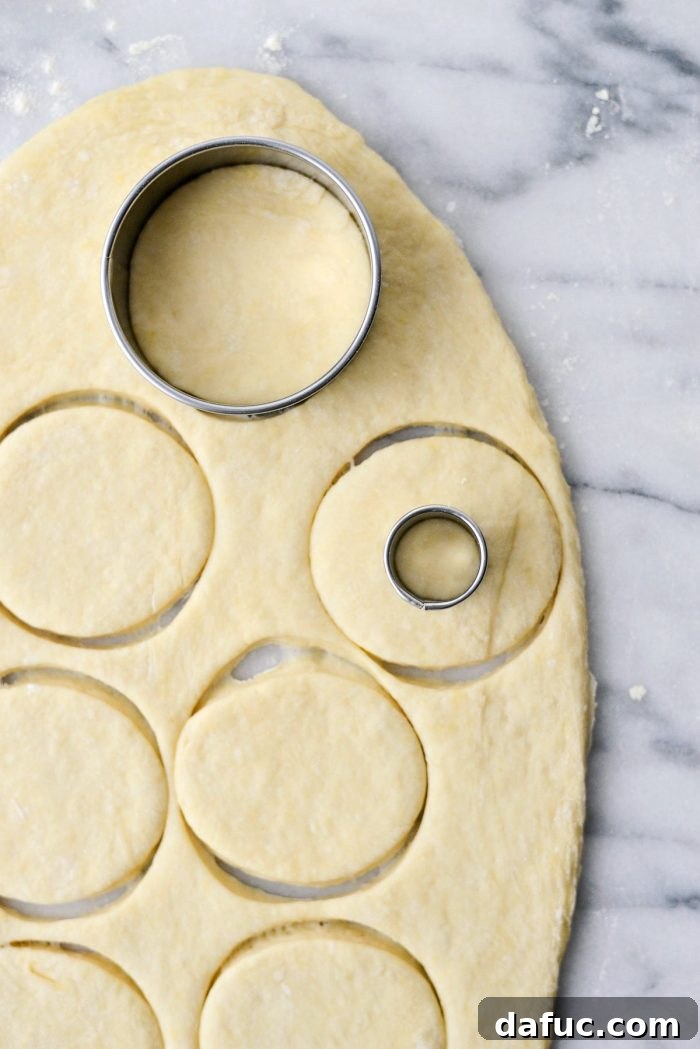
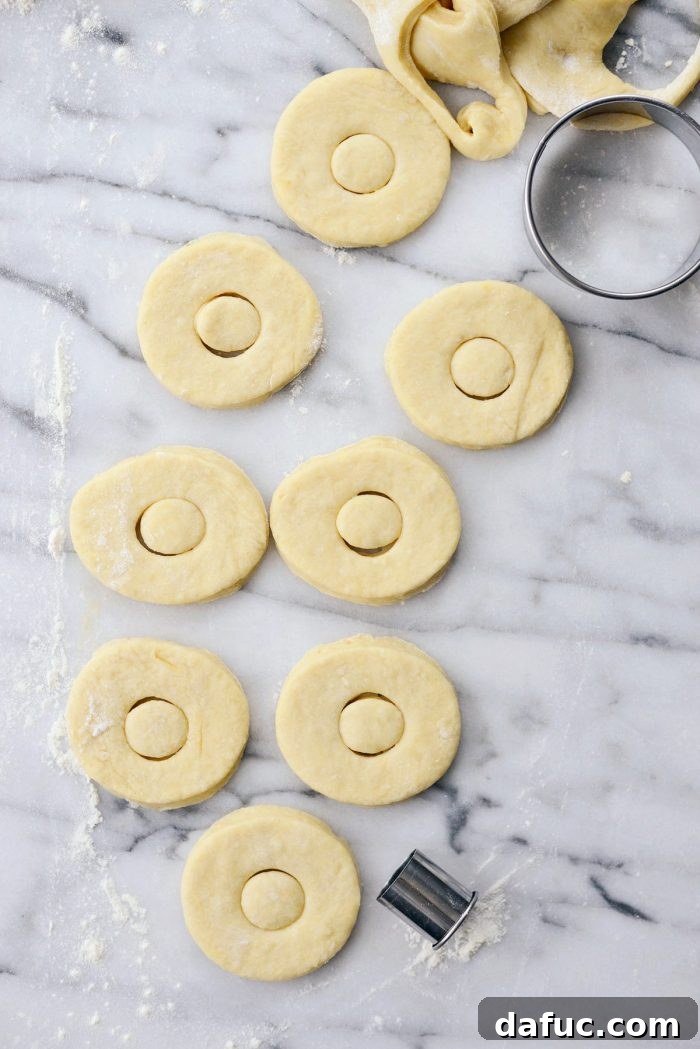
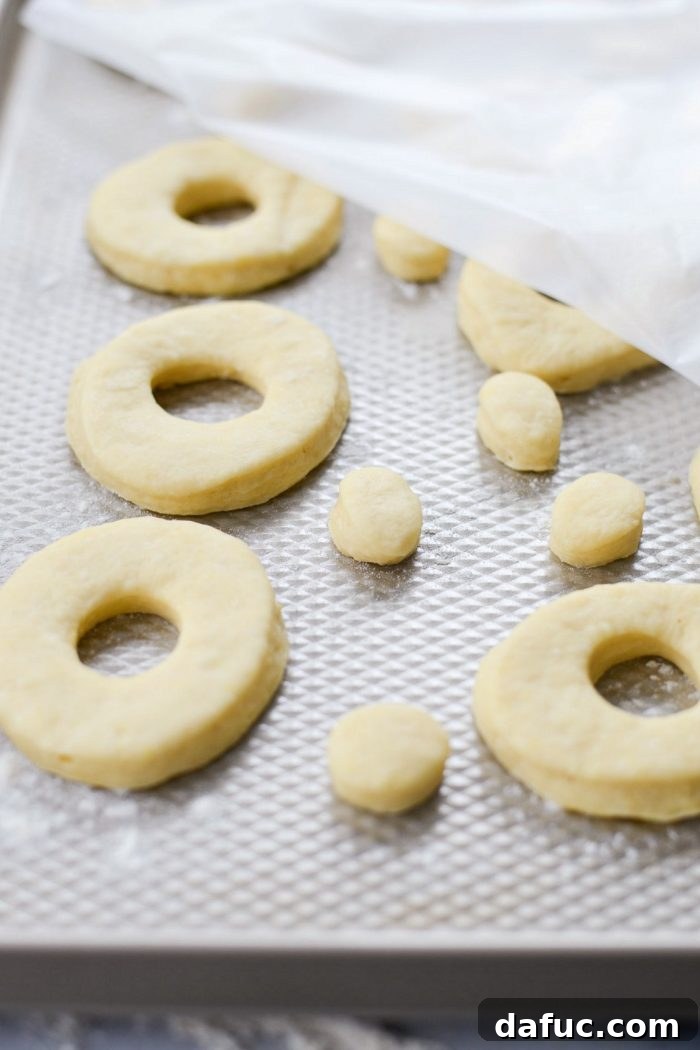
- Roll and Cut: Lightly flour your work surface again. Turn the dough out and, using a rolling pin, roll the dough evenly to about 1/4-inch thick. If you have a rolling pin with raised ends, like the Hapinest Rolling Pin, it can help achieve this consistent thickness. Using a 3-inch round cutter, stamp out 8 doughnut rounds. Then, use a 1-inch round cutter to cut out the centers, creating your doughnut holes. Gather the dough scraps, gently re-roll them, and cut out 4 more doughnuts to reach a total of 12 doughnuts plus their holes.
- Second Rise: Lightly dust a baking sheet or a clean surface with flour. Carefully transfer the cut doughnuts and holes onto the floured surface, ensuring they have enough space between them. Loosely cover them with plastic wrap or a clean towel and let them rise for another 30 minutes in a warm spot. This second rise contributes to a lighter, airier texture.
Air Frying the Doughnuts: The Healthier Way to Golden Perfection
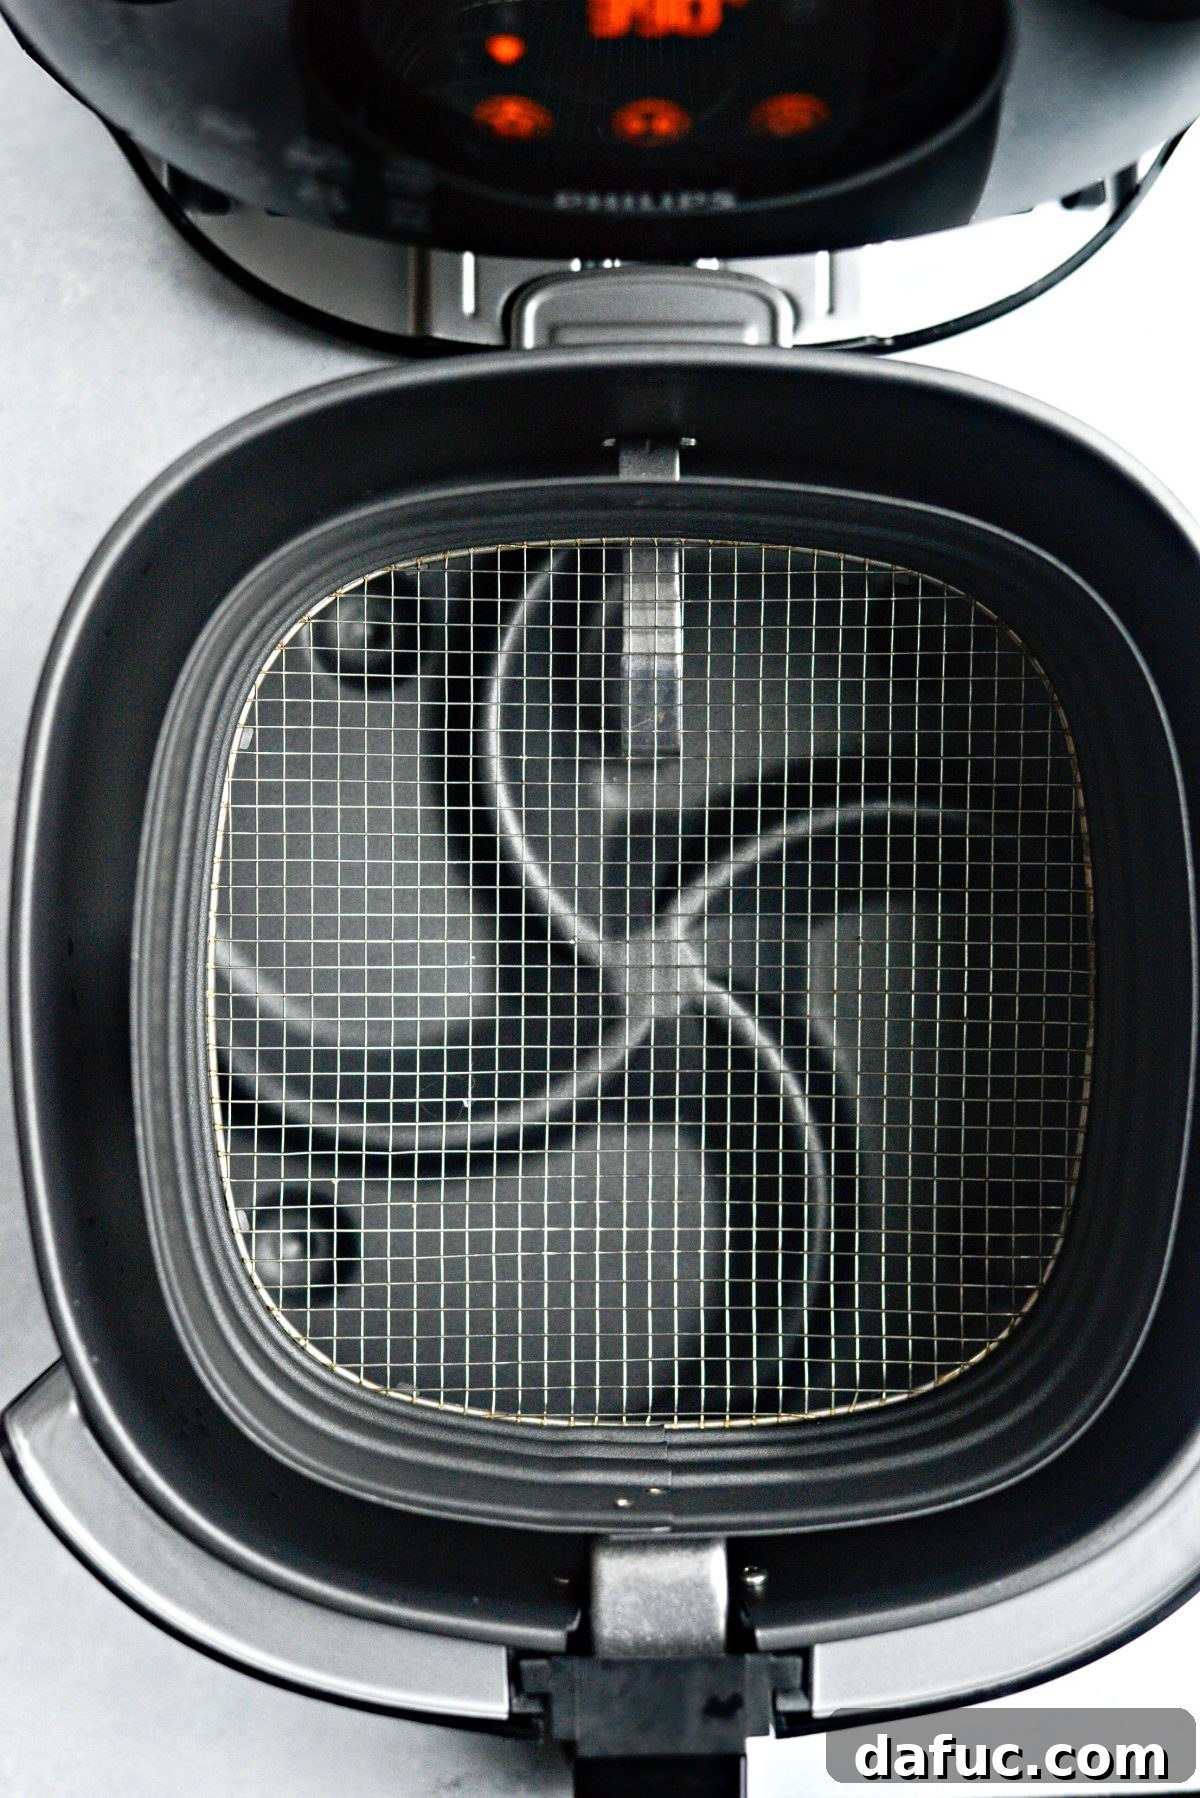
- Preheat Air Fryer: While the doughnuts are undergoing their second rise, lightly spray the basket of your air fryer with olive oil or a non-stick cooking spray. Preheat your air fryer to 350°F (180°C). Air fryer models vary, so refer to your specific model’s instructions for optimal preheating.
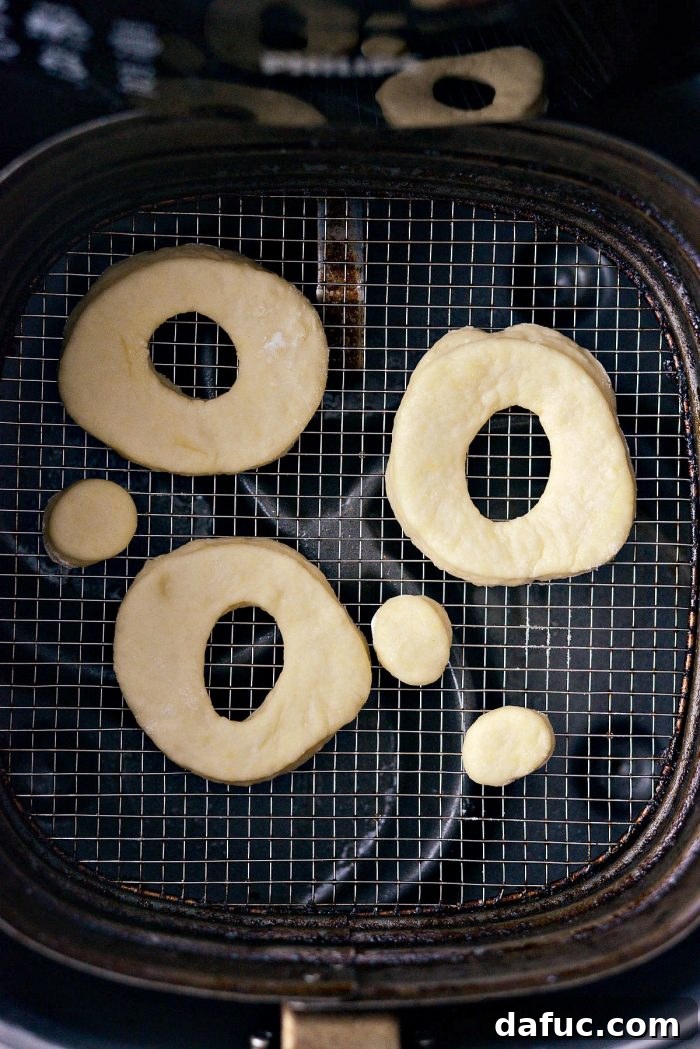
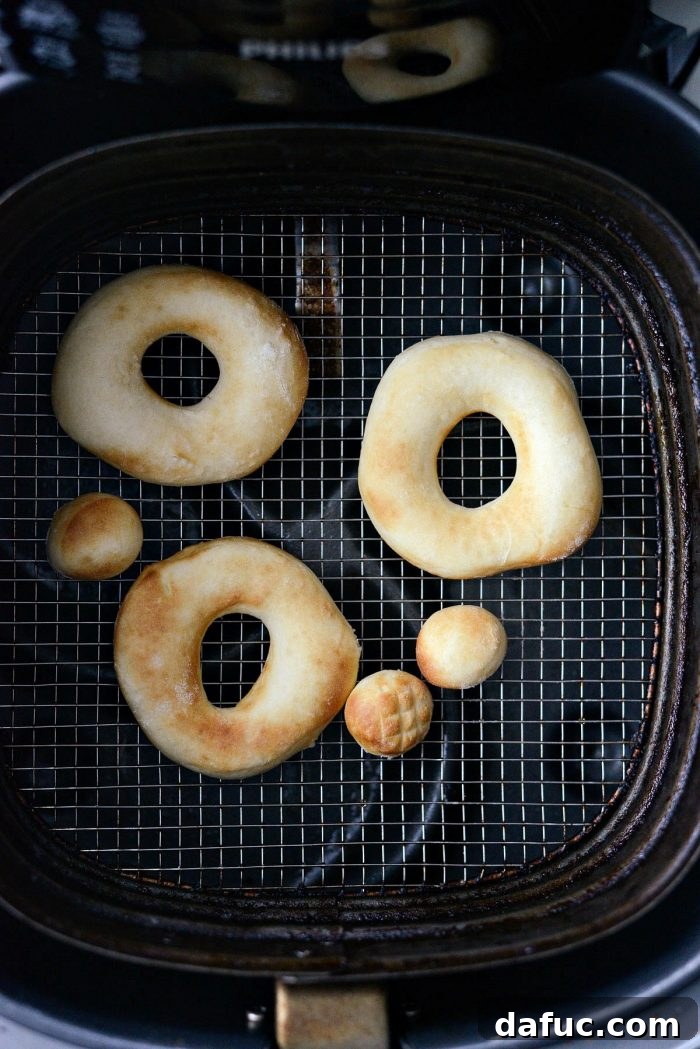
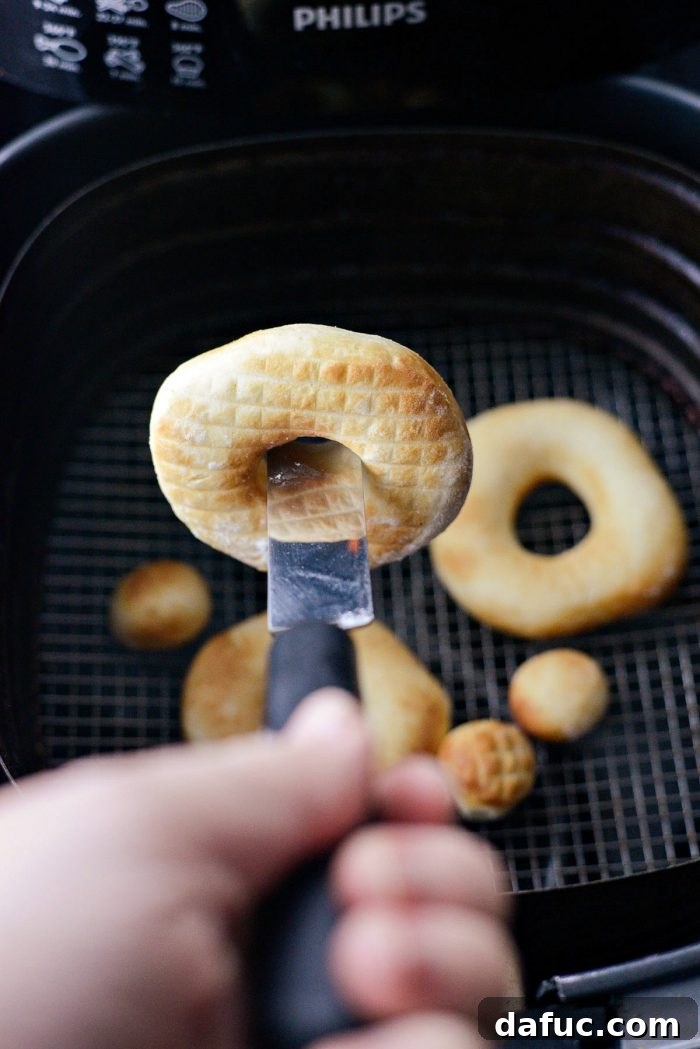
- Air Fry in Batches: Once preheated, carefully place 3 doughnuts and 3 doughnut holes into the air fryer basket, ensuring they are not overcrowded. Overcrowding can lead to uneven cooking. Air fry for 3 to 4 minutes, or until they are golden brown and cooked through. Cooking times can vary significantly between air fryer models, so keep an eye on them during the first batch.
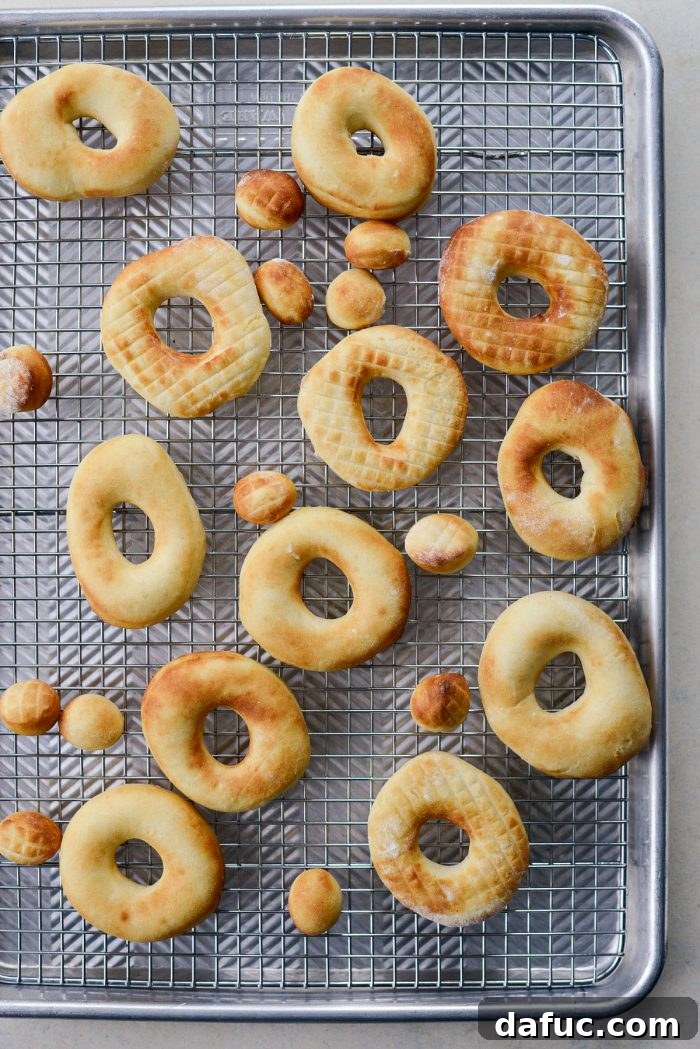
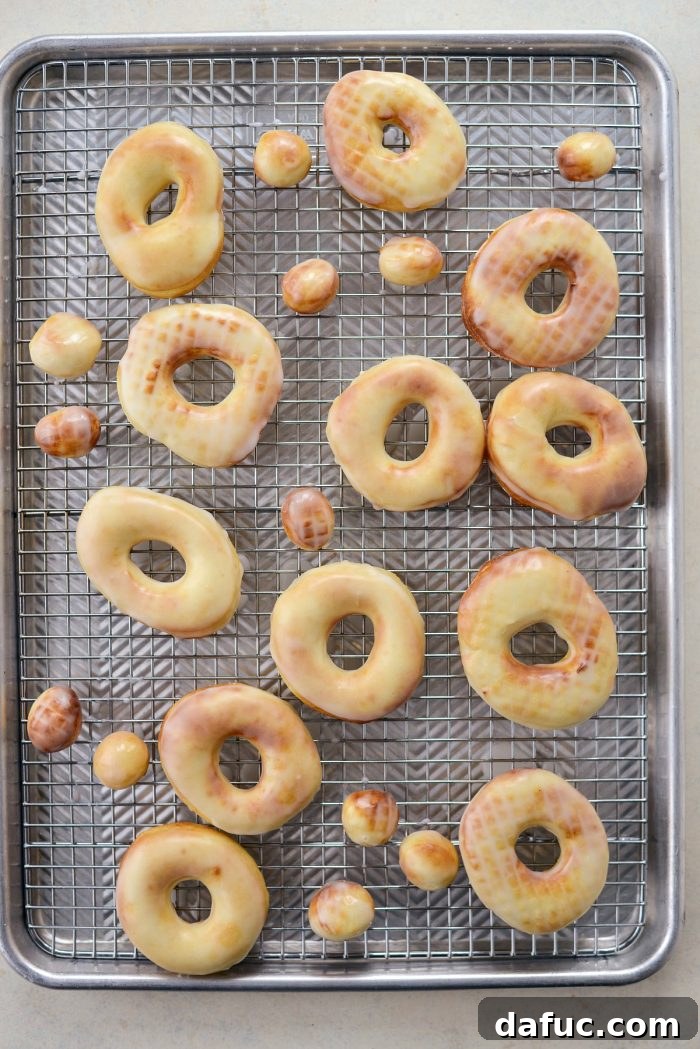
- Cool: Using tongs, carefully remove the air-fried doughnuts and holes to a wire rack set over a rimmed baking sheet. This allows for air circulation, preventing the bottoms from becoming soggy. Repeat the air frying process with the remaining batches of doughnuts and holes.
Glazing the Doughnuts: The Sweet Finish
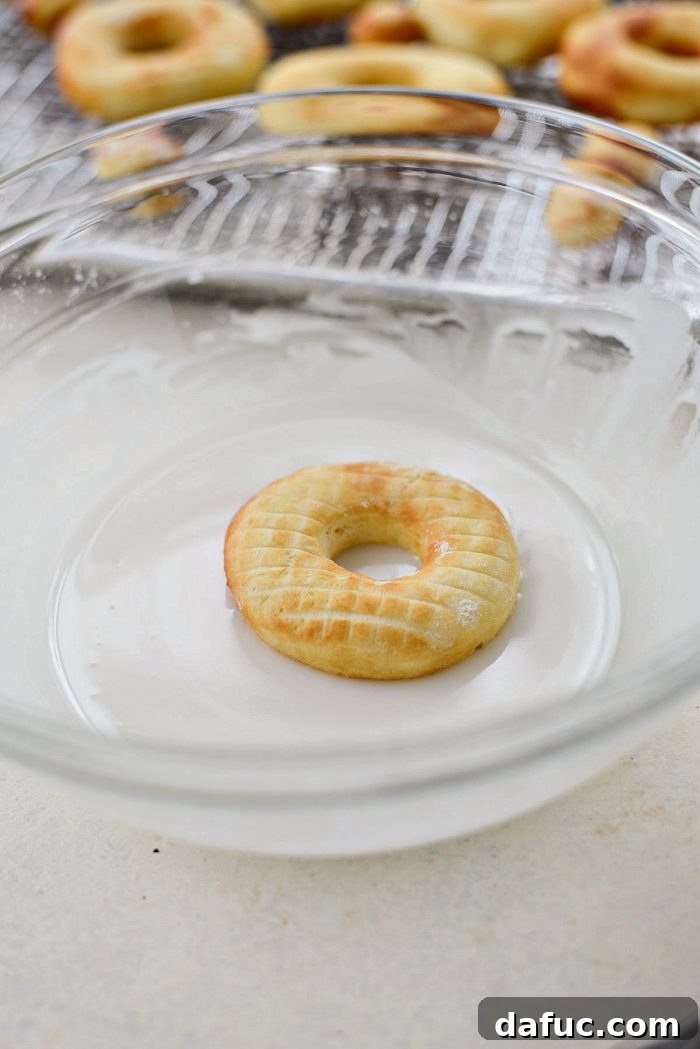
- Prepare the Glaze: In a separate medium mixing bowl, combine 1 cup of sifted powdered sugar with 4 to 6 teaspoons of water. Start with 4 teaspoons and add more gradually, one teaspoon at a time, until you achieve a smooth, pourable but not too thin consistency. Whisk until completely smooth.
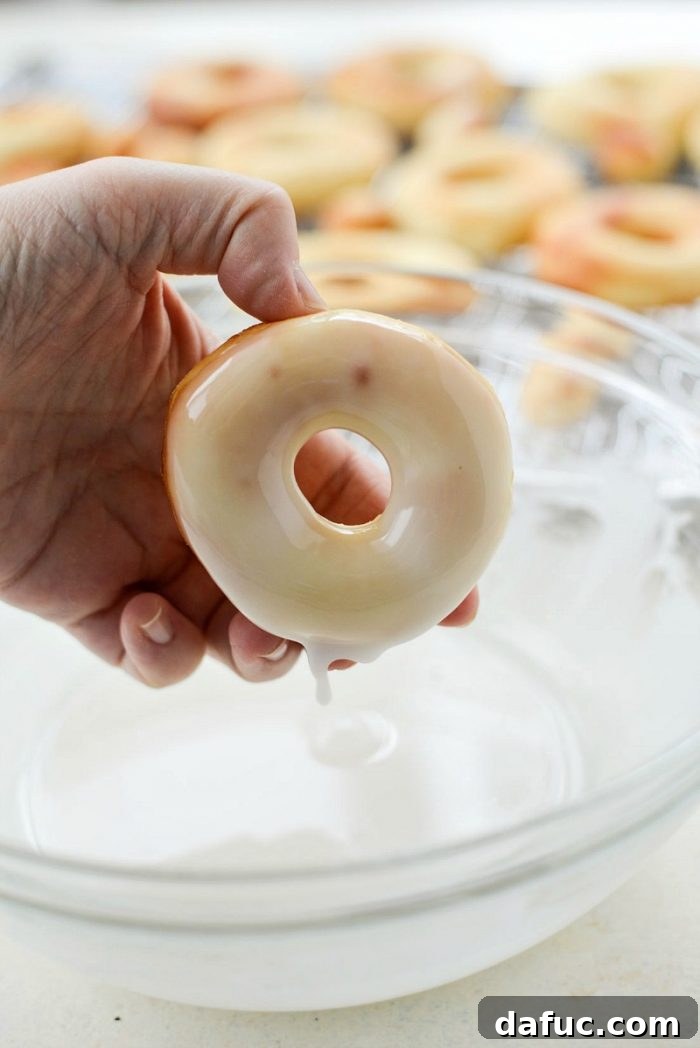
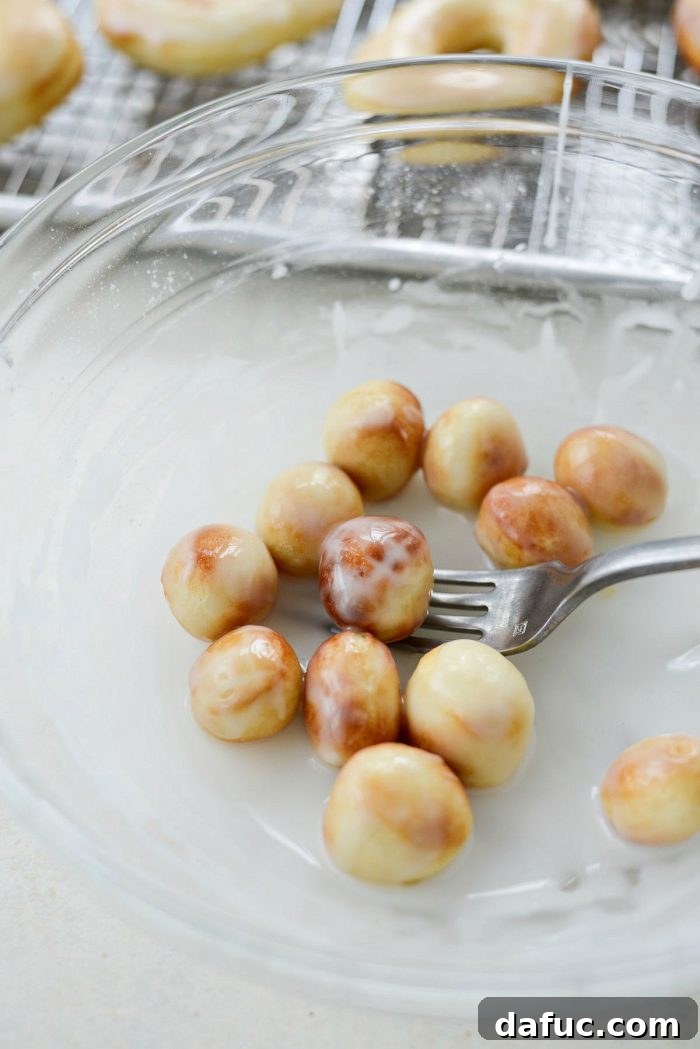
- Dip and Coat: While the doughnuts are still warm (but not hot), use forks to dip each doughnut into the glaze, turning to coat evenly. Allow any excess glaze to drip off before placing the glazed doughnuts back onto the wire rack set over the pan to catch runoff. For the doughnut holes, you can add them all to the glaze bowl and toss gently with a fork to coat thoroughly.
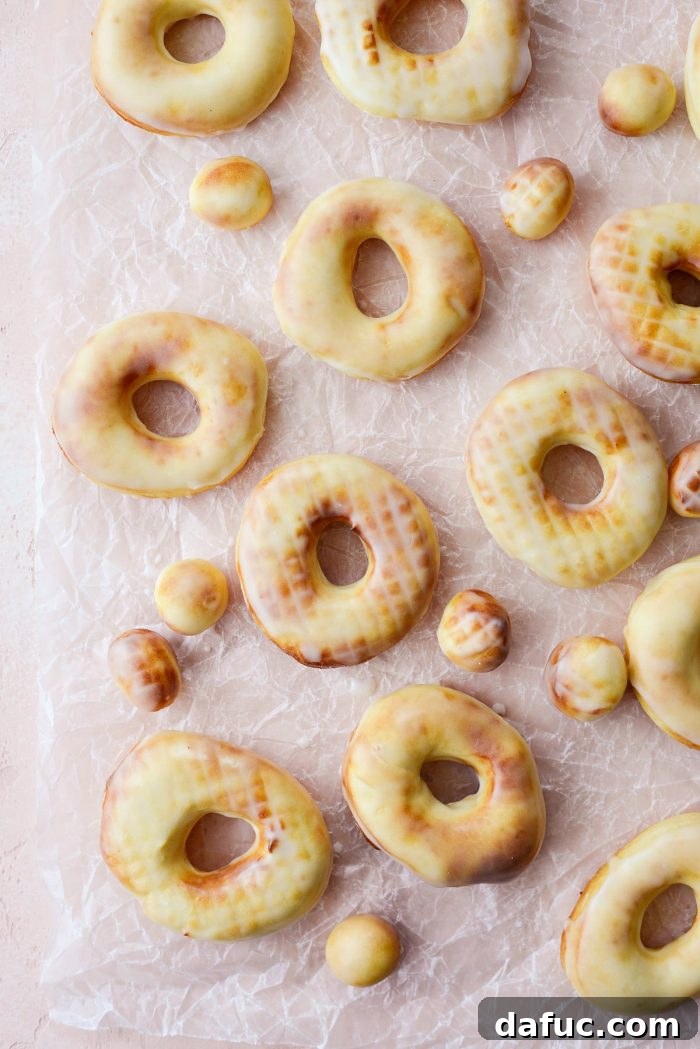
- Set and Serve: Let the glazed doughnuts sit on the wire rack for a few minutes until the glaze sets and hardens slightly. Once the glaze is firm, your delicious, almost guilt-free doughnuts are ready to be enjoyed! The texture is delightfully similar to a rich brioche, and the glaze adds the perfect touch of sweetness.
Understanding Your Air Fryer: A Quick Guide
What Is Air Frying?
- An air fryer is a compact countertop appliance designed to mimic the results of deep frying, but with significantly less oil. Instead of submerging food in oil, an air fryer circulates incredibly hot air at high speeds, creating a convection effect. This rapid, even heat cooks food quickly and produces a wonderfully crispy exterior that rivals traditionally fried dishes. It’s like a mini convection oven that specializes in making things perfectly crunchy.
- There’s a wide array of air fryer makes and models on the market, each with unique features. From basket-style to oven-style, and varying capacities, it’s worth doing a little research to find one that best suits your cooking habits and kitchen space. Many home cooks, for instance, find the Philips Air Fryer XXL to be a reliable and efficient choice for its generous capacity and consistent results.
How is Air Frying Healthier?
- The primary health benefit of air frying comes from the drastic reduction in oil used. Traditional deep frying requires a substantial amount of oil, which is absorbed into the food, significantly increasing its fat and calorie content. With air frying, you typically only need a thin layer of oil (often just a few sprays or a tablespoon) to achieve that desired crispness. This minimal oil contact means you save a ton of fat and calories, allowing you to enjoy traditionally “unhealthy” foods like doughnuts without the guilt, and crucially, without sacrificing any of the flavor or satisfying texture.
- It’s important to remember that not all air fryers are created equal. Some models feature a preheat function, while others don’t require it. Basket sizes also vary, meaning you might need to cook in smaller batches if your air fryer has a more compact capacity. Always consult your air fryer’s manual for specific operating instructions and recommended cooking adjustments.
For more delicious Air Fryer recipes, explore our growing collection.
Tips for Achieving Air Fryer Doughnut Perfection
While this recipe is straightforward, a few expert tips can elevate your air fryer doughnut game:
- Yeast Activity is Key: Don’t rush the yeast activation. Make sure the water is the right temperature and you see a good foamy layer before proceeding. This ensures light, airy doughnuts.
- Consistent Dough Thickness: Rolling the dough to an even 1/4-inch thickness is vital for uniform cooking. Uneven doughnuts will cook differently, with thinner spots potentially burning before thicker ones are done.
- Don’t Overcrowd the Basket: Air fryers work by circulating hot air. Overfilling the basket restricts airflow, leading to unevenly cooked or soggy doughnuts. Work in small batches for best results.
- Monitor Cooking Times: Air fryer wattages and designs vary significantly. The suggested cooking time of 3-4 minutes is a guideline. Keep a close eye on your first batch and adjust the time as needed until they are golden brown and cooked through.
- Warm Doughnuts, Cool Glaze: Glazing doughnuts while they are still warm (but not piping hot) helps the glaze adhere beautifully and melt slightly for a smooth finish. However, letting them cool completely before glazing can prevent the glaze from running off too much. Find your sweet spot!
- Glaze Consistency: Adjust the water in your glaze gradually. For a thicker, more opaque glaze, use less water. For a thinner, more translucent coating, add a bit more.
- Fresh is Best: Like most homemade baked goods, air fryer glazed doughnuts are best enjoyed fresh, ideally within a few hours of making them. The delicate texture and fresh glaze are at their peak shortly after preparation.
Storage and Variations
Storage: While best enjoyed fresh, leftover air fryer doughnuts can be stored in an airtight container at room temperature for up to 1-2 days. The texture may become slightly less soft over time, and the glaze might soften. You can gently warm them in the air fryer for 1-2 minutes at 300°F (150°C) to refresh them slightly, but be careful not to overheat or the glaze will melt completely.
Variations: Don’t be afraid to get creative with your glazes!
- Chocolate Glaze: Melt dark chocolate with a touch of butter or coconut oil for a rich, decadent topping.
- Maple Glaze: Combine powdered sugar with maple syrup instead of water for a cozy, autumnal flavor.
- Cinnamon Sugar: Skip the powdered sugar glaze and instead, toss warm doughnuts in a mixture of granulated sugar and ground cinnamon for a classic coating.
- Sprinkles or Toppings: Add colorful sprinkles, chopped nuts, or even a drizzle of melted chocolate over your glazed doughnuts for extra flair and texture.
Conclusion: Your New Favorite Doughnut Recipe!
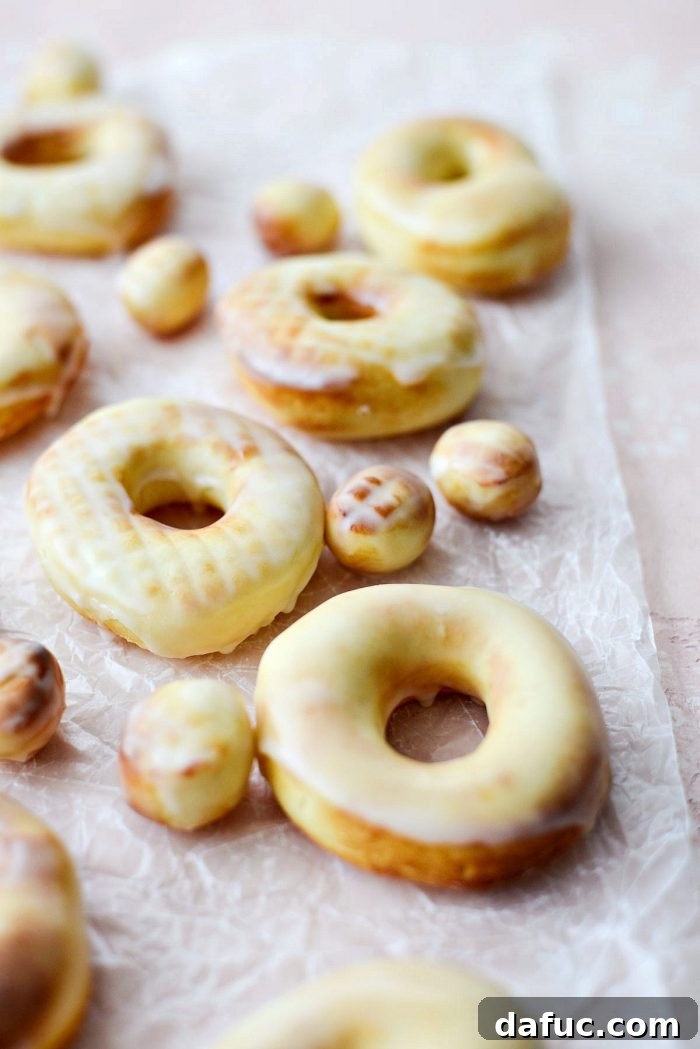
These Air Fryer Glazed Doughnuts truly are a revelation. They offer all the beloved characteristics of a classic doughnut – the light, airy texture, the comforting yeast flavor, and the sweet, crackly glaze – but with the added benefits of being less greasy and easier to make at home. It’s an undeniable win-win for anyone who loves a good sweet treat without the usual fuss. The brioche-like consistency is simply perfection, making every bite a delightful experience. While the yeast flavor is present, it’s part of its charm; however, for those who prefer a subtler hint, a slight reduction in yeast (say, by 1/4 teaspoon) could be experimented with on future batches. Regardless, these doughnuts are undeniably delicious just as they are!
We encourage you to give this recipe a try and discover the magic of air-fried doughnuts for yourself. It’s a game-changer for homemade baking and an instant favorite for family and friends. Get ready to enjoy the freshest, most delightful doughnuts you’ve ever made!
Enjoy! And if you give this Air Fryer Glazed Doughnuts recipe a try, let me know! Snap a photo and tag me on twitter or instagram!
Print Recipe
Pin Recipe
User Rating: 4.42 from 39 ratings
Leave a Review »
Yield: 12 servings
Air Fryer Glazed Doughnuts
What if I told you that you could have your doughnut and eat it too! That’s right my friends, these Air Fryer Glazed Doughnuts are delicious and only a fraction of the calories! This recipe yields 12 doughnuts plus doughnut holes.
Prep Time: 20 mins
Cook Time: 16 mins
Additional Time: 1 hr 30 mins
Total Time: 2 hrs 6 mins
Ingredients
FOR THE DOUGHNUTS:
- 1/4 cup plus 1/2 teaspoon sugar, divided
- 1 teaspoon active dry yeast
- 1/4 cup warm water (100-110°F)
- 2 cups unbleached all-purpose flour
- 1/4 teaspoon kosher salt
- 1/4 cup whole milk, room temperature
- 2 tablespoons unsalted butter, melted
- 1 large egg
FOR THE GLAZE:
- 1 cup powdered sugar, sifted
- 4-6 teaspoons water
Equipment
- Hapinest Rolling Pin
- Philips Air Fryer XXL
Instructions
- Measure and add the 1/2 teaspoon sugar and 1 teaspoon yeast into a medium bowl. Stir in warm (100-110°F) water. Let sit for 5 to 10 minutes until foamy.
- Meanwhile, in a large bowl, add the flour, remaining 1/4 cup sugar, and kosher salt. Stir to combine.
- Next, add in the yeast mixture, milk, unsalted butter, and egg. Using a wooden spoon, stir until a soft dough forms.
- On a lightly floured surface, turn out the dough and knead until the dough becomes smooth, about 1 to 2 minutes.
- In a lightly oiled bowl, add the dough and cover lightly with a tea towel. Place the bowl in a warm spot to rise for 1 hour.
- Once risen, turn the dough out onto a floured surface and roll to 1/4 of an inch thick. Use a 3-inch round cutter and stamp out 8 doughnuts. Use a 1-inch round cutter to stamp out the middle of each doughnut.
- Place the doughnuts and holes on a lightly floured surface, loosely cover with plastic wrap, and let rise a second time for 30 minutes.
- Spray the basket of your air fryer with olive oil and preheat your air fryer to 350℉ (or 180℃). Working in batches, air-fry 2-3 doughnuts and 2-3 doughnut holes for 3 to 4 minutes or until golden. Transfer to a wire rack and repeat with remaining doughnuts and holes.
- Lastly, in a medium bowl, whisk together the sifted powdered sugar and 4-6 teaspoons water until smooth.
- Use forks to dip the doughnuts in the glaze. Place on a wire rack set into a pan to catch any glaze that drips off. Repeat until all are glazed, and then enjoy!
Nutrition Information
Serving: 1 doughnut and 1 doughnut hole, Calories: 139kcal, Carbohydrates: 26g, Protein: 3g, Fat: 3g, Saturated Fat: 1g, Polyunsaturated Fat: 1g, Cholesterol: 21mg, Sodium: 53mg, Fiber: 1g, Sugar: 9g
Author: Laurie McNamara
Course: Desserts & Sweet Treats
Cuisine: American