
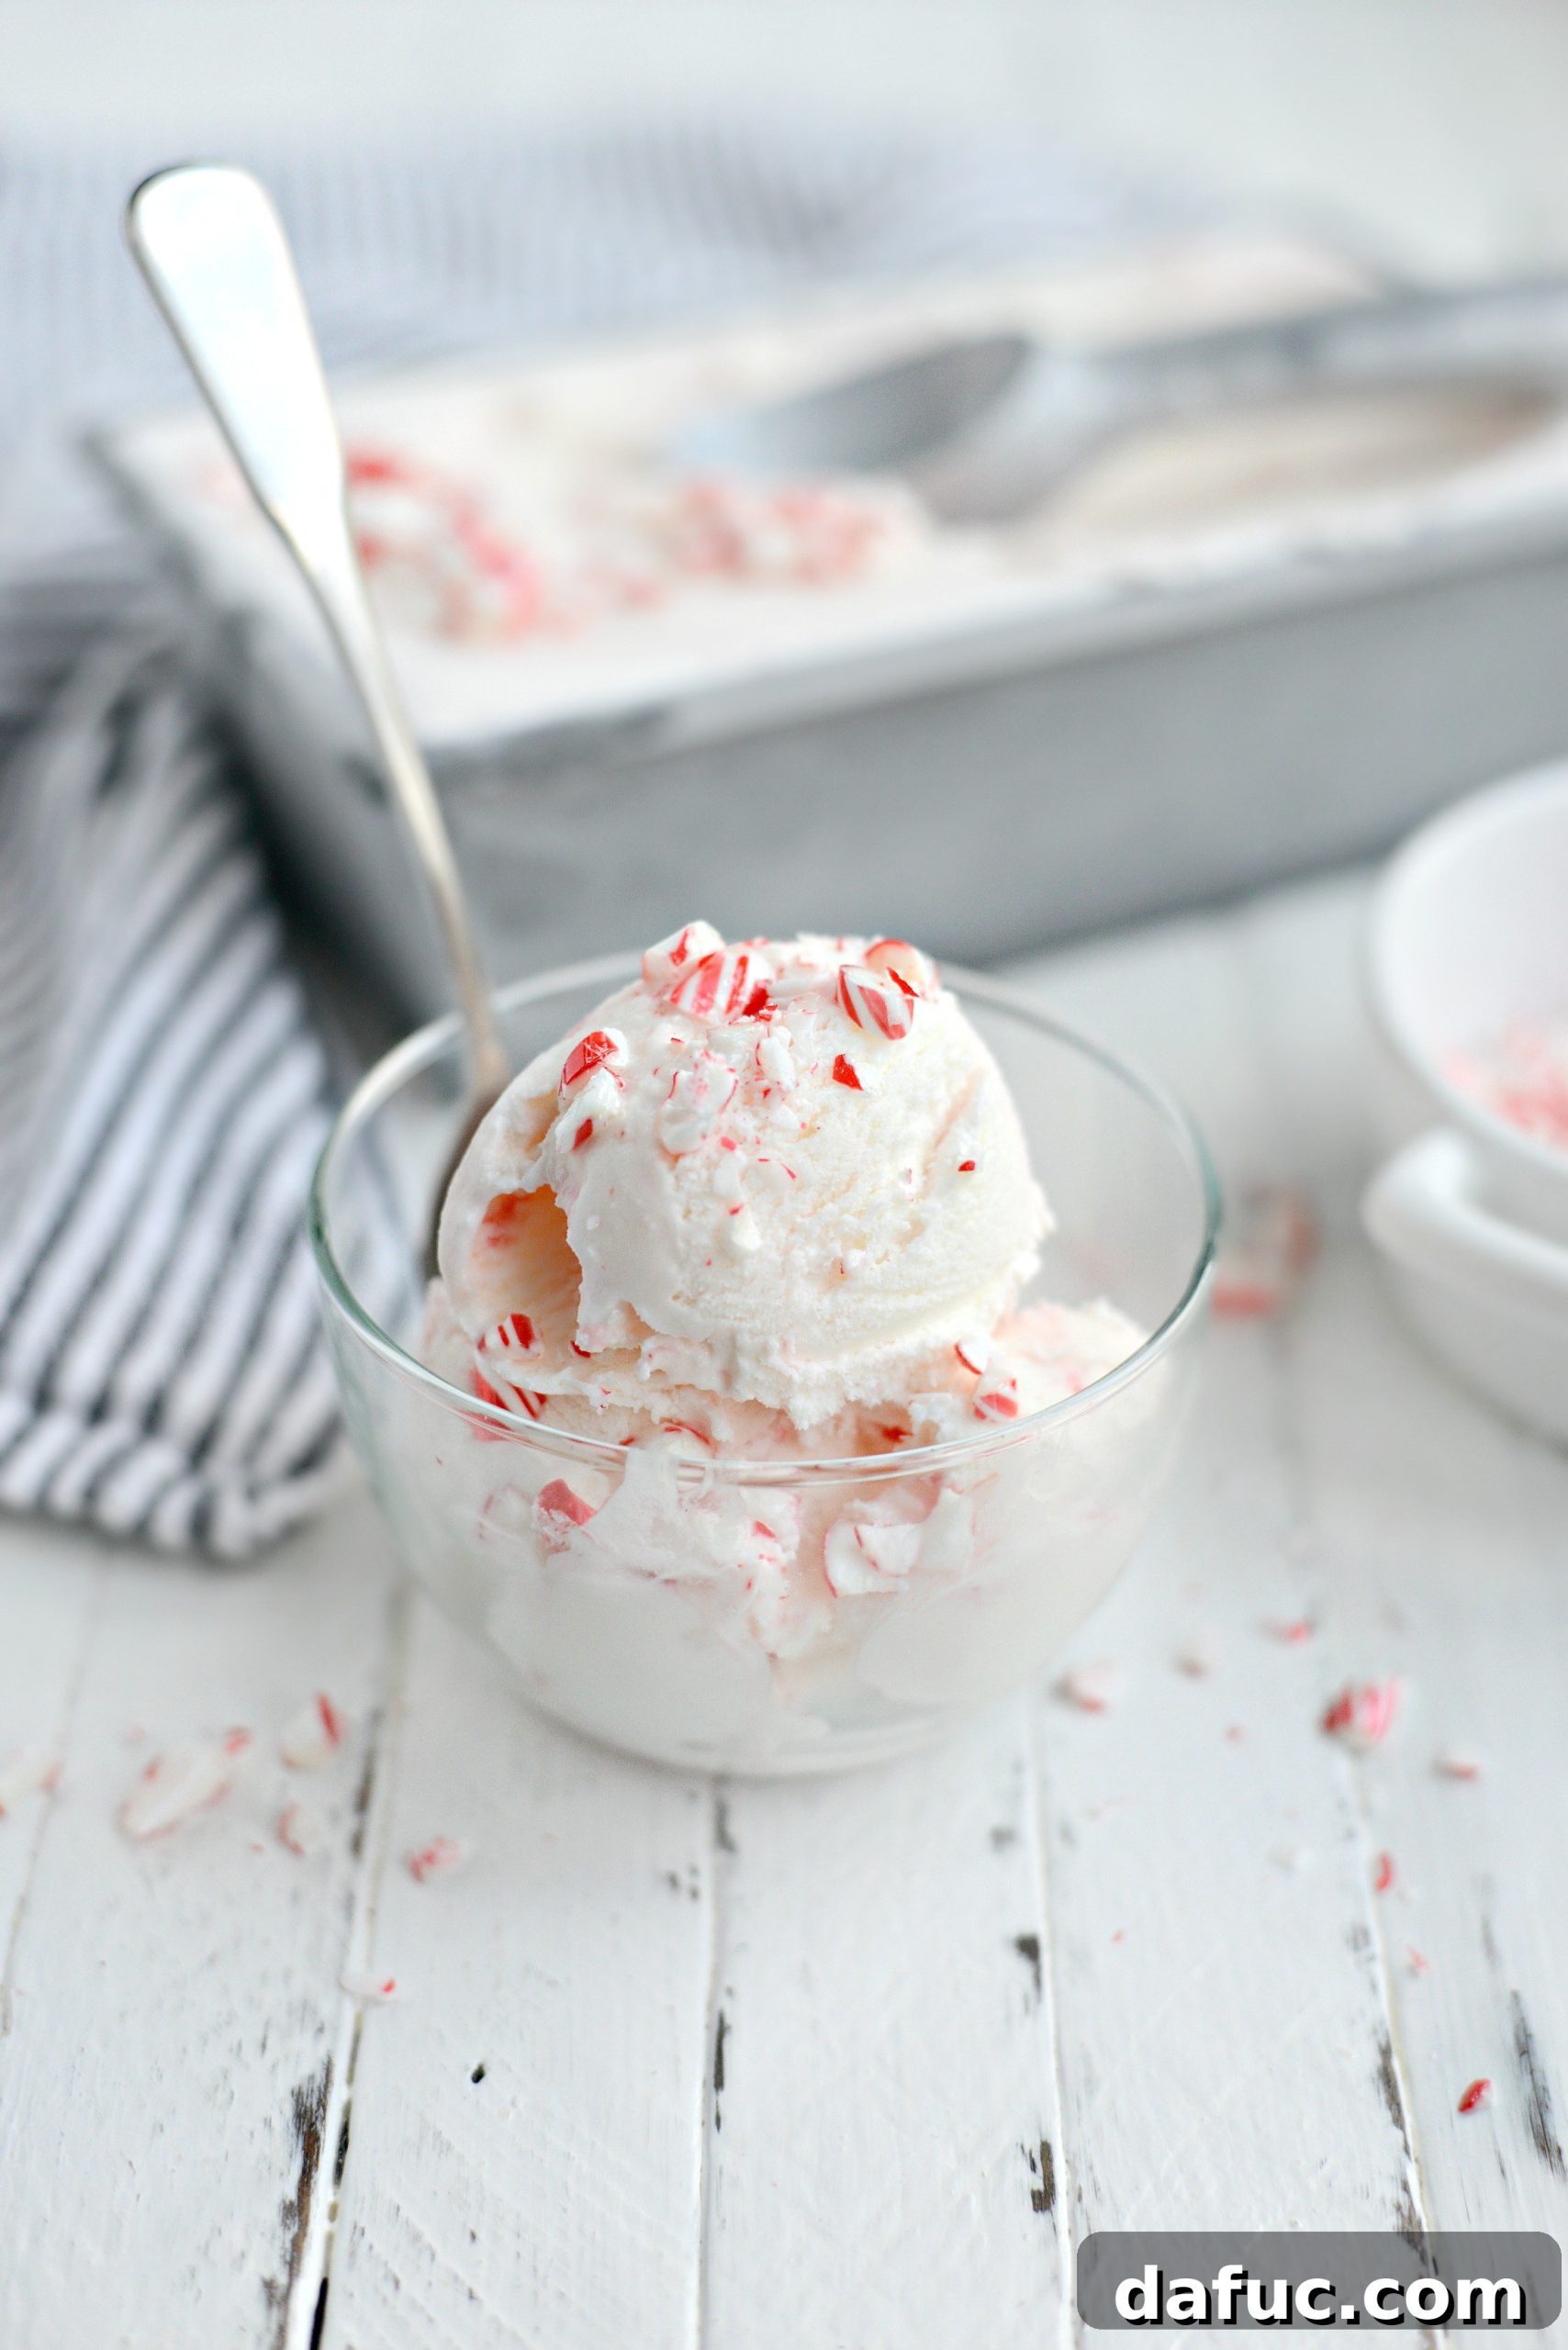
As the holiday season draws near, there’s an undeniable magic in the air—a feeling best encapsulated by the delightful flavors and scents that fill our homes. Among these cherished traditions, a truly special treat stands out: homemade peppermint candy cane ice cream. This festive concoction isn’t just a dessert; it’s an experience, a swirl of creamy, minty goodness that instantly transports you to a winter wonderland. Imagine scoops of luscious, pale pink ice cream, dotted with vibrant crimson and white specks of crushed candy canes, offering a symphony of smooth vanilla notes dancing with a refreshing peppermint zing and a satisfying crunch in every bite. It’s the kind of treat that doesn’t just satisfy a sweet craving, but also ignites the holiday spirit, making every moment feel a little more joyful and bright. Perfect for holiday gatherings, cozy nights by the fire, or simply indulging in a seasonal craving, this easy-to-make dessert promises to be a memorable highlight of your celebrations.
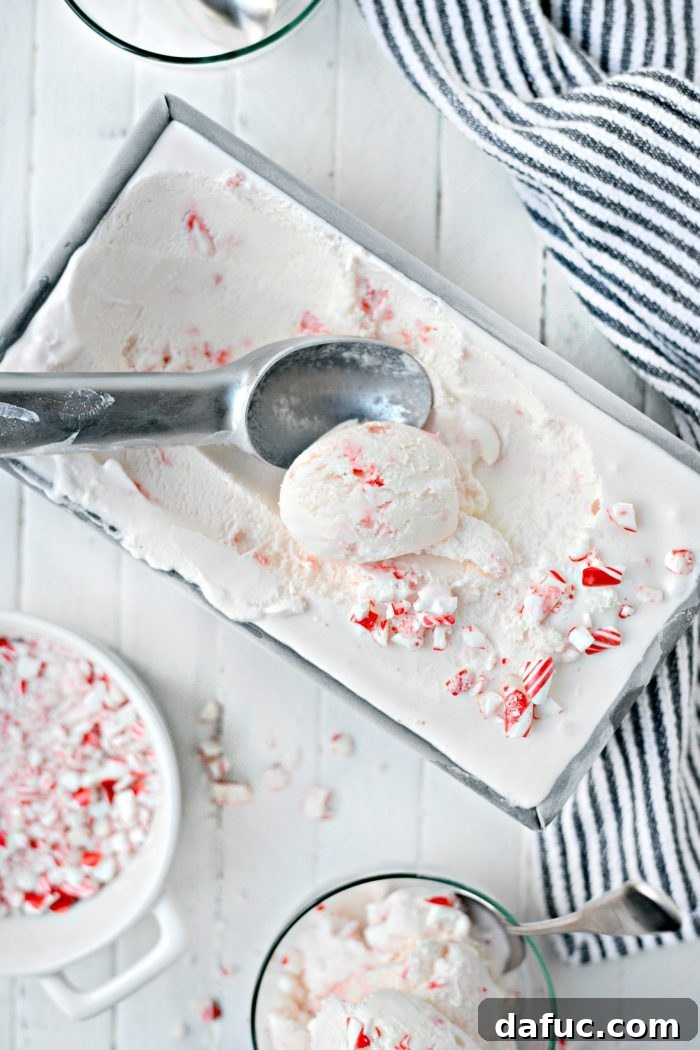
While classic mint chocolate chip ice cream holds a special place in many hearts, serving as a year-round favorite for its cool, refreshing taste, there’s something uniquely enchanting about a peppermint candy cane ice cream during the festive months. It’s more than just a flavor; it’s an aesthetic and sensory delight. The visual appeal alone is enough to capture attention: a soft, delicate pink hue, subtly infused with natural color from the candy canes, providing a beautiful backdrop for the scattered crimson and white shards of peppermint. This striking appearance makes it an ideal centerpiece for any holiday dessert table, promising both visual charm and exquisite taste. The initial taste offers a gentle, sweet vanilla foundation, which then gracefully transitions into a refreshing, crisp wave of peppermint, leaving a cool and invigorating sensation. And let’s not overlook the textural contrast – those delightful fragments of crushed candy cane that provide a satisfying, delightful crunch, adding another layer of enjoyment to each spoonful. It’s a perfect balance of creamy, smooth, and crunchy, making it an irresistible treat that embodies the true essence of holiday indulgence.
Just last weekend, the air was filled with laughter and holiday cheer as my daughters, Haileigh and Malloree, and I embarked on another one of our cherished “girls weekends.” My husband, Pat, took our beloved dog, Seamus, up to the cabin for a hunting trip, leaving us to our own devices for a few days of pure relaxation and festive fun. We picked up right where we left off with our “Friends” binge-watching marathon, punctuated by emotional catch-up sessions with “This Is Us.” The holiday spirit truly kicked in the next day as we settled in for a classic movie marathon, starting with the timeless “A Christmas Carol” and then a heartwarming re-watch of “The Holiday,” all while continuing our “Friends” episodes. And what better companion for such a weekend than a generous batch of this enchanting peppermint candy cane ice cream? It became the perfect sweet treat for our cozy movie nights and lively conversations, embodying the joy and warmth of our time together. We devoured the first batch by Monday, but don’t worry, the holiday spirit (and my love for this ice cream) ensured another batch was quickly on its way to the freezer!
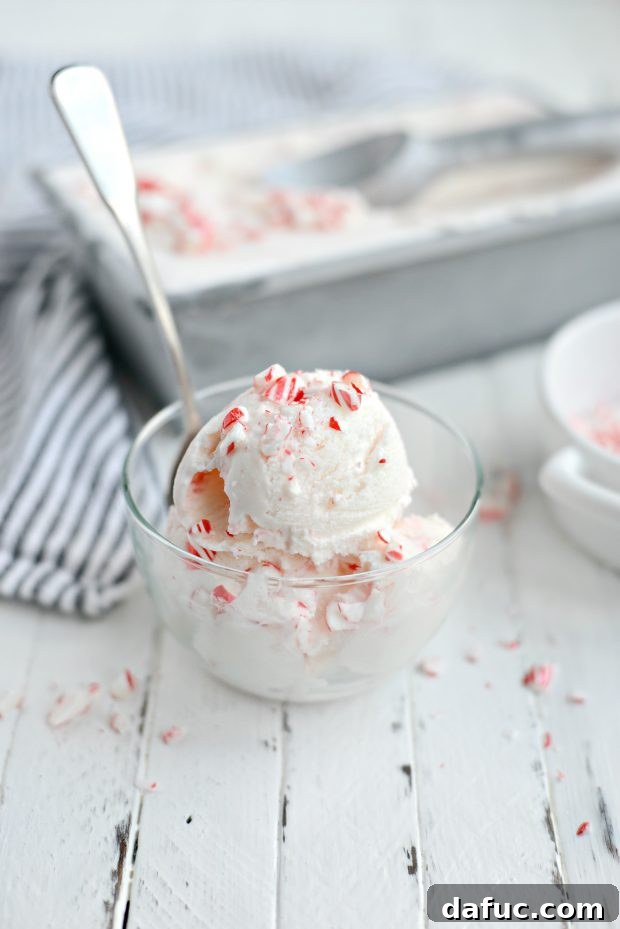
Making your own homemade ice cream is an incredibly rewarding experience, especially when the end result is this spectacular peppermint candy cane creation. The fresh, vibrant flavor and unbelievably creamy texture of this homemade version far surpass anything you can find in a store. It allows you to control the quality of ingredients and adjust the level of peppermint to your liking, ensuring a truly personalized treat. This recipe is designed to be straightforward, making the process enjoyable even for those new to ice cream making. The key to its richness lies in a balanced blend of dairy and a few simple, high-quality additions that elevate the classic peppermint flavor. Once you taste the difference that homemade makes, particularly with this festive holiday rendition, you’ll wonder why you ever settled for store-bought.
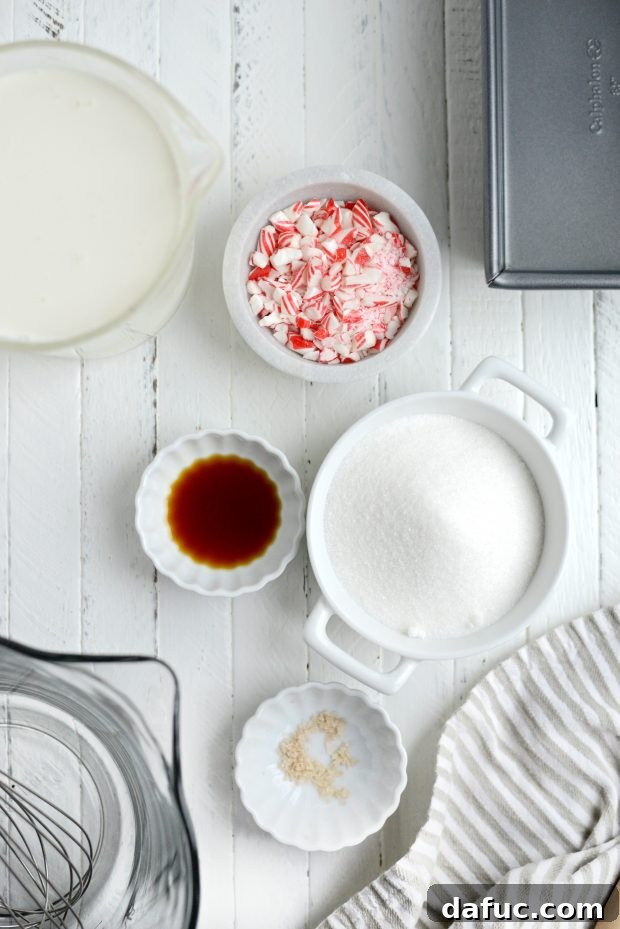
To Make This Peppermint Candy Cane Ice Cream, You Will Need These Essential Ingredients:
- **Granulated Sugar:** Provides the perfect sweetness to balance the mint.
- **Heavy Whipping Cream:** The foundation of a rich, luxurious ice cream, contributing to its unparalleled creaminess.
- **Half & Half:** Adds another layer of dairy richness and ensures a smooth consistency. (You can easily make your own by combining equal parts whole milk and heavy cream.)
- **Pure Vanilla Extract:** A touch of vanilla enhances all the other flavors, adding warmth and depth.
- **Sea Salt:** A tiny pinch of salt surprisingly elevates the sweetness and brings out the full spectrum of flavors.
- **Peppermint Candy Canes:** The star of the show! Crushed candy canes provide both the signature peppermint flavor and a delightful textural crunch.
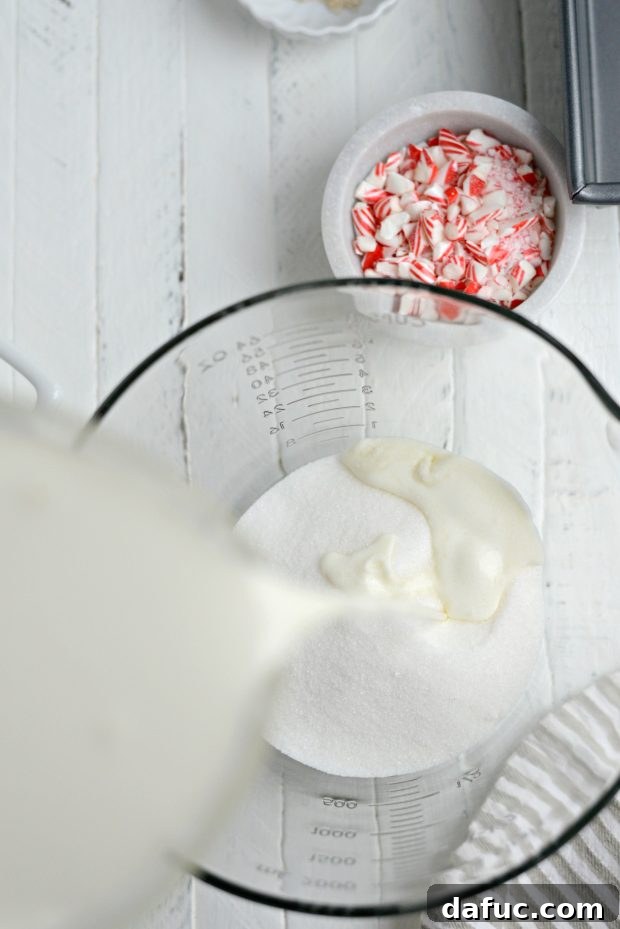
The journey to creating this delectable ice cream begins with assembling your liquid base. In a generously sized bowl, measure out one cup of granulated sugar. This will be the primary sweetener for your ice cream, providing the perfect balance against the refreshing peppermint. Next, carefully pour in two cups of rich, heavy whipping cream. The heavy cream is crucial for achieving that characteristic dense and creamy texture that defines premium homemade ice cream. Follow this with two cups of half & half, which further contributes to the smooth, velvety mouthfeel without making the ice cream excessively heavy. Together, these dairy components form the luxurious foundation that will cradle the delightful peppermint flavor.
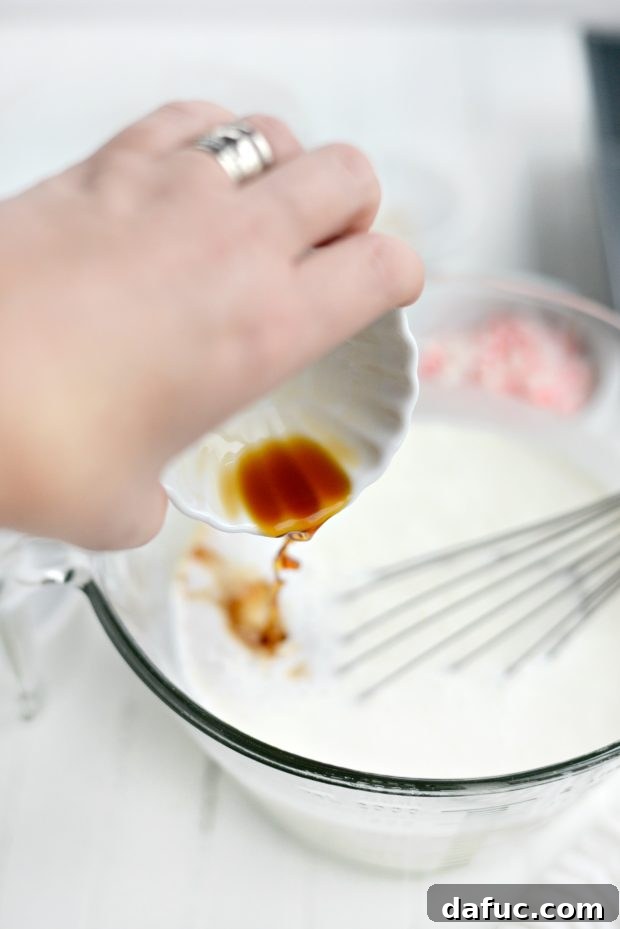
Once your dairy and sugar are combined, it’s time to introduce the aromatic notes that will round out the flavor profile. Add one tablespoon of pure vanilla extract. High-quality vanilla is key here, as it doesn’t just add its own sweet, warm essence but also amplifies the flavors of the other ingredients, creating a more complex and satisfying taste. Pure vanilla extract, as opposed to artificial vanilla, will give your ice cream a far superior and more authentic flavor that truly shines through.
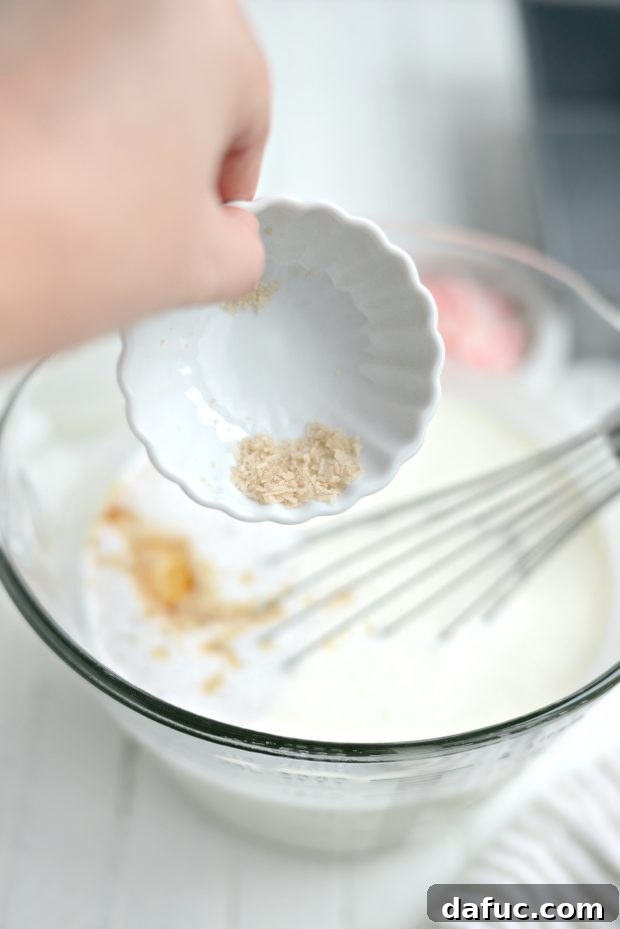
To truly enhance and balance the sweetness, a small but significant addition is a pinch of sea salt. While it might seem counterintuitive to add salt to a sweet dessert, it’s a culinary secret that makes a world of difference. The sea salt doesn’t make the ice cream salty; rather, it acts as a flavor enhancer, cutting through the richness and brightening all the other notes. It allows the vanilla and peppermint to truly pop, creating a more dynamic and enjoyable taste experience that keeps you coming back for more.
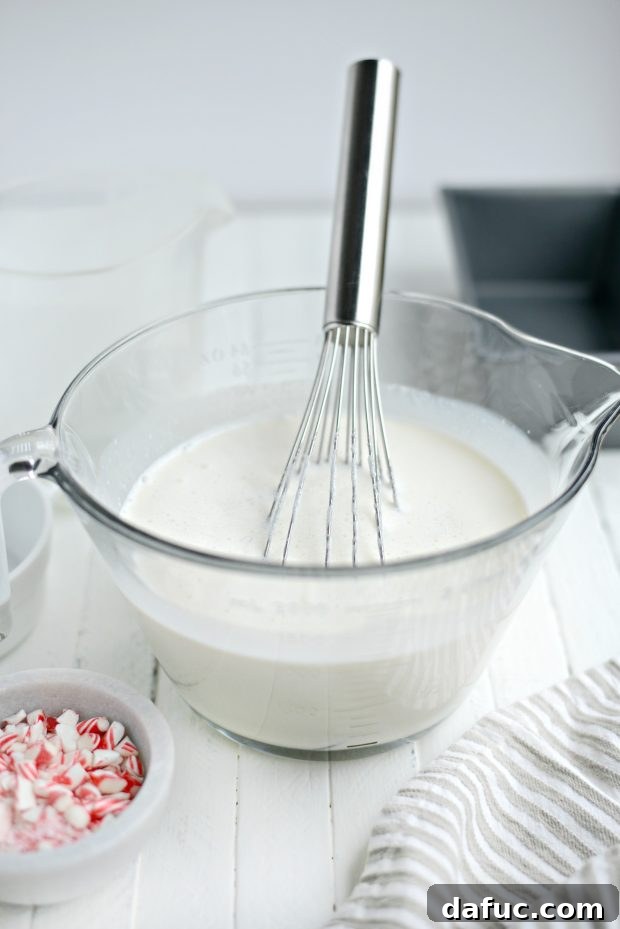
With all the base ingredients in the bowl, it’s time for a good whisking. Vigorously whisk the mixture until you can feel and see that the granulated sugar and sea salt have completely dissolved. This step is crucial for ensuring a smooth, non-gritty texture in your final ice cream. Once dissolved, cover the bowl tightly with plastic wrap and place it in the refrigerator to chill for at least one to two hours. This chilling period is essential; it ensures the base is thoroughly cold before it enters the ice cream maker, which helps it churn more efficiently and results in a creamier, more consistent final product. Patience during this stage will truly pay off with superior ice cream.
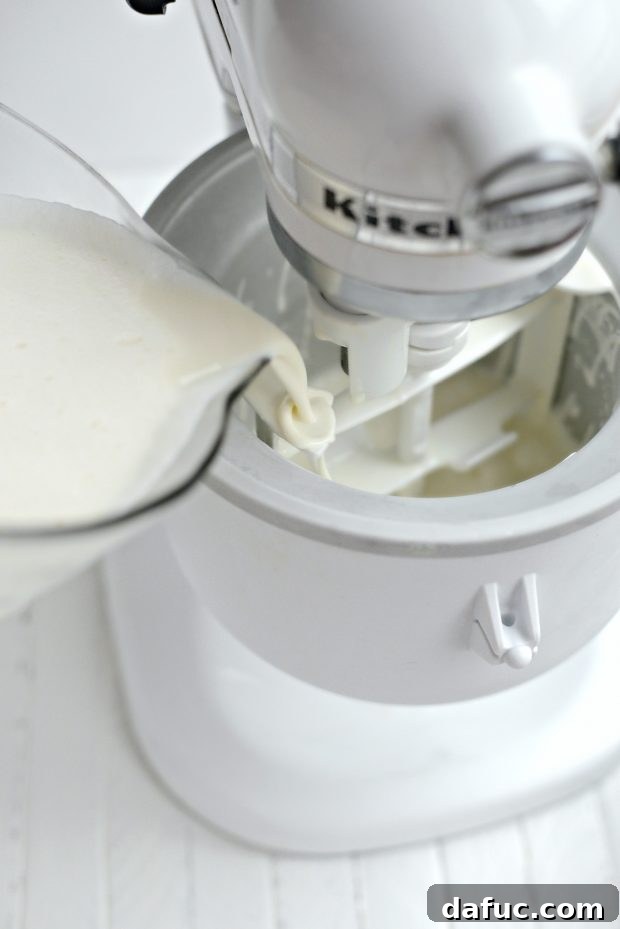
After the base has had ample time to chill and is perfectly cold, it’s ready for its transformation into ice cream. Pour the chilled mixture into your ice cream maker, making sure to follow your manufacturer’s specific directions for operation. Each ice cream maker can vary slightly, so referring to the manual will ensure optimal results. For example, if you’re using a Kitchen Aid ice cream bowl attachment, like I do, it typically takes about 15 to 20 minutes of churning on the lowest speed to achieve that wonderfully thick and creamy consistency. During this process, the continuous churning introduces air into the mixture while freezing it, breaking down ice crystals and resulting in the smooth, scoopable texture we all crave. Watch as the liquid transforms into a soft-serve like consistency, indicating it’s nearly ready for the final, festive touch.
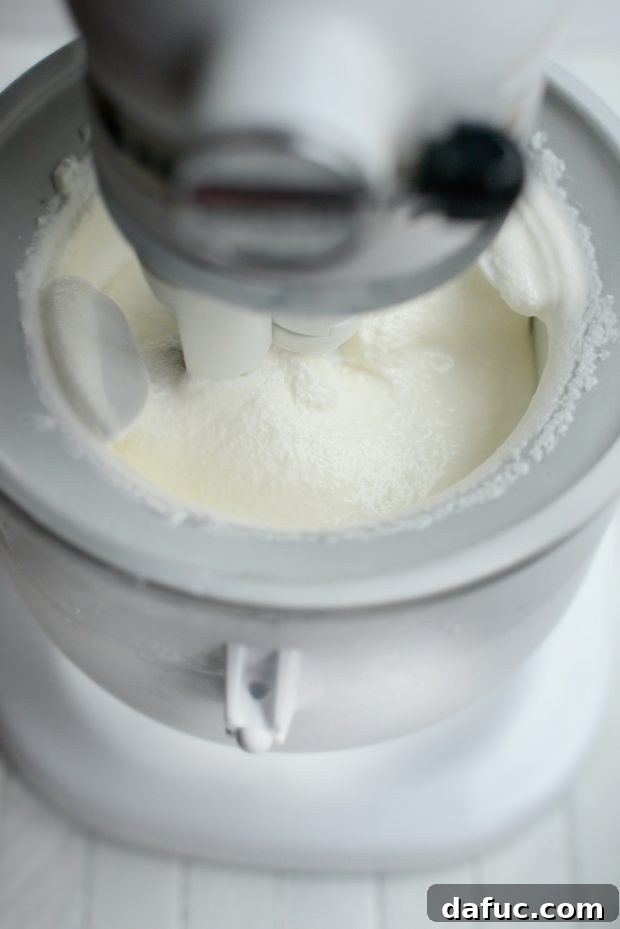
Boom. Just like that, your ice cream base has transformed into a soft, luxurious frozen treat, ready for the signature peppermint candy cane infusion. The texture at this stage is wonderfully soft and pliable, making it the perfect canvas for incorporating additional elements. It’s a moment of satisfaction, seeing the creamy base you’ve lovingly prepared come to life in your machine.
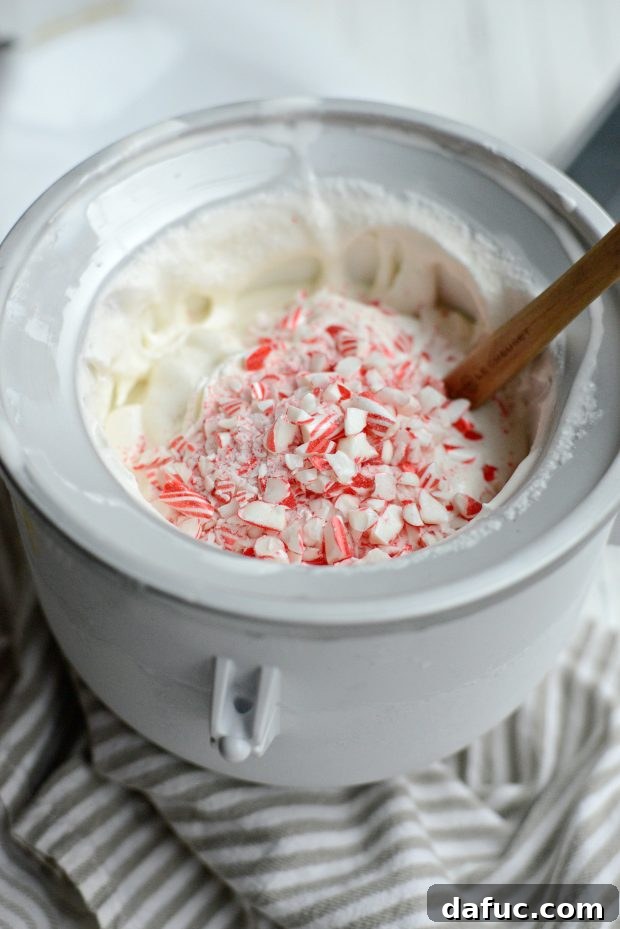
Now for the grand finale that makes this ice cream truly shine: the crushed peppermint candy canes. Gently fold in half a cup of the crushed candy canes into your freshly churned ice cream. Use a rubber spatula to carefully mix them in, ensuring they are evenly distributed throughout the creamy base without overworking the ice cream. Remember to save a portion of the remaining crushed pieces – these will be your secret weapon for sprinkling generously over the top just before serving. Who wouldn’t want an extra flourish of festive crunch and burst of peppermint flavor? This addition provides both a beautiful visual appeal and an irresistible texture, completing the holiday masterpiece.
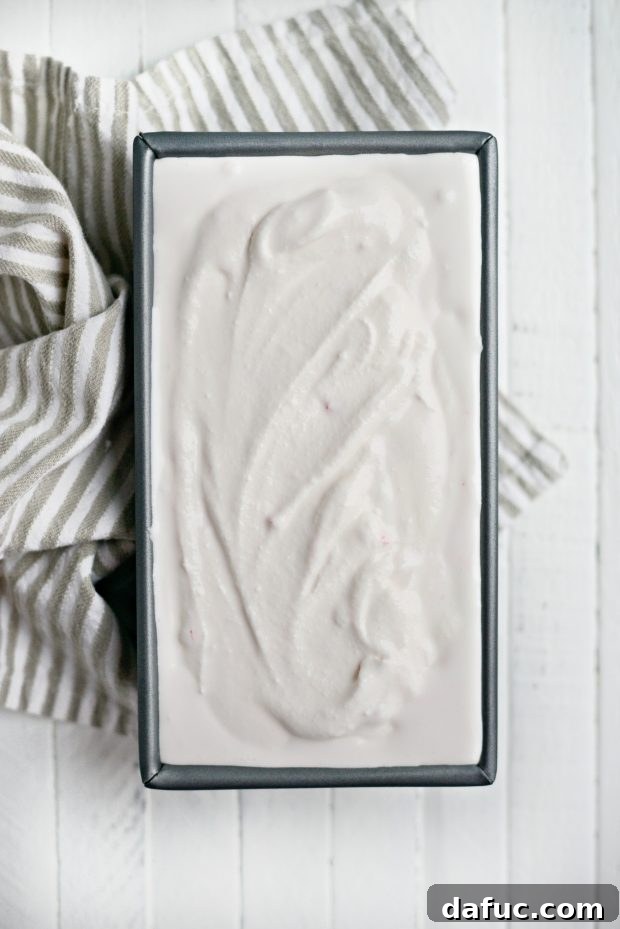
Once the crushed candy canes are incorporated, carefully transfer the ice cream into a freezer-safe container. For an ideal shape and easy scooping, I often use a loaf pan, which works like a charm for homemade ice cream. Cover the container tightly to prevent freezer burn and allow the ice cream to freeze overnight, or for a minimum of 4 hours. This crucial step, known as hardening, allows the ice cream to firm up to a perfect scoopable consistency, ensuring those beautiful scoops you see in professional parlors. While it’s tempting to dig in right away, the wait is absolutely worth it for the ideal texture and full flavor development.
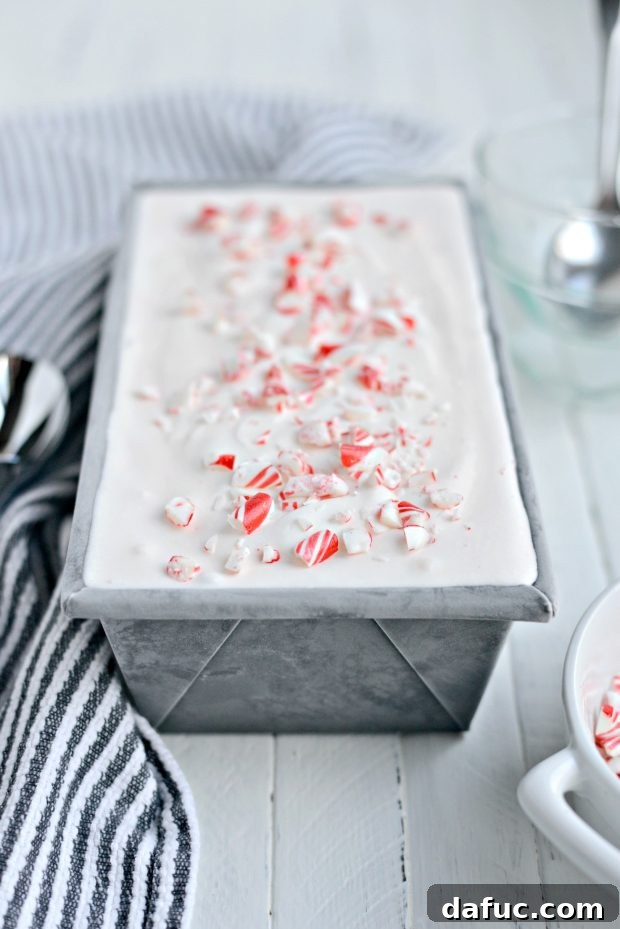
Right before the moment of truth – serving this delightful creation – take a moment to add a final touch of festive magic. Sprinkle some of the reserved crushed candy canes generously over the top of the hardened ice cream. This not only adds an extra layer of crunch and intense peppermint flavor but also enhances its visual appeal, making it even more inviting. Then, scoop out luxurious portions and serve immediately. Each spoonful offers a perfect blend of velvety smoothness and satisfying crunch, a vibrant burst of peppermint that is truly superior to any store-bought alternative. The homemade difference is evident in every single bite.
Tips for Perfect Peppermint Candy Cane Ice Cream:
- **Crushing Candy Canes:** For perfectly crushed candy canes, place them in a sturdy Ziploc bag, seal it, and then gently but firmly pound them with a rolling pin or the flat side of a meat tenderizer. Avoid over-crushing into a fine powder; small irregular pieces add better texture.
- **Even Distribution:** When folding in the crushed candy canes, do so gently and quickly after churning to ensure even distribution before the ice cream starts to harden significantly.
- **Preventing Freezer Burn:** Always store your homemade ice cream in an airtight, freezer-safe container. You can also place a piece of plastic wrap directly on the surface of the ice cream before sealing the lid to create an extra barrier against air and ice crystal formation.
- **Softening Before Serving:** If your ice cream is rock solid from the freezer, let it sit on the counter for 5-10 minutes before scooping. This allows it to soften slightly, making it much easier to get those perfect scoops.
- **Flavor Adjustments:** If you prefer a stronger peppermint flavor, you can add a tiny drop or two of pure peppermint extract to the base mixture along with the vanilla. Start small and taste, as extracts can be very potent.
Oh, the culinary possibilities this ice cream opens up! I just had a brilliant thought: how absolutely divine would a warm, freshly baked, fudgy brownie be, topped with a generous scoop (or perhaps two!) of this cool, creamy peppermint candy cane ice cream? The contrast of the warm, rich chocolate with the cold, refreshing minty sweetness and crunchy candy cane pieces would be an absolute symphony for the taste buds. Heavenly, right? I’m absolutely doing it next time. It’s the perfect marriage of flavors and temperatures that elevates a simple dessert into an extraordinary indulgence. Consider serving it alongside a cup of hot cocoa or coffee for an ultimate holiday treat.
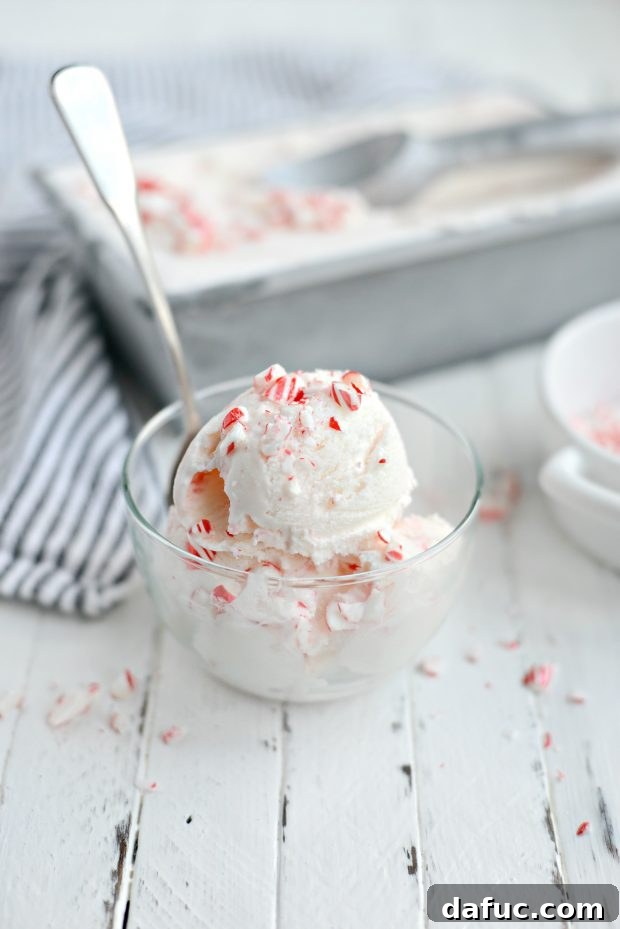
Enjoy the festive flavors of this homemade peppermint candy cane ice cream! It’s truly a labor of love that brings so much joy. If you decide to give this delightful recipe a try, I’d be absolutely thrilled to hear about your experience! Snap a photo of your beautiful creation and share it with me on Twitter or Instagram by tagging me. Your culinary adventures inspire me!
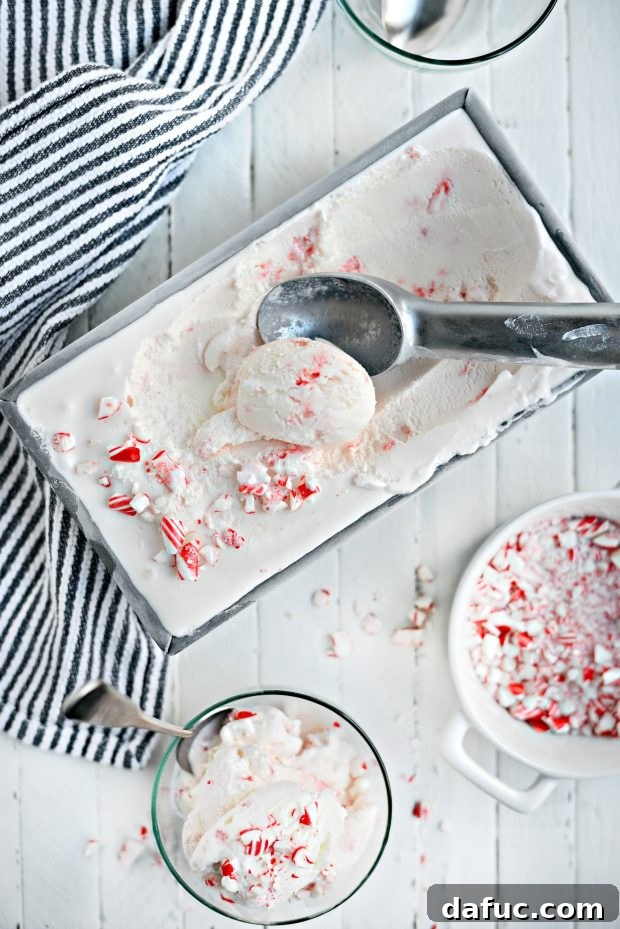

Print Recipe
Pin Recipe
Leave a Review »
Peppermint Candy Cane Ice Cream
Ingredients
- 1 cup granulated sugar
- 2 cups heavy whipping cream
- 2 cups half & half, see notes
- 1 tablespoon pure vanilla extract
- 1 pinch sea salt
- 1/2 cup crushed peppermint candy canes, plus more for serving
Equipment
-
Kitchen Aid 7-Quart Pro-Line Stand Mixer
-
KitchenAid KICA0WH Ice Cream Maker Attachment – Excludes 7, 8, and most 6 Quart Models
Instructions
-
In a large bowl, whisk together the sugar, heavy cream, half & half and the vanilla and salt until the sugar is dissolved completely.
-
Cover and refrigerate for 1 to 2 hours.
-
Once chilled, pour the ice cream base into your ice cream maker and blend until thick following the manufacturer’s instructions.
-
Stir in the 1/2 cup of crushed peppermint candy canes, by hand and using a rubber spatula to mix. Transfer ice cream to a freezer-safe container and freeze for 4 hours or overnight.
-
Serve with extra crushed candy canes over top, if desired.