
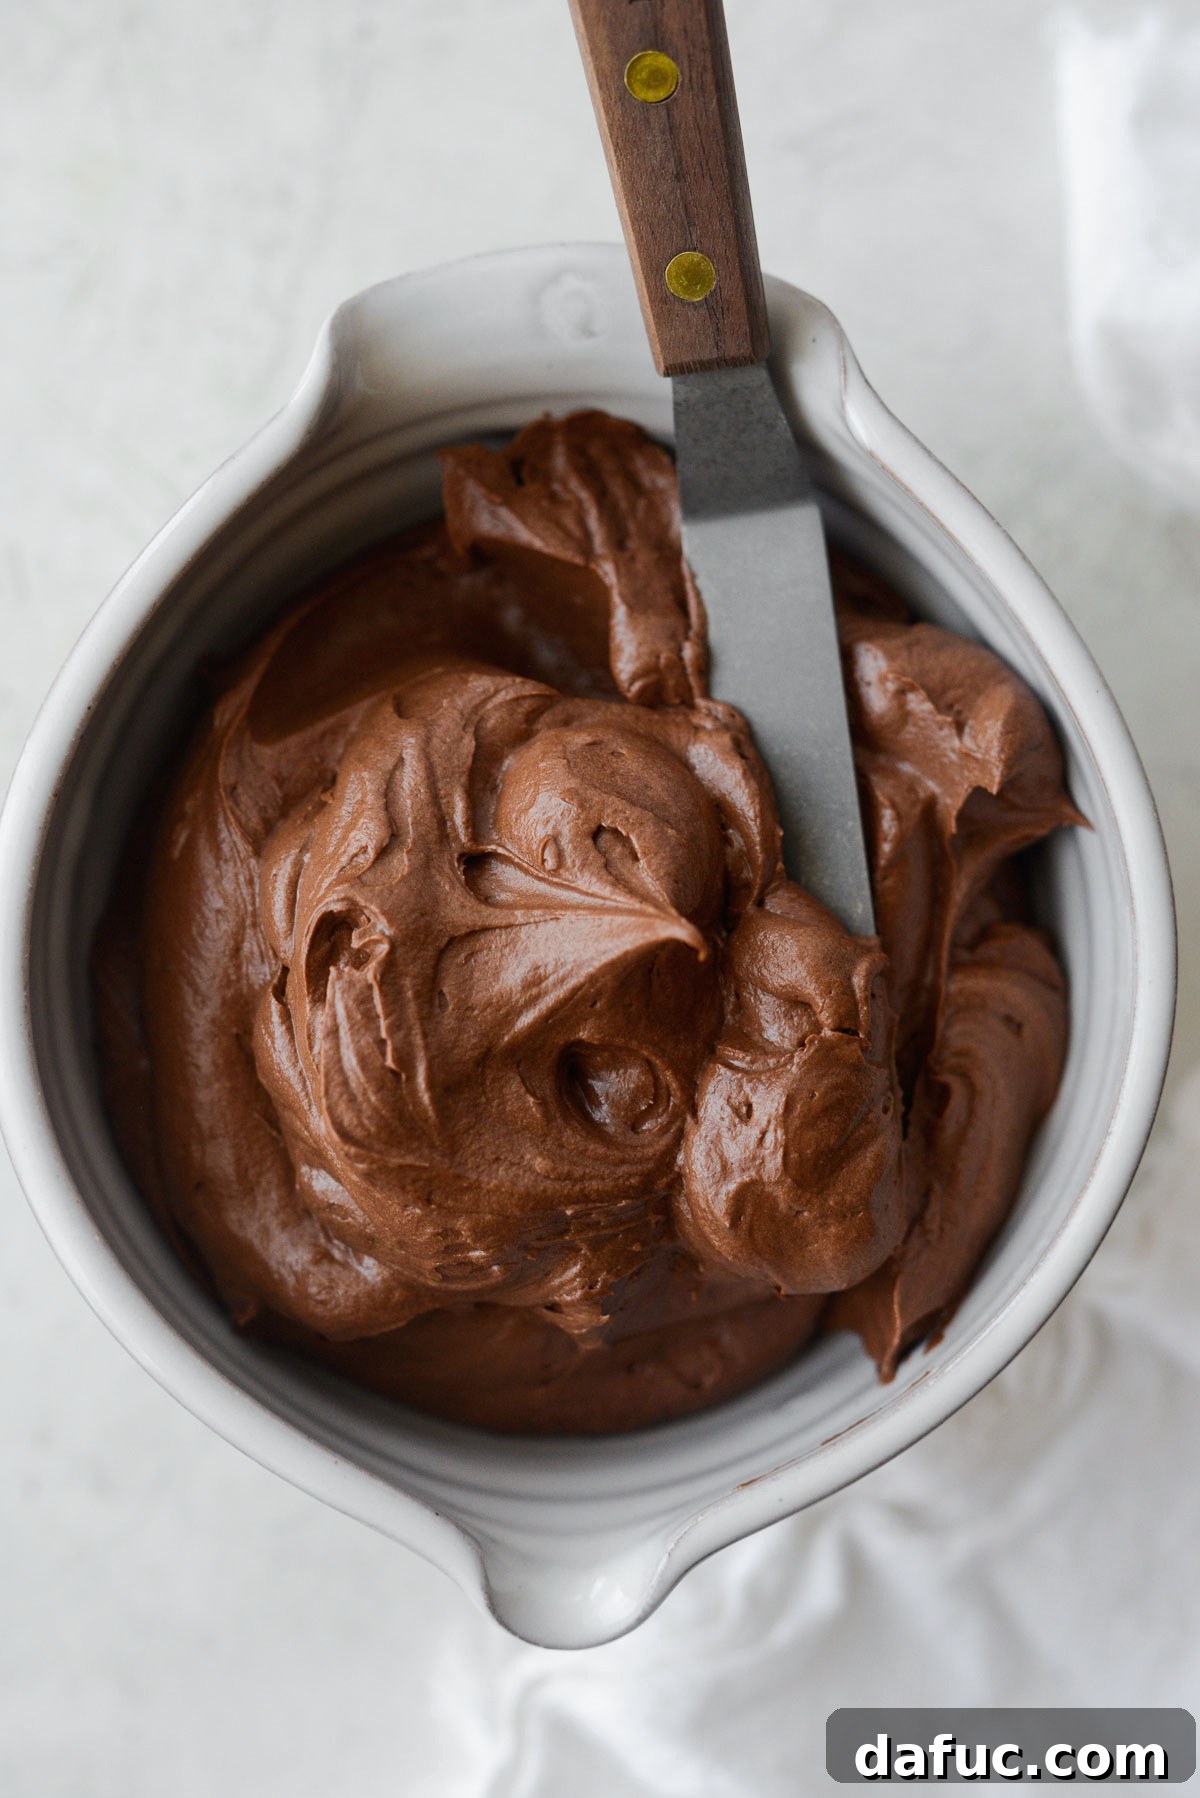
Whipped Chocolate Buttercream: Your Guide to a Perfect Frosting
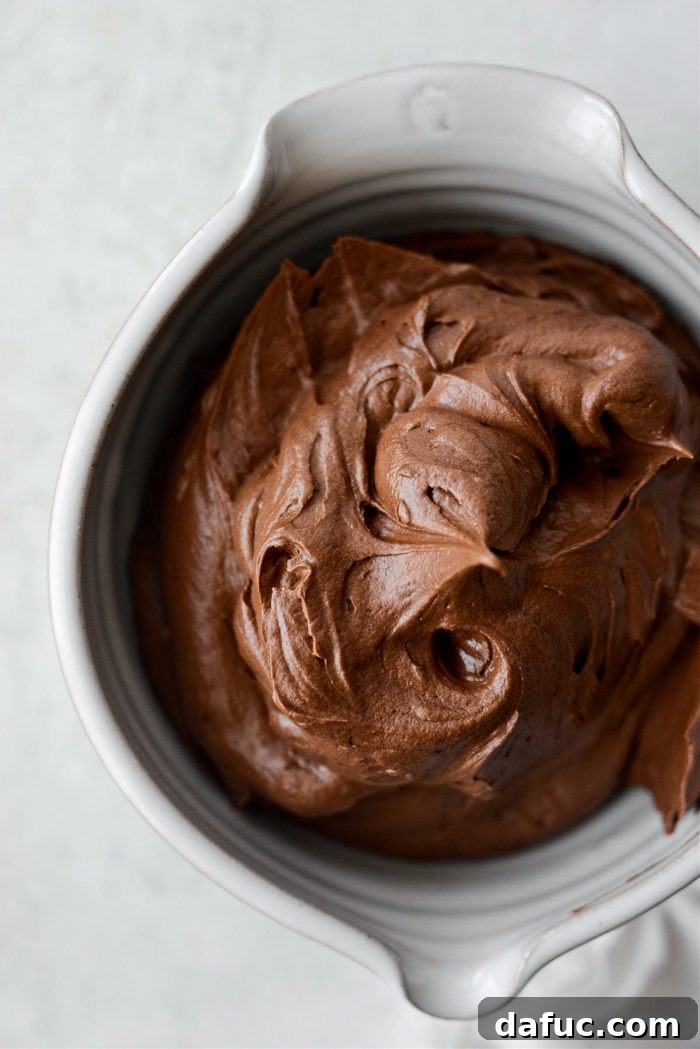
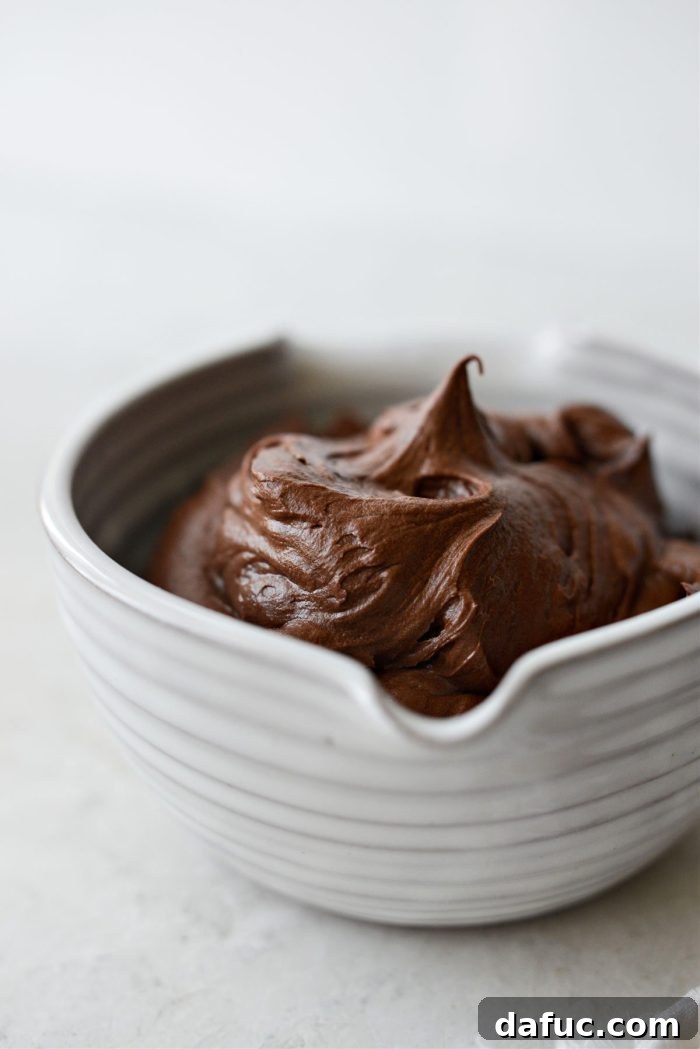
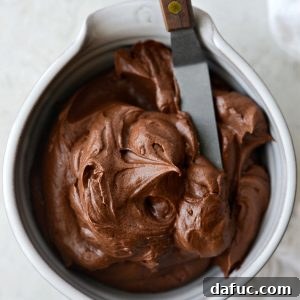
Welcome to the ultimate guide for crafting the most heavenly Whipped Chocolate Buttercream! This simple, yet incredibly rich and fluffy recipe is a must-have in every baker’s repertoire. Forget stiff, overly sweet frostings; our rendition delivers a light, airy, and intensely chocolatey experience that melts in your mouth. Perfect for elevating any dessert, from a humble cupcake to a grand celebration cake, this buttercream promises a smooth, decadent finish every time.
Making this delightful frosting requires just five basic ingredients, transformed through careful blending and whipping into a silky smooth, dream-like texture. It’s not just easy to make; it’s a joy to work with, whether you’re spreading it over a sheet cake, piping elegant swirls onto cupcakes, or using it as a luscious filling between cake layers. This recipe yields approximately 2 cups, enough to generously frost 12 standard cupcakes or a 9×13 inch sheet cake. For larger projects, such as a two-layer cake or a double batch of cupcakes, we recommend doubling the recipe to ensure you have plenty for a truly show-stopping creation.
The secret to this buttercream’s superior texture and flavor lies in the quality of its components and the technique used to combine them. We’ll guide you through each step, ensuring you achieve that perfect balance of sweetness, richness, and an unbelievably smooth consistency. Get ready to impress with your baking prowess, as this whipped chocolate buttercream is destined to become your go-to frosting recipe!
Essential Ingredients for Your Whipped Chocolate Frosting
Creating this light, fluffy, and irresistibly creamy chocolate buttercream relies on a few core ingredients. Each plays a vital role in achieving the perfect balance of flavor, sweetness, and texture. Here’s a detailed look at what you’ll need and why:
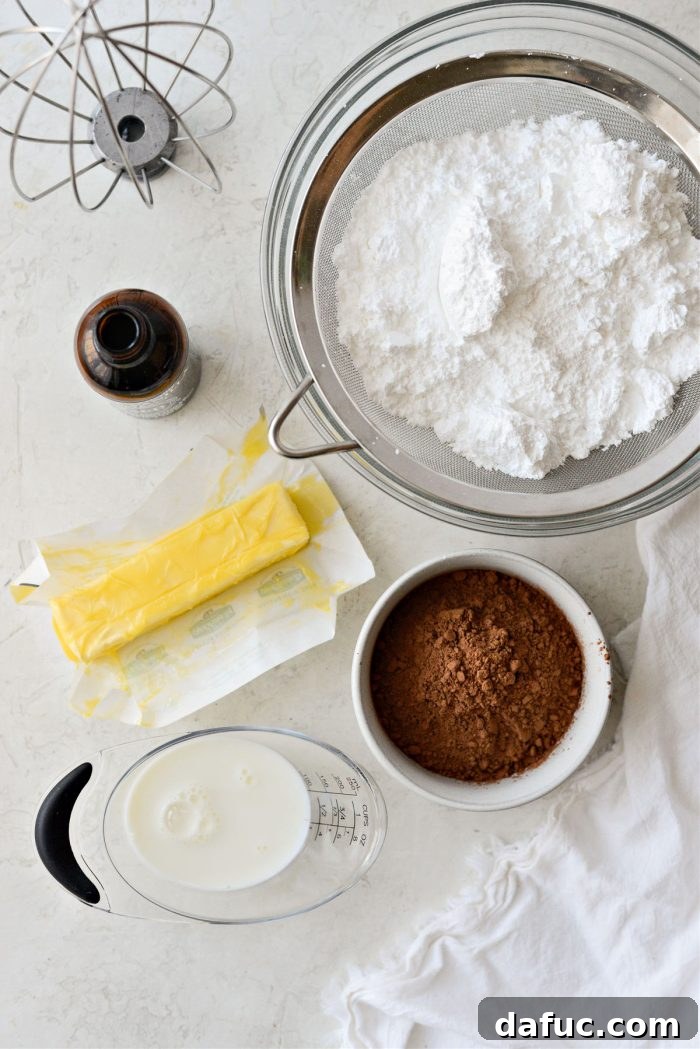
- Powdered Sugar (Confectioners’ Sugar): This is the primary sweetener and thickening agent for our buttercream. Unlike granulated sugar, powdered sugar contains a small amount of cornstarch, which helps prevent clumping and contributes to the smooth, silky texture. It dissolves instantly, ensuring no gritty bits in your final frosting. Always sift your powdered sugar to remove any lumps for the smoothest possible result.
- Unsweetened Cocoa Powder: The star of our chocolate show! Unsweetened cocoa powder provides the rich, deep chocolate flavor without adding extra sugar. For an even darker, less acidic flavor, opt for Dutch-processed cocoa powder. If you use natural unsweetened cocoa, it might react slightly differently with leavening agents if it were in a cake, but for frosting, either will provide a delicious chocolate essence. Sifting it with the powdered sugar is crucial to avoid specks and ensure even distribution.
- Fine Salt: A pinch of fine salt is not just for seasoning; it’s a flavor enhancer. Salt balances the sweetness of the sugar and deepens the chocolate notes, preventing the frosting from tasting one-dimensional or cloyingly sweet. Both sea salt and pink Himalayan salt work wonderfully.
- Unsalted Butter: The foundation of any good buttercream! Using unsalted butter allows you to control the overall saltiness of your frosting. The most critical aspect here is ensuring your butter is properly softened to room temperature. This means it should be pliable enough to leave a slight indentation when pressed, but not melted or greasy. Cold butter will lead to a lumpy frosting, while melted butter will make it too thin and unstable. Proper temperature ensures smooth incorporation and a light, airy whip.
- Milk (or Cream): This liquid component helps achieve the desired consistency. While any milk (whole, skim, or plant-based) will work, whole milk, heavy cream, or even half & half will lend a richer, creamier texture and mouthfeel. Start with the recommended amount and adjust incrementally to reach your preferred thickness.
- Vanilla Extract: A touch of vanilla extract is essential for adding warmth, complexity, and enhancing the overall chocolate flavor. Pure vanilla extract is always preferred for the best taste, but high-quality imitation vanilla can also be used. You can adjust the amount to your personal preference, adding a little extra for a more pronounced vanilla aroma.
Gathering these simple ingredients and preparing them correctly is your first step towards creating an unforgettable whipped chocolate buttercream!
Step-by-Step Guide to Whipped Chocolate Buttercream
Follow these detailed steps to create a perfectly smooth, light, and fluffy whipped chocolate buttercream that’s ready for all your baking adventures. Precision in temperature and technique is key!
Preparation: Sifting Dry Ingredients
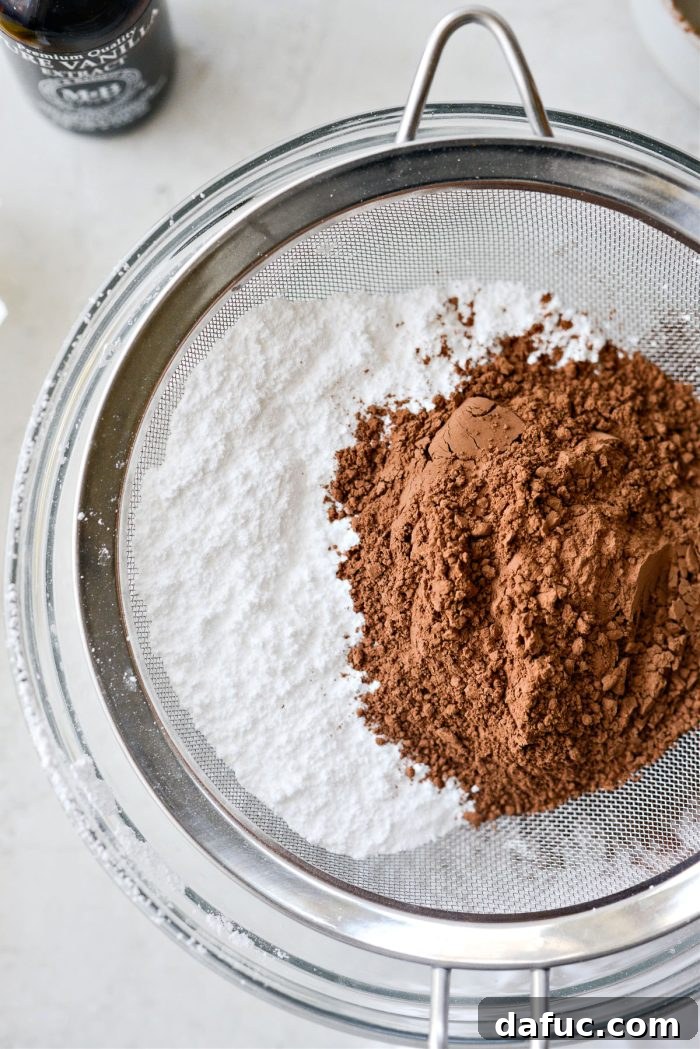
- Begin by measuring 2½ cups of powdered sugar, ½ cup of unsweetened cocoa powder, and a small pinch of fine salt. Place these dry ingredients into a fine-mesh sieve positioned over a large mixing bowl.
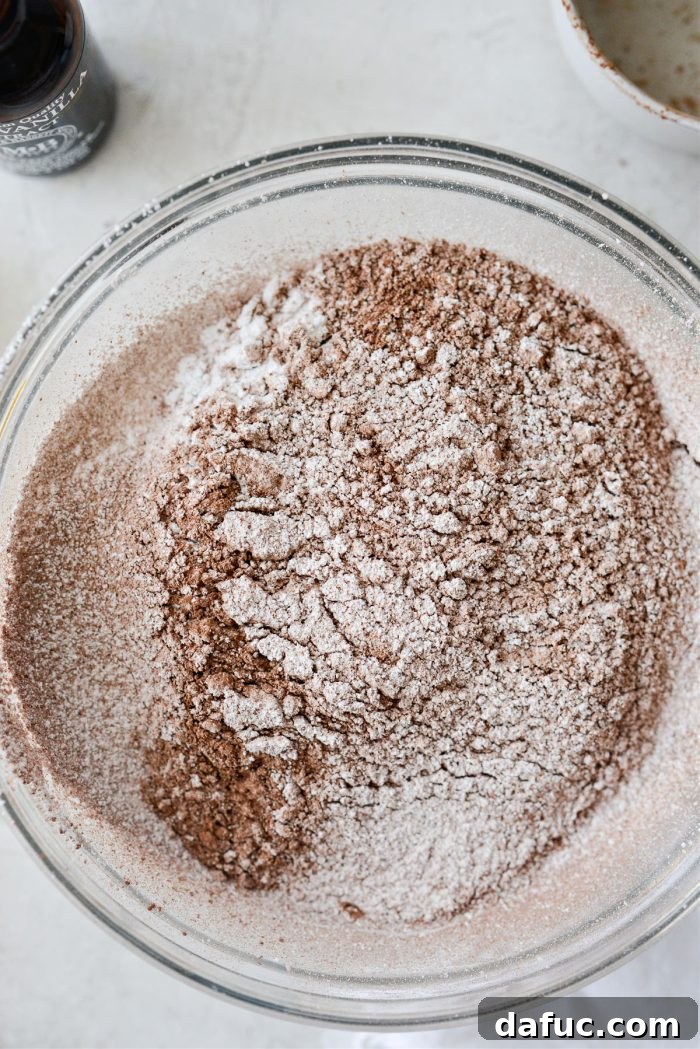
- Carefully sift the powdered sugar, cocoa powder, and salt together. This step is crucial for achieving a smooth, lump-free buttercream. Powdered sugar and cocoa powder often have small clumps, and sifting ensures they are broken down and evenly combined, preventing a grainy texture in your final frosting. Set the sifted mixture aside.
Whipping the Butter
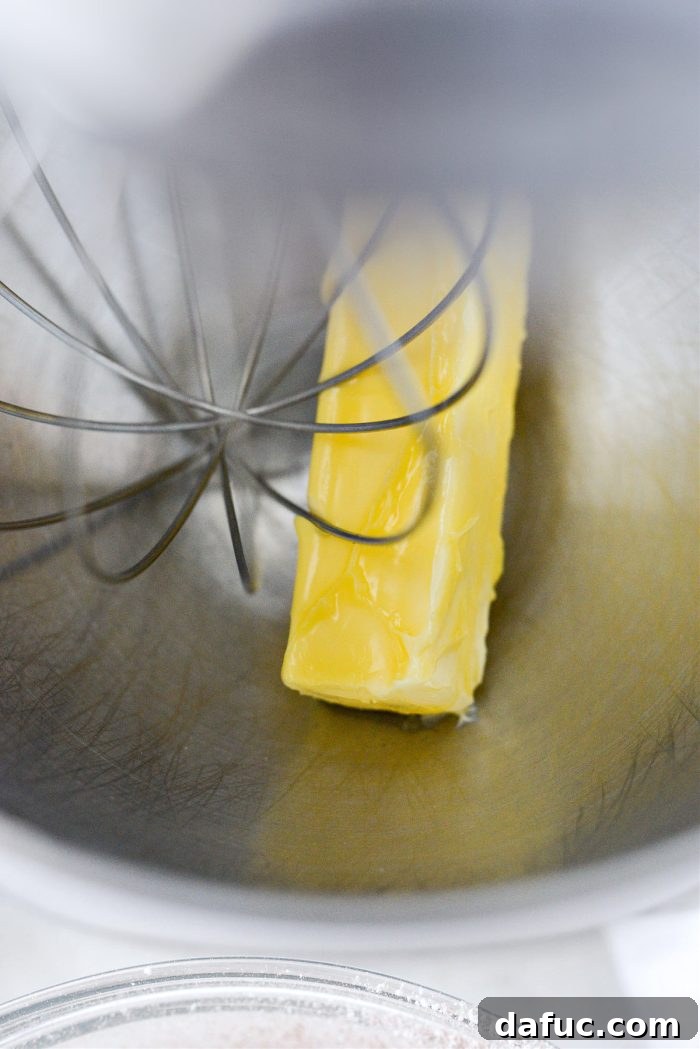
- Place 1 stick (½ cup) of softened unsalted butter into the bowl of your stand mixer. The butter must be at true room temperature – soft but not melted – for the best results. This allows it to whip up light and airy, creating the base for your fluffy buttercream.
- Attach either the whisk attachment or the paddle attachment to your stand mixer. While the whisk attachment will ultimately create the lightest buttercream, starting with a paddle can be gentler on your mixer if your butter is on the firmer side. You will switch to the whisk later if not using it from the start.
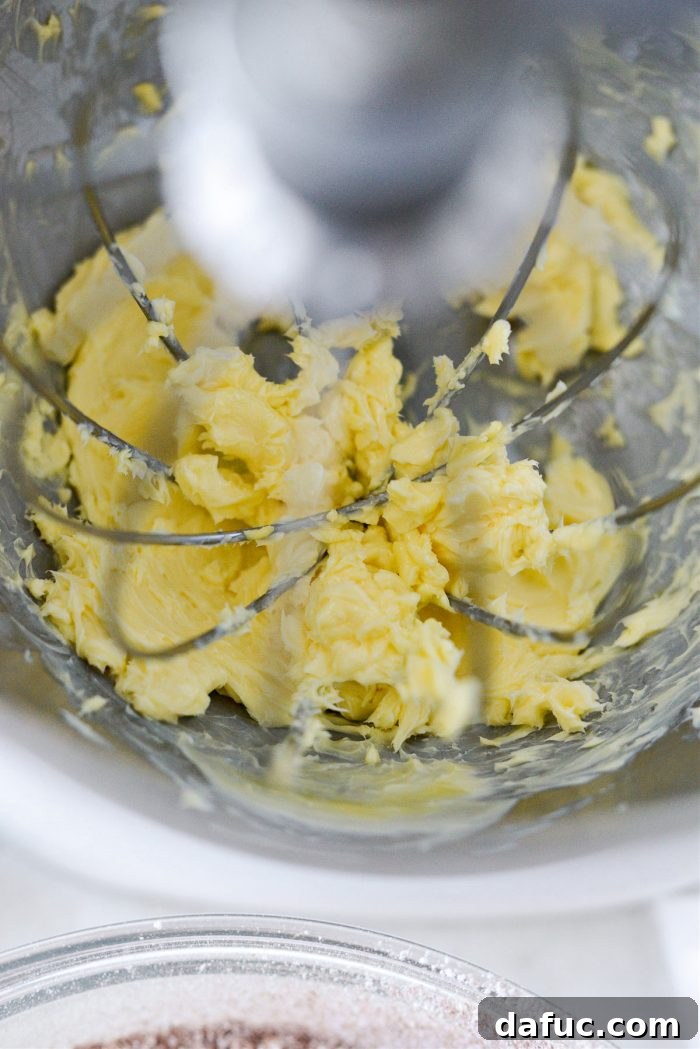
- Beat the butter on medium-high speed for 2 to 3 minutes until it becomes noticeably light in color and creamy in texture. This process incorporates air, making the buttercream fluffy. Scrape down the sides of the bowl once or twice during this step to ensure even whipping.
Combining Wet and Dry Ingredients
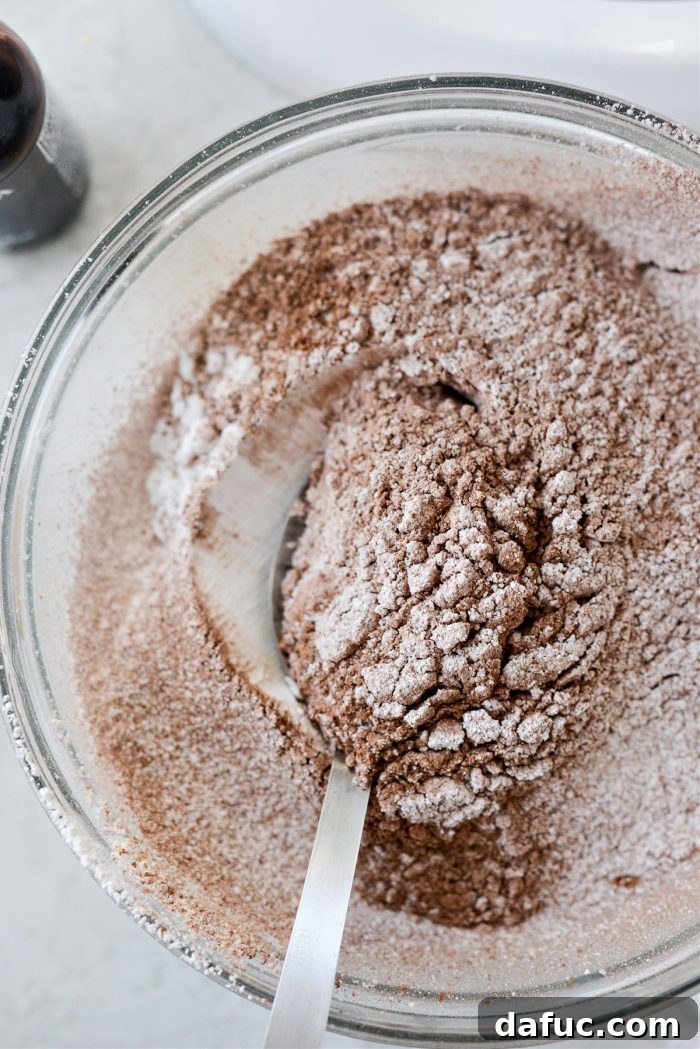
- With the mixer on low speed, gradually add the sifted powdered sugar and cocoa mixture to the whipped butter. Add it a large spoonful at a time, allowing each addition to incorporate before adding more. This prevents a “sugar cloud” and ensures smooth mixing.
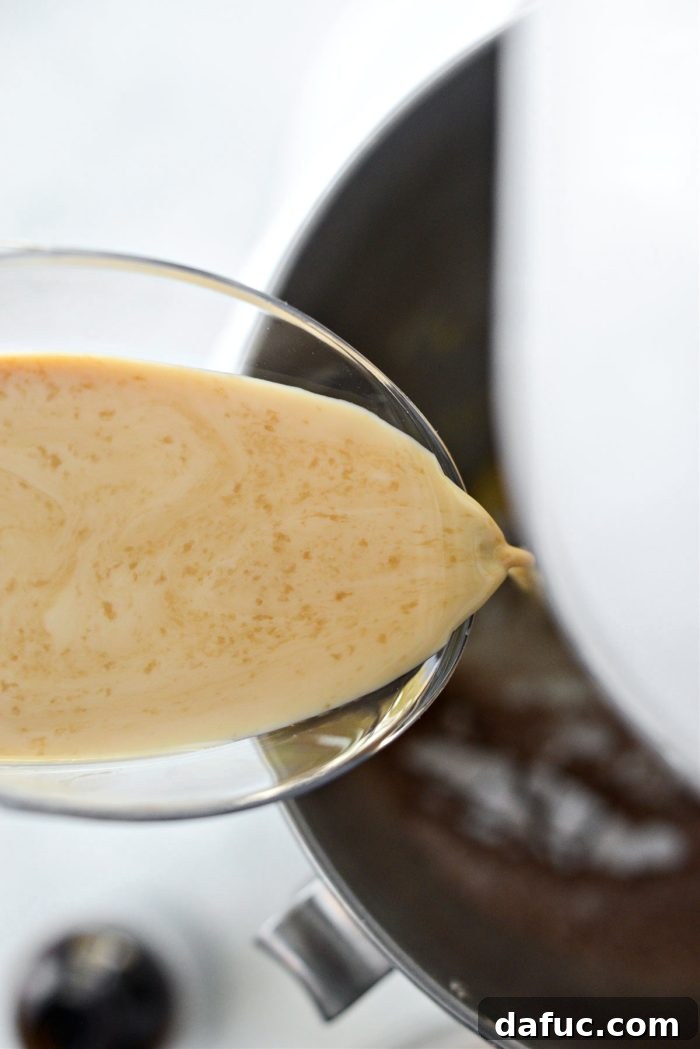
- In a separate small bowl or measuring cup, combine 1 teaspoon of vanilla extract with 3 tablespoons of milk (or heavy cream/half & half).
- Once about half of the dry mixture has been incorporated into the butter, add approximately half of the vanilla milk mixture. Mix on low speed until just combined.
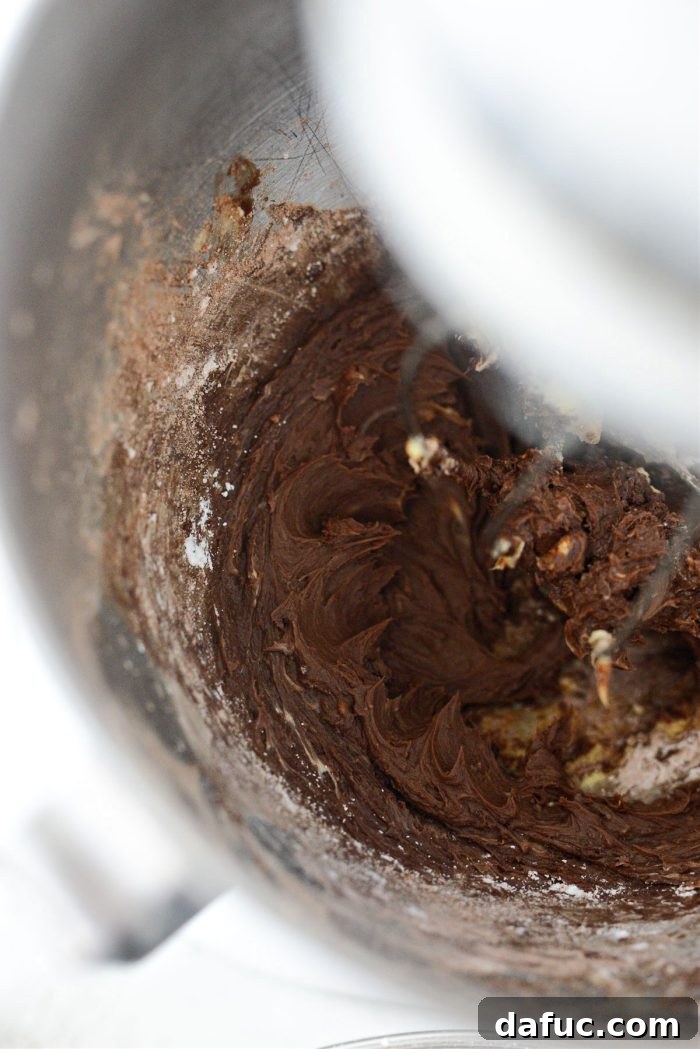
- Continue to alternate adding the remaining dry ingredients with the remaining milk mixture. Mix on low speed after each addition until just incorporated. Make sure to scrape down the sides and bottom of the mixing bowl frequently with a rubber spatula. This ensures all ingredients are fully blended and prevents streaks or unmixed portions.
The Final Whip for Fluffiness
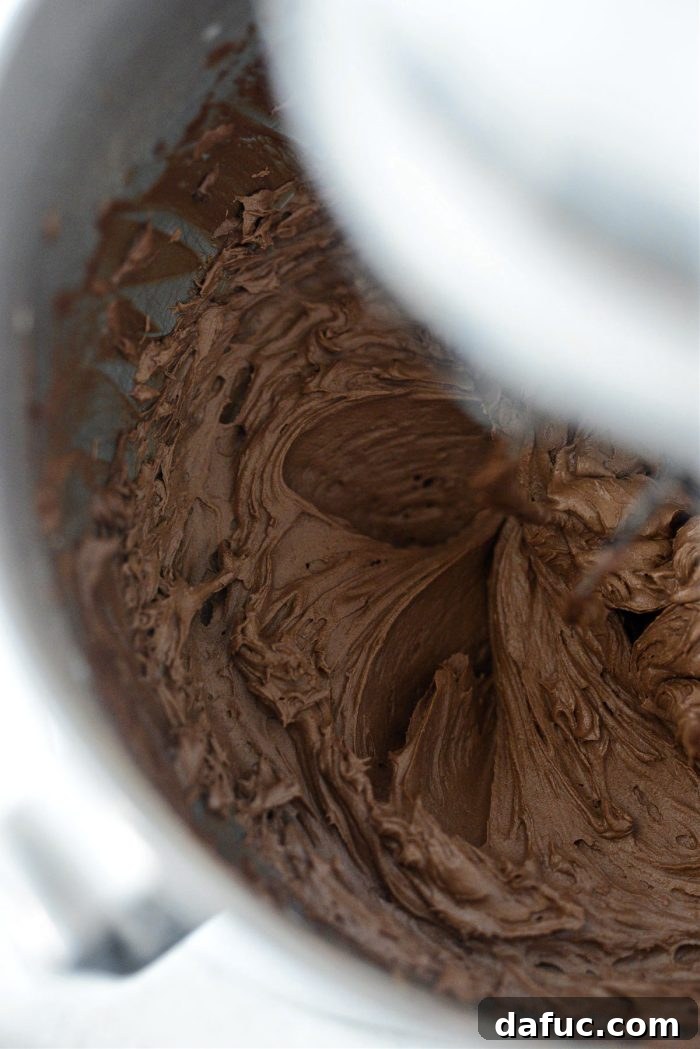
- Once all ingredients are combined and the mixture looks uniform, if you were not already using it, switch to the whisk attachment on your stand mixer. Turn the mixer to high speed and whip the buttercream for another 2 to 3 minutes. This final whipping phase is where the magic happens, transforming the dense mixture into a truly light, airy, and fluffy whipped chocolate buttercream. It will become noticeably paler in color and increase in volume.
- Taste your exquisite buttercream and adjust as needed. If you desire a stronger vanilla note, add a few more drops of vanilla extract. For enhanced flavor balance, a tiny pinch more of salt can make a difference. Mix briefly to incorporate any adjustments.
Your beautifully whipped chocolate buttercream is now ready to adorn your favorite baked goods!
Troubleshooting Your Whipped Chocolate Buttercream
Even experienced bakers can encounter minor hiccups when making buttercream. Don’t worry, most issues are easily fixable! Here are solutions to common problems:
Buttercream Too Thick or Too Thin?
- If your frosting is too thick: The easiest way to thin out your buttercream is by adding small amounts of milk (or cream) one teaspoon at a time. Mix thoroughly after each addition on low speed until you reach your desired consistency. Be patient and add gradually to avoid over-thinning.
- If your frosting is too thin: To thicken your buttercream, gradually add sifted powdered sugar, one tablespoon at a time. Mix on low speed until incorporated after each addition. Continue until the buttercream reaches your preferred pipeable or spreadable consistency.
Other Common Issues & Solutions:
- Grainy Texture: This usually happens if the powdered sugar wasn’t sifted properly or wasn’t fully dissolved. If your buttercream feels grainy, continue whipping it on high speed for an additional 2-3 minutes. The friction and air incorporation can sometimes help dissolve any remaining sugar crystals. Ensure your butter was perfectly softened, as cold butter can also contribute to graininess.
- Greasy Buttercream: A greasy texture often indicates that your butter was too warm or partially melted when you started. While it’s hard to completely reverse, you can try refrigerating the buttercream for 10-15 minutes (keeping a close eye on it), then re-whipping it on medium-high speed until it lightens up and becomes fluffy again. Be careful not to let it get too cold, or it will become hard.
- Curdled Appearance: If your buttercream looks curdled or separated, it might be due to temperature differences between your butter and liquid. If it appears this way, try warming a small portion (about ½ cup) in the microwave for 5-10 seconds until just barely melted, then slowly stream it back into the main batch while whipping on high speed. Alternatively, place the bowl over a pot of simmering water (bain-marie style) for a minute or two, stirring constantly, then remove and whip until smooth.
With these simple adjustments, you can confidently tackle any buttercream challenge and achieve a flawless frosting every time!
Storage and Shelf Life of Whipped Chocolate Buttercream
How Do I Store Buttercream and How Long Will It Last?
Proper storage is essential to maintain the freshness and quality of your homemade whipped chocolate buttercream. This recipe is wonderfully versatile and can be made ahead of time:
- Immediate Use: If you plan to use the buttercream right away, it can sit at cool room temperature (below 75°F / 24°C) for up to 2 hours. Beyond that, it’s best to refrigerate it.
- Refrigeration: Store any leftover or prepared buttercream in an airtight container in the refrigerator for up to 1 week. When you’re ready to use it, let it come to room temperature for about an hour, then re-whip it with a stand mixer or hand mixer on medium-high speed for a few minutes until it regains its light and fluffy consistency. You might need to add a tiny splash of milk if it seems too stiff.
- Freezing: For longer storage, this buttercream freezes beautifully. Place it in a freezer-safe, airtight container and freeze for up to 3 months. To thaw, transfer the container to the refrigerator overnight, then let it come to room temperature. Re-whip as described above before using. Freezing is an excellent way to prepare frosting in advance for future baking projects.
By following these storage guidelines, you’ll always have delicious chocolate buttercream on hand whenever a craving or baking inspiration strikes!
Versatile Uses for Your Whipped Chocolate Buttercream
What Can I Frost with This Buttercream?
This whipped chocolate buttercream is incredibly versatile and perfect for a wide range of desserts. Its light and fluffy texture, combined with rich chocolate flavor, makes it suitable for almost any sweet treat that calls for frosting. This recipe yields approximately 2 cups, which is ideal for:
- Cupcakes: Generously frosting about 12 standard cupcakes with beautiful swirls.
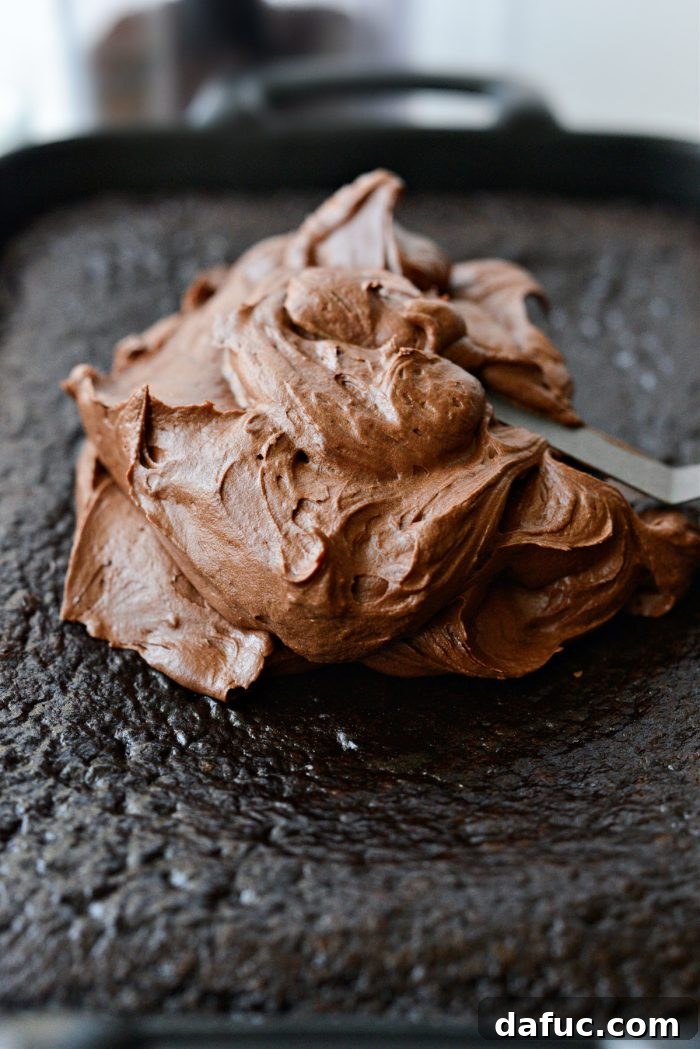
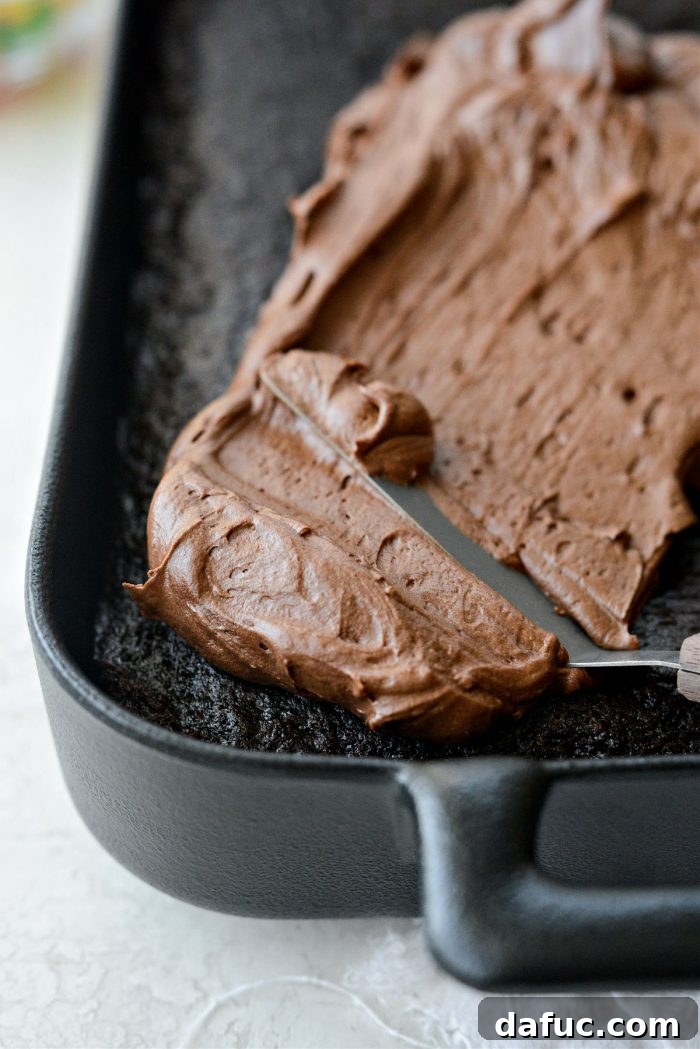
- Sheet Cakes: Covering a single 9×13 inch sheet cake with a delightful layer of chocolate goodness.
- Brownies & Bars: Adding an irresistible topping to your favorite brownies or dessert bars.
- Cookies: Spreading between two cookies for an elevated sandwich cookie or piping decorative touches onto sugar cookies.
Scaling for Larger Projects:
For more ambitious baking endeavors, consider these adjustments:
- Two-Layer Cake or 2 Dozen Cupcakes: We personally recommend making 1.5 times this recipe. This will give you roughly 3 cups of frosting, providing enough for a nice layer between and on top of a modest two-layer cake, or for a generous swirl on two dozen cupcakes.
- Elaborate Decorations or Larger Cakes: If you’re planning extensive piping, intricate designs, or frosting a larger two-layer cake (8-inch or 9-inch rounds), it’s best to double this recipe completely. Doubling will yield approximately 4 cups of frosting, which is generally sufficient for comprehensive coverage and decorative work on most standard two-tier cakes. Having extra is always better than running short in the middle of decorating!
From simple spreads to intricate piping, this whipped chocolate buttercream is sure to add that perfect finishing touch to all your homemade desserts!
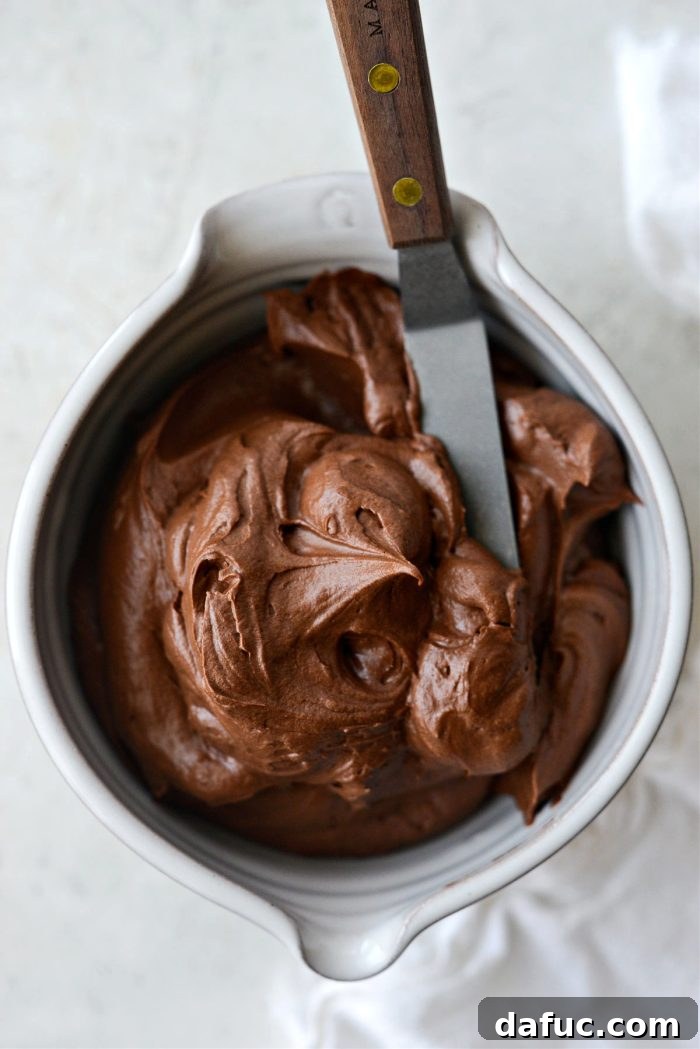
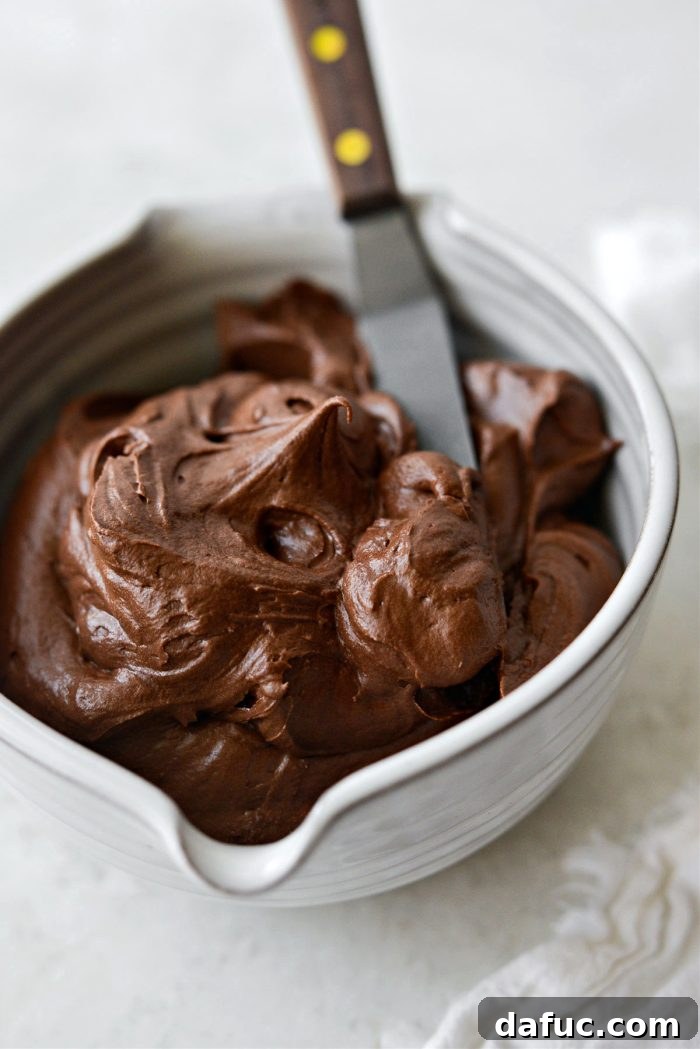
Enjoy Baking! We hope you absolutely adore this Whipped Chocolate Buttercream recipe. If you give it a try, please share your creations with us! Snap a photo and tag us on Twitter or Instagram!
Print Recipe
Pin Recipe
☆
☆
☆
☆
Leave a Review »
2
cups
Whipped Chocolate Buttercream
5
15
20
Ingredients
- 2½ cups powdered sugar
- 1/2 cup unsweetened cocoa powder
- 1 small pinch fine salt, optional
- 1/2 cup unsalted butter, softened
- 3 tablespoons milk, heavy cream or half & half, or more if needed
- 1 teaspoon vanilla extract, or more to taste
Equipment
-
KitchenAid 6 Qt. Professional 600 Series Stand Mixer
Instructions
-
Sift the powdered sugar, cocoa, and fine salt using a mesh sieve set over a large bowl.
-
In the bowl of your stand mixer, fitted with either the whisk or paddle attachment. Beat the butter until creamy, about 2 minutes.
-
Add the vanilla to the milk.
-
Alternate adding a few spoonfuls of the sifted sugar and cocoa, and then a little of the milk to the butter. Mix until combined and repeat, scraping down the sides of the bowl as you go.
-
Once thoroughly combined, switch over to the whisk attachment (if not already using) and with your mixer on high, whip for 4 minutes or until light and fluffy.
-
If frosting is too thick: Add small amounts of milk until desired consistency.
If too thin: Add small amounts of powdered sugar until you reach a consistency to your liking.
-
Taste and adjust, adding more vanilla or salt if desired.
-
Use immediately or store buttercream in a container with a tight-fitting lid in the refrigerator for up to 1 week. Or freeze for up to 3 months.
Notes
Calories: 1072kcal,
Carbohydrates: 165g,
Protein: 6g,
Fat: 50g,
Saturated Fat: 32g,
Polyunsaturated Fat: 2g,
Monounsaturated Fat: 13g,
Trans Fat: 2g,
Cholesterol: 127mg,
Sodium: 31mg,
Potassium: 414mg,
Fiber: 8g,
Sugar: 150g,
Vitamin A: 1491IU,
Calcium: 98mg,
Iron: 3mg
Laurie McNamara
Desserts & Sweet Treats, Homemade Ingredients & Condiments
American