
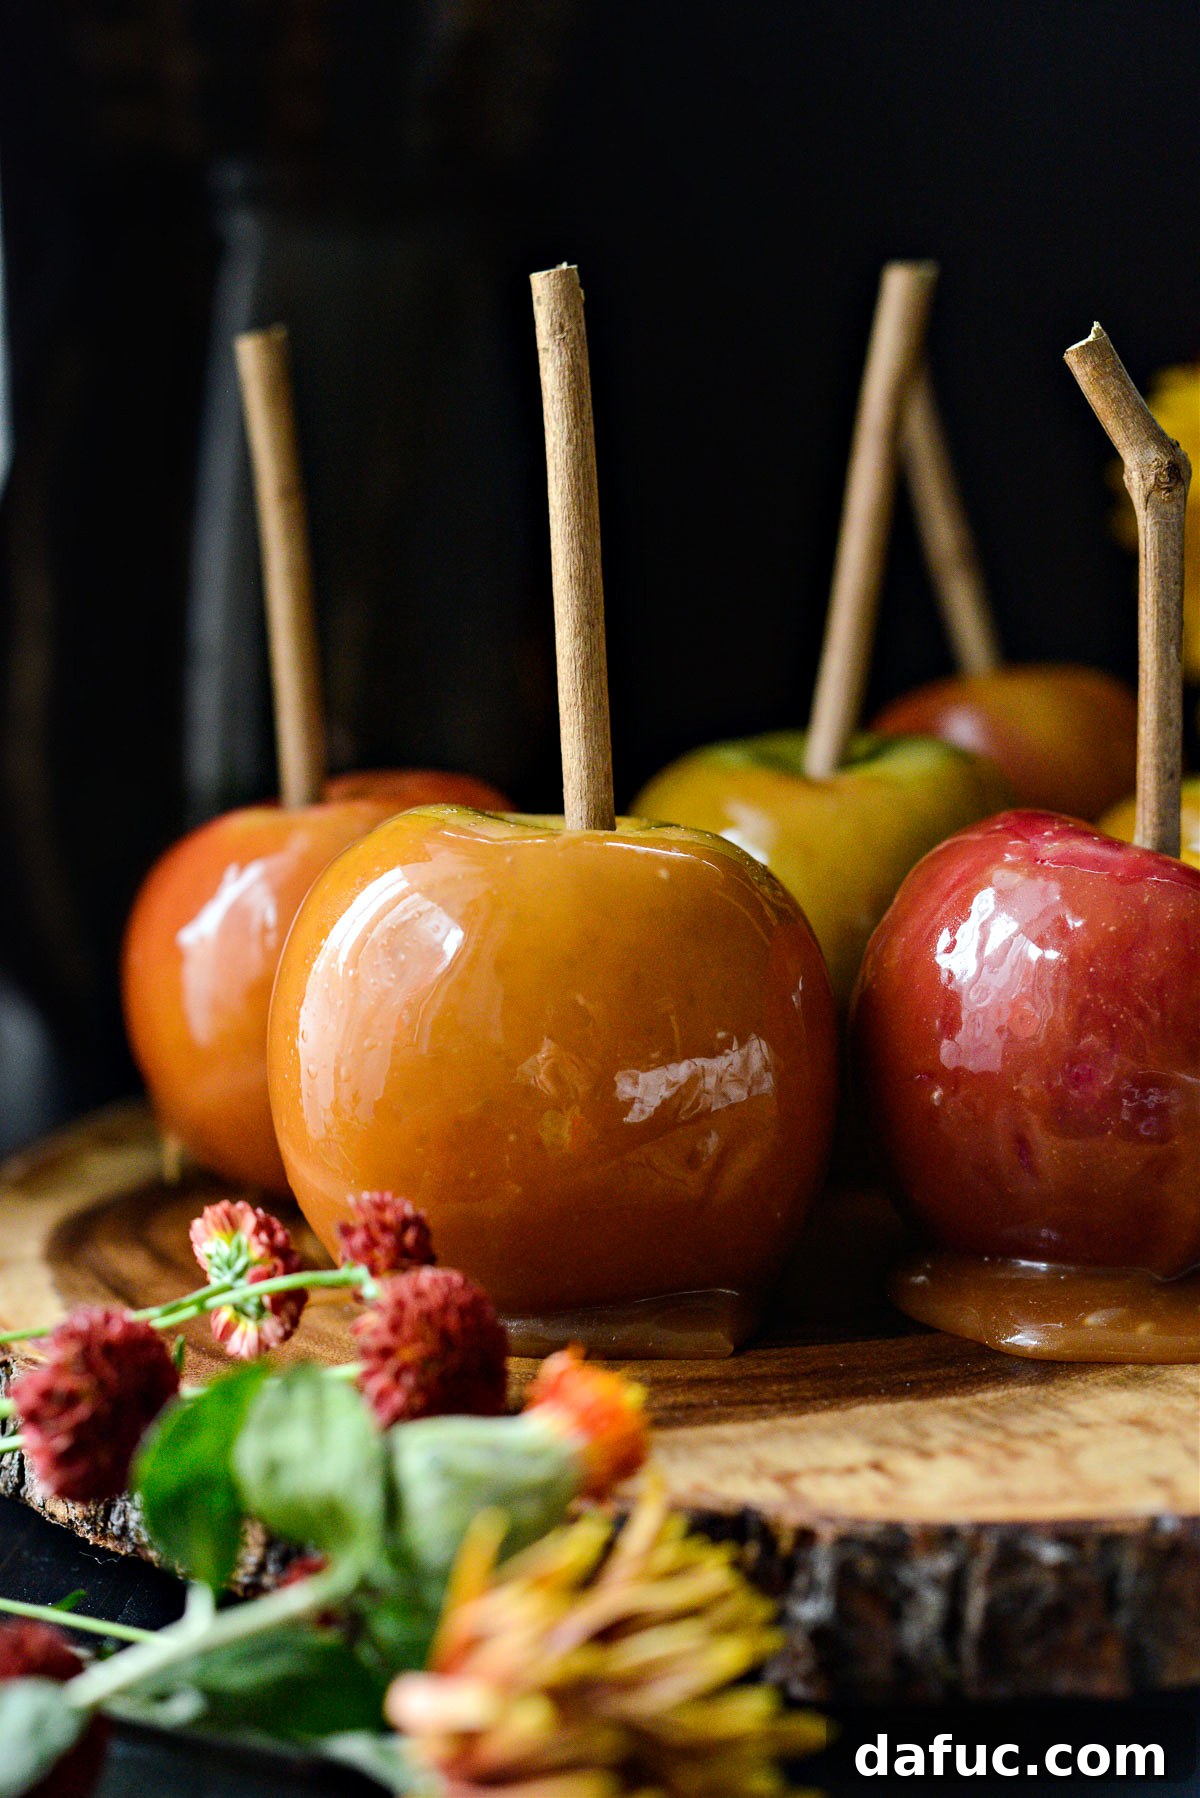
Welcome to the ultimate guide for crafting the most delightful **homemade caramel apples**! Forget the often-disappointing store-bought versions; these Easy Homemade Caramel Apples are a revelation. Imagine sweet, crisp apples coated in a rich, buttery, and perfectly sticky caramel, made from scratch right in your own kitchen. This isn’t just a recipe; it’s a journey to creating a classic fall treat that’s both incredibly satisfying and surprisingly simple to achieve. With detailed instructions, essential tips, and a focus on preventing common pitfalls, you’re guaranteed success. This recipe typically yields 8 to 10 beautiful caramel apples, depending on the size of your chosen fruit.
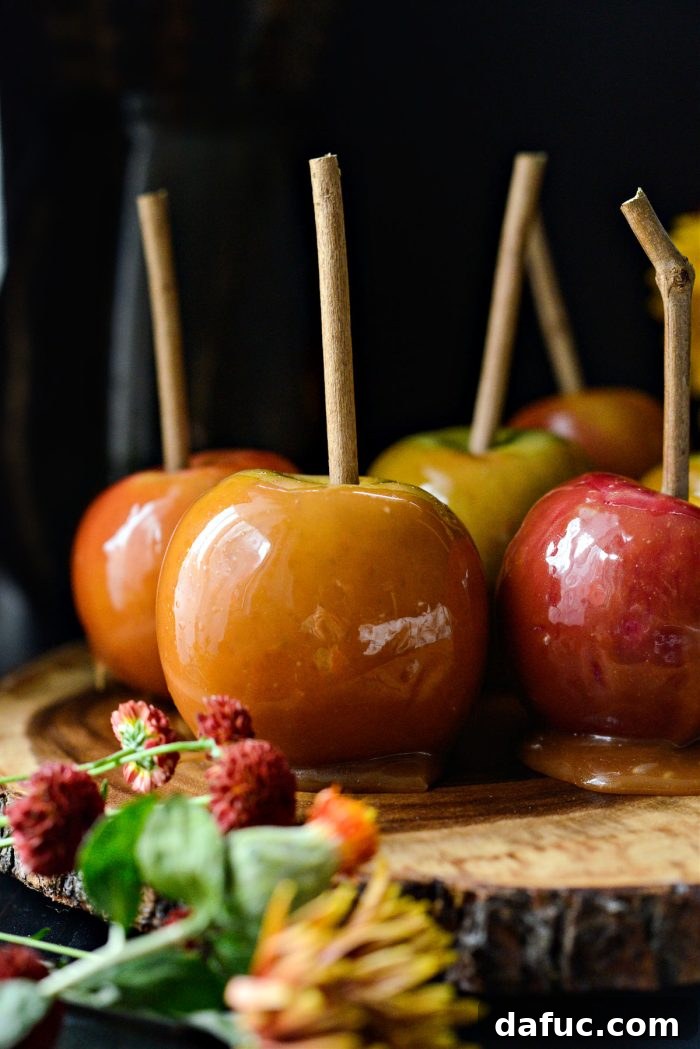
The Irresistible Allure of Homemade Caramel Apples
There’s a special kind of magic that comes with biting into a truly excellent caramel apple. It’s a nostalgic treat that evokes memories of autumn festivals, Halloween parties, and cozy evenings. But let’s be honest, many of us have experienced the frustration of tough, waxy store-bought caramel apples that threaten to pull out a tooth! The truth is, there’s no comparison to the superior flavor and luxurious texture of **homemade caramel**. While I fondly remember melting individually wrapped caramels in a double boiler as a child, those don’t quite capture the depth and richness that a proper homemade caramel provides.
Through extensive testing and a few culinary adventures (and misadventures!), I’ve perfected a method for making these **easy caramel apples** that minimizes the risk of common issues like sugar crystallization or burning. This recipe is designed to be stress-free, leading to consistently delicious results that will impress everyone who tries them. The key is patience and a few expert tricks that I’m excited to share. The biggest challenge for me? Waiting for the caramel to cool to the perfect dipping consistency – the struggle is real, but absolutely worth it!
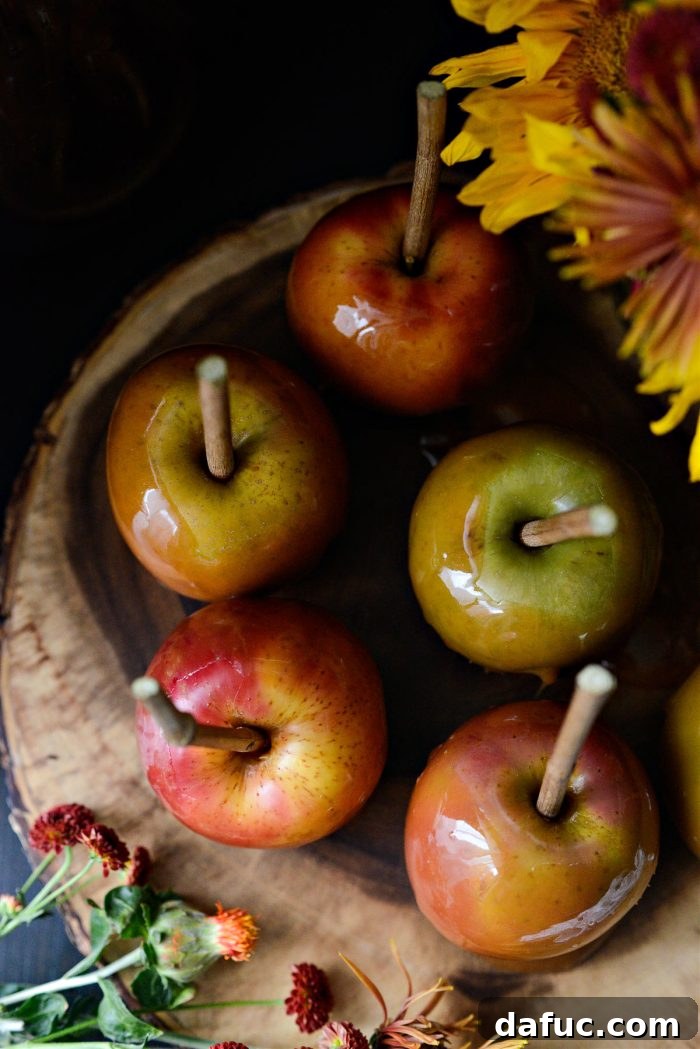
Gather Your Ingredients: What You’ll Need for Perfect Caramel Apples
Creating the **best caramel apples** starts with quality ingredients and understanding their role. Here’s a breakdown of what you’ll need, along with important notes to ensure your success:
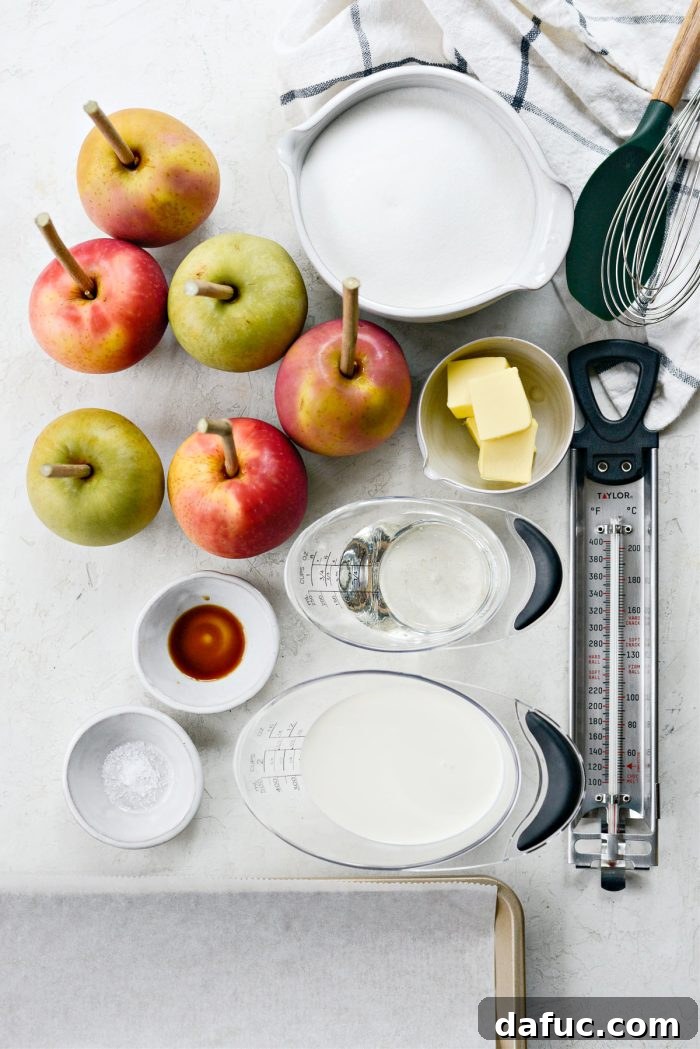
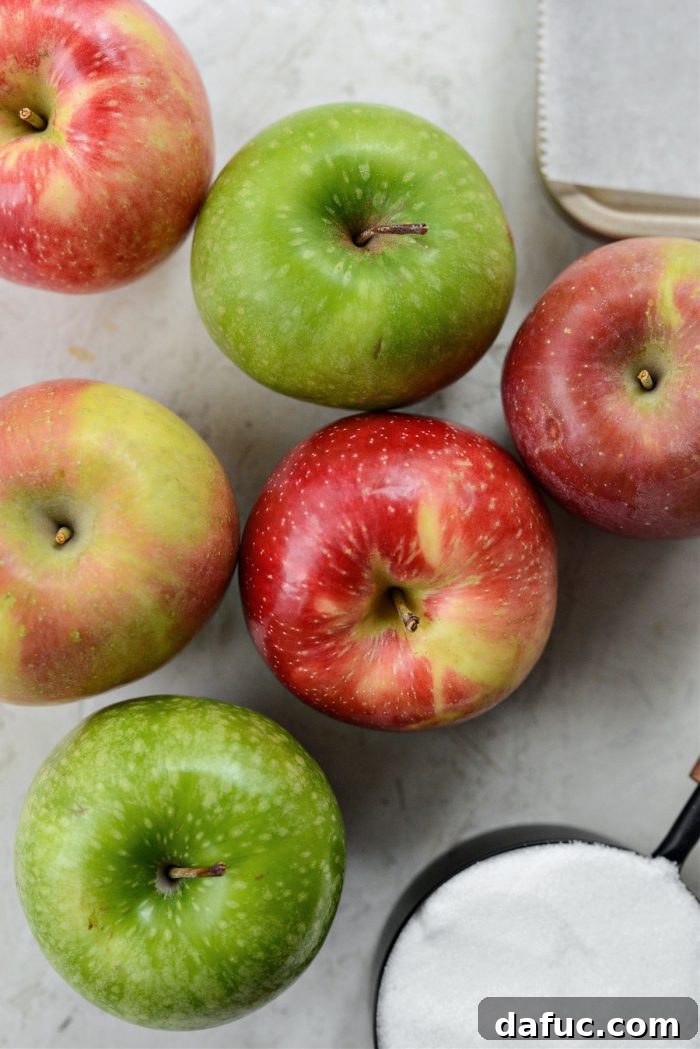
- Apples: The foundation of our treat! I recommend using a variety of apples for diverse flavors and textures. Favorites include crisp Granny Smith (for a delightful tart contrast), Honeycrisp (sweet and super crunchy), Fuji, Pink Lady, or Sweet Tango. Choose small to medium-sized apples for the best caramel-to-apple ratio and easier handling.
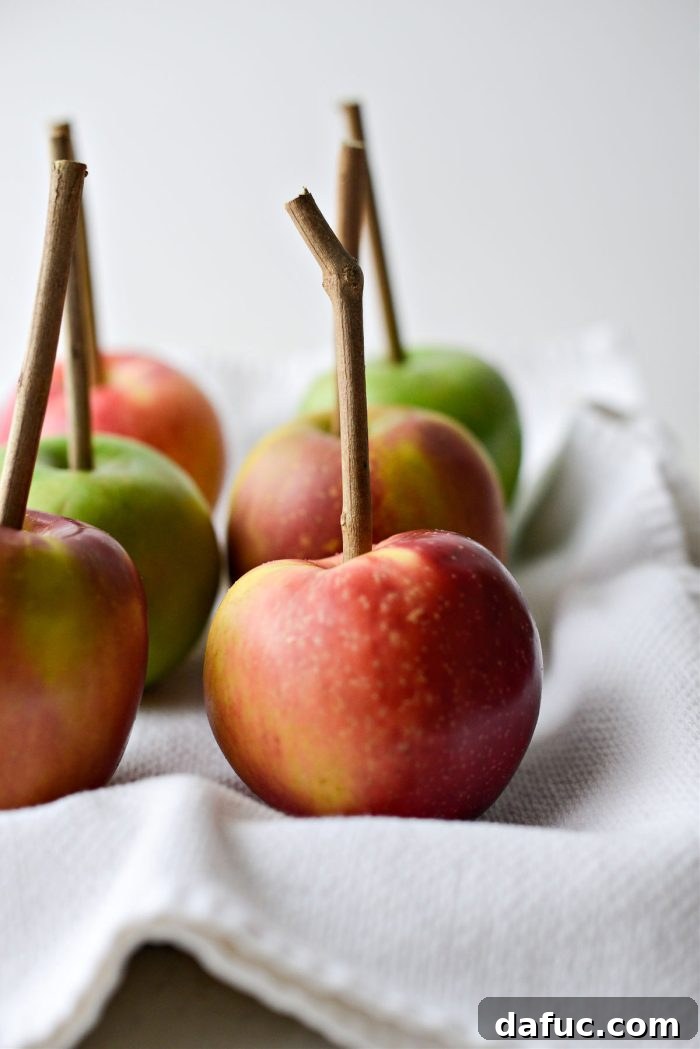
- Sticks or Twigs: Essential for dipping and eating. You can purchase food-safe apple sticks from craft stores or online. Alternatively, sturdy, cleaned twigs foraged from your backyard (ensure they are non-toxic) or even plain popsicle sticks or wooden skewers work perfectly.
- Granulated Sugar (White): The primary building block of our caramel. As it cooks, the sugar will transform, developing a beautiful deep brown color and rich, complex flavor.
- Corn Syrup: A crucial ingredient that acts as an invert sugar, preventing the granulated sugar from crystallizing during the cooking process. This ensures a smooth, glossy caramel. It’s vital not to confuse regular corn syrup with high-fructose corn syrup; they are distinct products with different uses. Learn more about the differences here.
- Unsalted Butter: Use unsalted butter, and ensure it’s at room temperature before adding it to the hot sugar. This helps it incorporate smoothly and prevents the mixture from seizing. Butter adds richness, flavor, and a silky texture to the caramel.
- Kosher Salt: A pinch of salt is transformative in caramel, enhancing its sweetness and balancing the overall flavor profile. Don’t skip it!
- Heavy Cream: Like the butter, bring your heavy cream to room temperature before use. This helps prevent drastic temperature changes when adding it to the hot sugar mixture, reducing splattering and ensuring a smooth emulsion. It contributes to the creamy texture and rich mouthfeel of the caramel.
- Pure Vanilla Extract: Added at the end, vanilla extract provides a warm, aromatic depth that beautifully complements the sweet caramel notes.
Keys to Caramel Apple Success: Expert Tips for a Flawless Batch
Making **DIY caramel apples** can seem daunting, but with these pro tips, you’ll achieve perfection every time:
- Preparation is Paramount (Mise en Place): Before you even start cooking, get everything ready! Measure all ingredients, ensure butter and cream are at room temperature, prepare your apples, line baking sheets with wax paper or silicone mats, and have all your tools (whisk, spatula, candy thermometer, trivet) within arm’s reach. Caramel making moves quickly, so being organized is essential for a smooth process.
- Remove the Waxy Coating on Apples: Most grocery store apples have a protective wax coating. If you don’t remove it, your delicious caramel won’t stick! We’ll cover two effective methods for this below. After removing the wax, wash and dry your apples thoroughly.
- Sift Clumpy Sugar: If your granulated sugar has hard lumps, sift it through a mesh sieve before starting. This ensures even melting and helps prevent crystallization.
- A Candy Thermometer is Non-Negotiable: Unlike caramel sauce, which can sometimes be eyeballed, precise temperature control is absolutely vital for **caramel apples**. A reliable candy thermometer is your best friend here. It ensures the caramel reaches the exact consistency needed to set firmly on the apple.
- Patience During Cooling: This is arguably the most challenging tip to follow! Allow your caramel to cool for at least 40 to 45 minutes before dipping apples. If the caramel is too hot, it will simply run off the apple, creating a sticky pool at the bottom. Resist the urge to dip too soon – I’ve learned this the hard way countless times!
Choosing the Right Apples for Your Caramel Creations
The type of apple you choose significantly impacts the final taste and texture of your **crisp apples with caramel**. Here are some excellent varieties and what to look for:
- Granny Smith: The classic choice! Their tartness perfectly cuts through the richness of the sweet caramel, creating a balanced flavor profile.
- Honeycrisp: Known for their exceptional crispness and juicy sweetness, these apples hold up beautifully under the caramel.
- Fuji: Sweet and crunchy, Fuji apples are a delightful option that many people enjoy.
- Pink Lady: Offering a balance of sweet and tart with a firm texture, Pink Ladies make excellent caramel apples.
- Sweet Tango: A newer variety known for its incredibly crisp texture and sweet, tangy flavor.
When selecting your apples, opt for small to medium sizes. This not only makes them easier to handle and eat but also ensures a better ratio of caramel to apple. Look for apples that are symmetrically round and free from any bruises, soft spots, or blemishes, as these can affect the adhesion of the caramel.
How to Remove Wax from Apples: A Critical Step
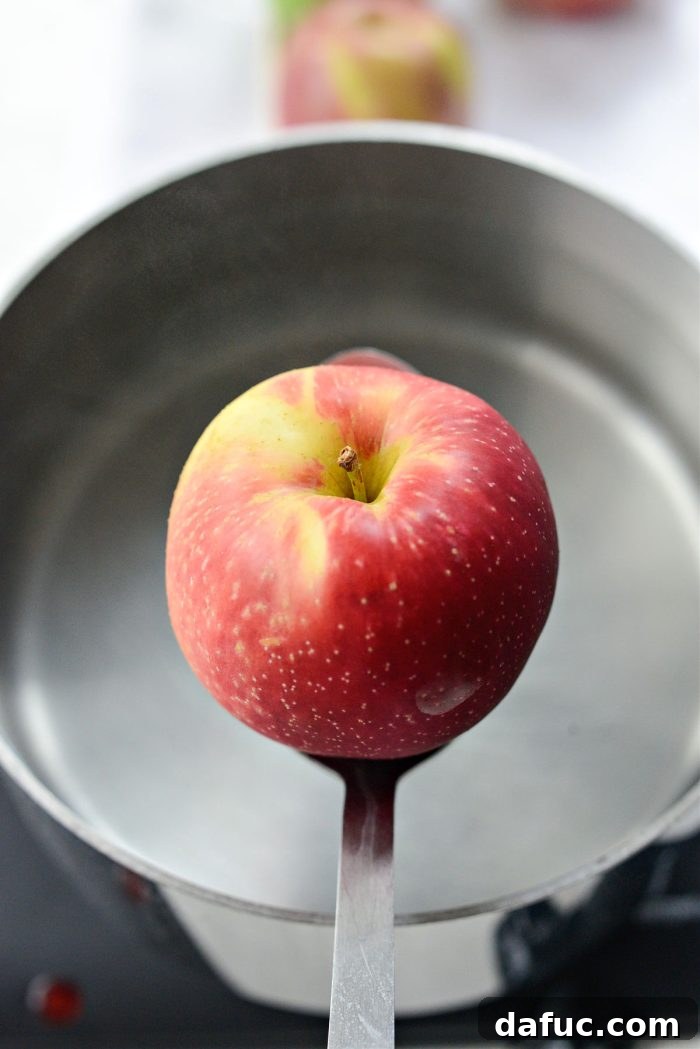
Most commercially sold apples are coated in an edible, synthetic wax to help retain moisture and give them that appealing glossy shine. While harmless, this wax is a major culprit if your caramel fails to stick. Don’t skip this crucial step for your **perfect caramel apples**!
Two Effective Methods for Wax Removal:
- The Boiling Water Method (My Preferred Choice):
Bring a pot of water to a rolling boil. Using a slotted spoon or a steel spider strainer, carefully immerse one apple at a time into the boiling water for precisely 5 seconds. This quick dip will slightly melt the wax without cooking the apple. Immediately lift the apple out and place it on a clean kitchen towel or paper towel. Repeat this process for all remaining apples. Once all apples have been treated, give them a good wash with warm water and a scrub, then dry them absolutely thoroughly. Refrigerate the clean, dry apples for at least 30 minutes before proceeding; cold apples help the caramel set faster.
- The Lemon Juice & Baking Soda Scrub:
Alternatively, prepare a mixture of 1 tablespoon of lemon juice (or white vinegar) and 1 tablespoon of baking soda in a bowl. Dip each apple into this mixture, then use a vegetable brush to scrub the apple skin vigorously. Rinse the apples thoroughly under running water and dry them completely. This method also effectively removes the waxy coating.
Preparing Your Apples for Dipping
After your apples are clean and dry, it’s time to prepare them for their caramel bath. Carefully remove any stems if they are still attached. Then, firmly insert your chosen sticks, skewers, or popsicle sticks into the core of each apple. If your sticks are blunt, you might find it helpful to use a wooden skewer to create a small pilot hole first, making insertion easier and preventing the apple from splitting. Once the sticks are in place, refrigerate the apples until you’re ready to dip them. Just before dipping, quickly wipe them with a clean kitchen towel to ensure no condensation has formed. Chilled apples are key as they help the warm caramel set much faster upon contact, creating a beautiful, even coating.
Crafting the Perfect Homemade Caramel: Step-by-Step
Now for the star of the show: the rich, chewy homemade caramel! This is where your candy thermometer becomes indispensable.
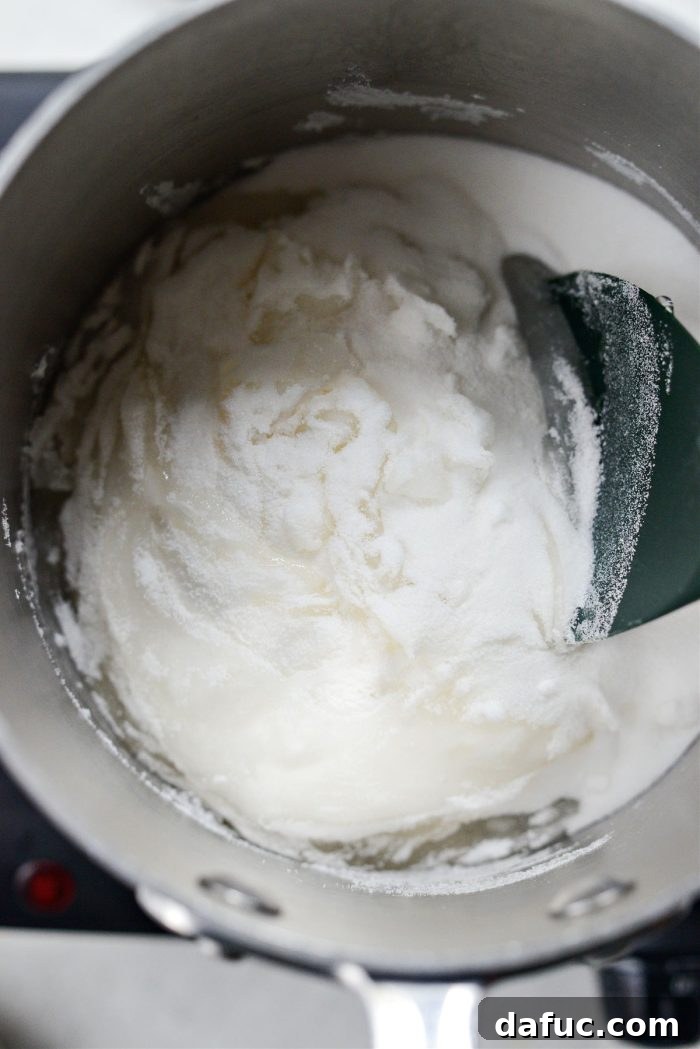
- Initial Sugar & Corn Syrup Mixture: Off the heat, in a heavy-bottomed 2 to 3-quart saucepan, combine 1/2 cup of corn syrup and 2 cups of granulated sugar. Use a wooden spoon or a stiff heat-resistant spatula to stir these two ingredients together until they are thoroughly combined. The mixture will be thick and sandy.
- First Cook: Heating to Golden Perfection:

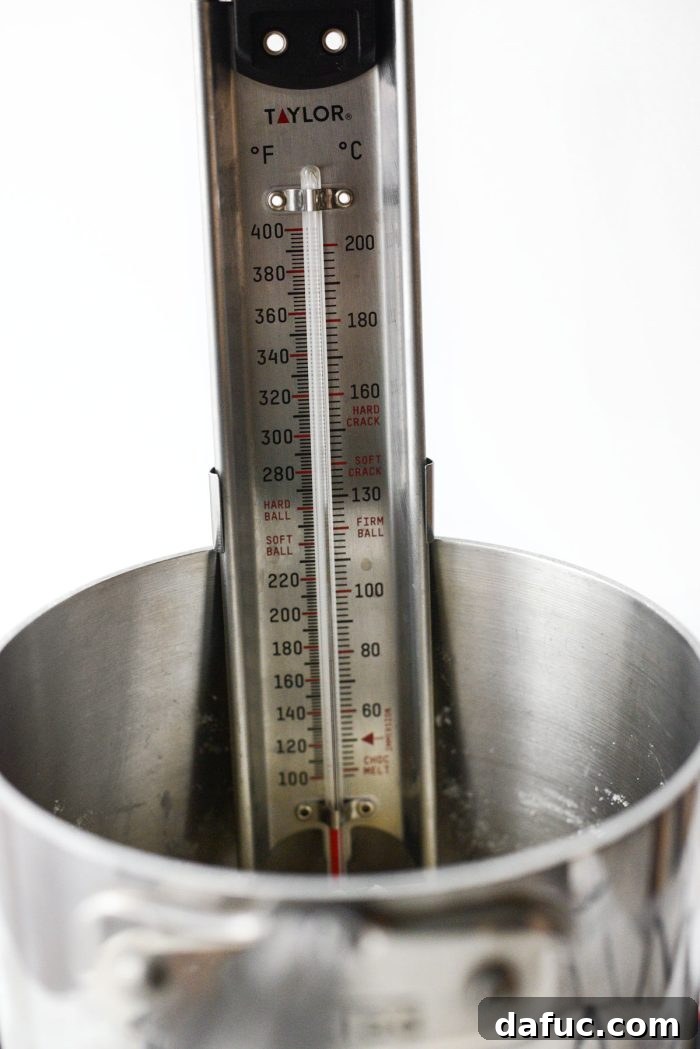
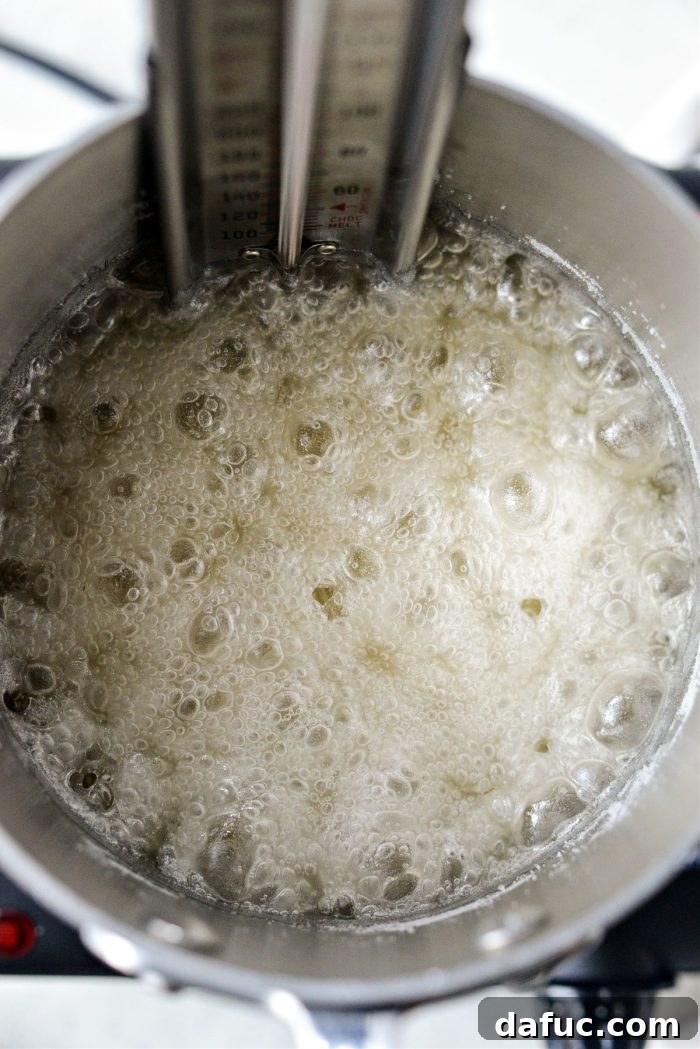
Attach a candy thermometer to the side of your saucepan, ensuring the tip is submerged in the sugar mixture but not touching the bottom of the pan. Place the saucepan over medium to medium-low heat. From this point onward, it is critical that you **DO NOT STIR** the mixture with a spoon or spatula. Stirring can introduce sugar crystals back into the melting syrup, causing the entire batch to crystallize and become grainy. You can gently swirl the pan occasionally to help distribute the heat, but resist the urge to stir. Keep a watchful eye on the sugar as it begins to melt and bubble.
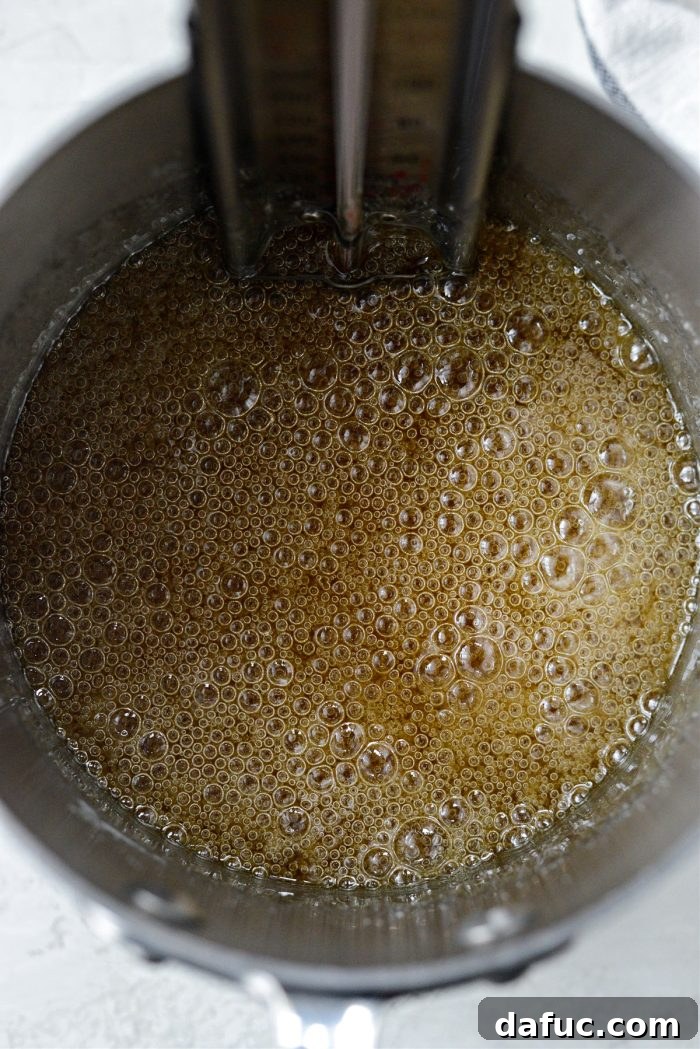
After a few minutes, you’ll notice the sugar mixture will start to bubble and deepen in color around the edges, gradually moving towards the center. This process can happen quite rapidly, so remain by the stovetop and do not walk away. The goal is to achieve a deep golden brown color, resembling an old rusty penny.
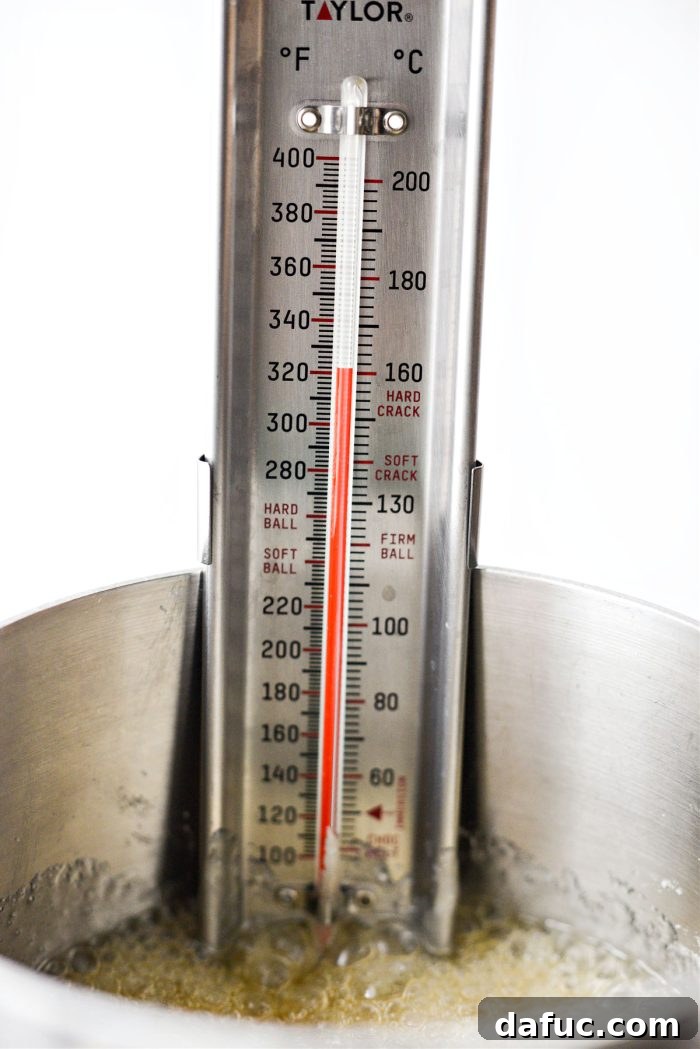
Continue cooking until your candy thermometer registers between 300°F and 325°F (149°C and 163°C). This temperature range is crucial for a firm, chewy caramel. Any darker than a deep golden brown, and you risk burning the sugar, which will result in a bitter taste. The exact time this takes will vary depending on your stove and burner, so consistent monitoring is key.
- Adding Butter & Salt (Carefully!):
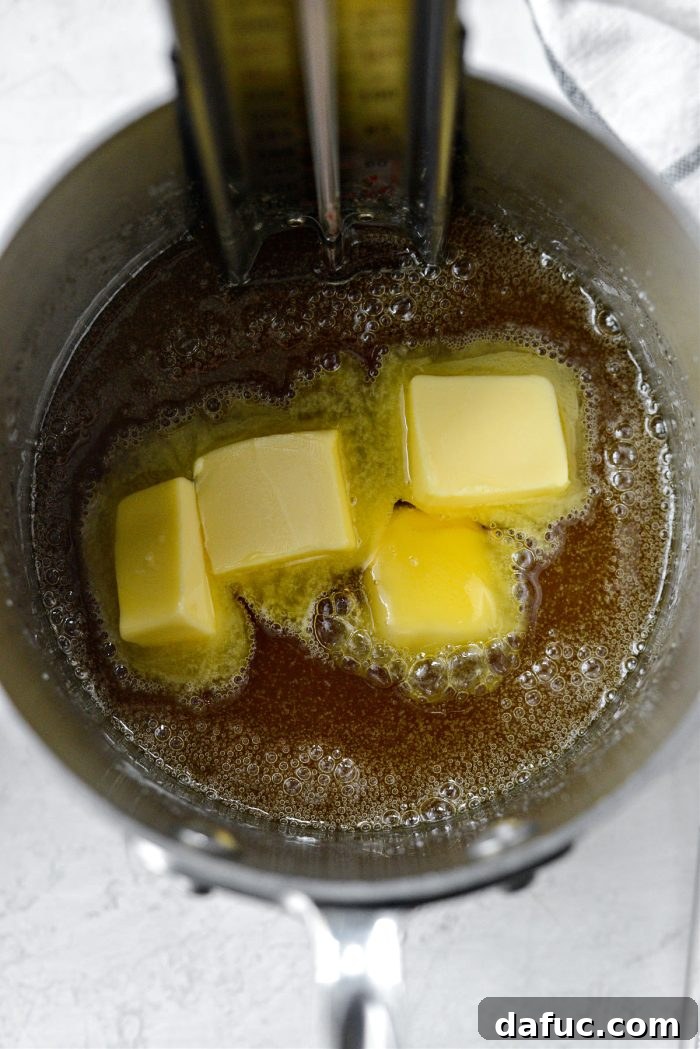
Once the caramel reaches the desired color and temperature, immediately remove the saucepan from the heat. Carefully add 4 tablespoons of room temperature unsalted butter and 1/2 teaspoon of kosher salt to the hot syrup.
- Incorporating Heavy Cream (Safety First!):
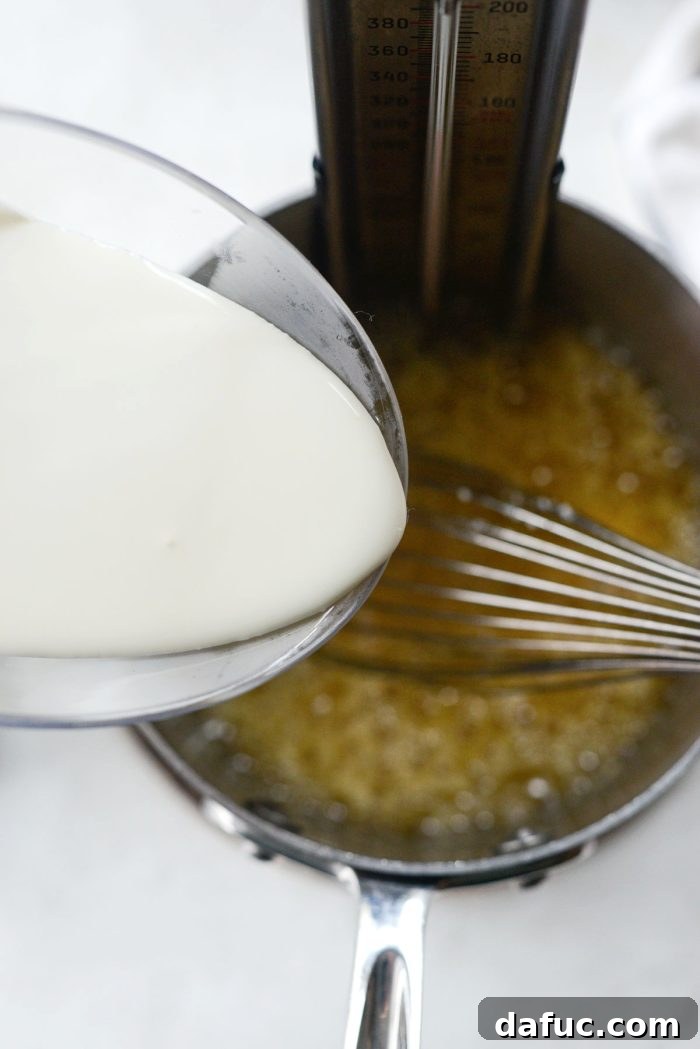
This step requires extreme caution! Very carefully and slowly pour 1 cup of room temperature heavy cream into the hot caramel while continuously whisking. The caramel will bubble up and release a significant amount of hot steam, so protect your hands with an oven mitt or glove. Whisk vigorously until the cream is fully incorporated and the mixture is smooth and uniform.
- Second Cook: Reaching Dipping Consistency:
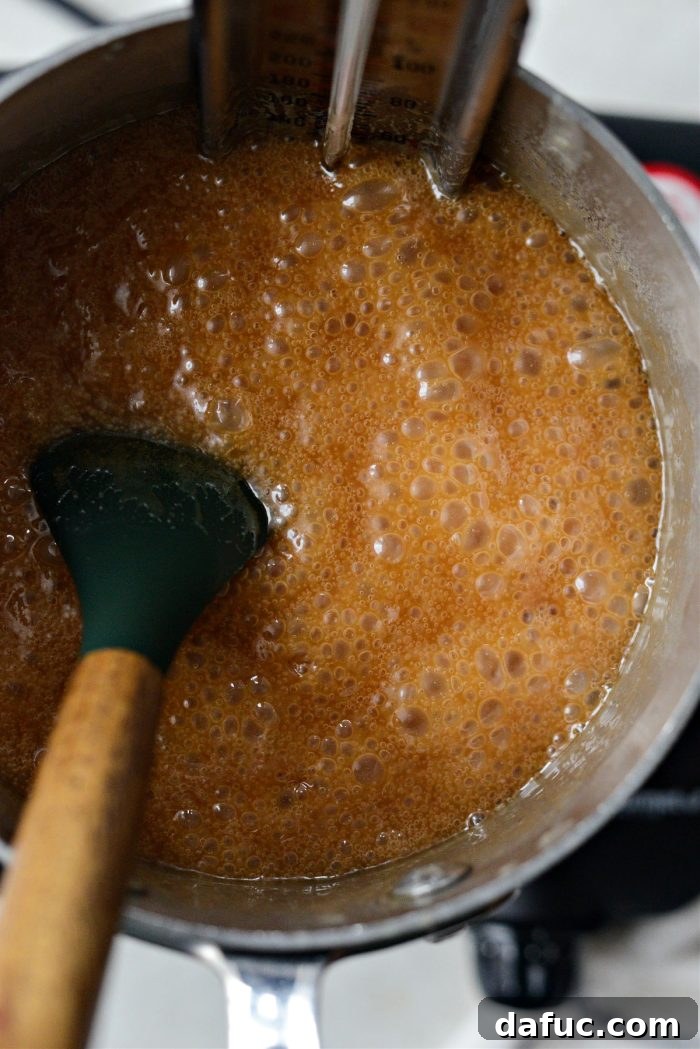
Return the saucepan to the burner over medium-low heat. Continue cooking the caramel, stirring gently but constantly to prevent scorching, until your candy thermometer reaches approximately 230°F (110°C). This temperature ensures the caramel will be firm but still pliable enough for easy dipping and a pleasant chew.
- Finishing Touches: Vanilla:
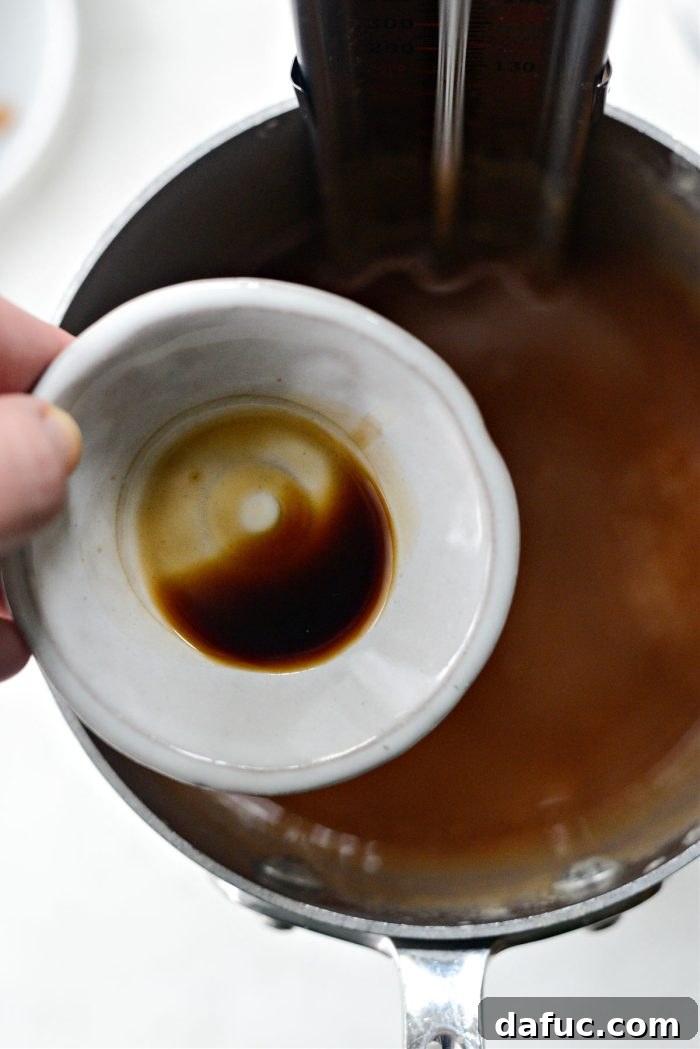
Remove the saucepan from the heat once it reaches 230°F. Allow the caramel to cool slightly to about 200°F (93°C) before stirring in 1/2 teaspoon of pure vanilla extract. Adding vanilla at a slightly lower temperature helps preserve its delicate flavor.
Cooling the Caramel and Dipping Your Apples
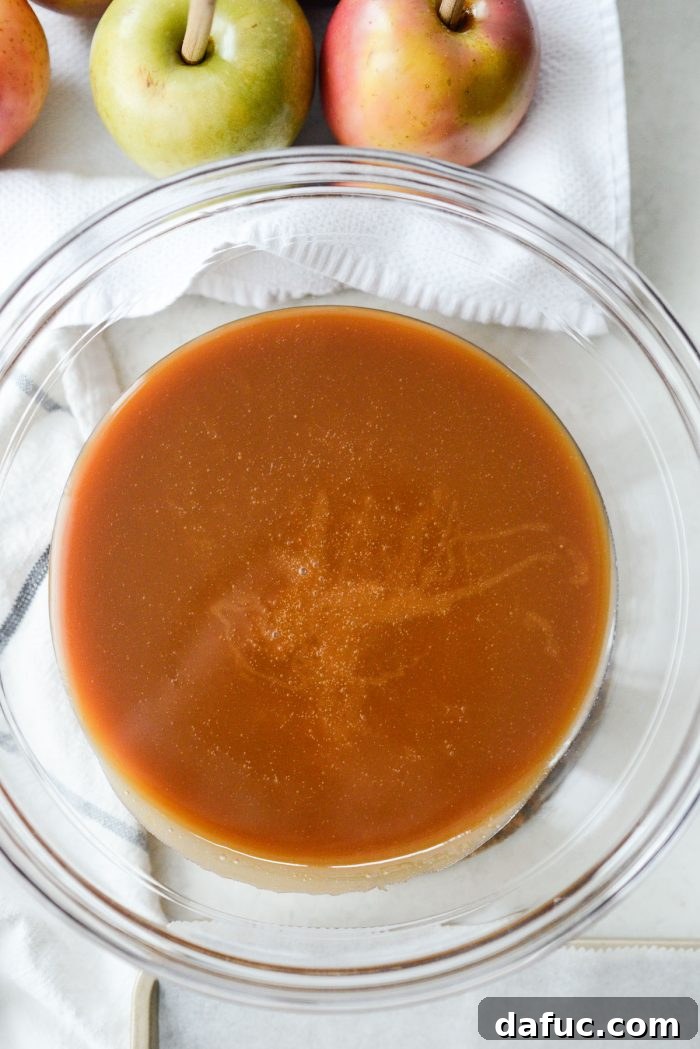
- The Critical Cooling Phase: Pour the warm caramel into a heat-safe bowl or pitcher. Now comes the hard part: letting it cool! It needs to thicken to the right consistency for dipping, which typically takes about 40 to 45 minutes at room temperature. Stir the caramel occasionally during this cooling period to ensure even cooling and to prevent a skin from forming on top. The caramel should be thick enough to coat the back of a spoon and hold its shape.
- Dipping the Apples:
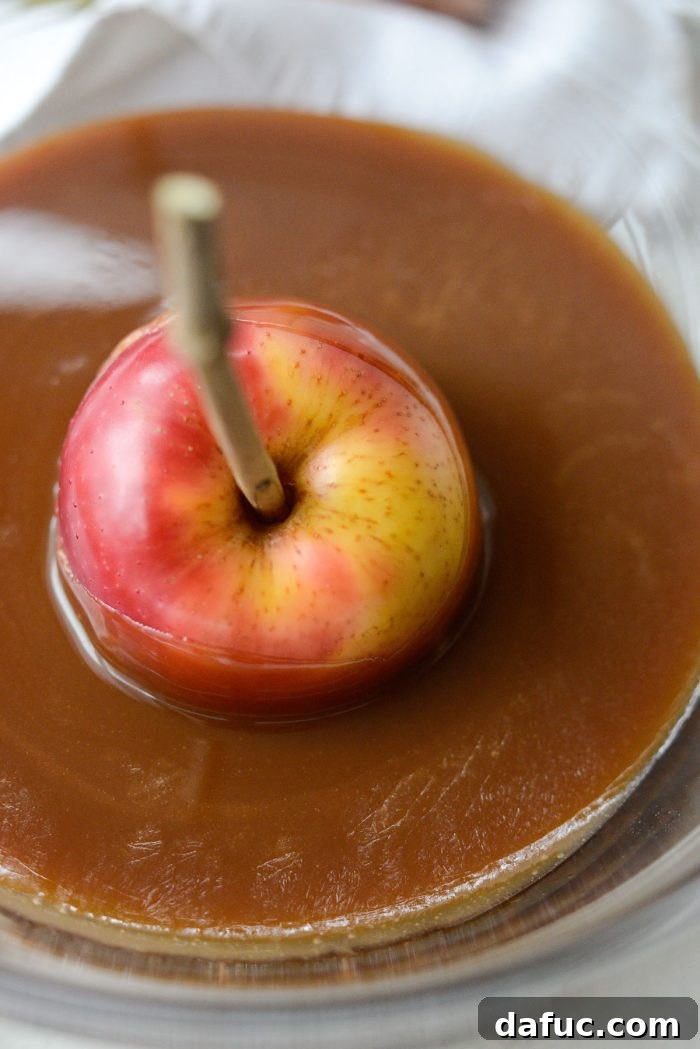
Once the caramel has cooled sufficiently, grab your chilled, stick-inserted apples. Dip one apple at a time into the caramel, swirling and rotating it to achieve an even coating. Tilt the bowl as needed to get sufficient depth. Lift the apple and let any excess caramel drip back into the bowl. For a smooth finish, you can gently scrape the bottom of the apple against the edge of the bowl. Transfer the dipped apple to a wax paper or silicone mat-lined rimmed sheet pan. Repeat this process with the remaining apples. If your caramel becomes too thick to work with, you can gently rewarm it over very low heat or in a microwave for short bursts, stirring frequently, but be careful not to overheat it.
If you find that the caramel is still too thin and running off the apples even after initial dipping, it means it needs more cooling time. Simply let the caramel cool further, then re-dip the apples.
- Setting and Topping:
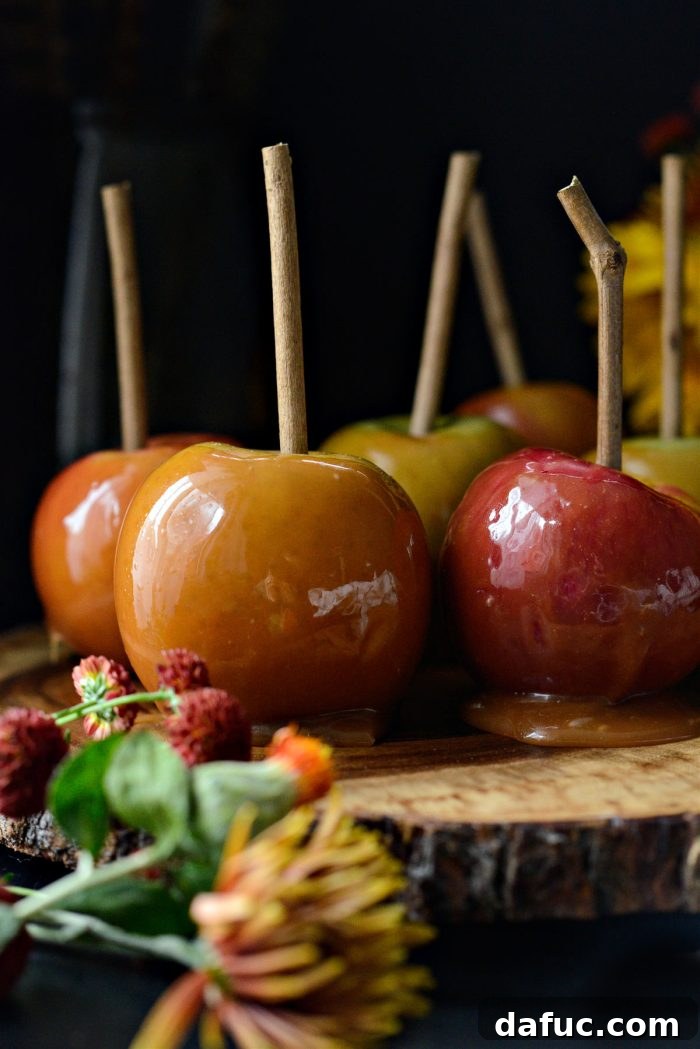
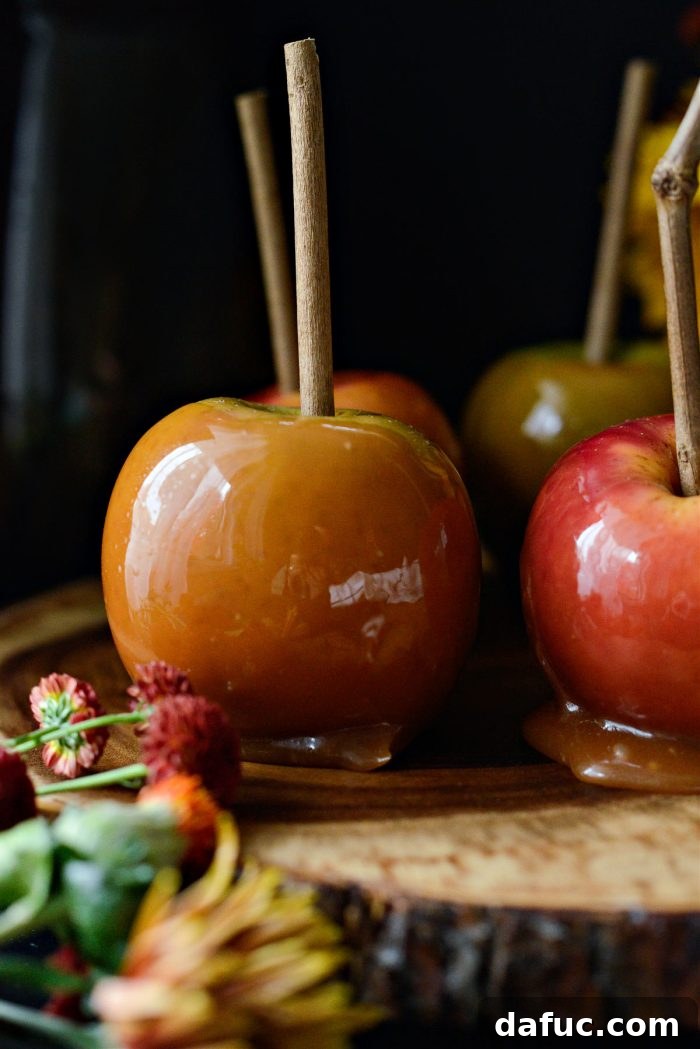
Once all your apples are dipped, immediately transfer the sheet pan to the refrigerator. Allow them to chill for at least 15-30 minutes, or until the caramel is completely set and firm. This is where your perfectly chilled apples really pay off!
For an extra layer of flavor and texture, you can dip your freshly coated caramel apples into various toppings before the caramel fully sets. Think chopped nuts (peanuts, pecans, walnuts), colorful sprinkles, shredded coconut, mini chocolate chips, mini marshmallows, or even chopped dried cherries or craisins. The possibilities are endless for creating custom **fall dessert recipes**!
Serving and Storage Tips for Your Homemade Caramel Apples
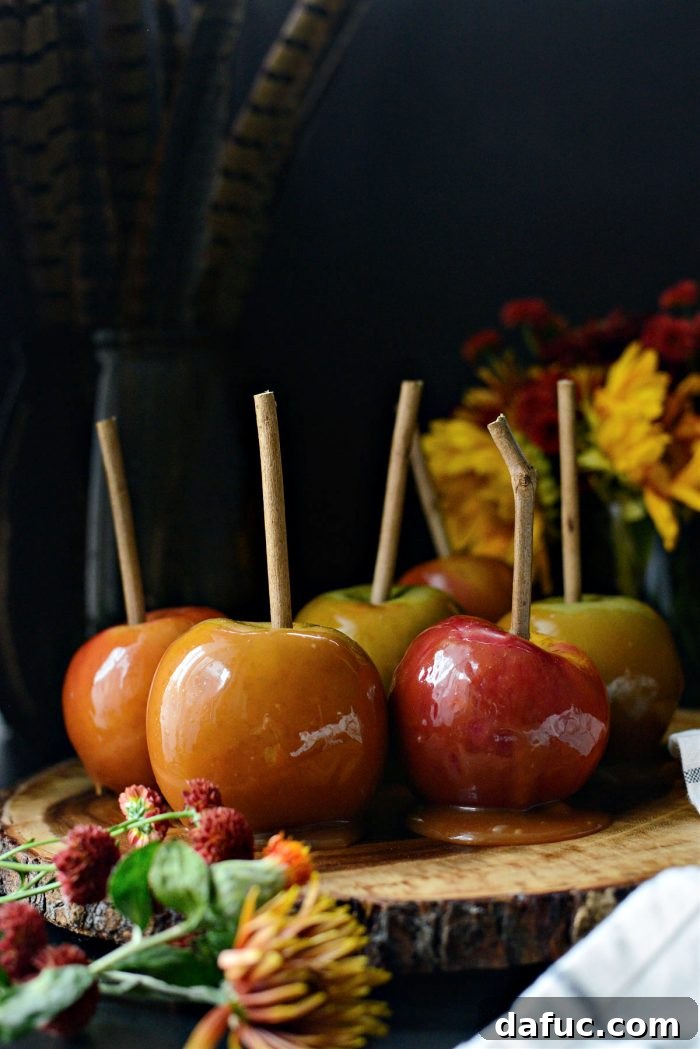
Serve your beautiful caramel apples on a tray lined with wax paper, as they can still be a bit sticky even after setting. You can either bite right into them for a classic experience or slice them off the stick for easier sharing. Either way, you’re in for a truly incredible homemade treat!
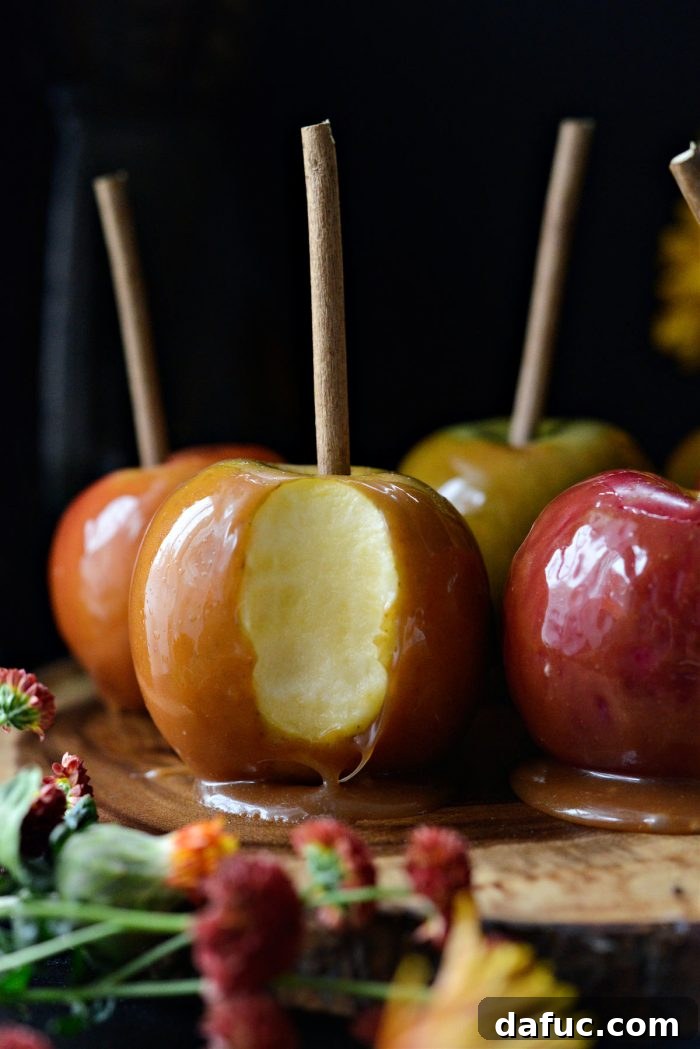
Caramel apples are best enjoyed on the day they are made for peak freshness and texture. However, they can be loosely covered (to prevent sticking) and stored in the refrigerator for up to 1 week. Bring them to room temperature for about 15-20 minutes before serving for the best texture.
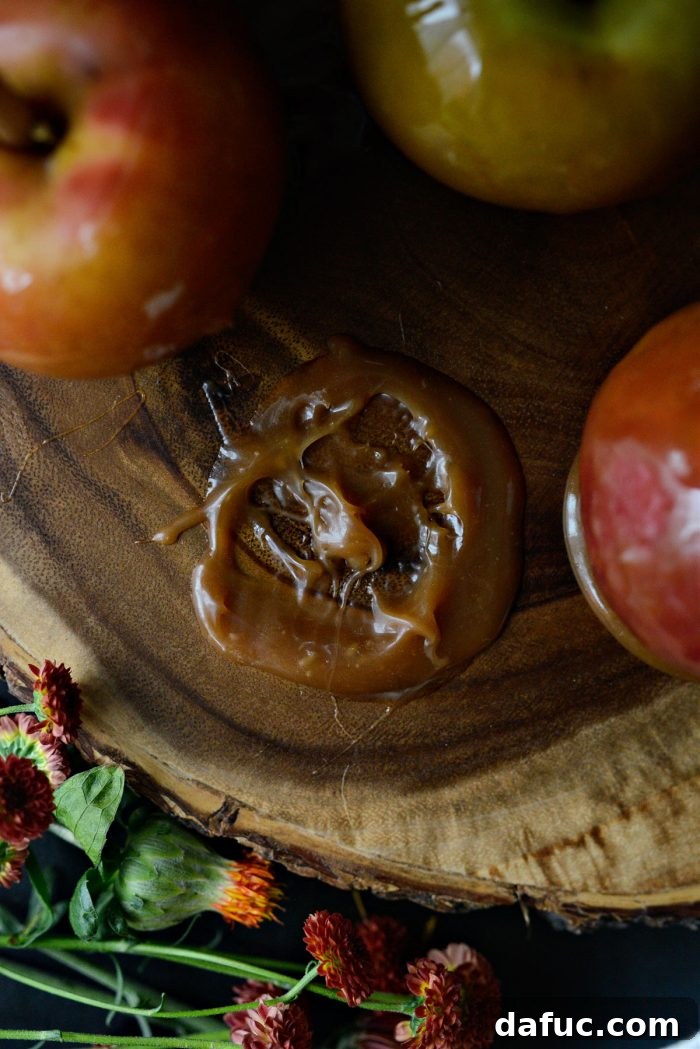
Enjoy your delicious homemade caramel apples! If you try this recipe, I’d love to see your creations. Snap a photo and share it, tagging me on Twitter or Instagram!

Print Recipe
Pin Recipe
Leave a Review »
8 servings
Easy Caramel Apples Recipe
15 mins
20 mins
1 hr 20 mins
Ingredients
- 8 cold apples, (6 to 10 apples depending on size)
- 8 sticks or sturdy twigs, (see notes)
- 1/2 cup corn syrup
- 2 cups granulated sugar
- 4 tablespoons unsalted butter, (at room temperature)
- 1/2 teaspoon kosher salt
- 1 cup heavy whipping cream, (at room temperature)
- 1/2 teaspoon pure vanilla extract
Equipment
-
Candy thermometer
-
5-inch long wood sticks
-
3-quart saucepan
Instructions
Prep:
-
Set out ingredients to come up to room temperature, prepare apples, measure ingredients, pull out necessary tools (whisk, spatula, trivet etc), line pans and prep any desired toppings. Have everything organized nearby and ready to go for smooth operation.
For the Apples:
-
To remove wax: Bring a pot of water to boil. Use a slotted spoon or steel spider strainer and add one apple at a time into the boiling water for 5 seconds. Lift out and set onto a clean kitchen towel or paper towel. Repeat with the remaining apples and then wash all apples and dry well. Refrigerate for at least 30 minutes. OR Dip apples in a mixture of 1 tablespoon each lemon juice (or vinegar) and baking soda. Scrub with a vegetable brush and rinse and dry well.
-
Remove stems and insert sticks, skewers or popsicle sticks firmly into the core. Refrigerate until ready to dip, as chilled apples help the caramel set faster!
For the Caramel:
-
Meanwhile, off the heat, measure and add corn syrup and granulated sugar into a 2 to 3-quart saucepan. Use a wooden spoon or stiff spatula to stir until combined.
-
Attach a candy thermometer to the pot and heat on medium to medium-low heat. From here on out, DO NOT STIR. You can swirl the pan but absolutely do not stir as you will risk the sugar crystallizing.
-
After a few minutes, you will notice the sugar will start to deepen in color. This can happen fast so stand close and don’t walk away. At 300 to 325°F (149-163°C), the caramel should be a deep golden brown. Remove off the heat and carefully add in the room temperature butter and kosher salt.
-
Carefully pour in the room temperature heavy cream, stirring often with a whisk until combined. BE CAREFUL, as the hot caramel likes to bubble up intensely, so whisk well while also being mindful of the hot steam. Wearing an oven mitt or glove is highly recommended.
-
Return the saucepan to the burner and continue cooking the caramel, stirring occasionally, until it reaches around 230°F (110°C) on the candy thermometer. Remove off of the heat and let cool to 200°F (93°C) before stirring in the vanilla extract.
Cooling Caramel and Dipping:
-
Pour the caramel into a heat-safe bowl and let cool until thickened – about 40 to 45 minutes at room temperature. Stir occasionally.
-
Dip apples into the caramel, swirling until the caramel comes as close to the stick as possible. Lift and let any excess drip back into the bowl. Transfer to a wax paper or silicone mat-lined rimmed sheet pan and repeat with the remaining apples. Refrigerate until set. If caramel is too thin (i.e., still too warm), you can re-dip apples once it has cooled more.
-
Once all of the apples have been dipped, you can then dip them into any desired “toppings” like nuts, sprinkles, shredded coconut, mini chips, marshmallows, or chopped dried cherries or craisins. Serve on a tray lined with wax paper as they still like to stick once set.
-
Caramel apples are best if enjoyed the day of but can be loosely covered and stored in the refrigerator for up to 1 week.
Notes
Nutrition Disclaimer: All information presented on this site is intended for informational purposes only. I am not a certified nutritionist and any nutritional information shared on SimplyScratch.com should only be used as a general guideline.
Laurie McNamara
Appetizers & Snacks, Desserts & Sweet Treats
American
This recipe for **Easy Homemade Caramel Apples** was originally posted on October 19th, 2022, and has been updated with clearer and more concise instructions, new photography, and additional helpful information to ensure your success.