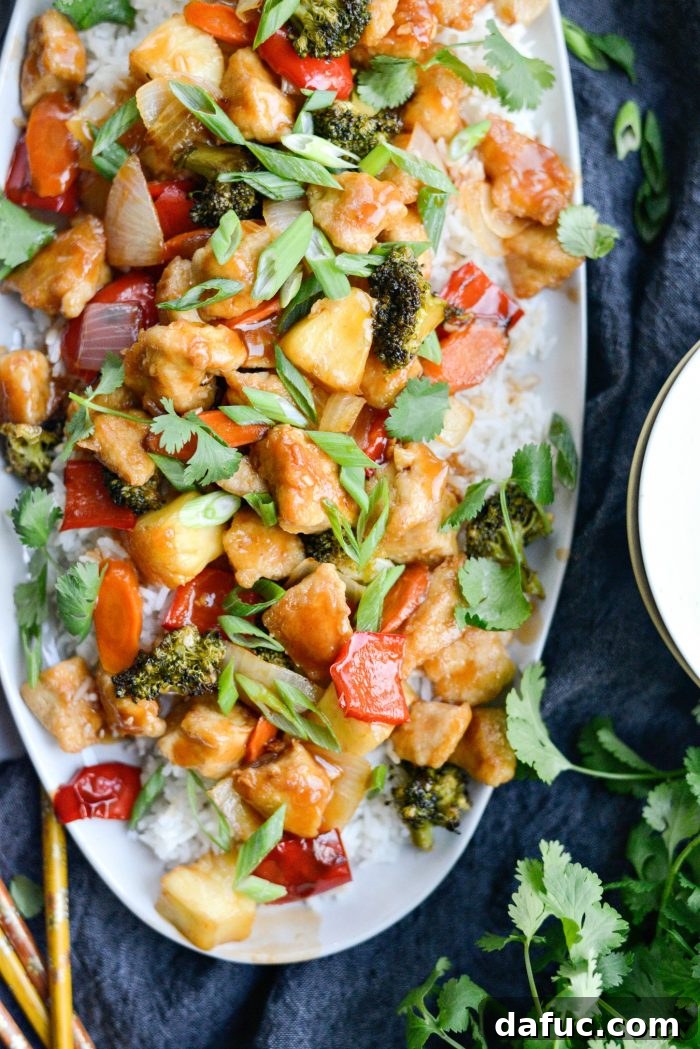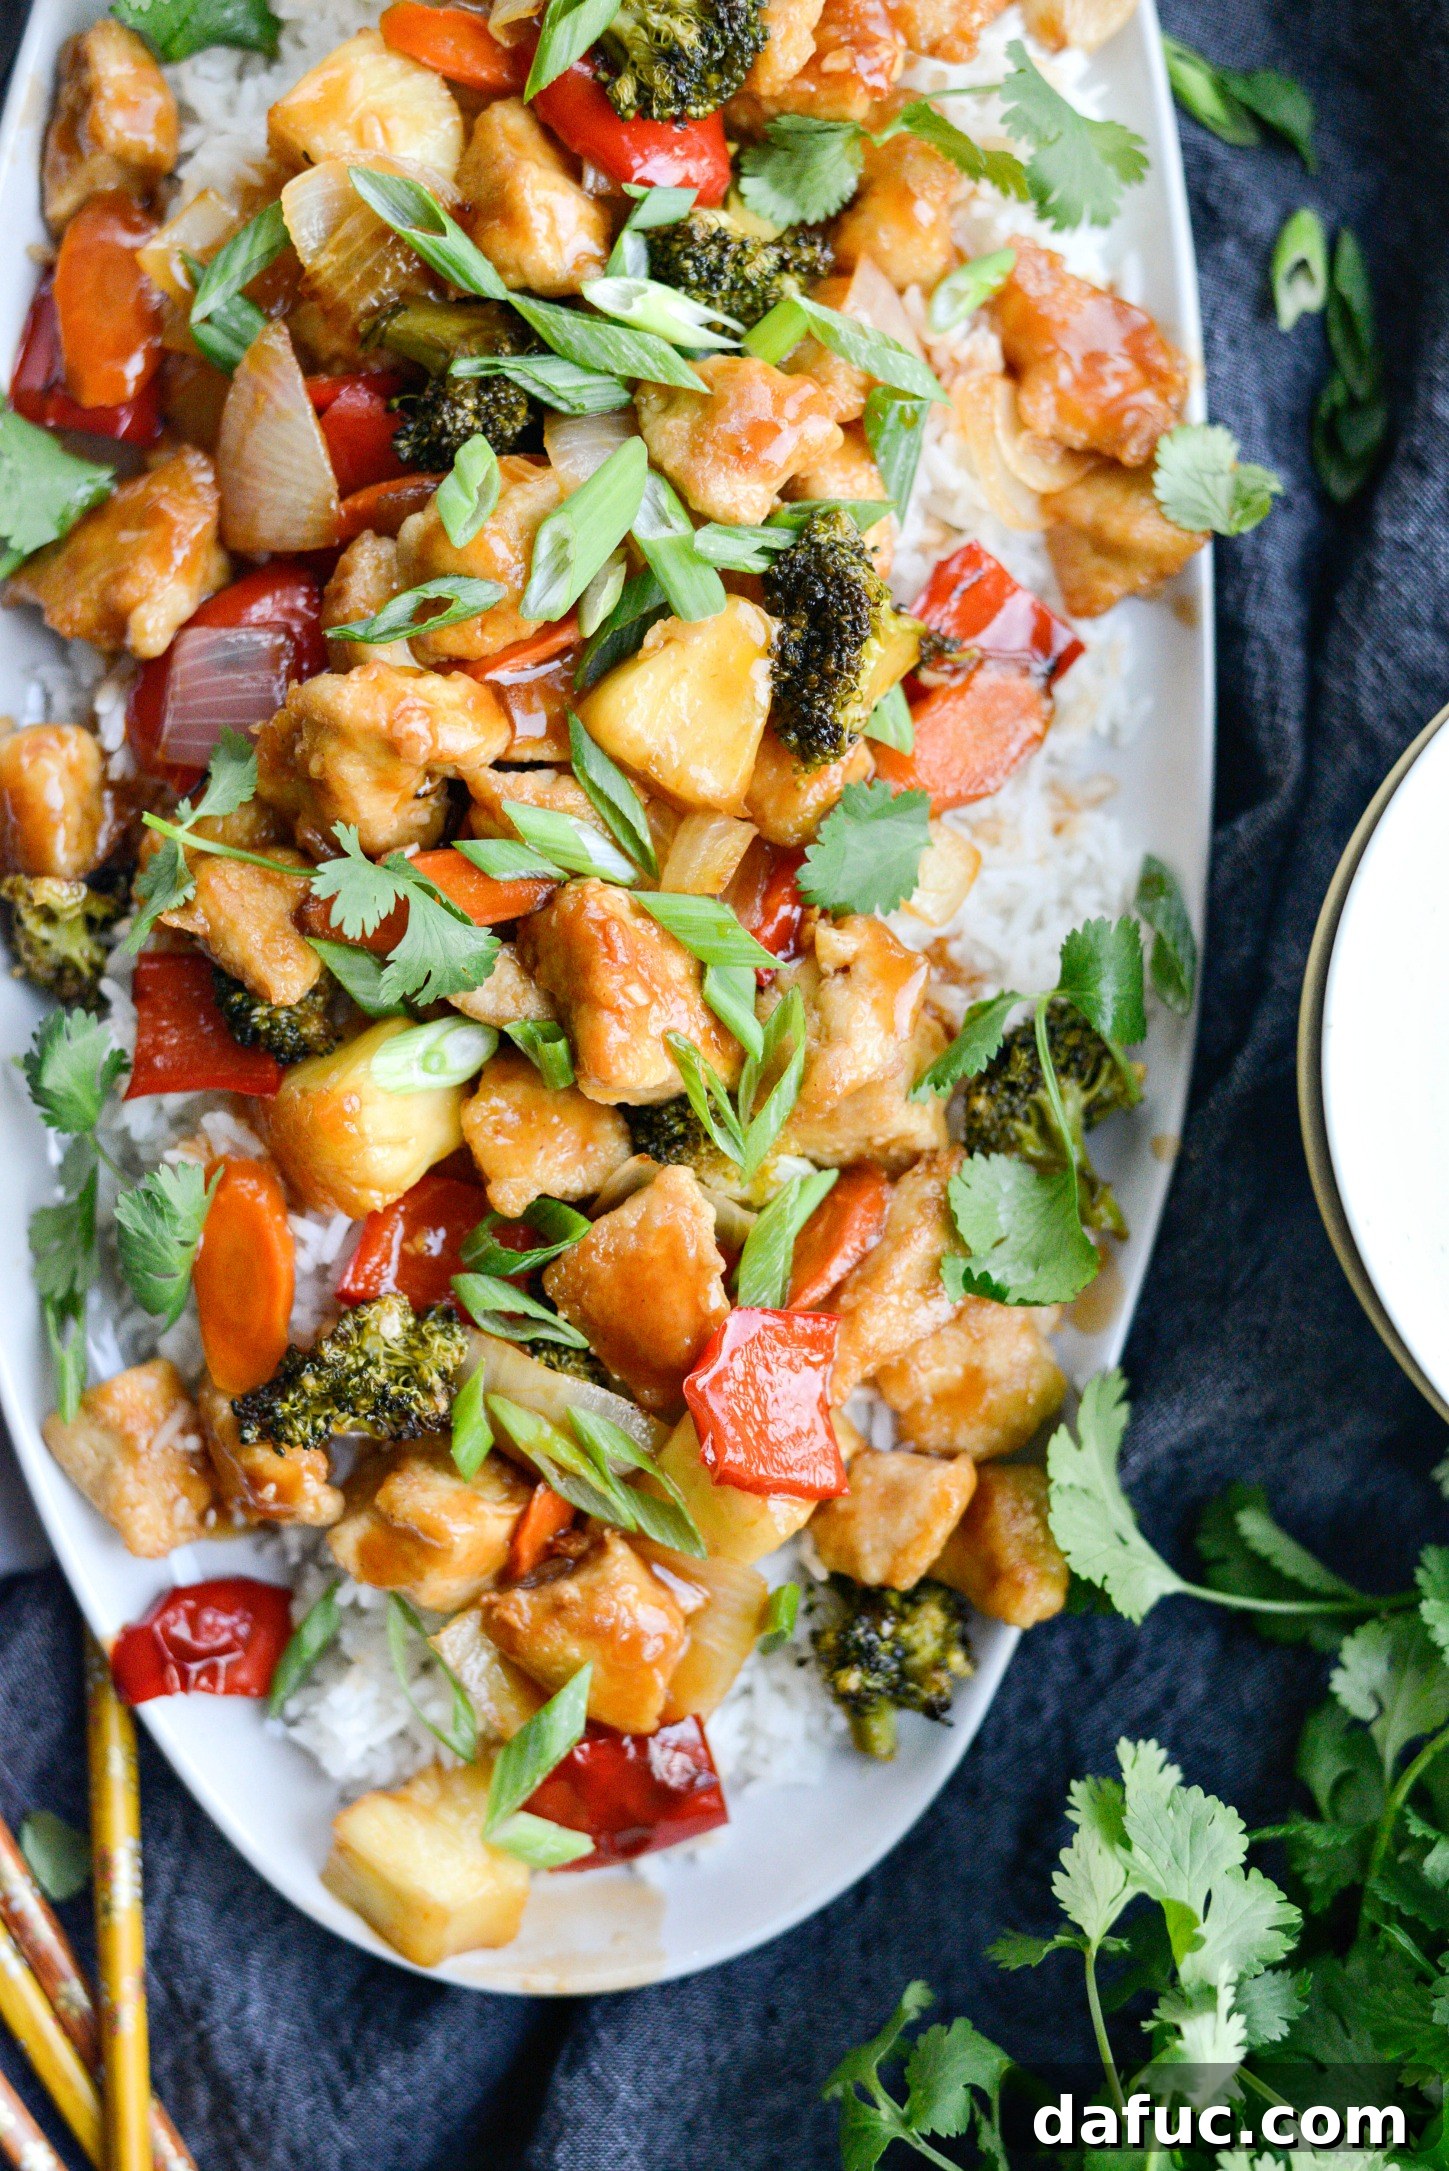
There are few dishes as universally beloved and comforting as Sweet and Sour Chicken. This classic Chinese-American takeout staple, with its irresistible balance of tangy, sweet, and savory flavors, has captivated palates worldwide. But what if you could create an even more delicious, healthier version right in your own kitchen? Our ultimate homemade Sweet and Sour Chicken recipe delivers succulent chicken, vibrant, tender-crisp vegetables, and juicy pineapple, all coated in a rich, simple-to-make sauce that’s far superior to anything from a restaurant. We’ve meticulously re-engineered the traditional recipe, significantly reducing the sugar content without compromising on that iconic flavor profile, ensuring a meal that is both indulgent and genuinely better for you. Get ready to elevate your weeknight dinner rotation with a dish that will quickly become a family favorite, serving 6 generous portions or satisfying 4 very hungry diners.
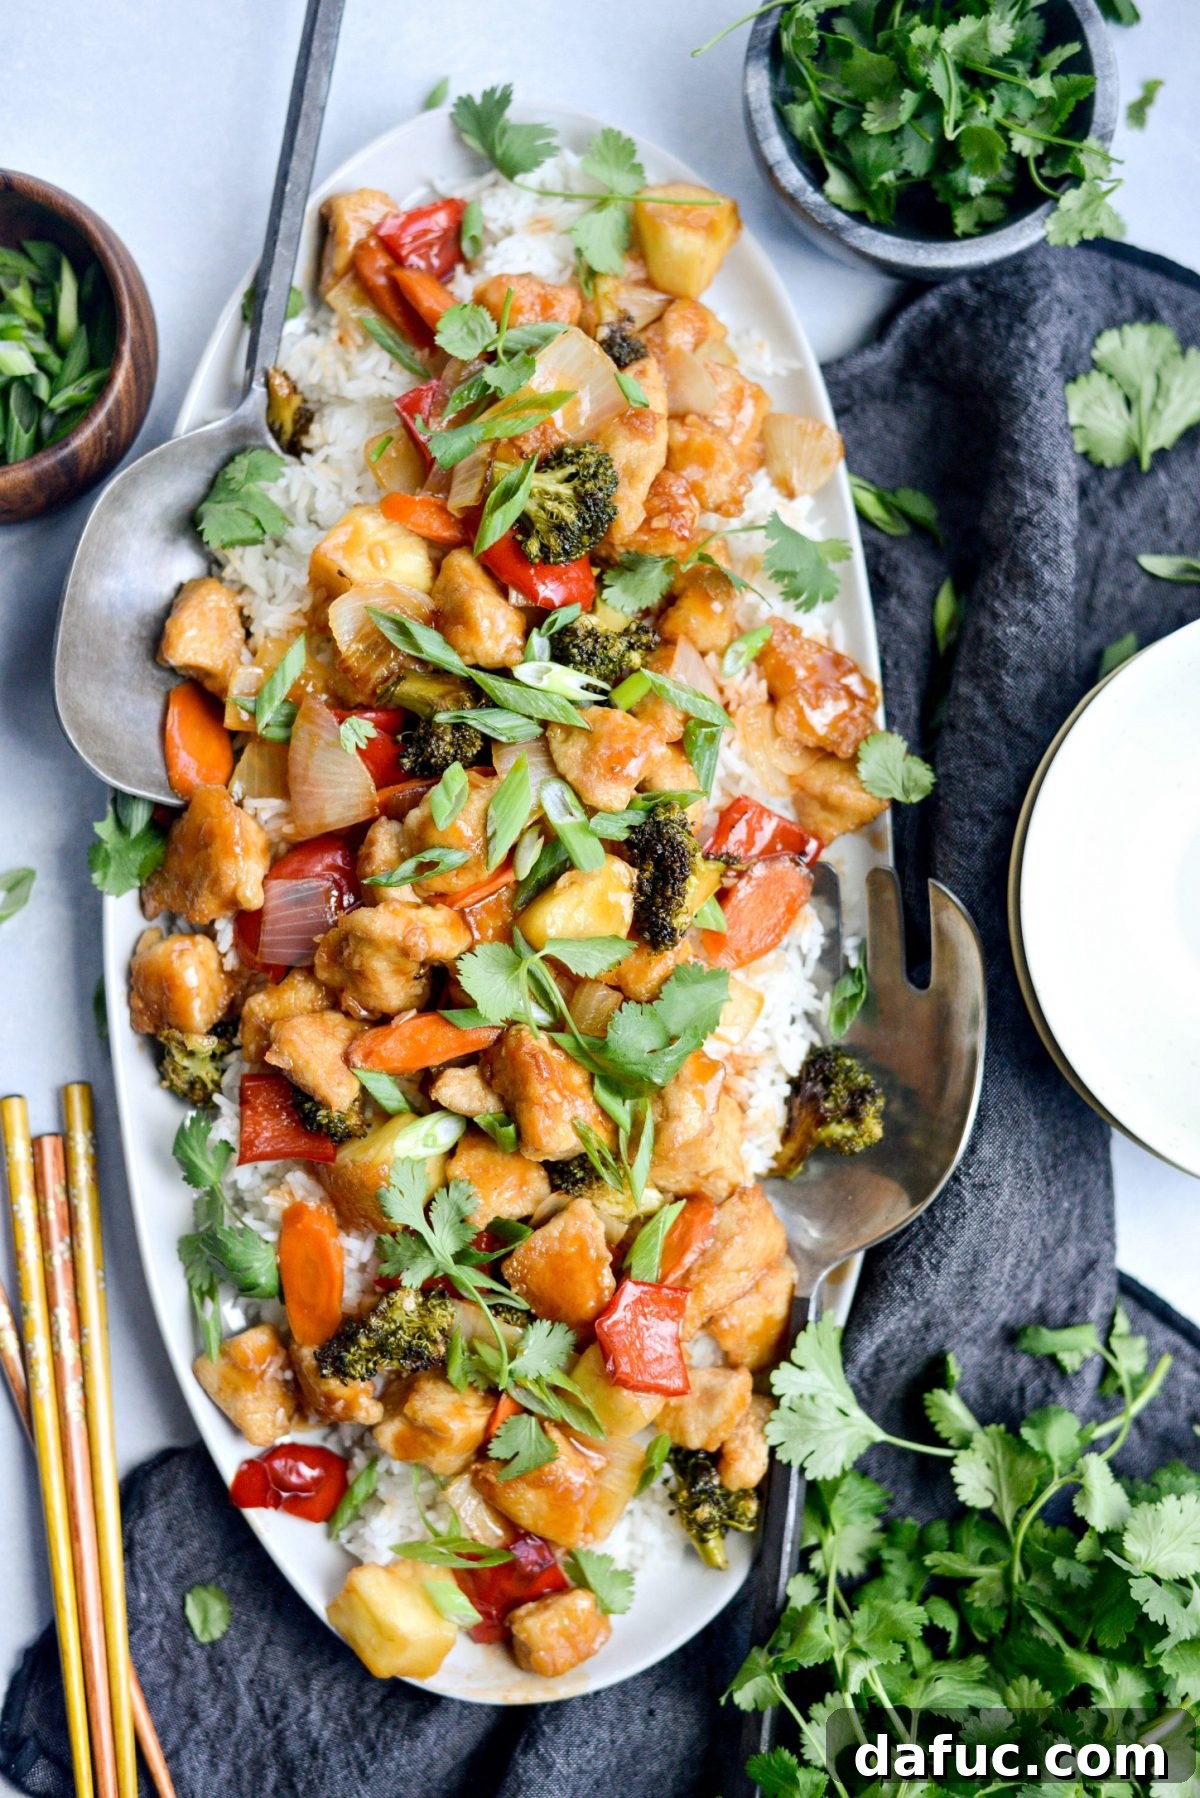
Discovering the Joy of Homemade Chinese Cuisine
My passion for Chinese cuisine runs deep, and for years, Sweet and Sour Chicken has held a special place in my heart. The vibrant colors, the diverse textures, and the harmonious blend of flavors are simply unparalleled. However, after moving to a new area, the search for a truly authentic and high-quality Chinese restaurant proved challenging. We explored several local establishments, but none could capture the magic of our beloved neighborhood spot from years past. This culinary void became the catalyst for a new adventure: recreating our favorite Chinese dishes at home. My journey began with a successful attempt at a healthy sesame chicken recipe in 2013, which quickly blossomed into an extensive repertoire of homemade Asian-inspired meals.
The original incarnation of my homemade sweet and sour chicken debuted more than a decade ago. Over the years, I’ve refined and perfected this recipe, with the most significant improvement being a substantial reduction in added sugar. I’ve consciously replaced a considerable portion of the refined sugars with natural sweetness derived from fresh pineapple juice, enhancing the flavor complexity while making the dish notably healthier. This new, improved, and health-conscious sweet and sour chicken recipe is not only remarkably easy to prepare but also a million times more satisfying than any takeout option you’ll find.
Elevating Your Sweet and Sour Chicken with Fresh Vegetables
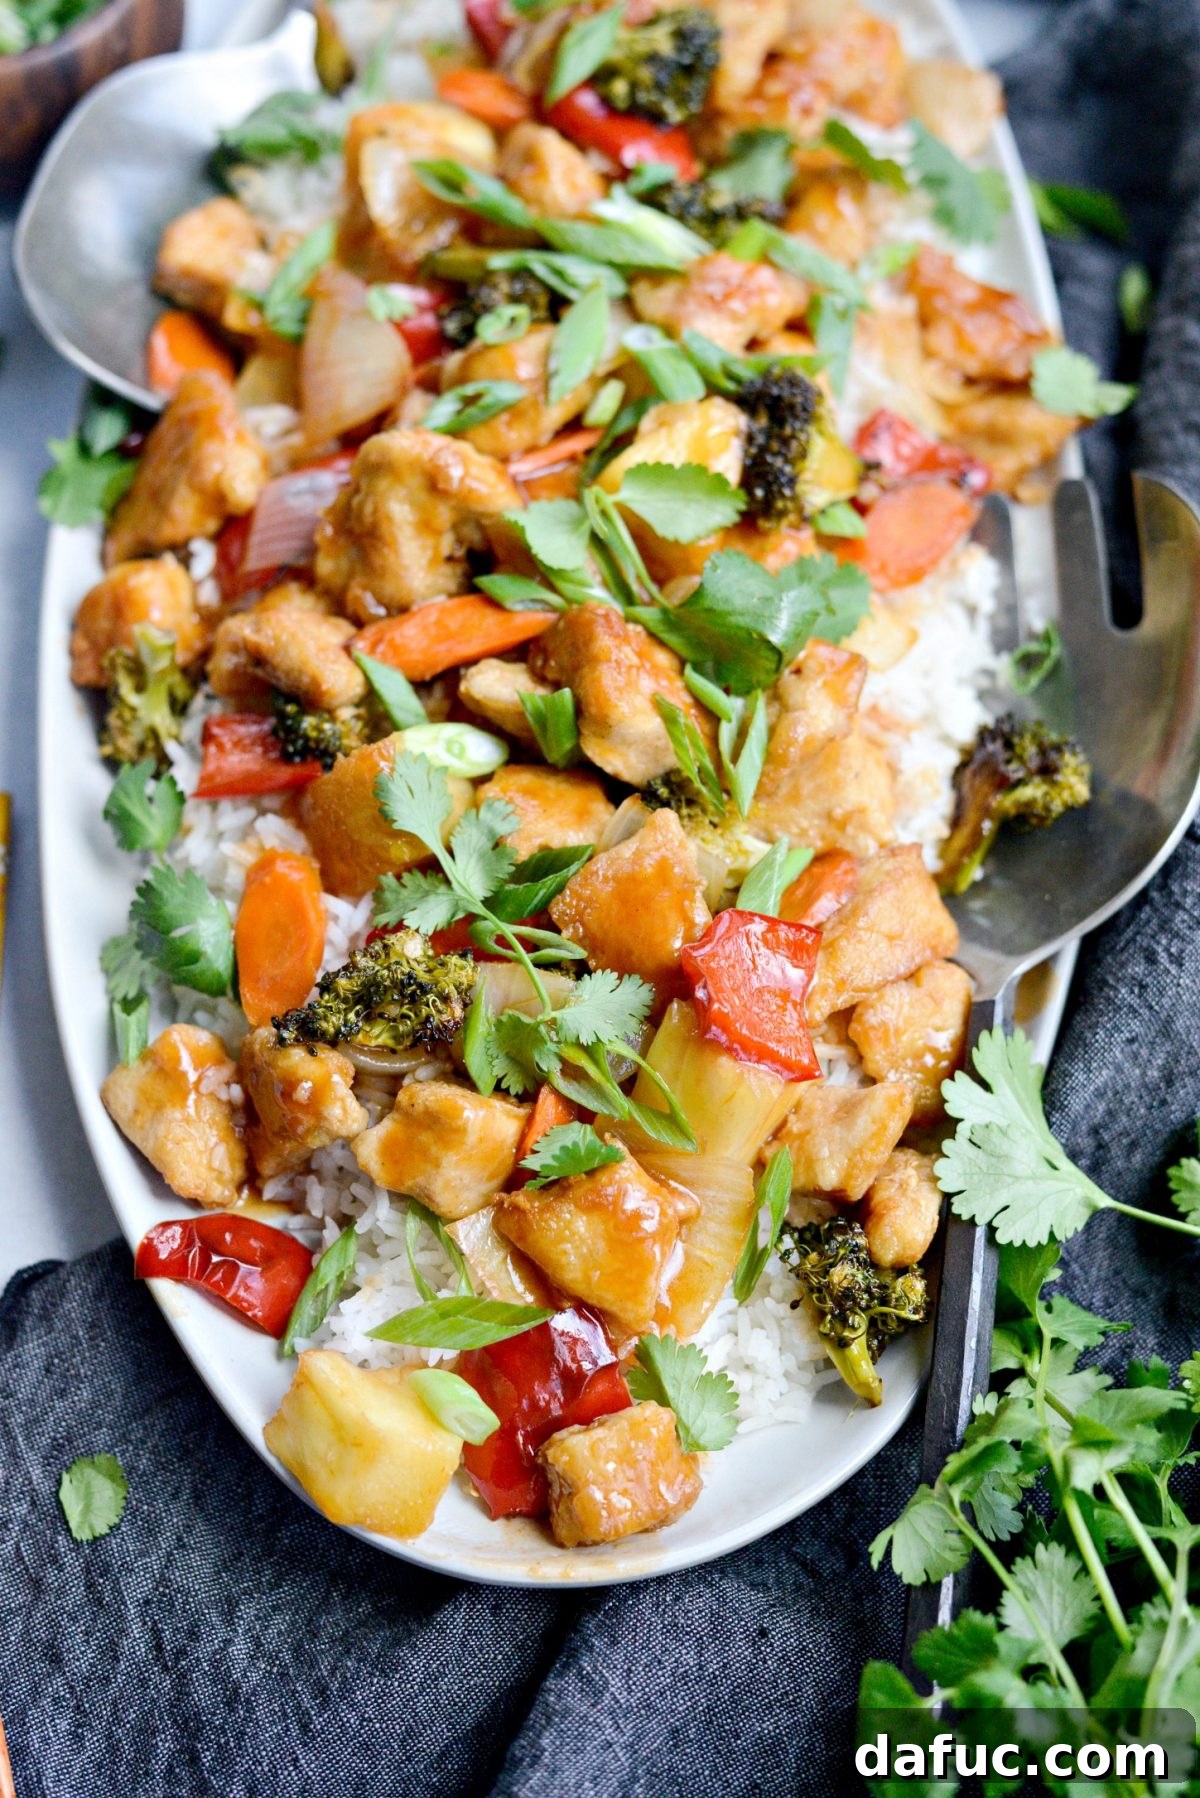
As a child, my ordering preference for sweet and sour chicken was quite specific: I’d meticulously pick out any “stray” vegetables, focusing solely on the saucy chicken and fluffy rice. Fast forward to adulthood, and my palate has undergone a delightful transformation. Now, I actively seek out and revel in an abundance of fresh vegetables in my stir-fries. Carrots, bell peppers, onions, and broccoli are always welcome additions, lending color, crunch, and essential nutrients. If I were cooking solely for myself, I wouldn’t hesitate to incorporate mushrooms, water chestnuts, or even bamboo shoots to create an even richer tapestry of textures and flavors. The more vibrant and colorful the stir-fry, the better! This evolution in taste truly brings a new dimension to this classic dish.
This homemade sweet and sour chicken recipe consistently receives rave reviews in our home, embodying the perfect blend of comfort and fresh flavors. We are confident it will be equally adored in your kitchen, transforming your perception of what a homemade Chinese meal can be. It’s a testament to how simple, wholesome ingredients can come together to create an unforgettable dining experience that rivals, and often surpasses, restaurant quality.
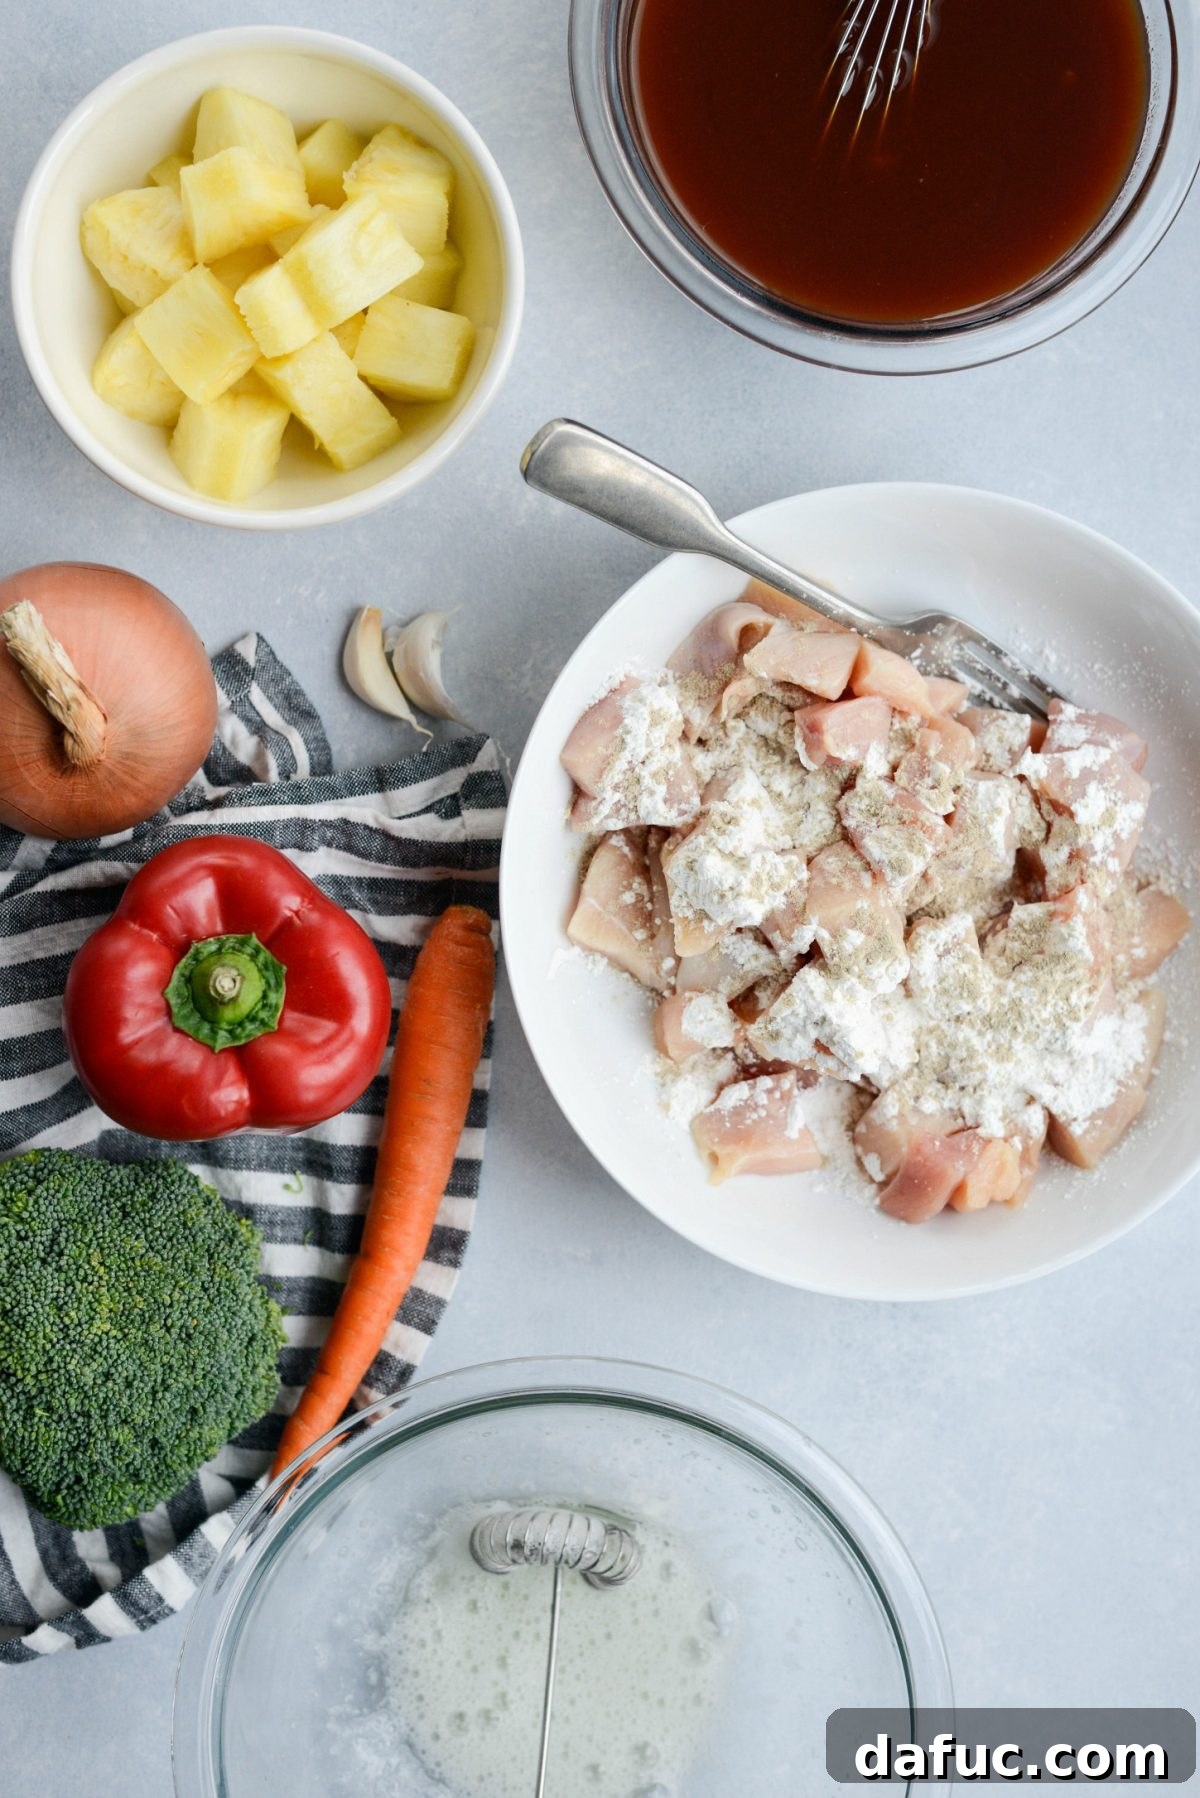
Essential Ingredients for Your Sweet and Sour Chicken Masterpiece
Crafting this incredible sweet and sour chicken at home requires a thoughtful selection of fresh, high-quality ingredients. Each component plays a vital role in building the dish’s distinct flavor and texture profile, from the tender chicken to the crisp vegetables and the star of the show – the vibrant sweet and sour sauce. Here’s what you’ll need to gather:
- **Thin-cut chicken breast halves:** For quick cooking and ideal bite-sized pieces that soak up the sauce beautifully.
- **Cornstarch:** Essential for coating the chicken, creating a light, crispy exterior, and later for thickening the sauce.
- **White pepper:** Adds a subtle warmth and authentic Chinese flavor to the chicken.
- **An egg white:** Used in the chicken coating process to help achieve that coveted crispy texture.
- **Carrots, broccoli, red bell pepper:** These foundational vegetables bring color, crunch, and sweetness. Feel free to add others like snow peas, mushrooms, or snap peas for more variety.
- **Fresh pineapple:** Not only adds a burst of tropical sweetness and tang to the dish itself, but its juice is also crucial for our reduced-sugar sauce.
- **Homemade sweet and sour sauce ingredients:** The heart of this recipe, which we’ll detail next.
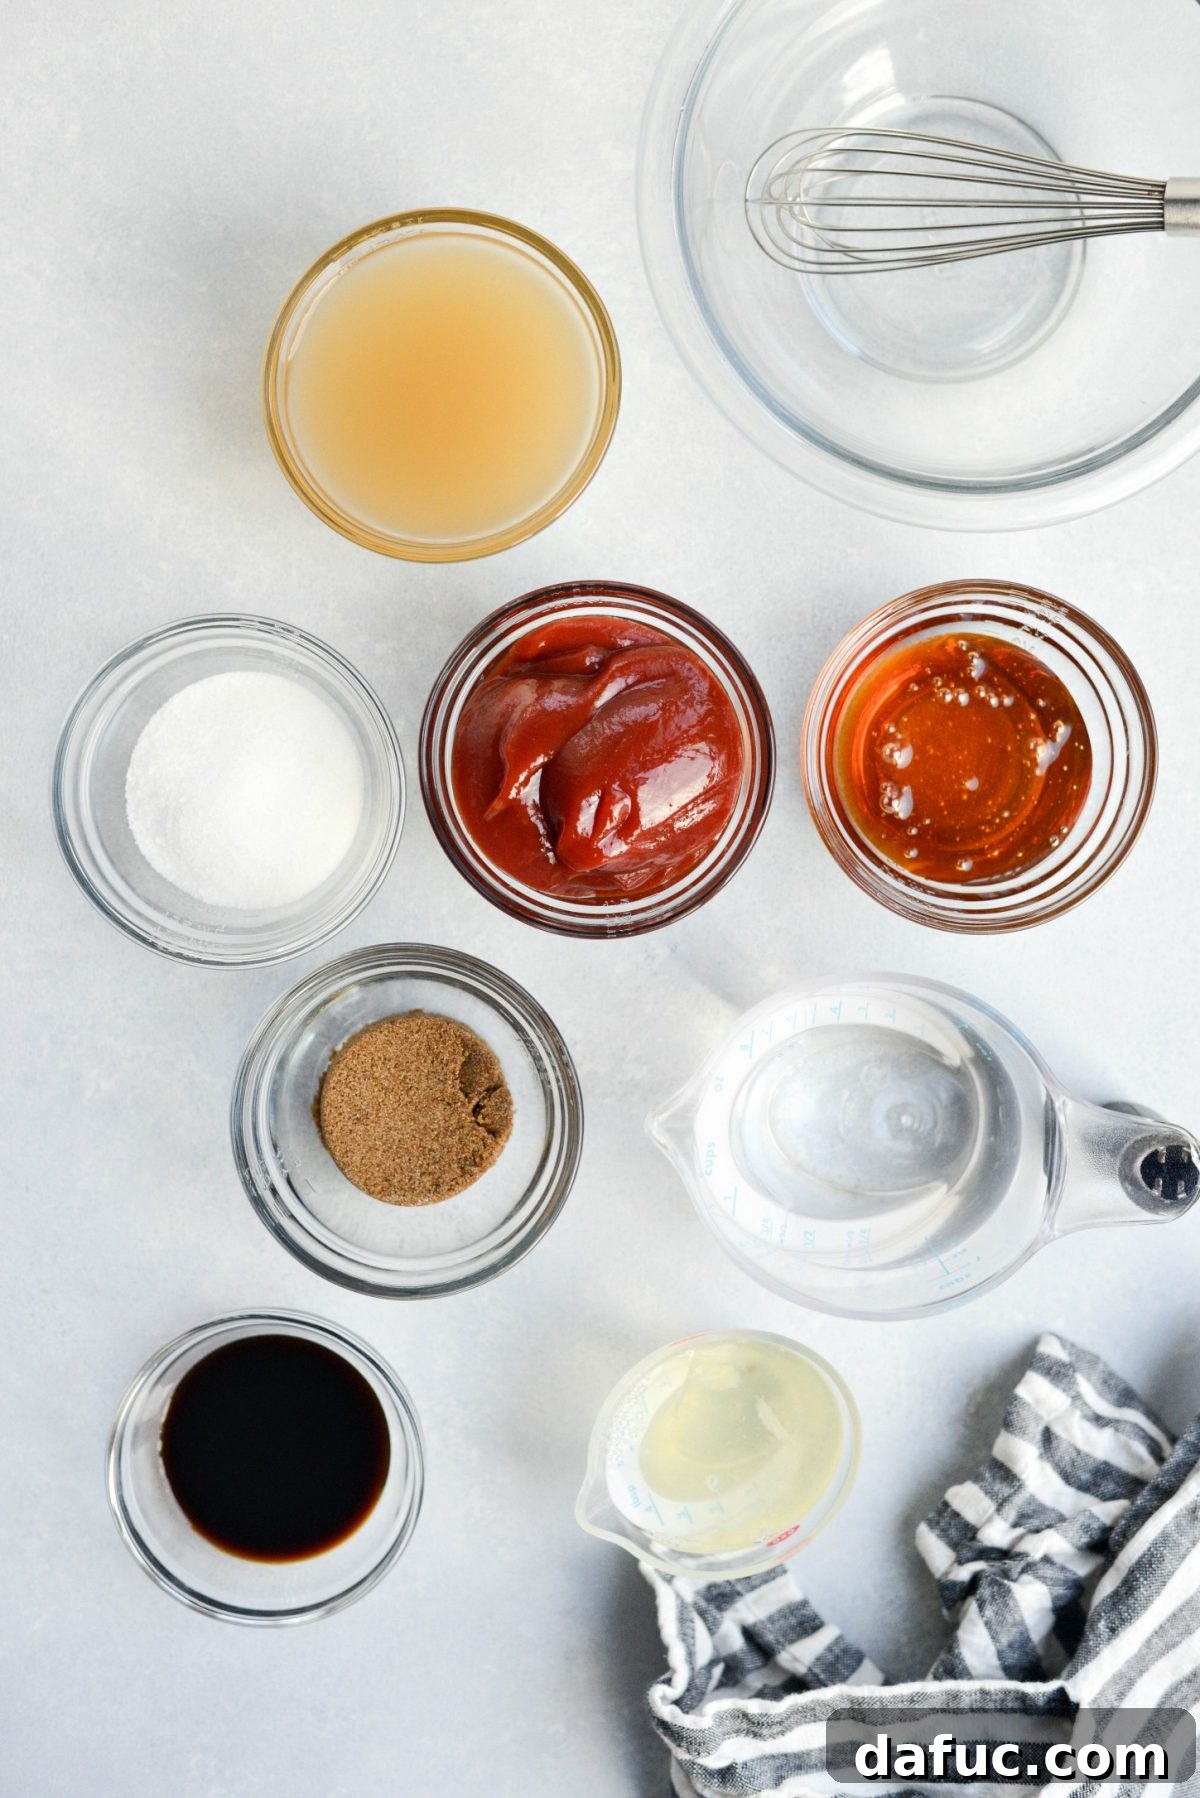
Crafting the Healthier Homemade Sweet and Sour Sauce
The magic of this dish truly lies in its perfectly balanced sweet and sour sauce. Our recipe prioritizes flavor without excessive sugar, creating a sauce that’s rich, tangy, and bright. Here’s what you’ll need for this exceptional sauce:
- **Dark brown sugar & granulated sugar:** Used in smaller quantities than traditional recipes, providing depth and fundamental sweetness.
- **Honey:** Contributes natural sweetness and a lovely complex aroma.
- **Reserved fresh pineapple juice:** A key ingredient for both flavor and natural sweetness, helping us reduce refined sugar. Look for fresh pineapple at your grocery store, often found in the refrigerated produce section. Aim for pineapple that has at least 1/4 cup of juice at the bottom of the container. While fresh is always best, canned pineapple (packed in its own natural juices, not syrup) can be used as a convenient substitute in a pinch.
- **Ketchup:** Forms the savory and slightly sweet base, adding body and color.
- **Tamari (or low-sodium soy sauce):** Provides that essential umami depth without excessive sodium.
- **White vinegar:** Crucial for the “sour” component, balancing the sweetness.
- **Low-sodium chicken broth:** Thins the sauce to the right consistency and adds a savory base.
- **Cornstarch & cold water (for slurry):** For thickening the sauce to that signature glossy, clingy texture.
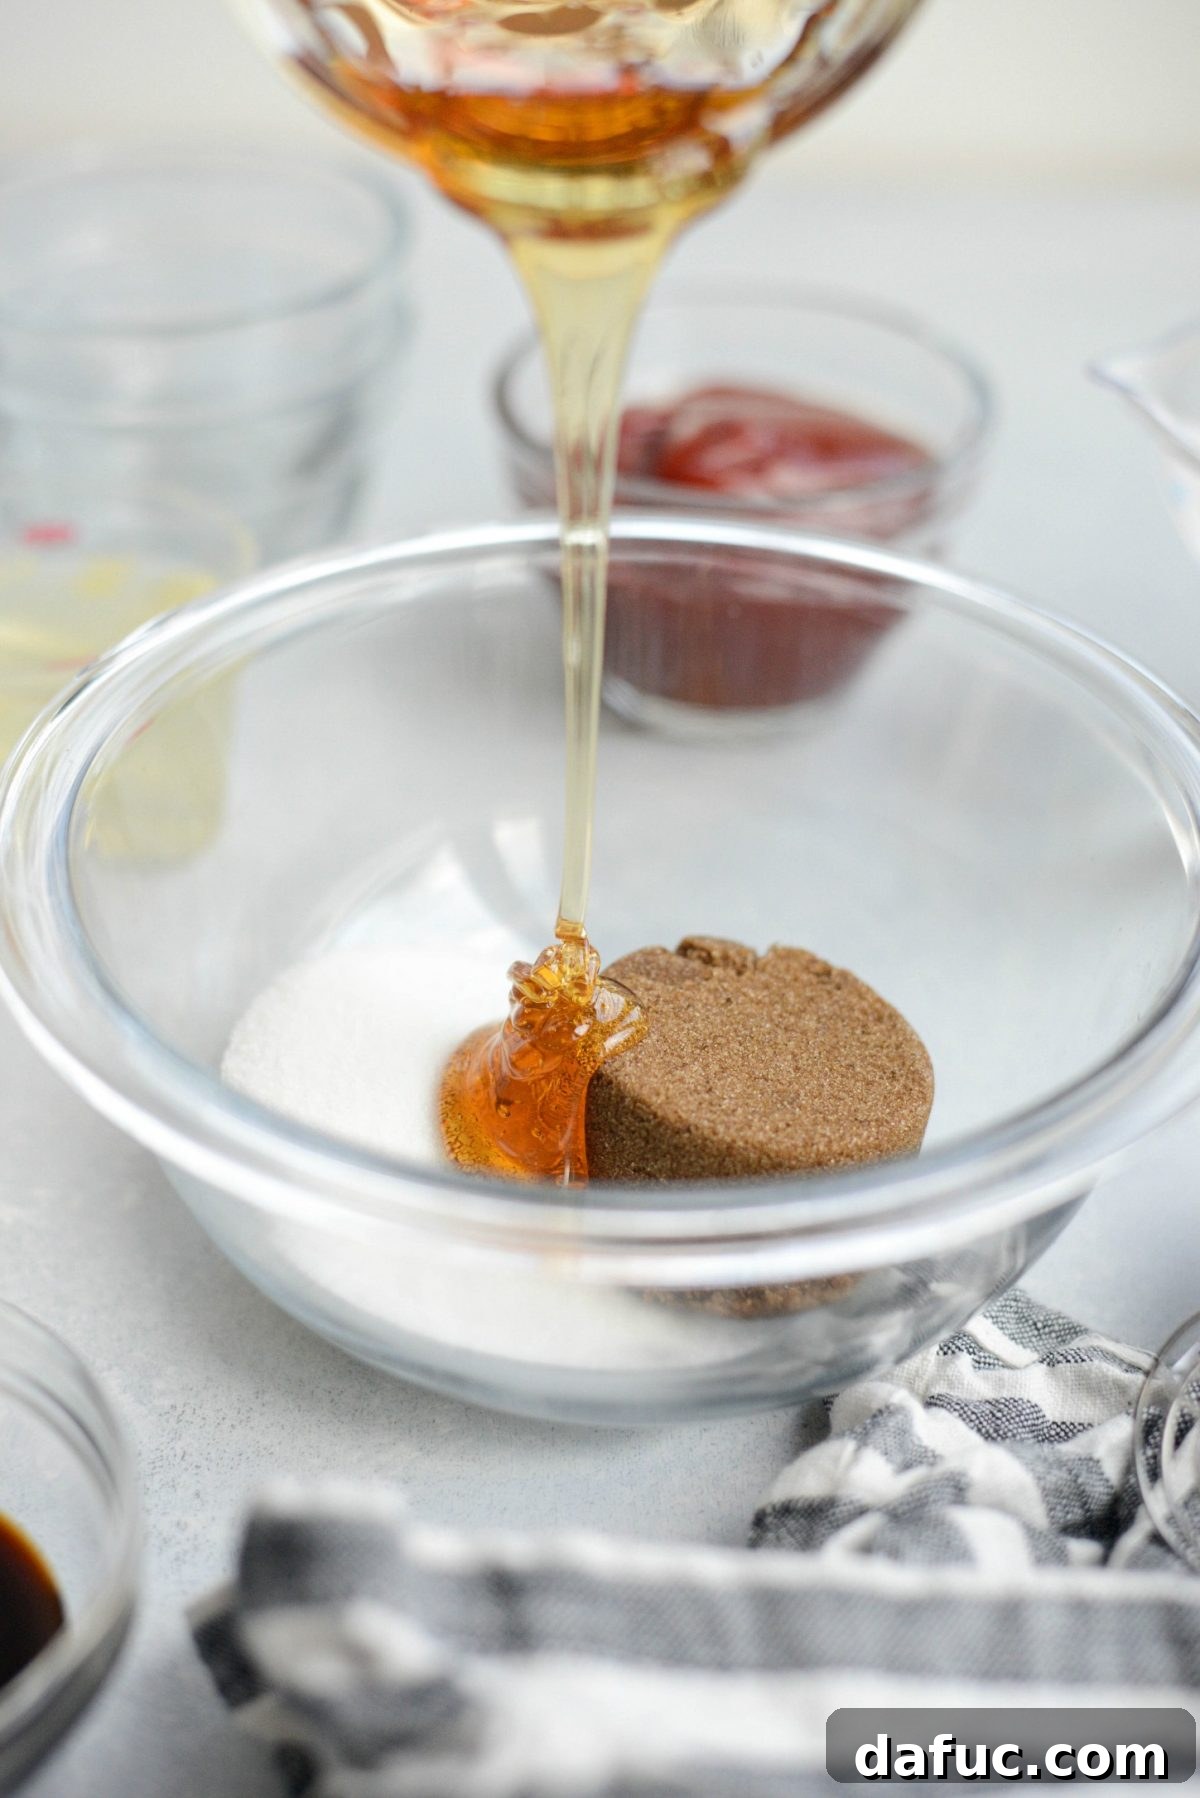
Begin by combining the core sweet elements for the sauce. In a medium-sized bowl, carefully measure out 1/4 cup each of dark brown sugar, granulated sugar, and honey. These sugars, used sparingly, will lay the foundation for the sauce’s sweetness, offering a more nuanced flavor profile compared to sugar-laden takeout versions.
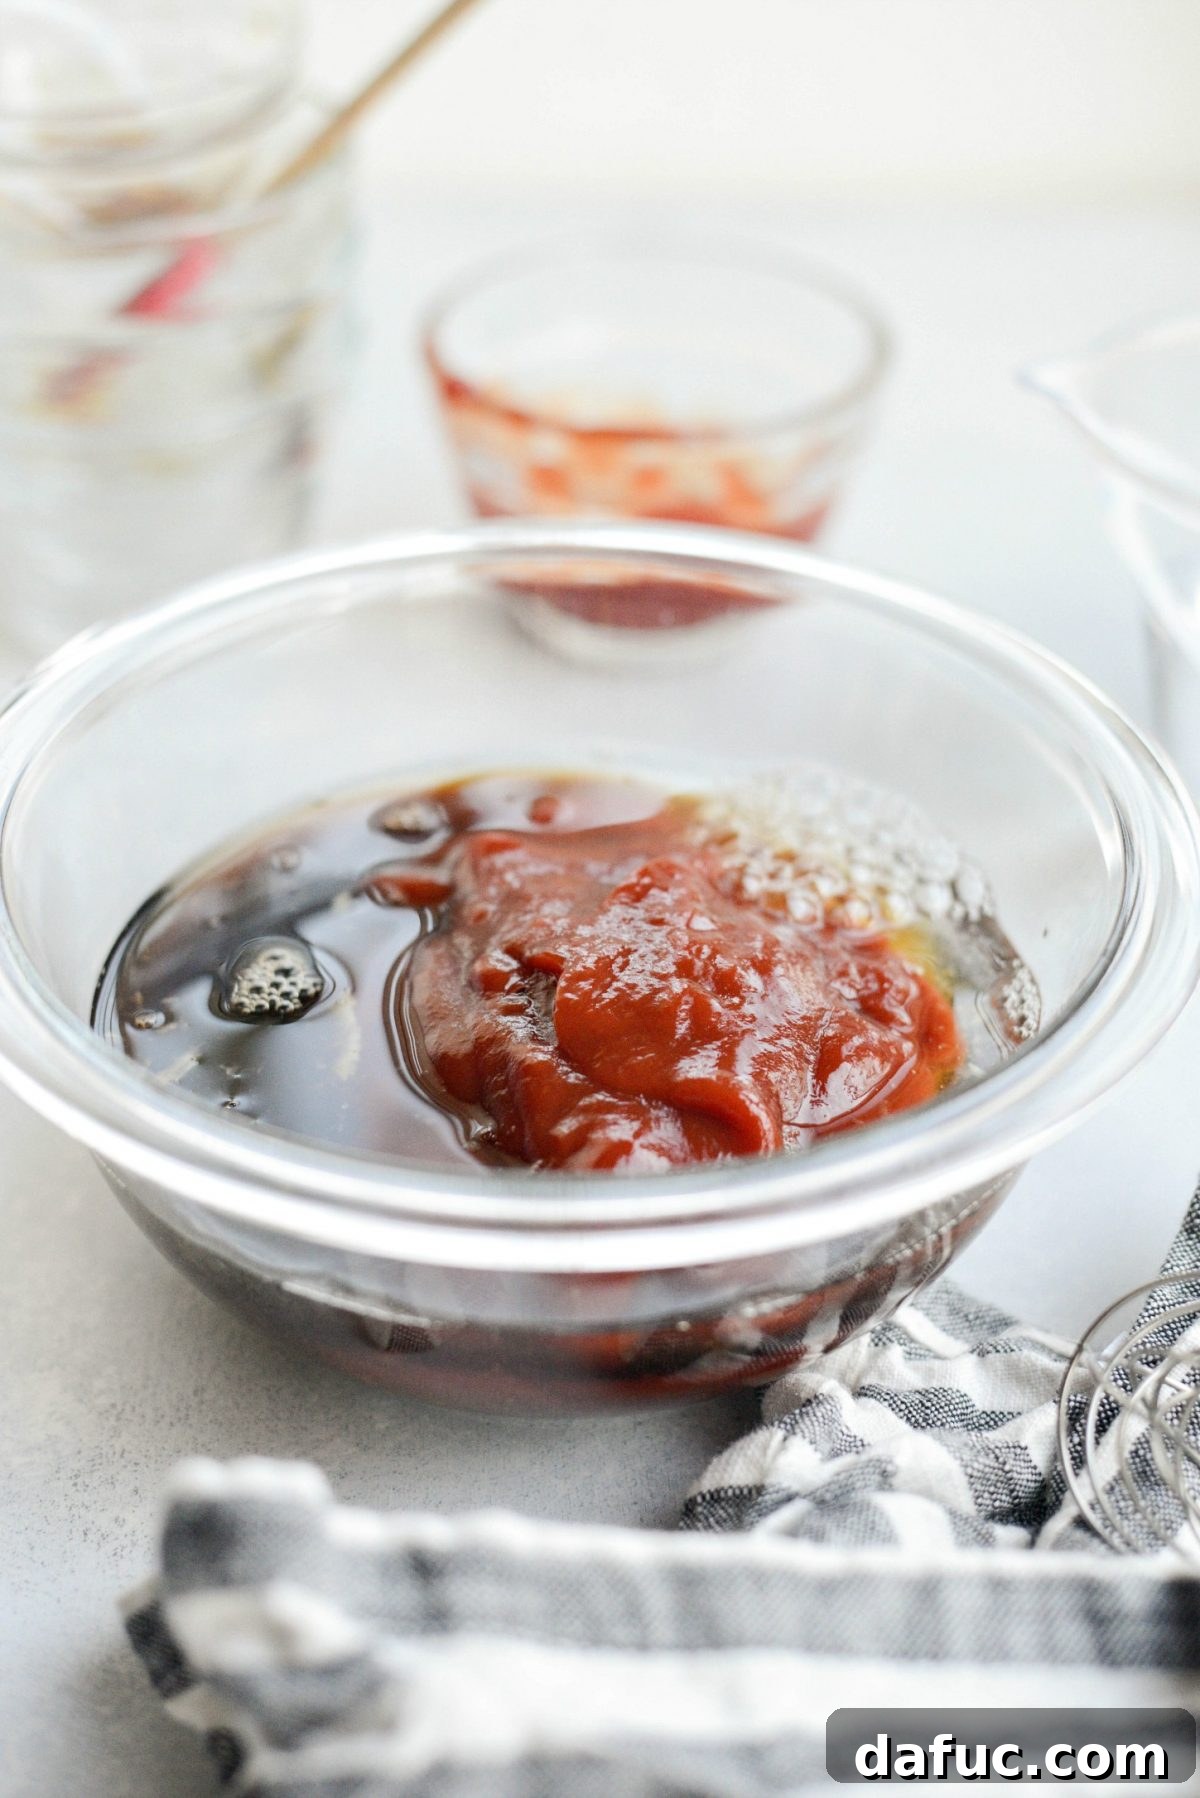
Next, introduce the savory and fruity liquids. Pour in 1/2 cup of quality ketchup, 1/4 cup of the reserved fresh pineapple juice (a game-changer for reducing refined sugar!), and 2 tablespoons of low-sodium tamari or low-sodium soy sauce. It’s worth noting that in my previous recipe iteration, I used a full 1/2 cup of each of these sugars, so this current version genuinely cuts the sugar content in half, making it a much lighter and healthier option without sacrificing any of the robust, craveable flavor.
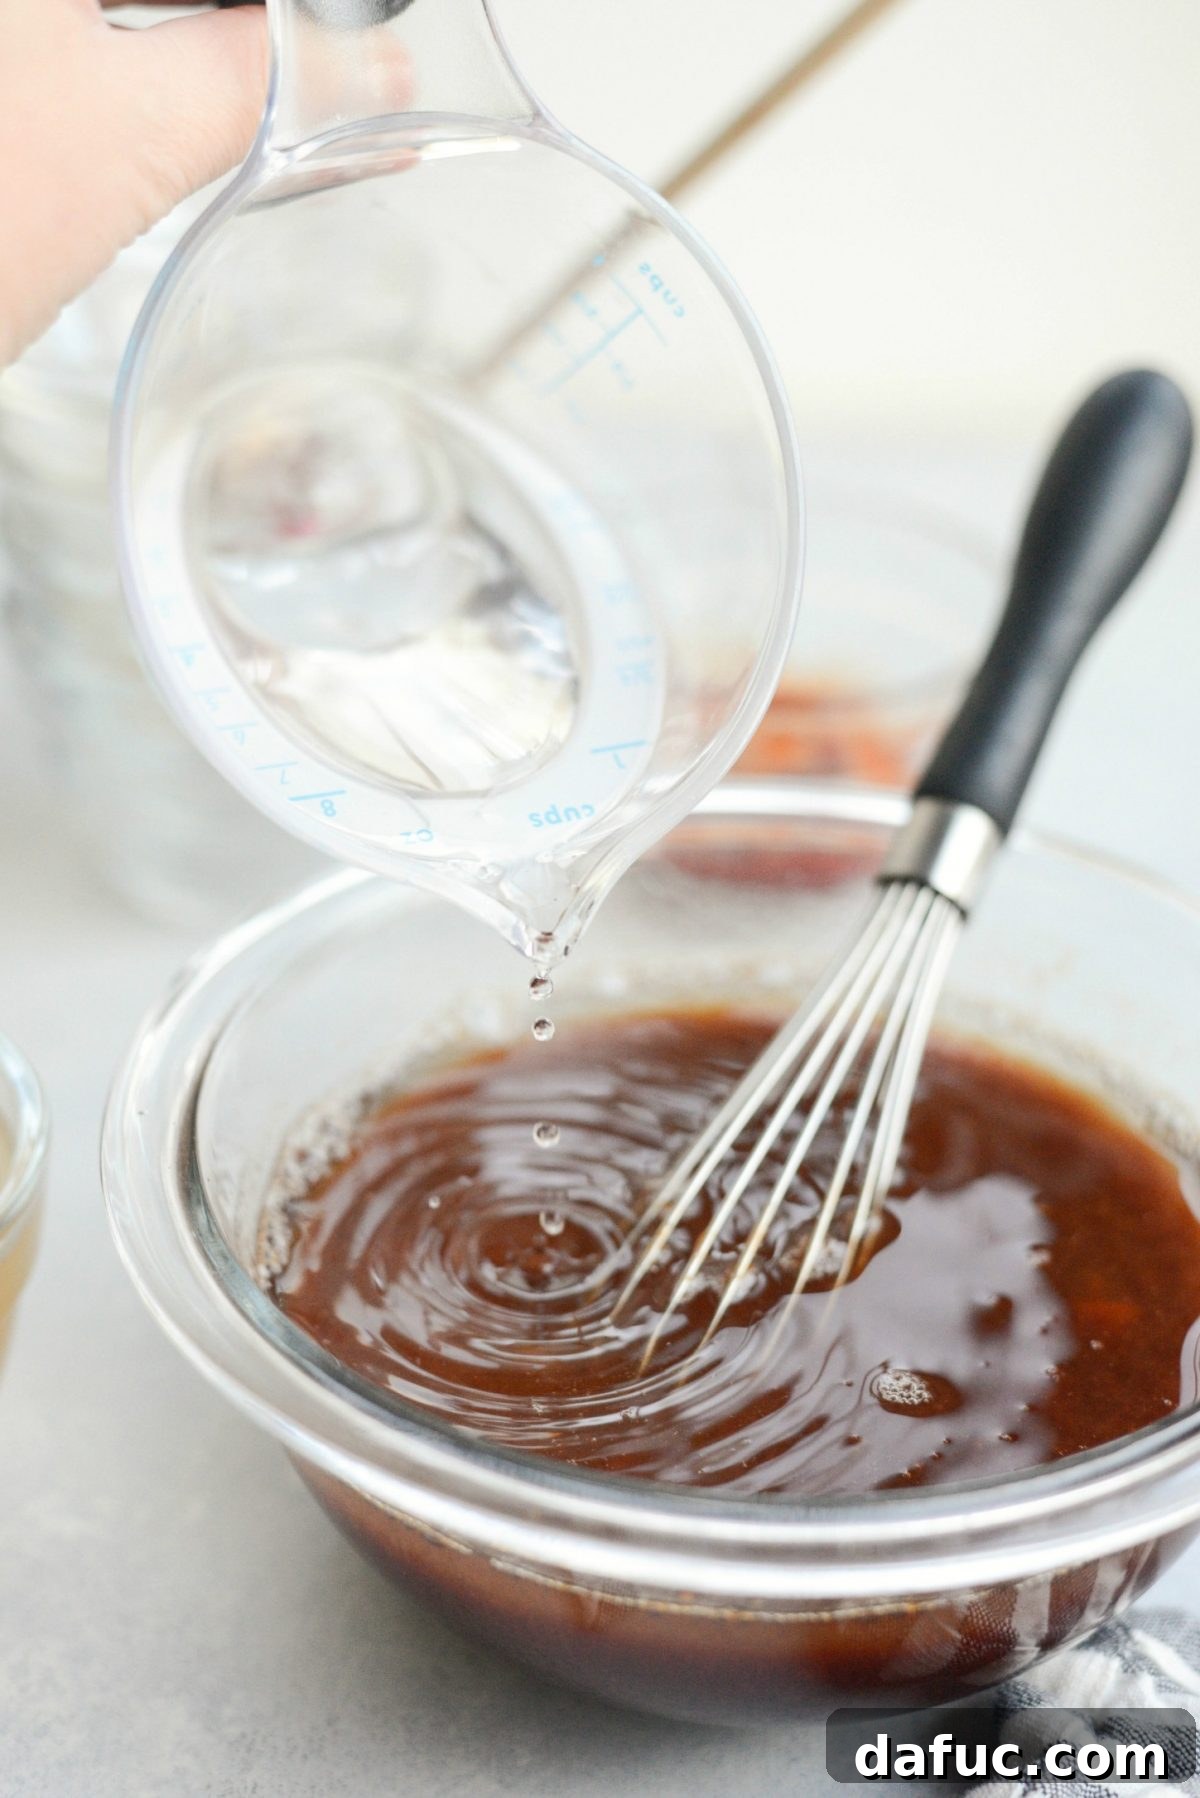
To achieve that signature “sour” tang that defines this dish, incorporate 2/3 cup of white vinegar into the mixture. The vinegar is essential for balancing the sweetness and adding a bright, zesty note that makes the sauce so distinctive and appetizing.
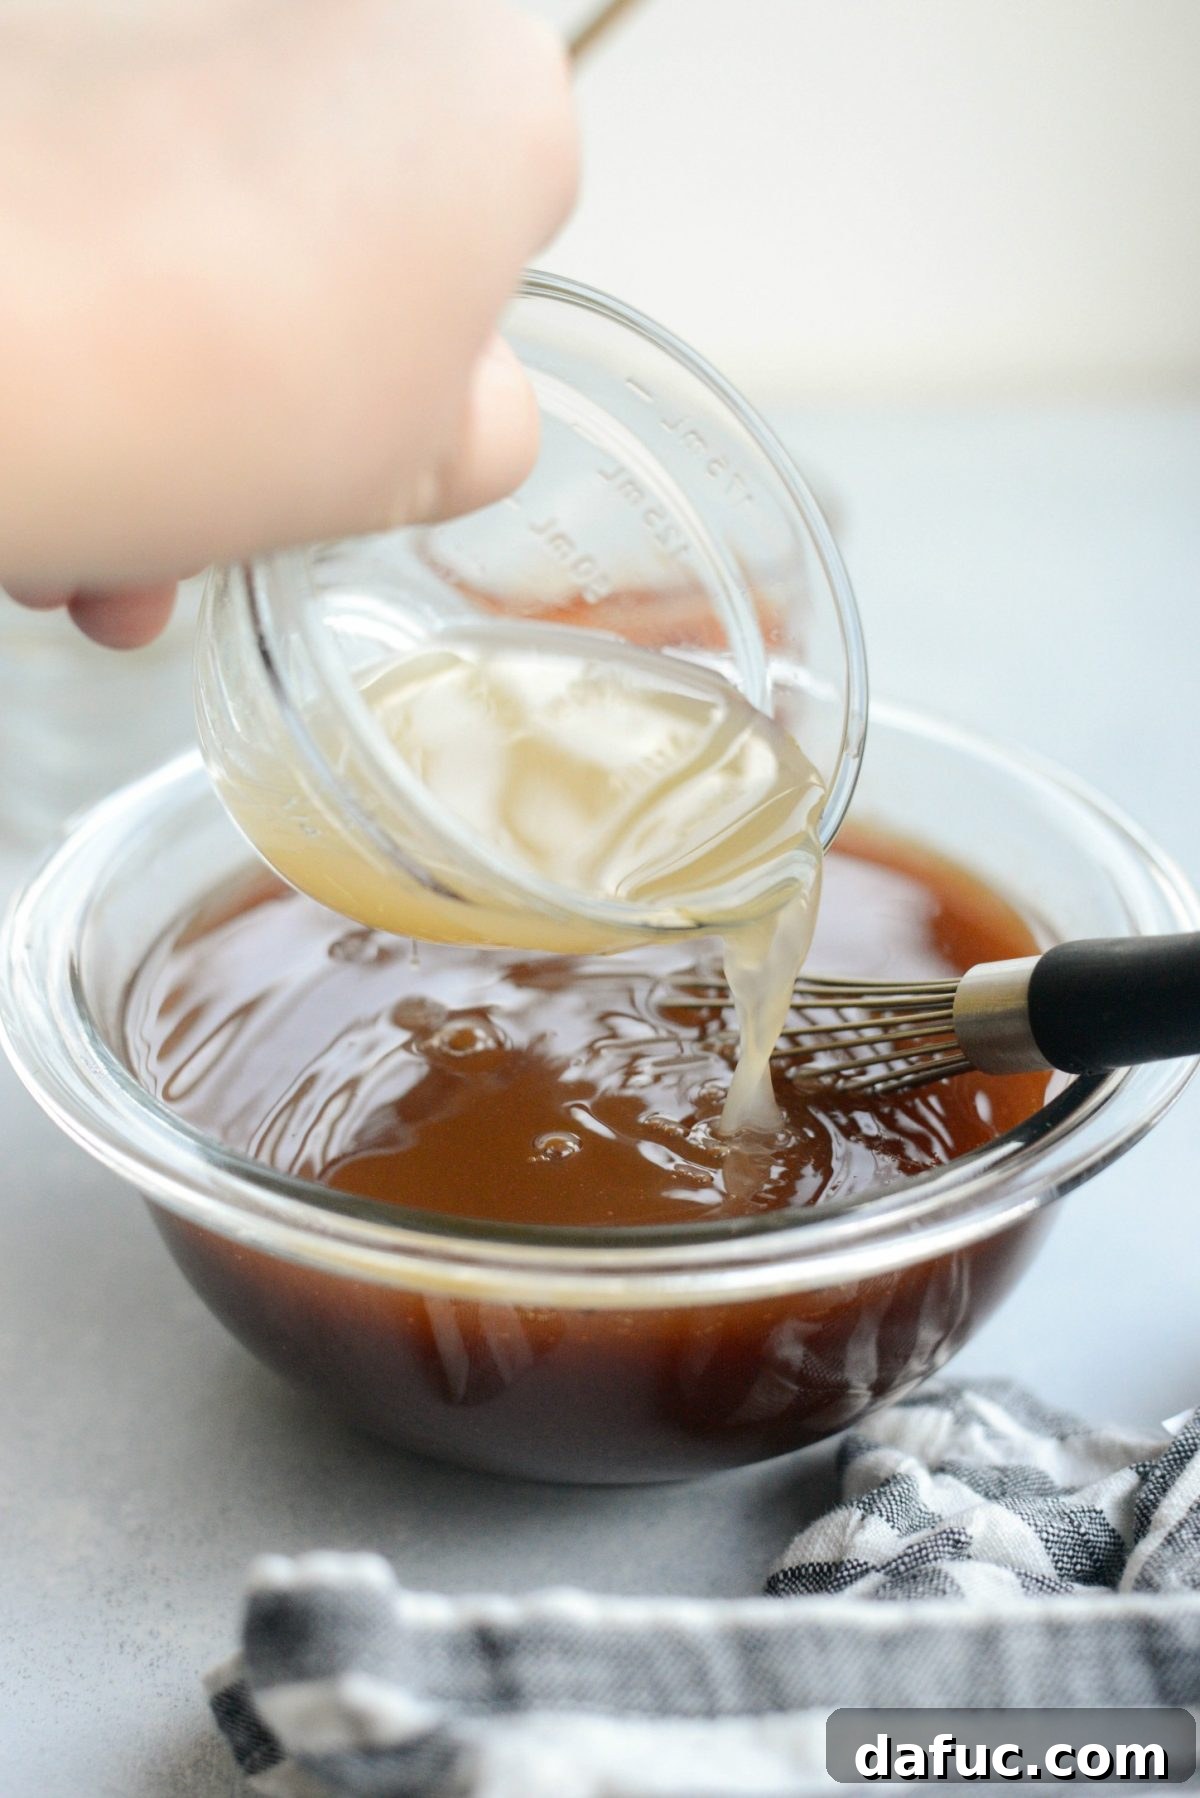
Finally, complete the liquid base of your sauce by adding 3/4 cup of low-sodium chicken broth. The broth contributes a savory undertone, creating a more complex and well-rounded flavor foundation for the sweet and sour notes to shine through.
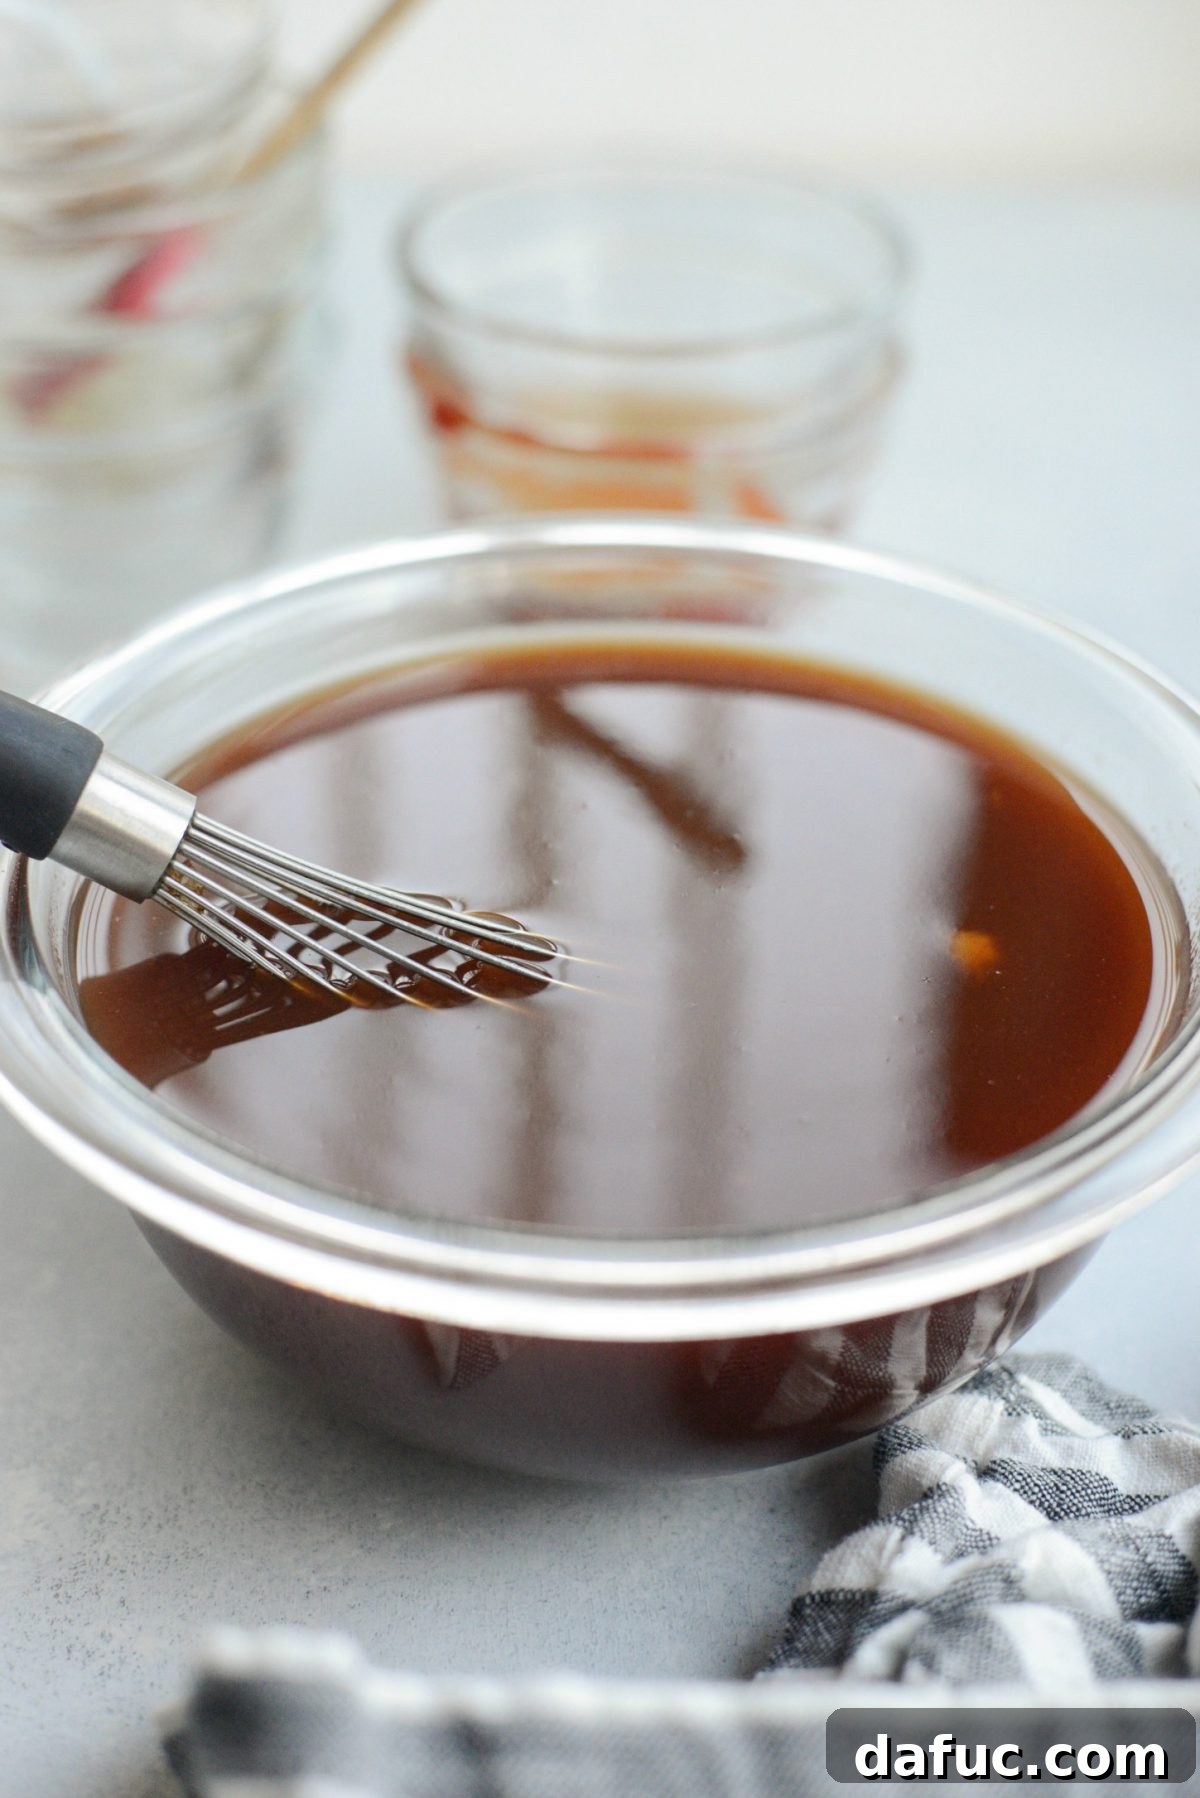
Whisking to Perfection: Achieving a Homogeneous Sweet and Sour Sauce
With all ingredients now in the bowl, vigorously whisk the mixture until everything is thoroughly combined and the sugars have completely dissolved. This ensures a smooth, consistent sauce that will evenly coat your chicken and vegetables, delivering a burst of flavor in every bite. Set the sauce aside while you prepare the other components of your sweet and sour chicken. This proactive step helps streamline the cooking process, allowing for a seamless transition when it’s time to bring all the elements together.
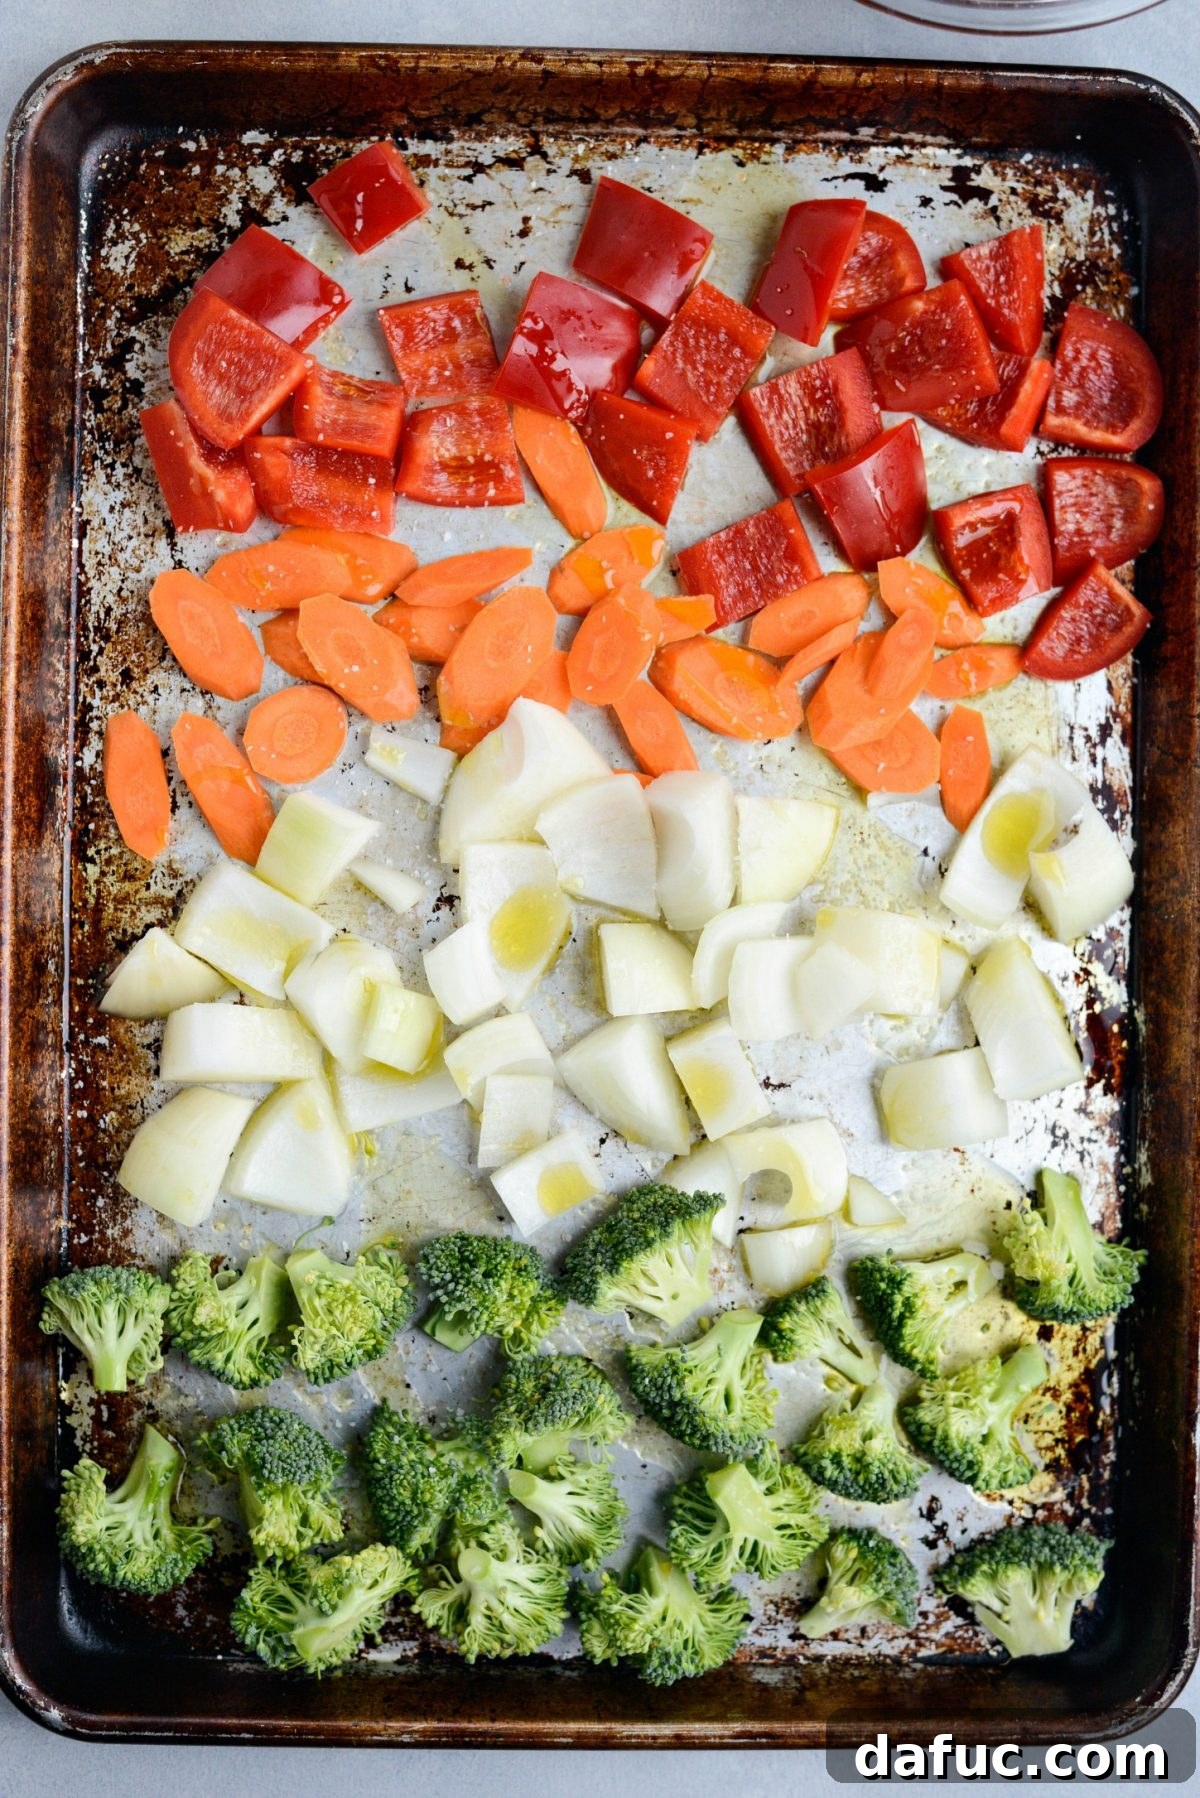
In my initial sweet and sour chicken recipe, I opted for stir-frying the vegetables, a perfectly acceptable and traditional method. However, over time, I’ve discovered a superior approach: roasting them separately from the chicken. This technique, while adding a brief extra step, simplifies the cooking process immensely and yields results that are truly transformative. Roasting the vegetables brings out their natural sweetness and creates beautifully caramelized edges, adding a depth of flavor and a tender-crisp texture that stir-frying often can’t match. It’s a game-changer for enhancing the overall quality and complexity of the dish.
Preparing Your Oven for Perfectly Roasted Vegetables
To achieve those wonderfully tender and caramelized vegetables, preheat your oven to a high temperature of 500°F (260°C). A hot oven is key to quickly roasting the vegetables, ensuring they become tender-crisp and develop those desirable browned edges without becoming soggy. This intense heat locks in their flavors and textures efficiently.
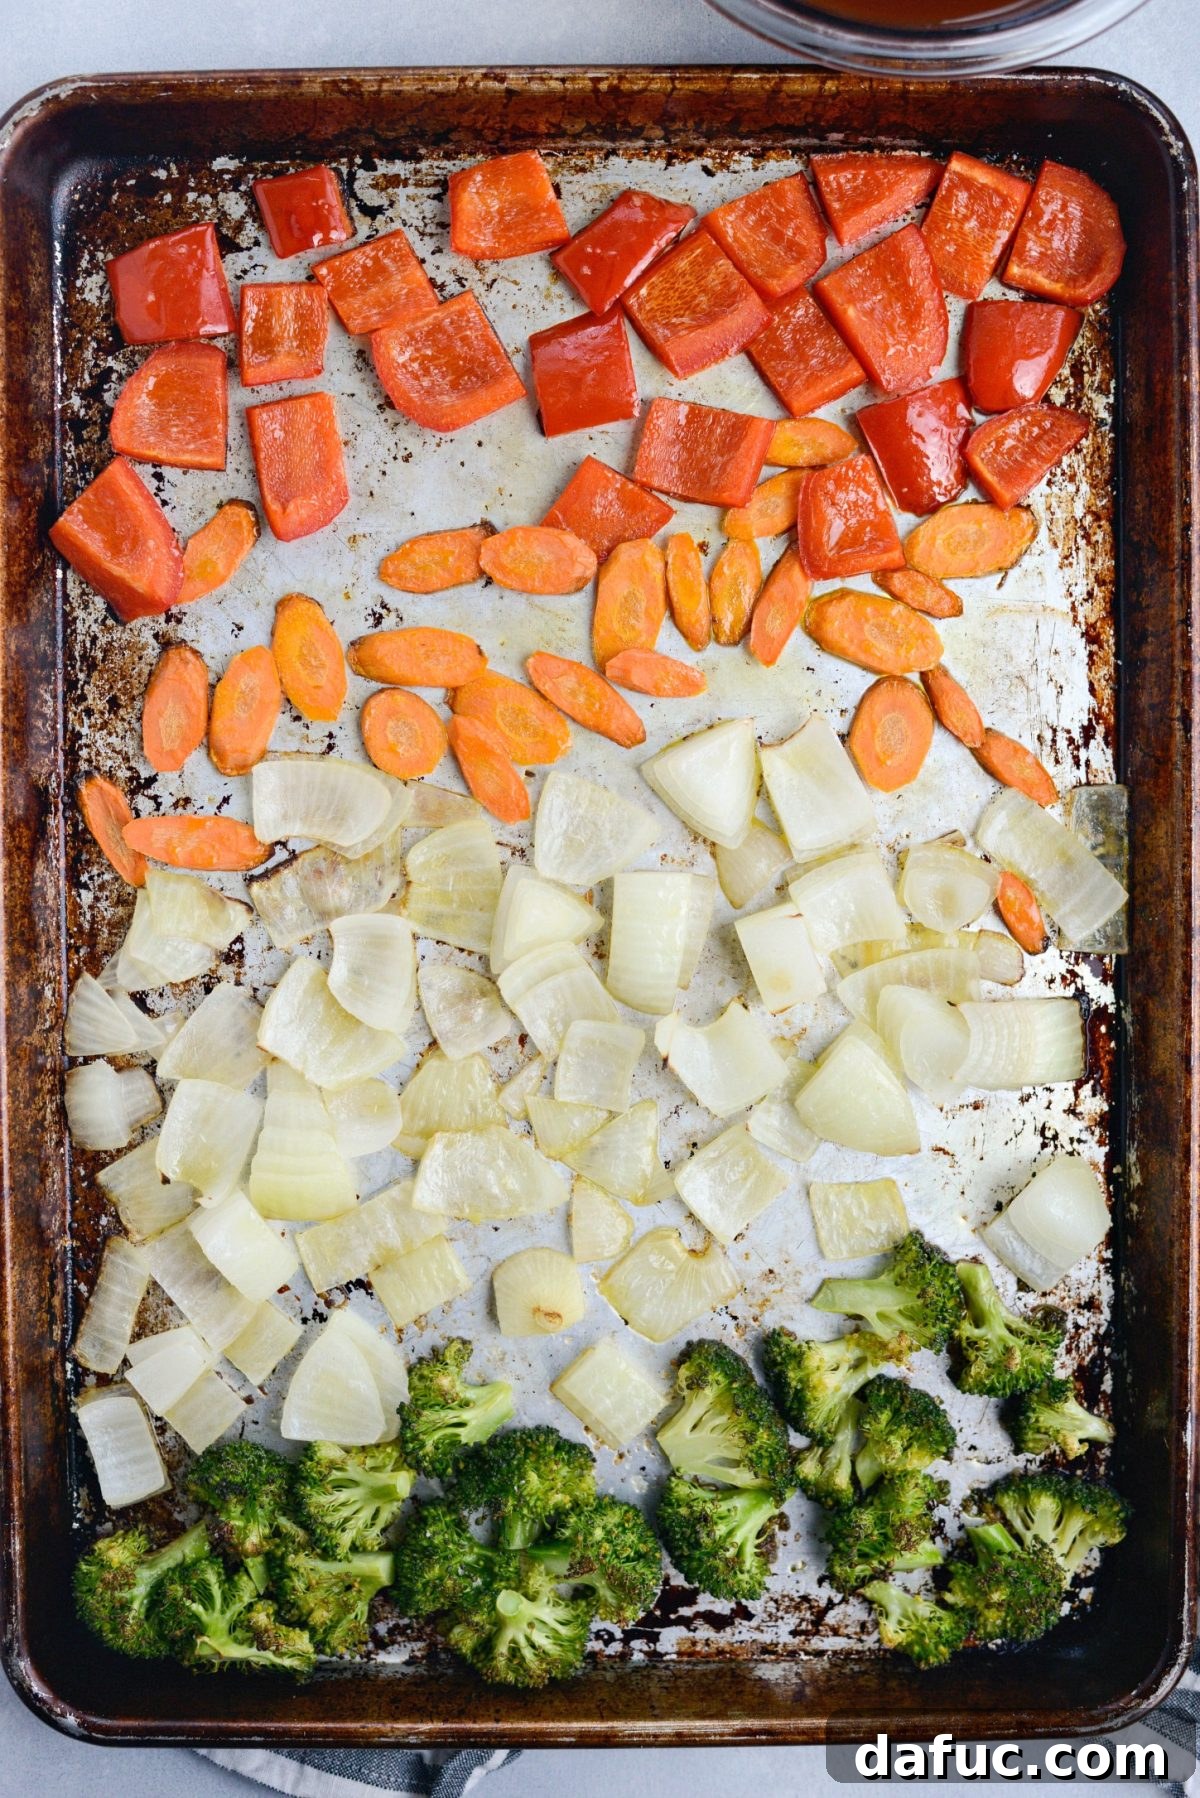
Once your oven is preheated, prepare your chosen vegetables. Dice a red bell pepper into substantial, bite-sized chunks, peel and slice 1 to 2 carrots on an elegant diagonal, finely chop a medium yellow onion, and cut one head of broccoli into uniform florets. Arrange these vibrant vegetables evenly across a rimmed metal baking sheet. Drizzle them generously with olive oil, ensuring a light, even coat, and then sprinkle with a few pinches of kosher salt to enhance their flavors. Roast the vegetables for 8 to 10 minutes, or until they reach a delightful state of tender-crispness with enticing caramelized edges. The high heat of the oven will work quickly, so keep a close eye on them to prevent overcooking.
Ensuring Even Roasting: The Mid-Cycle Pan Rotation
For uniform roasting and consistent caramelization across all your vegetables, make sure to rotate the baking pan halfway through the cooking process. This simple step ensures that every piece of vegetable receives equal exposure to the oven’s heat, preventing some from burning while others remain undercooked. It’s a small detail that makes a big difference in the final texture and flavor of your roasted medley.
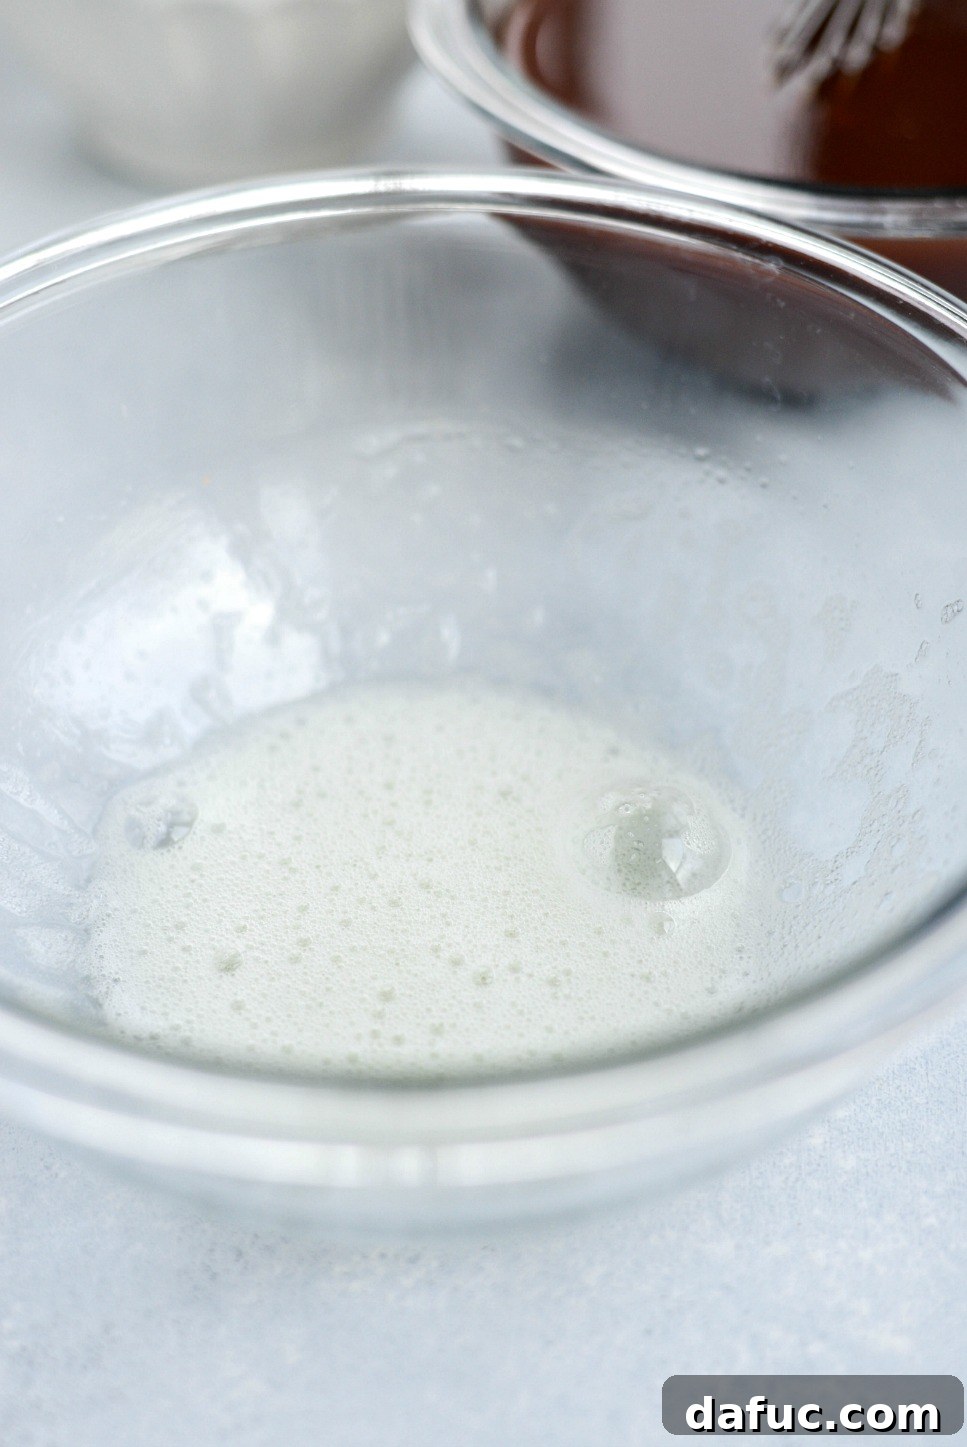
For the chicken’s coating, prepare an egg white by whisking it in a medium bowl until it becomes light and frothy. This frothy texture helps the egg white cling better to the chicken, creating a delicate, airy layer that contributes to a crispier finish once cooked.
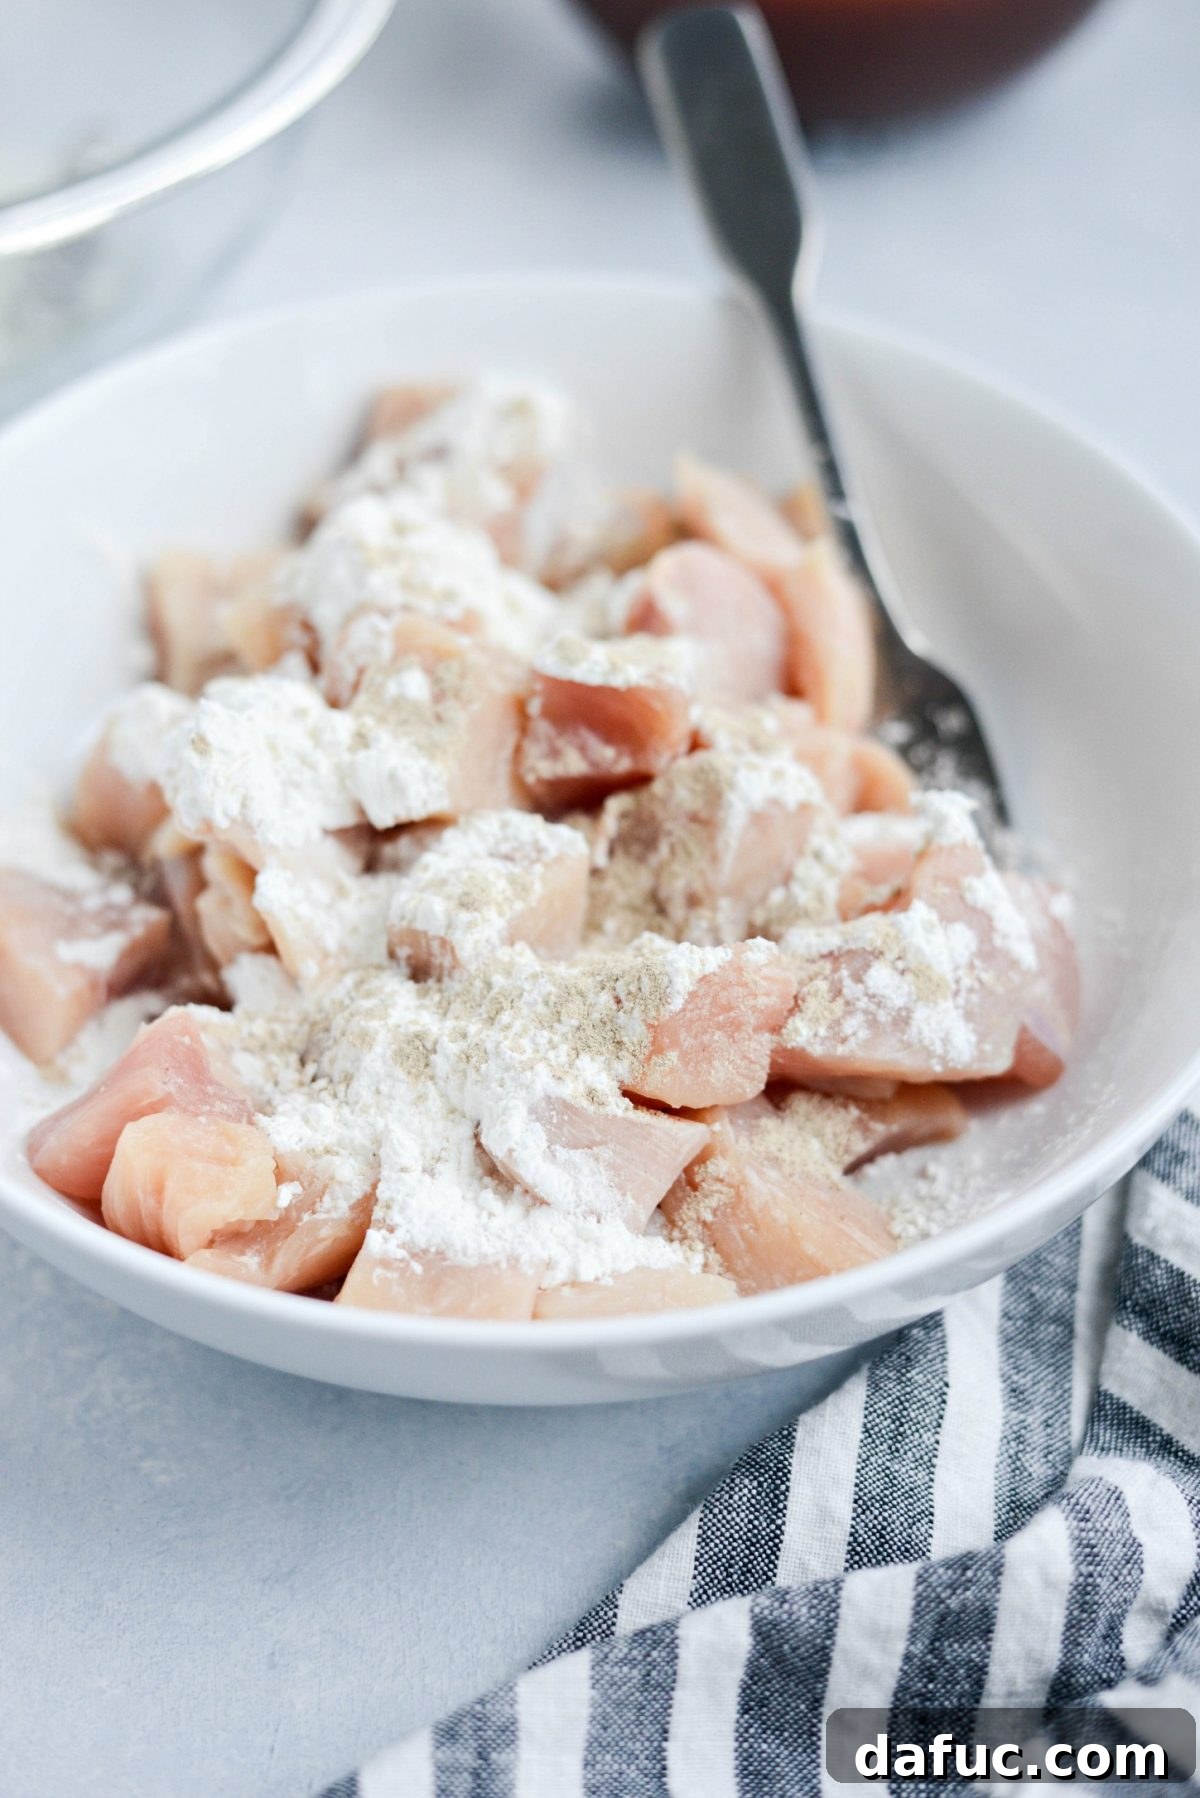
Take your bite-sized chicken breast pieces and place them in a separate bowl. Add 2 tablespoons of cornstarch and 1/2 teaspoon of white pepper. Toss the chicken thoroughly until each piece is evenly coated. The cornstarch forms the initial crisp layer, while the white pepper infuses a subtle, authentic warmth into the chicken.
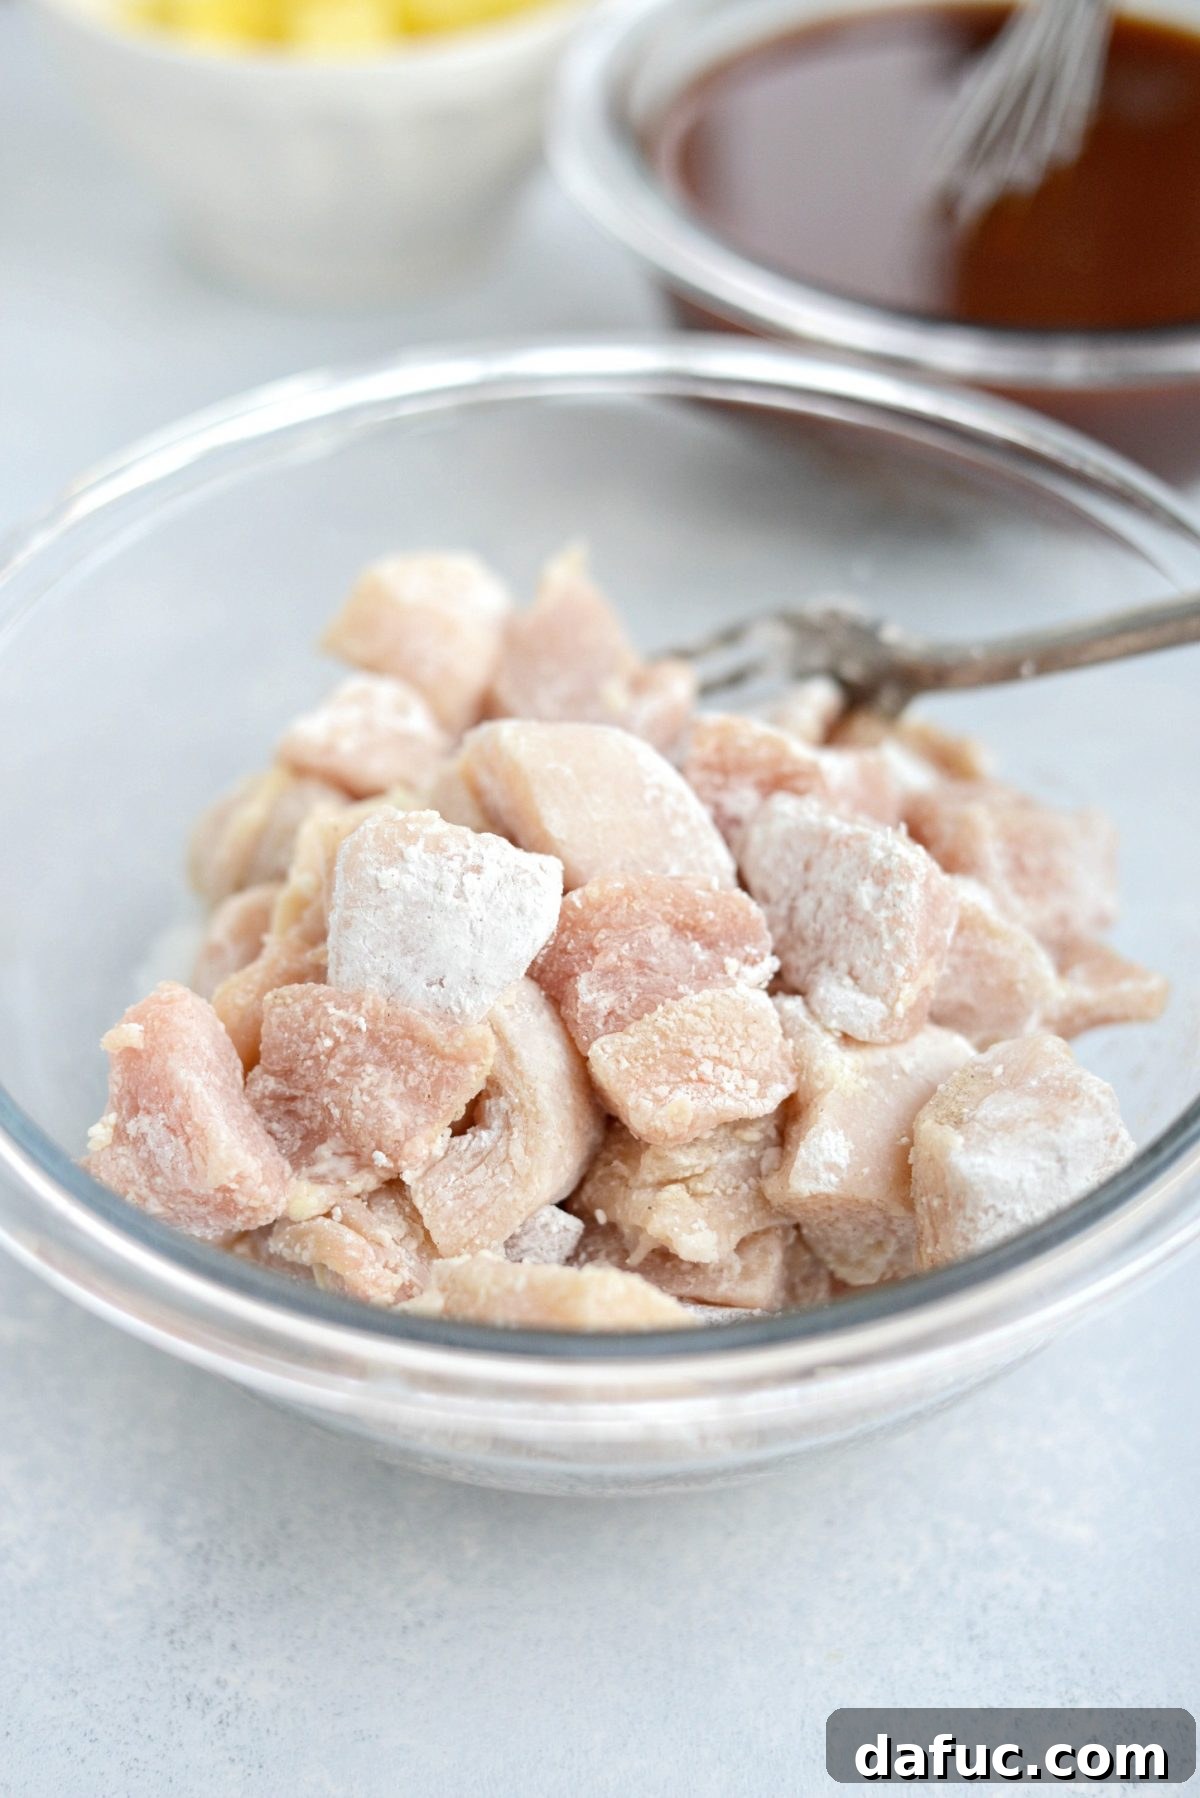
Once the chicken pieces are well-coated with the cornstarch and white pepper mixture, transfer them into the bowl with the frothy egg white. Toss gently to ensure every piece is completely enveloped. This double-coating method – first with cornstarch and pepper, then with egg white – is the secret to achieving that beautifully golden, tender, and slightly crispy texture on your chicken, mimicking restaurant-style results.
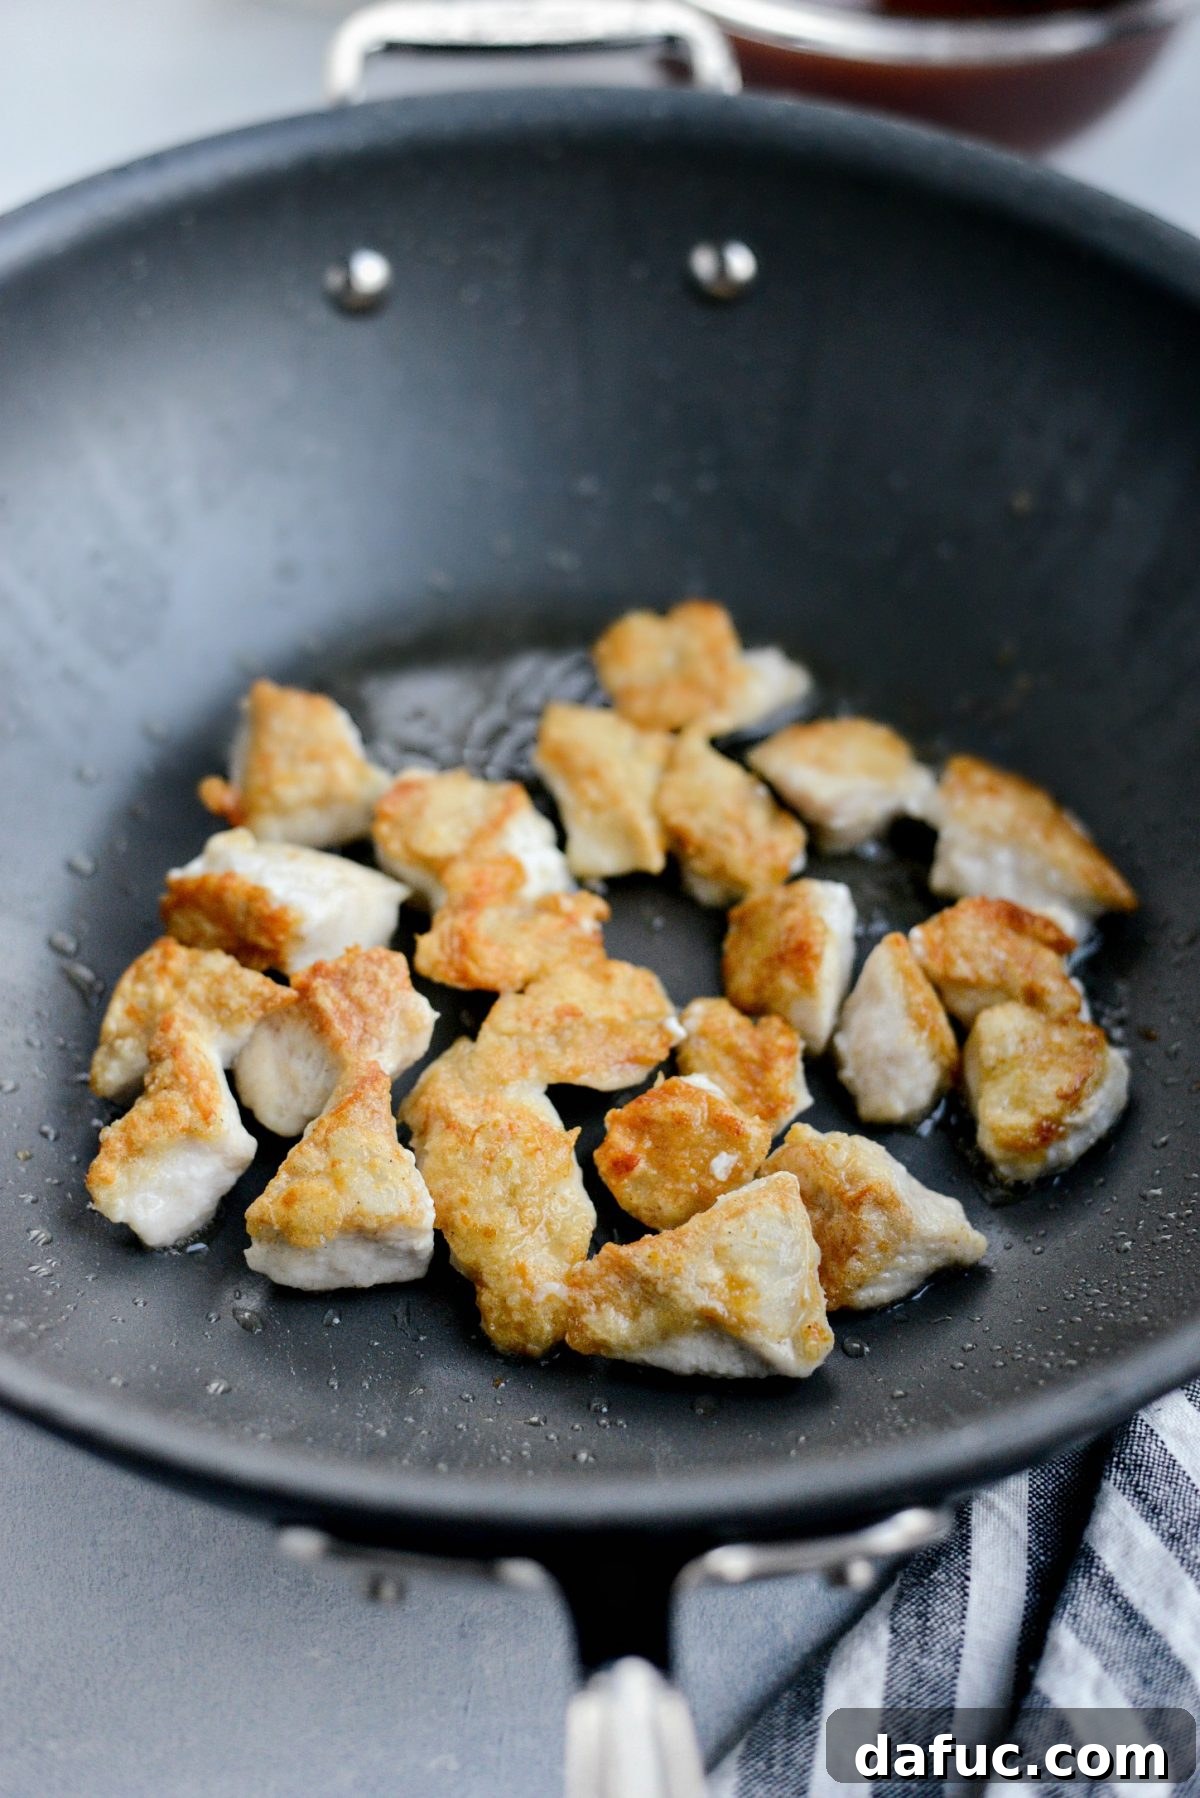
Now, it’s time to cook the chicken. Heat 2 tablespoons of your preferred cooking oil, such as coconut or olive oil, in a large wok or a 12-inch chef’s pan over medium-high heat. Once the oil is shimmering and hot, add the coated chicken pieces in batches, being careful not to overcrowd the pan. Cooking in batches ensures even browning and prevents the chicken from steaming. Cook each batch for 4 to 5 minutes per side, or until the chicken develops a deeply golden brown and crispy exterior. Use tongs to gently turn the chicken pieces to ensure all sides are cooked to perfection.
Achieving Golden Perfection: Cooking Chicken in Batches
As each batch of chicken reaches its perfect golden-brown crispness, transfer the delicious nuggets to a clean plate. Continue this process with the remaining chicken, adding a little more oil to the pan if needed for subsequent batches. Cooking the chicken in stages ensures that every piece is beautifully caramelized and cooked through, maintaining its tender interior while developing a satisfying exterior crunch that is essential for a truly exceptional sweet and sour chicken.
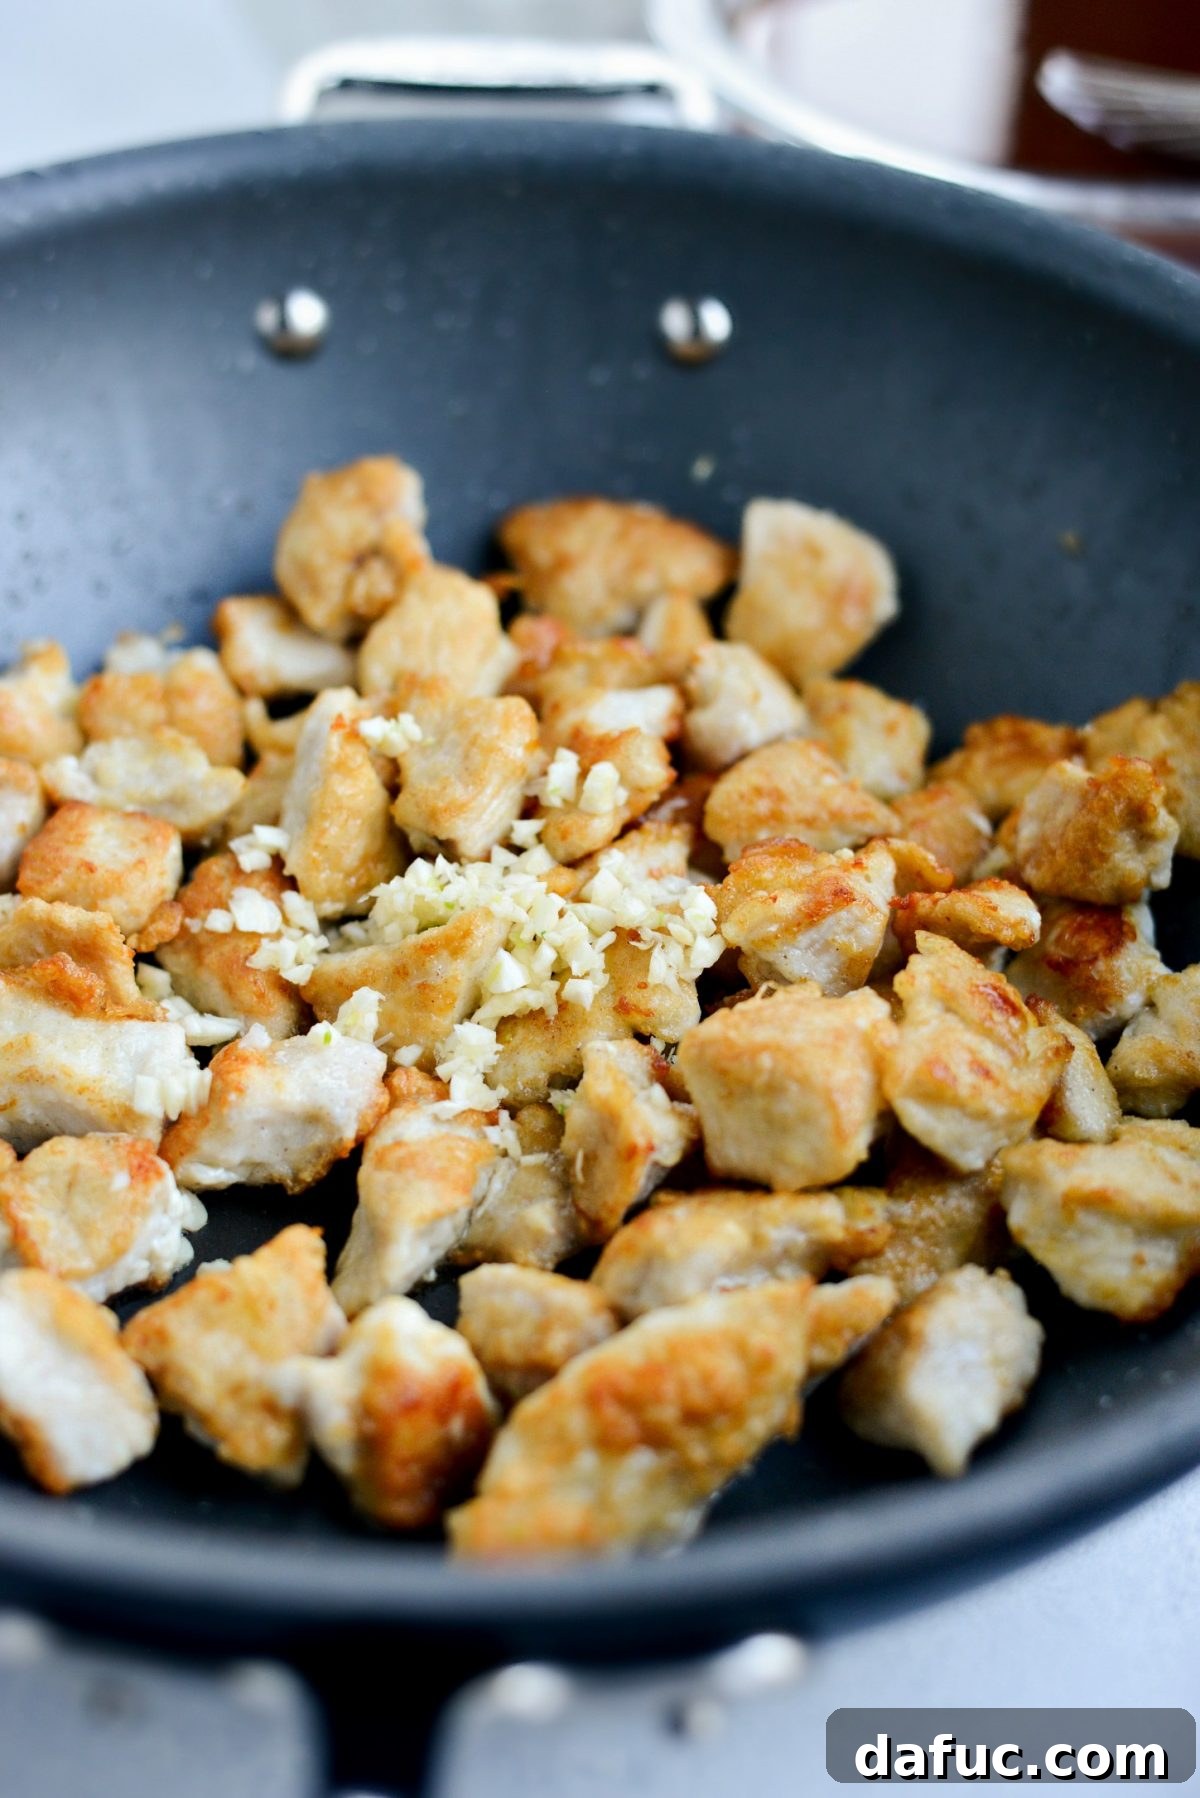
Once all the chicken is cooked to a beautiful golden crisp, reduce the heat to medium. Return all the cooked chicken to the pan, and add 2 cloves of freshly minced garlic. Toss the chicken and garlic together, allowing the fragrant garlic to cook for just 1 to 2 minutes. This brief cooking time is enough to release the garlic’s aroma and infuse its flavor into the chicken without burning it.
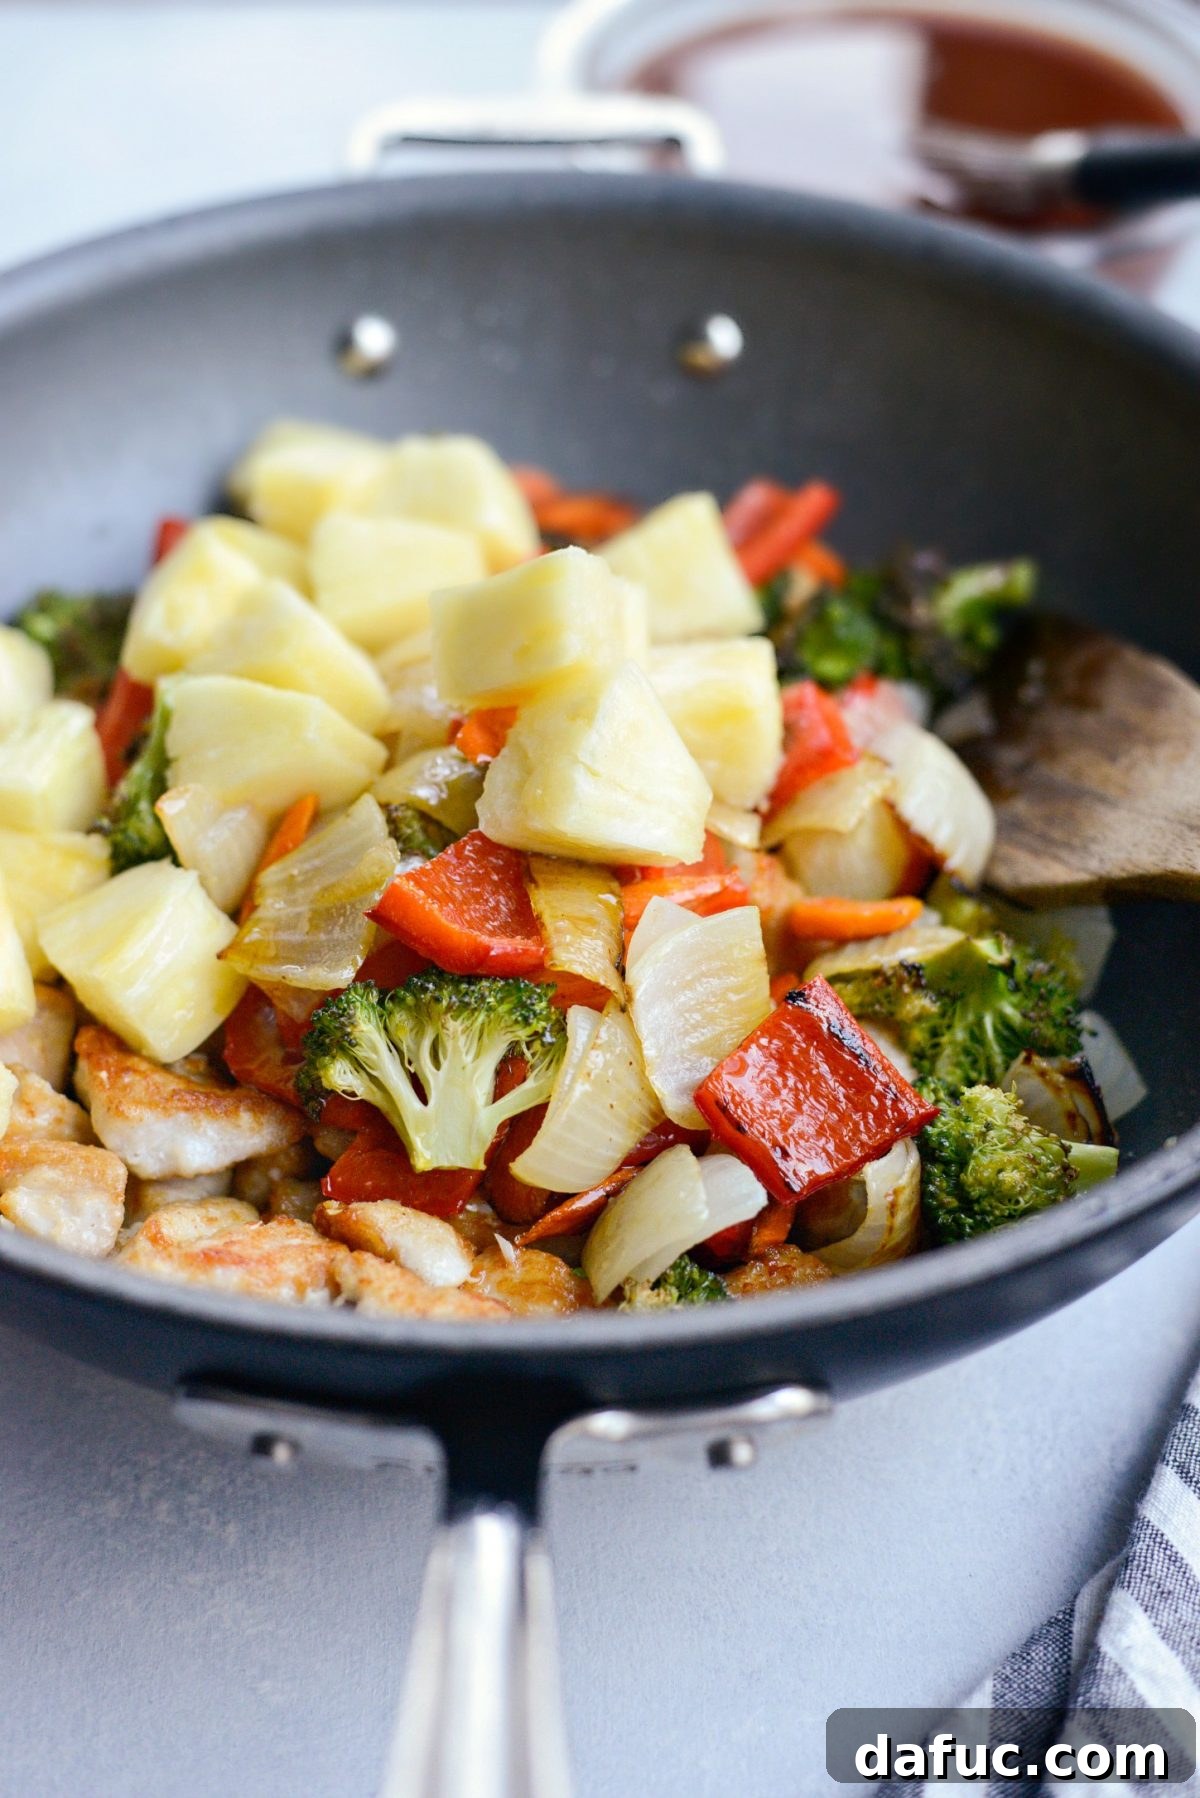
Next, bring in the vibrant roasted vegetables and the fresh pineapple. Add these into the pan with the chicken and garlic. Give everything a good toss to distribute the ingredients evenly, creating a colorful and aromatic medley that is now ready for the star of the show – the sweet and sour sauce.
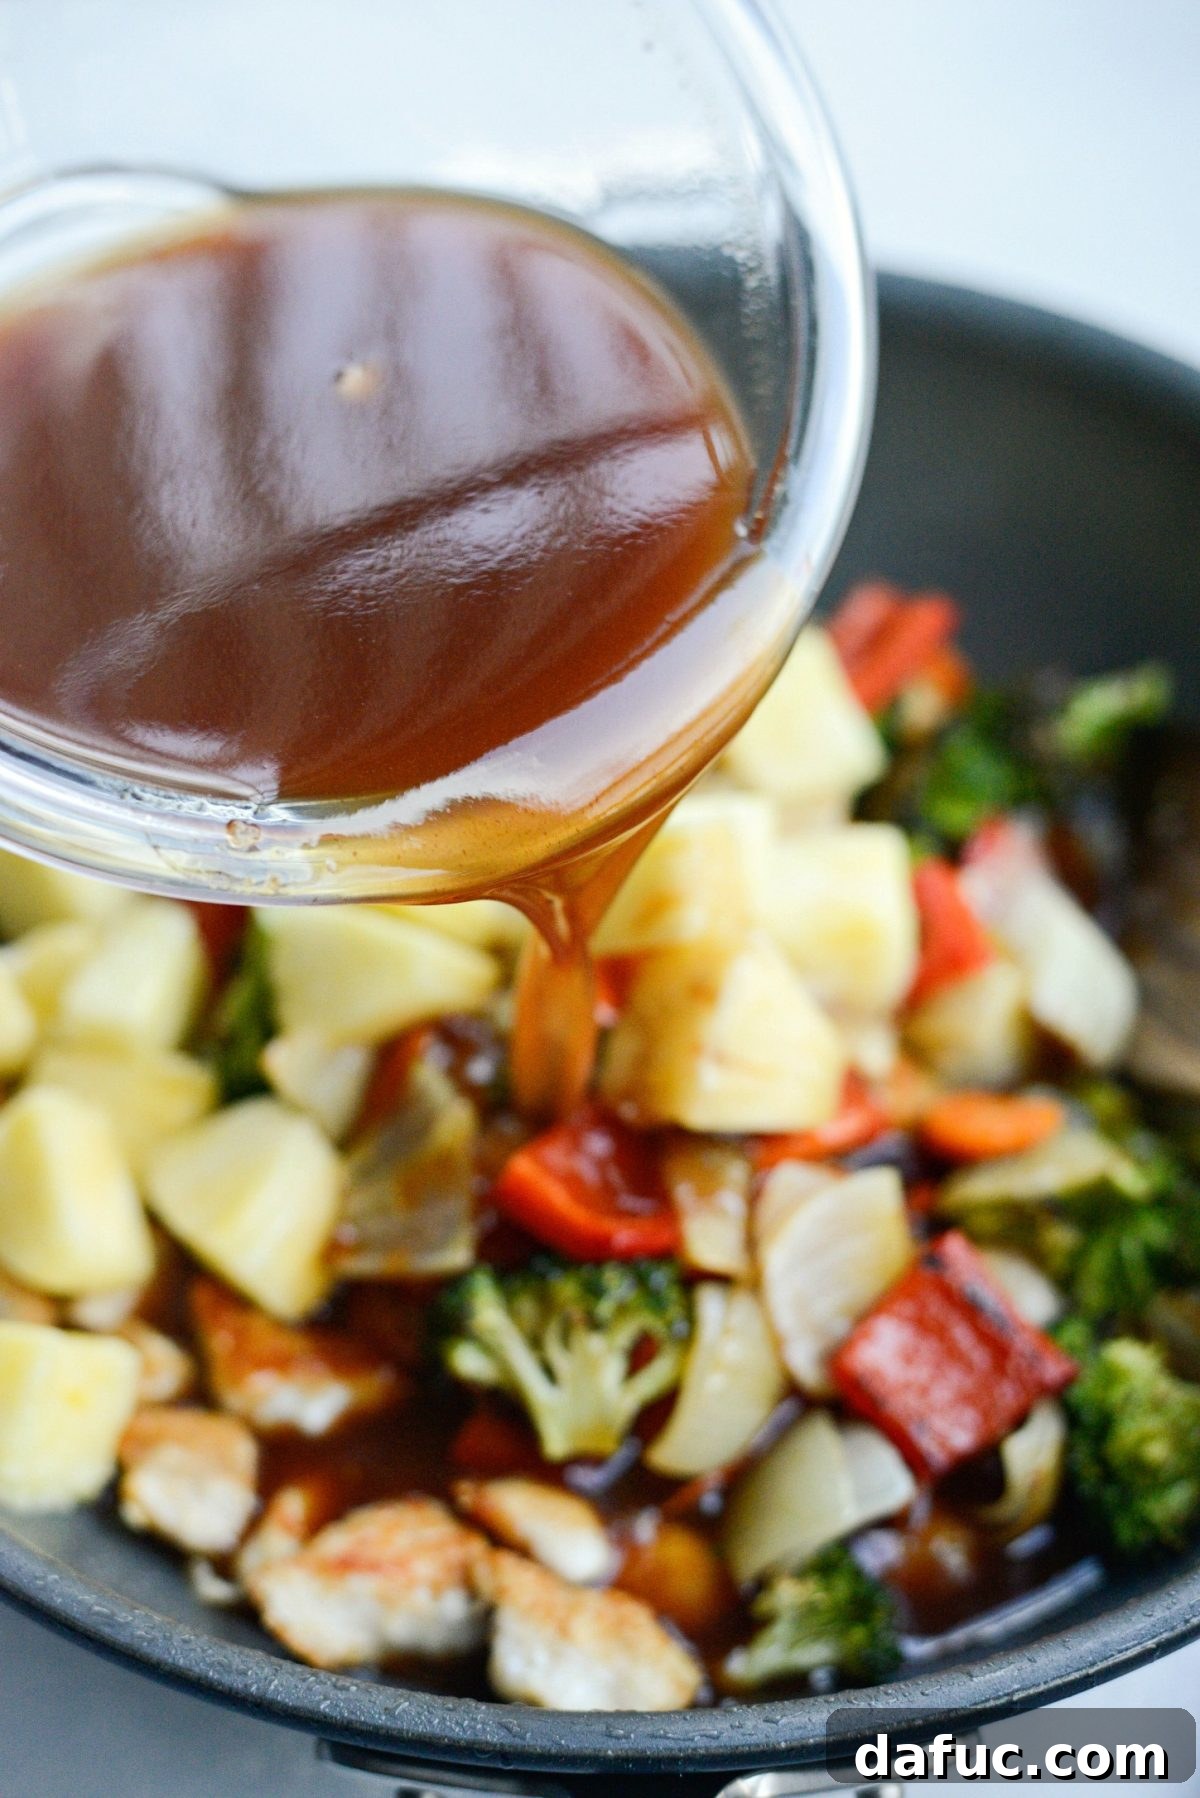
Now, pour the meticulously prepared homemade sweet and sour sauce directly over the chicken, vegetables, and pineapple in the pan. Ensure the sauce coats everything thoroughly, enveloping each ingredient in its delightful sweet, tangy, and savory embrace.
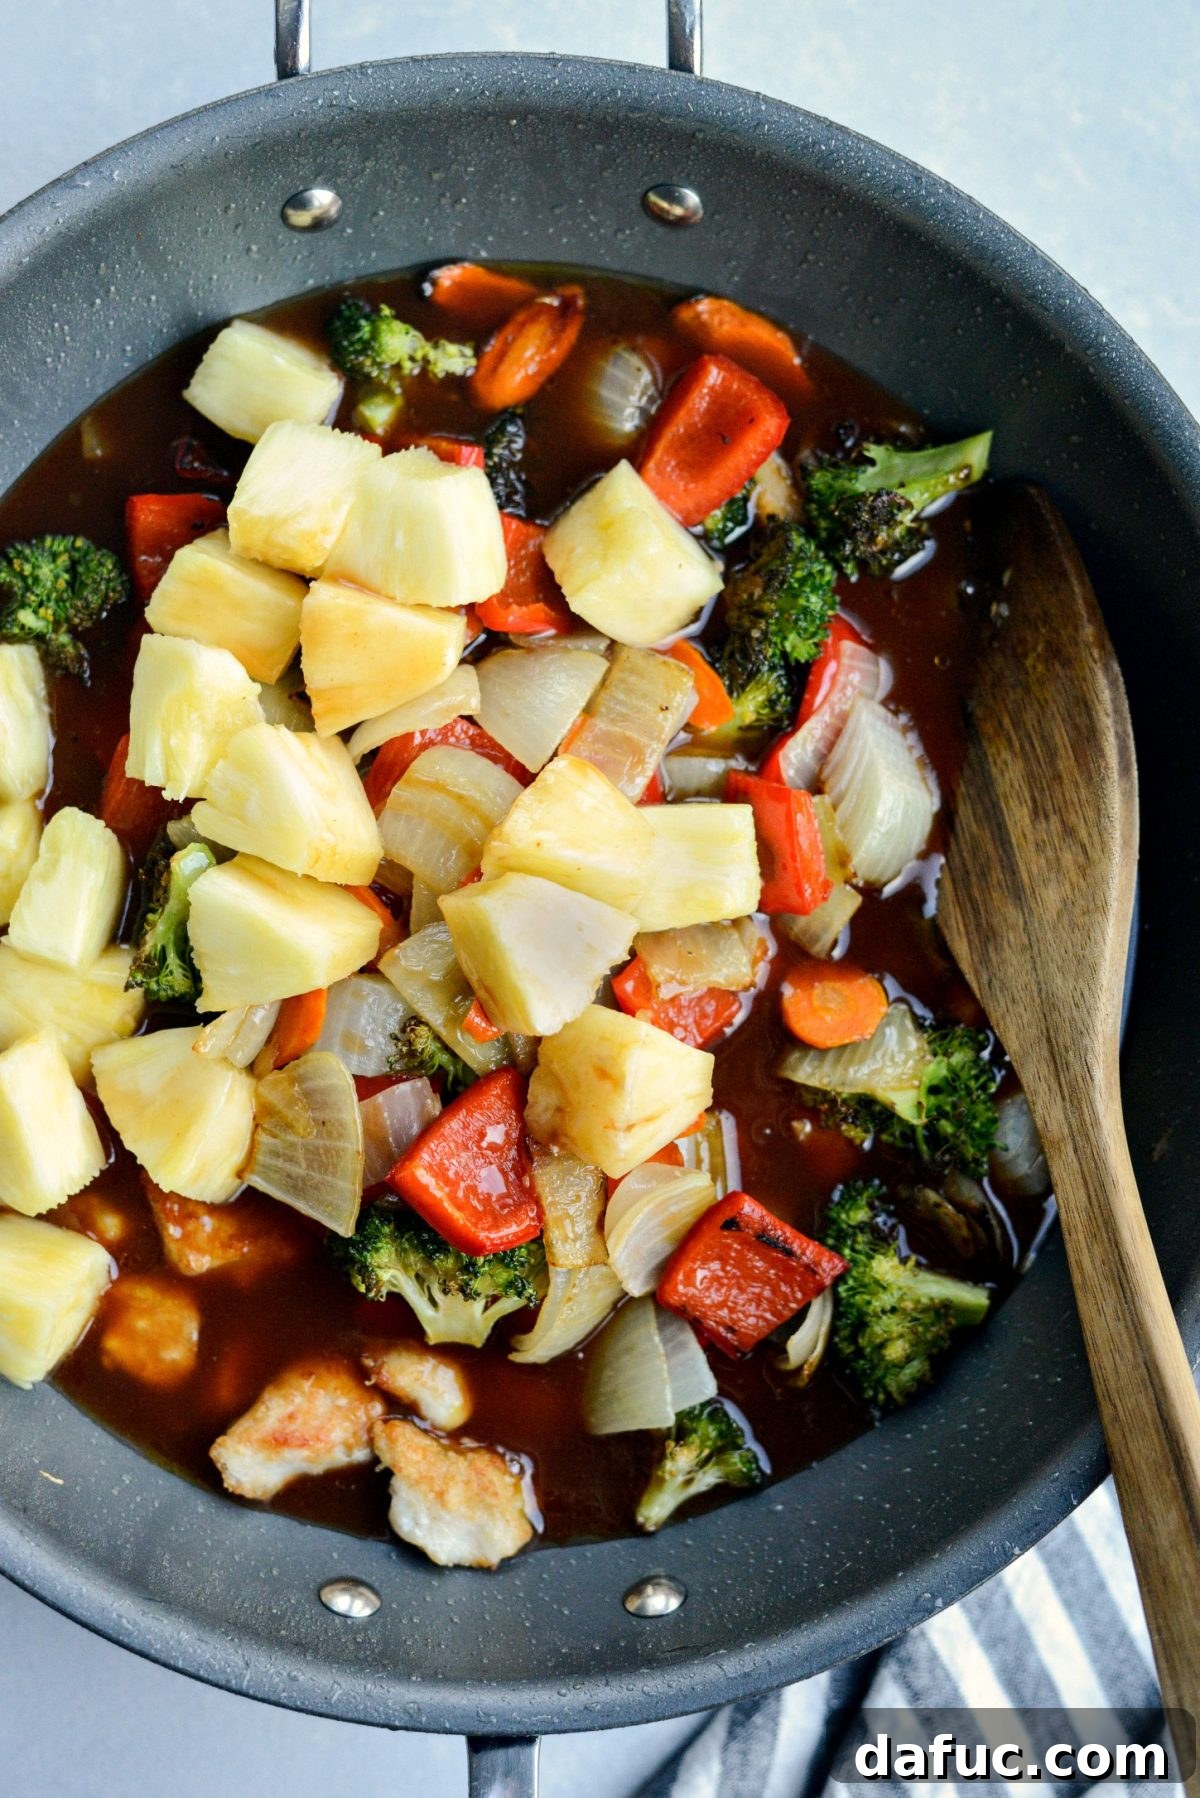
To thicken the sauce, increase the heat to high and bring the entire mixture to a vigorous boil. Once bubbling, quickly pour in the cornstarch slurry (which is 1 tablespoon of cornstarch whisked into 1 tablespoon of cold water). Stir continuously as the sauce simmers; you’ll notice it rapidly thickens to a glossy, desirable consistency. Taste the sauce and adjust the seasoning with kosher salt to match your personal preference. For those who appreciate a kick of heat, now is the perfect moment to stir in a teaspoon of chili garlic paste (like sambal oelek) or sriracha, adding another layer of exciting flavor. This step completes the transformation into a rich, restaurant-quality sweet and sour sauce.
The Irresistible Aroma of Homemade Sweet and Sour Chicken Fills the Air
The moment the sauce thickens and melds with the chicken and vegetables, your kitchen will be filled with an intoxicating aroma. It’s a heavenly scent—a perfect blend of sweet, sour, and savory notes—that promises an extraordinary meal. This fragrant anticipation is truly one of the most rewarding parts of cooking this dish at home.
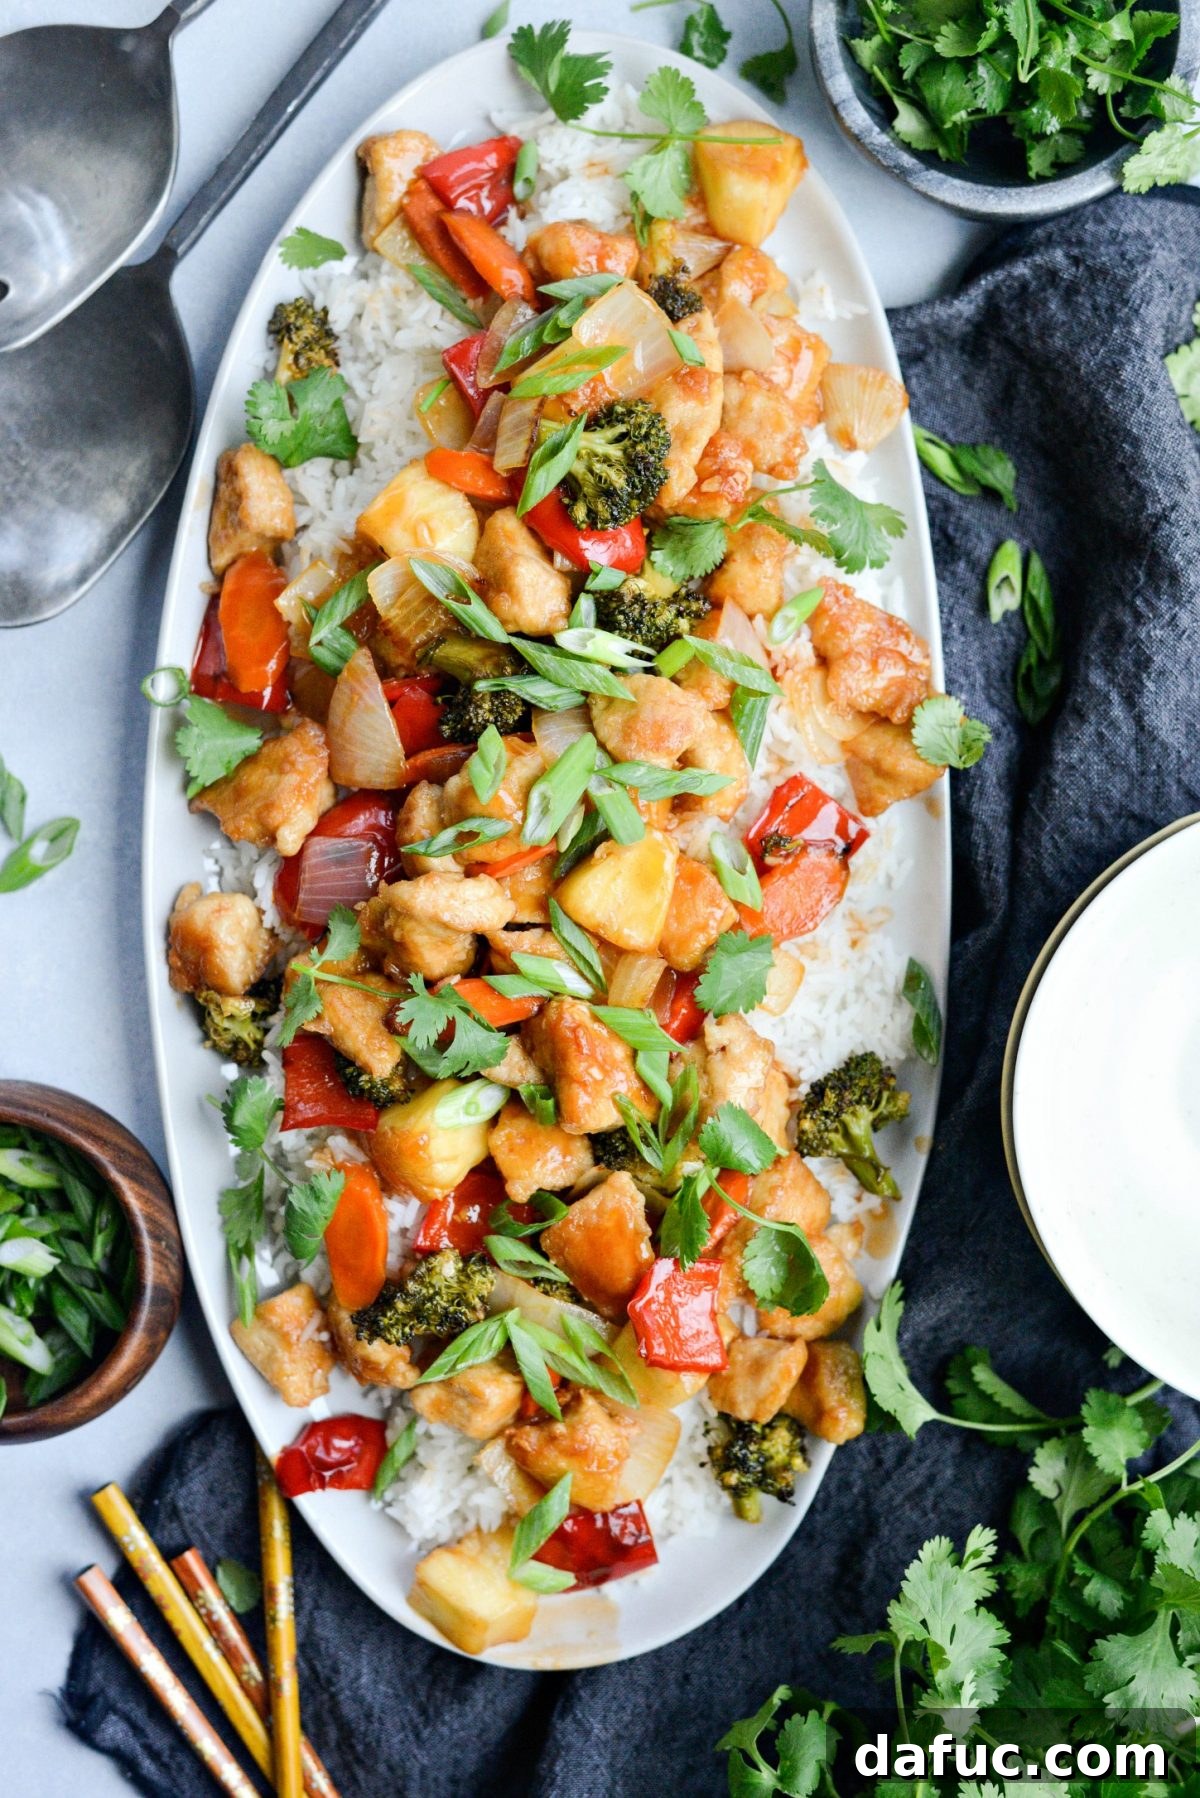
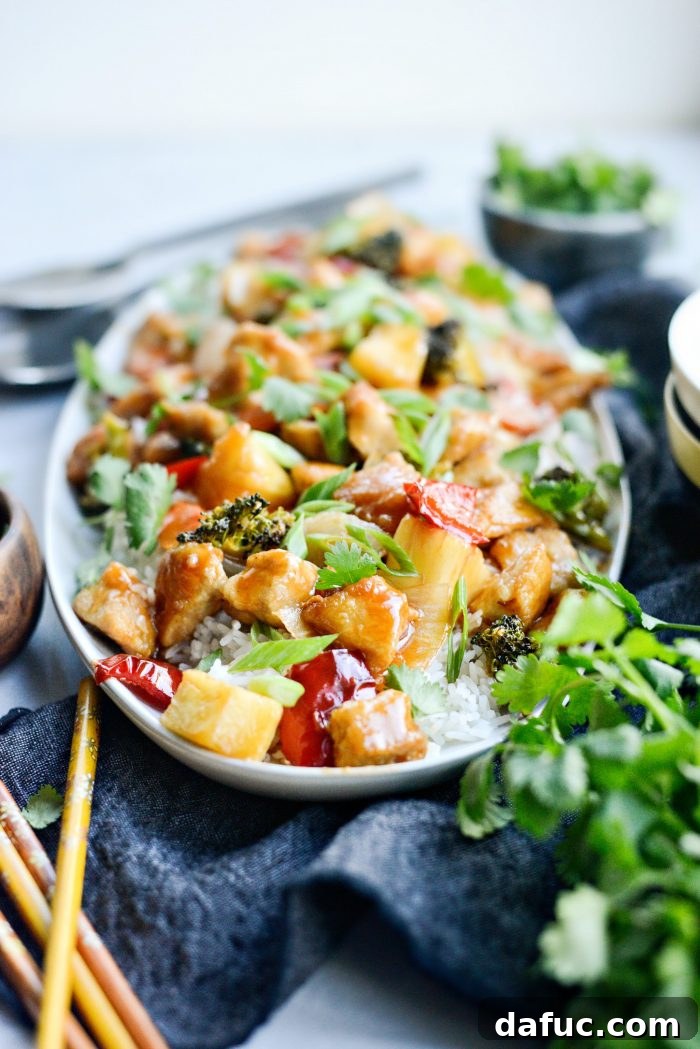
Once perfected, serve your homemade sweet and sour chicken immediately. It’s best enjoyed over a bed of fluffy jasmine rice, which perfectly complements the rich sauce and tender ingredients. Garnish generously with thinly sliced green onions for a fresh, pungent bite and a sprinkle of vibrant cilantro leaves, if that’s to your taste. Serving it family-style on a large platter encourages everyone to dig in and enjoy the communal experience of this delightful meal. Consider offering extra chili garlic paste or sriracha on the side for those who desire additional heat, allowing for individual customization.
A Symphony of Textures and Tastes: Sweet, Sour, Crisp, and Tender in Every Bite
This homemade sweet and sour chicken offers an exquisite culinary experience, delivering a harmonious blend of textures and tastes. Each forkful presents the perfect balance of sweet and sour, married with the satisfying crispness of the expertly coated chicken and the tender-crisp bite of roasted vegetables. It’s a symphony for your palate, proving that homemade truly is best when it comes to this beloved classic.
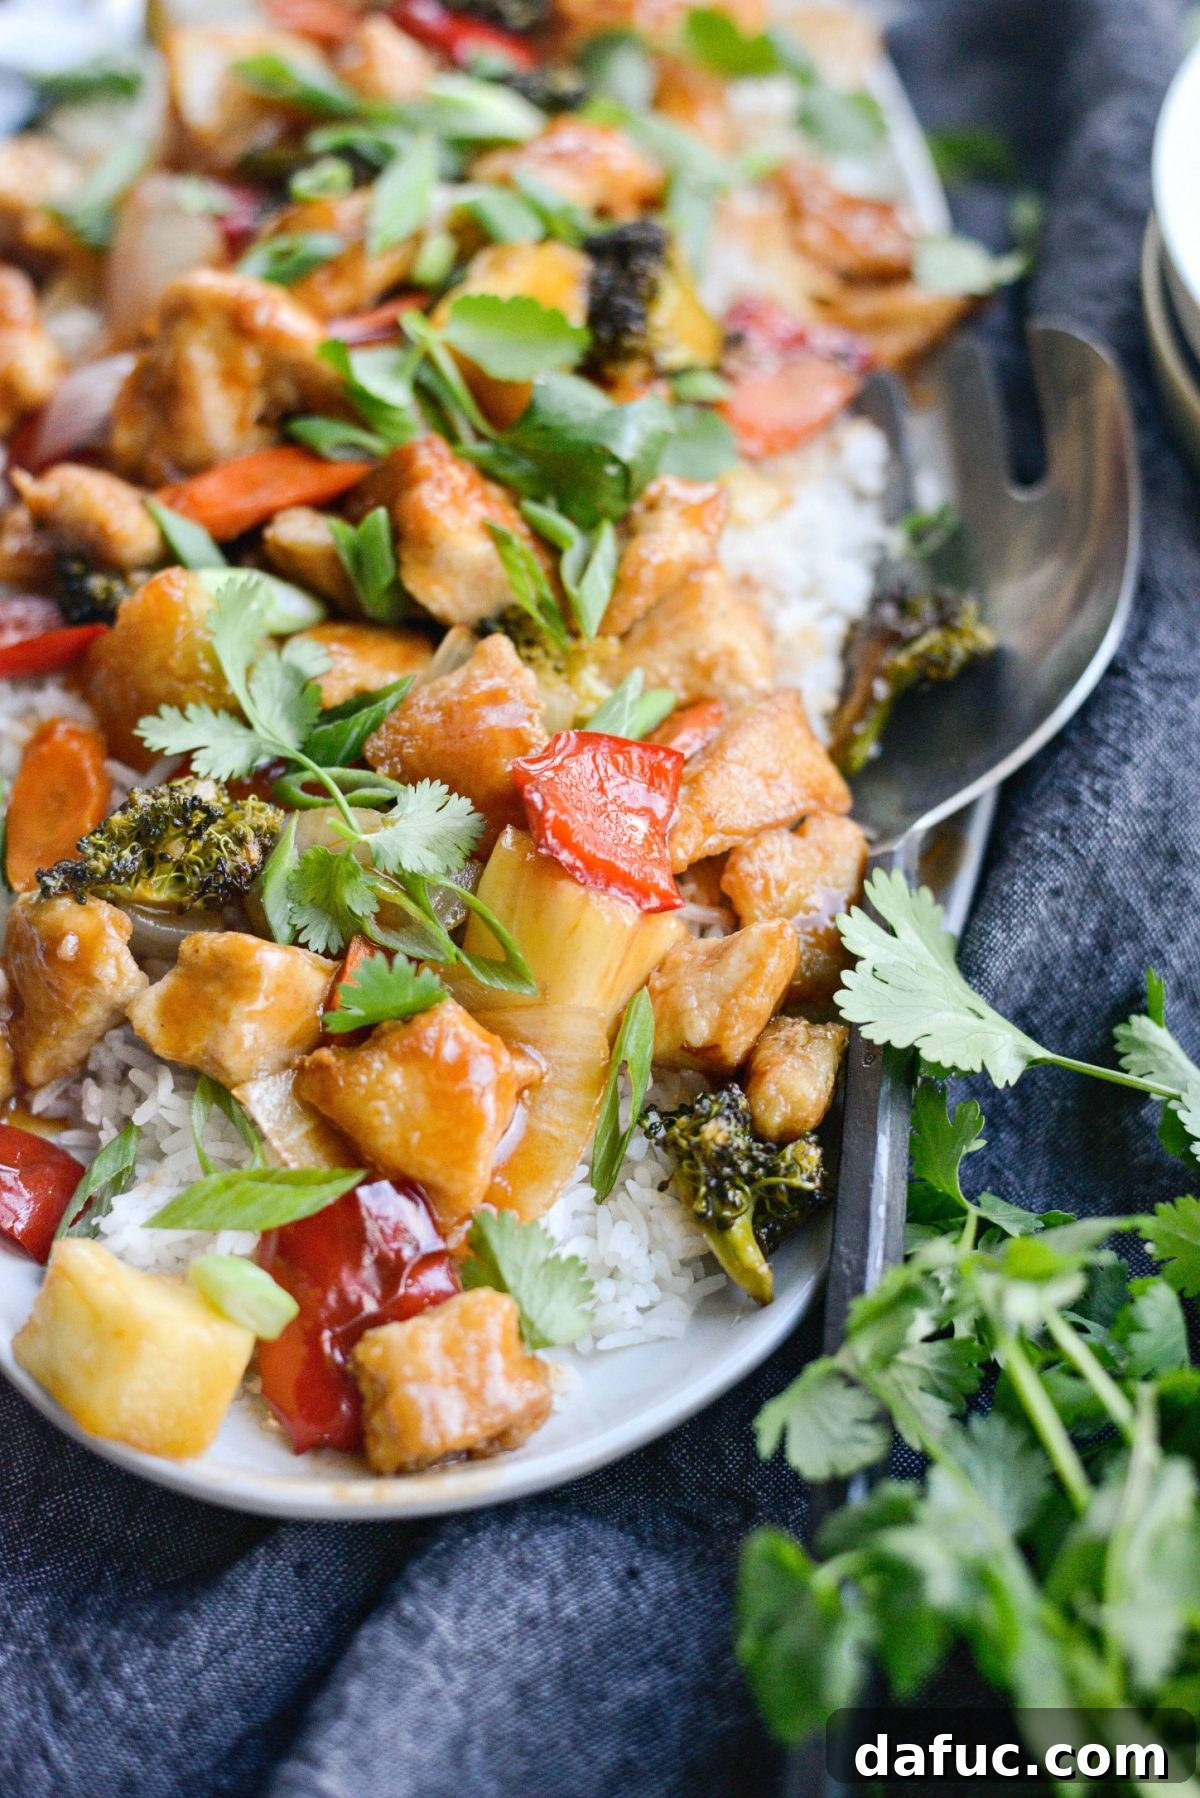
Seriously, why bother with costly takeout, often laden with excessive sodium, artificial flavors, and unwanted MSG, when you can effortlessly create a sweet and sour chicken at home that not only rivals but often surpasses any restaurant offering? Our carefully crafted recipe provides a fresher, healthier, and customizable alternative that truly allows you to control the ingredients and savor the authentic, vibrant flavors. It’s a win-win: a delicious meal that’s better for your health and your wallet.
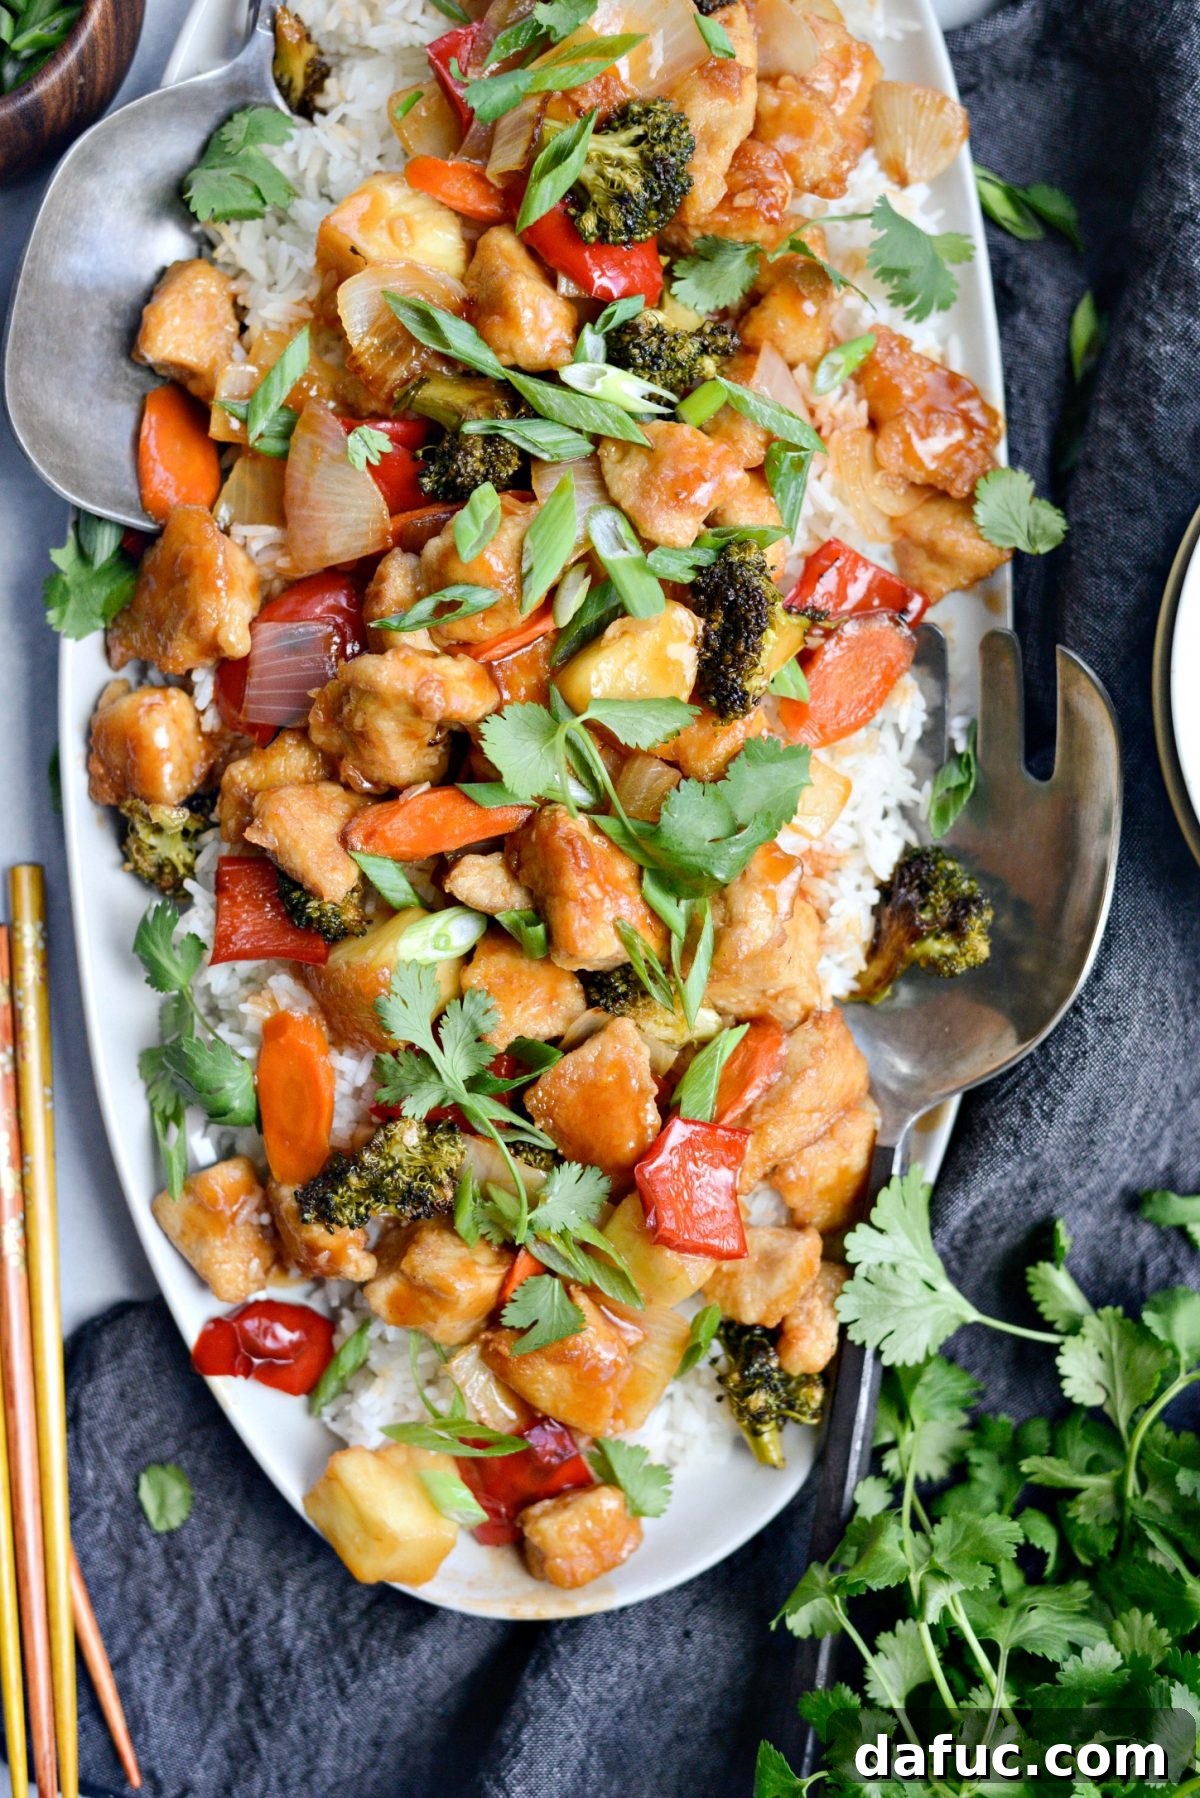
Enjoy this culinary creation! We pour our heart into these recipes, and nothing makes us happier than seeing you enjoy them. If you give this irresistible Sweet and Sour Chicken recipe a try, we’d absolutely love to hear from you! Please snap a photo of your delicious creation and share it with us. Tag us on Twitter or Instagram – let’s celebrate your cooking success!

Print Recipe
Pin Recipe
Leave a Review »
Sweet and Sour Chicken Stir-fry
Serves 6 generous portions or satisfies 4 very hungry diners.
Ingredients
FOR THE SAUCE:
- 1/4 cup granulated sugar
- 1/4 cup dark brown sugar
- 1/4 cup honey
- 1/4 cup fresh pineapple juice, reserved from pineapple for recipe
- 2 tablespoons low-sodium tamari, or low-sodium soy sauce
- 1/2 cup ketchup, homemade or store-bought
- 2/3 cup white vinegar
- 3/4 cup low-sodium chicken broth
- 1 teaspoon sambal oelek or sriracha, for spice (optional)
- 1 tablespoon cornstarch, plus 1 tablespoon cold water (cornstarch slurry)
FOR THE VEGGIES:
- 2 carrots, peeled and sliced on an angle
- 1 broccoli crown, cut into florets
- 1 medium yellow onion, chopped
- 1 red bell pepper, chopped into large bite-size pieces
- 2 tablespoons olive oil
- kosher salt
- 10 ounces fresh pineapple, cut into cubes (about 1-1/2 cups)
FOR THE CHICKEN:
- 1½ pounds boneless skinless chicken breast halves
- 2 tablespoons cornstarch
- 1/2 teaspoon white pepper
- 1 egg white
- extra light olive oil, plus more as needed
Equipment
-
All-Clad E7859464 HA1 Hard Anodized Nonstick Dishwasher Safe PFOA Free Chefs Pan/Wok Cookware, 12-Inch, Black
Instructions
TO MAKE THE SAUCE:
-
In a medium bowl, whisk together the granulated sugar, dark brown sugar, honey, pineapple juice, tamari, ketchup, white vinegar, and chicken broth until well combined and the sugars have dissolved.
-
If desired, add 1 teaspoon of sambal oelek or sriracha to the sauce for a touch of heat, then set aside.
TO MAKE THE VEGETABLES:
-
Preheat your oven to 500°F (260°C).
-
On a rimmed metal baking sheet, arrange the sliced carrots, broccoli florets, chopped onion, and chopped red bell pepper.
-
Drizzle with olive oil and season with a few pinches of kosher salt. Roast for 8-10 minutes, rotating the pan halfway through roasting, until the vegetables are tender-crisp with caramelized edges. Remove from oven and set aside.
TO PREPARE AND ASSEMBLE THE CHICKEN:
-
In a bowl, toss the chicken breast pieces with 2 tablespoons of cornstarch and 1/2 teaspoon of white pepper until fully coated. In a separate medium bowl, whisk the egg white until frothy, then add the coated chicken and toss again to coat.
-
Heat 2 tablespoons of extra light olive oil or coconut oil in a wok or large 12-inch chef’s pan over medium-high to high heat. Working in batches to avoid overcrowding, cook the chicken for 4 to 6 minutes per side, or until deeply golden brown and cooked through. Transfer cooked chicken to a plate and repeat with remaining batches, adding more oil if needed.
-
Once all chicken is cooked, reduce the heat to medium. Return all chicken to the pan along with 2 cloves of minced garlic. Toss and cook for 1 to 2 minutes until fragrant.
-
Add the roasted vegetables and fresh pineapple to the pan. Pour in the prepared sweet and sour sauce. Increase the heat back to high and bring the sauce to a boil.
-
Once the sauce is boiling, pour in the cornstarch slurry (1 tablespoon cornstarch mixed with 1 tablespoon cold water). Stir continuously and simmer until the sauce thickens to a desired glossy consistency. Taste and season the sauce with additional kosher salt if necessary, to your preference.
-
Serve the homemade sweet and sour chicken immediately over fluffy cooked rice, garnished with sliced green onions and fresh cilantro leaves. For extra spice, offer additional sambal oelek or sriracha on the side.