
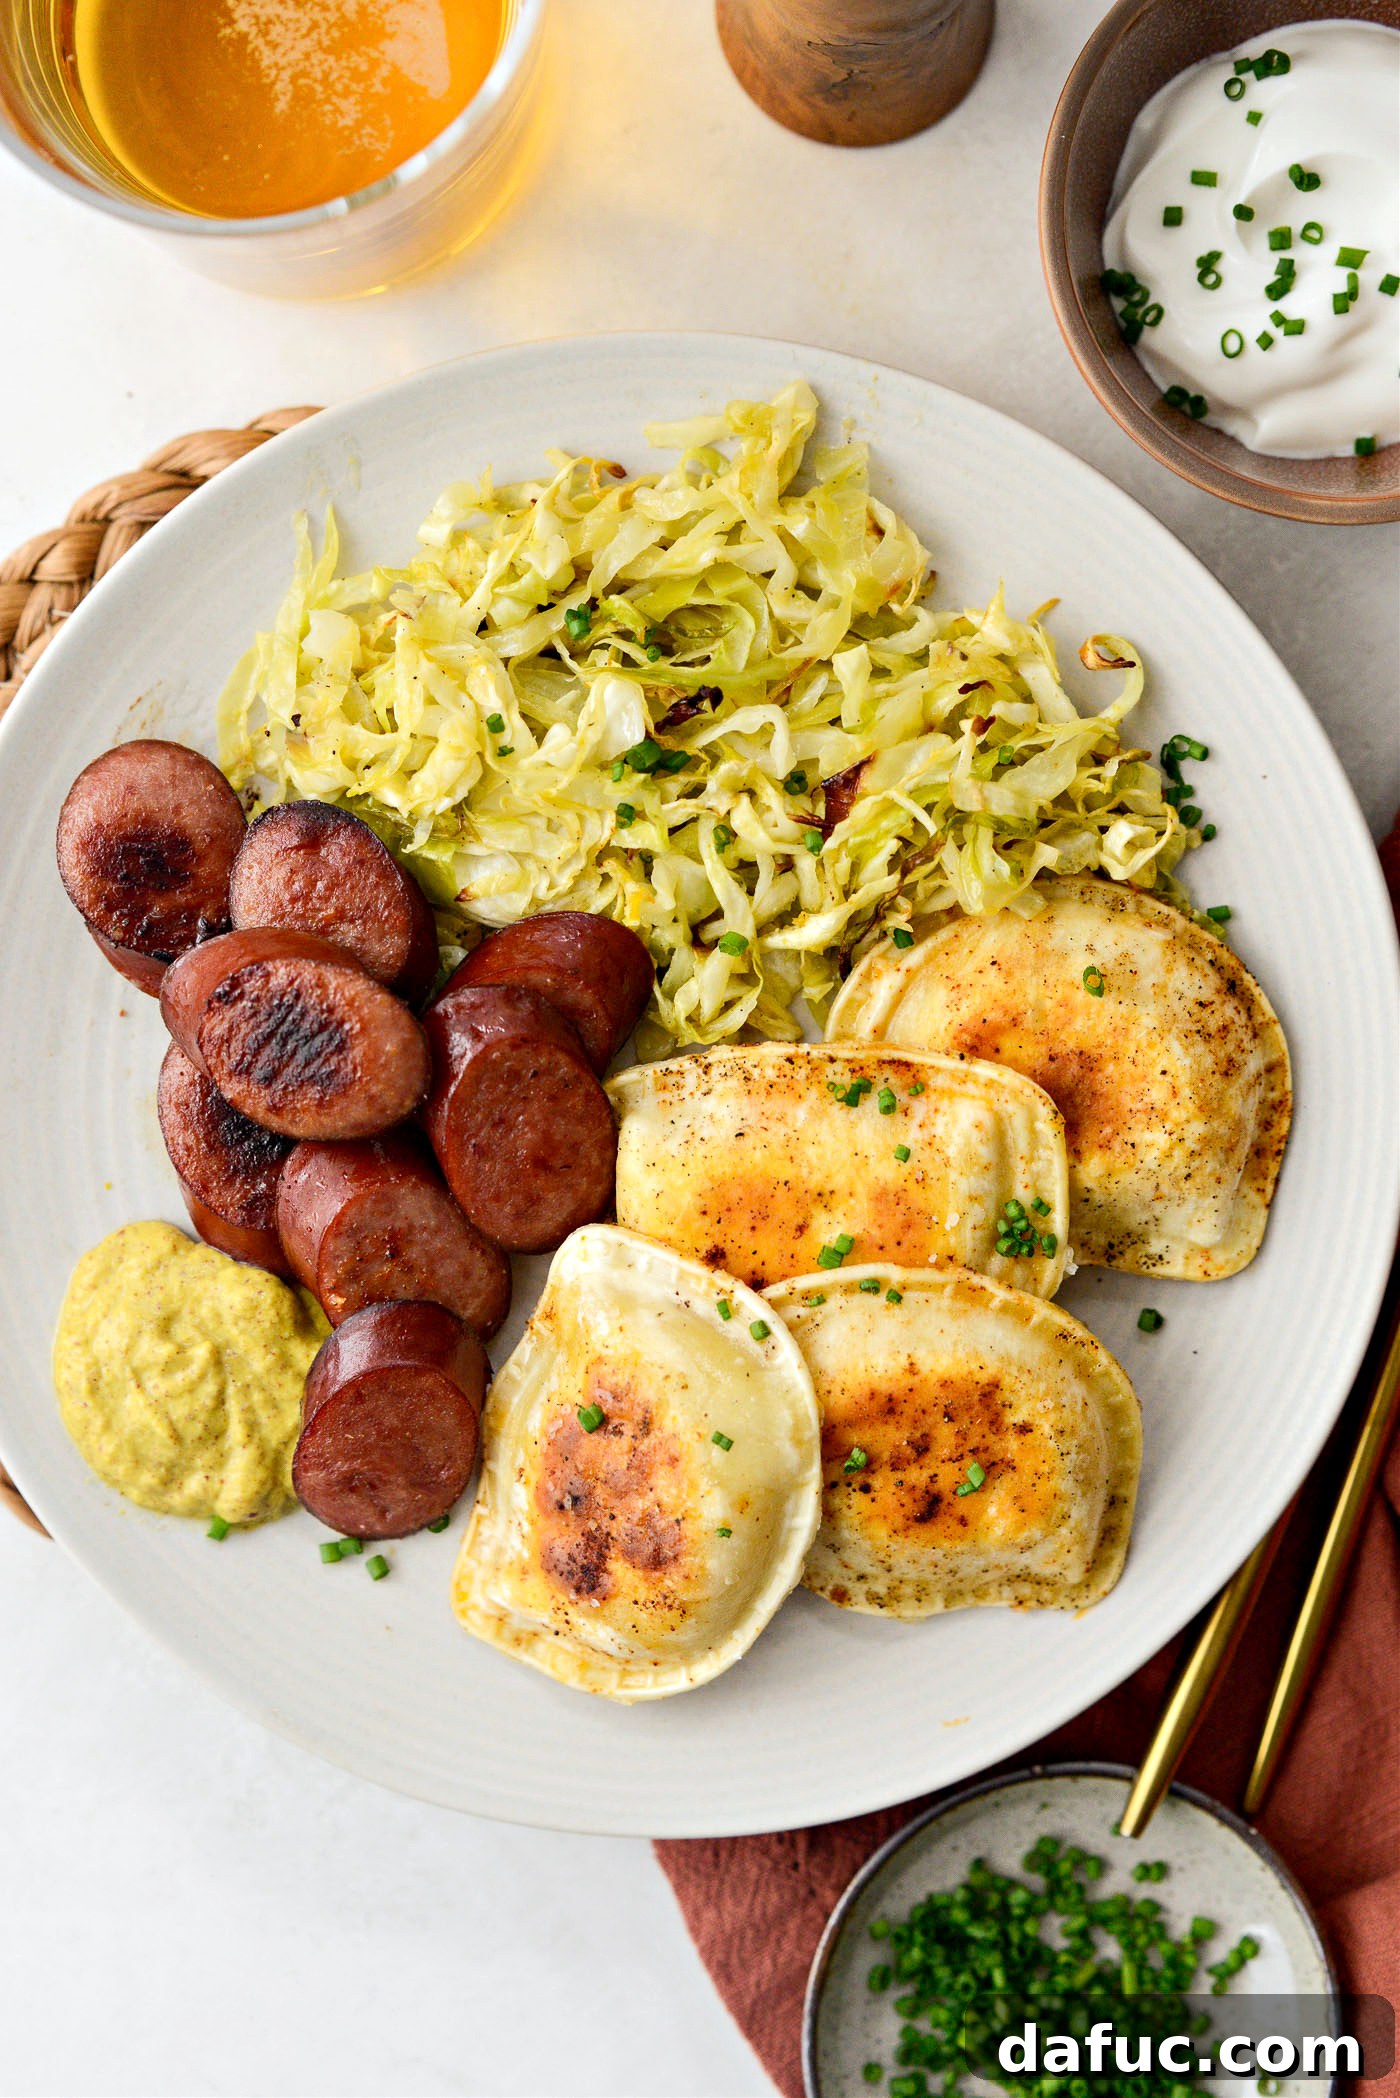
Sheet Pan Pierogies and Kielbasa with Cabbage: Your Ultimate Easy Weeknight Dinner
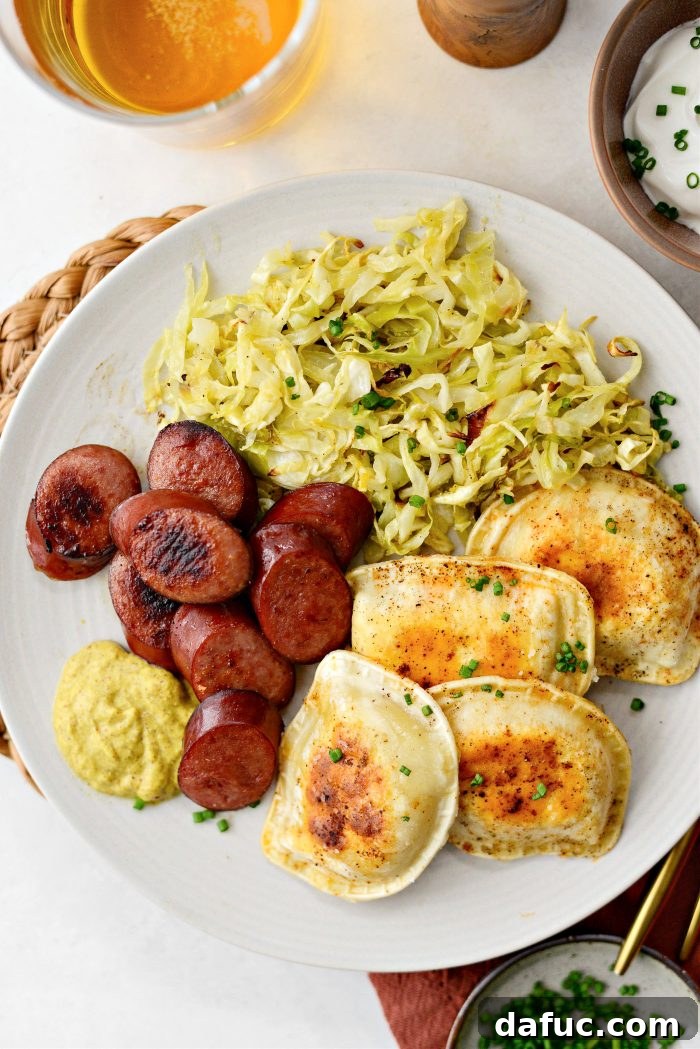
Discover the ultimate weeknight hero: Sheet Pan Pierogies and Kielbasa with Cabbage. This incredibly simple and comforting meal brings together crispy, golden-brown pierogies, smoky, savory kielbasa, and tender, flavorful roasted cabbage, all cooked on a single sheet pan (or two, for optimal crispiness!) in under an hour. Perfect for busy evenings, this semi-homemade recipe offers a satisfying dinner with minimal cleanup, making it a staple in any home.
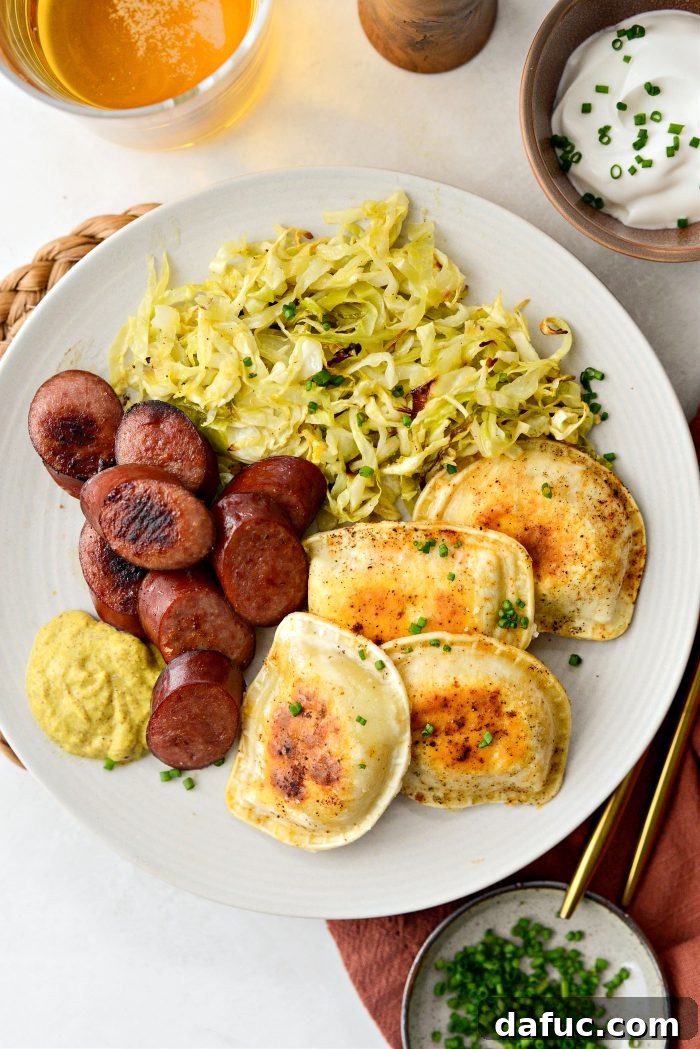
Why You’ll Love This Effortless Sheet Pan Dinner
Are you constantly searching for dinner recipes that are both quick to prepare and incredibly satisfying? Look no further! This sheet pan pierogies and kielbasa recipe has become a personal favorite and a regular feature in my meal rotation. It’s the kind of dish you’ll find yourself making every other week, perhaps even doubling the batch for delicious leftovers. I, for one, can’t get enough of the tender, seasoned cabbage – it’s truly addictive! My family, on the other hand, gravitates towards the extra pierogies, often packing the leftovers for lunch the next day.
The beauty of this recipe lies in its simplicity. It’s ideal for those nights when you lack the motivation to dirty a mountain of pots and pans but still crave a hearty, home-cooked meal. By utilizing the magic of the sheet pan, you can achieve a wonderfully balanced dinner with rich flavors and varying textures, all ready to enjoy in less than an hour. It’s a semi-homemade solution that delivers maximum comfort with minimum fuss, proving that delicious meals don’t always require extensive effort.
Essential Ingredients for Your Sheet Pan Feast
One of the many reasons this sheet pan dinner shines is its straightforward ingredient list. You’ll likely have many of these staples on hand, and those you don’t are easily found at any grocery store. Here’s a closer look at what you’ll need to create this flavor-packed meal:
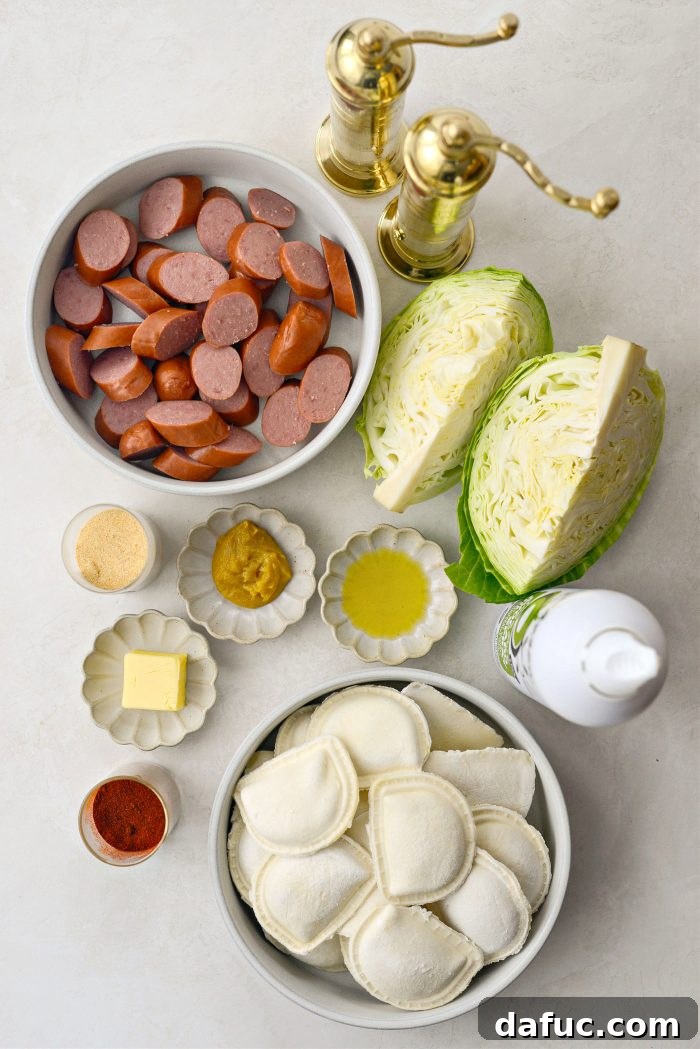
Gather Your Key Components:
- Avocado Oil Spray: Essential for a non-stick surface and promoting a beautiful crispiness. While avocado oil is excellent for high-heat cooking, olive oil spray works just as well.
- Kielbasa: The star of the protein show! Opt for any pre-cooked kielbasa you enjoy. Turkey kielbasa is a fantastic leaner option that still delivers incredible smoky flavor, but traditional pork or beef kielbasa are also excellent choices. Slice it into coin-sized pieces for even cooking and easy serving.
- Frozen Pierogies: The ultimate convenience food! The beauty of frozen pierogies is their versatility. Choose your favorite filling – potato and cheese is a classic, but onion, mushroom, or even sauerkraut-filled pierogies would be delicious. They bake up perfectly on the sheet pan, getting delightfully crispy on the outside while remaining tender within.
- Kosher Salt: A fundamental seasoning that enhances all the natural flavors in the dish. Adjust to your personal preference, remembering that bouillon contains salt.
- Freshly Ground Black Pepper: Adds a subtle bite and aromatic depth that complements the richness of the kielbasa and pierogies.
- Paprika: Contributes a beautiful warm color and a mild, sweet, peppery flavor that pairs wonderfully with both the sausage and pierogies. You can use sweet paprika or a touch of smoked paprika for extra depth.
- Green Cabbage: When roasted, cabbage transforms from a humble vegetable into a sweet, tender, and slightly caramelized delight. Remember to remove any tough outer leaves before slicing it thinly to ensure it cooks evenly and quickly.
- Unsalted Butter: Lends richness and helps the cabbage soften beautifully while roasting. Using unsalted butter allows you to control the overall saltiness of the dish.
- Olive Oil: Works in conjunction with the butter for the cabbage, adding healthy fats and helping to raise the butter’s smoke point, preventing it from burning in the oven.
- Garlic Powder: Infuses the cabbage with a sweet, aromatic garlic flavor that is milder than fresh garlic but equally delicious. It disperses evenly and quickly.
- Chicken Bouillon Paste: A secret weapon for intense savory flavor! Brands like “Better Than Bouillon” (not sponsored, just a personal favorite) deliver a concentrated, rich chicken flavor that elevates the cabbage from good to absolutely incredible. Adjust the amount to taste.
For Serving (Optional, but Recommended!):
- Mustard: A classic pairing for kielbasa. A spicy brown mustard or whole grain mustard adds a delightful tang.
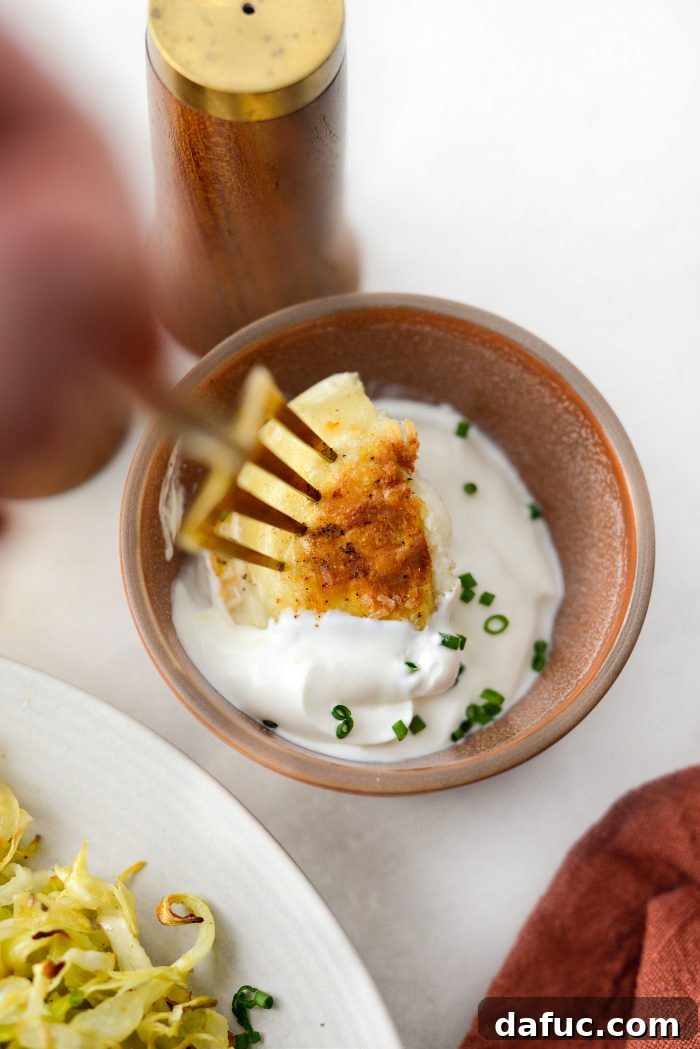
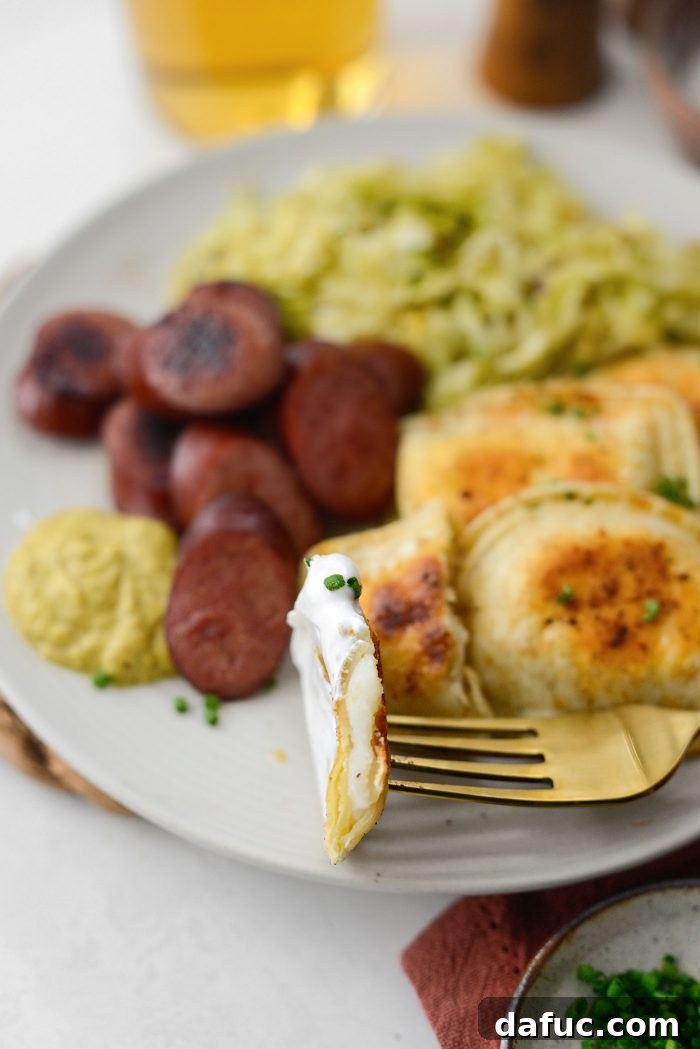
- Sour Cream: The perfect creamy counterpoint for dipping warm, crispy pierogies. Plain sour cream is great, or try one with chives or dill for extra flavor.
- Fresh Chives: A bright, oniony garnish that adds a pop of color and freshness to the finished dish.
Step-by-Step Instructions: Creating Your Sheet Pan Masterpiece
Getting this comforting meal on the table is incredibly simple. Follow these steps for perfectly cooked pierogies, kielbasa, and tender cabbage.
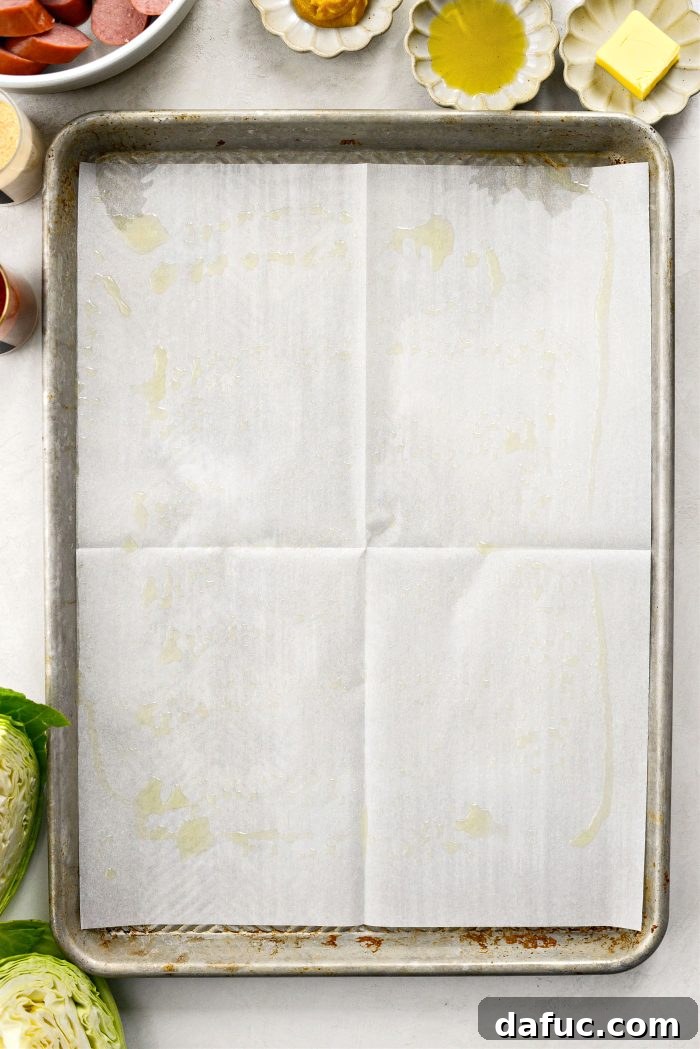
1. Preheat Oven & Prep Your Pans:
First things first, preheat your oven. The temperature choice depends on your preference for pierogy texture:
- For softer pierogies, preheat to 400°F (200°C).
- For extra crispy pierogies, preheat to 425°F (220°C).
Line both a large rimmed baking sheet and a small quarter sheet pan with parchment paper. This ensures easy cleanup and prevents sticking. Lightly spray both parchment-lined pans with avocado or olive oil spray. It’s crucial to use two pans; attempting to fit all the ingredients onto one will overcrowd it, leading to steaming instead of roasting, and preventing that desirable crisp texture.
2. Prepare the Flavorful Cabbage:
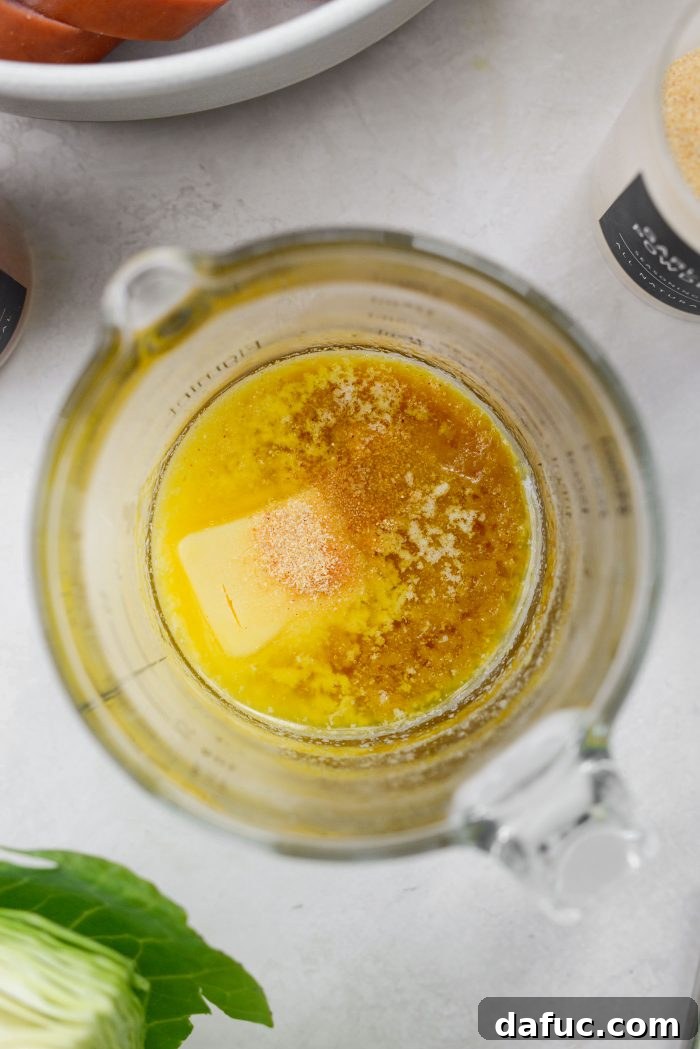
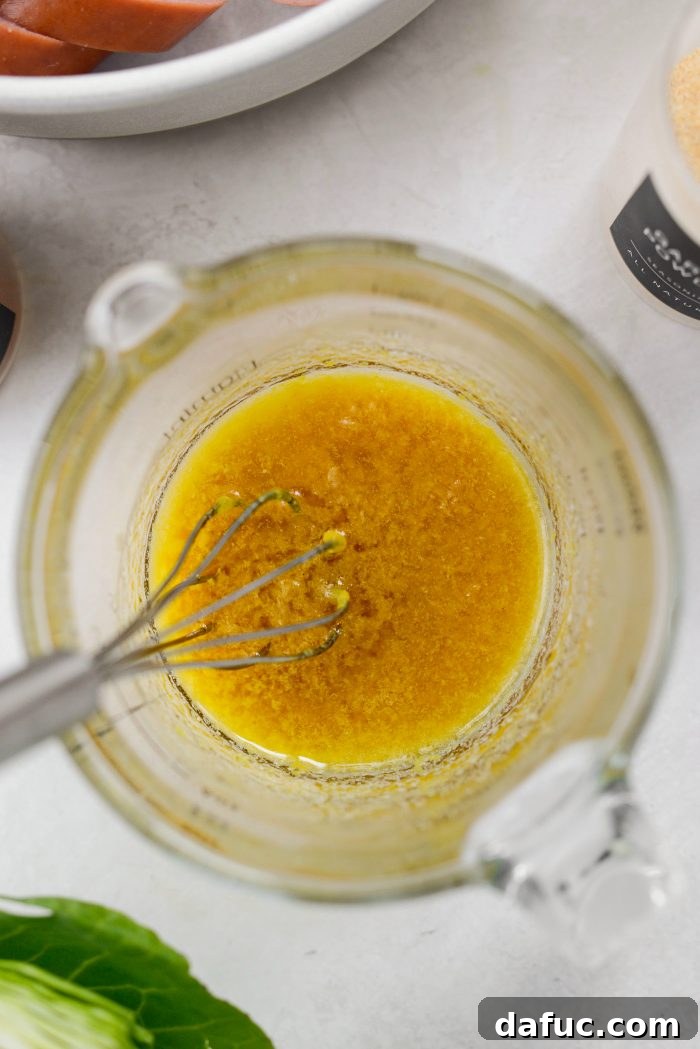
In a small microwave-safe bowl, combine 1 tablespoon of unsalted butter, 1/2 teaspoon of olive oil, 1/2 tablespoon of chicken bouillon paste (adjust to taste), and 1/2 teaspoon of garlic powder. Microwave this mixture in 5-second intervals until the butter is just melted. Whisk it well until all ingredients are thoroughly combined and smooth.
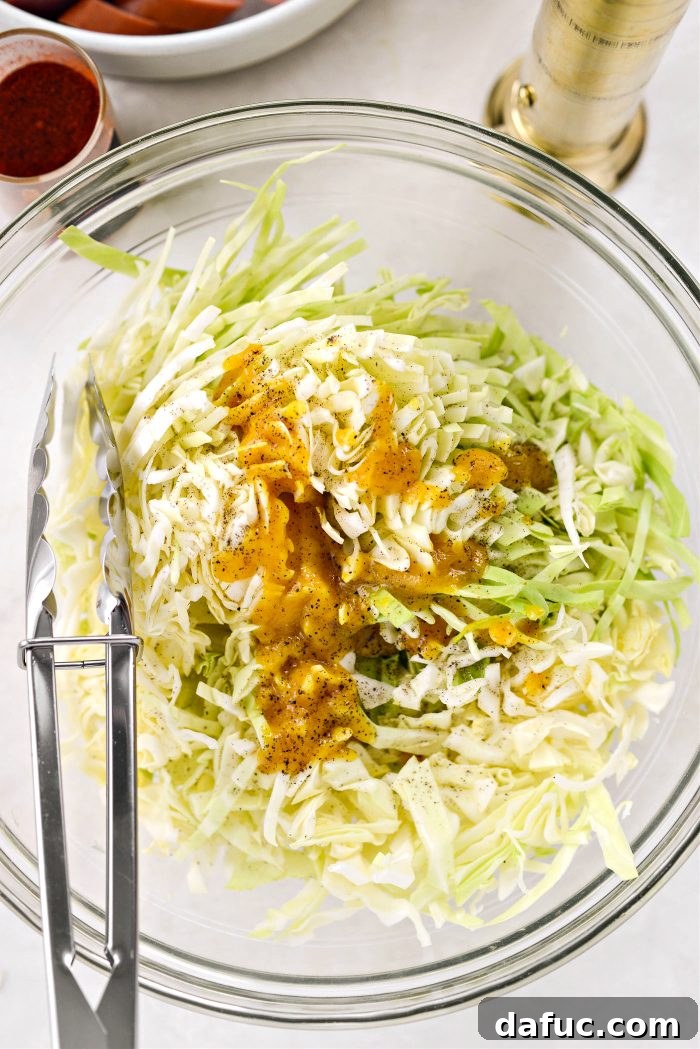
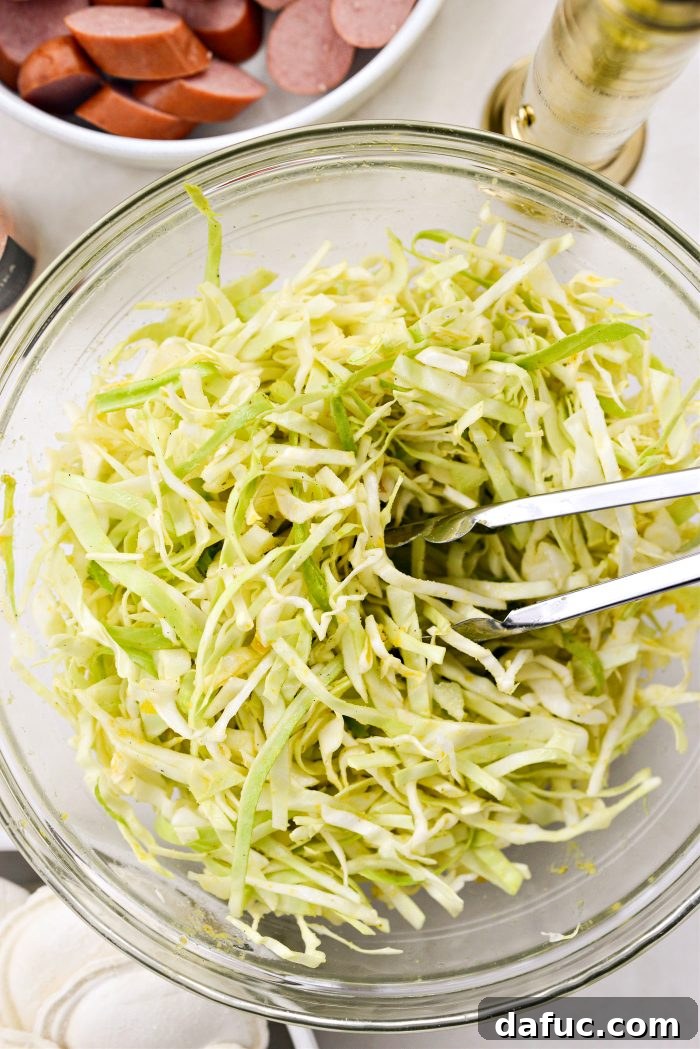
In a separate large bowl, add half a medium head of thinly sliced green cabbage. Pour the prepared bouillon mixture over the cabbage and season with a generous amount of freshly ground black pepper. Now, toss the cabbage vigorously until every strand is well coated with the flavorful mixture. It’s important to note: because the chicken bouillon paste contains salt, DO NOT add any additional salt to the cabbage at this stage, as it can easily become overly salty.
3. Arrange and Bake:
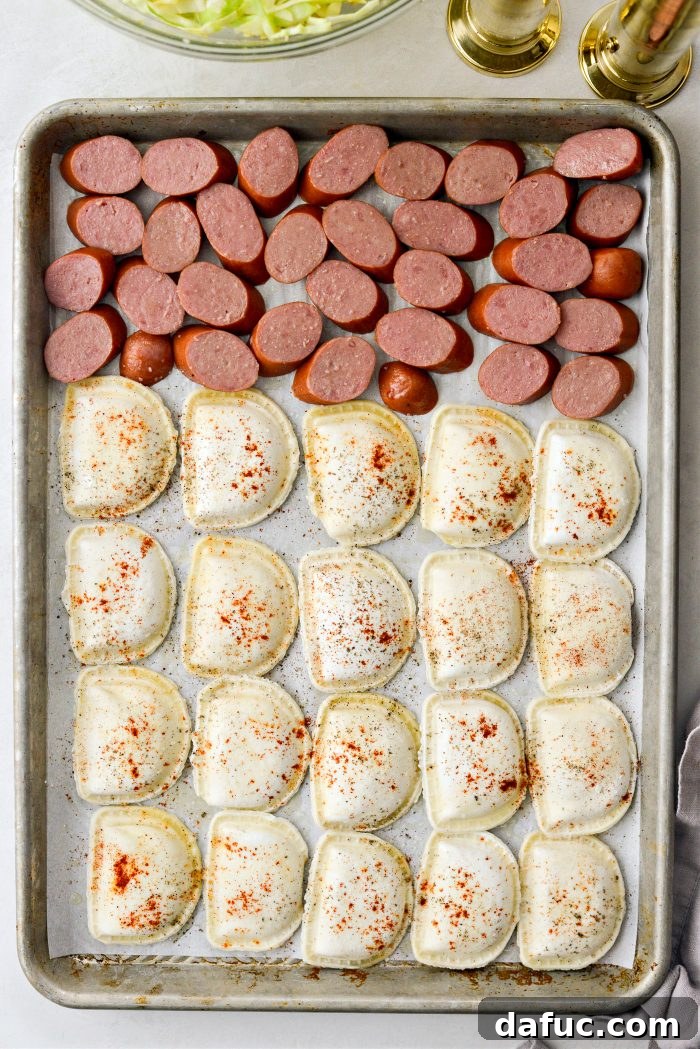
On the larger prepared sheet pan, arrange 13 to 16 ounces of sliced kielbasa and 20 ounces of frozen pierogies in a single layer, ensuring not to overcrowd the pan. Spray the pierogies generously with olive oil spray and season both the kielbasa and pierogies with kosher salt, freshly ground black pepper, and paprika. This seasoning blend will develop into a lovely crust as they bake.
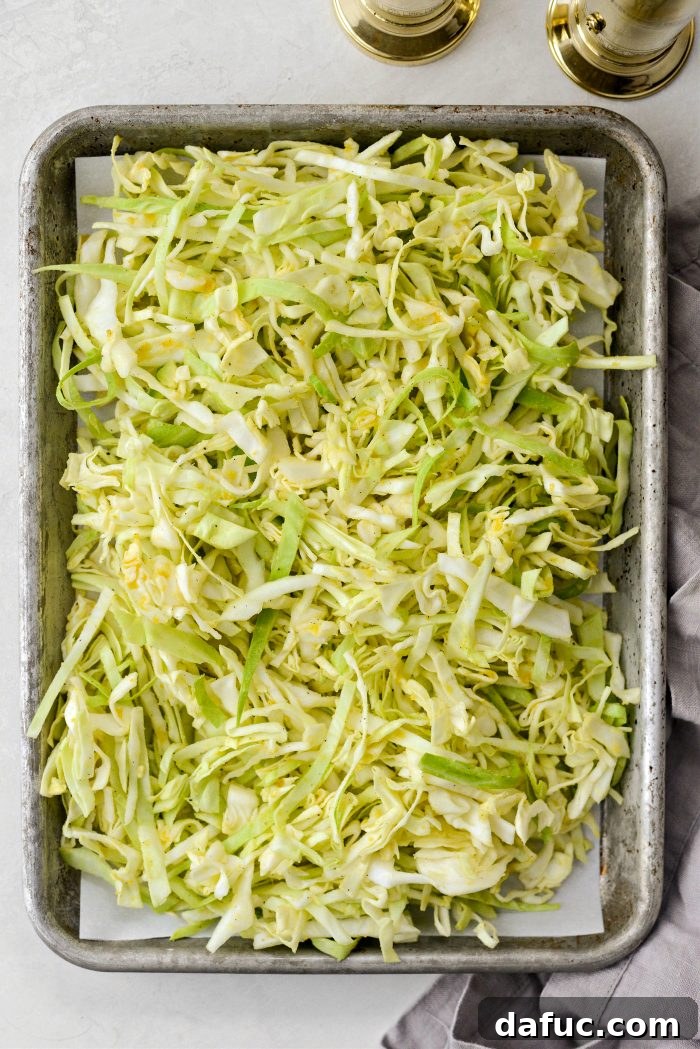
On the smaller prepared sheet pan, spread the seasoned cabbage in a single, even layer. Now, carefully slide both pans into your preheated oven, placing them on separate racks (e.g., one on the top rack, one on the middle rack). Bake for 15 minutes.
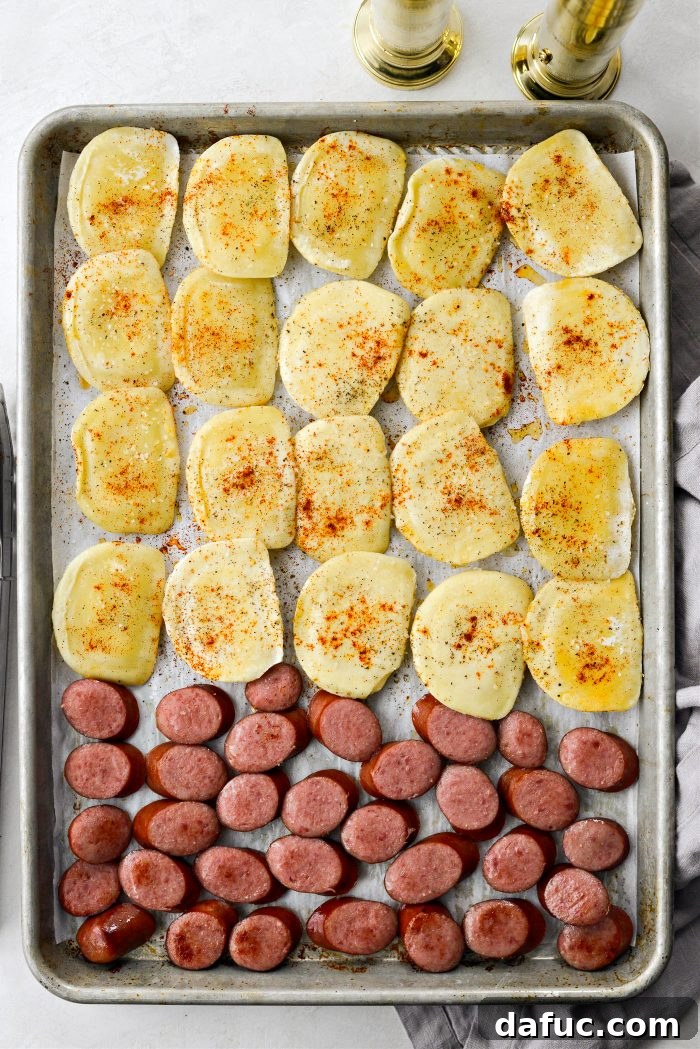
After the initial 15 minutes, carefully remove both pans from the oven. Using tongs or a spatula, gently turn the pierogies and kielbasa to ensure even browning. Season the newly exposed side of the pierogies with a bit more salt, black pepper, and paprika. Give the cabbage a good toss to redistribute the seasonings and promote even cooking.
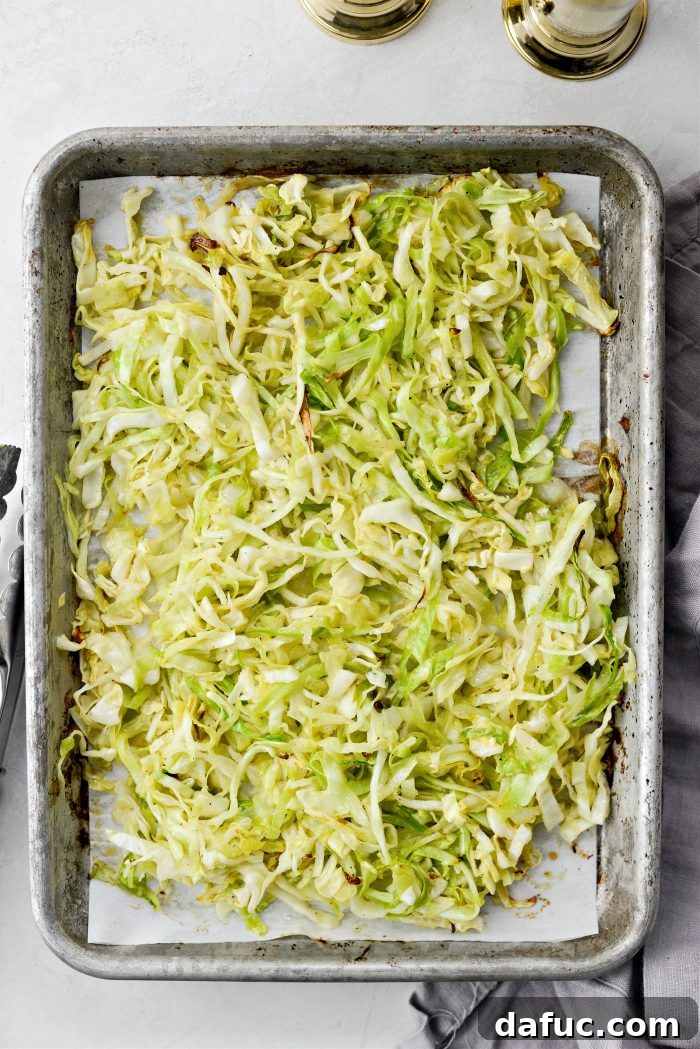
Return both pans to the oven, rotating them and switching their racks (e.g., if the pierogi pan was on top, move it to the middle, and vice versa for the cabbage). This rotation technique is key for achieving consistent cooking and browning across all components.
4. Finish Baking and Serve:
Continue baking for another 5 to 15 minutes, depending on your desired pierogy texture:
- For softer pierogies (baked at 400°F), bake for an additional 5 to 10 minutes.
- For extra crispy pierogies (baked at 425°F), bake for an additional 10 to 15 minutes.
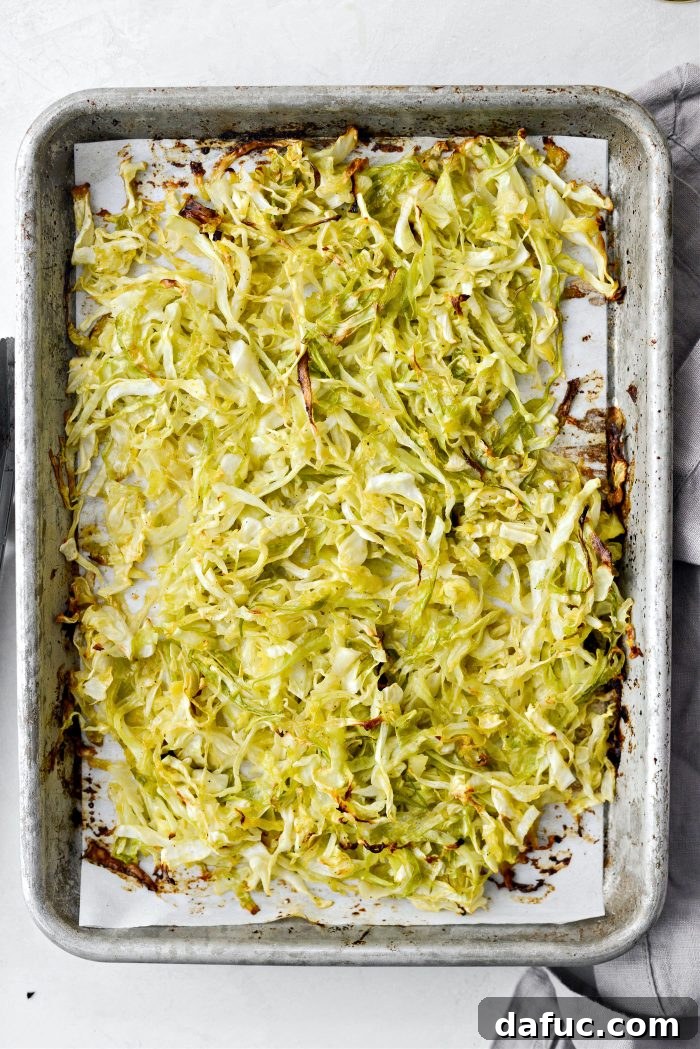
Keep an eye on both pans. The kielbasa and pierogies should be beautifully browned and crispy in spots, indicating they are perfectly cooked. The cabbage will be wonderfully tender, slightly caramelized, and infused with savory flavor.
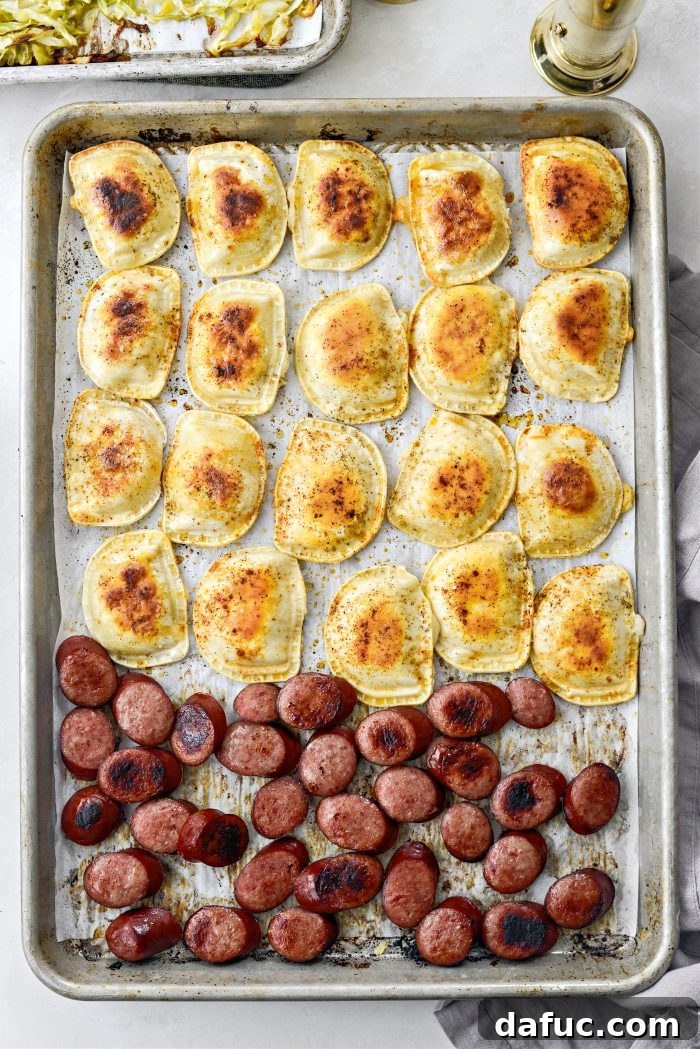
Once everything is cooked to perfection, remove the pans from the oven. That’s it! Your delicious and easy sheet pan meal is ready to be devoured.
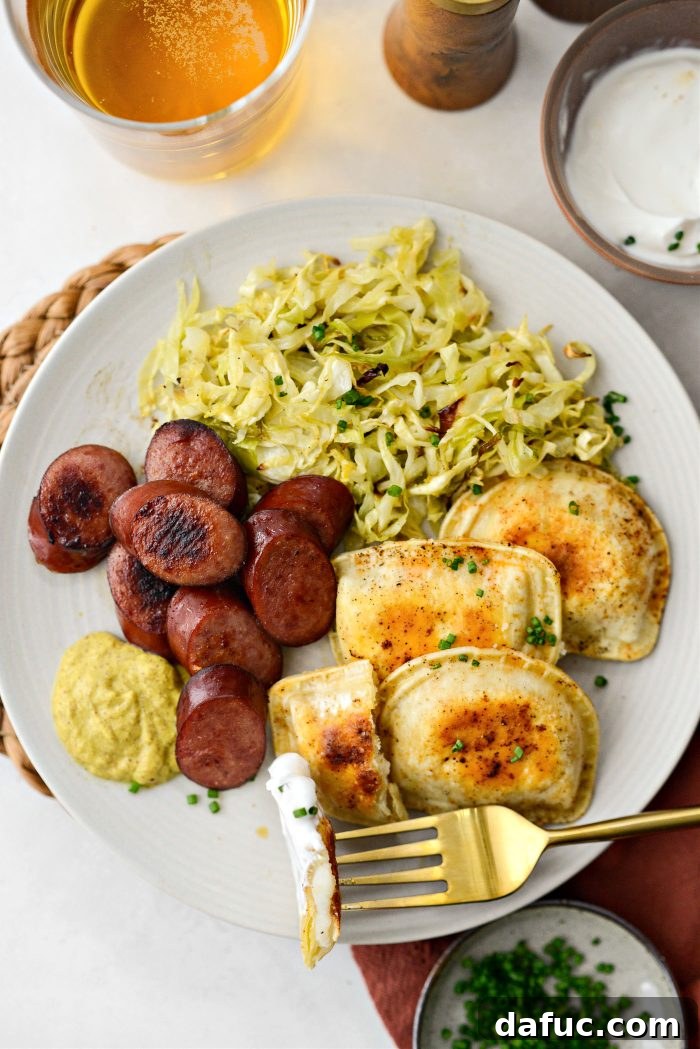
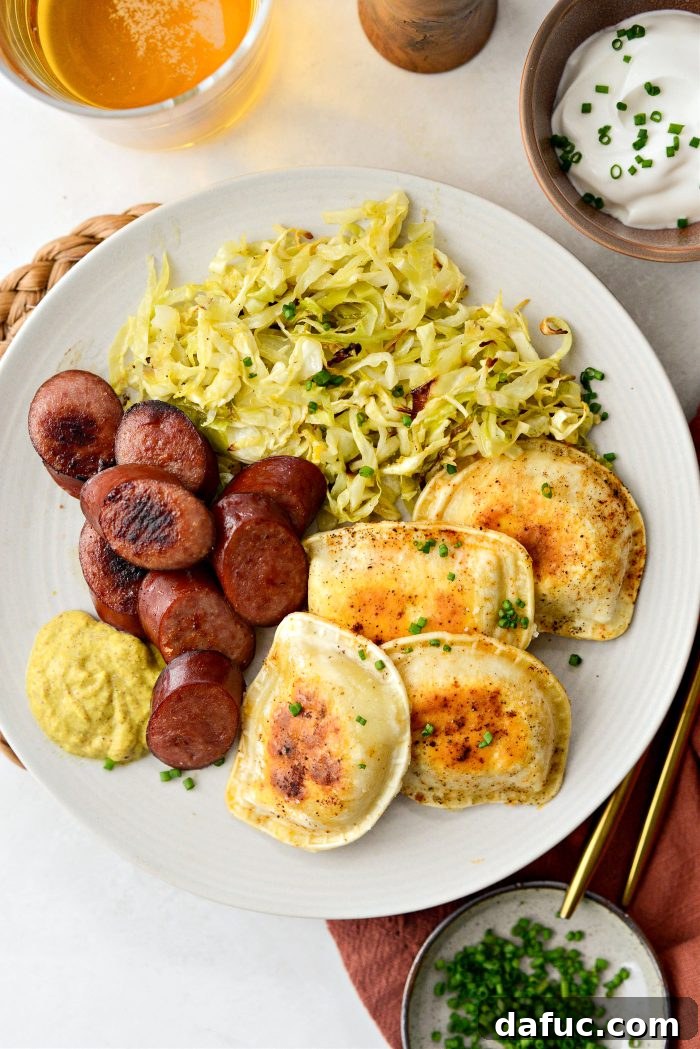
Divide the kielbasa, pierogies, and roasted cabbage among four plates. For an extra touch of flavor, serve the kielbasa with a dollop of your favorite mustard and offer sour cream for dipping the pierogies. A sprinkle of fresh snipped chives adds a vibrant garnish and a hint of oniony freshness.
Tips for Success & Customization Ideas
This recipe is already incredibly simple, but a few extra tips can make it even better and allow for creative variations:
Achieving Perfect Textures:
- Crispiness Control: The oven temperature makes all the difference! If you prefer your pierogies soft and pillowy, stick to 400°F (200°C). For those who love a golden, slightly crunchy exterior, 425°F (220°C) is your friend. Don’t forget the spray of oil on the pierogies for maximum crisp factor!
- Two Pans are Key: Resisting the urge to cram everything onto one pan is vital. Overcrowding leads to steam, which prevents browning and crisping. Using two pans allows for proper air circulation, resulting in perfectly roasted ingredients.
- Even Cooking: Flipping the pierogies and kielbasa and tossing the cabbage halfway through, along with rotating the pans and switching racks, ensures every piece cooks evenly and gets beautifully golden brown.
Flavor Enhancements & Customizations:
- Spice It Up: If you enjoy a bit of heat, add a pinch of red pepper flakes to the pierogies and kielbasa when seasoning, or even to the cabbage mixture.
- Herb Power: Fresh herbs like dill or parsley can brighten up the dish. Stir fresh dill into your sour cream for dipping, or sprinkle chopped parsley over the finished meal.
- Add More Veggies: This dish is flexible! Consider adding thinly sliced onions, bell peppers, or even apple slices (which pair wonderfully with cabbage and kielbasa) to the sheet pan alongside the main ingredients. Add them at the beginning to ensure they cook through.
- Cheese Please! A sprinkle of shredded cheddar or a sharp white cheese over the pierogies during the last 5 minutes of baking can add an extra layer of indulgence.
- Different Sausage: While kielbasa is traditional, feel free to experiment with other pre-cooked sausages like bratwurst or chicken apple sausage for a different flavor profile.
Making a Double Batch:
If you’re cooking for a larger family, prepping for meal prep, or simply want plenty of leftovers (like I do!), doubling this recipe is easy. You’ll need two large half-sheet pans. For the cabbage, use one full medium head (thinly sliced) and double the butter, bouillon paste, olive oil, and garlic powder. On one large sheet pan, arrange about 32 ounces of frozen pierogies. On the second large sheet pan, place about 23 ounces of sliced kielbasa on one side and the prepared cabbage on the other. The oven temperatures and cooking times should remain similar, but always keep an eye on your specific oven, as cooking times can vary. Ensure adequate space between ingredients on both pans to avoid steaming.
Beyond This Recipe: Explore More Sheet Pan Meals!
If you’ve fallen in love with the convenience and deliciousness of this Sheet Pan Pierogies and Kielbasa, you’ll be thrilled to discover the world of other easy sheet pan meals! From roasted chicken and vegetables to salmon and asparagus, the possibilities are endless for quick, healthy, and flavorful dinners that require minimal effort and cleanup.
Enjoy Your Meal!
This Sheet Pan Pierogies and Kielbasa with Cabbage is truly a fantastic recipe that delivers on flavor and ease. We encourage you to give it a try for your next weeknight dinner. And when you do, we’d love to see your creations! Snap a photo and share it with us on social media using #SheetPanPierogies or tagging us on your favorite platforms like Twitter or Instagram!
Recipe Card: Sheet Pan Pierogies and Kielbasa with Cabbage
This Sheet Pan Pierogies and Kielbasa (with Cabbage) recipe is a super simple and comforting meal for any night of the week. Crispy pierogies and smoky kielbasa are served with flavorful and tender cabbage.
- Yields: 4 servings
- Prep Time: 15 mins
- Cook Time: 25 mins
- Total Time: 40 mins
Ingredients
Main Dish:
- Avocado oil spray (or olive oil spray)
- 1/2 medium green cabbage, thinly sliced
- 1 tablespoon unsalted butter
- 1/2 tablespoon chicken bouillon paste (e.g., Better Than Bouillon), more or less to taste
- 1/2 teaspoon olive oil
- 1/2 teaspoon garlic powder
- Freshly ground black pepper, to taste
- 13 to 16 ounces pre-cooked kielbasa, sliced (turkey or hardwood smoked preferred)
- 20 ounces frozen pierogies (any filling type you like, e.g., sour cream and chive)
- Kosher salt, to taste (for pierogies and kielbasa only)
- Paprika, to taste
For Serving:
- Mustard (for kielbasa, optional)
- Sour cream (for pierogies, optional)
- Snipped chives (for garnish, optional)
Equipment
- Large rimmed baking sheet (e.g., Nordic Ware Prism Half Sheet Pan)
- Small quarter sheet pan (e.g., Nordic Ware 45370 Prism Quarter Sheet, Metallic)
- Small microwave-safe bowl
- Large mixing bowl
- Whisk
- Tongs or spatula
Instructions
- Preheat your oven: Set to 400°F (200°C) for softer pierogies or 425°F (220°C) for crispier pierogies. Line both a large rimmed baking sheet and a small quarter sheet pan with parchment paper and lightly spray with avocado or olive oil spray.
- Prepare the Cabbage: In the small microwave-safe bowl, combine butter, olive oil, bouillon paste, and garlic powder. Heat in 5-second intervals until butter is just melted, then whisk to combine.
- In the large mixing bowl, add the thinly sliced green cabbage. Pour the bouillon mixture over the cabbage and season with freshly ground black pepper. Toss well to coat. Note: Since bouillon contains salt, do not add extra salt to the cabbage to prevent it from becoming overly salty.
- Fill the Sheet Pans: On the larger prepared pan, arrange the sliced kielbasa and frozen pierogies in a single layer. Spray the pierogies with olive oil spray and season with kosher salt, freshly ground black pepper, and paprika.
- On the smaller prepared pan, add all of the seasoned cabbage, arranging it in a single layer. Slide both pans into your preheated oven on separate racks and bake for 15 minutes.
- After 15 minutes, carefully remove the pans. Use tongs to turn the pierogies and kielbasa. Season the other side of the pierogies with more salt, black pepper, and paprika. Toss the cabbage. Return both pans to the oven, rotating them and switching the racks they were on to ensure even cooking and browning.
- Continue baking: For softer pierogies (at 400°F), bake for an additional 5 to 10 minutes. For extra crispy pierogies (at 425°F), bake for an additional 10 to 15 minutes. Bake until the kielbasa and pierogies are golden brown and crispy in spots, and the cabbage is tender.
- Serve: Divide the kielbasa, pierogies, and cabbage among 4 plates. Serve with mustard for the kielbasa and sour cream for dipping pierogies, if desired. Garnish with snipped chives for freshness.
Notes
- When Making A Double Batch: Use 2 large half sheet pans, prepping each as described in the recipe. For the cabbage, use 1 full medium head (thinly sliced) and double the butter, bouillon, olive oil, and garlic powder. On one pan, arrange approximately 32 ounces of pierogies. On the second pan, place 23 ounces of sliced kielbasa on one side and the doubled cabbage mixture on the other. Temperatures remain the same, but cooking times might vary slightly depending on your oven’s performance.
- Nutrition Disclaimer: All information presented on this site is intended for informational purposes only. I am not a certified nutritionist, and any nutritional information shared should only be used as a general guideline.
Nutrition Label (per serving)
Serving: 1 serving, Calories: 450kcal, Carbohydrates: 52g, Protein: 23g, Fat: 17g, Saturated Fat: 8g, Polyunsaturated Fat: 2g, Monounsaturated Fat: 4g, Trans Fat: 0.1g, Cholesterol: 66mg, Sodium: 1402mg, Potassium: 392mg, Fiber: 6g, Sugar: 7g, Vitamin A: 331IU, Vitamin C: 70mg, Calcium: 129mg, Iron: 11mg
Recipe Details
- Author: Laurie McNamara
- Course: Mains & Entrees
- Cuisine: Polish