
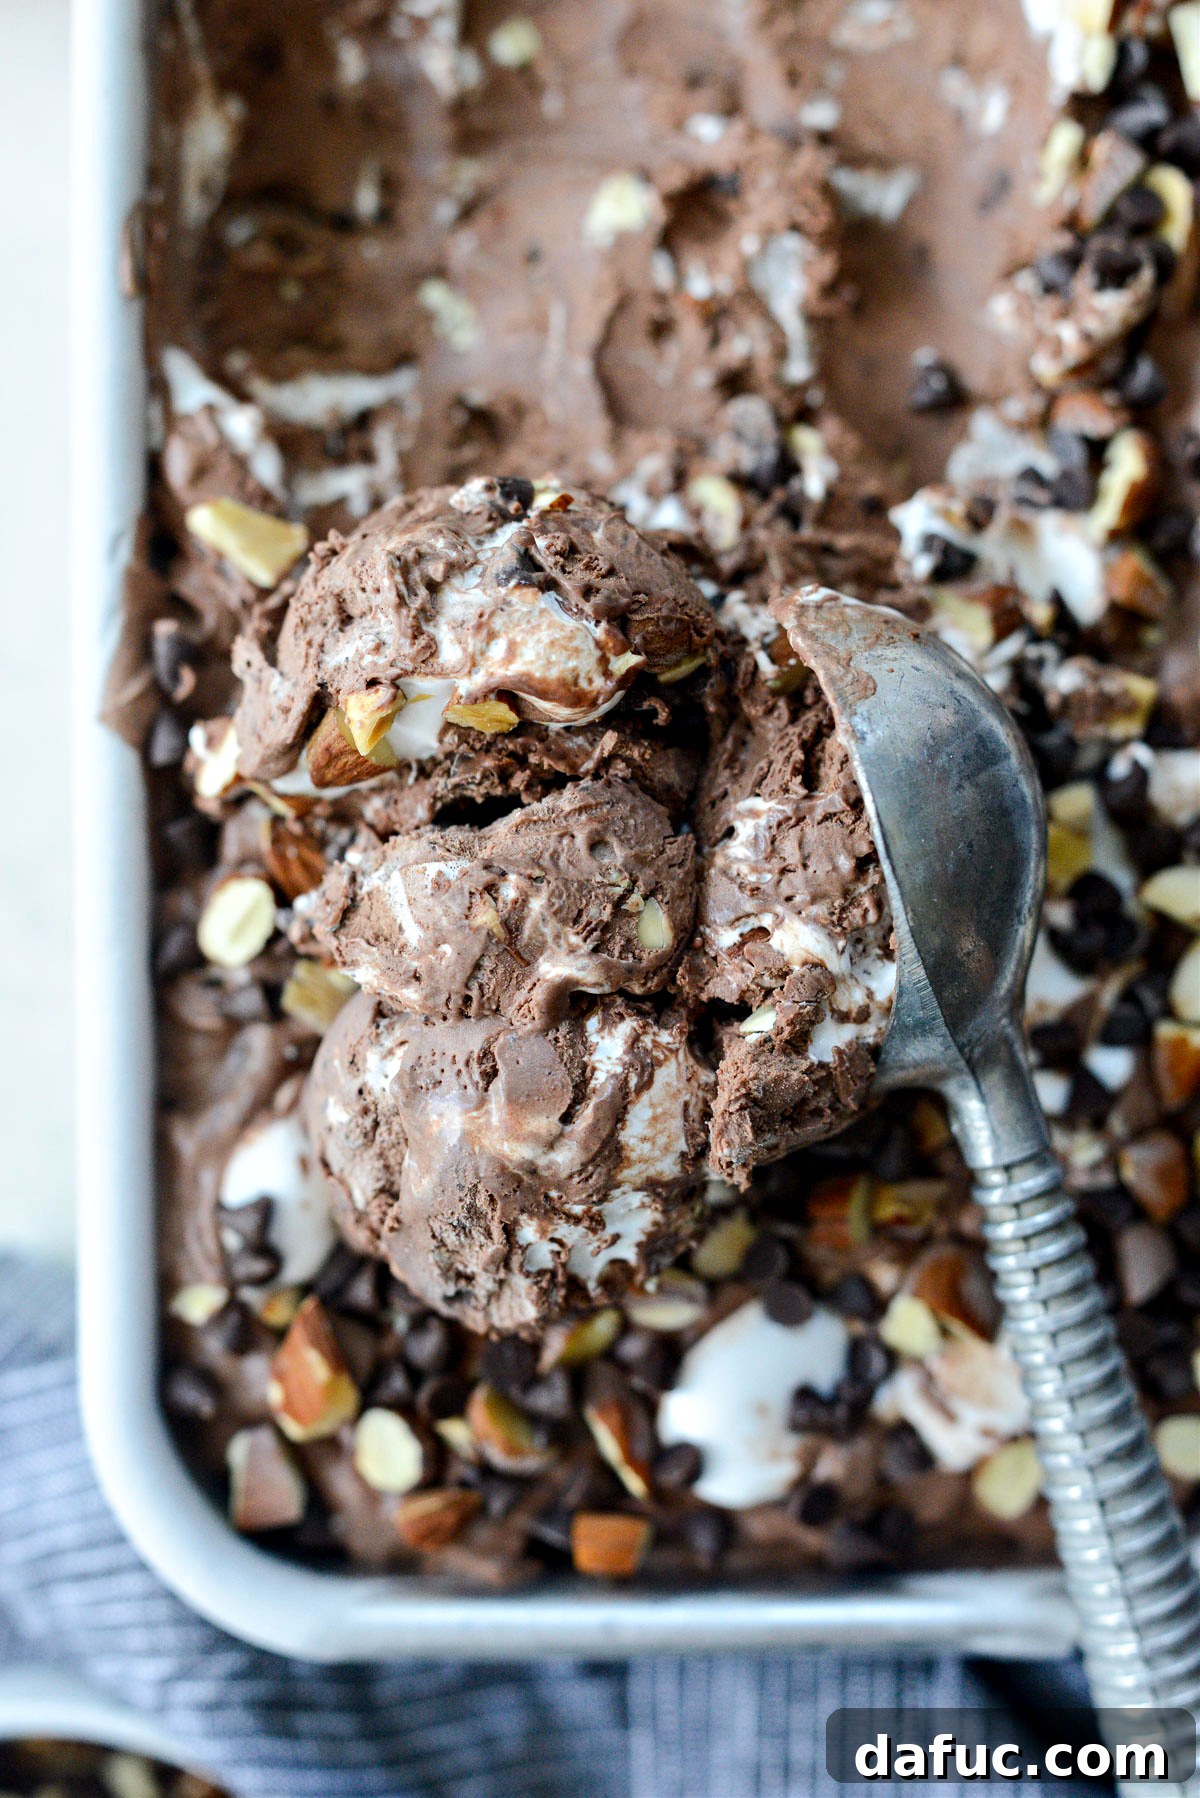
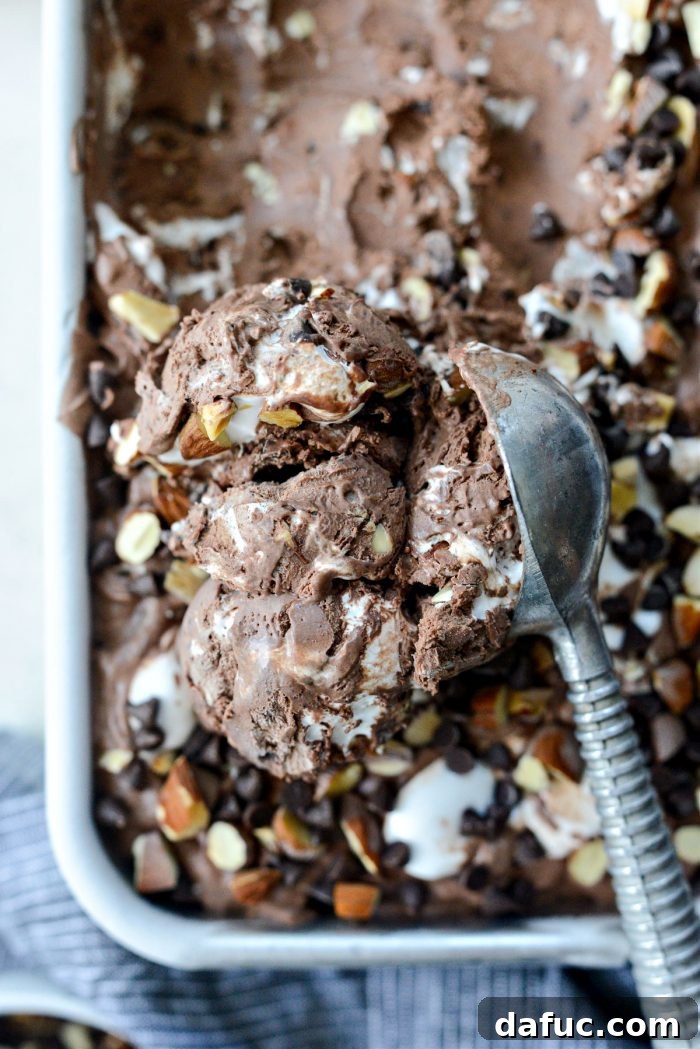
Prepare to indulge in the most incredible homemade frozen treat: **No-Churn Heavenly Hash Ice Cream**! This recipe delivers a perfectly rich and chocolatey ice cream, generously studded with perfectly roasted almonds, delightful mini chocolate chips, and luxurious, creamy marshmallow ribbons throughout. It’s an absolute game-changer for anyone craving that classic, irresistible flavor without the need for an ice cream machine.
Recreating a Beloved Classic: Your Favorite Ice Cream, Homemade
Have you ever experienced the heartbreak of your absolute favorite ice cream flavor being discontinued? It’s a truly devastating culinary loss! For me, that flavor was Heavenly Hash, once proudly carried by a well-known Michigan grocery store brand. It’s been approximately a decade since they ceased production, and I’ve been longing for that specific taste ever since. While other brands offer variations, none have ever quite captured the unique essence and perfect balance of flavors I remembered.
That’s when I discovered the magical world of no-churn ice cream. The sheer simplicity and incredible results inspired me to take matters into my own hands. I decided to embark on a mission to recreate my cherished Heavenly Hash. The moment I took that first bite – or perhaps more accurately, the first joyous lick – I knew I had succeeded. My husband, a connoisseur of all things sweet, declared it even better than the store-bought version. And honestly, I wholeheartedly agree. This recipe isn’t just a substitute; it’s an elevated, homemade triumph that perfectly recaptures and even improves upon a nostalgic favorite.
What Exactly is Heavenly Hash Ice Cream?
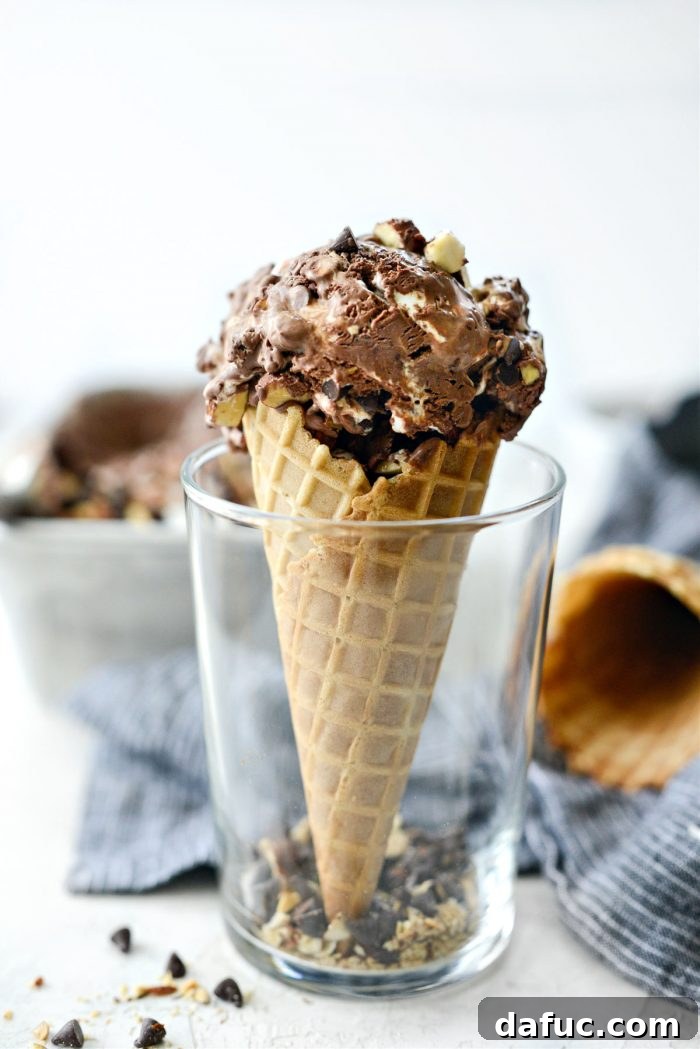
At its heart, Heavenly Hash Ice Cream is a celebration of contrasting textures and complementary flavors. It typically features a rich, deep chocolate ice cream base, generously swirled with luscious ribbons of creamy marshmallow creme. To add that signature crunch and nutty depth, it’s packed with roasted chopped almonds and delightful mini chocolate chips. In essence, it’s the ultimate combination of chocolate, nuttiness, and sweet, fluffy goodness – truly a heavenly experience in every spoonful. For many, myself included, it’s simply the best ice cream ever created.
Essential Ingredients for Your No-Churn Heavenly Hash Ice Cream:
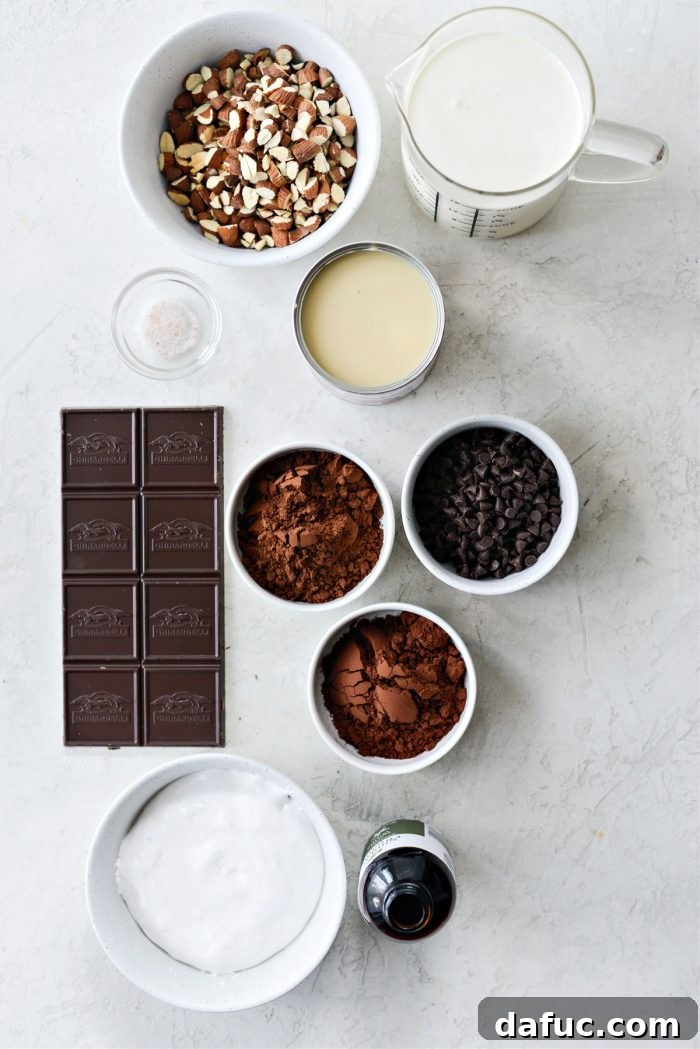
Crafting this sensational frozen treat requires a few key components. The beauty of this no-churn method lies in its simplicity and the readily available ingredients. Here’s what you’ll need to gather:
- **Whole Unsalted Almonds:** These will be roasted to bring out their rich flavor and provide a delightful crunch.
- **Bittersweet Chocolate:** Crucial for the deep, complex chocolate flavor of the base.
- **Sweetened Condensed Milk:** This magical ingredient is the secret to no-churn ice cream’s creamy texture and inherent sweetness.
- **Pure Vanilla Extract:** Enhances all the other flavors, adding a warm, aromatic note.
- **Unsweetened Dutch Processed Cocoa Powder:** For a less bitter, smoother chocolate flavor and a darker color.
- **Unsweetened Dark Cocoa Powder:** Elevates the chocolate intensity, giving the ice cream a rich, profound depth. Brands like Hershey’s Special Dark work wonderfully.
- **Fine Salt:** A pinch of salt balances the sweetness and brings out the chocolate notes.
- **Heavy Whipping Cream:** The foundation of the airy, creamy texture, whipped to perfection.
- **Mini Chocolate Chips:** Small bursts of extra chocolatey goodness in every bite.
- **Marshmallow Creme:** Essential for those iconic, gooey ribbons that define Heavenly Hash.
A Step-by-Step Guide to Crafting Your Heavenly Hash Ice Cream
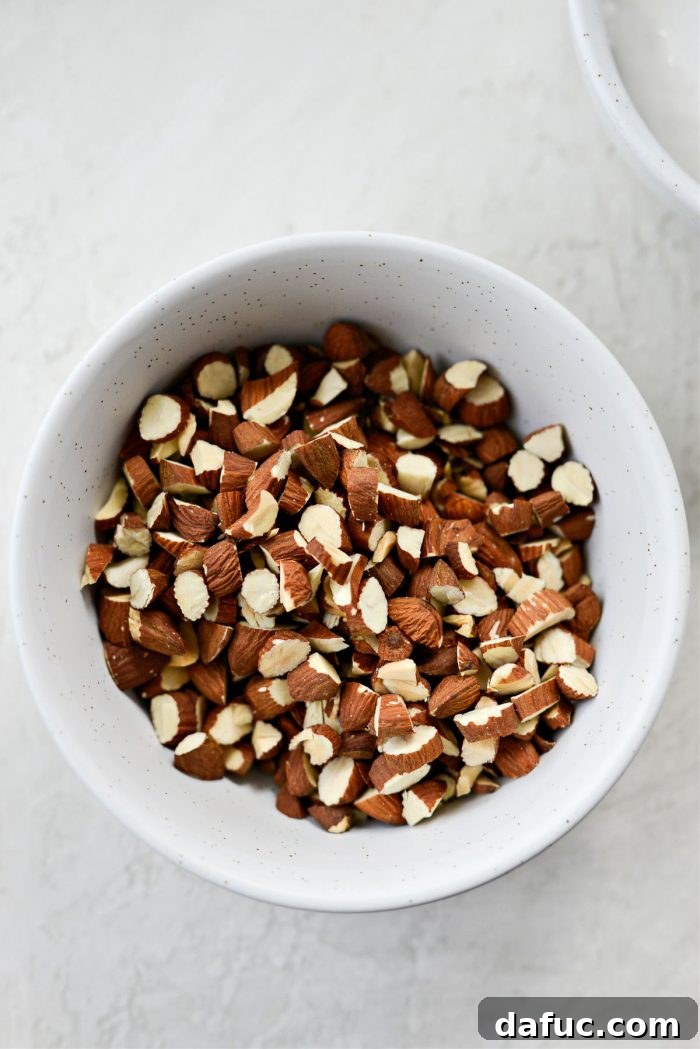
Let’s begin our journey to homemade ice cream paradise. The first crucial step to unlocking incredible flavor is preparing your almonds. Preheat your oven to 325℉ (or 160℃). Take enough whole unsalted almonds to yield 3/4 cup once roughly chopped. Spread these chopped almonds evenly onto a parchment-lined baking pan. Roast them for approximately 6 minutes, making sure to toss them halfway through for even browning. Once they achieve a beautiful golden-brown hue and release a fragrant, toasty aroma, remove them from the oven and transfer them to a clean bowl to cool completely. This roasting step is key to their irresistible crunch and deep, nutty flavor.
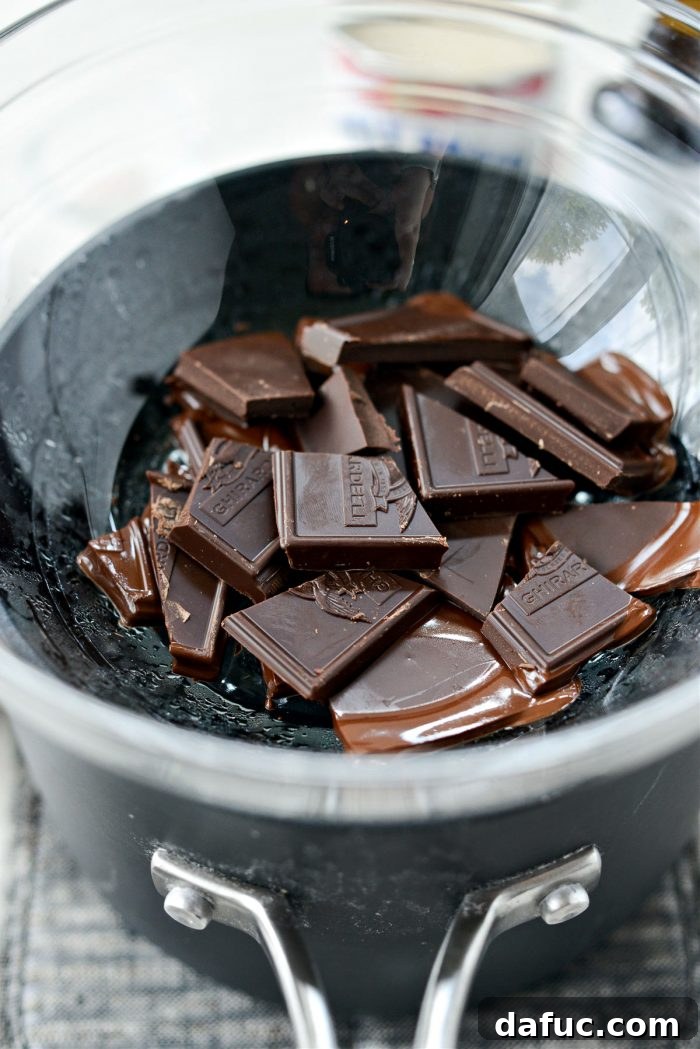
Next, it’s time to create the luxurious chocolate base. Place 4 ounces of bittersweet chocolate into a heat-safe glass mixing bowl. This bowl should be sized to fit snugly over a saucepan without touching the water. Fill a saucepan with about an inch of water and bring it to a gentle simmer over medium heat. Carefully place the bowl with the chocolate on top of the saucepan, ensuring the bottom of the bowl does not touch the simmering water. This creates a double boiler, a method that gently melts the chocolate, preventing it from seizing or burning.
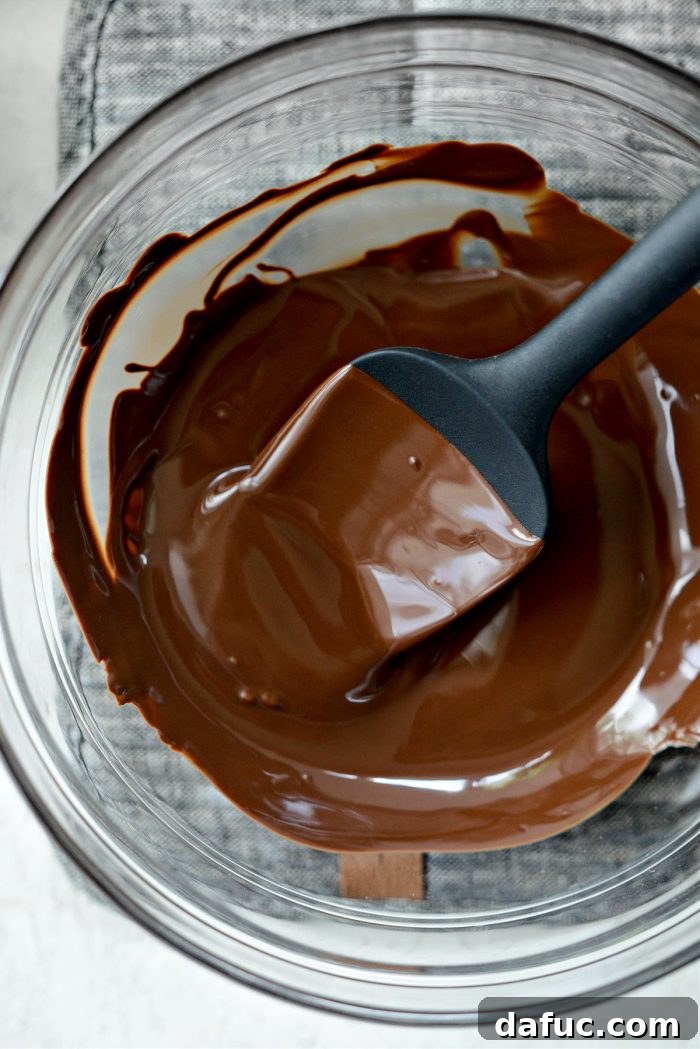
Stir the chocolate continuously with a spatula until it has completely melted into a smooth, glossy consistency. Once melted, carefully use oven mitts to remove the bowl from the saucepan and place it onto a trivet or heat-safe surface. This step ensures a wonderfully smooth and uniform chocolate flavor throughout your ice cream base.
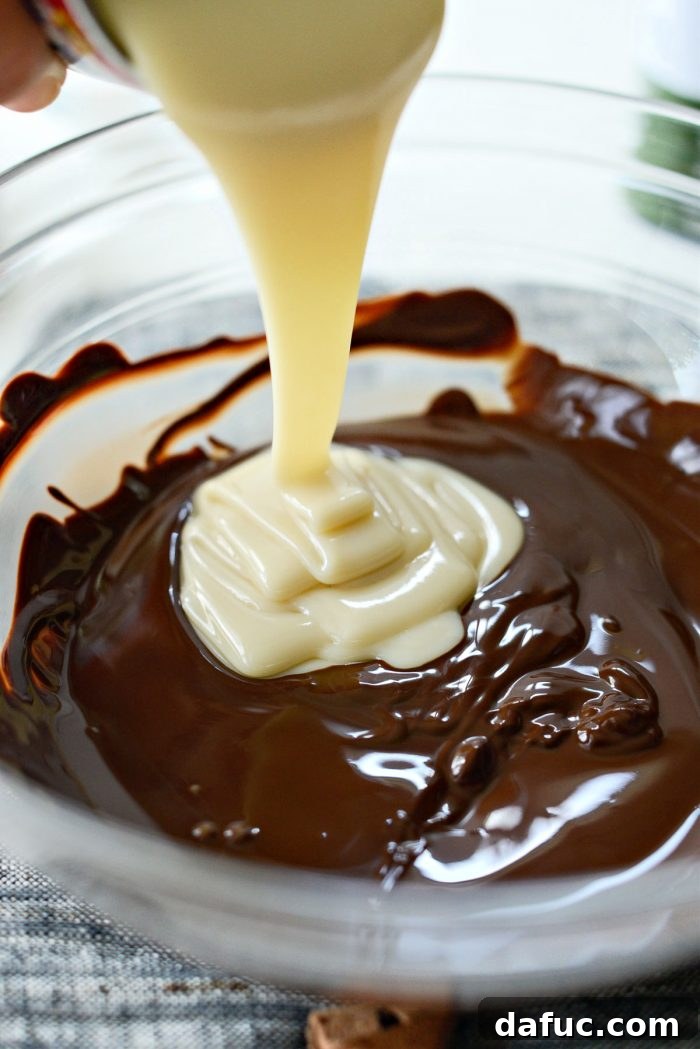
To the rich, melted chocolate, add one 14-ounce can of sweetened condensed milk. This ingredient is the magic behind no-churn ice cream, providing both the necessary sweetness and a remarkably creamy texture without needing an ice cream maker. It also helps prevent large ice crystals from forming during freezing.
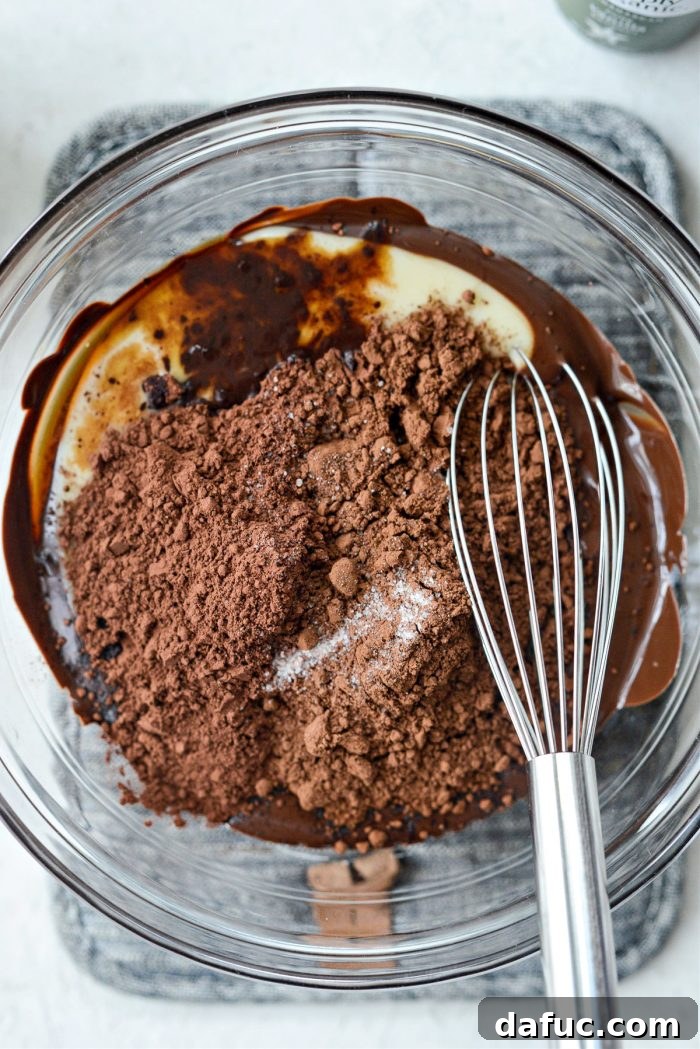
Next, carefully measure and add 3 tablespoons of unsweetened Dutch process cocoa, 3 tablespoons of unsweetened dark cocoa powder (like Hershey’s Special Dark for extra depth), 1/4 teaspoon of fine salt, and 1 teaspoon of pure vanilla extract. These ingredients work in harmony to build a complex, intensely chocolatey flavor profile.
A Quick Dive into Dutch Process Cocoa: What’s the Difference?
You might be wondering about “Dutch process cocoa.” This refers to cocoa solids that have been treated with an alkalizing agent. This process significantly reduces the natural acidity of cocoa, resulting in a less bitter, smoother, and often darker chocolate flavor. It’s ideal for recipes where you want a rich, mellow chocolate profile without the tanginess often associated with natural cocoa.
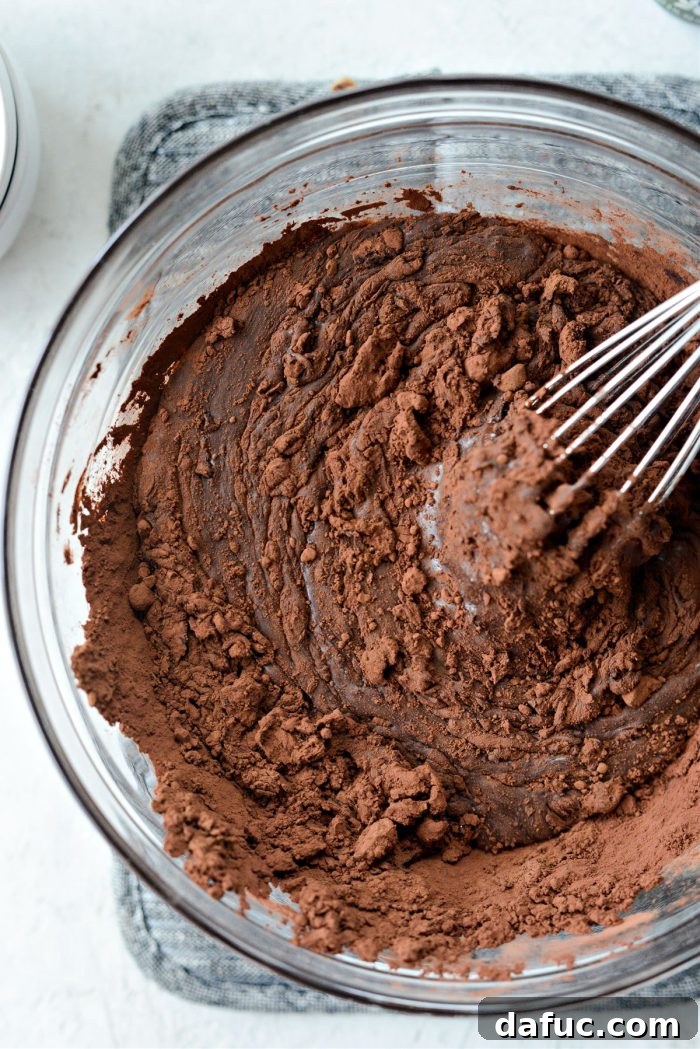
Whisk all these ingredients together until thoroughly incorporated and smooth. The mixture should be uniform in color and texture. Once combined, transfer this rich chocolate mixture to a large mixing bowl and set it aside for a moment. This will be the foundational flavor for your Heavenly Hash ice cream.
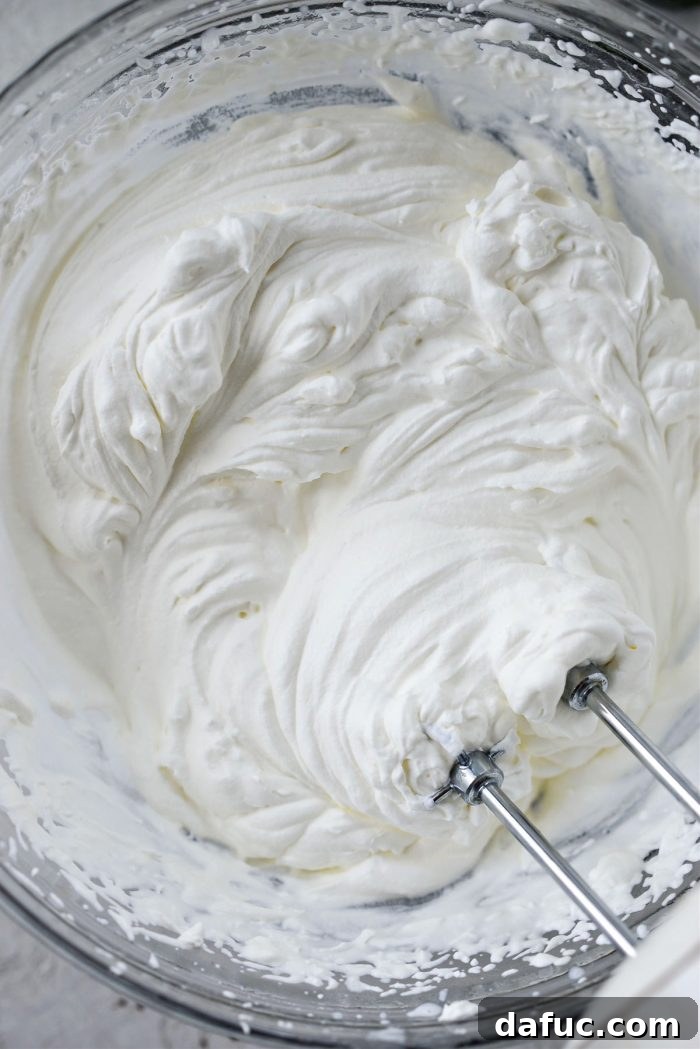
Now for the light and airy component: whipped cream. Pour 2 cups of heavy whipping cream into a separate, chilled mixing bowl. A pro tip to speed up the whipping process and achieve the best results is to place your bowl (and even your whisk attachments) in the freezer for about 30 minutes beforehand. Using a hand mixer or stand mixer, whip the cream on high speed until stiff peaks form. This means when you lift the beaters, the peaks hold their shape firmly.
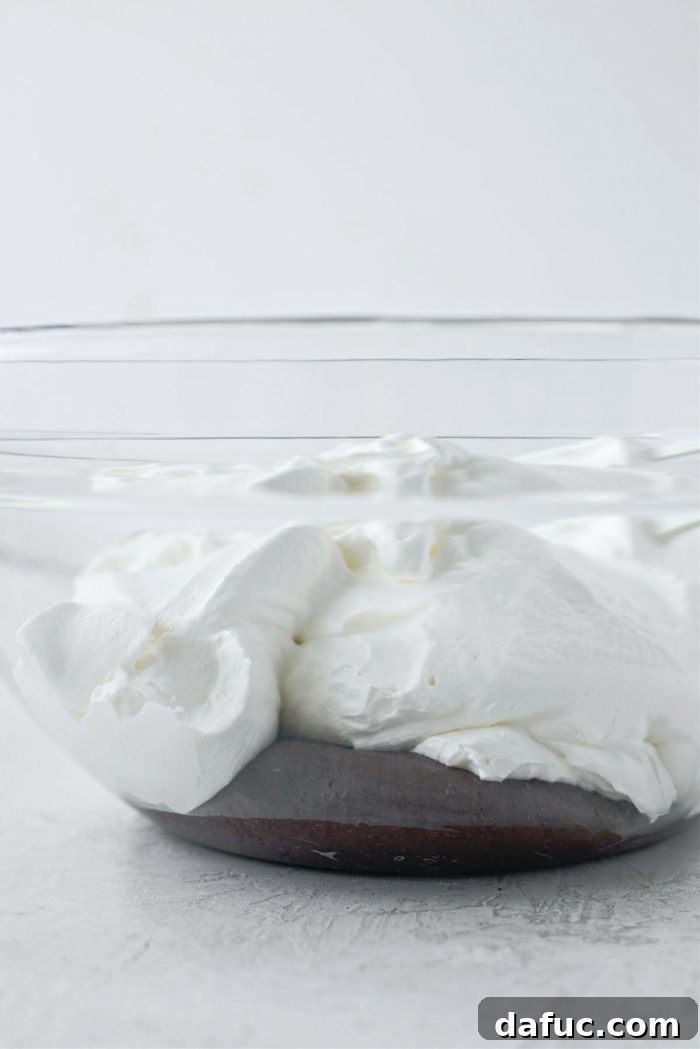
Carefully add the freshly whipped cream into the large bowl containing your rich chocolate mixture. This is where the magic of the no-churn method truly comes alive, as the whipped cream provides the necessary air and volume for a light, scoopable ice cream.
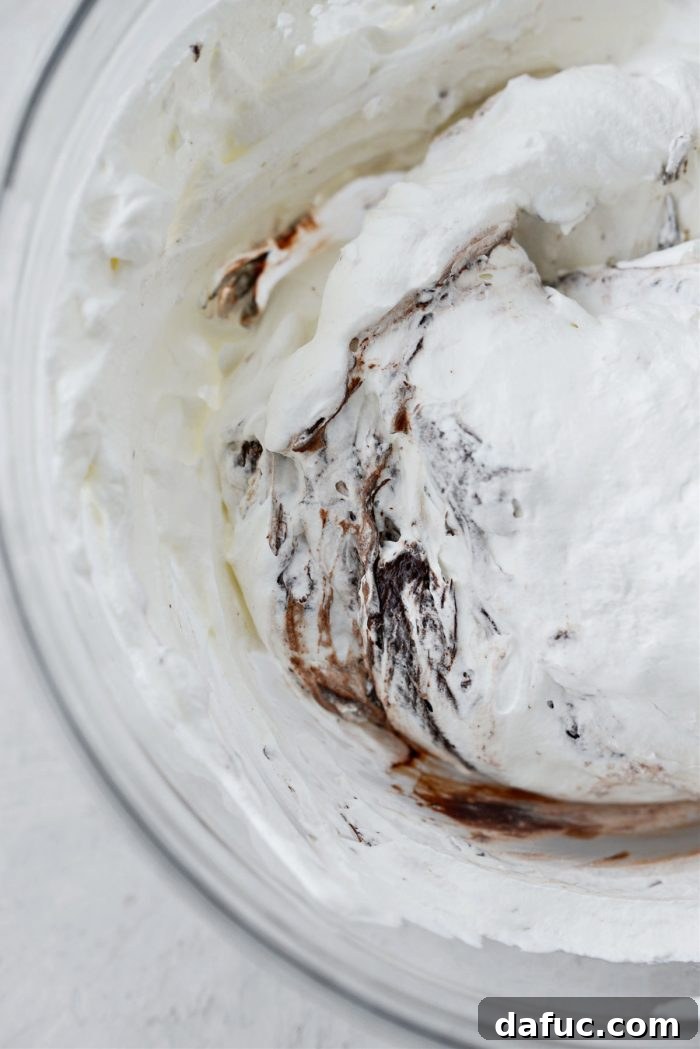
Using a large spatula, gently and carefully fold the whipped cream and chocolate mixture together. Employ large, sweeping motions to incorporate the two, being mindful not to deflate the whipped cream. The goal is to combine them until no streaks of white cream remain, and you have a homogenous, light brown mixture. This step requires patience and a delicate touch to ensure your ice cream remains airy and creamy.
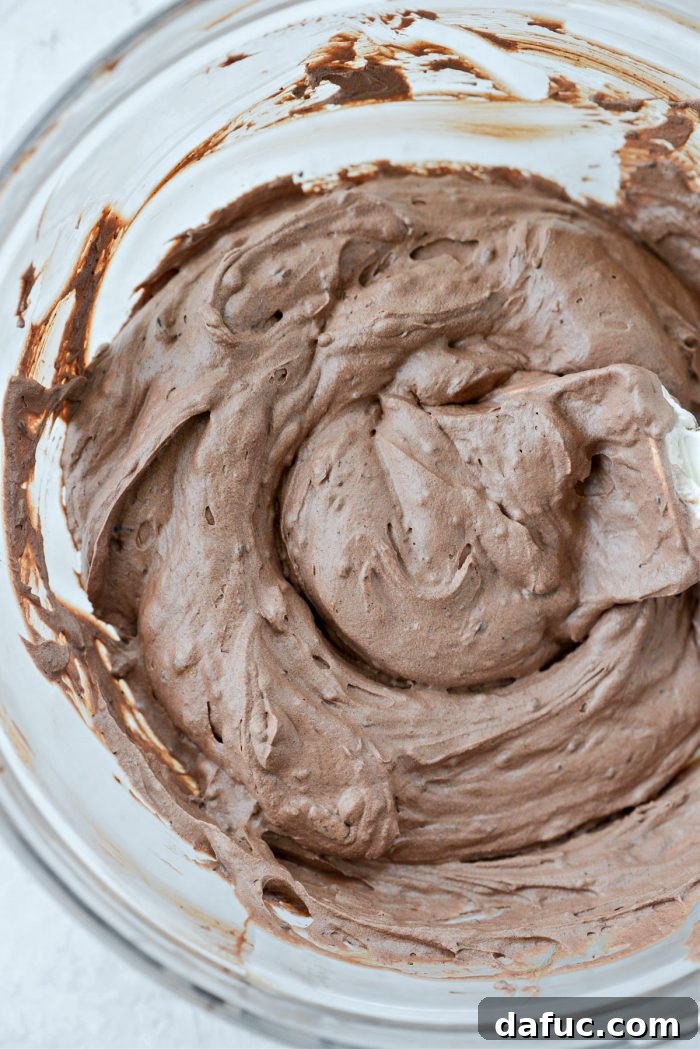
Don’t rush this folding process. It might seem like it’s taking a while, and you might even feel your arm muscles getting a workout, but trust the process. The mixture will eventually come together beautifully, transforming into a light, mousse-like base that is the essence of your no-churn ice cream. This patience will be rewarded with an incredibly smooth and creamy final product.
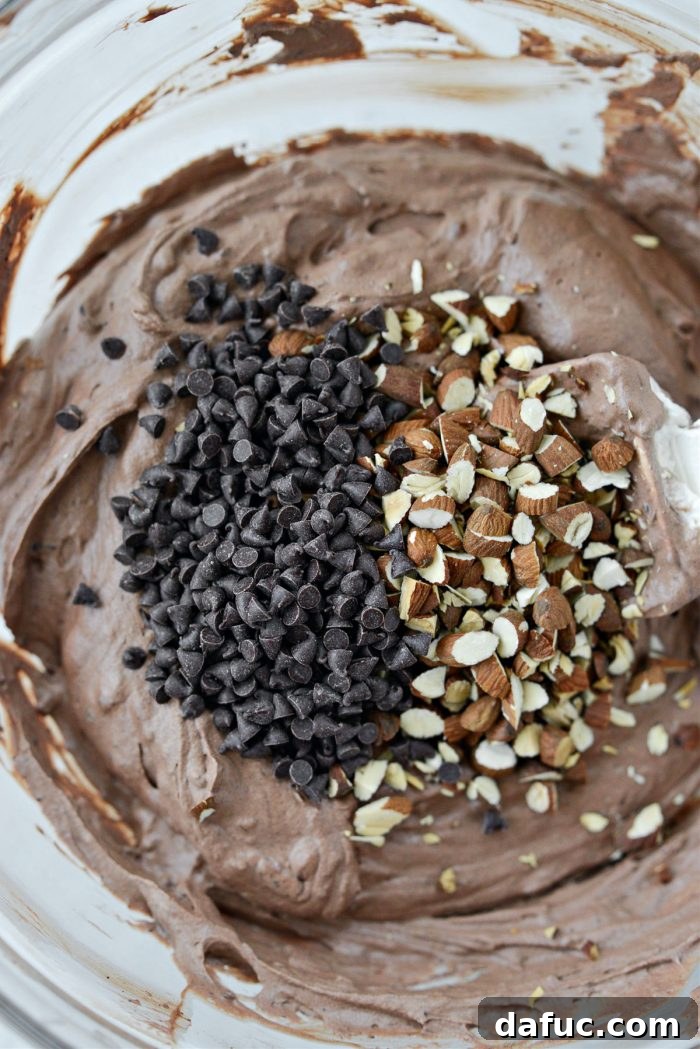
Once your base is perfectly combined, it’s time for the delightful mix-ins. Add 1/2 cup of your cooled, roasted chopped almonds and 1/3 cup of the mini chocolate chips to the chocolate ice cream base. Make sure to save the remaining almonds and chocolate chips for a decorative and delicious topping later.
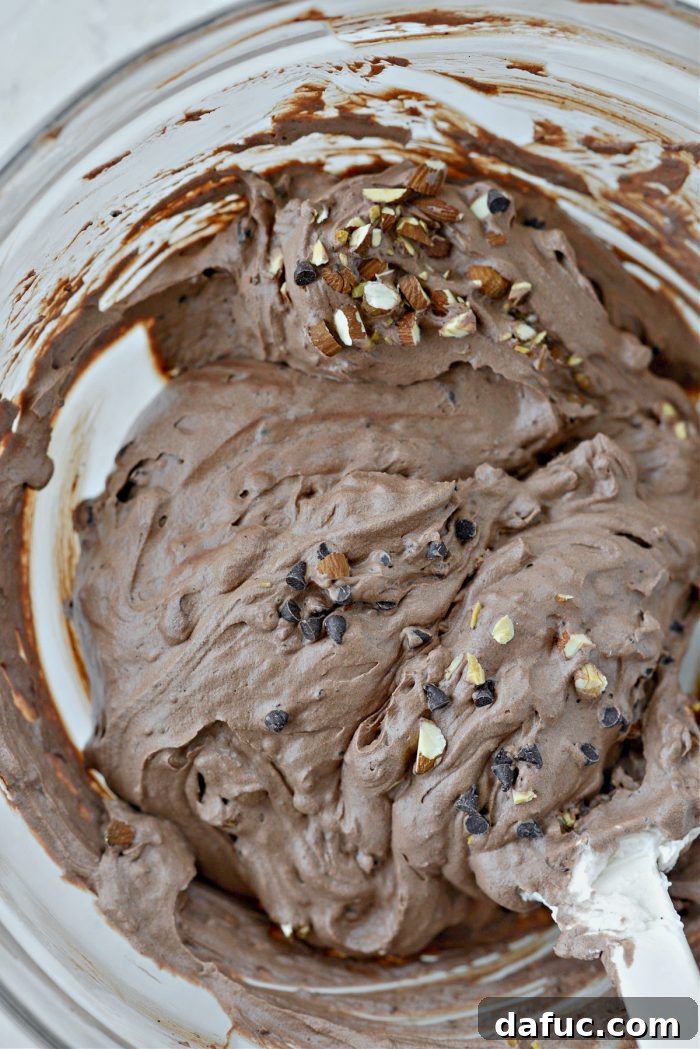
Gently fold these crunchy and chocolatey additions into the ice cream base as well. Distribute them evenly throughout the mixture, ensuring every scoop will contain a wonderful surprise of texture and flavor.
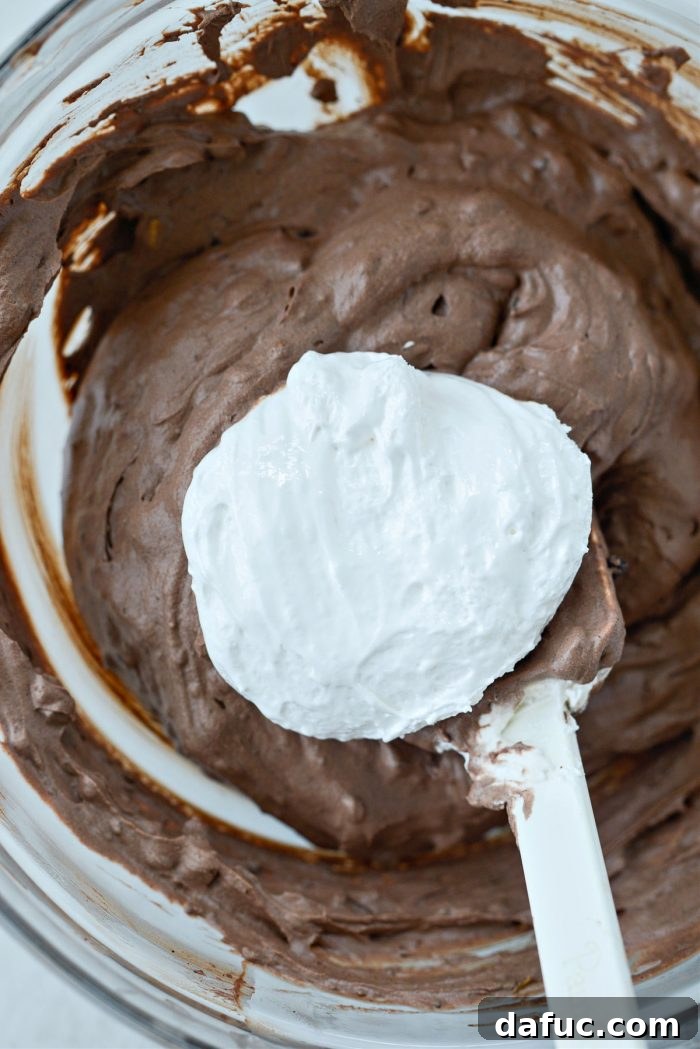
Finally, for those iconic marshmallow ribbons, add 1 cup of marshmallow creme. While there are recipes for homemade marshmallow creme, opting for store-bought is perfectly acceptable and keeps the “no-churn” spirit of ease alive. The goal here is convenience without sacrificing flavor or texture. Of course, if you enjoy extra steps, feel free to make your own!
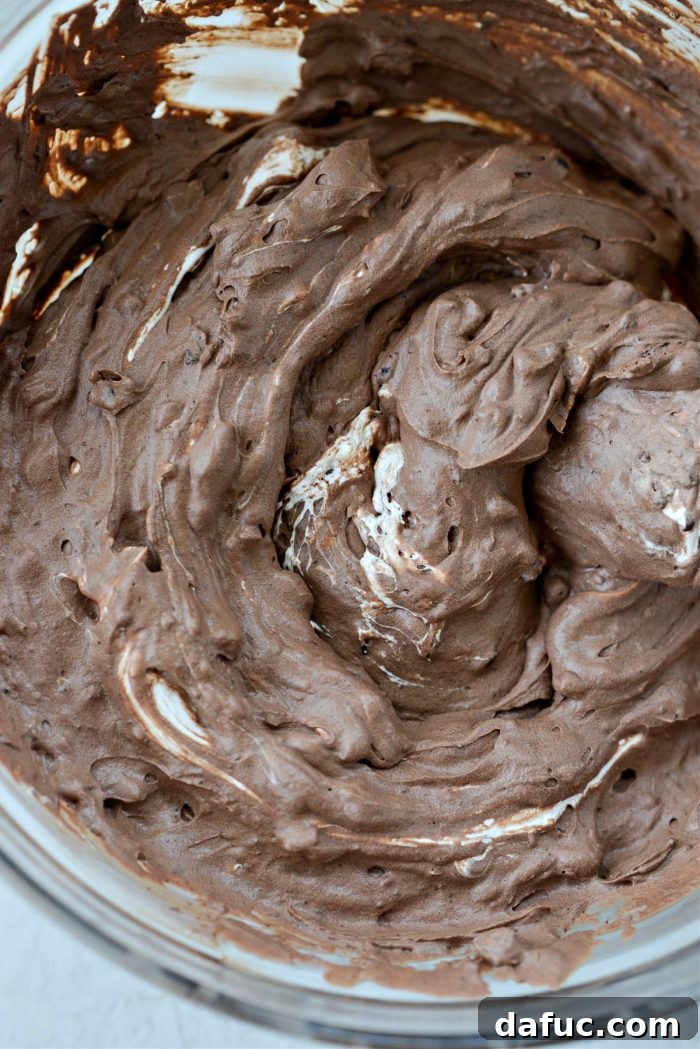
Gently fold the marshmallow creme into the ice cream base, aiming to create beautiful, luscious ribbons. This means you don’t want to completely incorporate it; instead, you want distinct swirls of marshmallow throughout the chocolate. It’s crucial to **DO NOT OVER MIX** this step, as overmixing will break down the marshmallow texture and prevent the formation of those delightful ribbons.
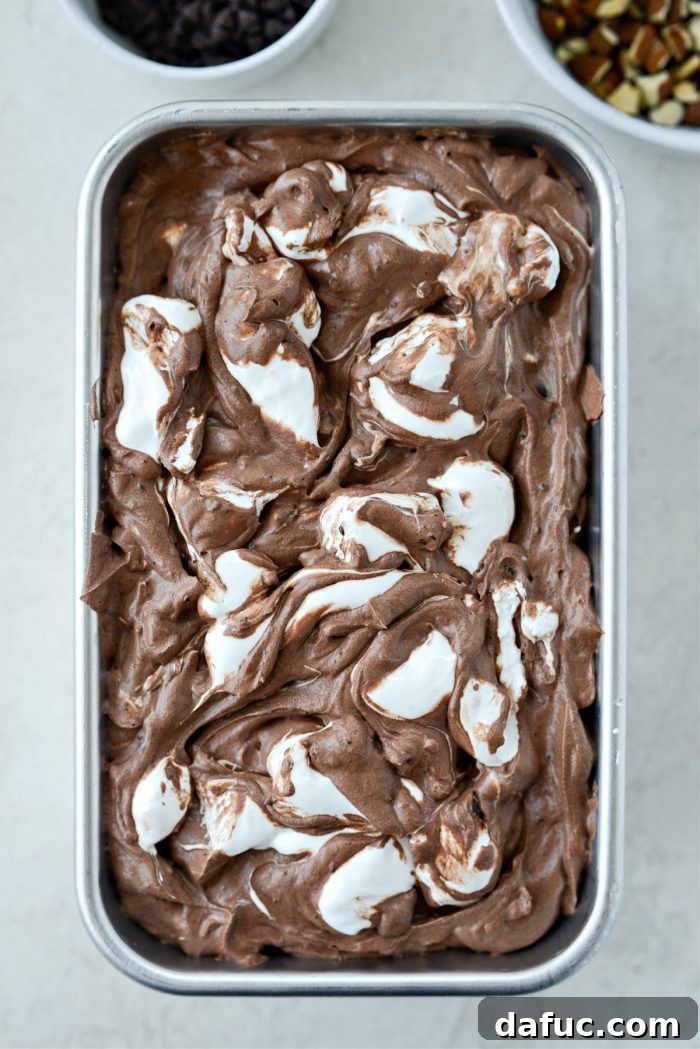
Now, carefully transfer your magnificent ice cream base into a freezer-safe dish or container. To enhance the marshmallow experience, add dollops of the remaining marshmallow creme generously over the top. Use a butter knife or a skewer to gently swirl these dollops into the surface, creating an appealing marbled effect that promises gooey goodness in every scoop.
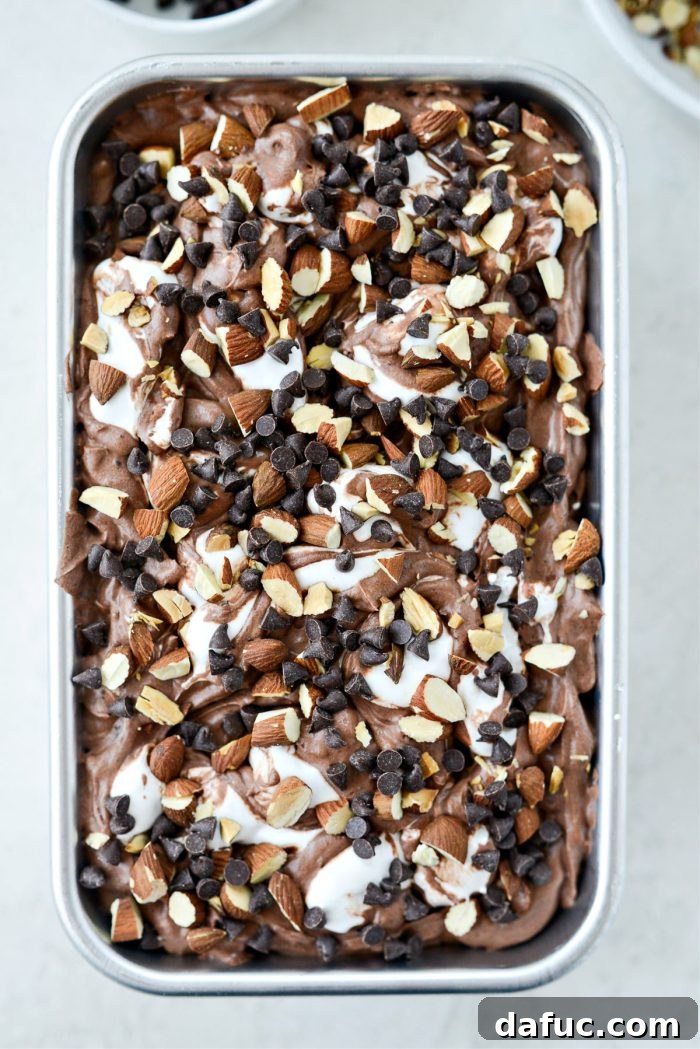
For a beautiful finish and an extra textural element, sprinkle the reserved roasted almonds and mini chocolate chips generously over the top of the swirled marshmallow. This not only adds visual appeal but also ensures every bite starts with that perfect combination of crunch and chocolate. Once decorated, cover the dish tightly and freeze for a minimum of 8 hours, or ideally, overnight, to allow it to firm up perfectly.
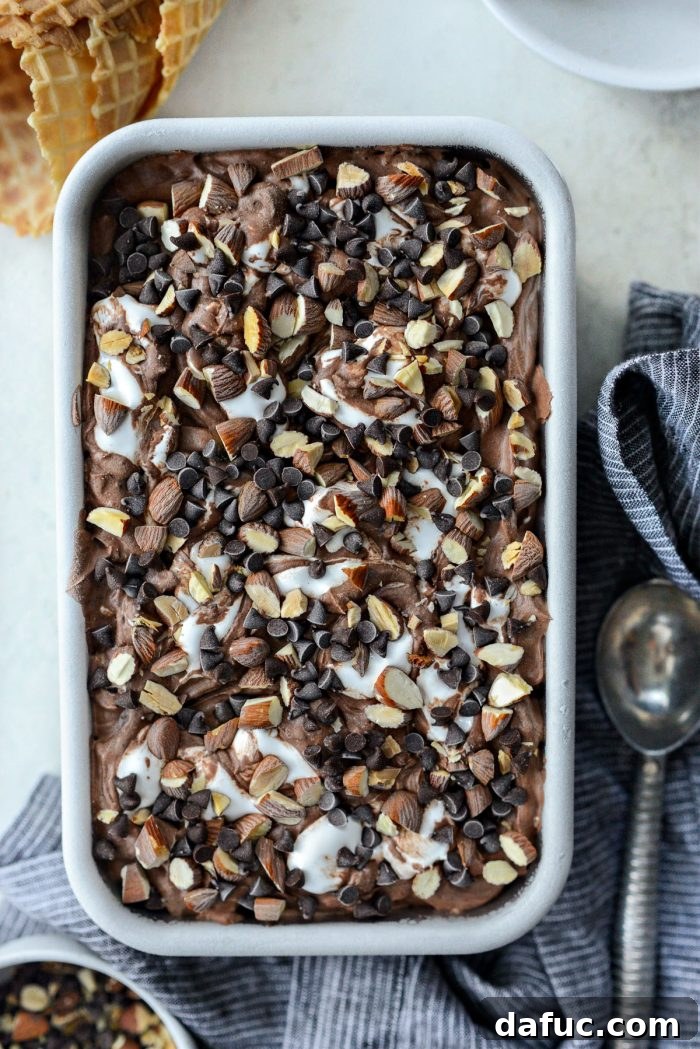
When you’re ready to indulge in your homemade masterpiece, remember one important tip for optimal serving: remove the ice cream from the freezer at least 20 to 30 minutes before you plan to scoop it. This allows it to soften slightly, making it much easier to scoop and enhancing its creamy texture. Additionally, using an ice cream scoop that has been heated under running hot water can make a significant difference, gliding effortlessly through the rich, frozen dessert.
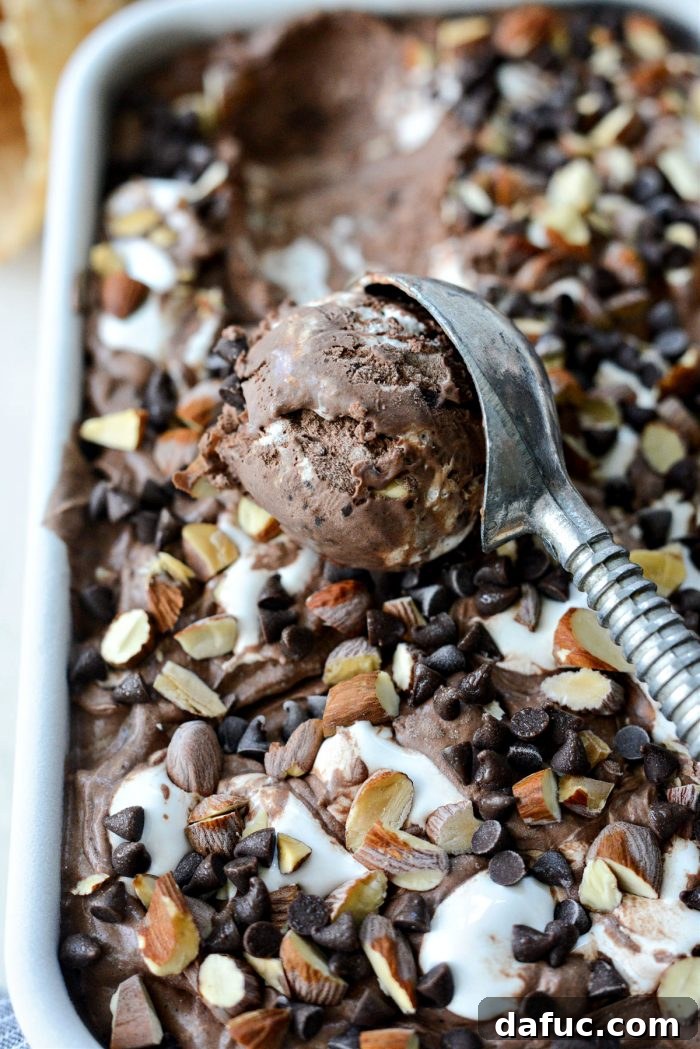
The result is an ice cream so rich and intensely chocolatey, it’s hard to believe it’s homemade. But the true magic, the secret to this absolutely amazing Heavenly Hash Ice Cream, lies in the delightful combination of the creamy marshmallow creme ribbons and the perfectly roasted, crunchy almonds. These elements elevate it from simply chocolate ice cream to an unforgettable dessert experience.
Prepare to fall completely in love with this decadent, easy-to-make, no-churn sensation!
Explore More No-Churn Ice Cream Recipes!
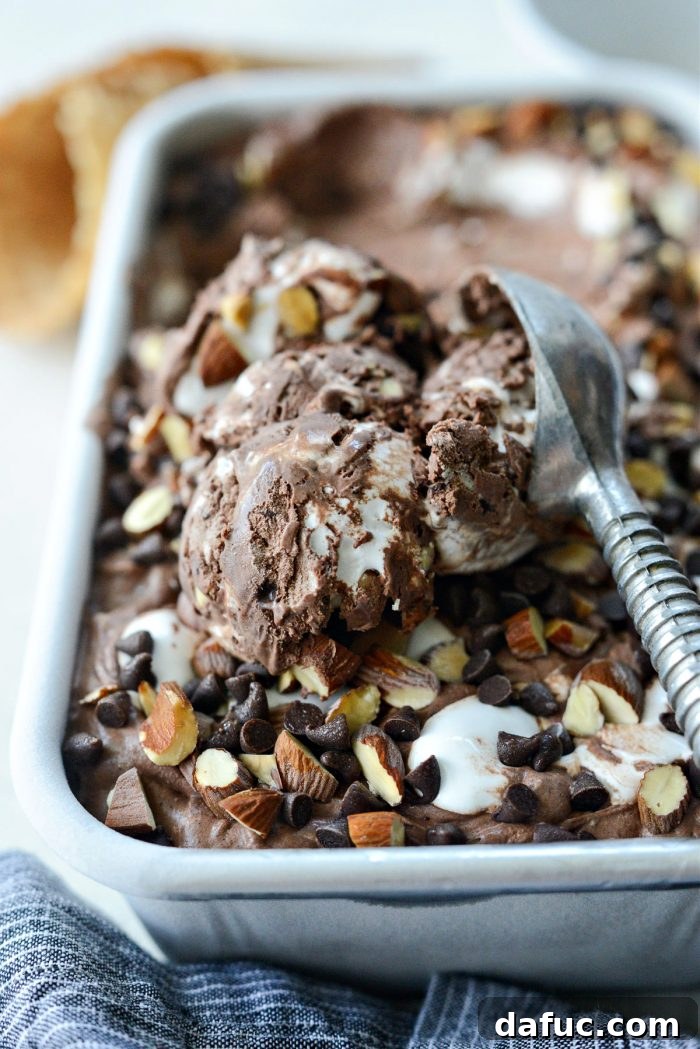
Enjoy! We encourage you to give this Heavenly Hash Ice Cream recipe a try! If you do, we’d love to hear about it. Snap a photo of your creation and share it with us by tagging @simply_scratch on Twitter or Instagram!
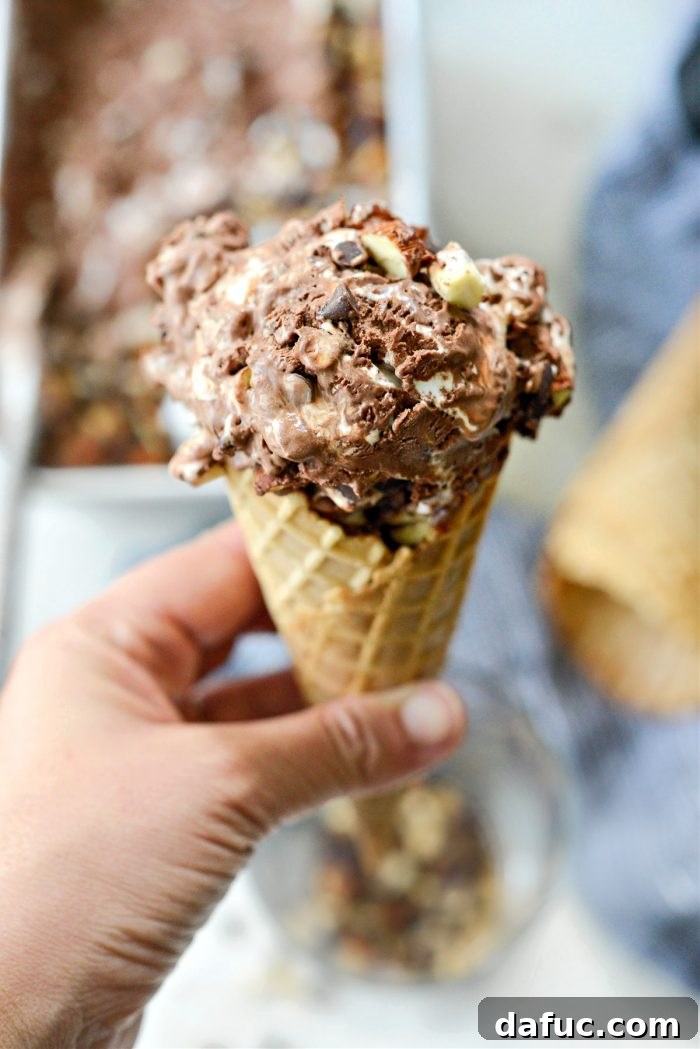
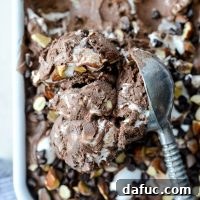
No-Churn Heavenly Hash Ice Cream
No-Churn Heavenly Hash Ice Cream is chocolatey, nutty, and absolutely incredible! A rich and chocolatey ice cream studded with roasted almonds, mini chocolate chips, and creamy marshmallow ribbons throughout. Yields 16 (½-cup) servings.
Ingredients
- 3/4 cup unsalted almonds, roughly chopped before measuring
- 4 ounces bittersweet chocolate
- 14 ounces canned sweetened condensed milk
- 1 teaspoon pure vanilla extract
- 3 tablespoons unsweetened Dutch process cocoa
- 3 tablespoons unsweetened dark cocoa, like Hershey’s Special Dark
- 1/4 teaspoon fine salt
- 2 cups heavy whipping cream
- 1/2 cup mini chocolate chips (plus extra for topping)
- 7 ounces marshmallow creme (plus extra for topping)
Instructions
- Preheat your oven to 325℉ (or 160℃) and line a rimmed baking sheet with parchment paper.
- Add the chopped almonds to the prepared pan and roast for 6 minutes or until lightly golden brown and fragrant. Remove from oven and allow to cool completely.
- Add the bittersweet chocolate to a glass (heat-safe) mixing bowl that will fit inside a saucepan. Fill a saucepan with about an inch of water and bring to a simmer. Set the bowl on the pot (the water should not reach or touch the bottom of the bowl) and stir until the chocolate has melted and is smooth. Use oven mitts to remove the bowl to a trivet.
- To the melted chocolate, add the sweetened condensed milk, vanilla extract, both cocoa powders, and fine salt. Stir until completely combined and smooth, then transfer this mixture to a large mixing bowl and set aside.
- Pour the heavy whipping cream into a separate mixing bowl (see notes below for a tip on chilling the bowl). Using a hand-held or stand mixer, mix on high-speed until stiff peaks form.
- Transfer the whipped cream to the bowl with the chocolate mixture. Using a large spatula, gently and carefully fold the two together using big sweeps until fully combined and no streaks remain. Don’t rush this step; patience is key to maintaining airiness and achieving a creamy texture. It may seem impossible at first, but it will come together.
- Once combined, gently fold in 1/2 cup of the roasted almonds and 1/3 cup of the mini chocolate chips.
- Lastly, add 1 cup of marshmallow creme and gently fold this into the ice cream base to create distinct ribbons. DO NOT OVER MIX to preserve the marshmallow swirls.
- Transfer the ice cream base into a freezer-safe dish or container. Add dollops of the remaining marshmallow creme to the top, then use a butter knife or skewer to swirl it slightly. Sprinkle with the reserved roasted almonds and mini chocolate chips over the top.
- Freeze for 6 to 8 hours, or preferably overnight, until solid.
- When ready to serve, remove the ice cream from the freezer at least 20 to 30 minutes ahead of time to allow it to soften slightly. Using an ice cream scoop that has been heated under running hot water helps for smoother scooping.
Notes
* For best results when making whipped cream, I recommend popping your glass or metal mixing bowl and whisk attachments into the freezer for 15 to 20 minutes prior to whipping. This helps the cream whip up faster and achieve firmer peaks.
Nutrition Information (Approximate)
- Serving:
- 1g
- Calories:
- 221 kcal
- Carbohydrates:
- 10g
- Protein:
- 4g
- Fat:
- 19g
- Saturated Fat:
- 10g
- Polyunsaturated Fat:
- 8g
- Cholesterol:
- 35mg
- Sodium:
- 75mg
- Fiber:
- 2g
- Sugar:
- 6g