
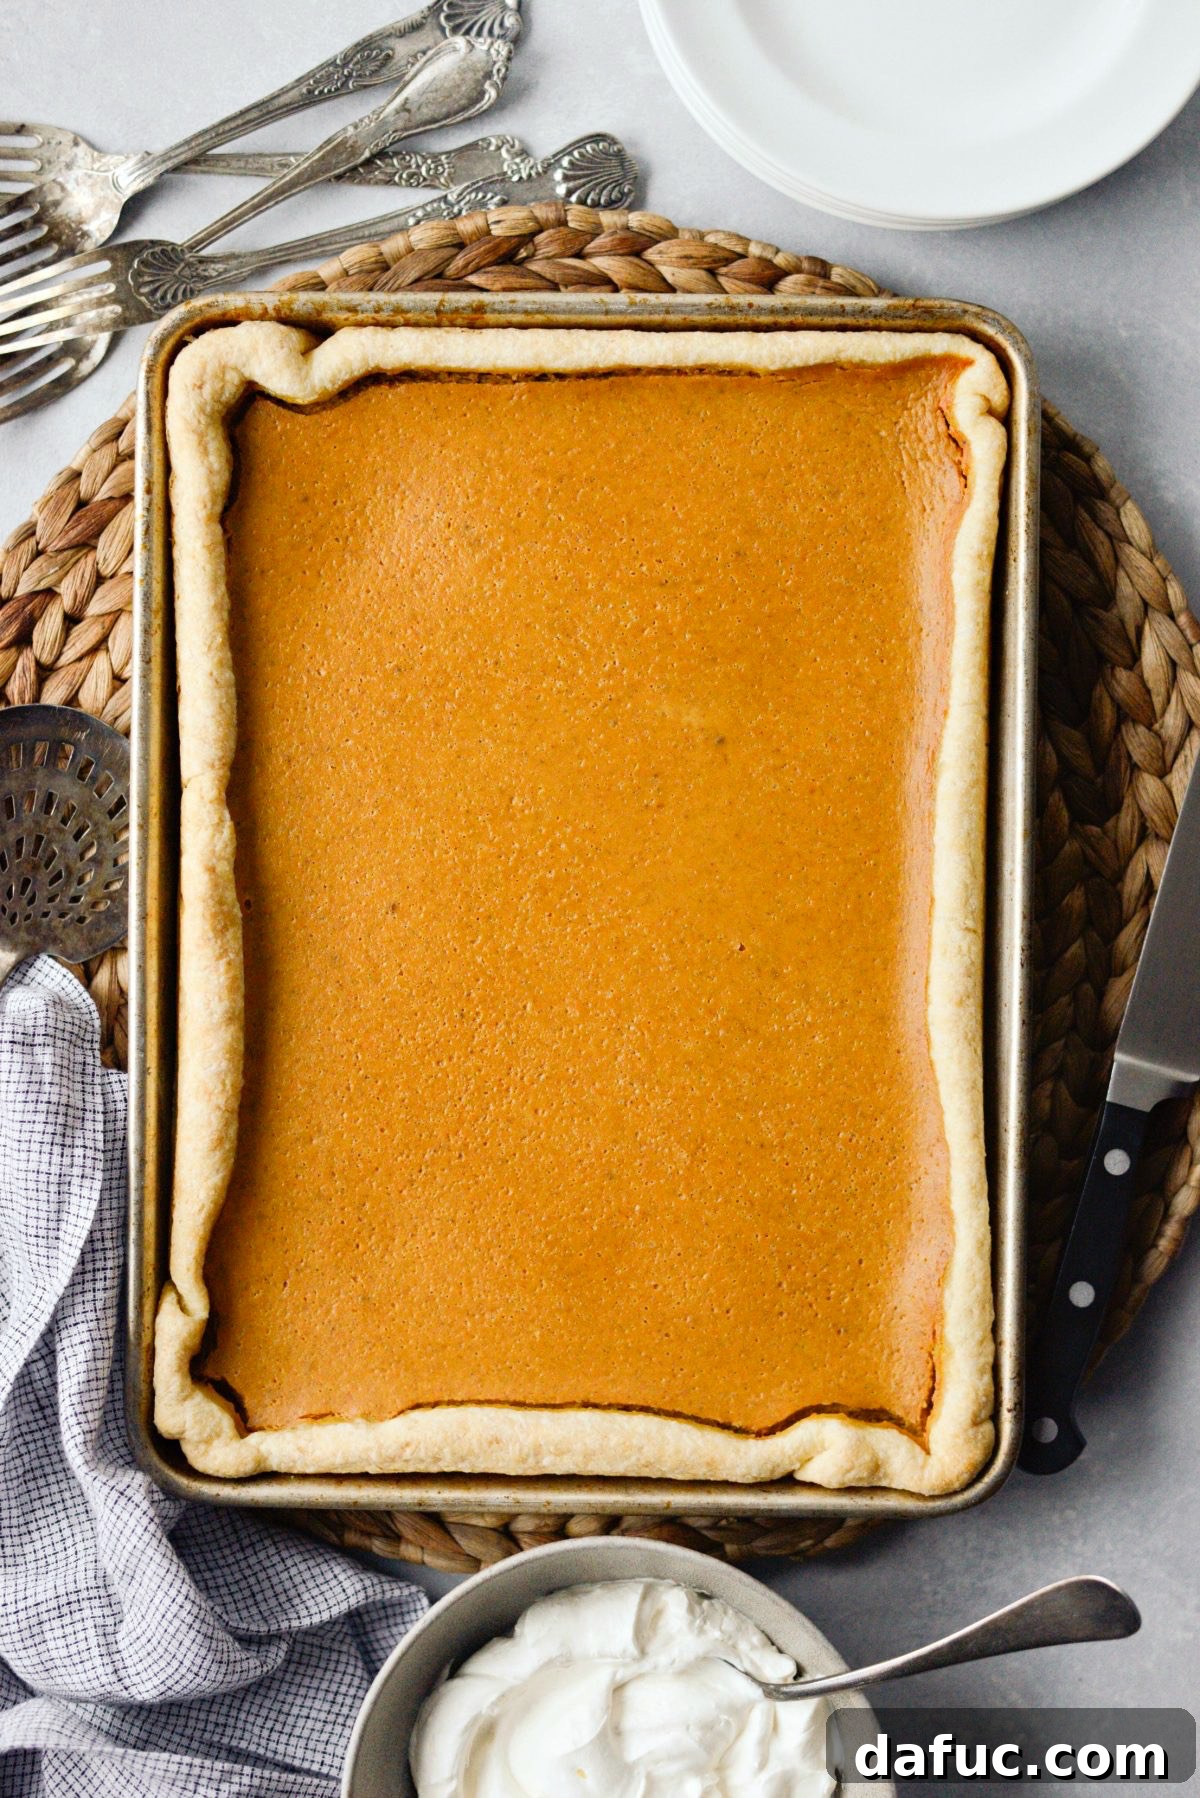
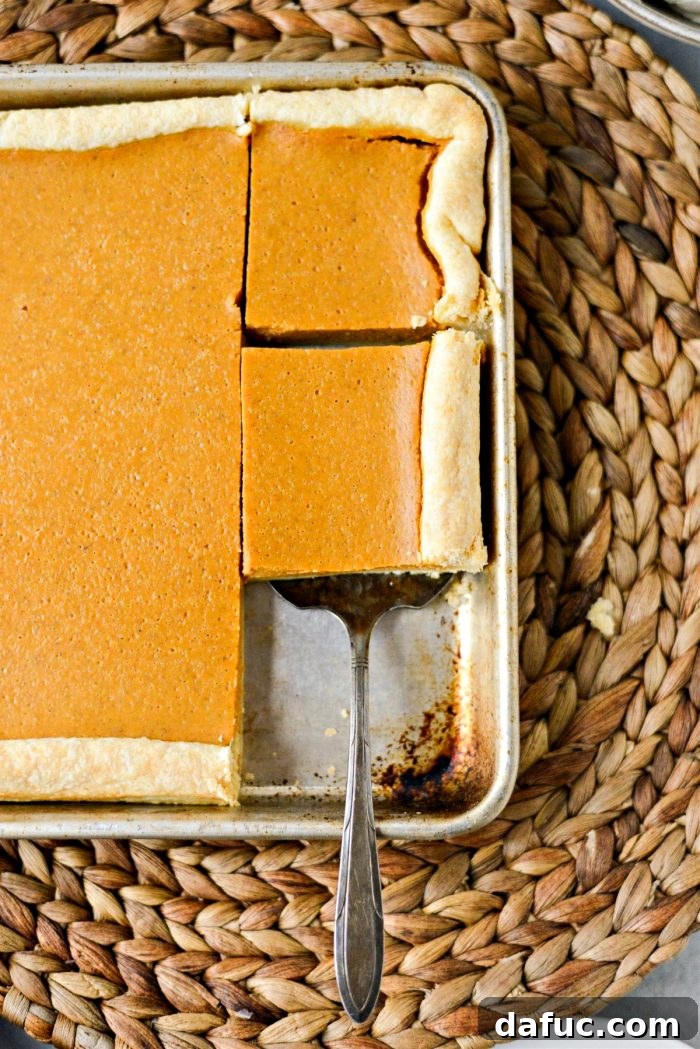
Prepare to delight a large gathering of friends and family with this spectacular Pumpkin Slab Pie. Imagine a rich, creamy, and exquisitely spiced pumpkin filling nestled within a homemade, buttery, and undeniably flaky pie crust – all baked to perfection in a convenient sheet pan. This holiday season, simplify your dessert preparations without compromising on flavor or presentation. This from-scratch sheet pan pumpkin pie recipe is not only incredibly easy to make but promises an unbelievably delicious experience. Yielding a generous 12 to 16 squares, it’s the ultimate solution for stress-free holiday entertaining, making it a guaranteed crowd-pleaser for any autumn celebration, especially Thanksgiving.
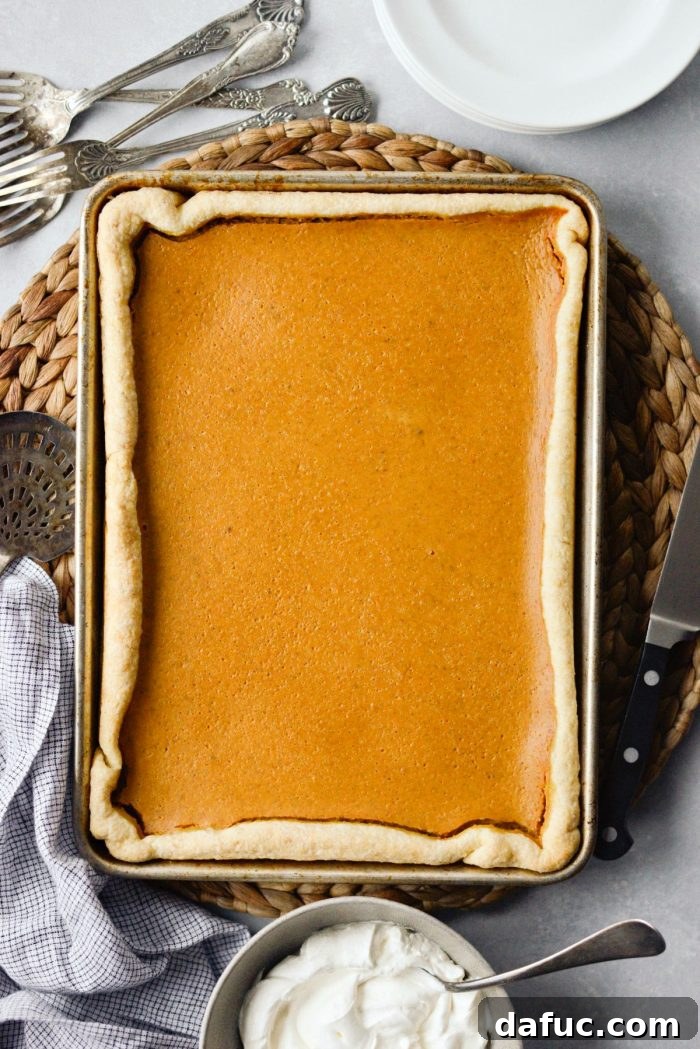
The Evolution of a Favorite: Why Pumpkin Pie Reigns Supreme
For many years, if you had asked me my absolute favorite Thanksgiving dessert, my answer would have been swift and unwavering: Pecan Pie. Hands down, no competition. Its sticky, sweet, and nutty goodness held an undeniable charm that I thought could never be surpassed. But as time has passed, my palate has evolved, and a deep, profound appreciation for the classic pumpkin pie has blossomed, slowly but surely displacing pecan from its top spot. There’s something truly magical about its subtle sweetness, perfectly balanced with warming autumn spices like cinnamon, nutmeg, ginger, and cloves, and that luxurious creamy texture contrasting beautifully with a crisp, flaky butter crust. It’s a comforting embrace with every bite.
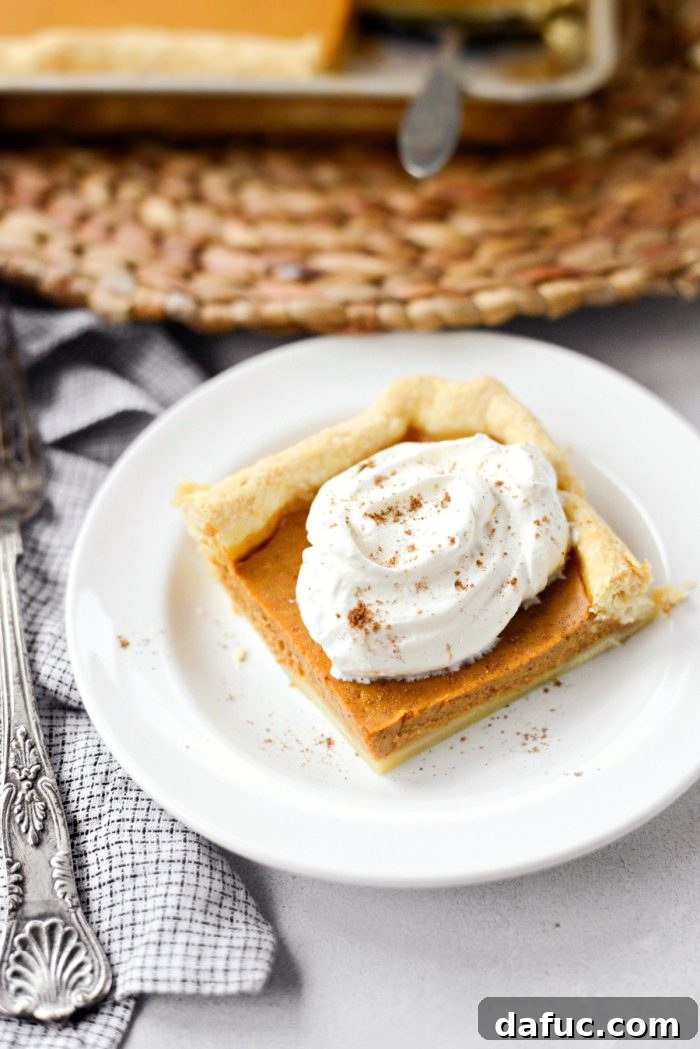
What solidified pumpkin pie’s new status for me, beyond its inherent deliciousness, is its versatility and sheer elegance. A generous dollop of freshly whipped cream elevates it to pure bliss, adding a lightness that complements the rich filling. Furthermore, I find it’s just the better dessert to pair with a comforting cup of freshly brewed coffee, making it the ideal conclusion to any elaborate holiday meal. It’s a dessert that feels both celebratory and deeply familiar, embodying the essence of fall and the holiday spirit.
Embrace the Ease and Efficiency: The Genius of a Sheet Pan Slab Pie
This year, I decided to venture into the world of pumpkin slab pie, and I haven’t looked back. There are two compelling reasons why this format has become my preferred method for holiday baking and will undoubtedly become yours too:
- It Feeds a Crowd with Unprecedented Ease: Traditional round pies are lovely, but when you’re hosting a large family gathering or a festive party, slicing and serving individual wedges can quickly become a delicate, often messy, dance. A slab pie, baked in a rectangular sheet pan, solves this problem beautifully. It allows for straightforward, uniform square slices, making portioning a breeze. No more struggling with awkward triangular pieces that crumble or uneven servings that leave some guests feeling short-changed. Every slice is a perfect, substantial square, easy to plate and enjoy. This design makes it the ultimate crowd-pleasing dessert for any large-scale entertaining.
- Simplified Preparation, Maximum Flavor: While a classic round pumpkin pie isn’t terribly difficult, the slab pie takes convenience and efficiency to another level. The crust recipe is incredibly forgiving and quick – simply process the ingredients in a food processor, and you’re halfway there to a perfect homemade, buttery, flaky crust. The filling is equally effortless, requiring nothing more than a single bowl and a whisk to combine all the delicious ingredients. This streamlined approach minimizes fuss, reduces cleanup, and maximizes your precious holiday time, allowing you to focus on other aspects of your celebration or simply relax and enjoy the season.
Forget the minor frustrations of wrestling a triangular piece of pie out of a round dish with a rectangular serving utensil. The slab pie eliminates this common, yet surprisingly irritating, kitchen dilemma. It’s truly the little things that contribute to a smoother, more enjoyable holiday entertaining experience, and this easy pumpkin pie recipe delivers on all fronts.
Essential Ingredients for Your Perfect Pumpkin Slab Pie
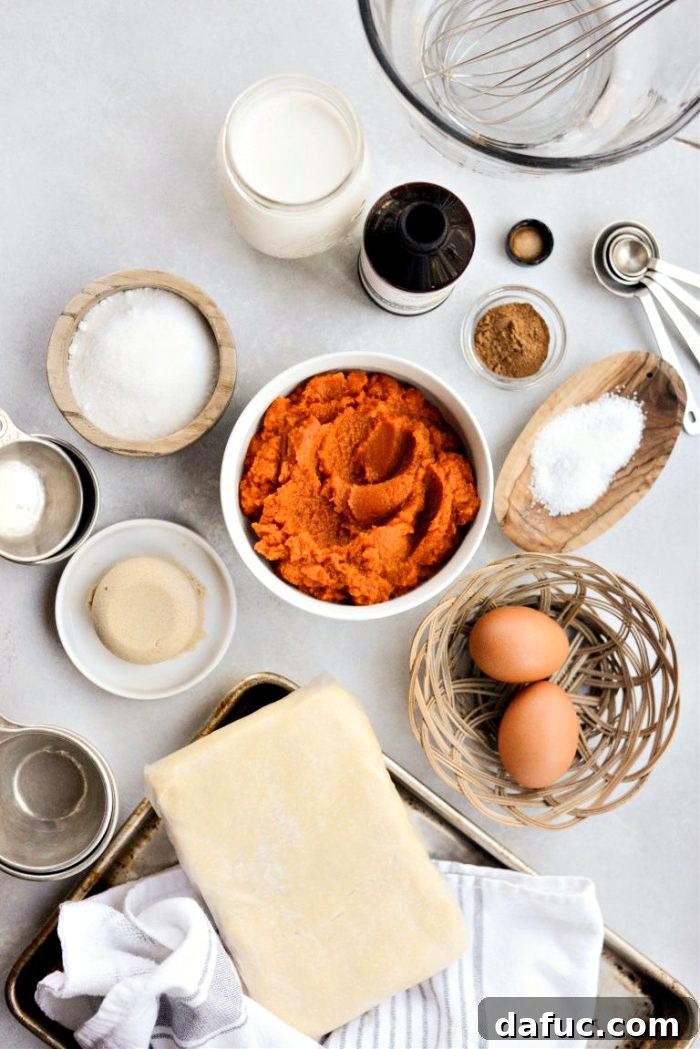
Crafting this irresistible pumpkin slab pie requires a selection of fresh, high-quality ingredients. Each component plays a vital role in achieving that rich, spiced flavor and delightful creamy texture that makes this dessert so memorable. Here’s what you’ll need, along with a few tips to ensure success:
- Homemade Pie Crust: While store-bought crusts can undeniably save time, a homemade, buttery, flaky pie dough truly elevates this dessert from good to extraordinary. The effort is minimal, especially when you leverage the convenience of a food processor for mixing. The flavor and texture are simply unmatched.
- Pumpkin Puree: Always opt for 100% pure pumpkin puree, not the pre-spiced pumpkin pie filling. This distinction is crucial, as pie filling contains added sugars and spices that will throw off the balance of this recipe. Whether you choose to make your own roasted pumpkin puree from scratch or use a good quality canned version, ensure it’s unseasoned and smooth.
- Half & Half: This dairy staple is crucial for achieving the custard’s signature luscious and creamy texture without being overly heavy. If half & half is difficult to find in your region, a simple and effective substitute is combining 1 cup of whole milk with 1 cup of heavy cream. This blend mimics the fat content and richness perfectly.
- Large Eggs: Eggs act as the essential binding agent, giving the pumpkin pie its structure, helping it set, and contributing significantly to the rich, smooth, and tender custard consistency. Use large eggs for consistency in your recipe.
- Granulated Sugar & Light Brown Sugar: The thoughtful combination of these two sugars provides a perfectly balanced sweetness. The granulated sugar offers clean sweetness, while the light brown sugar introduces subtle molasses notes, adding depth and a hint of caramel flavor that enhances the overall autumn spice profile.
- Pumpkin Pie Spice: This fragrant blend of cinnamon, nutmeg, ginger, and cloves (and sometimes allspice) is the very heart of this dessert’s warming, comforting flavor. You can use a high-quality store-bought blend, or for an extra layer of freshness and customizable aroma, consider making your own homemade pumpkin pie spice.
- Kosher Salt: Just a small pinch of kosher salt is incredibly essential. It doesn’t make the pie salty; rather, it performs the magical task of balancing the sweetness, awakening and amplifying all the other nuanced flavors in the filling, preventing it from tasting flat.
- Pure Vanilla Extract: Use only real, pure vanilla extract for the best flavor. Its complex floral and sweet notes add significant depth and a beautiful aromatic finish that complements the pumpkin and spices perfectly. Avoid imitation vanilla for this recipe.
- Whipped Cream: An absolute must-have for serving! Freshly whipped cream, lightly sweetened, adds a light, airy, and creamy contrast to the dense, rich pie, making each bite a symphony of textures and flavors.
Step-by-Step Guide to Crafting Your Ultimate Pumpkin Slab Pie
Part 1: Preparing the Foundation – Your Flaky Pie Crust
A phenomenal pumpkin pie starts with an equally phenomenal crust. This section will guide you through preparing a perfectly buttery, flaky, and structurally sound foundation for your delicious filling.
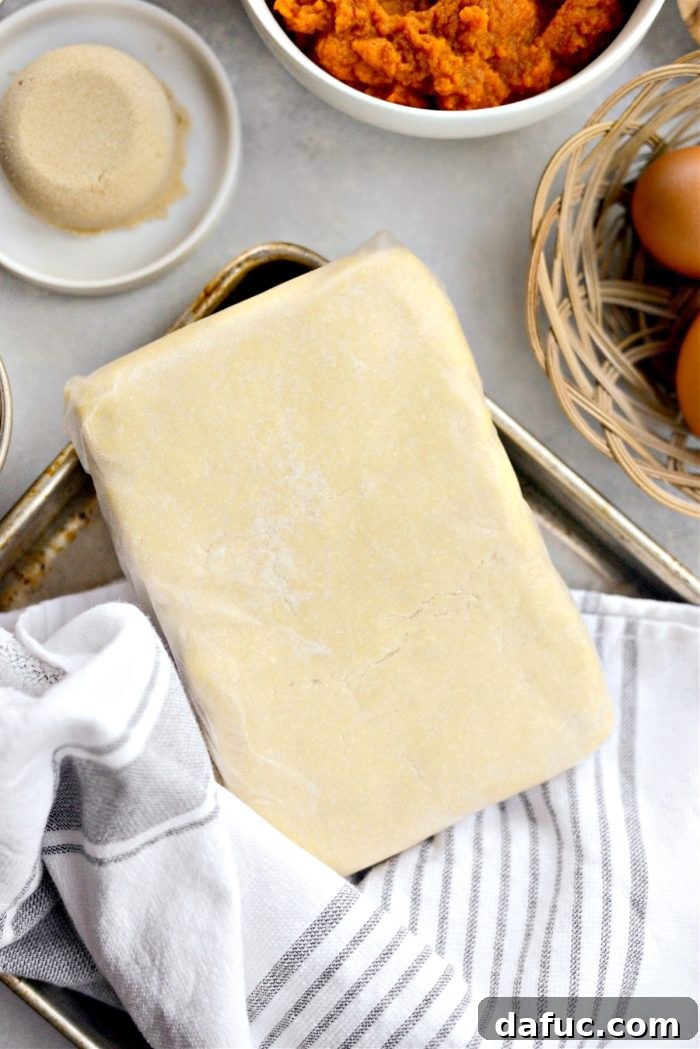
- Shape and Chill the Dough: After preparing your homemade pie crust dough according to your favorite recipe, I highly recommend shaping it into a rough rectangle (approximately 6×8 inches) before wrapping it tightly in plastic wrap. This pre-shaping step will make it significantly easier and quicker to roll out to the desired rectangular dimension later, saving you time and frustration. Allow the dough to rest and chill in your refrigerator for a minimum of 30 minutes, or up to 2 days. This crucial resting period helps relax the gluten, making the dough more pliable, easier to work with, and less likely to shrink excessively during baking.
- Roll Out the Dough: Once your dough has adequately chilled and rested, transfer it to a lightly floured surface. Using a rolling pin, carefully and evenly roll the dough into a substantial 12 x 15-inch rectangle. Aim for a consistent thickness of roughly 1/8 to 1/4 inch across the entire sheet. This specific size is designed to perfectly fit a standard quarter sheet pan (which typically measures approximately 10 x 13 x 1 inch). Take your time during this step to achieve an even thickness, as it is key for uniform baking and a crisp crust.
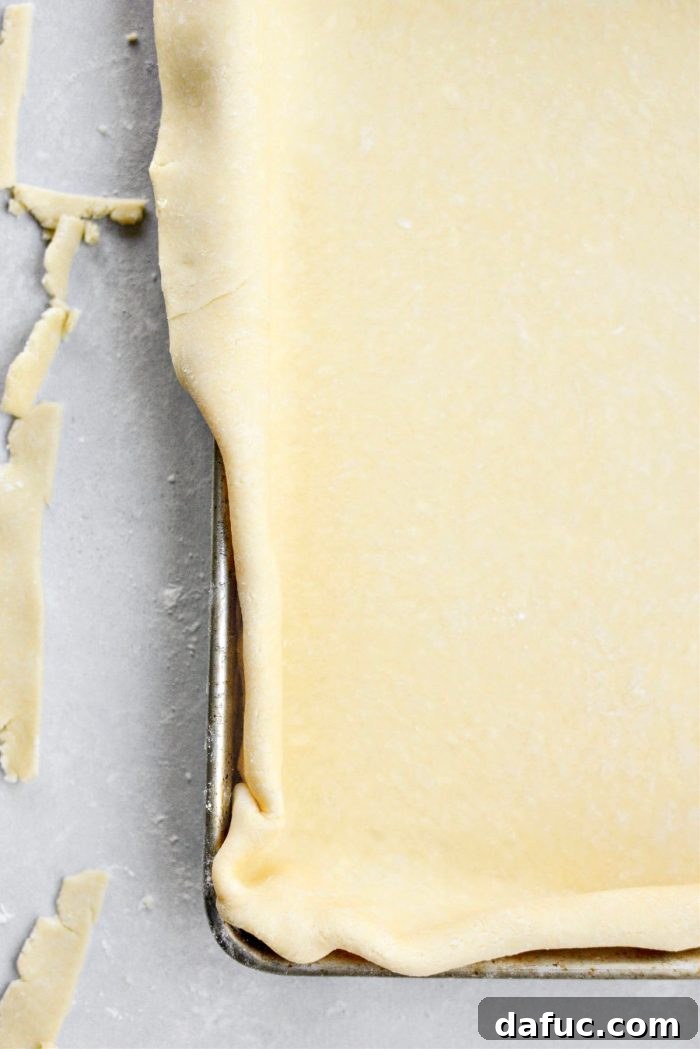
- Trim and Form the Crust Edges: Gently and carefully transfer the rolled-out dough into your quarter sheet pan. Center the dough as best as possible. Trim off any excess dough from the edges, making sure to leave about an inch of overhang around the entire perimeter of the pan. You can save these dough scraps, chill them, and then re-roll them to cut out fun seasonal shapes (like small leaves or pumpkins) for a decorative pie top later! Next, meticulously tuck the overhang underneath itself, pressing the folded dough against the inner sides of the pan to form a neat, sturdy, and slightly elevated crust edge. Use your fingers to gently pinch and crimp the edges, creating a beautiful, classic pie crust border that will hold its shape. Return the formed crust back to the refrigerator to chill for another 15 to 20 minutes. This second chilling period is vital; it helps to solidify the butter in the crust and prevents excessive shrinking during the initial bake.
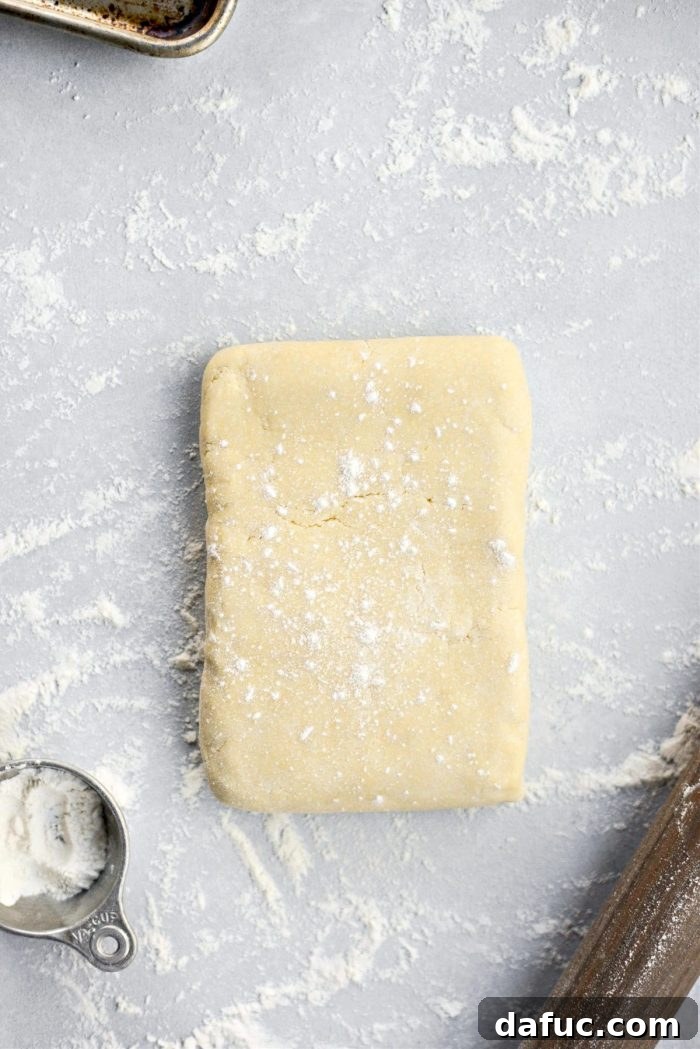
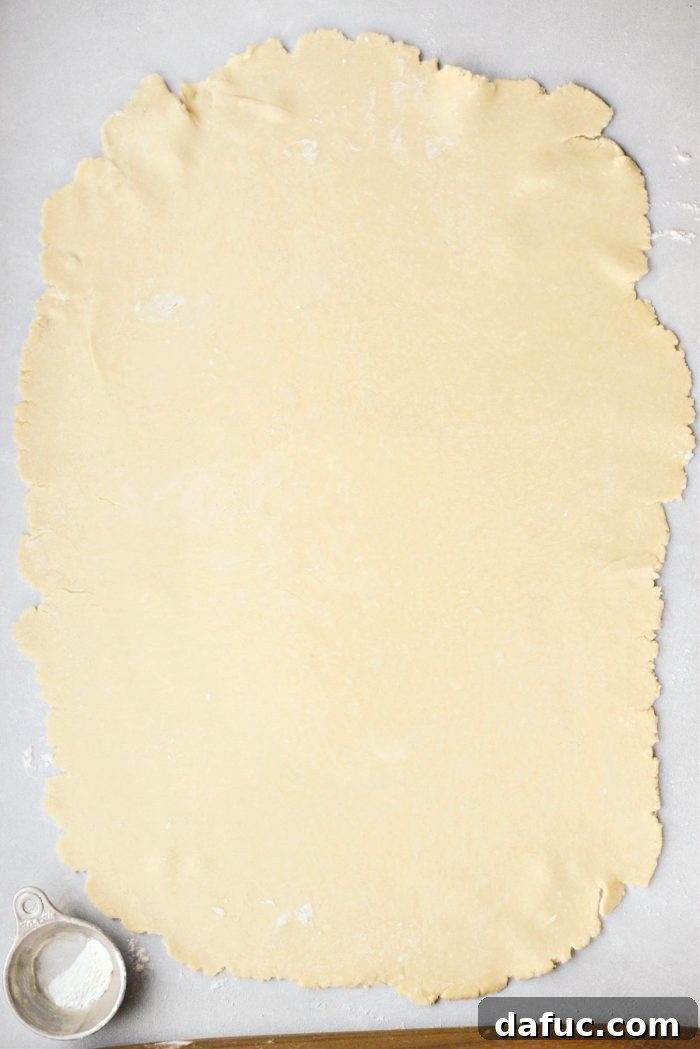
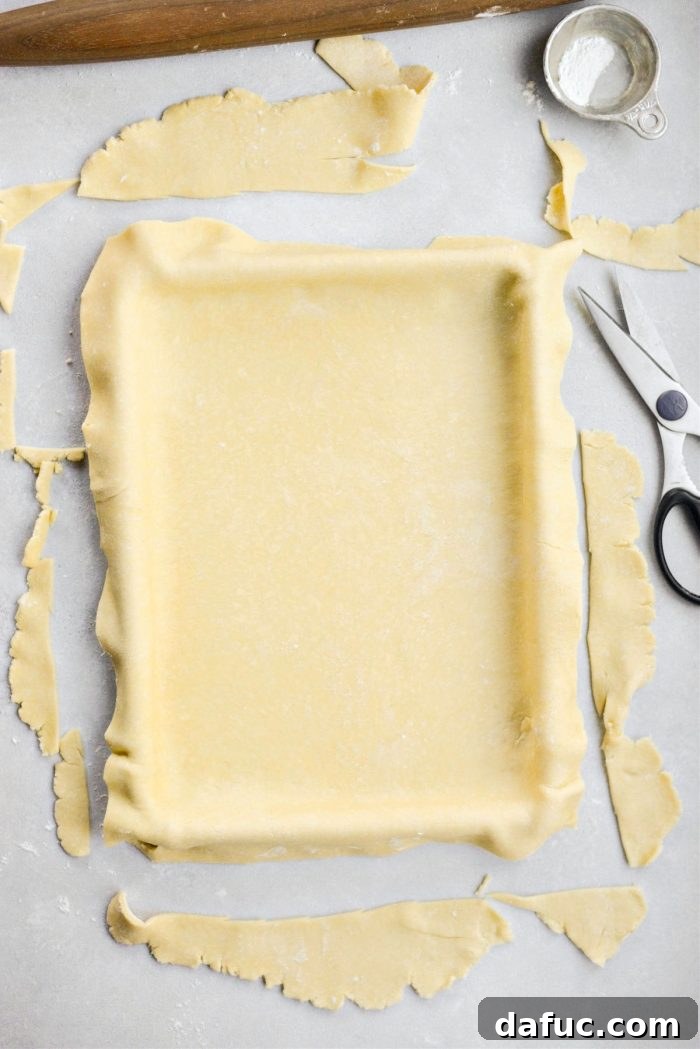
Part 2: The Crucial Step of Par-Baking the Crust (Blind Baking)
Before you even think about the glorious, creamy pumpkin filling, there’s one step you absolutely shouldn’t skip, especially for custard-based pies like this one: par-baking (or blind baking) the crust. While it might seem like an extra step, it is a game-changer for preventing the dreaded soggy bottom that can ruin an otherwise perfect pie.
Preheat your oven to 375℉ (or 190℃).
Once your beautifully formed crust has adequately chilled and your oven is fully preheated, carefully line the inside of the pie crust with a sheet of parchment paper. Gently fill this parchment paper with ceramic pie weights, dried beans, or even uncooked rice. These weights are essential as they prevent the crust from puffing up excessively and shrinking away from the sides of the pan during its initial bake. Partially bake the crust for 15 minutes. This allows the crust to firm up, develop some initial crispness, and begin to cook, creating a much-needed barrier against the wet filling that will be added later. After 15 minutes, carefully remove the pie weights and parchment paper. Immediately decrease the oven temperature to 350°F (175°C) and, using reliable oven mitts, move your oven rack to the lower third position. This lower position helps ensure the bottom crust cooks thoroughly and evenly once the filling is added.
(Confession time: there was a moment in my recipe testing when I completely forgot this crucial par-baking step! And let me tell you, the resulting slightly softer, less crisp bottom crust in my early photos is a testament to why you SHOULDN’T skip it! Mistakes happen in the kitchen, even to seasoned bakers, but learning from them ensures a perfect pie every single time. So, please, remember to par-bake your crust – don’t be like me and regret it!)
Part 3: Whisking Up the Velvety Pumpkin Filling
Now for the heart of the pie – the rich and creamy pumpkin filling! This part is wonderfully simple and quick to prepare, relying mostly on efficient mixing.
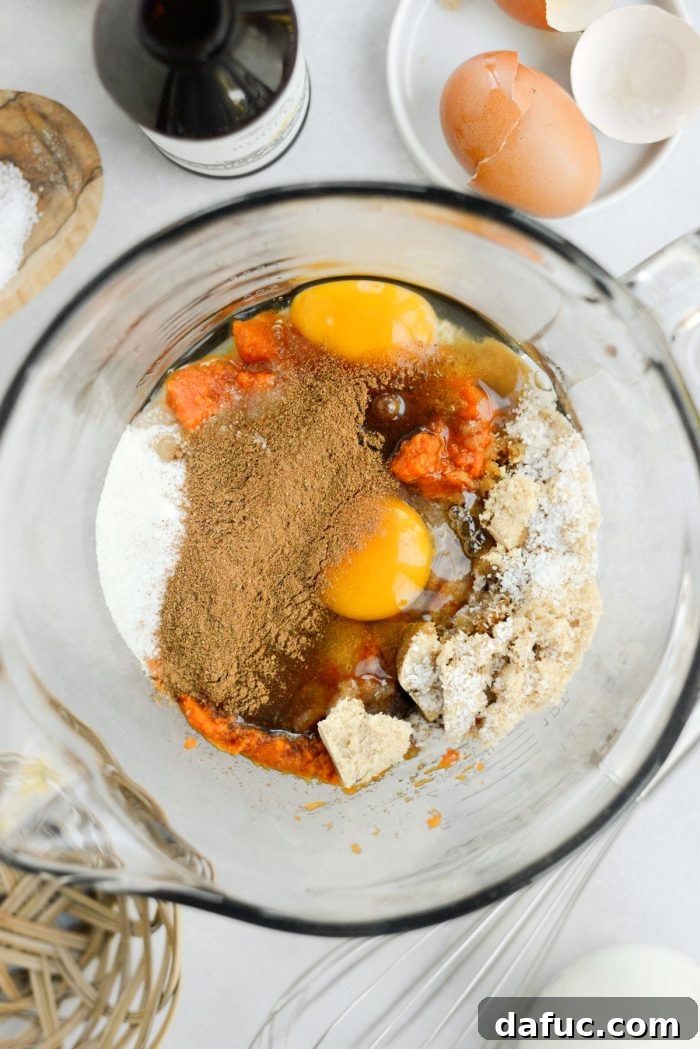
- Combine Dry Ingredients: In a large mixing bowl, measure and combine the granulated sugar, light brown sugar, pumpkin pie spice, and kosher salt. Whisk these dry ingredients together thoroughly first. This preliminary step ensures that the spices and salt are evenly distributed throughout the mixture, preventing clumps and guaranteeing a consistent flavor in every bite of the pie.
- Add Wet Ingredients (Except Half & Half): To the spiced sugar mixture, add the 1-3/4 cups of pure pumpkin puree, 2 large eggs, and 1/2 teaspoon of pure vanilla extract. Begin to whisk these ingredients together. Start slowly to prevent splatters, then increase speed, mixing until they are just combined and forming a thick, uniform paste.
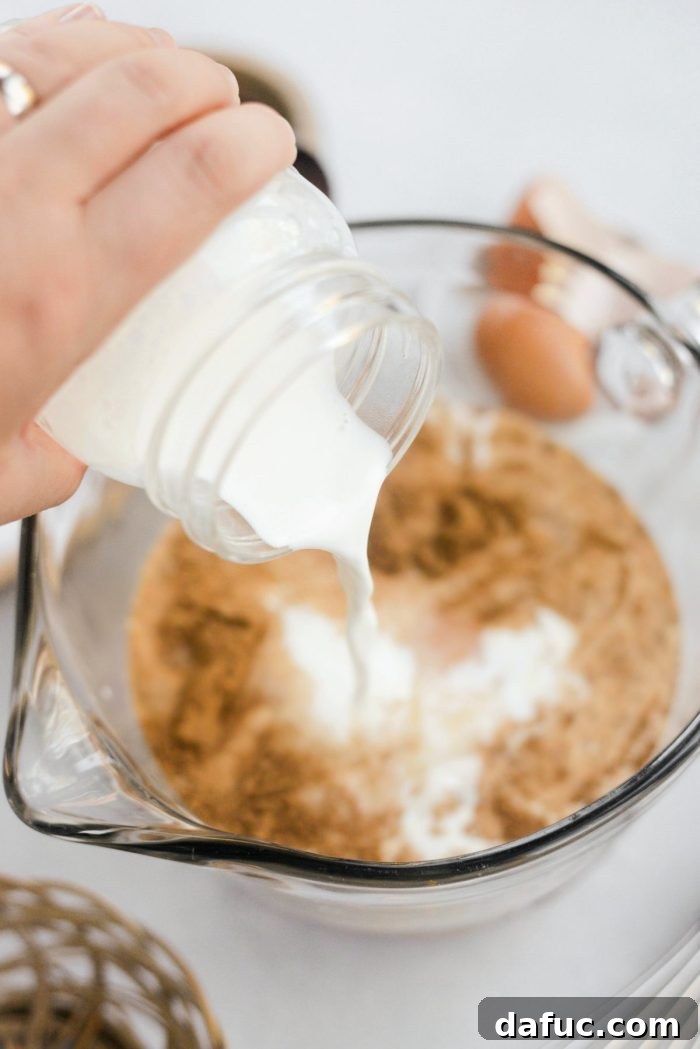
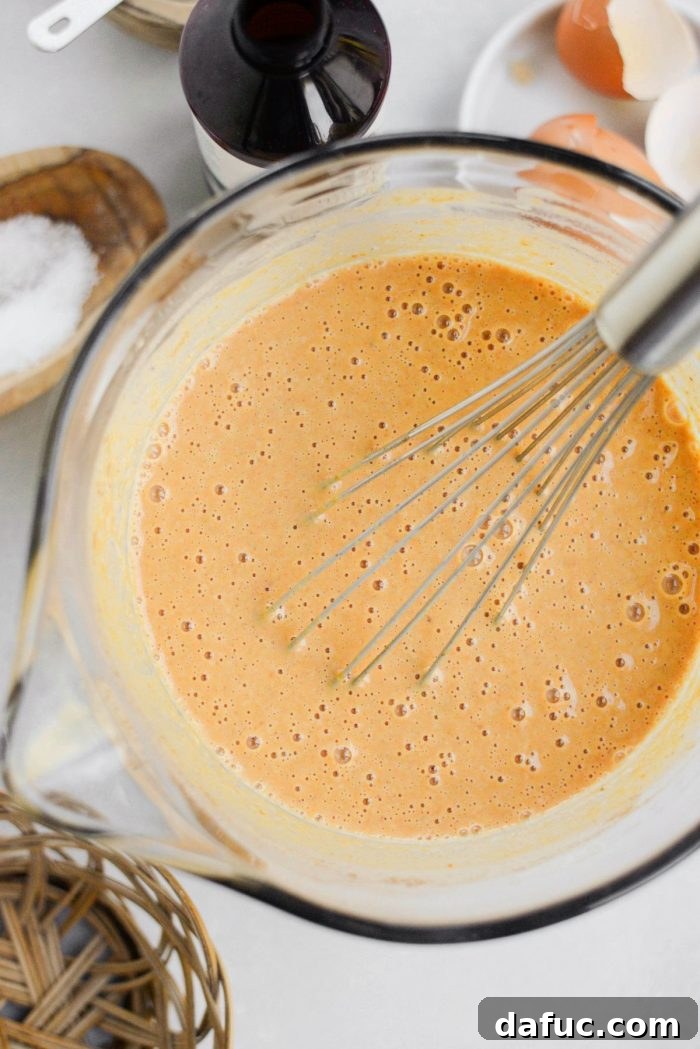
- Incorporate Half & Half: Next, pour in the 1-2/3 cup of half & half (or your prepared whole milk/heavy cream substitute). Continue to whisk all the ingredients until they are thoroughly combined, and the mixture is completely smooth and uniform. Ensure there are no streaks of unmixed ingredients or lumps of sugar/spice remaining. The consistency should be pourable, thick, and creamy.
Part 4: Baking and Perfecting Your Scrumptious Slab Pie
With your par-baked crust beautifully prepared and the velvety filling mixed to perfection, it’s time to bring your pumpkin slab pie to life in the oven!
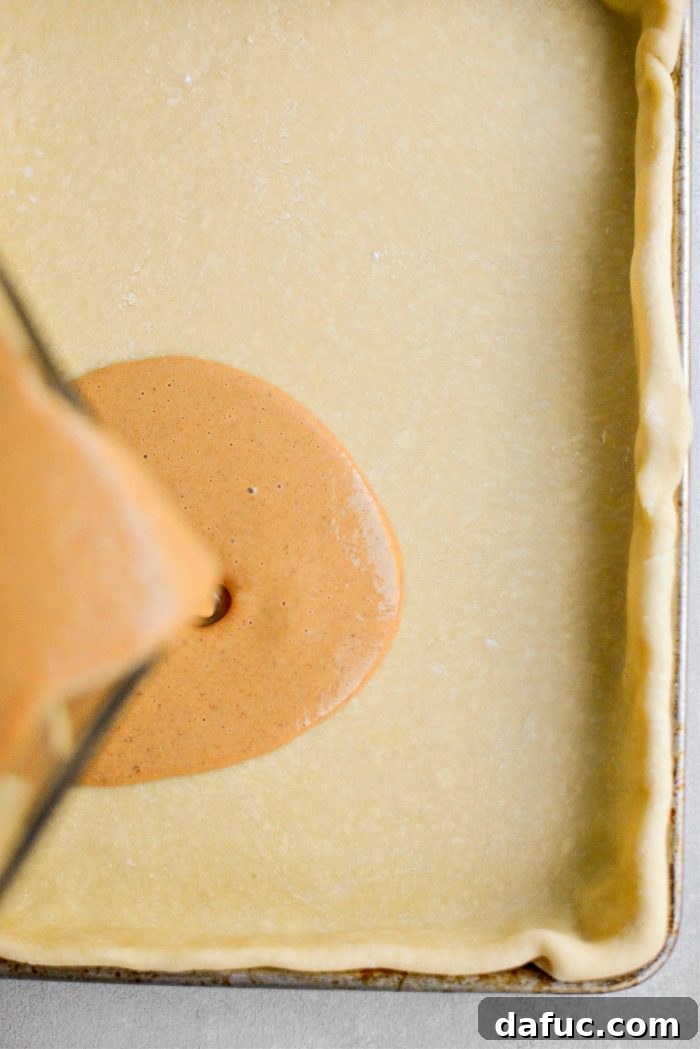
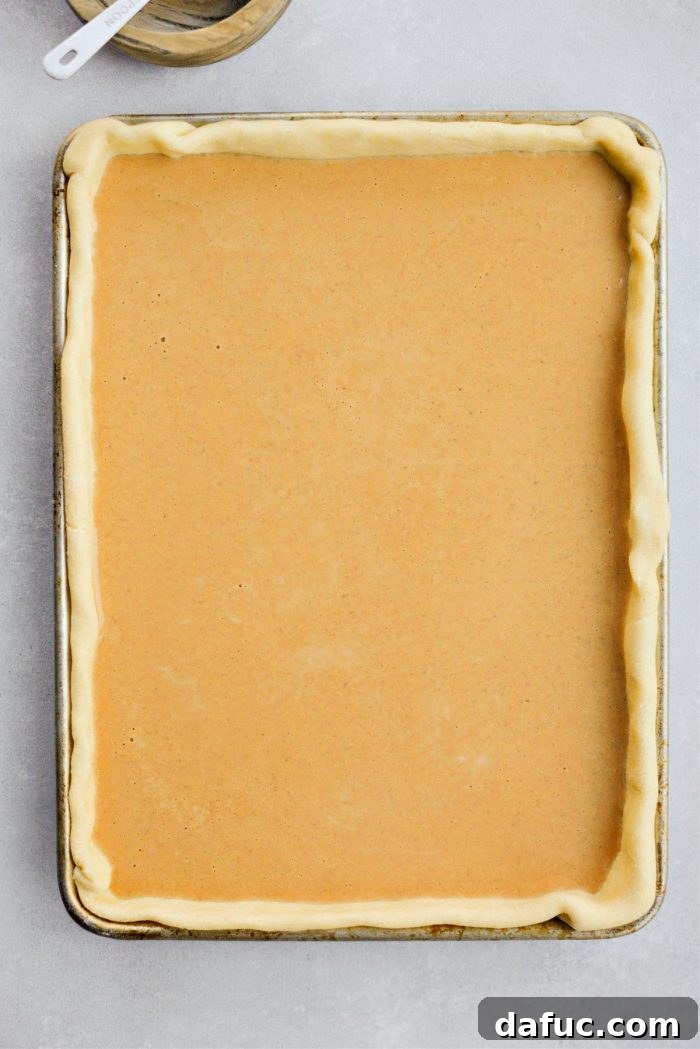
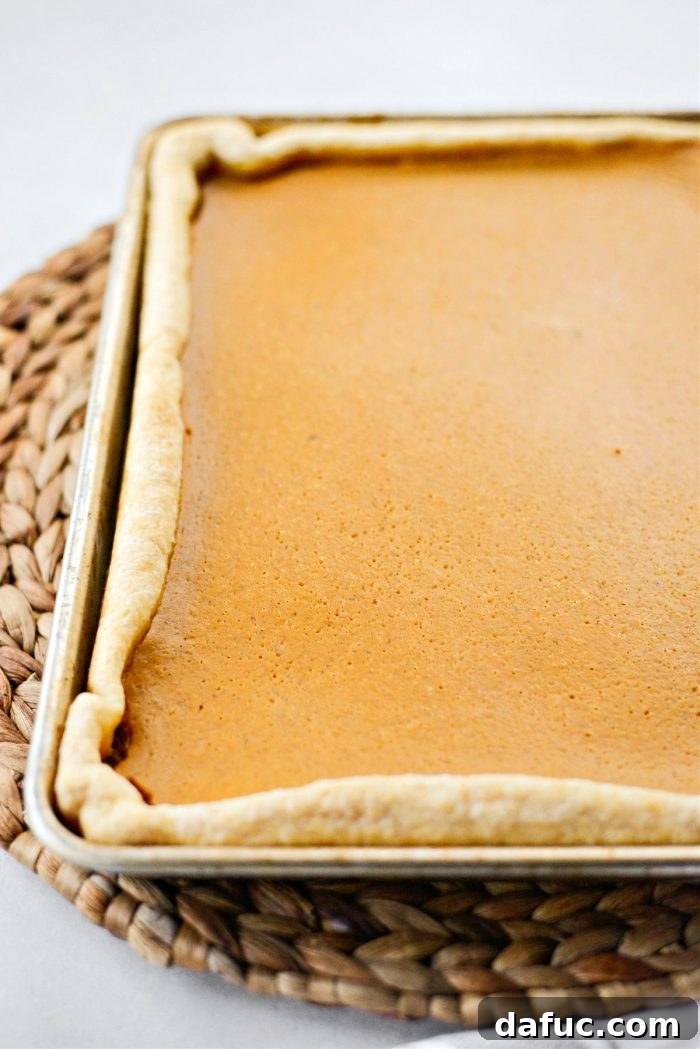
- Fill and Bake: Carefully pour the prepared pumpkin filling into your partially baked pie crust, spreading it evenly. Gently slide the sheet pan onto the pre-positioned oven rack in the lower third position. Bake for 30 to 40 minutes. The pie is done when the edges of the filling are set, and the center is mostly set with just a slight, soft jiggle when gently nudged. The crust should be beautifully golden brown and crisp.
- Prevent Over-Browning of Crust: Keep a close eye on the edges of your pie crust as it bakes. If you notice they are browning too quickly before the filling is fully set, don’t worry! This is a common occurrence, and there’s a simple trick to remedy it: take a sheet of aluminum foil, fold it in half lengthwise, and cut out a wide rectangle from the middle. Unfold the foil to create a protective “shield” for the crust edges. Carefully place this foil shield over the pie, ensuring the crust is covered while the filling remains exposed to continue baking. This will prevent burning while allowing the custard to finish cooking.
- Cool Completely: Once baked, remove the pie from the oven and carefully place it on a wire rack to cool completely at room temperature. This is a critical step for all custard pies, as it allows the filling to fully set, firm up, and develop its final texture, ensuring clean, beautiful slices. Resist the urge to cut into it too soon; patience will be rewarded with perfection!
Serving Your Magnificent Pumpkin Slab Pie
After all your efforts, the moment has arrived to enjoy your homemade masterpiece! Once completely cooled, your Pumpkin Slab Pie is ready for its grand debut.
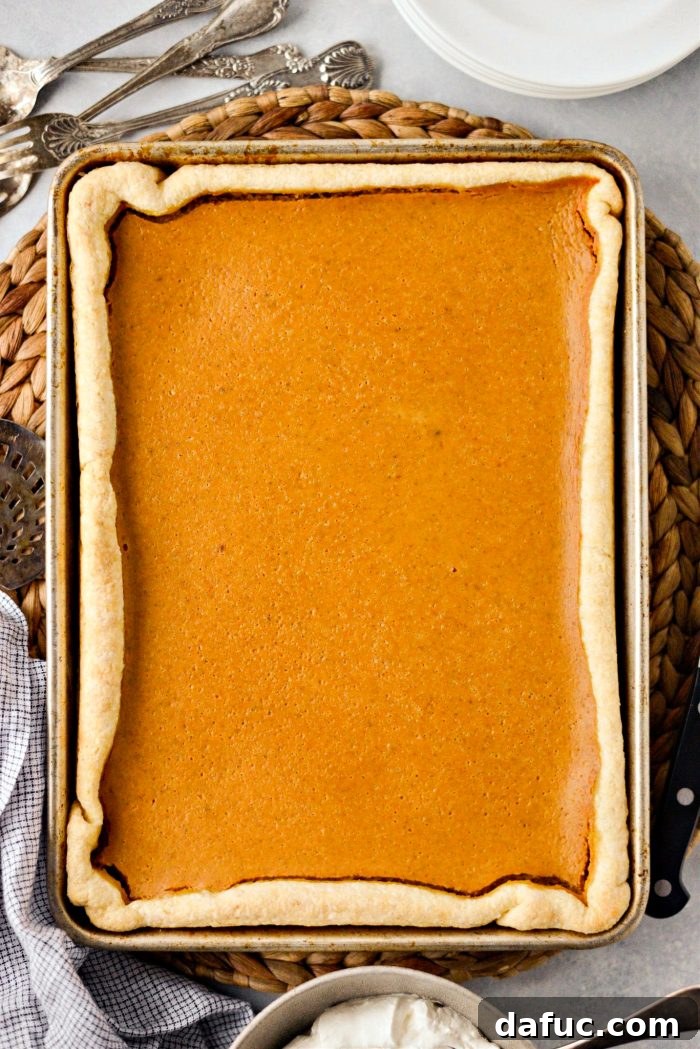
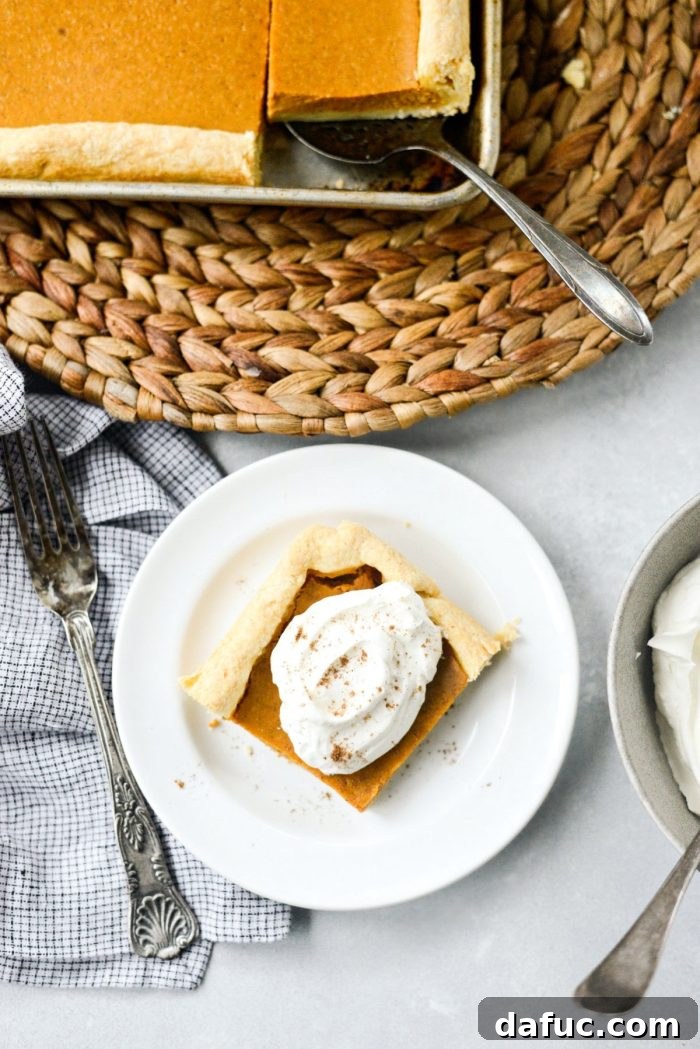
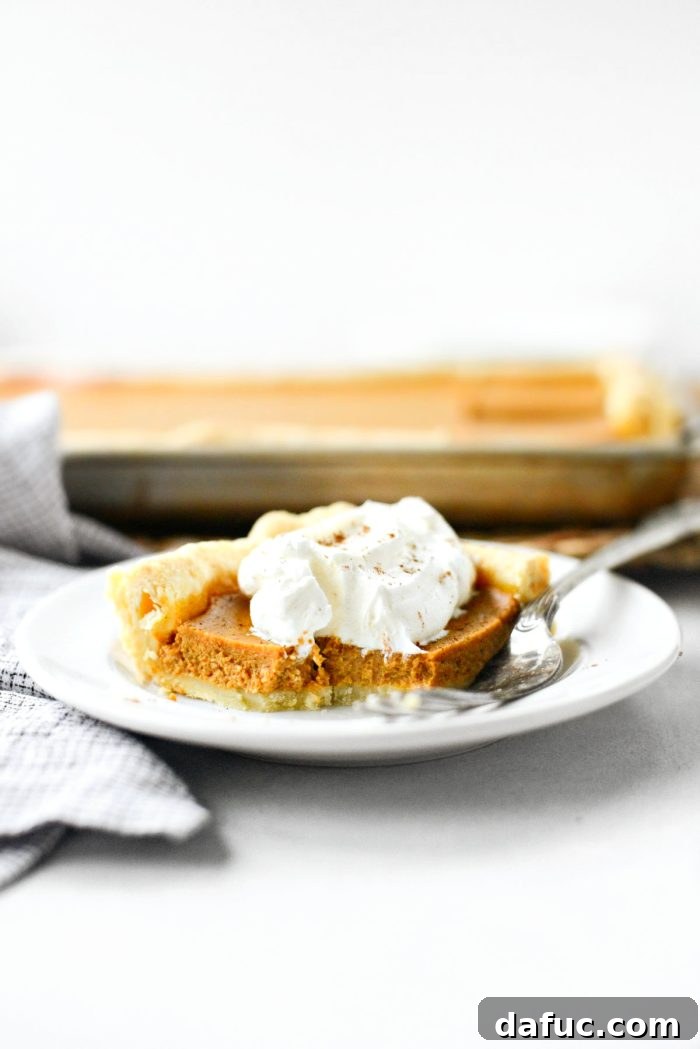
Depending on the size of your crowd or your preferred portion sizes, I typically like to cut this generous slab pie into 12 substantial squares. For smaller servings, especially if you’re serving multiple desserts, you could easily get 16 elegant pieces. Serve each luscious square with a generous dollop of freshly whipped cream. For an extra touch of indulgence, consider a sprinkle of ground cinnamon, a light drizzle of homemade caramel sauce, or a few toasted pecans scattered on top. And of course, the perfect companion to this rich and spicy dessert is a steaming, aromatic cup of freshly brewed coffee. Always coffee! 🙂
Enjoy this sensational Pumpkin Slab Pie! We love seeing your culinary creations come to life. If you give this recipe a try this holiday season, please share your photos and tag us on Twitter or Instagram! Your feedback and shared experiences make our community even richer and inspire fellow bakers. Happy holiday baking!
Pumpkin Slab Pie
This Pumpkin Slab Pie is your ultimate crowd-pleasing dessert for the holidays. Featuring a creamy, perfectly spiced pumpkin filling in a homemade, buttery, and flaky pie crust, it’s an easy and delicious approach to a from-scratch, sheet pan pumpkin pie! Perfect for Thanksgiving, Christmas, or any fall celebration.
Yield: 12 servings
Prep Time: 25 minutes
Cook Time: 55 minutes
Total Time: 1 hour 20 minutes
Ingredients
- 1 recipe homemade pie dough
- 1¾ cups 100% pure pumpkin purée
- 1⅔ cup half & half (or substitute with 1 cup whole milk + 1 cup heavy cream)
- 2 large eggs
- ½ teaspoon pure vanilla extract
- ½ cup granulated sugar
- ¼ cup light brown sugar
- 2 teaspoons pumpkin pie spice
- ½ teaspoon kosher salt
- Whipped cream, for serving (optional)
Equipment
- Ceramic Pie Weights or dried beans (for blind baking)
- Quarter Sheet Pan (approx. 10 x 13 x 1 inch)
- Large mixing bowl
- Whisk
- Parchment paper
- Rolling pin
- Wire cooling rack
- Aluminum foil (optional, for crust protection)
Instructions
- Roll your chilled pie crust dough out to a 12 x 15-inch rectangle, ensuring it’s about 1/8 to 1/4 inch thick. This size should fit a 10 x 13 x 1 inch quarter sheet pan. Carefully transfer the dough to the pan, trim any excess, leaving an inch overhang, and fold the edges behind themselves, pinching to form a sturdy crust. Chill the crust in the refrigerator for 15 minutes.
- Preheat your oven to 375℉ (190℃).
- Once chilled, line the pie crust with parchment paper and fill with pie weights or dried beans. Partially bake for 15 minutes. Remove the weights and parchment. Reduce the oven temperature to 350°F (175°C) and move the oven rack to the bottom 1/3 of your oven.
- While the crust cools slightly, prepare the filling. In a large mixing bowl, combine the pumpkin puree, half & half, eggs, vanilla extract, granulated sugar, light brown sugar, pumpkin pie spice, and kosher salt. Whisk until thoroughly combined and smooth.
- Carefully pour the prepared pumpkin filling into the partially baked pie crust, spreading it evenly.
- Slide the pie onto the prepared oven rack and bake for 30 to 40 minutes, or until the filling is mostly set (a slight jiggle in the center is acceptable) and the crust is golden brown.
- If the crust edges begin to brown too quickly, create a foil shield: fold a sheet of aluminum foil in half lengthwise, cut out a wide rectangle from the middle, unfold, and carefully place it over the pie to cover only the crust edges while exposing the filling.
- Allow the pie to cool completely on a wire rack at room temperature before slicing and serving. This is crucial for the filling to set properly and ensure clean cuts. Serve cooled pie in squares with a generous dollop of whipped cream, if desired.
Notes
- Half & Half Substitute: If you are unable to find half & half, you can easily substitute it by combining 1 cup of whole milk with 1 cup of heavy cream for a similar richness and consistency.
- Crust Edge Protection: To prevent the crust edges from over-browning, you can fashion a simple foil shield. Fold a sheet of aluminum foil in half lengthwise, cut out a wide rectangle from the middle, unfold, and place it over the pie to cover the crust while exposing the filling. This is especially helpful during the later stages of baking.
- Storage: Leftover Pumpkin Slab Pie can be covered loosely with plastic wrap or aluminum foil and stored in the refrigerator for up to 3-4 days. For longer storage, individual slices can be wrapped tightly and frozen for up to 2 months; thaw in the refrigerator overnight before serving.
- Nutrition Disclaimer: All information presented on this site is intended for informational purposes only. I am not a certified nutritionist, and any nutritional information shared here should only be used as a general guideline. Calories are based on a 12-serving yield.
Nutrition Information (per serving, estimated): Calories: 282kcal, Carbohydrates: 22g, Protein: 3g, Fat: 21g, Saturated Fat: 13g, Polyunsaturated Fat: 1g, Monounsaturated Fat: 6g, Trans Fat: 1g, Cholesterol: 86mg, Sodium: 323mg, Potassium: 149mg, Fiber: 1g, Sugar: 15g, Vitamin A: 6217IU, Vitamin C: 2mg, Calcium: 62mg, Iron: 1mg
Author: Laurie McNamara
Course: Desserts & Sweet Treats
Cuisine: American
This recipe was originally posted on November 2nd, 2018, and has been comprehensively updated with clear and concise instructions, fresh photography, and helpful tips and information to ensure your holiday baking is a resounding success. We strive to bring you the best and easiest recipes for your family and friends to enjoy!