
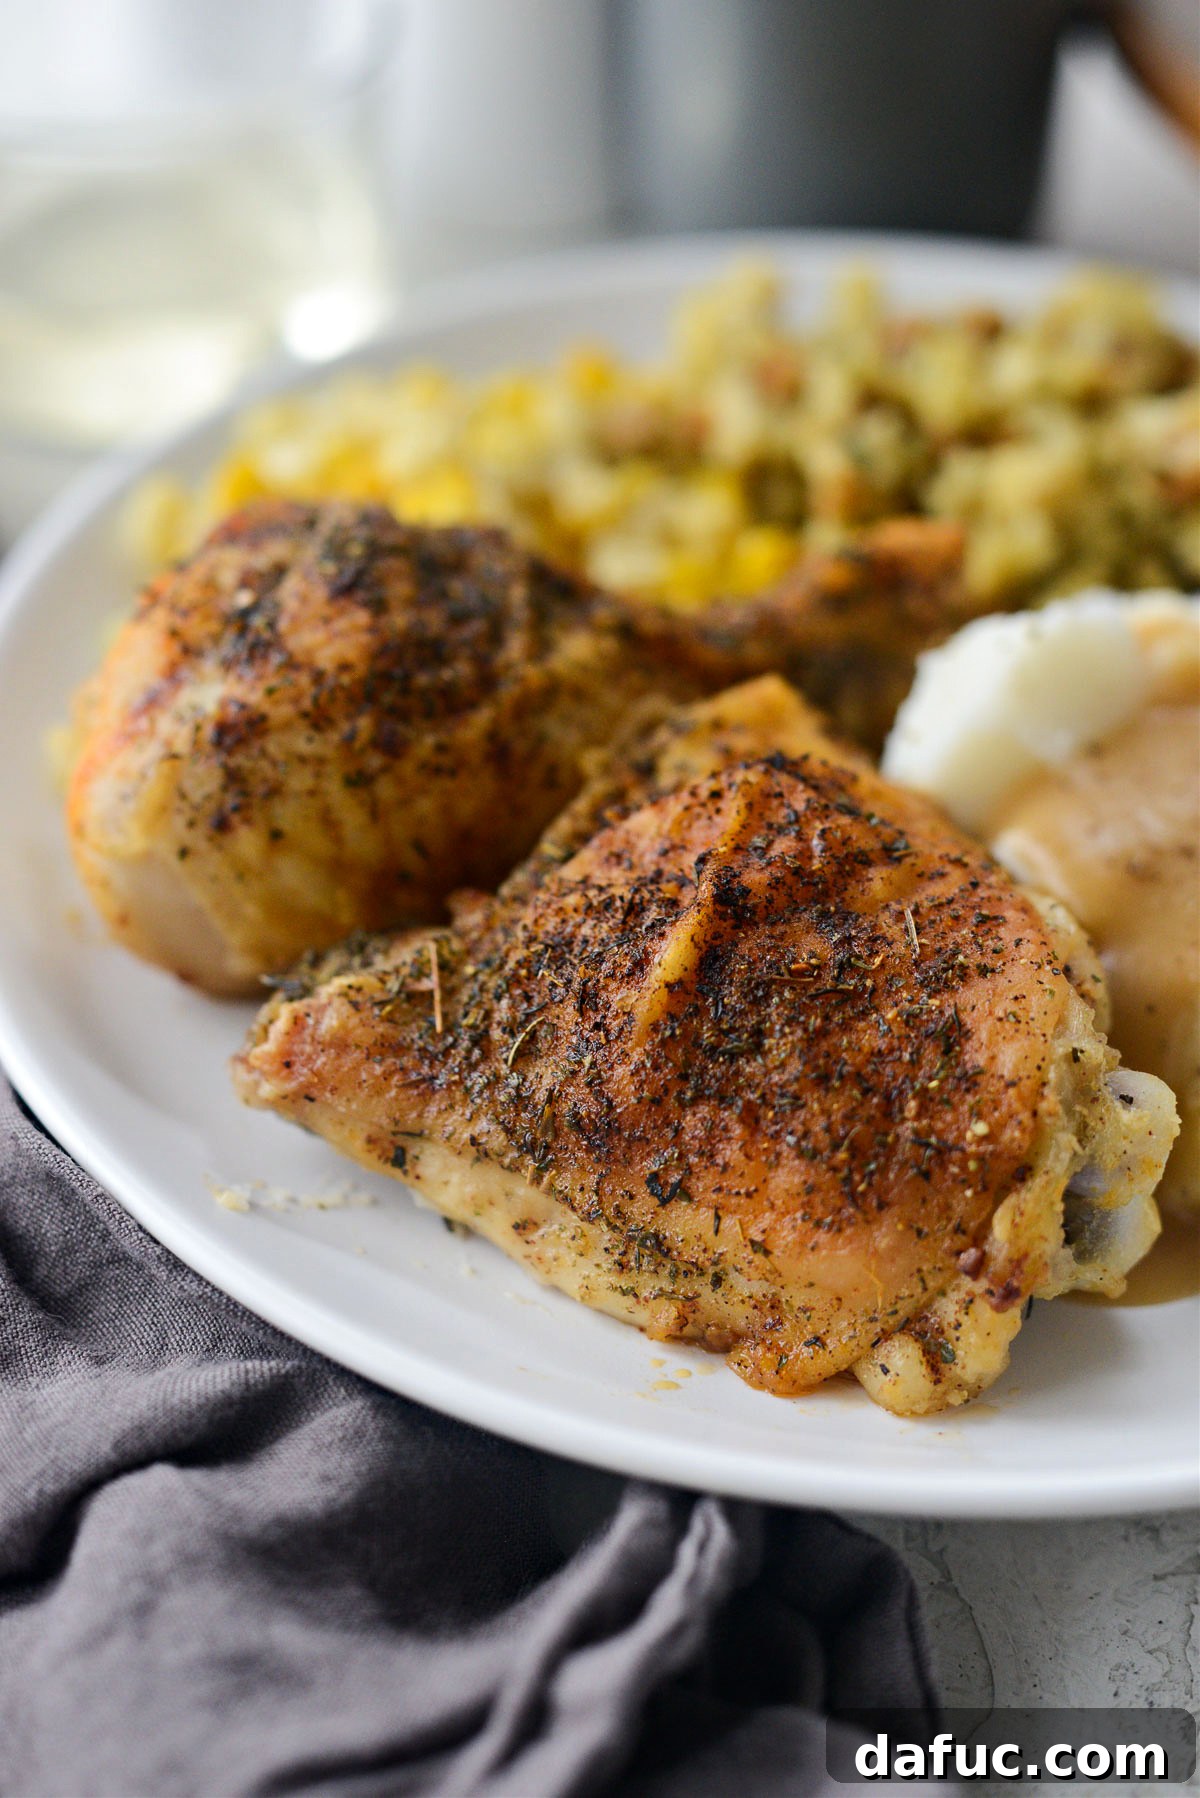
Homestyle Baked Chicken with Crispy Skin & Rich Gravy: Your Ultimate Comfort Food Guide
There’s nothing quite like a classic, comforting dinner to warm the soul, and this Homestyle Baked Chicken recipe is exactly that. Imagine succulent chicken thighs and drumsticks, coated in a delicate flour seasoned with aromatic poultry herbs and paprika, then lovingly basted with its own pan drippings. The result? Incredibly crispy, golden-brown skin and incredibly tender, juicy meat every single time. Finish it off with a quick, rich pan gravy made from those savory drippings, and serve alongside creamy homemade mashed potatoes, sweet buttery corn, and soft dinner rolls for a truly unforgettable meal.
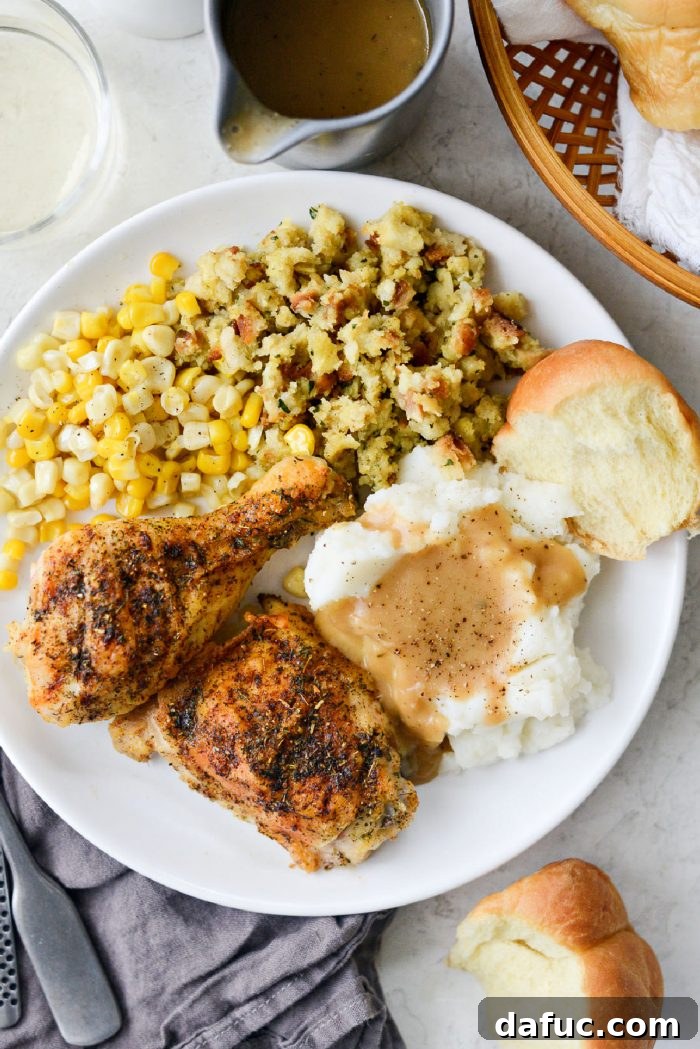
The inspiration for this hearty meal often comes from the desire for warmth and coziness, especially after a chilly weekend. Just recently, after a weekend spent up north hunting, and enduring a sudden drop in temperature with gusty winds making even simple errands a misery, a good old-fashioned home-cooked meal was precisely what was needed. This recipe transforms a regular Sunday dinner into a soul-satisfying feast that brings everyone together.
Why This Homestyle Baked Chicken Recipe Stands Out
While many baked chicken recipes exist, this particular method emphasizes a key technique that elevates it from good to absolutely incredible: regular basting. This isn’t just about cooking chicken; it’s about crafting an experience. Each piece of chicken, whether it’s a thigh or a drumstick, undergoes a transformation, emerging from the oven with a texture and flavor profile that feels both nostalgic and utterly gourmet. It’s the kind of meal that makes you feel taken care of, perfect for gathering loved ones around the dinner table.
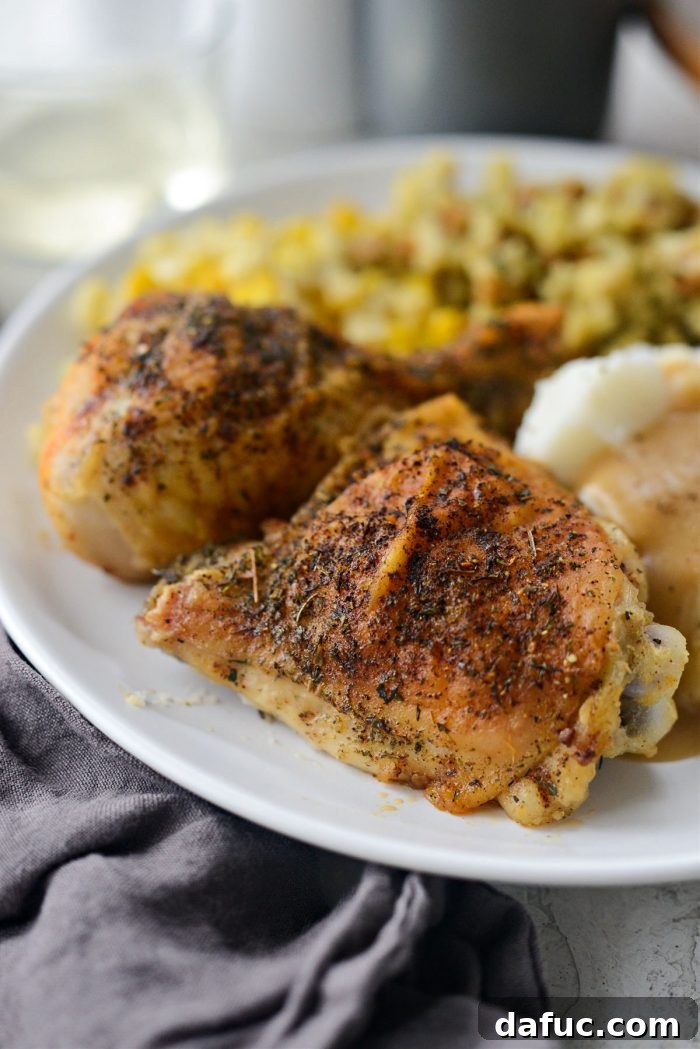
The Secret to Unforgettable Crispy Chicken: Regular Basting
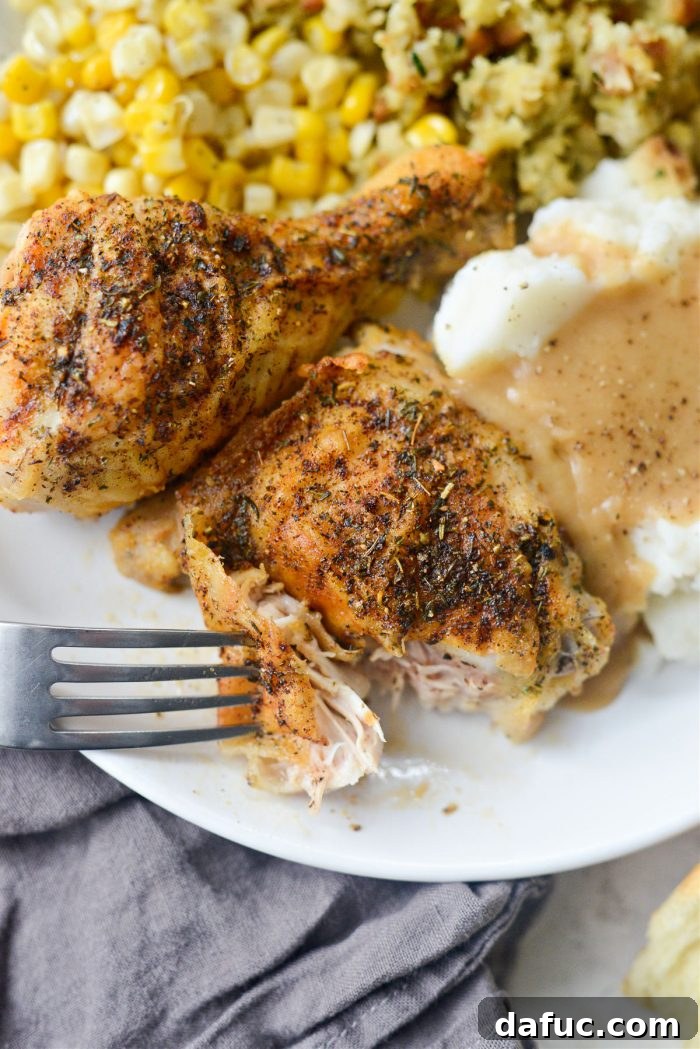
What truly sets this Homestyle Baked Chicken apart is the strategic basting. It’s not just a minor step; it’s the cornerstone of achieving that coveted crispy skin and moist interior. By periodically spooning the flavorful pan drippings over the chicken, you’re not only infusing each piece with incredible depth of flavor but also promoting an even browning and crisping of the skin. This technique ensures that the flour coating adheres beautifully, creating a delectable crust that’s bursting with savory goodness. This simple act of basting turns what could be a straightforward meal into a culinary triumph, making the chicken incredibly tender on the inside while creating a shatteringly crispy exterior.
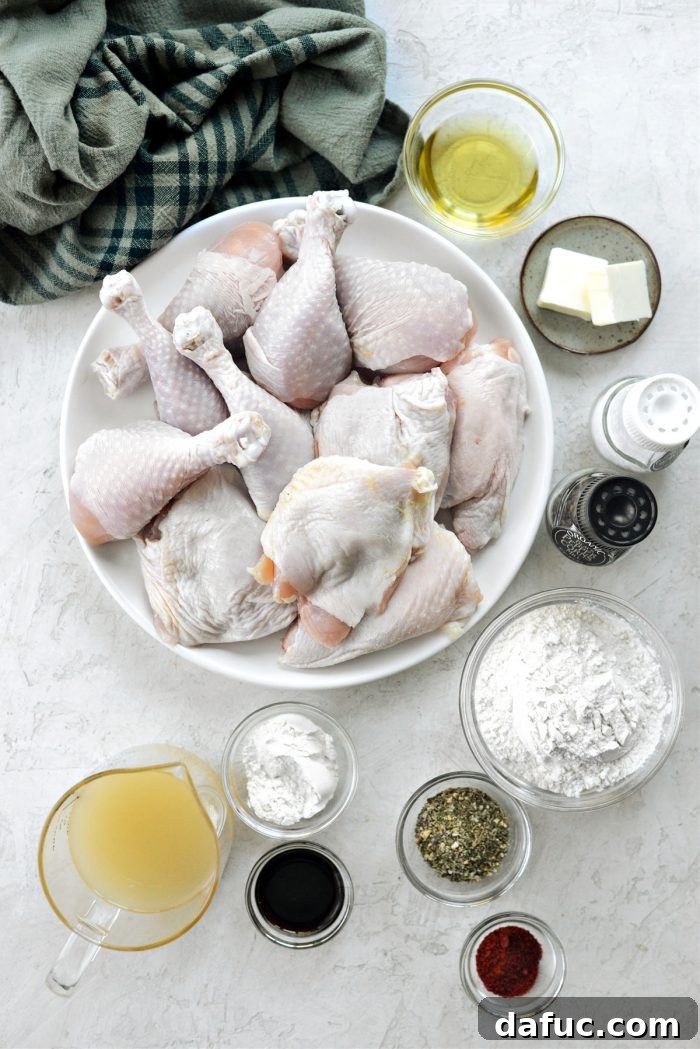
Gather Your Ingredients for the Perfect Baked Chicken Dinner
One of the beauties of this recipe is its reliance on simple, wholesome ingredients. You likely have most of these staples in your pantry already, making this a convenient yet impressive meal to prepare. Quality ingredients, especially fresh chicken and good seasoning, will make all the difference in the final taste.
For the Flavorful Baked Chicken:
- Extra Light Olive Oil or Avocado Oil: Essential for helping to crisp the skin and provide a base for the pan drippings.
- Unsalted Butter: Adds richness and flavor, contributing to a beautiful golden crust.
- Bone-in and Skin-on Chicken Thighs: Chosen for their rich flavor and tendency to stay moist during baking.
- Bone-in and Skin-on Chicken Drumsticks: Another excellent choice for flavor and texture, offering a different cut to enjoy.
- Unbleached All-Purpose Flour: Creates a light coating that becomes deliciously crispy when baked.
- Fine Sea Salt: A fundamental seasoning to enhance all the flavors.
- Freshly Ground Black Pepper: Adds a pungent, aromatic kick.
- Poultry Seasoning: The heart of the chicken’s flavor profile, a blend of classic herbs.
- Paprika: Provides a lovely color and subtle, sweet pepper flavor.
For the Silky Pan Gravy:
- Fat Drippings from the Pan: The flavorful foundation of your gravy, rich with chicken essence.
- Unbleached All-Purpose Flour: Acts as a thickening agent for a smooth, luscious gravy.
- Low-Sodium Chicken Broth/Juices: The liquid base, adding savory depth without excess sodium. Consider using homemade slow-cooker chicken stock for best results.
- Low-Sodium Tamari (or Low-Sodium Soy Sauce): A secret ingredient for umami depth and a hint of color.
- Freshly Ground Black Pepper: To taste, finishing the gravy with a touch of warmth.
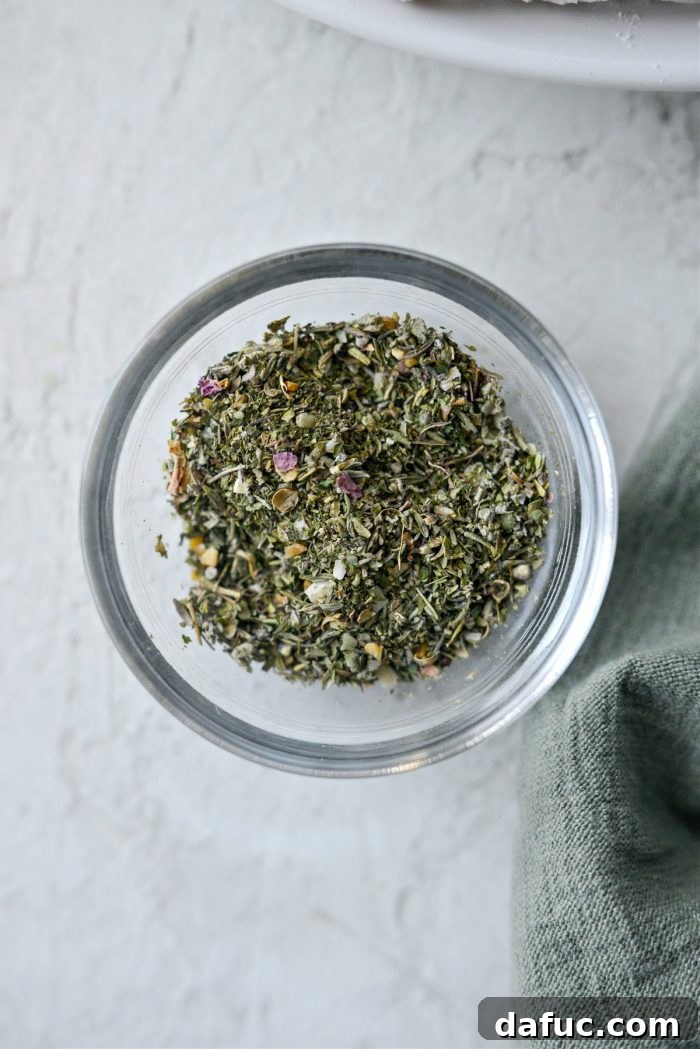
Understanding Poultry Seasoning: Your Flavor Foundation
Poultry seasoning is more than just a mix of herbs; it’s a carefully crafted blend designed to complement and enhance the natural flavors of chicken (and often pork). Typically, it’s a harmonious combination of dried thyme, rosemary, marjoram, sage, garlic powder, onion powder, and parsley. Each brand might have its unique twist, offering finely ground powders or more coarse mixtures. This blend is what gives the chicken its quintessential “homestyle” taste, reminiscent of cherished family recipes. While many commercial options are fantastic, some brands truly stand out. For instance, Morton & Bassett’s poultry herb blend, especially the one with rose petals, has proven to be an exquisite choice, adding an unparalleled aromatic dimension. This isn’t a sponsored endorsement, just an honest appreciation for a superior product that elevates the dish. Feel free to use your favorite brand, or even experiment with your own homemade blend if you have a go-to recipe.
Step-by-Step Guide: Crafting Your Homestyle Baked Chicken
Follow these detailed instructions to ensure your baked chicken is perfectly cooked, wonderfully crispy, and packed with flavor.
Preparation is Key: Setting Up for Success
The journey to perfect baked chicken begins even before the chicken enters the oven. Proper setup ensures even cooking and the best possible flavor development.
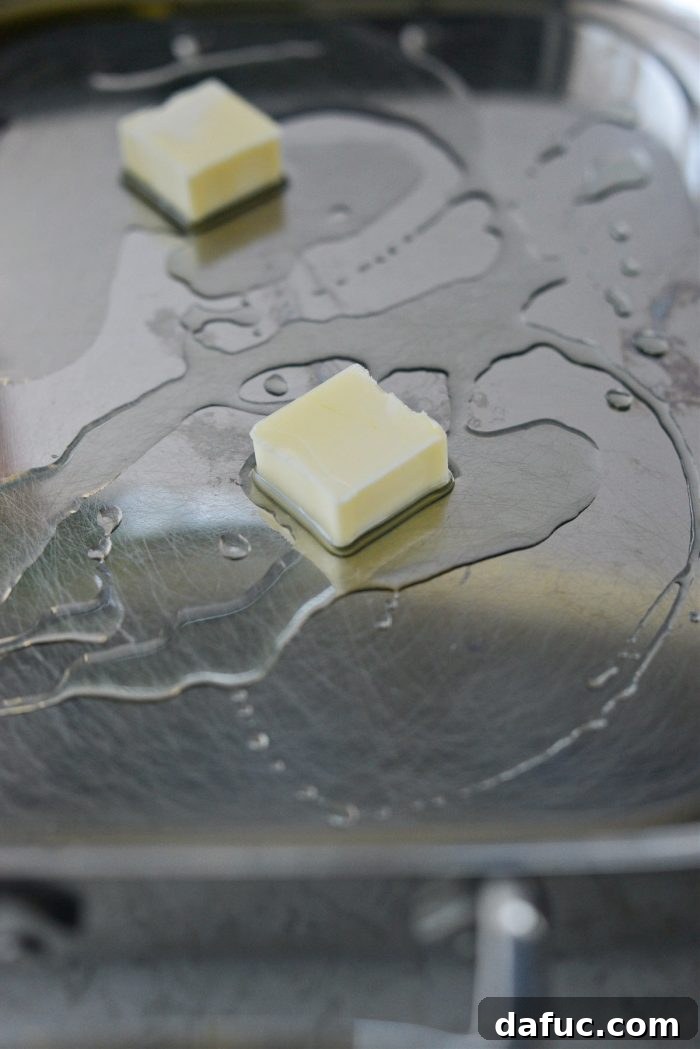
- Preheat the Pan and Oven: In a sturdy 9×13-inch stainless steel roasting pan, combine 2 tablespoons of extra light olive oil (or avocado oil) and 2 tablespoons of unsalted butter. Place this pan directly into your cold oven, then set the temperature to preheat to 375°F (190°C). This gentle preheating process melts the butter evenly and brings the pan to a perfect initial temperature, preventing the chicken from sticking and promoting immediate crisping.
Preparing the Chicken for Baking: Crispiness Starts Here
While the oven and pan are heating, turn your attention to the star of the show – the chicken. Proper preparation is vital for achieving that desirable crispy skin.
- Choose Your Cuts: This recipe works beautifully with bone-in, skin-on chicken thighs and drumsticks, or a combination of both. Even bone-in chicken breasts can be used, though cooking times may vary slightly.
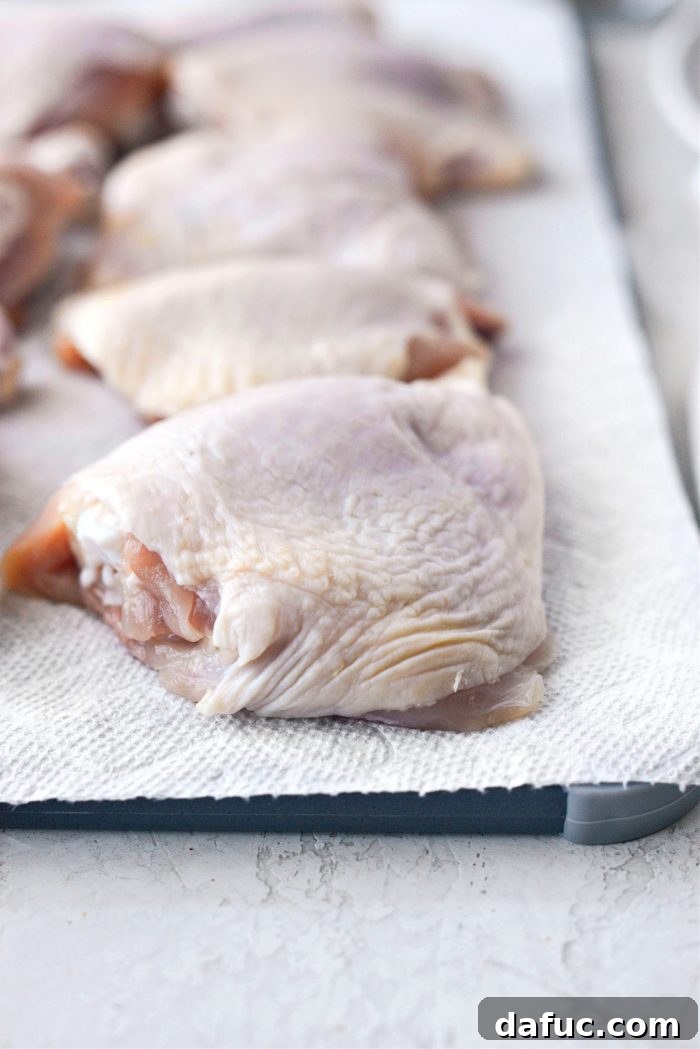
- Pat Dry and Trim: Using paper towels, thoroughly pat each piece of chicken dry. This removes excess moisture, which is crucial for achieving crispy skin. Additionally, trim off any excessive or loose skin, especially from the underside of the thighs, to prevent it from becoming soggy.
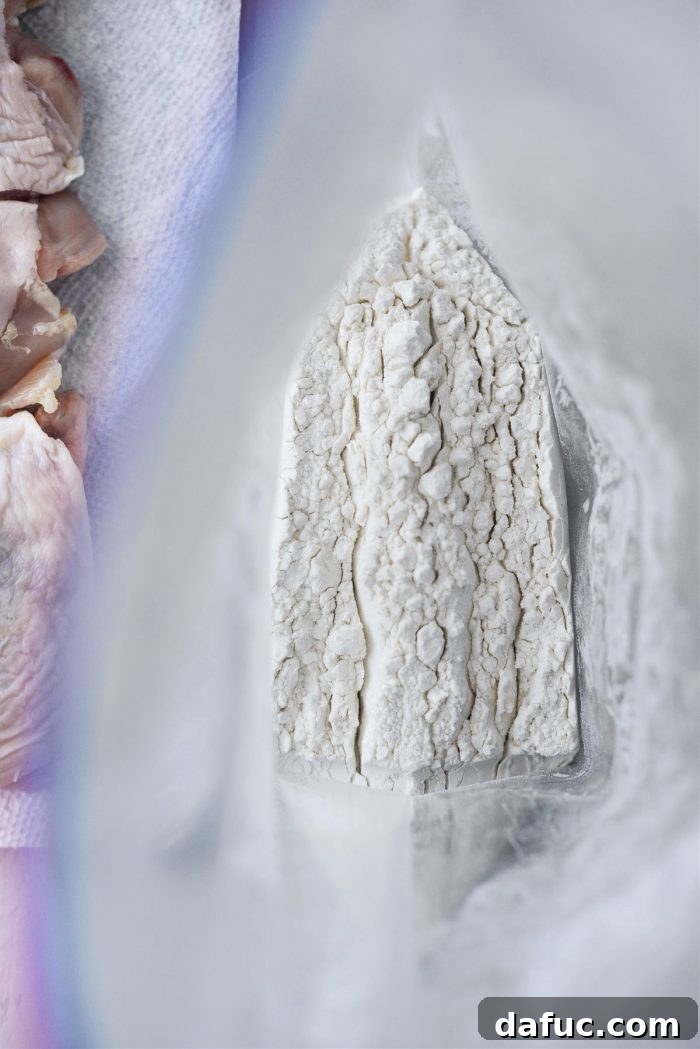
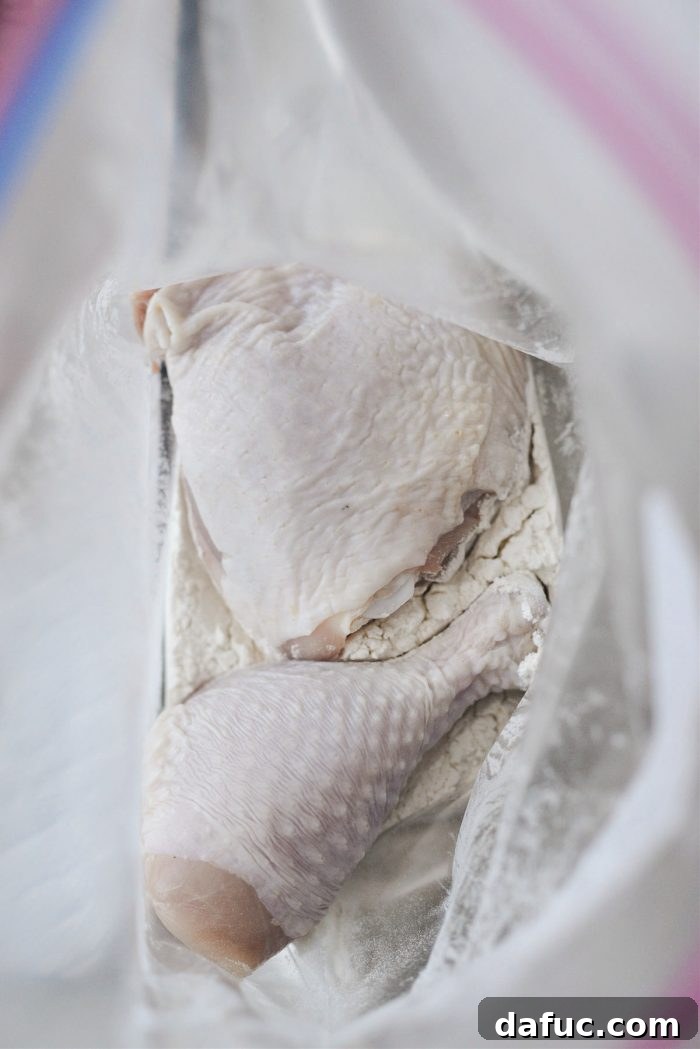
- Flour Coating: In a large resealable bag (a gallon-size works well), add 1 cup of unbleached all-purpose flour.
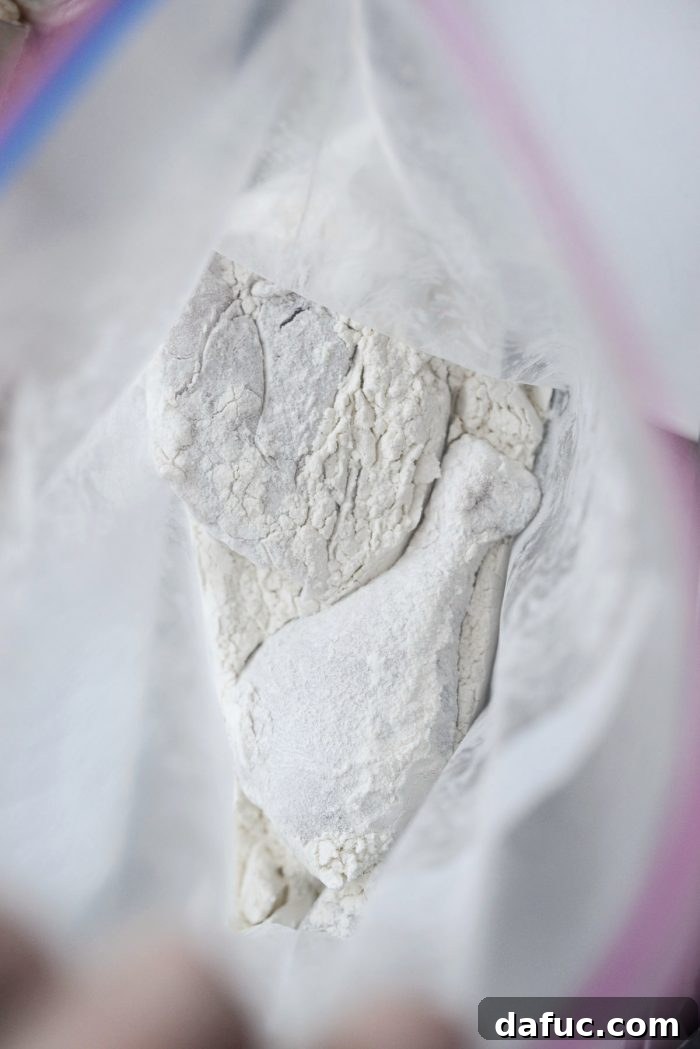
- Shake to Coat: Place 2 to 3 pieces of chicken into the bag with the flour. Seal the bag tightly, ensuring no air escapes, and shake vigorously until each piece is thoroughly coated in flour.
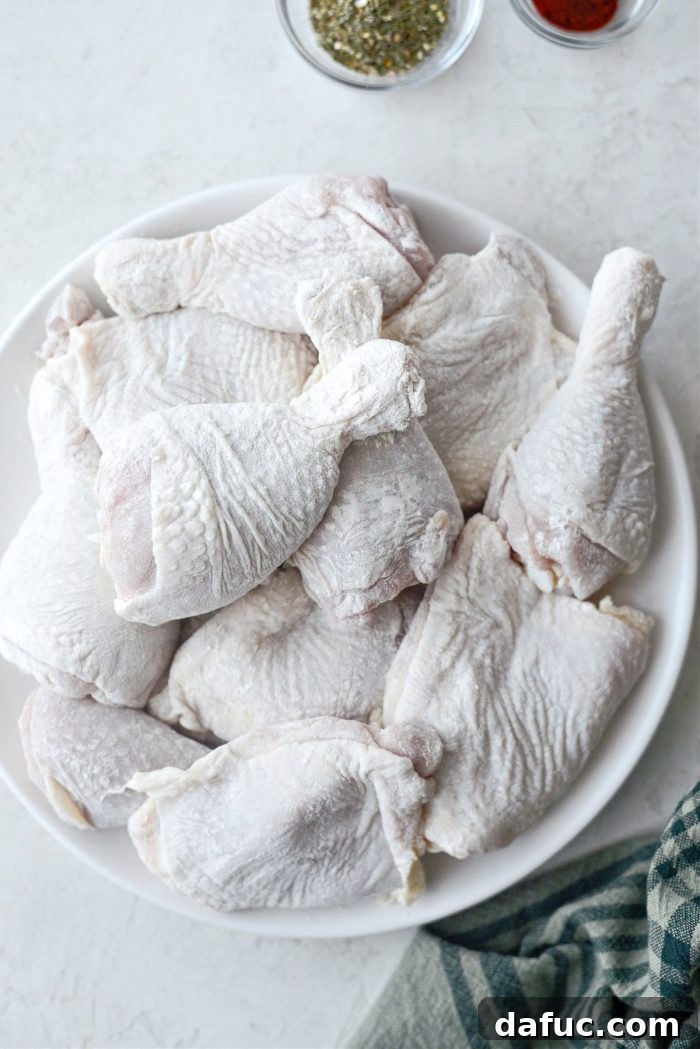
- Remove Excess Flour: Open the bag and gently tap or shake each chicken piece on the inside of the bag to remove any excess flour. A thin, even coating is what you’re aiming for. Too much flour can result in a gummy texture.
- Repeat: Transfer the coated chicken pieces to a clean plate and repeat the flouring process with the remaining chicken until all pieces are lightly dusted.
The Baking Process: Achieve Golden Perfection
This method employs a multi-stage baking and basting process to ensure maximum flavor and crispiness.
- Initial Bake Setup: Once your oven signals it has reached the desired temperature, use oven mitts to carefully remove the hot roasting pan to a heat-safe trivet or sturdy work surface. The butter should be melted and slightly browned, with the oil shimmering.
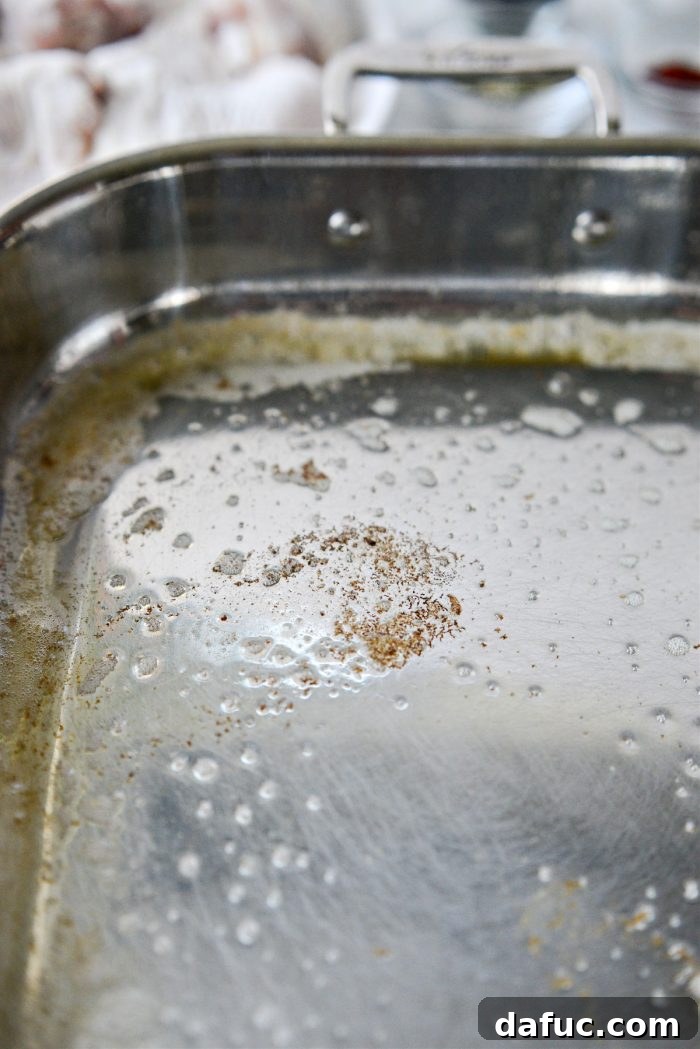
- First Bake (20 Minutes): Arrange the lightly floured chicken pieces in a single, even layer in the hot roasting pan, ensuring the skin side is facing up. This allows the skin to start crisping immediately. Return the pan to the middle rack of your preheated oven and bake for 20 minutes.
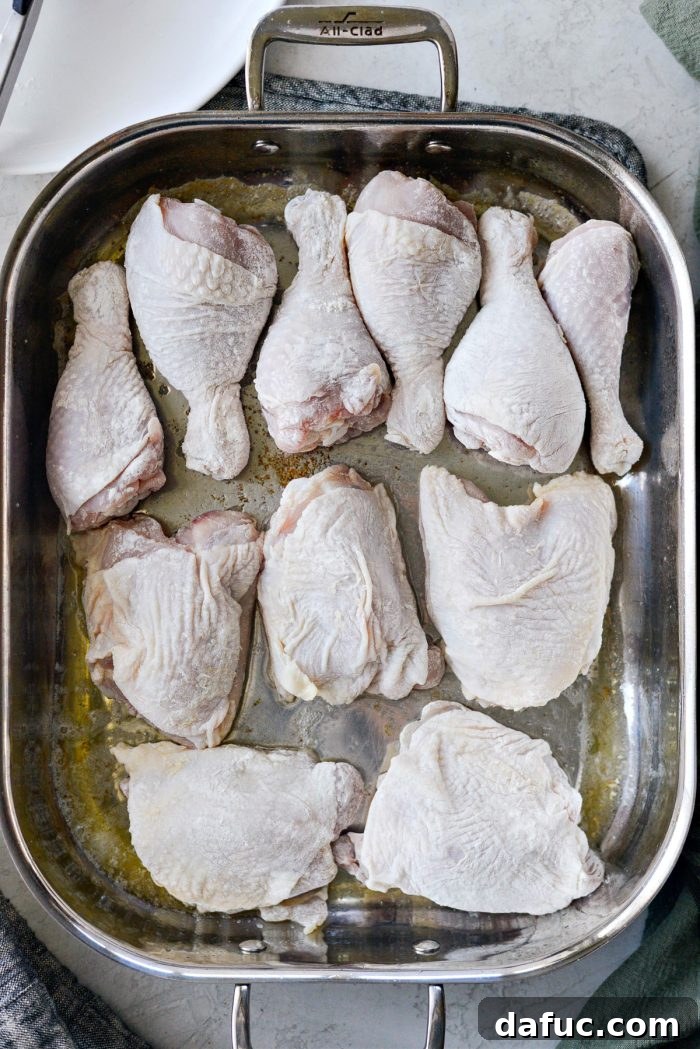
- First Basting & Seasoning: After the initial 20 minutes, carefully remove the chicken from the oven. Using a large spoon, generously baste each piece of chicken with the hot butter and oil drippings collected at the bottom of the pan. Continue basting until no visible dry flour remains on the chicken, ensuring a moist coating for the seasonings.
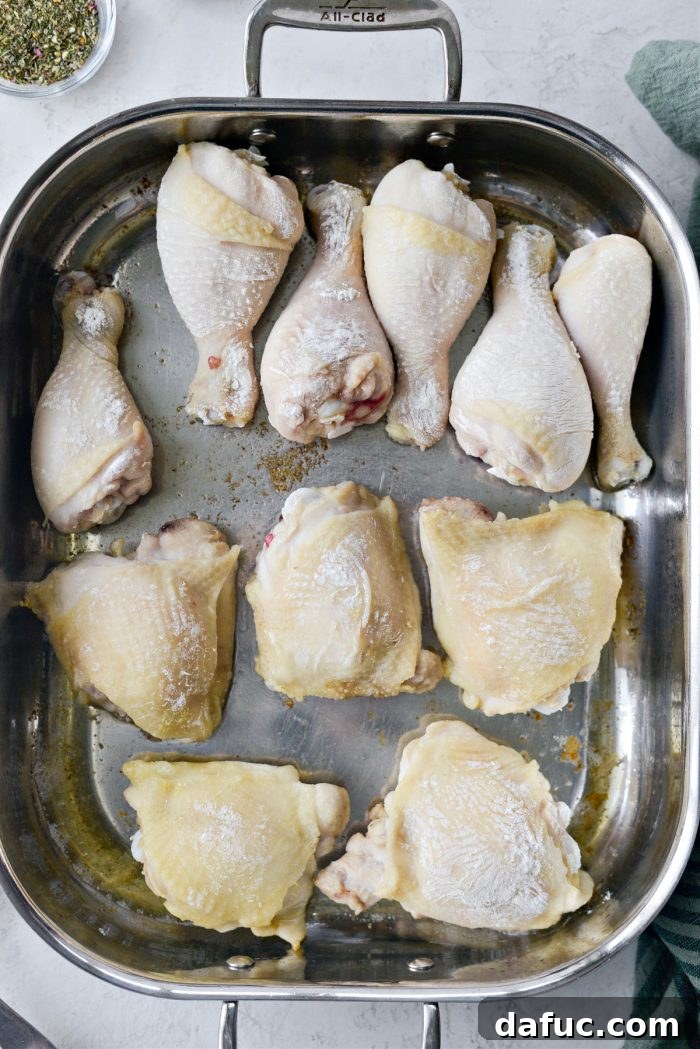
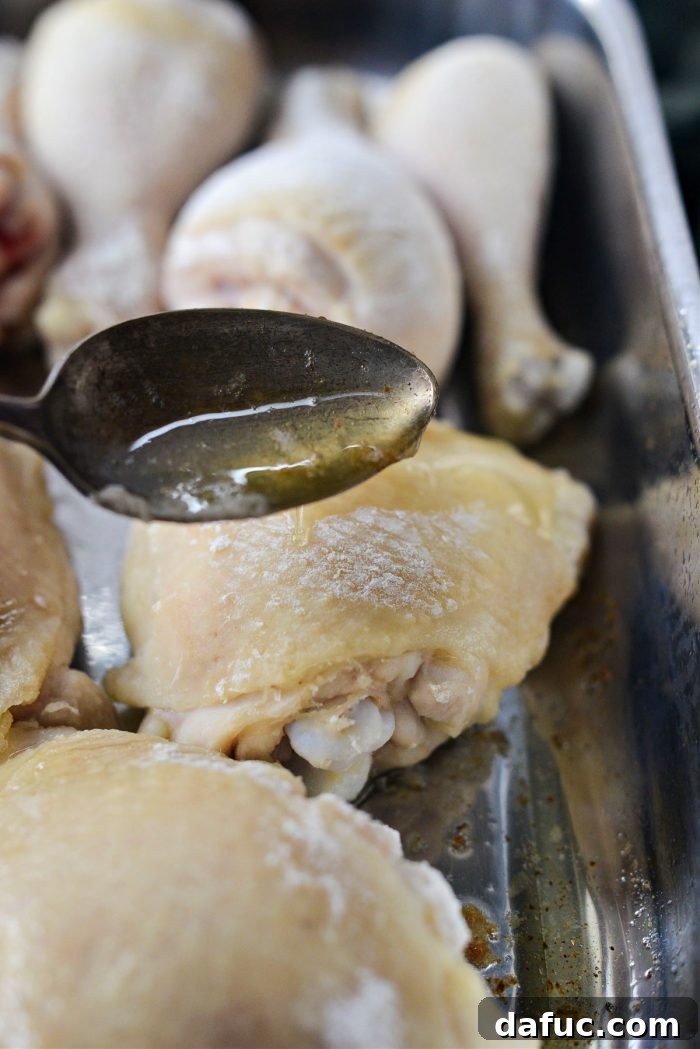
- Season Generously: Now, evenly sprinkle the chicken with fine sea salt and freshly ground black pepper to taste. Follow with 1-½ tablespoons of poultry seasoning and ½ teaspoon of paprika. These spices will adhere to the basted chicken, creating layers of flavor.
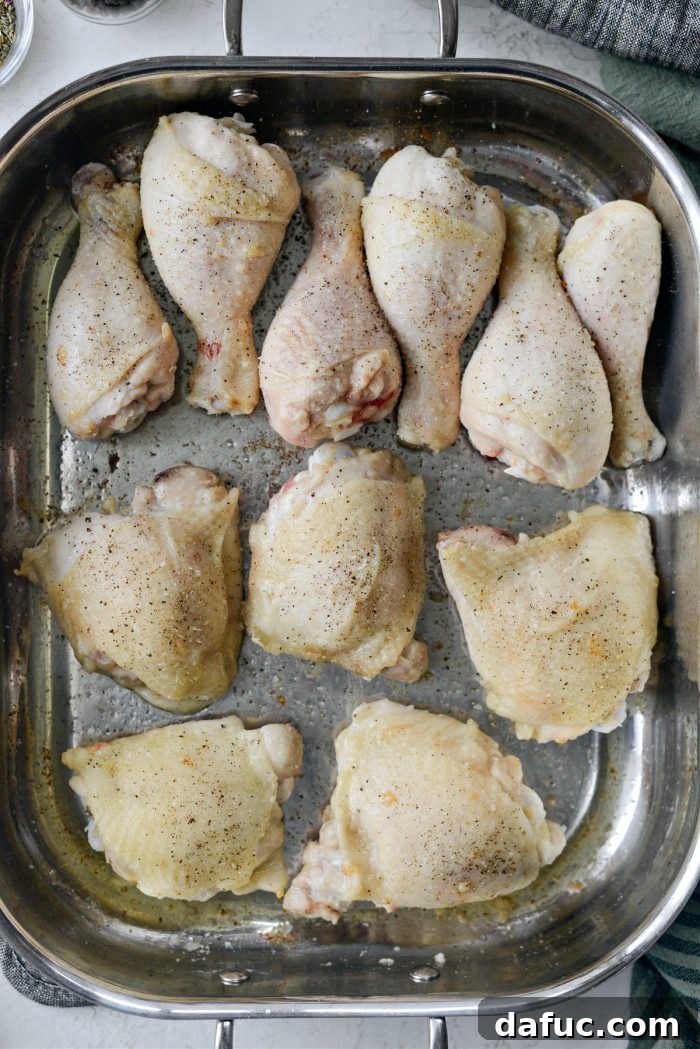
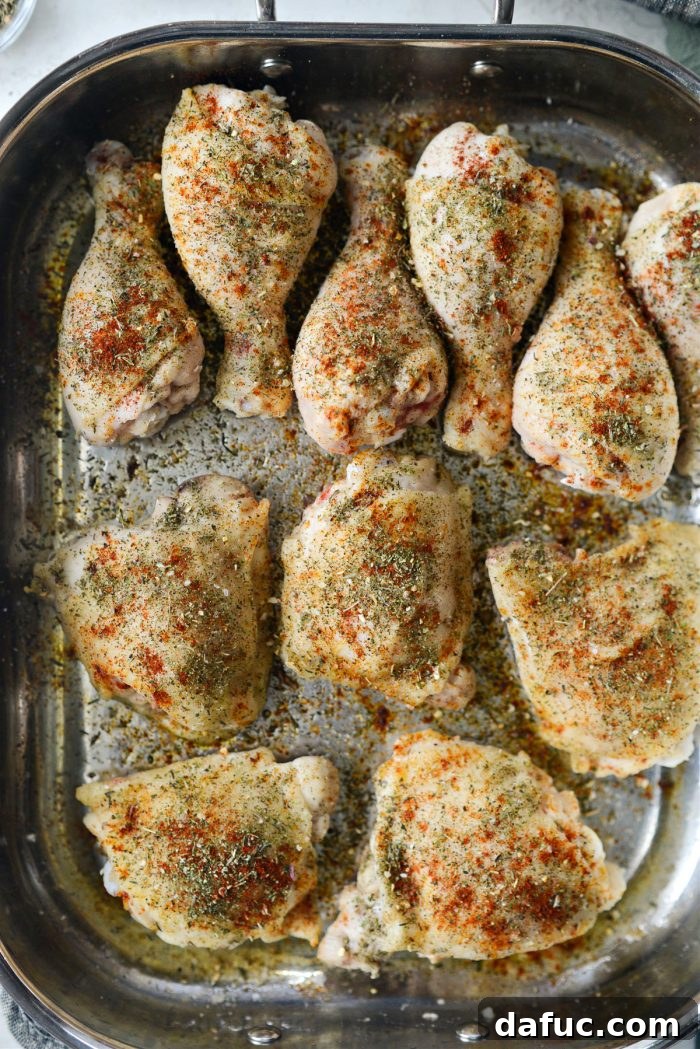
- Second Bake (20 Minutes): Return the pan to the oven and bake for another 20 minutes. During this stage, the seasonings will toast and the chicken will continue to cook and crisp.
- Final Basting & Bake (20 Minutes): Remove the chicken from the oven one last time. Repeat the basting process, ensuring every piece is coated with the flavorful pan drippings. This final basting helps lock in moisture and guarantees maximum crispiness. Place the pan back into the oven for a final 20 minutes. This brings the total baking time to 60 minutes.
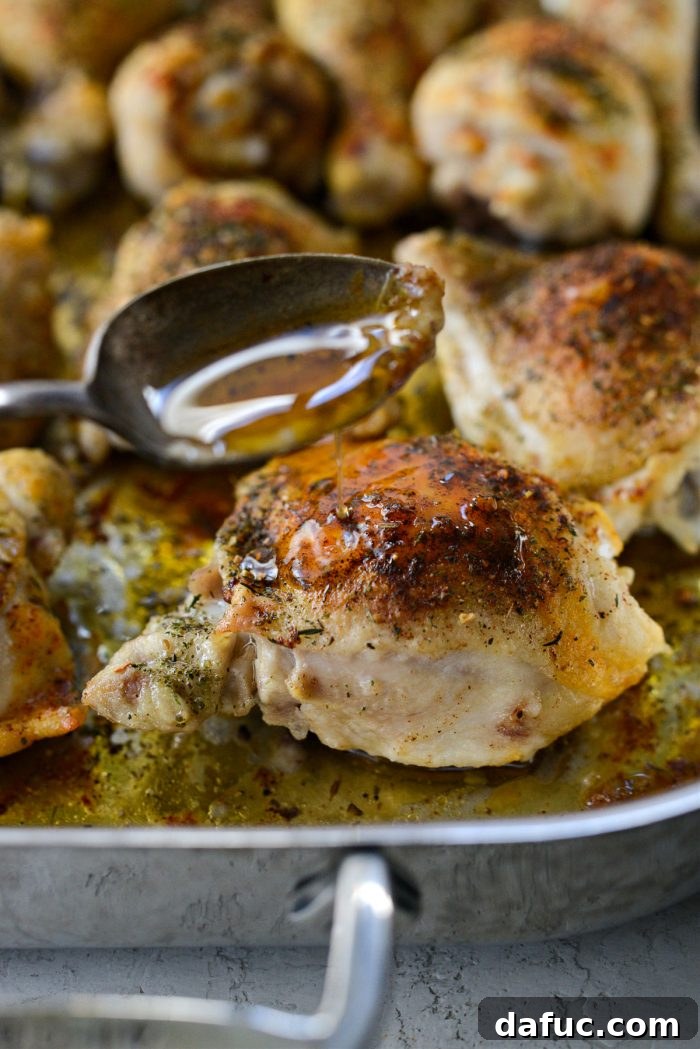
- Resting Period: Once the chicken is done (an internal temperature of 165°F or 74°C is ideal for thighs/drumsticks), turn off the oven. Crack the oven door slightly and let the chicken rest in the residual heat. This allows the juices to redistribute, ensuring incredibly moist and tender meat while keeping it warm.
- Save the Drippings: Before proceeding, carefully remove 2 tablespoons of the rich pan drippings from the roasting pan. These are crucial for creating your homemade gravy.
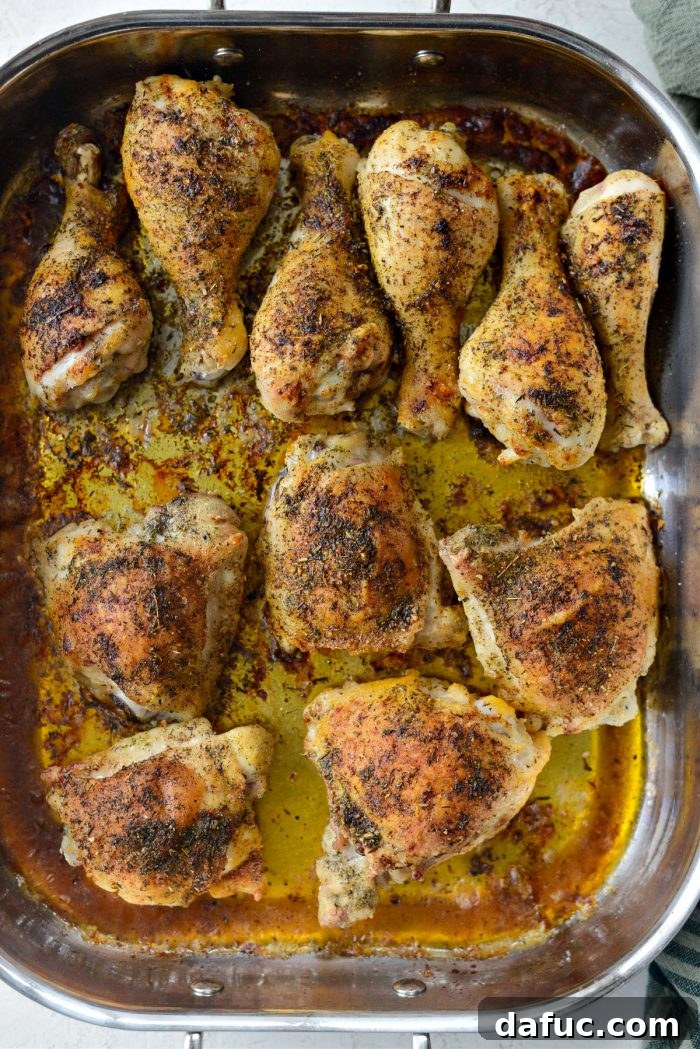
Creating the Ultimate Pan Gravy
No homestyle baked chicken is complete without a luscious, homemade pan gravy. This quick recipe uses the flavorful drippings from the chicken to create a rich, savory sauce that ties the entire meal together.
From Drippings to Deliciousness:
- Heat the Drippings: In a small saucepan, add the reserved 2 tablespoons of pan drippings. Heat over medium to medium-high heat until they begin to sizzle.
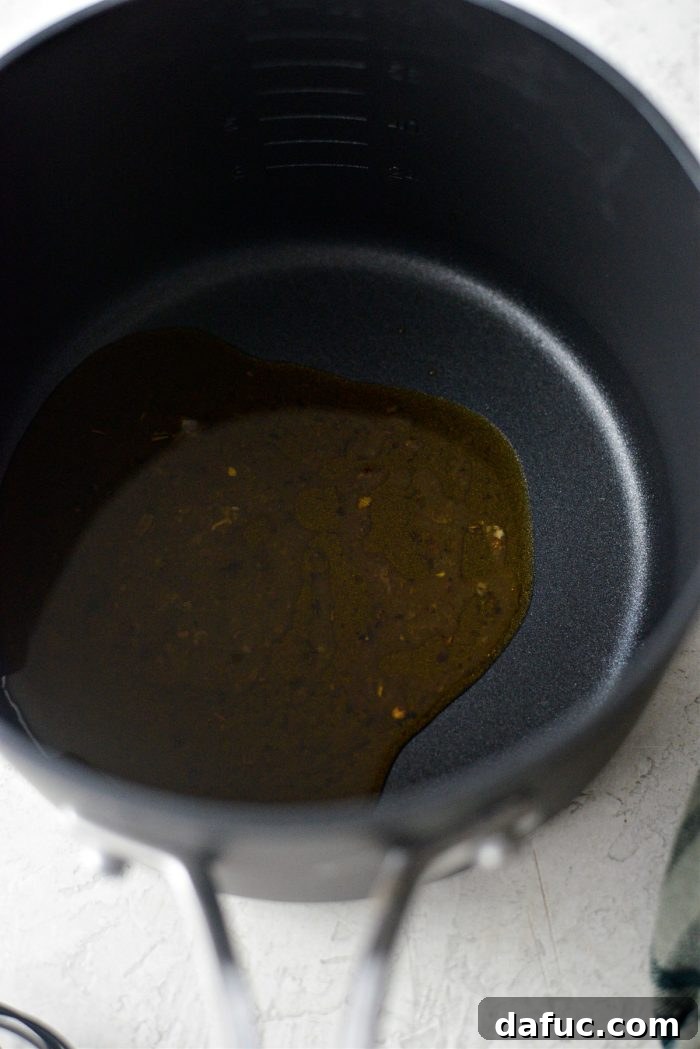
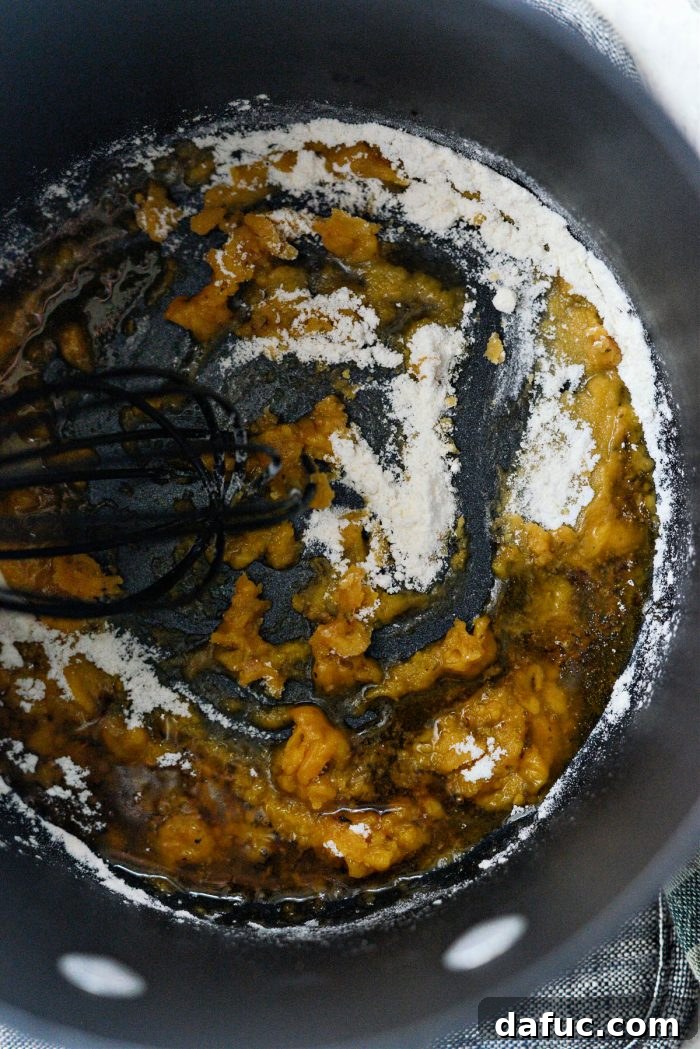
- Make a Roux: Sprinkle in 2 heaping tablespoons of unbleached all-purpose flour. Whisk constantly for 2 to 3 minutes, cooking out the raw flour taste and creating a light roux. It should be a golden-brown paste.
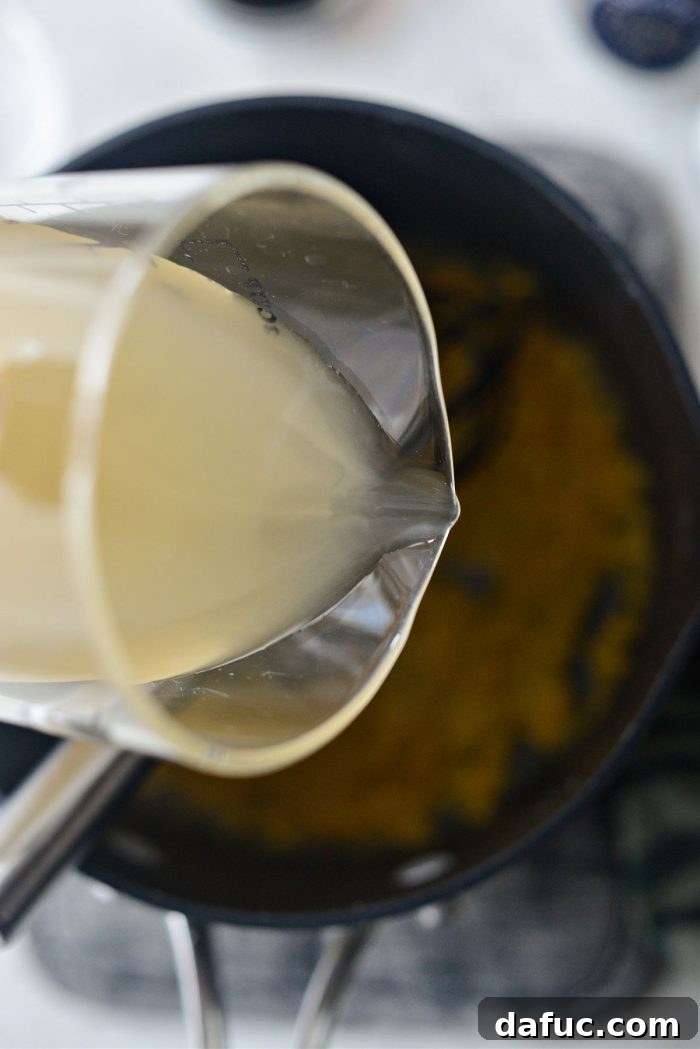
- Whisk in Broth: Slowly pour in 2 cups of low-sodium chicken broth (or the remaining chicken juices from the roasting pan if preferred), whisking continuously to prevent lumps. Continue to whisk until the gravy thickens to your desired consistency. Adjust the heat as needed; a gentle simmer helps it thicken.
- Season and Serve: Finish the gravy by stirring in ½ tablespoon of low-sodium tamari (or low-sodium soy sauce) for an extra layer of umami and a hint of rich color. Season generously with freshly ground black pepper to taste. This recipe yields approximately 1 cup of delicious gravy. Serve immediately over your baked chicken and sides.
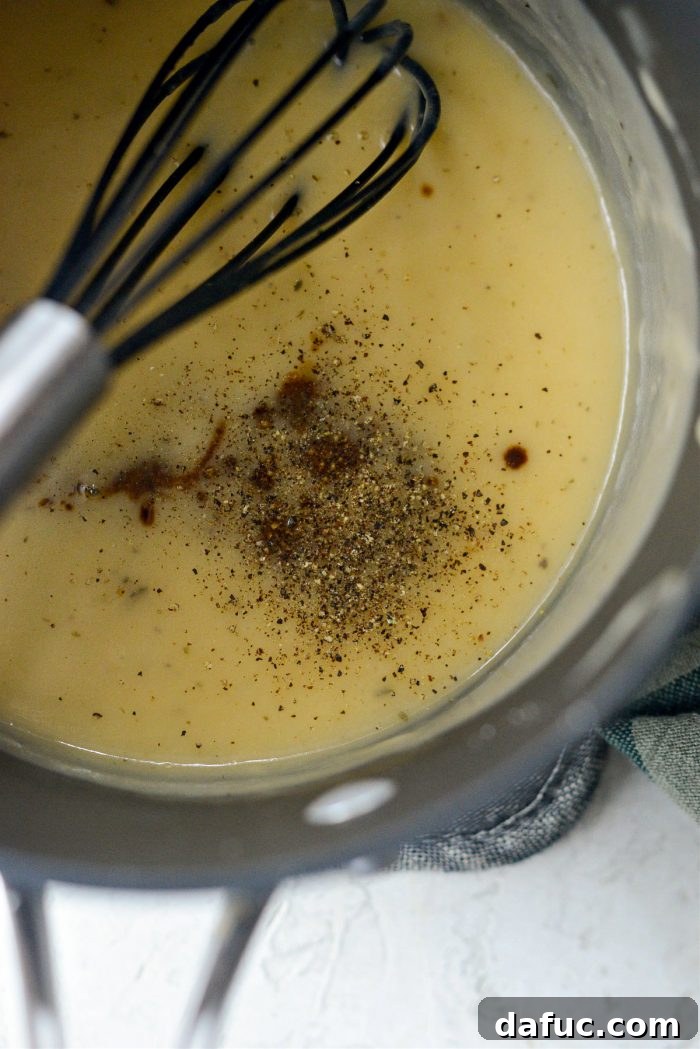
This baked chicken will boast the most flavorful, irresistibly crispy skin, while the meat inside remains incredibly tender and juicy. The rich pan gravy is the perfect accompaniment, adding another layer of comfort to every bite.
Serving Suggestions and Pairings
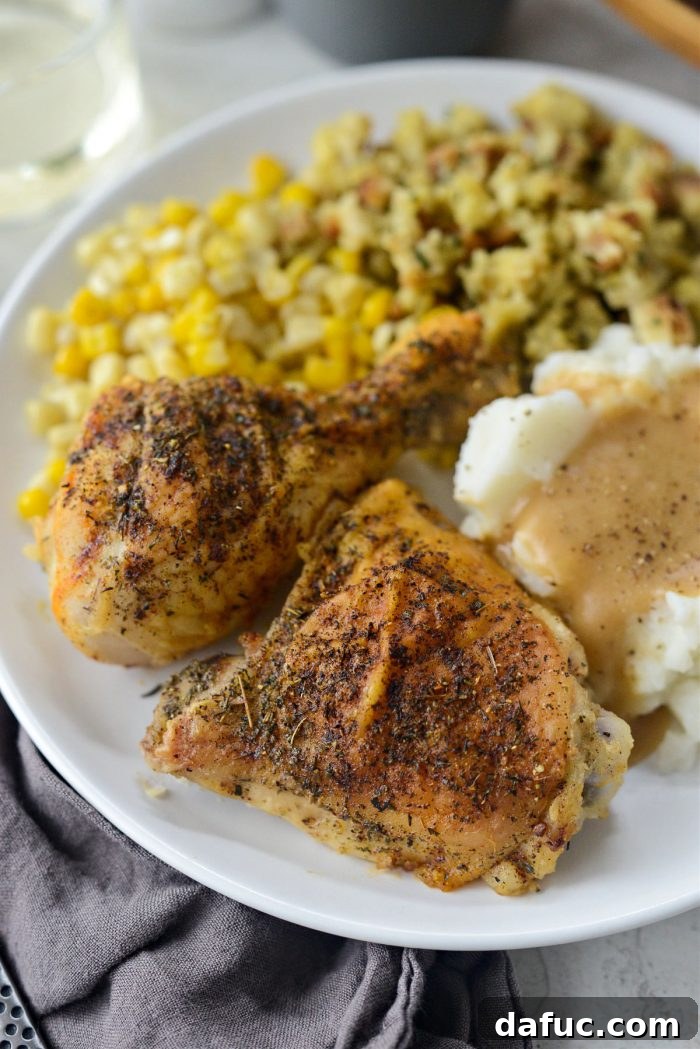
This Homestyle Baked Chicken is a complete meal in itself, but it shines even brighter when paired with classic comfort food sides. Here are some ideal companions:
- Creamy Mashed Potatoes: The ultimate partner for soaking up that delicious gravy.
- Buttery Corn: Adds a touch of sweetness and vibrant color.
- Savory Stuffing: A holiday favorite that pairs perfectly with roasted chicken any time of year.
- Soft Dinner Rolls: Essential for wiping up every last drop of gravy.
- Steamed Green Beans or Asparagus: For a fresh, slightly crisp contrast.
- Roasted Root Vegetables: Carrots, parsnips, and potatoes roasted alongside the chicken can be another fantastic option.
Expert Tips for the Best Homestyle Baked Chicken
- Don’t Skip Patting Dry: This is arguably the most crucial step for crispy skin. Moisture is the enemy of crispiness.
- Even Coating of Flour: Ensure the flour is evenly distributed and shake off any excess. A thin layer is best for a crisp crust.
- Hot Pan Start: Starting with a preheated pan helps the skin crisp up immediately and prevents sticking.
- Baste Generously and Often: The basting technique is the key to both crispy skin and incredibly flavorful meat. Don’t be shy with those pan drippings!
- Use a Meat Thermometer: For perfectly cooked chicken, always check the internal temperature. For bone-in chicken, aim for 165°F (74°C) in the thickest part of the meat, avoiding the bone.
- Rest the Chicken: Allowing the chicken to rest in the warm, turned-off oven ensures the juices redistribute throughout the meat, resulting in a more tender and juicy outcome.
- Gravy Consistency: If your gravy is too thick, whisk in a little more broth until it reaches your desired consistency. If it’s too thin, let it simmer gently for a few more minutes to reduce and thicken, or create a quick slurry of cornstarch and water to whisk in.
- Flavor Adjustments: Taste your gravy and chicken as you go. Add more salt, pepper, or poultry seasoning if needed.
Storage and Reheating
Leftover Homestyle Baked Chicken and gravy make for excellent next-day meals. Here’s how to store and reheat them:
- Storage: Allow the chicken and gravy to cool completely. Store leftover chicken in an airtight container in the refrigerator for up to 3-4 days. Store gravy separately in an airtight container in the refrigerator for the same duration.
- Reheating Chicken: To reheat, place chicken pieces on a baking sheet and warm in a preheated oven at 350°F (175°C) for 15-20 minutes, or until heated through and the skin crisps up again. Avoid microwaving, as it can make the skin soggy.
- Reheating Gravy: Gently reheat the gravy in a saucepan over medium-low heat, whisking frequently, until warmed through. If it’s too thick, add a splash of chicken broth or water to thin it out.
Frequently Asked Questions (FAQ)
Here are some common questions you might have about making Homestyle Baked Chicken:
- Can I use boneless, skinless chicken? Yes, you can, but the cooking time will be significantly shorter, and you won’t achieve the same crispy skin. Adjust baking time and keep an eye on internal temperature.
- How do I prevent the chicken from drying out? The basting technique is key to preventing dry chicken. Also, ensure you don’t overcook it – using a meat thermometer to check for 165°F (74°C) is highly recommended.
- Can I prepare the chicken ahead of time? You can pat the chicken dry and coat it with flour a few hours in advance, keeping it covered in the refrigerator. However, for the crispiest results, seasoning and baking should be done just before serving.
- Is it possible to make the gravy gluten-free? Yes, you can substitute the all-purpose flour in the gravy with a gluten-free all-purpose flour blend or use cornstarch (mixed with a little cold water to create a slurry) to thicken it.
- What if I don’t have poultry seasoning? You can make your own blend using individual dried herbs like thyme, sage, rosemary, marjoram, along with garlic powder and onion powder. A good starting point is equal parts of each, adjusted to your preference.
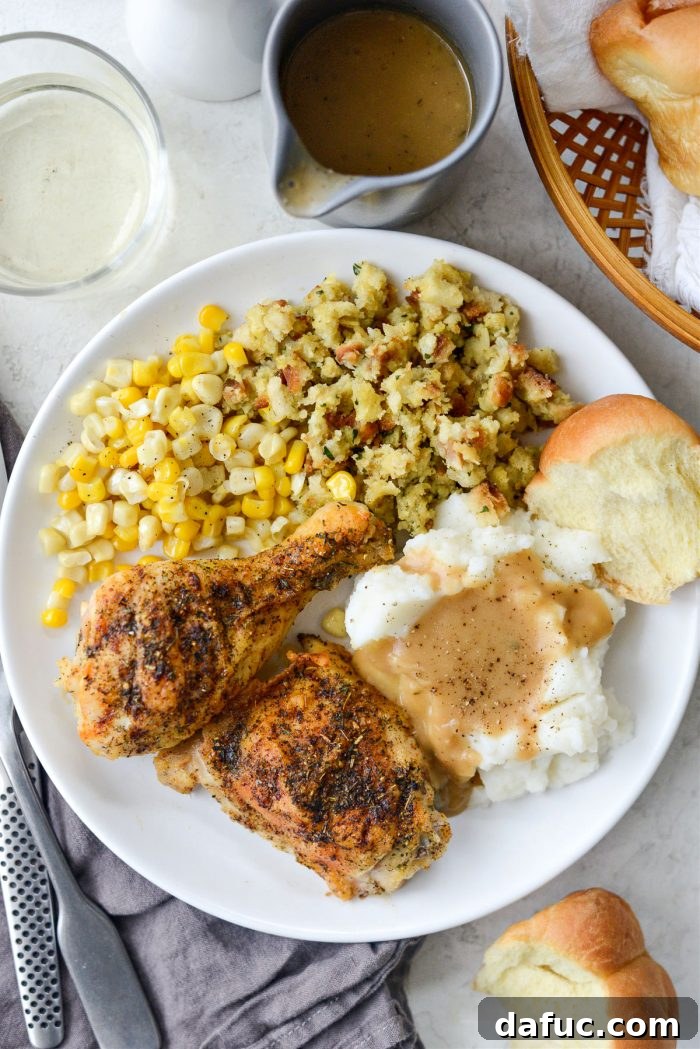
Enjoy! We hope you absolutely love this Homestyle Baked Chicken recipe. If you give it a try, we’d love to hear from you! Snap a photo and tag us on Twitter or Instagram!
Print Recipe
Pin Recipe
Leave a Review »
Yield: 6 servings
Homestyle Baked Chicken
Homestyle Baked Chicken is a cozy and comforting dinner. Chicken thighs and drumsticks are lightly coated in flour, seasoned with poultry herbs, paprika and basted with pan drippings for the ultimate crispy skin. After making a quick pan gravy, serve with homemade mashed potatoes, buttery corn and soft rolls.
Prep Time: 10 mins
Cook Time: 1 hr
Additional Time: 10 mins
Total Time: 1 hr 10 mins
Ingredients
FOR THE BAKED CHICKEN:
- 1¾ pounds chicken thighs, bone-in and skin-on
- 1¾ pounds chicken drumsticks, bone-in and skin-on
- 1 cup unbleached all-purpose flour
- 2 tablespoons olive oil, extra light or avocado oil
- 2 tablespoons unsalted butter
- Fine sea salt, to taste
- Freshly ground black pepper, to taste
- 1½ tablespoons poultry herbs or seasoning
- ½ teaspoon paprika
FOR THE CHICKEN GRAVY:
- 2 tablespoons fat drippings, from pan
- 2 tablespoons unbleached all-purpose flour
- 2 cups low-sodium chicken broth, plus more if needed to thin (homemade chicken stock recommended)
- ½ tablespoon low-sodium tamari, or low sodium soy sauce
- Freshly ground black pepper, to taste
Instructions
BAKED CHICKEN:
- In a 9×13 roasting pan, add oil and butter. Place in a cold oven and preheat to 375°F (190°C) to melt butter and heat the pan.
- Add flour to a gallon-size resealable bag. Place 2 to 3 pieces of chicken in the flour, seal and shake to coat thoroughly. Tap or shake off any excess flour and set onto a clean plate. Repeat with remaining chicken pieces.
- Once your oven and pan have preheated, use oven mitts to remove the hot pan. Use tongs to arrange the chicken (skin side up) in a single layer. Bake on the middle rack for 20 minutes.
- Remove from oven and carefully spoon the hot fat from the bottom of the pan over the chicken to baste. Then season generously with salt, pepper, poultry seasoning, and paprika.
- Place the chicken back into the preheated oven and bake for 20 more minutes.
- Remove the chicken one last time, baste again with the flavorful fat drippings, and place back into the oven for another 20 minutes. (Total baking time: 60 minutes)
- After the final bake, remove 2 tablespoons of pan drippings for the gravy.
- Keep the chicken warm in the oven with the temperature off and the door cracked slightly. This allows the chicken to rest and stay juicy.
MAKE THE GRAVY:
- Add the 2 tablespoons of reserved pan drippings to a saucepan and heat over medium to medium-high heat until sizzling.
- Sprinkle in the flour, and whisk constantly, cooking for 2 to 3 minutes until a light roux forms.
- Slowly pour in the chicken broth/juices, whisking until the gravy thickens to your desired consistency. Adjust the heat as needed.
- Season with tamari and freshly ground black pepper before serving. This yields approximately 1 cup of delicious gravy.
- Serve the homestyle baked chicken with your chosen sides and drizzle generously with the warm gravy.
Nutrition Information (per 2 pieces serving):
Calories: 649kcal, Carbohydrates: 20g, Protein: 41g, Fat: 44g, Saturated Fat: 13g, Polyunsaturated Fat: 8g, Monounsaturated Fat: 19g, Trans Fat: 1g, Cholesterol: 226mg, Sodium: 310mg, Potassium: 574mg, Fiber: 1g, Sugar: 1g, Vitamin A: 300IU, Vitamin C: 1mg, Calcium: 38mg, Iron: 3mg
Author: Laurie McNamara
Course: Mains & Entrees
Cuisine: American