
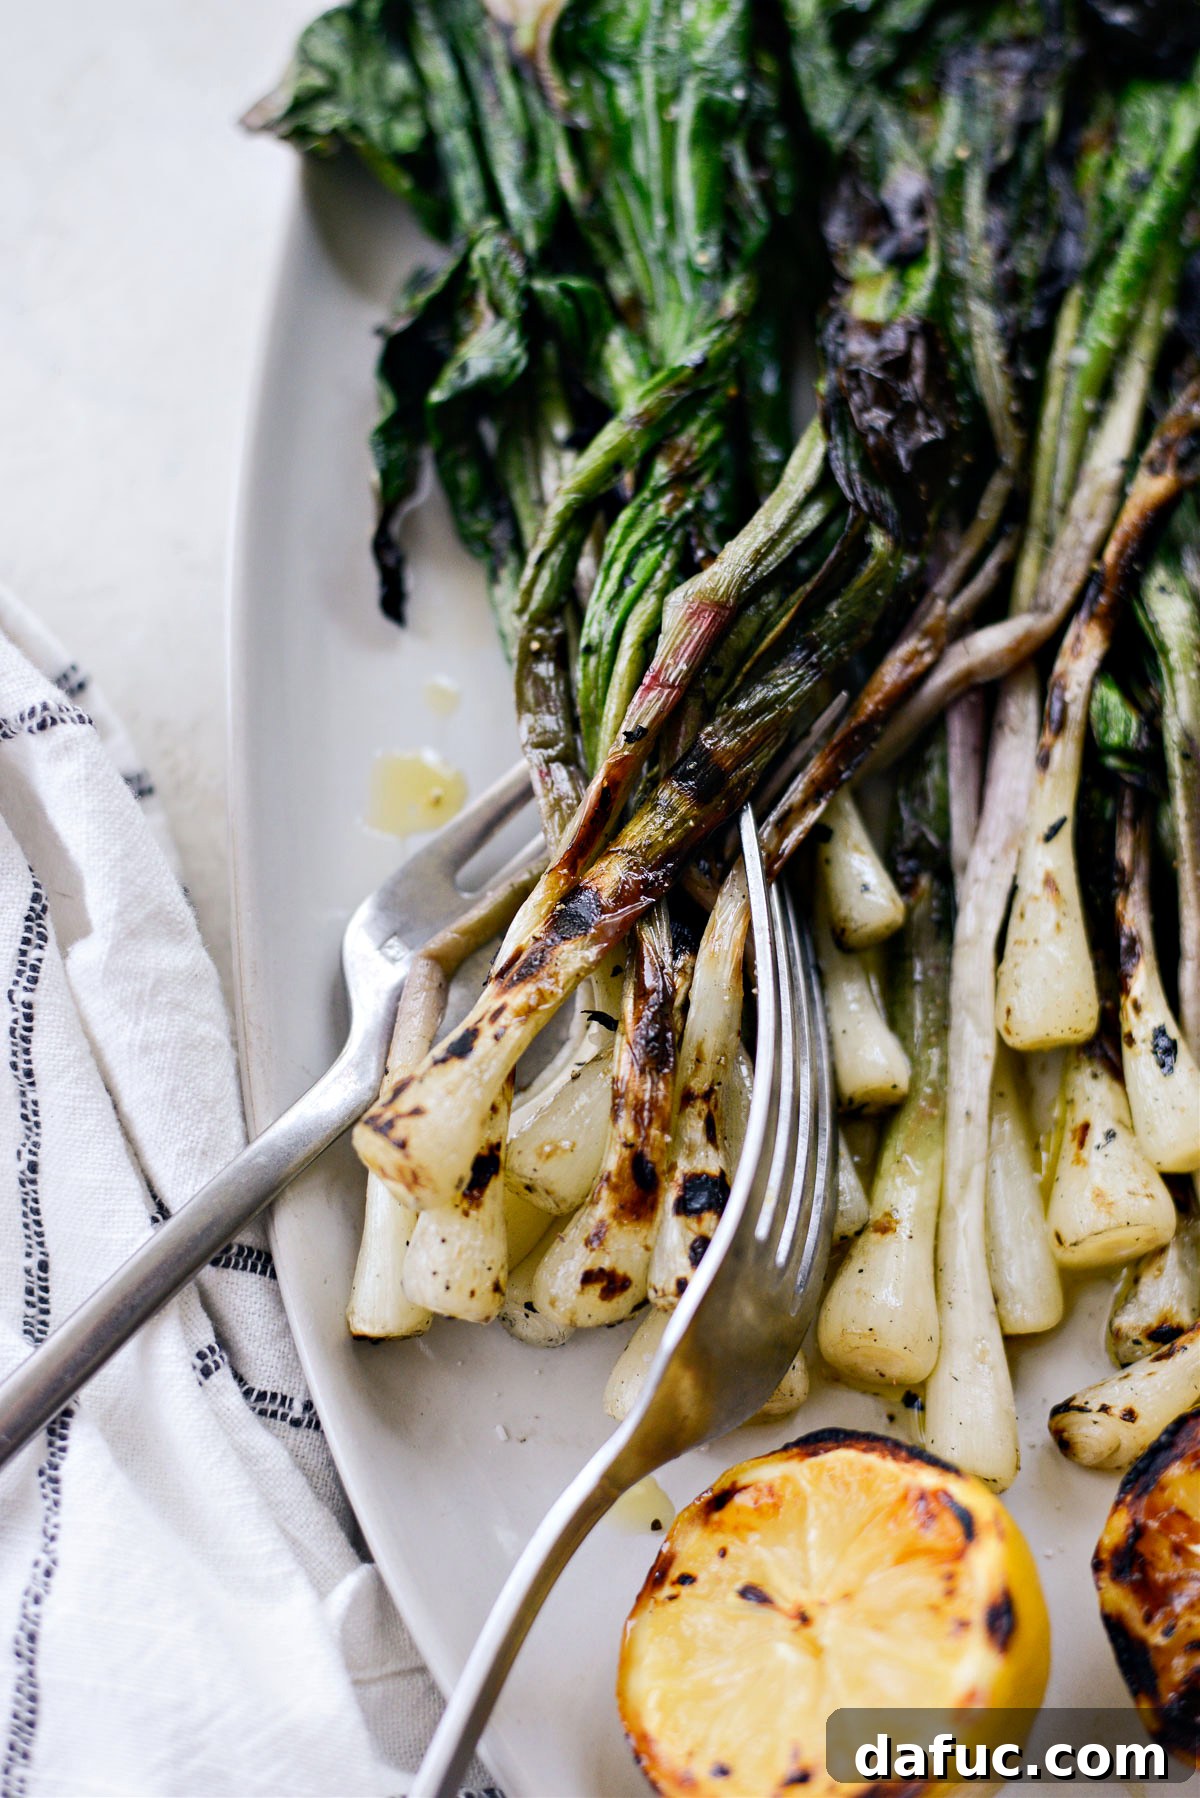
Discover the Delight of Grilled Ramps: A Comprehensive Guide to Foraging, Preparing, and Enjoying Wild Leeks
Unlock the secrets of spring’s most coveted wild delicacy with this ultimate guide to Grilled Ramps. This simple yet incredibly flavorful recipe is one of the best ways to savor the unique taste of freshly foraged ramps. In this comprehensive post, you’ll learn everything from responsibly harvesting these elusive wild leeks to their proper cleaning, storage, and the art of grilling them to perfection. Get ready to transform these seasonal treasures into an unforgettable culinary experience that serves 6 people.
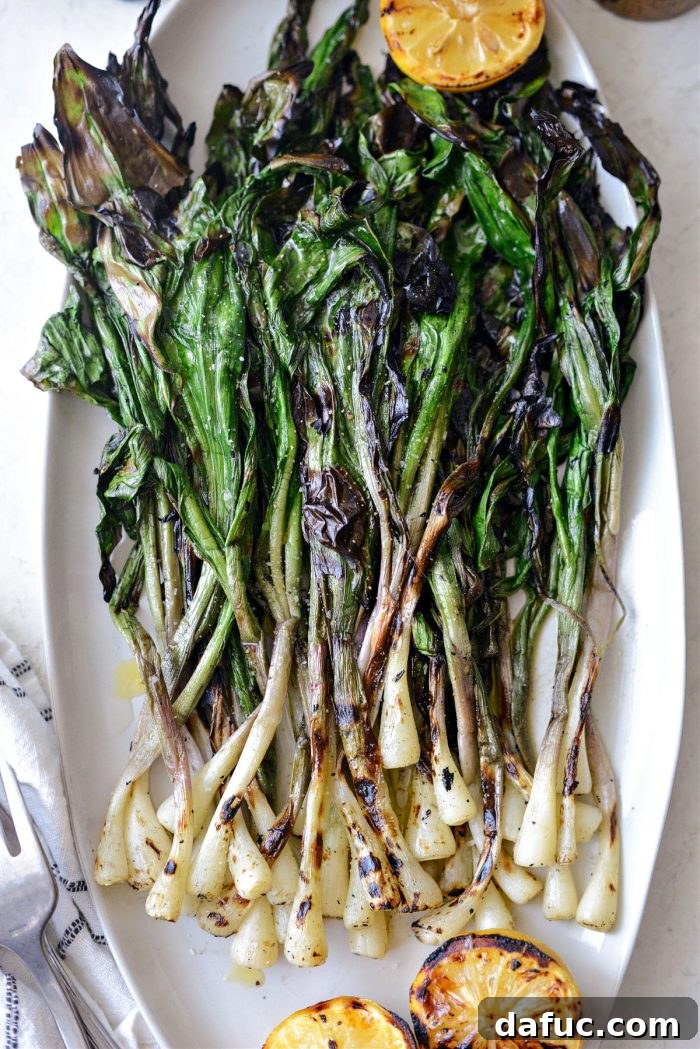
Embrace Ramp Season: A Spring Culinary Tradition
The arrival of spring brings with it a vibrant awakening in nature, and for food enthusiasts, it signals the much-anticipated “ramp season.” For years, Mother’s Day weekend has marked a cherished tradition for my husband, Pat, and me, joined by our dear friends. Our annual ritual involves venturing into Michigan’s lush woodlands, not just for the thrill of the hunt, but for the promise of nature’s bounty: earthy morel mushrooms and pungent wild ramps. While the guys typically take on the task of carefully digging for ramps, the collective effort culminates in one of the most memorable meals of the year. Imagine, after a fulfilling day of stooping and searching, settling down to plates piled high with grilled steaks, perfectly pan-fried morels, and Linda’s legendary potatoes infused with the unmistakable flavor of ramps. It’s an experience that truly defines the season.
This past year, the tradition took a slightly different, more intimate turn with just Pat and me exploring the woods. Yet, the spirit remained vibrant. We celebrated our successful forage with a delightful haul: precisely 27 morels (yes, we counted them!) and a generous two pounds of ramps, lovingly gathered by Pat for our culinary adventures. Even without our full group, the weekend was a resounding success, culminating in another unforgettable feast.
The abundance of fresh ramps brought back from the woods, along with our morel treasures, made for a truly rewarding spring adventure. It’s moments like these that connect us to nature and the simple joy of seasonal eating.
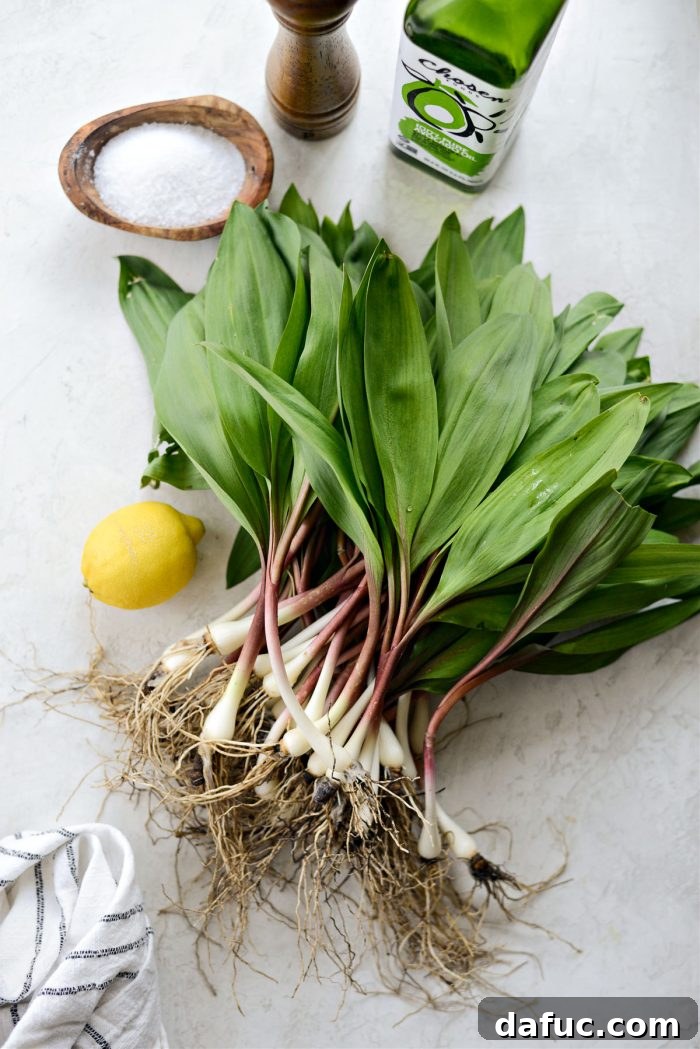
Essential Ingredients for Perfect Grilled Ramps:
Preparing grilled ramps is refreshingly simple, allowing their natural, vibrant flavors to shine. Here’s what you’ll need to create this delectable spring side dish:
- Freshly harvested ramps (wild leeks)
- Avocado oil (or another high smoke point oil like grapeseed or canola)
- Kosher salt
- Freshly ground black pepper
- Lemon (for a bright, zesty finish)
- High-quality extra virgin olive oil (for drizzling after grilling)
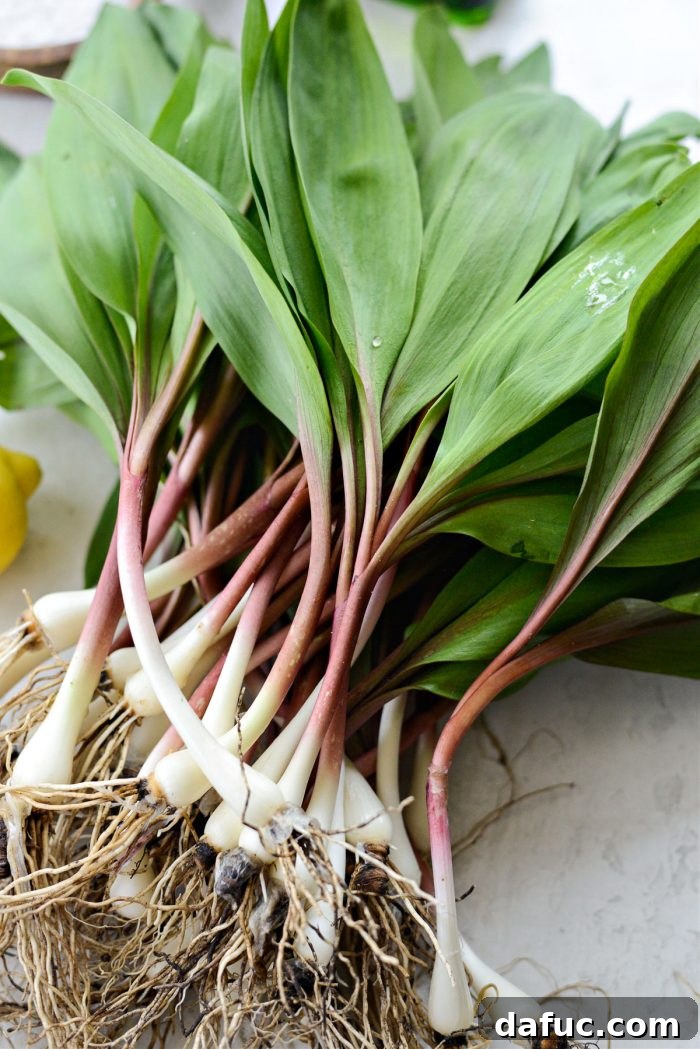
What Are Ramps? The Allure of Allium Tricoccum
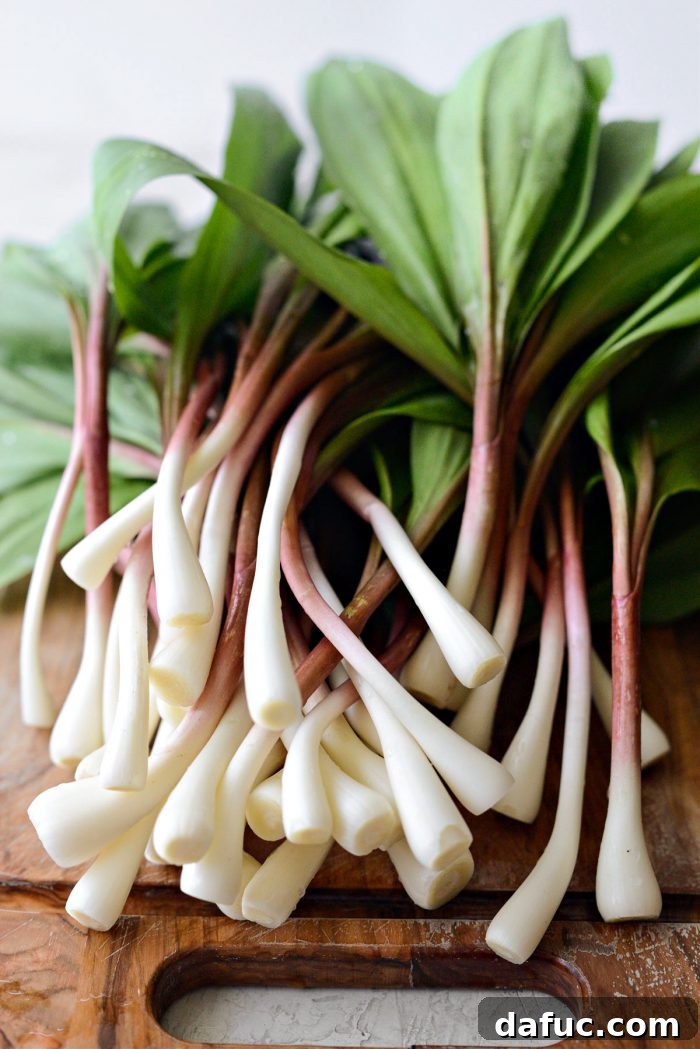
Ramps, scientifically known as Allium tricoccum, are a true harbinger of spring, captivating chefs and food lovers alike with their distinctive flavor. Often referred to as wild leeks, they belong to the illustrious allium family, making them close relatives of more common kitchen staples such as green onions, shallots, and cultivated leeks. Native to North America, ramps thrive in deciduous forests, typically found under the cool, shady canopy of trees during their brief spring season. Their preference for moist, rich soil makes them a treasure for foragers who know where to look.
What makes ramps truly special is that the entire plant, from its slender white bulb to its broad, vibrant green leaves, is edible and bursting with flavor (with the exception of the very fibrous root hairs, which are discarded during cleaning). While their aroma is undeniably pungent, reminiscent of a potent garlic and onion fusion, their culinary versatility is immense. Ramps can be enjoyed in a myriad of ways: raw, thinly sliced in salads for a sharp bite; roasted to mellow their intensity; sautéed to highlight their sweetness; or, as we’ll explore here, grilled to impart a smoky char that complements their natural zest. The stems and bulbs can even be pickled, preserving their unique taste long after the season ends.
Where to Find Ramps: From Wild Woods to Farmers’ Markets
Foraging for ramps in their natural habitat is a rewarding experience, but it requires knowledge and respect for the environment. They are typically found in specific regions across the eastern United States and Canada, often in rich, moist soil on wooded hillsides. However, if a woodland adventure isn’t feasible, don’t despair! Ramps have gained significant popularity in recent years, making them available in more accessible locations. You might find them at high-end specialty grocery stores, gourmet food shops, or local farmers’ markets. Be prepared, though, as their seasonality is incredibly short, often lasting only a few weeks from late April to early June, depending on the climate. This brief window of availability, combined with the effort involved in their wild harvest, often translates to a higher price point, reflecting their status as a sought-after seasonal delicacy.
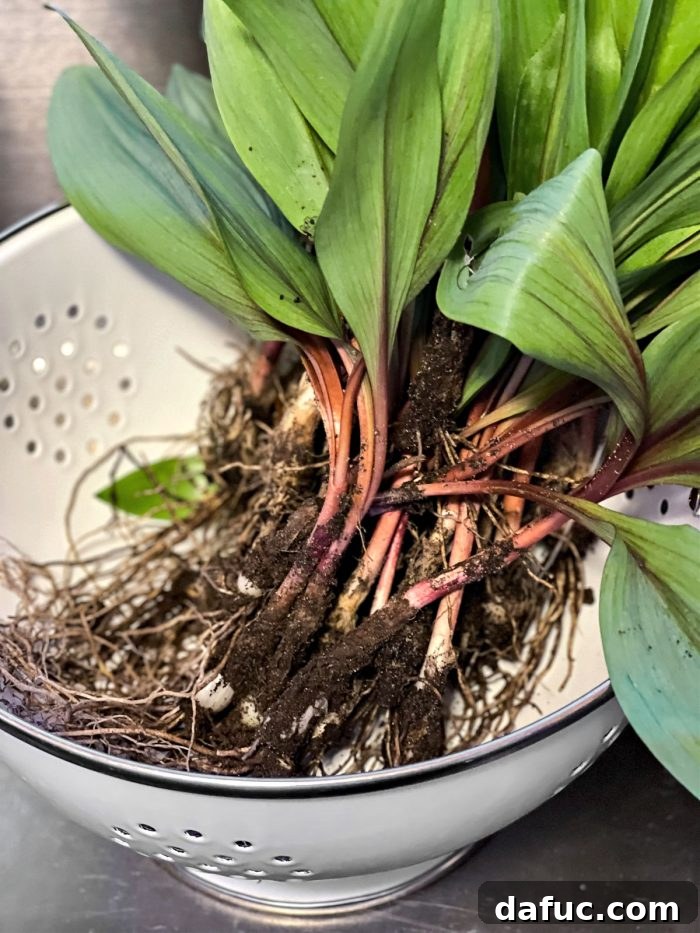
Sustainable Foraging: How to Responsibly Harvest Ramps
When embarking on a ramp foraging expedition, responsible and sustainable harvesting practices are paramount to ensure these wonderful plants return year after year. Ramps grow from bulbs that are connected by a delicate root system, and improper harvesting can easily wipe out an entire patch. To harvest ramps ethically:
- Dig Carefully: Use a small shovel or trowel to dig 3 to 5 inches deep, focusing on a small clump rather than individual plants. This helps preserve the surrounding soil and root structure.
- Leave Some Behind: Crucially, never remove all the ramps from a particular area. It’s best practice to always leave a significant portion of the patch untouched. This allows the remaining plants to reseed and ensures a healthy return for future seasons. Think of it as leaving a legacy for both nature and fellow foragers.
- Gentle Transport: Once harvested, handle ramps with care to prevent bruising or damage to their delicate leaves. We typically transfer small clumps into a cooler, which offers protection, but a paper bag or a large bucket also works well. The goal is to keep them fresh and intact until you get them home.
- Check Local Regulations: Before you head out, always make sure to consult your state’s Department of Natural Resources (DNR) website. Regulations regarding wild food foraging can vary significantly by location, covering what’s permitted, what’s not, and any specific rules or permits required. Respecting these guidelines is vital for both legality and conservation.
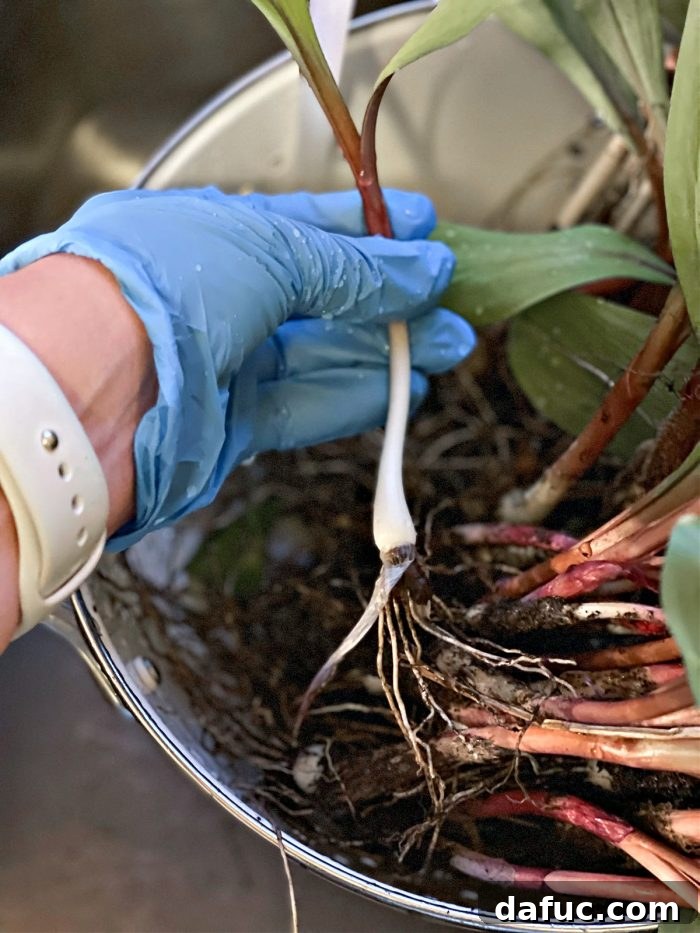
The Art of Cleaning Ramps: A Step-by-Step Guide
Just like their cultivated cousins, leeks, wild ramps require a thorough cleaning due to their growth environment. Soil, mud, and debris can easily hide within their tight crevices and delicate layers. Even if ramps appear clean when purchased from a farmers’ market or specialty store, it’s always recommended to give them a meticulous wash before cooking. There’s no single “wrong” way to clean them, but a gentle approach ensures you preserve their delicate structure and flavor:
- Initial Loosening: Begin by gently loosening any large clumps of soil from the roots. You can gently shake the ramps or carefully brush off excess dirt.
- Rinse and Peel: Under cool running water, rinse the root ends and bulbs. As you rinse, carefully peel back and discard any thin, loose, or slimy outer layers from the white bulb and stem. These layers often trap the most dirt. For larger quantities, like the two pounds I often clean, wearing gloves can help keep your hands from becoming waterlogged.
- Final Root Rinse: Give the roots a final, thorough rinse. At this stage, I personally prefer to leave the roots attached for storage. This helps keep the ramps fresh longer. The final, more intensive cleaning process is reserved for the day I plan to cook them, which minimizes handling and potential damage to the delicate leaves. However, some people prefer to trim the roots, soak, rinse, and pat dry immediately before storing, and this method typically works without issue. It’s truly a matter of personal preference and what feels safest for preserving their freshness.
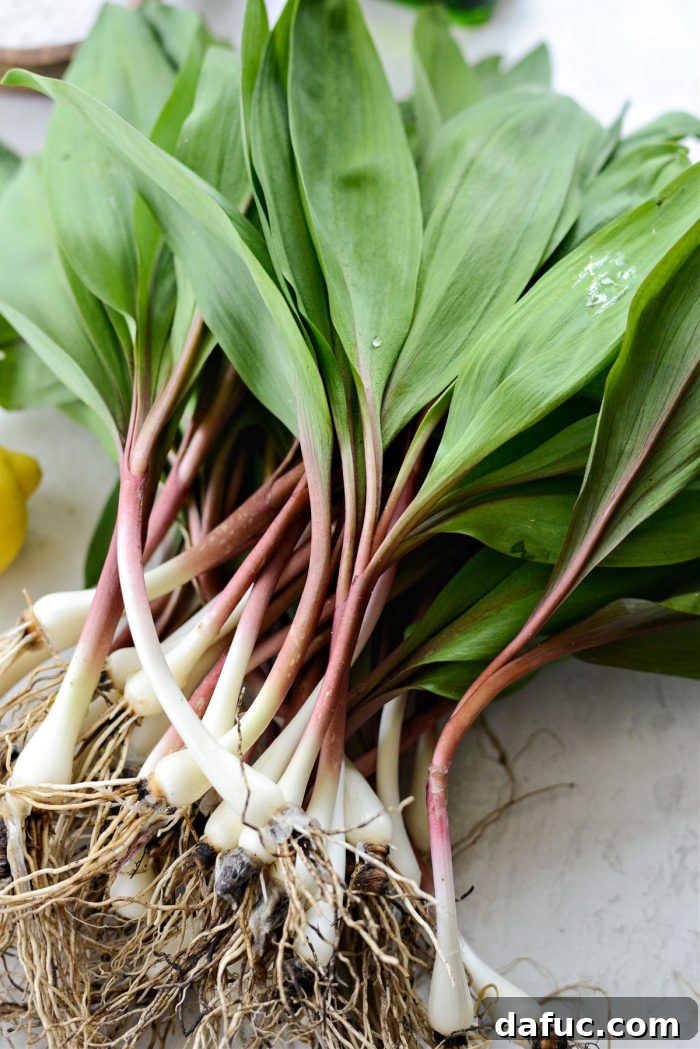
Optimal Storage for Fresh Ramps
Once your ramps have undergone their initial cleaning, proper storage is key to extending their short shelf life. To keep them fresh and vibrant for as long as possible:
- Wrap the Roots: After rinsing the root ends (as described in the cleaning section), wrap the root portion of the ramps with several layers of damp paper towel. Think of it like a bouquet of flowers – the moisture from the ramps will keep the paper towel damp, providing a hydrating environment.
- Bag Them Gently: Carefully place this “bouquet” (root-side down) into an unsealed plastic bag. An unsealed bag allows for some air circulation while maintaining humidity, preventing the ramps from drying out or becoming overly moist and rotting.
- Refrigerate Flat: Lay the bagged ramps flat on a shelf in your refrigerator or, ideally, in the crisper drawer. Be mindful not to crush the delicate leaves, as they bruise easily.
While I typically use my ramps within a day or two of storage, this method is highly effective and should keep them fresh and flavorful for at least 3 to 4 days, preserving their unique qualities until you’re ready to cook.
How to Grill Ramps: A Simple and Flavorful Method
Grilling ramps is undoubtedly one of the most delightful ways to enjoy these seasonal treasures. The high heat of the grill imparts a beautiful char and a smoky sweetness, transforming their pungent raw flavor into something incredibly tender and aromatic. Here’s how to achieve perfectly grilled ramps:
Final Prep Before Grilling:
- Trim Roots: Just before you’re ready to cook, trim and discard the root end of each ramp. This is the point where I prefer to perform the final, thorough cleaning.
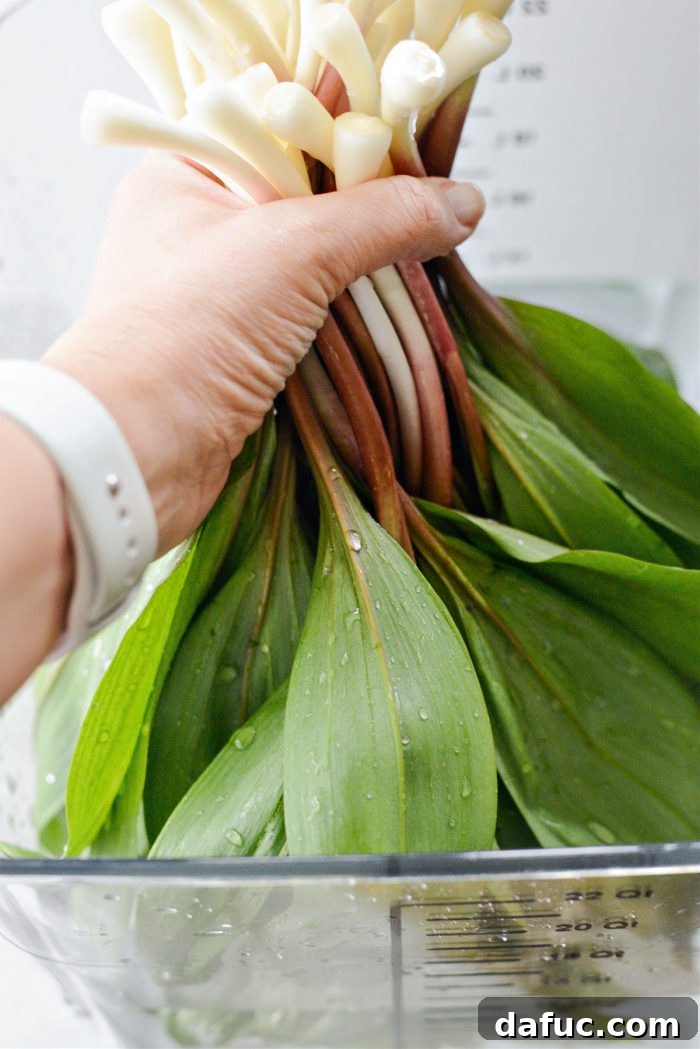
- Deep Clean Soak: Fill a large bucket or a spacious bowl with cold water. If you have a brining bucket, it works perfectly for this. Otherwise, work in batches using a deep roasting pan or a large mixing bowl.
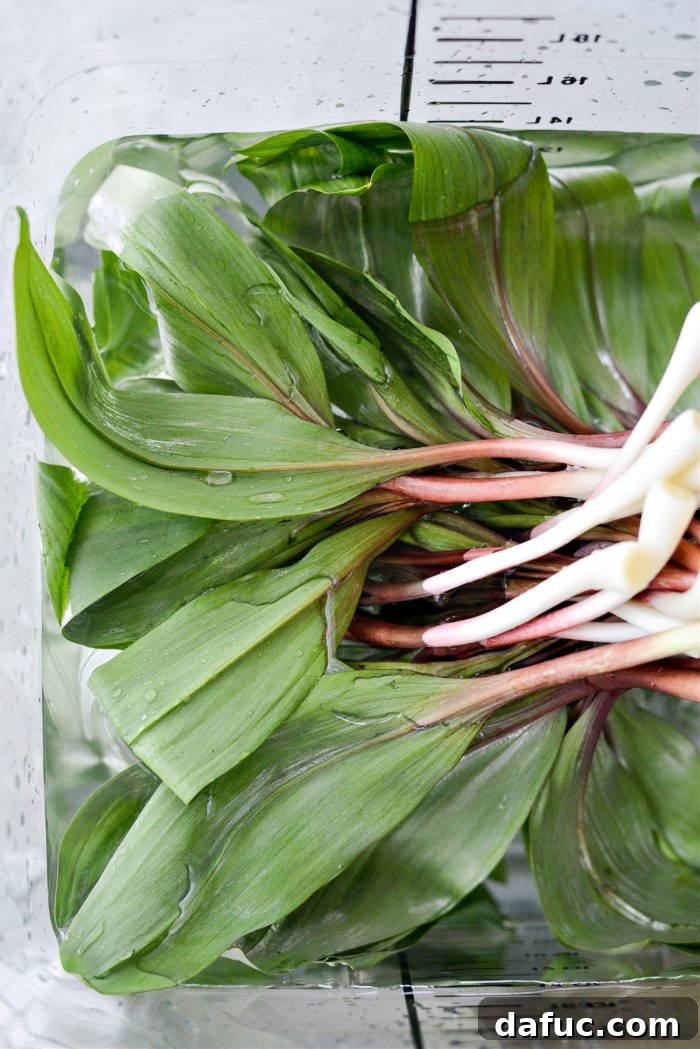
- Submerge and Swish: Submerge the ramps fully into the cold water. Gently swish them around to dislodge any remaining soil or debris clinging to the leaves and bulbs.
- Invert and Repeat: Remove the ramps from the water, turn them, and plunge them back in, leaf-side first. Repeat this swishing and inverting process a few times to ensure all parts are thoroughly cleaned.
- Final Soak: Finally, fully submerge the ramps and let them sit in the cold water for about 15 minutes. During this time, any stubborn dirt will settle to the bottom of the bucket, leaving your ramps pristine.

Using a large container ensures enough space for a thorough wash.

Make sure they are fully submerged to release all trapped soil.
This method ensures every part of the ramp is clean.
Repeat as many times as needed until the water runs clear.
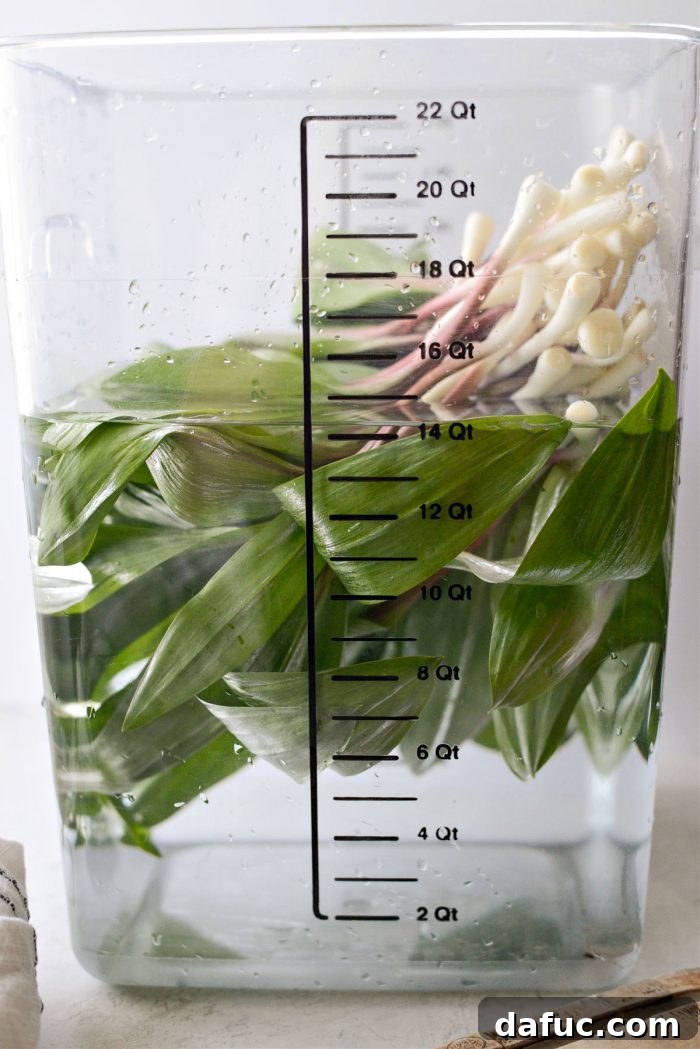
A good soak ensures deep cleaning.
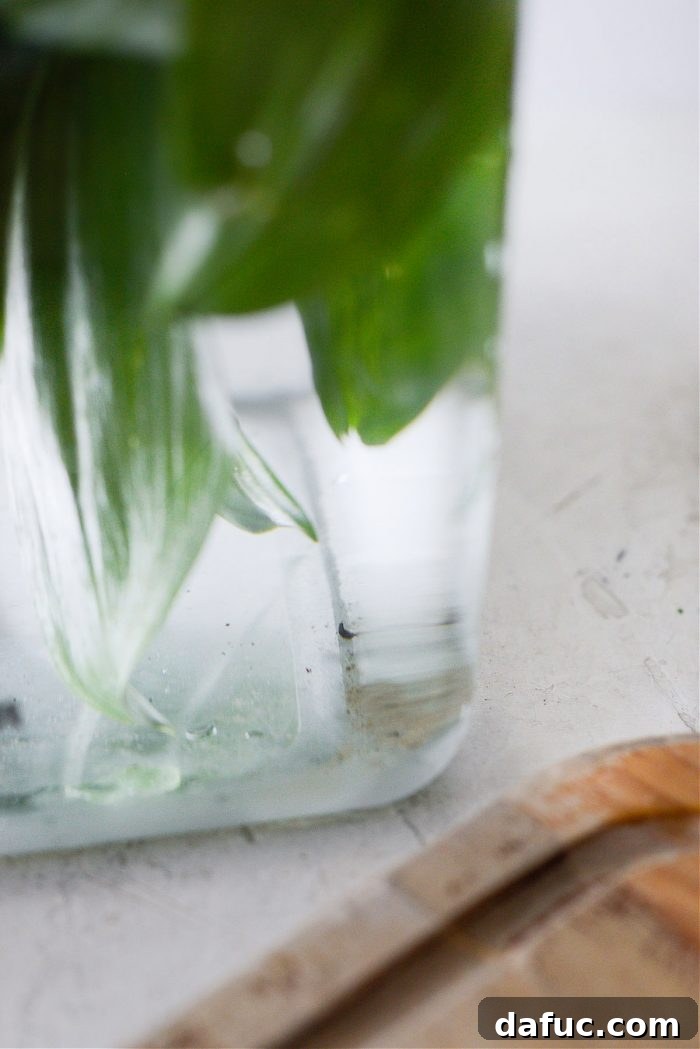
Visible proof of a thorough cleaning.
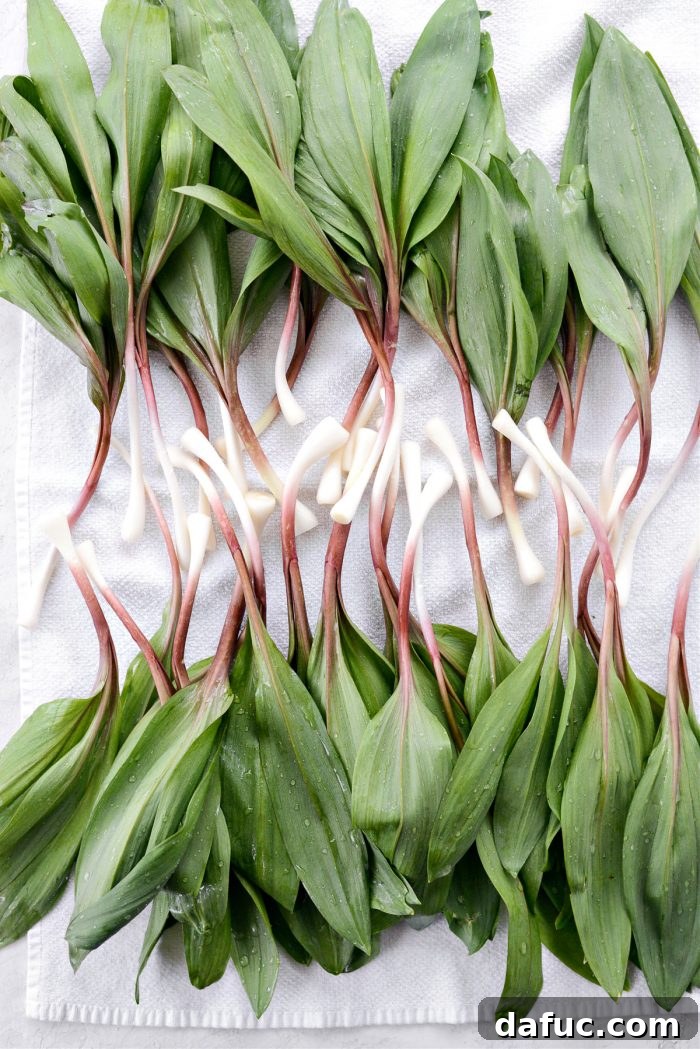
Dry ramps are essential for good grilling results.
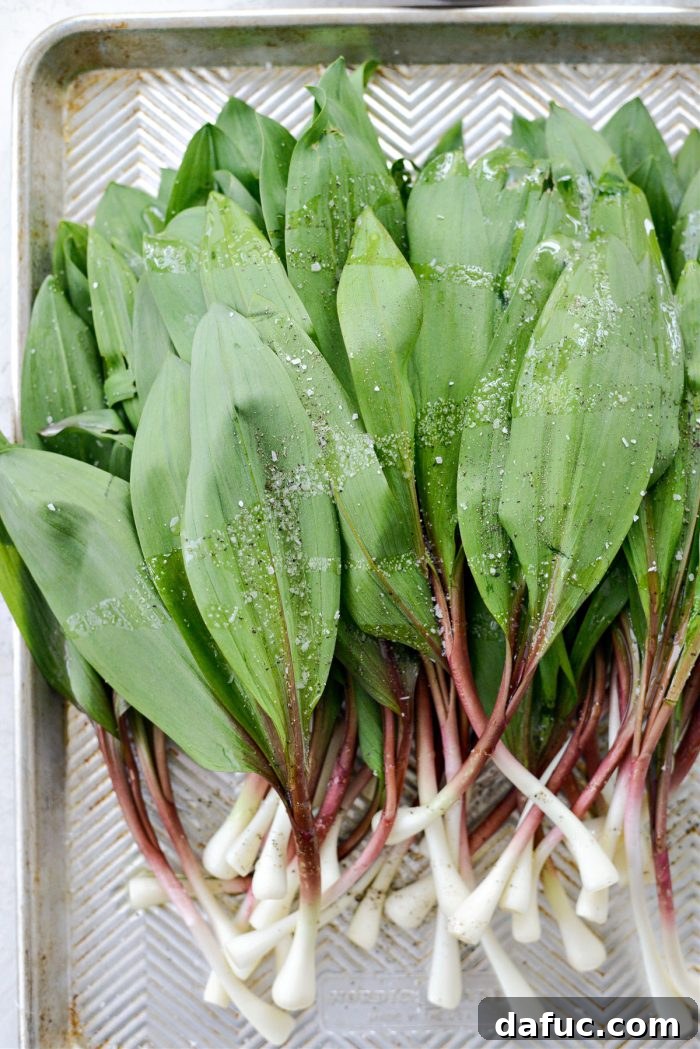
Seasoning and Preparing for the Grill:
- Dry Thoroughly: Once cleaned, remove the ramps from the water, shaking off as much excess liquid as possible over a sink. Transfer them to a clean kitchen towel and pat them thoroughly dry with another clean towel. Excess moisture can prevent a good char.
- Oil and Season: Lay the dry ramps on a rimmed metal baking sheet. Drizzle them generously with about 2 tablespoons of avocado oil (or your preferred high smoke point oil). Season with a few pinches of kosher salt and a good grinding of fresh black pepper.
- Toss and Prepare Lemons: Using your hands, gently toss the ramps to ensure they are evenly coated with oil and seasoning, from bulb to delicate leaf. While you’re at it, brush 2 to 4 lemon halves with a little oil as well; these will be grilled alongside the ramps to create a fantastic garnish and flavor enhancer.
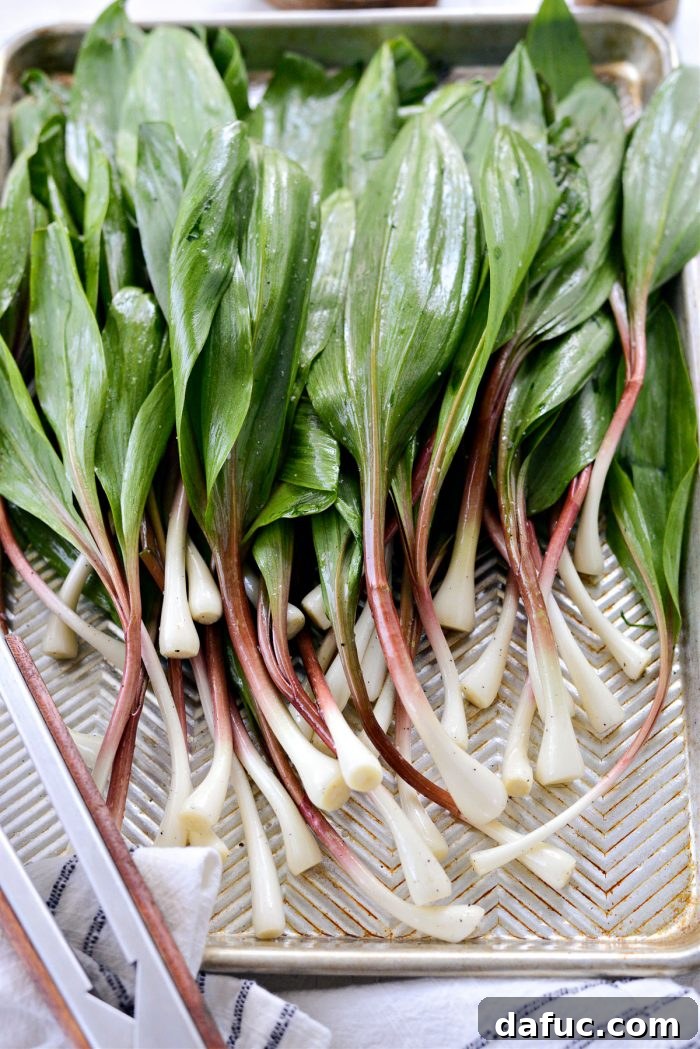
Grilling Process:
- Preheat Grill: Preheat your grill to a high temperature, around 500°F (260°C). A hot grill is essential for getting a quick char without overcooking the delicate ramps.
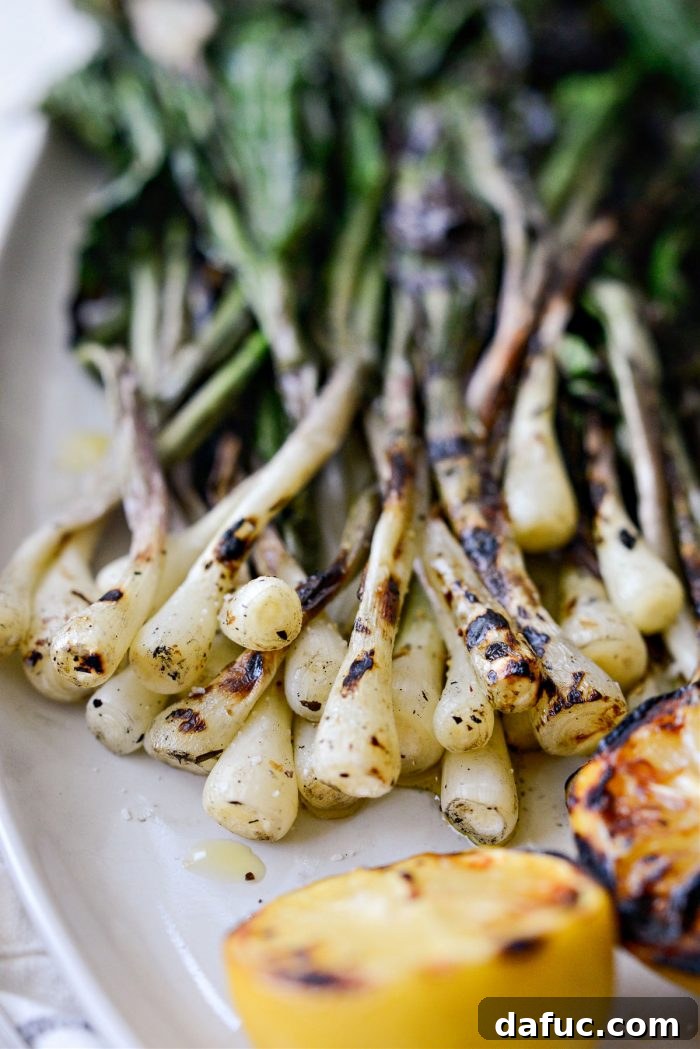
- Grill Ramps: Once the grill is screaming hot, use tongs to carefully lay the seasoned ramps directly onto the grates. Grill them for just a minute or two per side, until they are slightly charred, tender, and bright green. Watch them closely, as their delicate leaves can burn quickly.
- Grill Lemons: Place the oiled lemon halves cut-side down on the hottest part of the grill. You’re looking for deep char marks and a caramelized surface, which typically takes a few minutes. While the recipe only calls for the juice of half a grilled lemon, grilling extra halves makes for beautiful garnishes for other dishes.
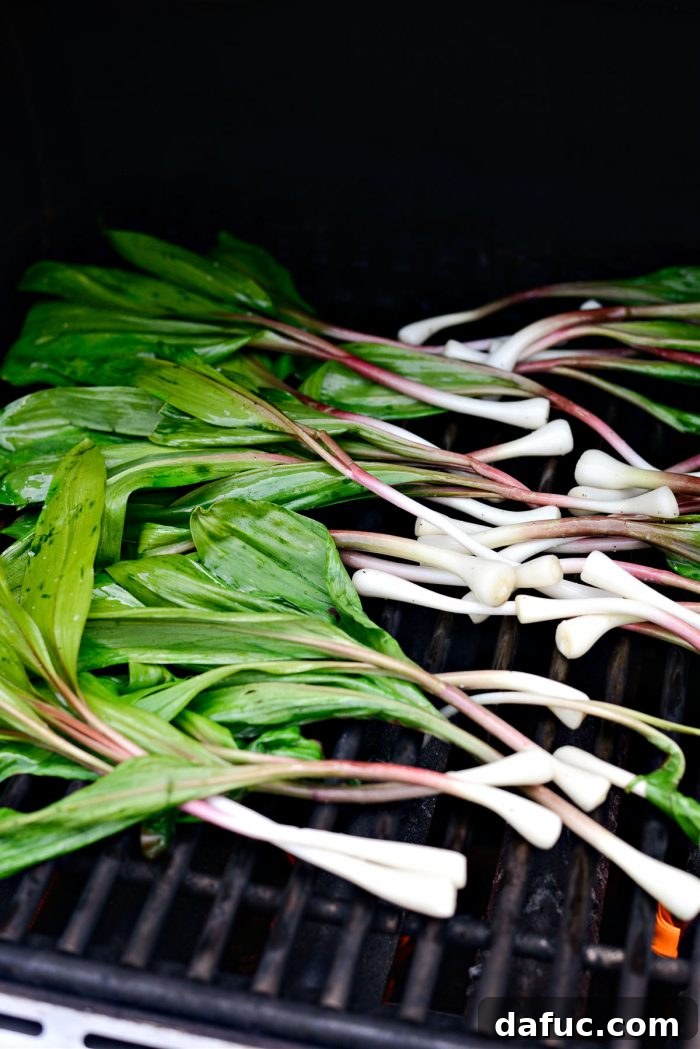
The high heat caramelizes and tenderizes the ramps quickly.

Grilled lemons offer a fantastic smoky citrus note.
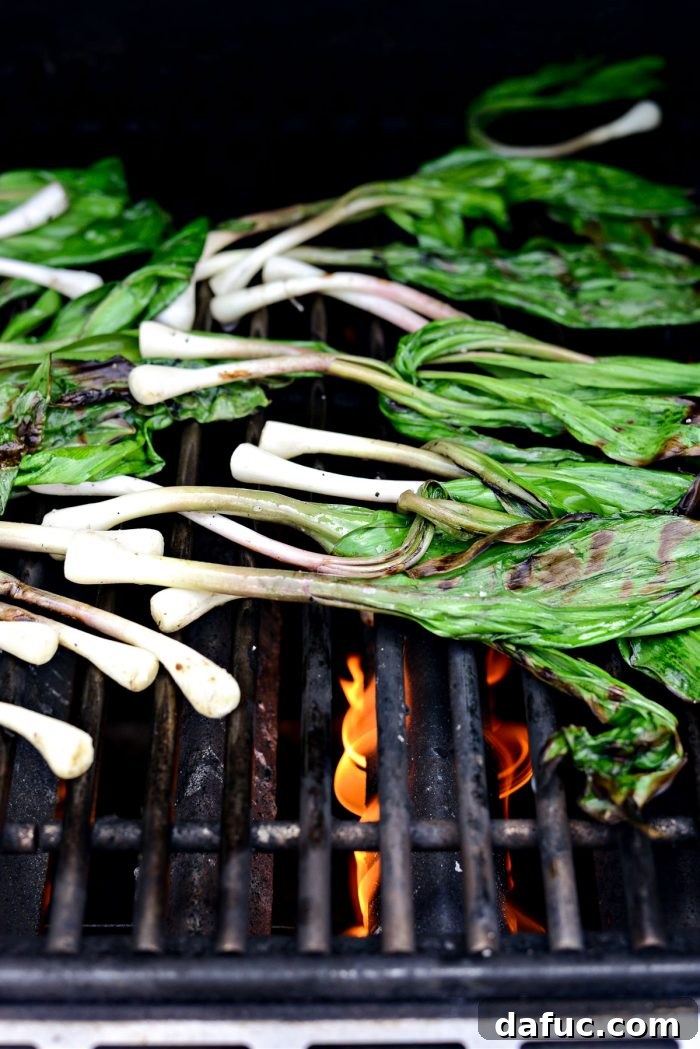
Just a few minutes are all they need.
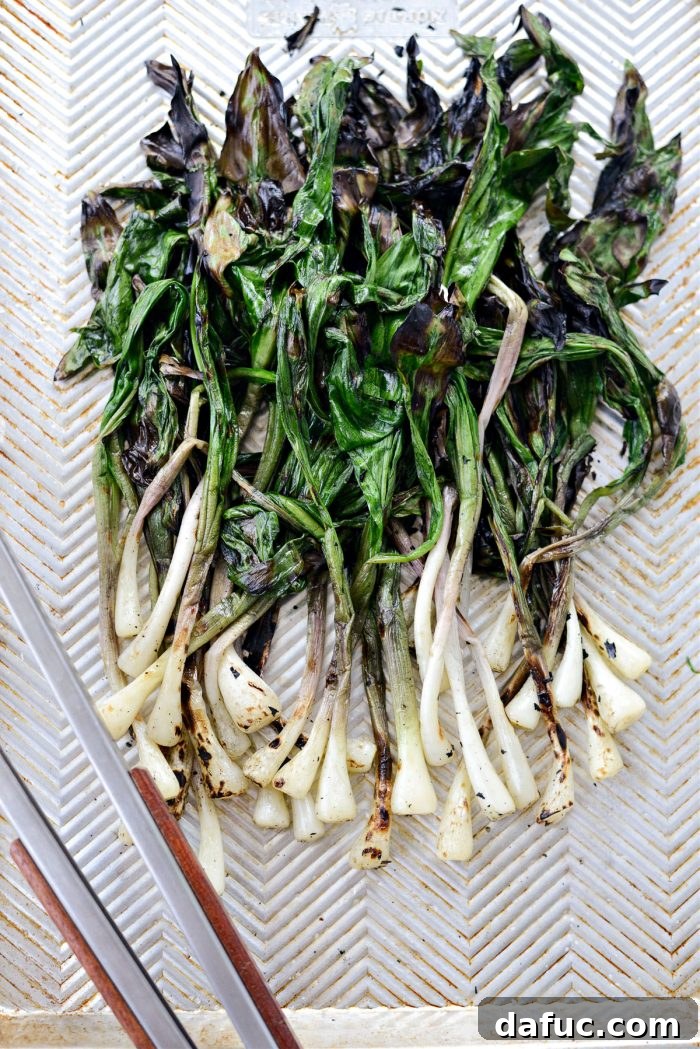
Finishing Touches and Serving:
- Remove from Grill: Once the ramps are tender and slightly charred, transfer them and the grilled lemons back to the rimmed baking sheet and bring them indoors.
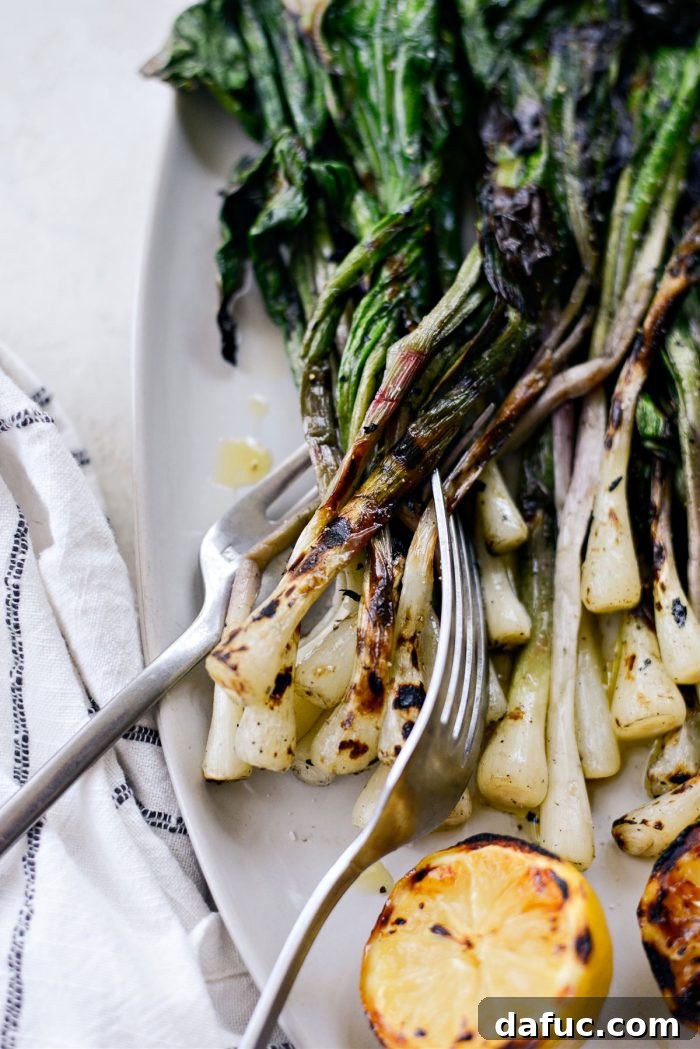
- Serve and Garnish: Arrange the grilled ramps on a serving platter alongside the charred lemons. Drizzle a touch of good quality extra virgin olive oil over the ramps for added richness and flavor.
- Lemon Squeeze: The magic touch comes from squeezing the juice of half a grilled lemon over the ramps. Grilling lemons intensifies their flavor and makes them incredibly juicy, adding a bright, smoky tang that perfectly complements the ramps. Season with a final pinch of salt and pepper if desired.
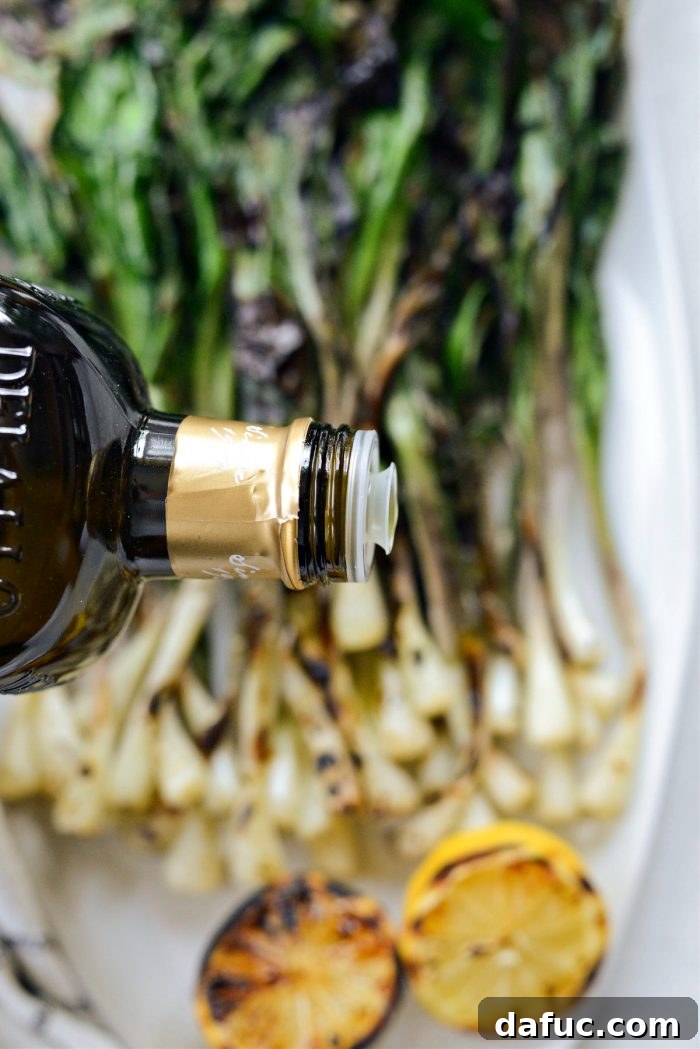
A final drizzle of olive oil enhances the flavor.
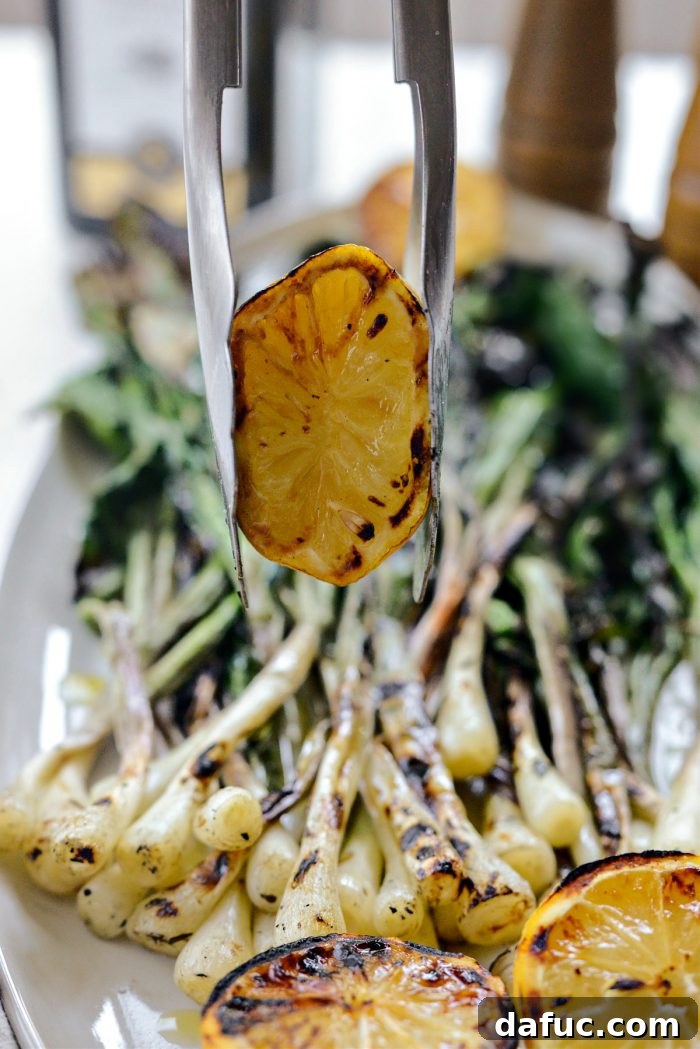
The zesty squeeze of grilled lemon is a game-changer.
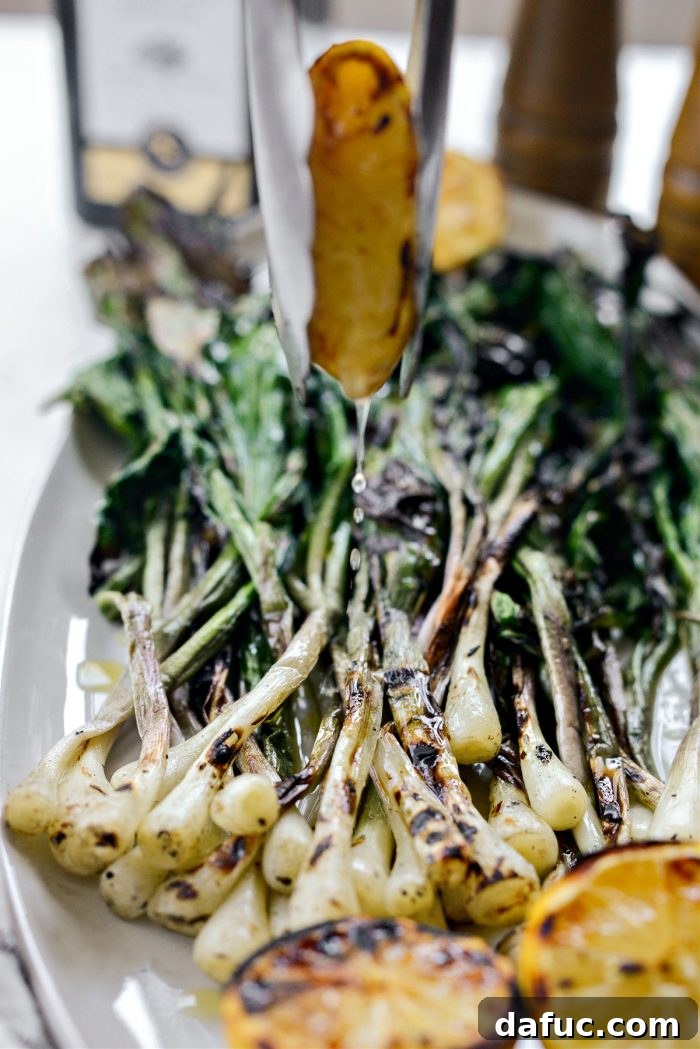
Grilled lemons truly burst with juice.
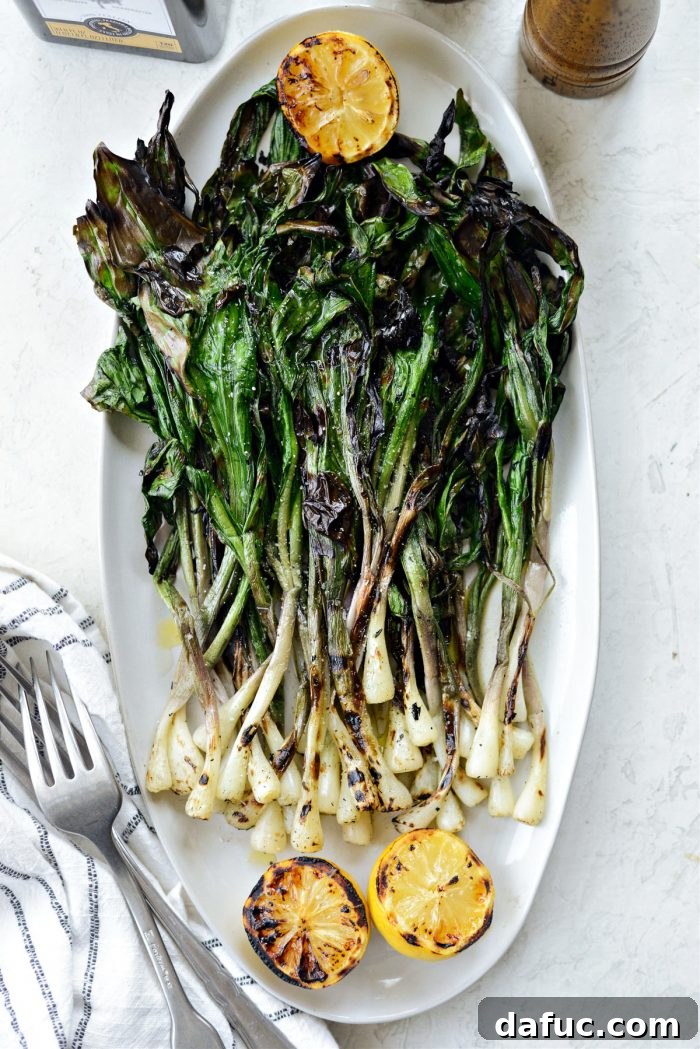
Serve immediately and enjoy the incredible flavors of spring!
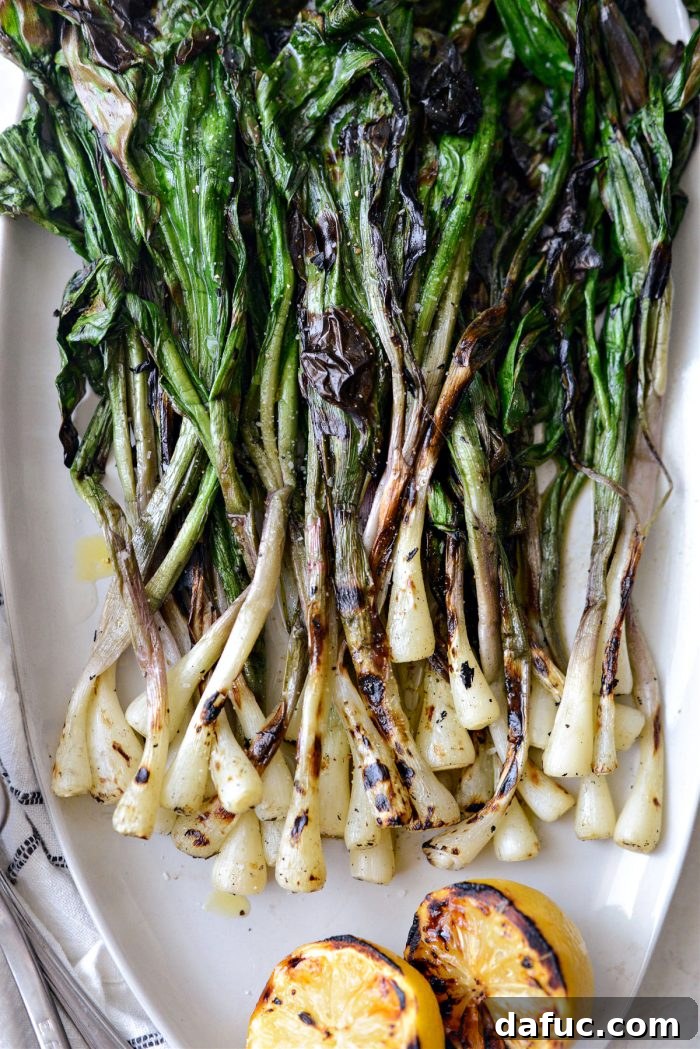
Grilled ramps are a testament to the idea that simple preparations can yield the most extraordinary flavors. Their tender texture and intensely savory-sweet profile, enhanced by the smoky char from the grill, make them an ideal accompaniment to almost any meal. Consider serving them alongside grilled proteins such as juicy steaks, succulent chicken, delicate seafood, or even plant-based proteins for a vibrant and seasonal side. These versatile wild leeks truly complement a wide array of main courses, adding a gourmet touch to your spring dining experience.
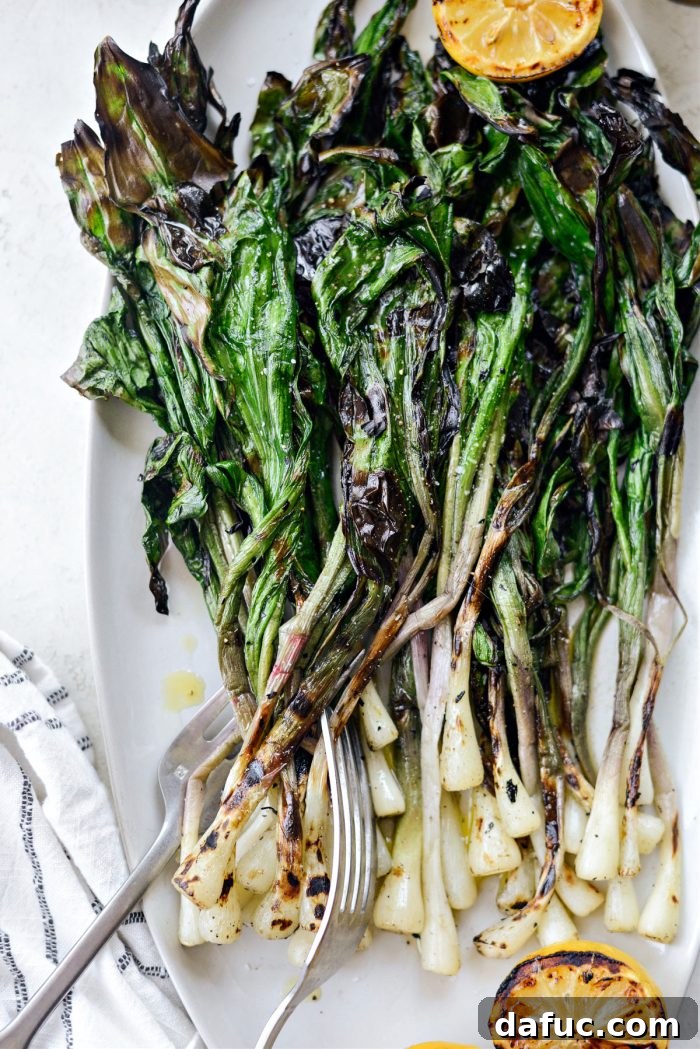
Enjoy your culinary creation! If you try this Grilled Ramps Recipe, we’d love to see it! Snap a photo and tag us on Twitter or Instagram!

Print Recipe
Pin Recipe
Grilled Ramps Recipe
Ingredients
- 1 pound ramps
- 2 tablespoons avocado oil
- kosher salt
- freshly ground black pepper
- 1 to 2 lemons, halved, brushed with oil
- drizzle extra virgin olive oil
Equipment
-
Rubbermaid Brining Bucket
Instructions
-
Read the body of the post for detailed information on foraging, cleaning, and storing ramps.
-
Once your ramps are trimmed and thoroughly cleaned, shake off any excess water into the sink. Spread them out onto a clean kitchen towel and use another clean towel to pat them completely dry. Flip the ramps and repeat the drying process to ensure no moisture remains.
-
Preheat your grill to a high temperature, around 500°F (260°C).
-
While your grill is preheating, place the dried ramps on a rimmed metal baking sheet. Drizzle 2 tablespoons of avocado oil (or another oil with a high smoke point) over the ramps. Season generously with a few pinches of kosher salt and freshly ground black pepper.
-
Using your hands, gently toss the ramps to ensure they are evenly coated in the oil and seasoning, including the delicate leaves. Also, brush a little oil on the cut side of the lemon halves.
-
Once your grill is hot, use tongs to transfer the ramps onto the hot grill grates. Place the lemon halves, cut-side down, on the hottest part of your grill to develop deep char marks. Cook the ramps for only a minute or two per side, flipping carefully until they are tender and slightly charred. Leave the lemons on the grill until they achieve distinct grill marks and caramelization.
-
When the ramps are tender and cooked to your liking, transfer them back to the baking sheet. Bring them inside along with the charred lemons.
-
Transfer the grilled ramps to a serving platter. Drizzle them with a little extra virgin olive oil and squeeze the juice from half a grilled lemon over them. Season with a little extra salt and pepper if needed before serving immediately.