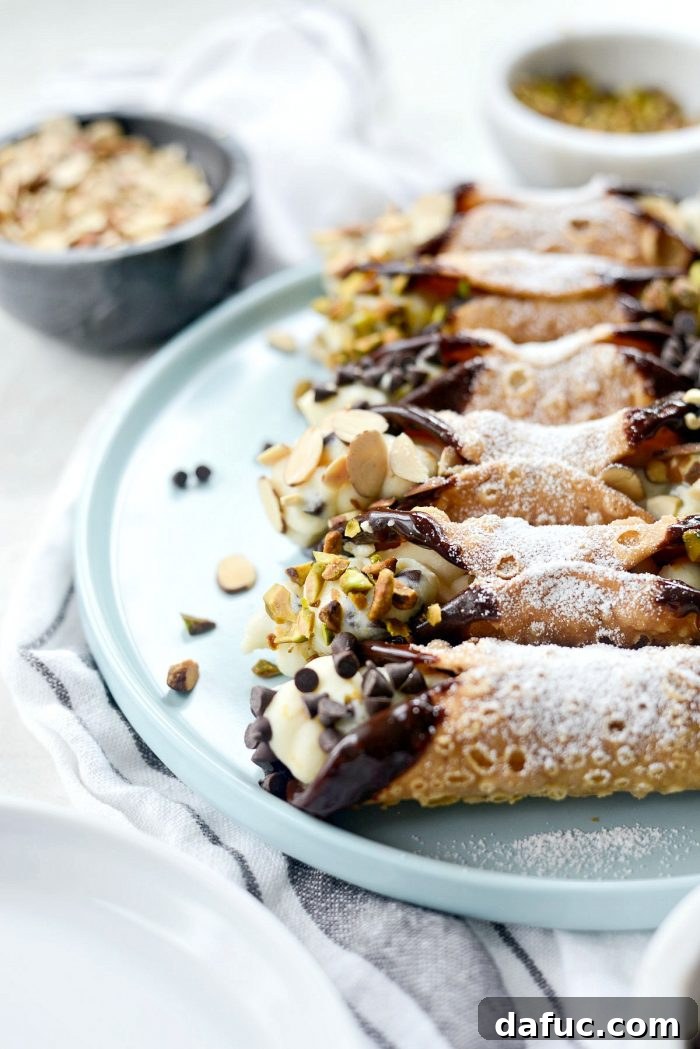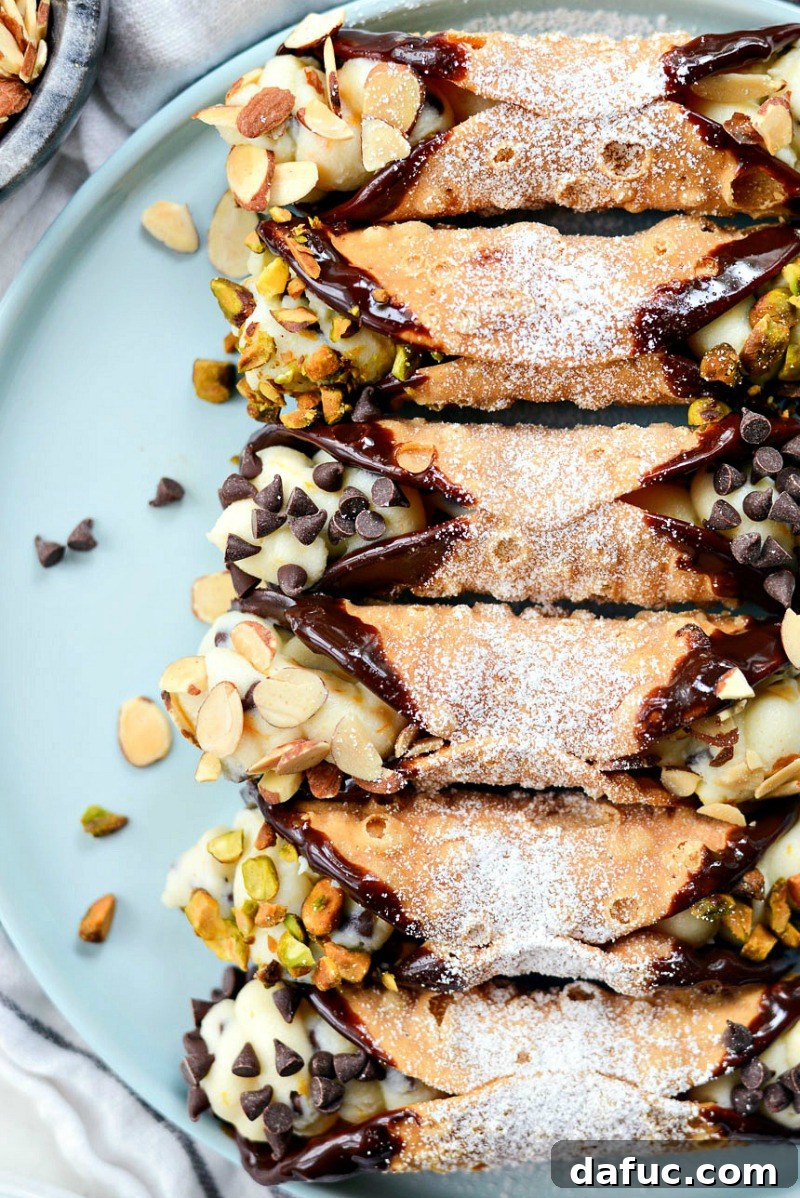
Dive into the delightful world of Italian pastries with this incredibly easy homemade cannoli recipe. Forget the intimidation; crafting these classic treats in your own kitchen is simpler than you think! We’ll guide you through making crisp, golden cannoli shells filled with a luscious, lightly sweetened whipped ricotta. Infused with bright hints of citrus and warm vanilla, this creamy filling is simply irresistible. To elevate the experience, the ends of each cannoli are traditionally dipped in mini chocolate chips, toasted almonds, or vibrant pistachios, adding both flavor and visual appeal to every bite.
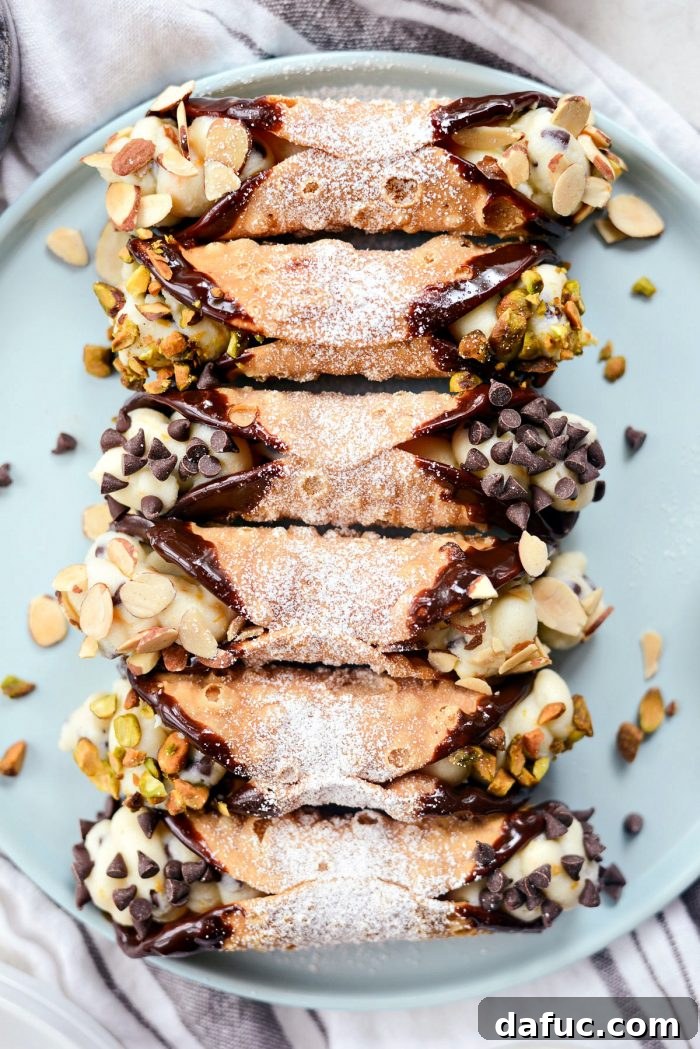
Cannolis hold a special place in the hearts of dessert lovers, and for good reason. There’s a unique magic in the combination of textures and flavors they offer. Imagine biting into a perfectly crisp, crunchy shell, immediately followed by the cool, velvety embrace of a subtly sweet ricotta filling. As the flavors unfold, you’ll discover delicate notes of zesty citrus and tiny bursts of chocolate chips, creating a harmonious symphony on your palate. It’s a truly dreamy confection, especially enjoyable during the warmer months when a light and refreshing treat is most welcome.
While the traditional approach might seem daunting, our recipe focuses on making the process accessible without compromising on authentic taste. One of our favorite enhancements involves a quick and aromatic espresso chocolate sauce. This rich, dark dip not only adds a beautiful finish to the cannoli shells but also introduces a sophisticated layer of flavor that complements the sweet ricotta perfectly. Dipping the ends of the shells in this decadent sauce before filling them transforms an already addictive treat into an absolute masterpiece.
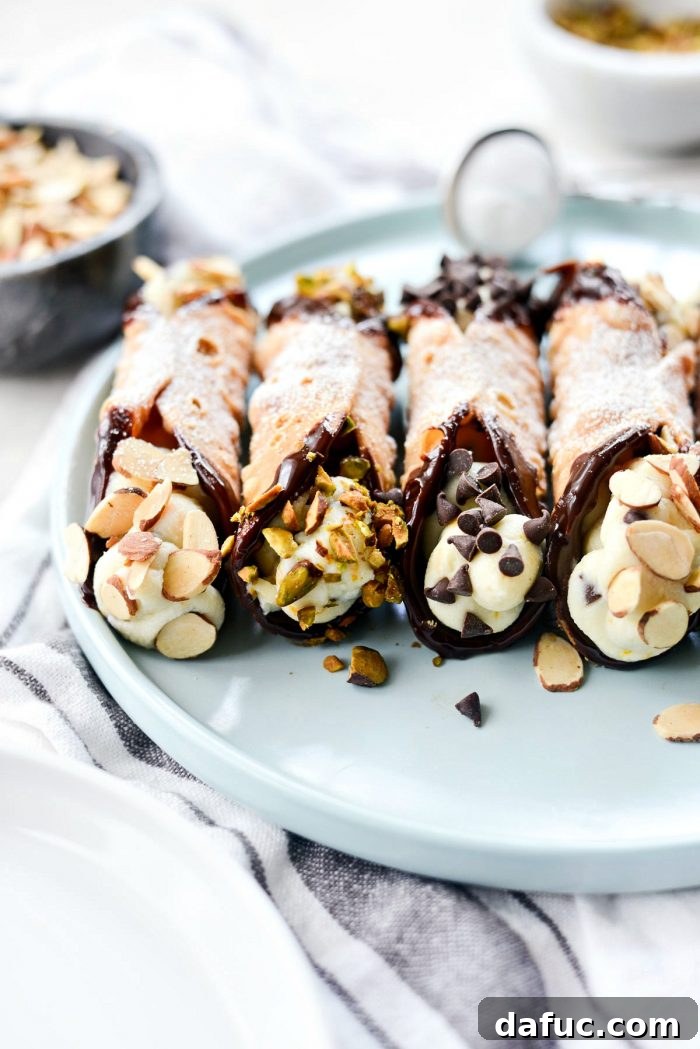
These easy homemade cannolis are not just a dessert; they’re an experience. They are surprisingly simple to assemble, making them an ideal project for home bakers looking to impress without stress. Picture this: a hot summer day, and you reach for a perfectly chilled cannoli. The contrast of the crispy shell and the cool, creamy filling is simply divine, offering a refreshing escape from the heat. They truly are the perfect cool treat, bringing a touch of Italian sunshine to any occasion.
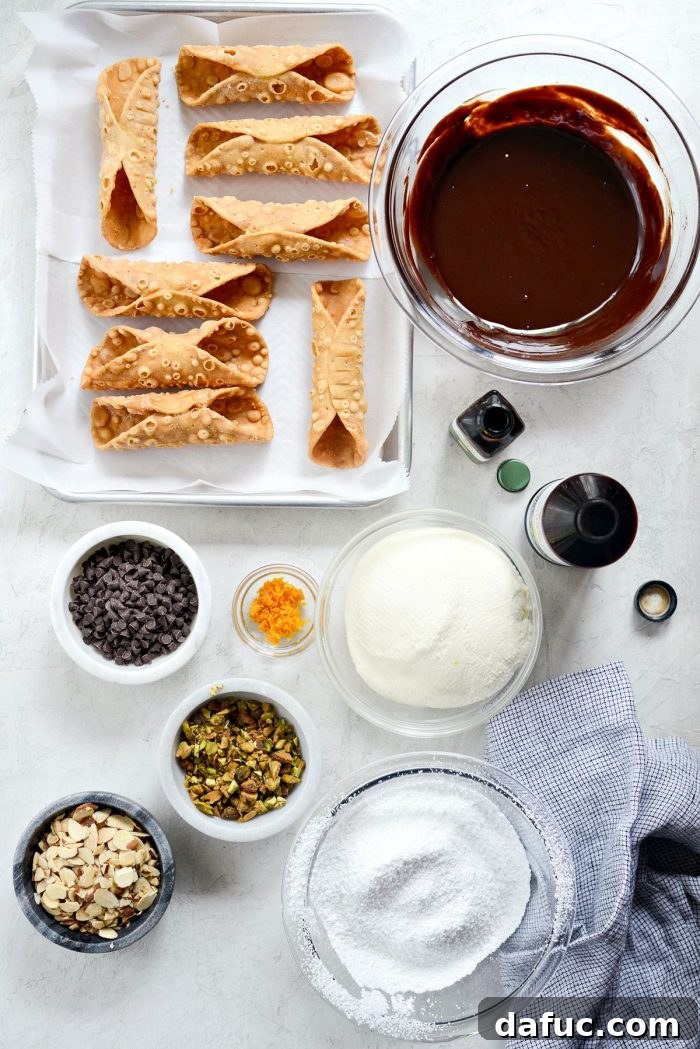
Essential Ingredients for Your Easy Homemade Cannolis
Crafting these delectable Italian pastries requires only a handful of readily available ingredients. The beauty of this recipe lies in its simplicity, allowing the quality of each component to shine through. Here’s a detailed look at what you’ll need to create your own batch of easy homemade cannolis:
- Ricotta Cheese: The star of our filling, fresh whole-milk ricotta is crucial for achieving that signature creamy texture. Draining it thoroughly is key to preventing a watery filling.
- Cannoli Shells: You have options here! While making them from scratch offers a truly authentic experience, high-quality store-bought shells (like those from Alessi) are a fantastic shortcut, especially if you’re new to deep-frying or prefer to save time. Look for crisp, pre-made shells for convenience.
- Semi-Sweet Chocolate: This forms the base of our optional but highly recommended espresso chocolate dip, providing a rich, deep flavor that balances the sweetness of the filling.
- Espresso Powder: Dissolved in water, this adds a subtle depth and intensity to the chocolate dip, enhancing its overall flavor without making it overtly coffee-flavored.
- Coconut Oil: Used in the chocolate dip, coconut oil helps create a smooth, glossy consistency that hardens beautifully on the shells.
- Powdered Sugar (sifted): Essential for sweetening the ricotta filling and ensuring a silky-smooth, lump-free texture. Sifting is vital!
- Orange Zest: A touch of fresh orange zest brightens the ricotta filling, adding a wonderful aromatic and citrusy note that is characteristic of classic cannolis.
- Pure Vanilla Extract: A staple in almost any sweet recipe, vanilla extract adds warmth and depth to the filling’s flavor profile.
- Lemon Extract: Just a hint of lemon extract further enhances the citrus notes, providing a delicate tang that perfectly complements the rich ricotta.
- Mini Chocolate Chips: Folded into the filling and used as a dipping garnish, these provide delightful little pockets of chocolatey goodness.
- Chopped Pistachios: For a vibrant green color and a nutty crunch, chopped pistachios are a popular and delicious garnish for the ends of your cannolis.
- Toasted Sliced Almonds: Offering a slightly different nutty flavor and crisp texture, toasted almonds are another excellent option for dipping the cannoli ends.
Now, a little confession: I often opt for store-bought shells. The thought of deep-frying at home can be a bit daunting for some, and that’s perfectly okay! There are many excellent brands, like Alessi, that produce perfectly crisp and authentic shells. This allows you to focus your energy on creating the most incredible ricotta filling, which is truly the heart and soul of any cannoli.
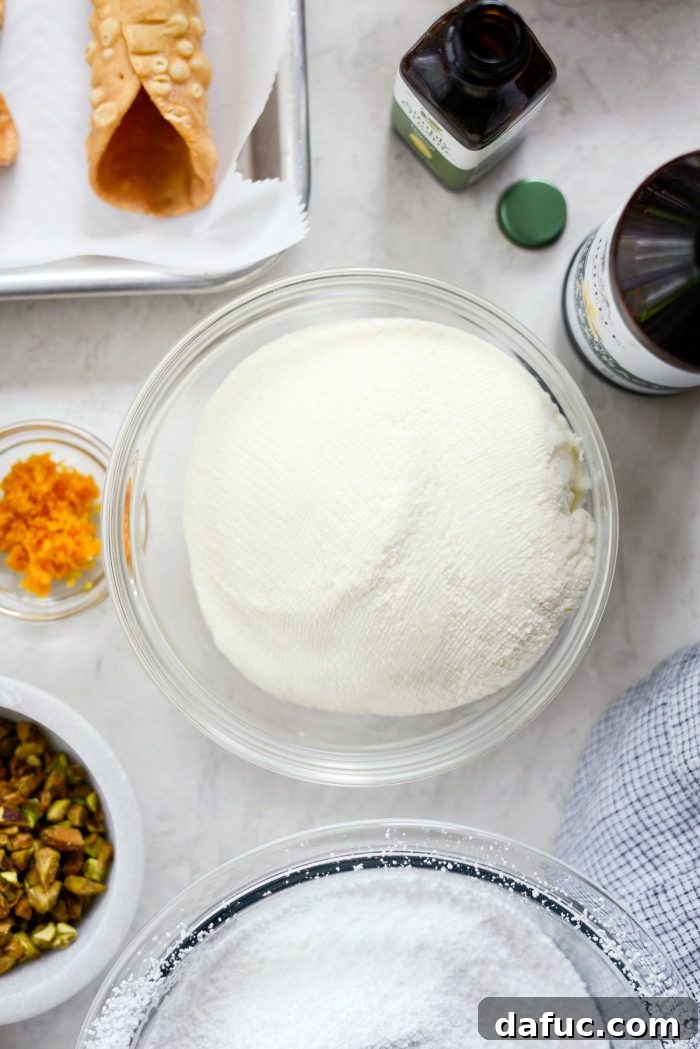
The Art of the Perfect Ricotta Filling: Starting with Drainage
The secret to a truly spectacular cannoli lies in its filling, and the most crucial step for a rich, firm, and flavorful ricotta filling is proper drainage. This isn’t a step you can skip or rush, as excess moisture will lead to a watery, less intensely flavored filling and potentially soggy shells. Plan ahead, as this process takes time but yields the best results.
The day before you intend to assemble your cannolis, begin by preparing your ricotta. Take approximately 2 cups of good quality whole-milk ricotta cheese and place it into a couple of layers of clean cheesecloth. Gather the edges of the cheesecloth to form a bundle, gently squeezing out some initial liquid if possible, but don’t apply too much pressure at this stage. Next, place this cheesecloth-wrapped ricotta bundle into a fine mesh strainer. Position the strainer over a larger bowl, ensuring there’s ample space beneath the strainer for the liquid to collect without touching the ricotta. To aid in the drainage, place a small plate or a flat lid directly on top of the wrapped ricotta. Then, weigh it down with one or two heavy cans from your pantry. This gentle pressure helps to press out the whey. Finally, transfer the entire setup—bowl, strainer, weighted ricotta—into your refrigerator. Allow it to drain for a substantial period, ideally 18 to 24 hours. This extended chill time is absolutely essential to thoroughly draw out any excess liquid, leaving you with a wonderfully thick, dry, and concentrated ricotta cheese that’s perfect for a stable and delicious cannoli filling.
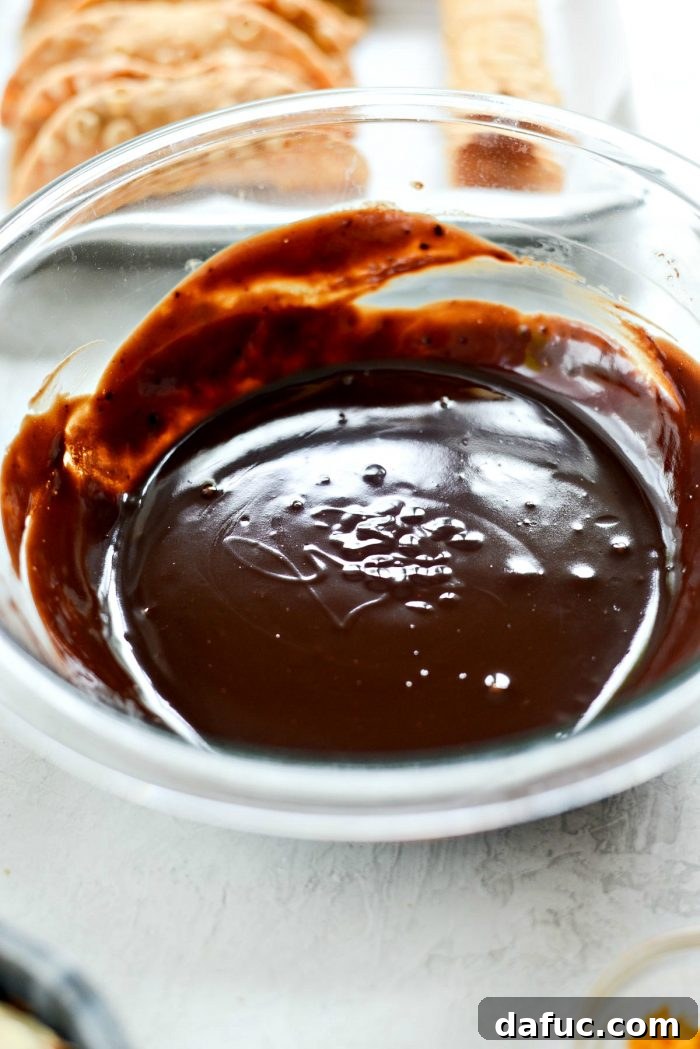
Crafting the Irresistible Espresso Chocolate Dip
While your ricotta is patiently draining, you can prepare a component that adds a sophisticated twist to our cannolis: the espresso chocolate dip. This dip not only provides a beautiful, hardened chocolate coating for your shells but also infuses a subtle, rich coffee flavor that perfectly complements the sweet ricotta. This step elevates the humble cannoli to a gourmet dessert.
To make the espresso chocolate sauce, grab a medium, heat-safe bowl and set it over a pot of simmering water. Ensure the bottom of the bowl does not touch the simmering water; you’re creating a double boiler. In this bowl, combine 4 ounces of high-quality semi-sweet chocolate, the prepared espresso (which is 1 tablespoon of espresso powder dissolved in 1/4 cup of boiling water), and 3 tablespoons of coconut oil. Allow the ingredients to melt gently, stirring occasionally until the mixture becomes completely smooth and luscious. Once melted and thoroughly combined, remove the bowl from the heat. It’s crucial to let this mixture cool down and set up slightly before you begin dipping the cannoli shells. This cooling period ensures the chocolate adheres well and forms a crisp, stable coating.
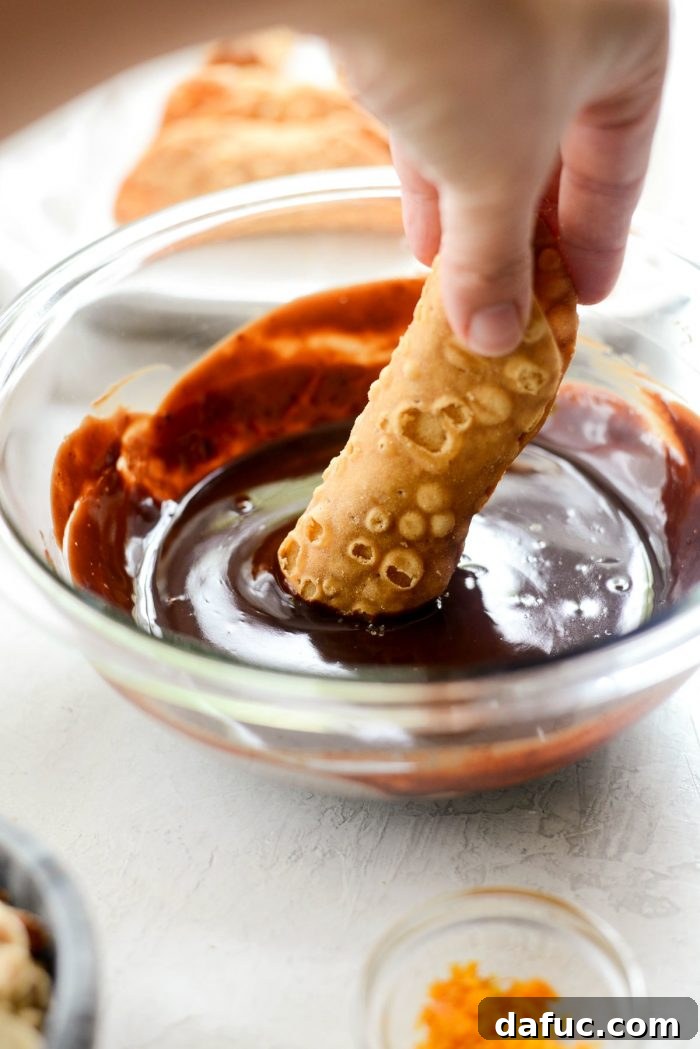
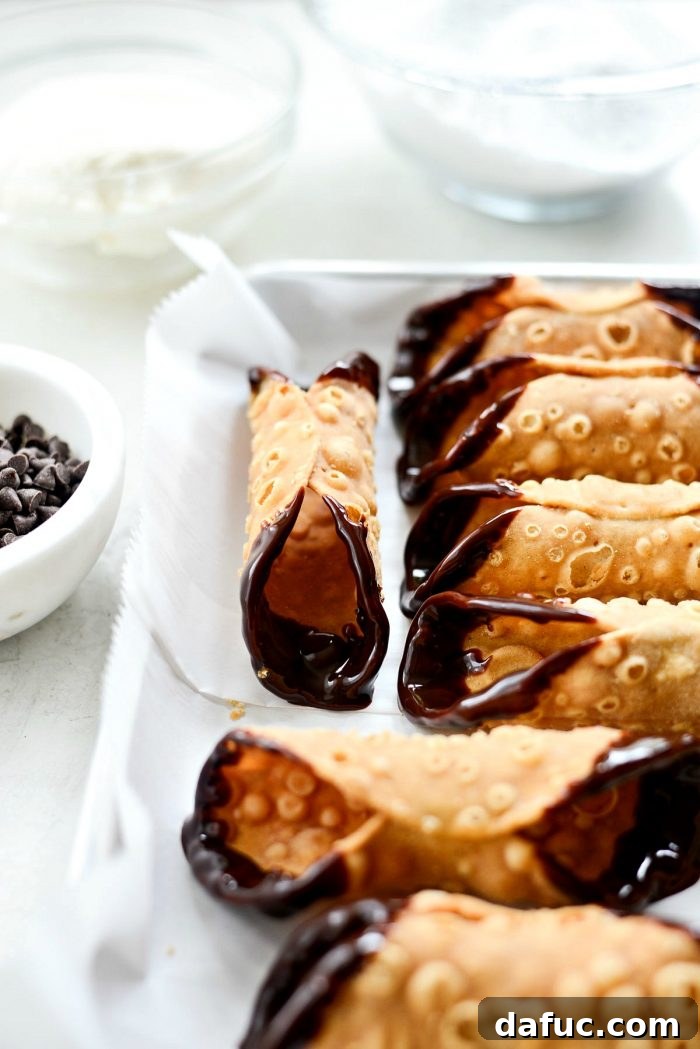
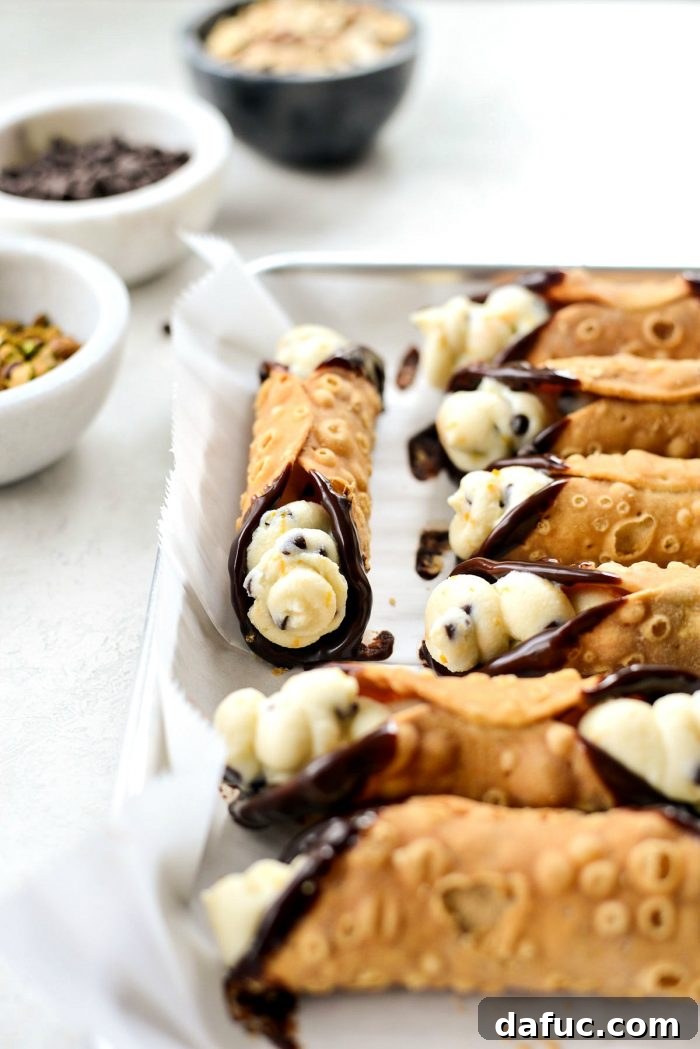
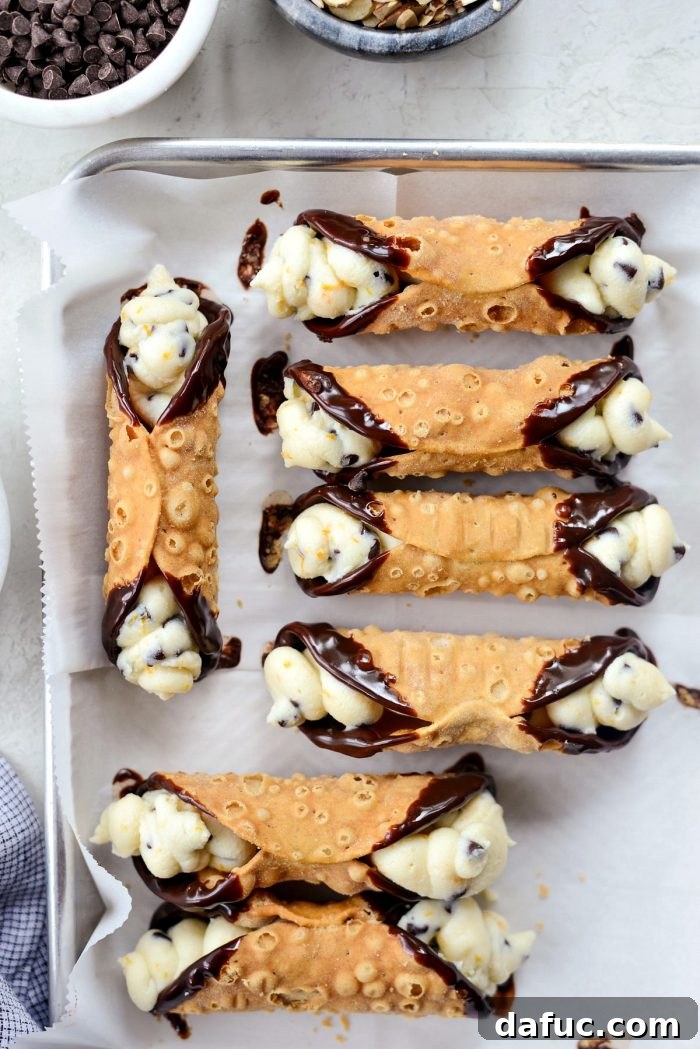
Once the espresso chocolate mixture has cooled to a slightly thicker consistency, it’s ready for the shells. Carefully dip both ends of each of your 8 cannoli shells into the prepared espresso chocolate. You want a generous coating that will harden beautifully. After dipping, place the chocolate-coated shells onto a baking sheet lined with parchment paper. This prevents sticking and makes cleanup easy. Pop the baking sheet into your fridge for a short period. The chill will quickly harden the chocolate, creating a delightful, slightly firm espresso chocolate “shell” on the ends of your cannolis. This not only adds a wonderful flavor and texture but also creates a barrier that can help prevent the shells from becoming soggy when filled.
Preparing the Signature Ricotta Filling
With your ricotta perfectly drained and your shells beautifully dipped and chilled, it’s time to bring the star of the show to life: the creamy, dreamy ricotta filling. This is where all the delightful flavors come together to create that quintessential cannoli experience.
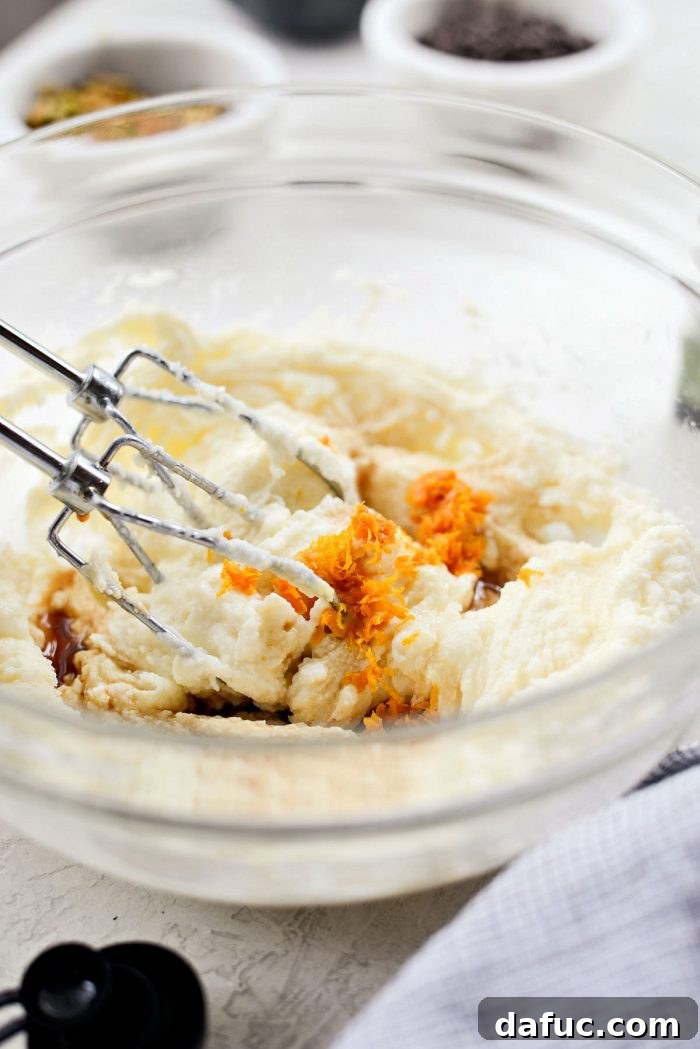
In a medium mixing bowl, combine your now thoroughly strained ricotta with 1 cup of sifted powdered sugar. Sifting is vital here to prevent any lumps and ensure a perfectly smooth filling. Add 1 teaspoon of fresh orange zest for that bright, aromatic lift, 1-1/2 teaspoons of pure vanilla extract for classic sweetness, and 1/4 teaspoon of lemon extract to further enhance the citrus notes. Using an electric mixer, whip these ingredients together until the mixture is completely smooth, light, and wonderfully airy. You want a consistency that’s easy to pipe but still holds its shape beautifully.
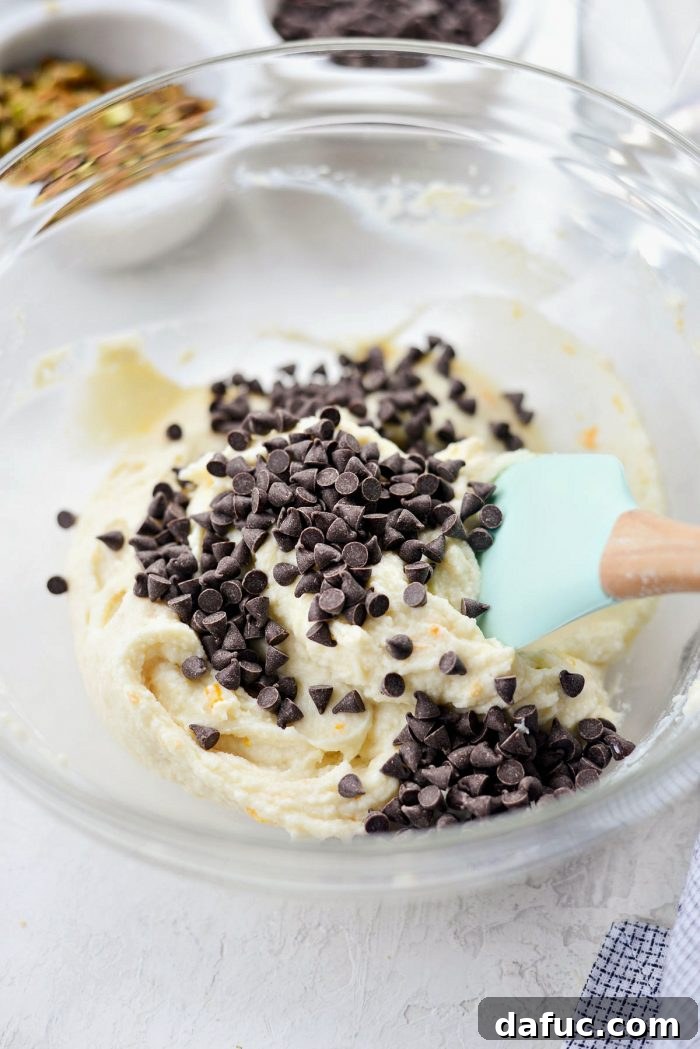
Once your ricotta mixture is whipped to perfection, gently fold in 1/4 cup of mini chocolate chips. These tiny bursts of chocolate add a delightful textural contrast and an extra layer of sweetness. Be careful not to overmix at this stage; just fold until they are evenly distributed throughout the creamy filling. Then, transfer this glorious mixture into a piping bag fitted with a piping tip. A star tip or a round tip works well, depending on the desired aesthetic. A crucial tip: ensure the opening of your piping tip is large enough to allow the mini chocolate chips to pass through without getting clogged. This will prevent frustration during the assembly process and ensure a smooth, even flow of filling.
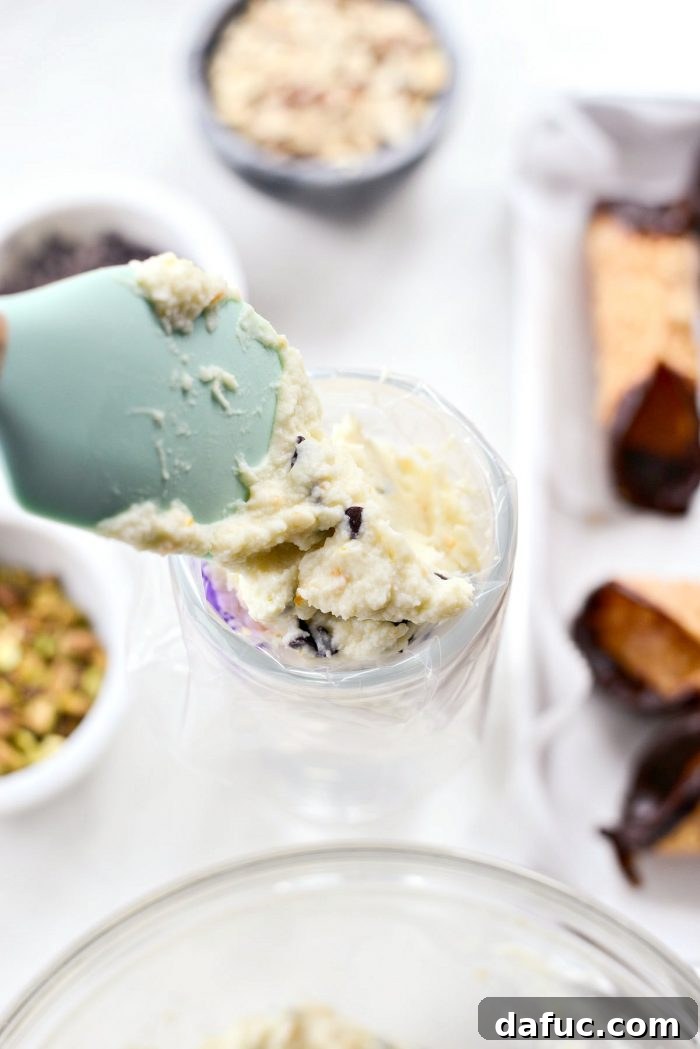
Once your piping bag is ready, it’s time for the fun part: filling the cannoli shells! Take your chilled, chocolate-dipped shells from the refrigerator. Hold a shell in one hand and, with the other, pipe the creamy ricotta filling into each end of the cannoli shell. Start from one end, filling it about halfway, then turn the shell around and fill the other end, meeting in the middle. This technique ensures an even distribution of filling throughout the entire shell. You want the filling to mound slightly at the ends, creating a generous and appealing look.
Finishing Touches: Garnishing and Serving Your Easy Homemade Cannolis
The final step in creating these magnificent easy homemade cannolis is to add the delightful finishing touches that not only enhance their flavor but also make them visually stunning. After filling each shell with the sweet, creamy ricotta, it’s time for the garnishes!
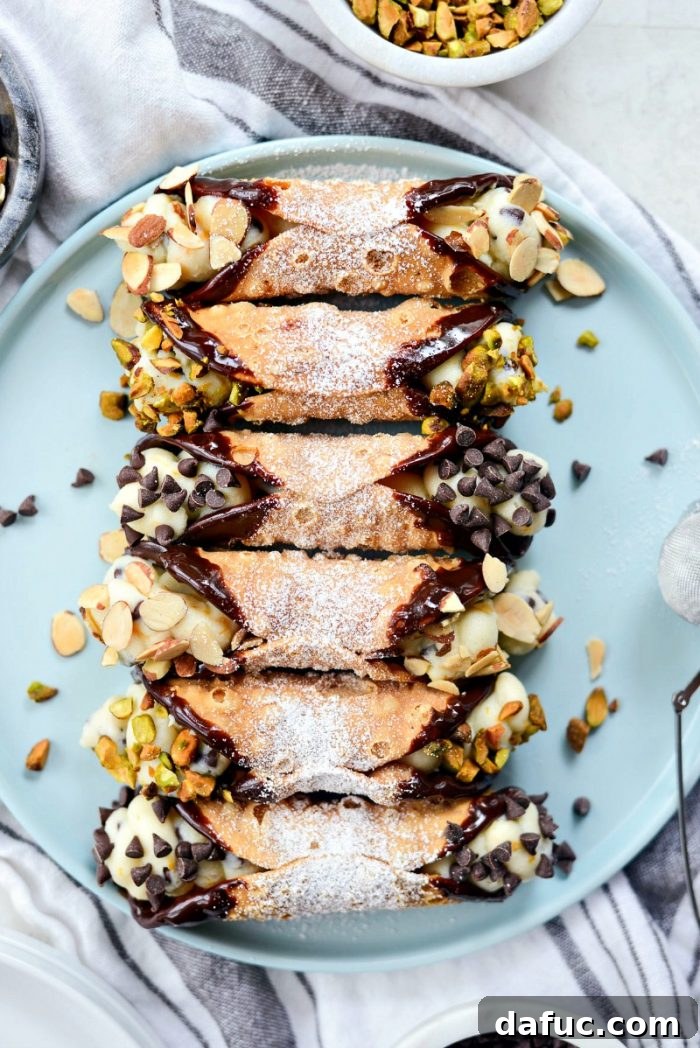
Take each filled cannoli and gently dip the exposed ends of the ricotta filling into your chosen topping. You can opt for more mini chocolate chips for an extra chocolatey punch, or select the irresistible crunch of toasted sliced almonds, or perhaps the vibrant green and nutty flavor of chopped pistachios. Feel free to mix and match for a beautiful assortment, or even leave some plain for a more minimalist look. Each topping adds its own unique texture and flavor dimension, making every bite an exciting discovery.
Once garnished, arrange your freshly made cannolis on a serving platter. It’s best to keep them chilled until you’re ready to serve. The cold temperature helps maintain the crispness of the shell and the firmness of the filling, ensuring the best possible eating experience.
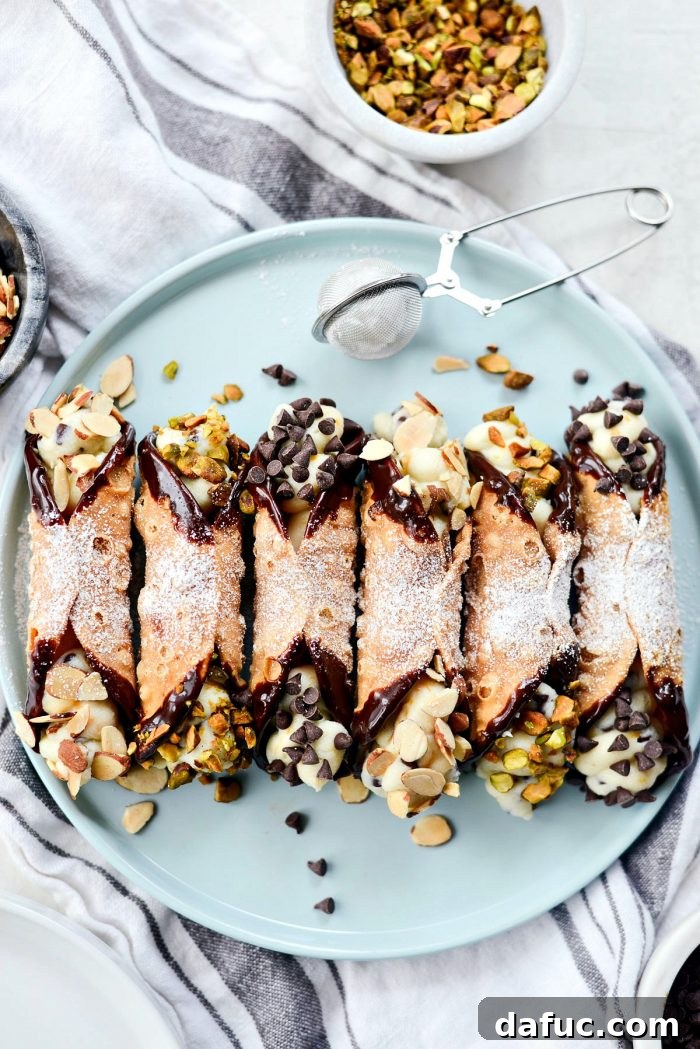
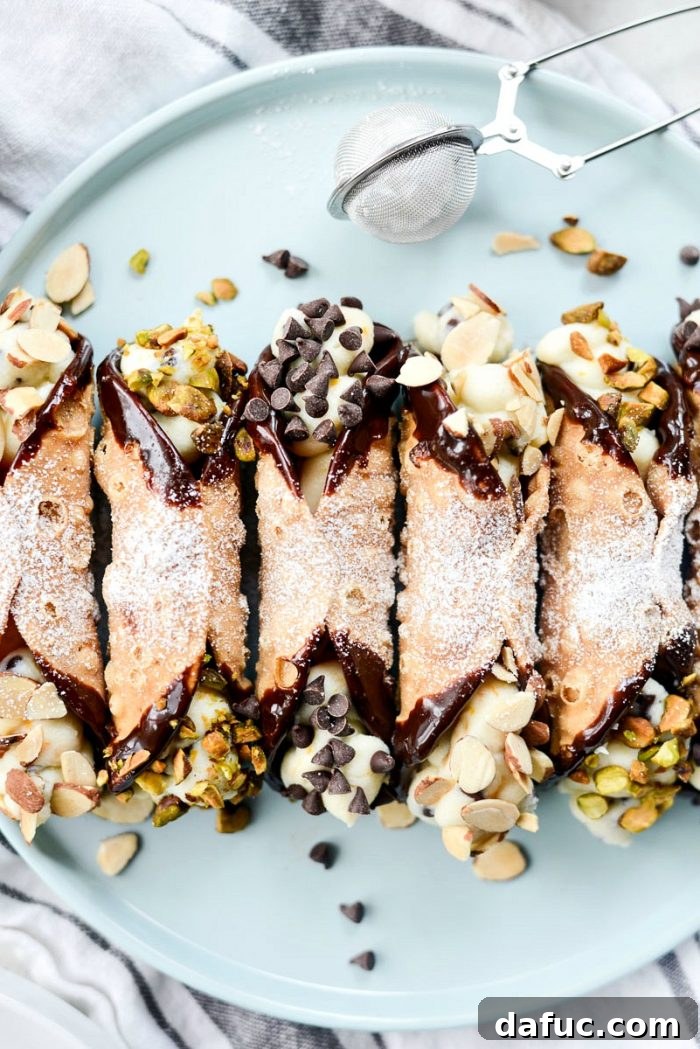
Let’s take a moment to admire the beauty and craftsmanship of these easy homemade cannolis, shall we? The golden-brown shell, the creamy white filling peaking out, adorned with vibrant green pistachios or dark chocolate chips—it’s a feast for the eyes before it’s a feast for the palate. The satisfaction of creating such an iconic Italian dessert from scratch is truly rewarding, and the taste is unparalleled.
Tips for Perfect Cannolis Every Time
- Serve Fresh: For the absolute best experience, these easy homemade cannolis are best enjoyed on the same day they are assembled. This ensures the shells remain wonderfully crisp, providing that satisfying crunch with every bite.
- Storage: While freshest on day one, any leftover cannolis can certainly still be enjoyed the next day. However, be aware that the shells might lose a tiny bit of their original crunchy texture as they absorb moisture from the filling. Despite this slight change, they will still be incredibly delicious and a delightful treat!
- Quality Ricotta: Investing in good quality whole-milk ricotta makes a significant difference in the final taste and texture of your filling.
- Don’t Skimp on Drainage: As emphasized, properly draining the ricotta for 18-24 hours is non-negotiable for a firm, rich filling.
- Chill Everything: Keeping the shells, filling, and dipped shells cold helps maintain their integrity and makes assembly easier.
- Piping Bag Technique: If you’re new to piping, practice on a plate first to get a feel for the pressure needed. Don’t overfill the piping bag.
- Customization: Feel free to experiment with different extracts (almond, rum), a pinch of cinnamon, or other toppings like candied orange peel or finely grated dark chocolate.
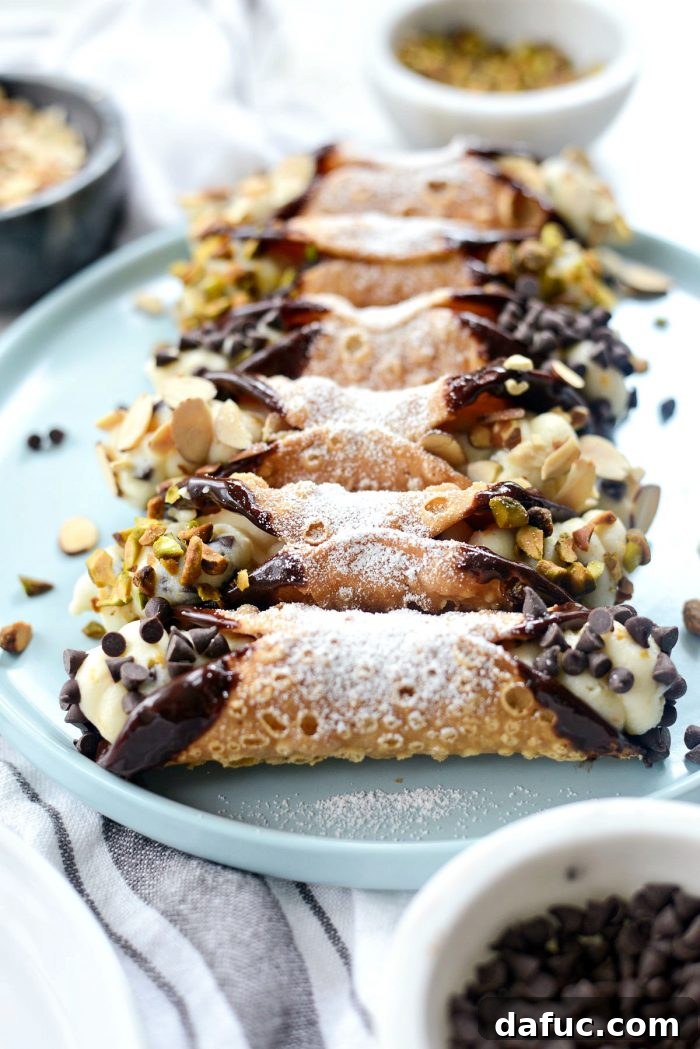
Enjoy! We hope you have a fantastic time making and savoring these Easy Homemade Cannolis. If you give this recipe a try, we’d absolutely love to hear from you! Please snap a photo of your culinary creation and tag us on Twitter or Instagram. Your delicious shares inspire us!

Print Recipe
Pin Recipe
Leave a Review »
8
servings
Easy Homemade Cannolis
25 minutes
1 day
1 day 25 minutes
Ingredients
FOR THE CANNOLI:
- 2 cups ricotta, strained
- 8 cannoli shells, homemade or store-bought
- 1 cup powdered sugar, sifted
- 1 teaspoon orange zest
- 1½ teaspoon pure vanilla extract
- 1/4 teaspoon lemon extract
- 1/4 cup mini chocolate chips, plus more for serving
- toasted sliced almonds, for serving
- pistachios, chopped for serving
FOR THE ESPRESSO CHOCOLATE:
- 1 tablespoon espresso powder
- 1/4 cup water, boiling
- 4 ounces semi-sweet chocolate
- 3 tablespoon coconut oil
Instructions
-
The day before you plan on making cannolis, wrap 2 cups of ricotta in a couple layers of cheesecloth. Place it into a fine mesh strainer over a larger bowl. Place a small plate on top of the wrapped ricotta and weigh it down with a heavy can or two. Refrigerate for 18 to 24 hours to drain any liquid.
-
In a medium bowl set over a pot with simmering water (double boiler method), melt 4 ounces semi-sweet chocolate with 1 tablespoon espresso powder dissolved in 1/4 cup boiling water, and 3 tablespoons coconut oil until smooth. Ensure the simmering water doesn’t touch the bottom of the bowl. Allow this mixture to cool and set up slightly before dipping shells.
-
Dip both ends of each cannoli shell into the cooled espresso chocolate. Place onto a parchment-lined baking sheet and refrigerate until the chocolate has hardened, creating a firm shell.
-
Once the ricotta is strained, transfer it to a medium mixing bowl. Whip it with 1 cup sifted powdered sugar, 1 teaspoon orange zest, 1-1/2 teaspoons pure vanilla extract, and 1/4 teaspoon lemon extract until completely smooth and creamy.
-
Gently fold in 1/4 cup of mini chocolate chips. Transfer this mixture to a piping bag fitted with a piping tip. Ensure the tip’s hole is large enough for the mini chips to pass through without clogging.
-
Pipe the filling generously into both ends of each of the prepared cannoli shells.
-
Lastly, dip the ends of each filled cannoli into additional mini chocolate chips, toasted sliced almonds, or chopped pistachios for garnish. Keep chilled until ready to serve.
Calories: 414kcal,
Carbohydrates: 39g,
Protein: 10g,
Fat: 24g,
Saturated Fat: 15g,
Polyunsaturated Fat: 1g,
Monounsaturated Fat: 4g,
Trans Fat: 1g,
Cholesterol: 33mg,
Sodium: 58mg,
Potassium: 168mg,
Fiber: 1g,
Sugar: 26g,
Vitamin A: 294IU,
Vitamin C: 1mg,
Calcium: 144mg,
Iron: 5mg
Laurie McNamara
Desserts & Sweet Treats
Italian