
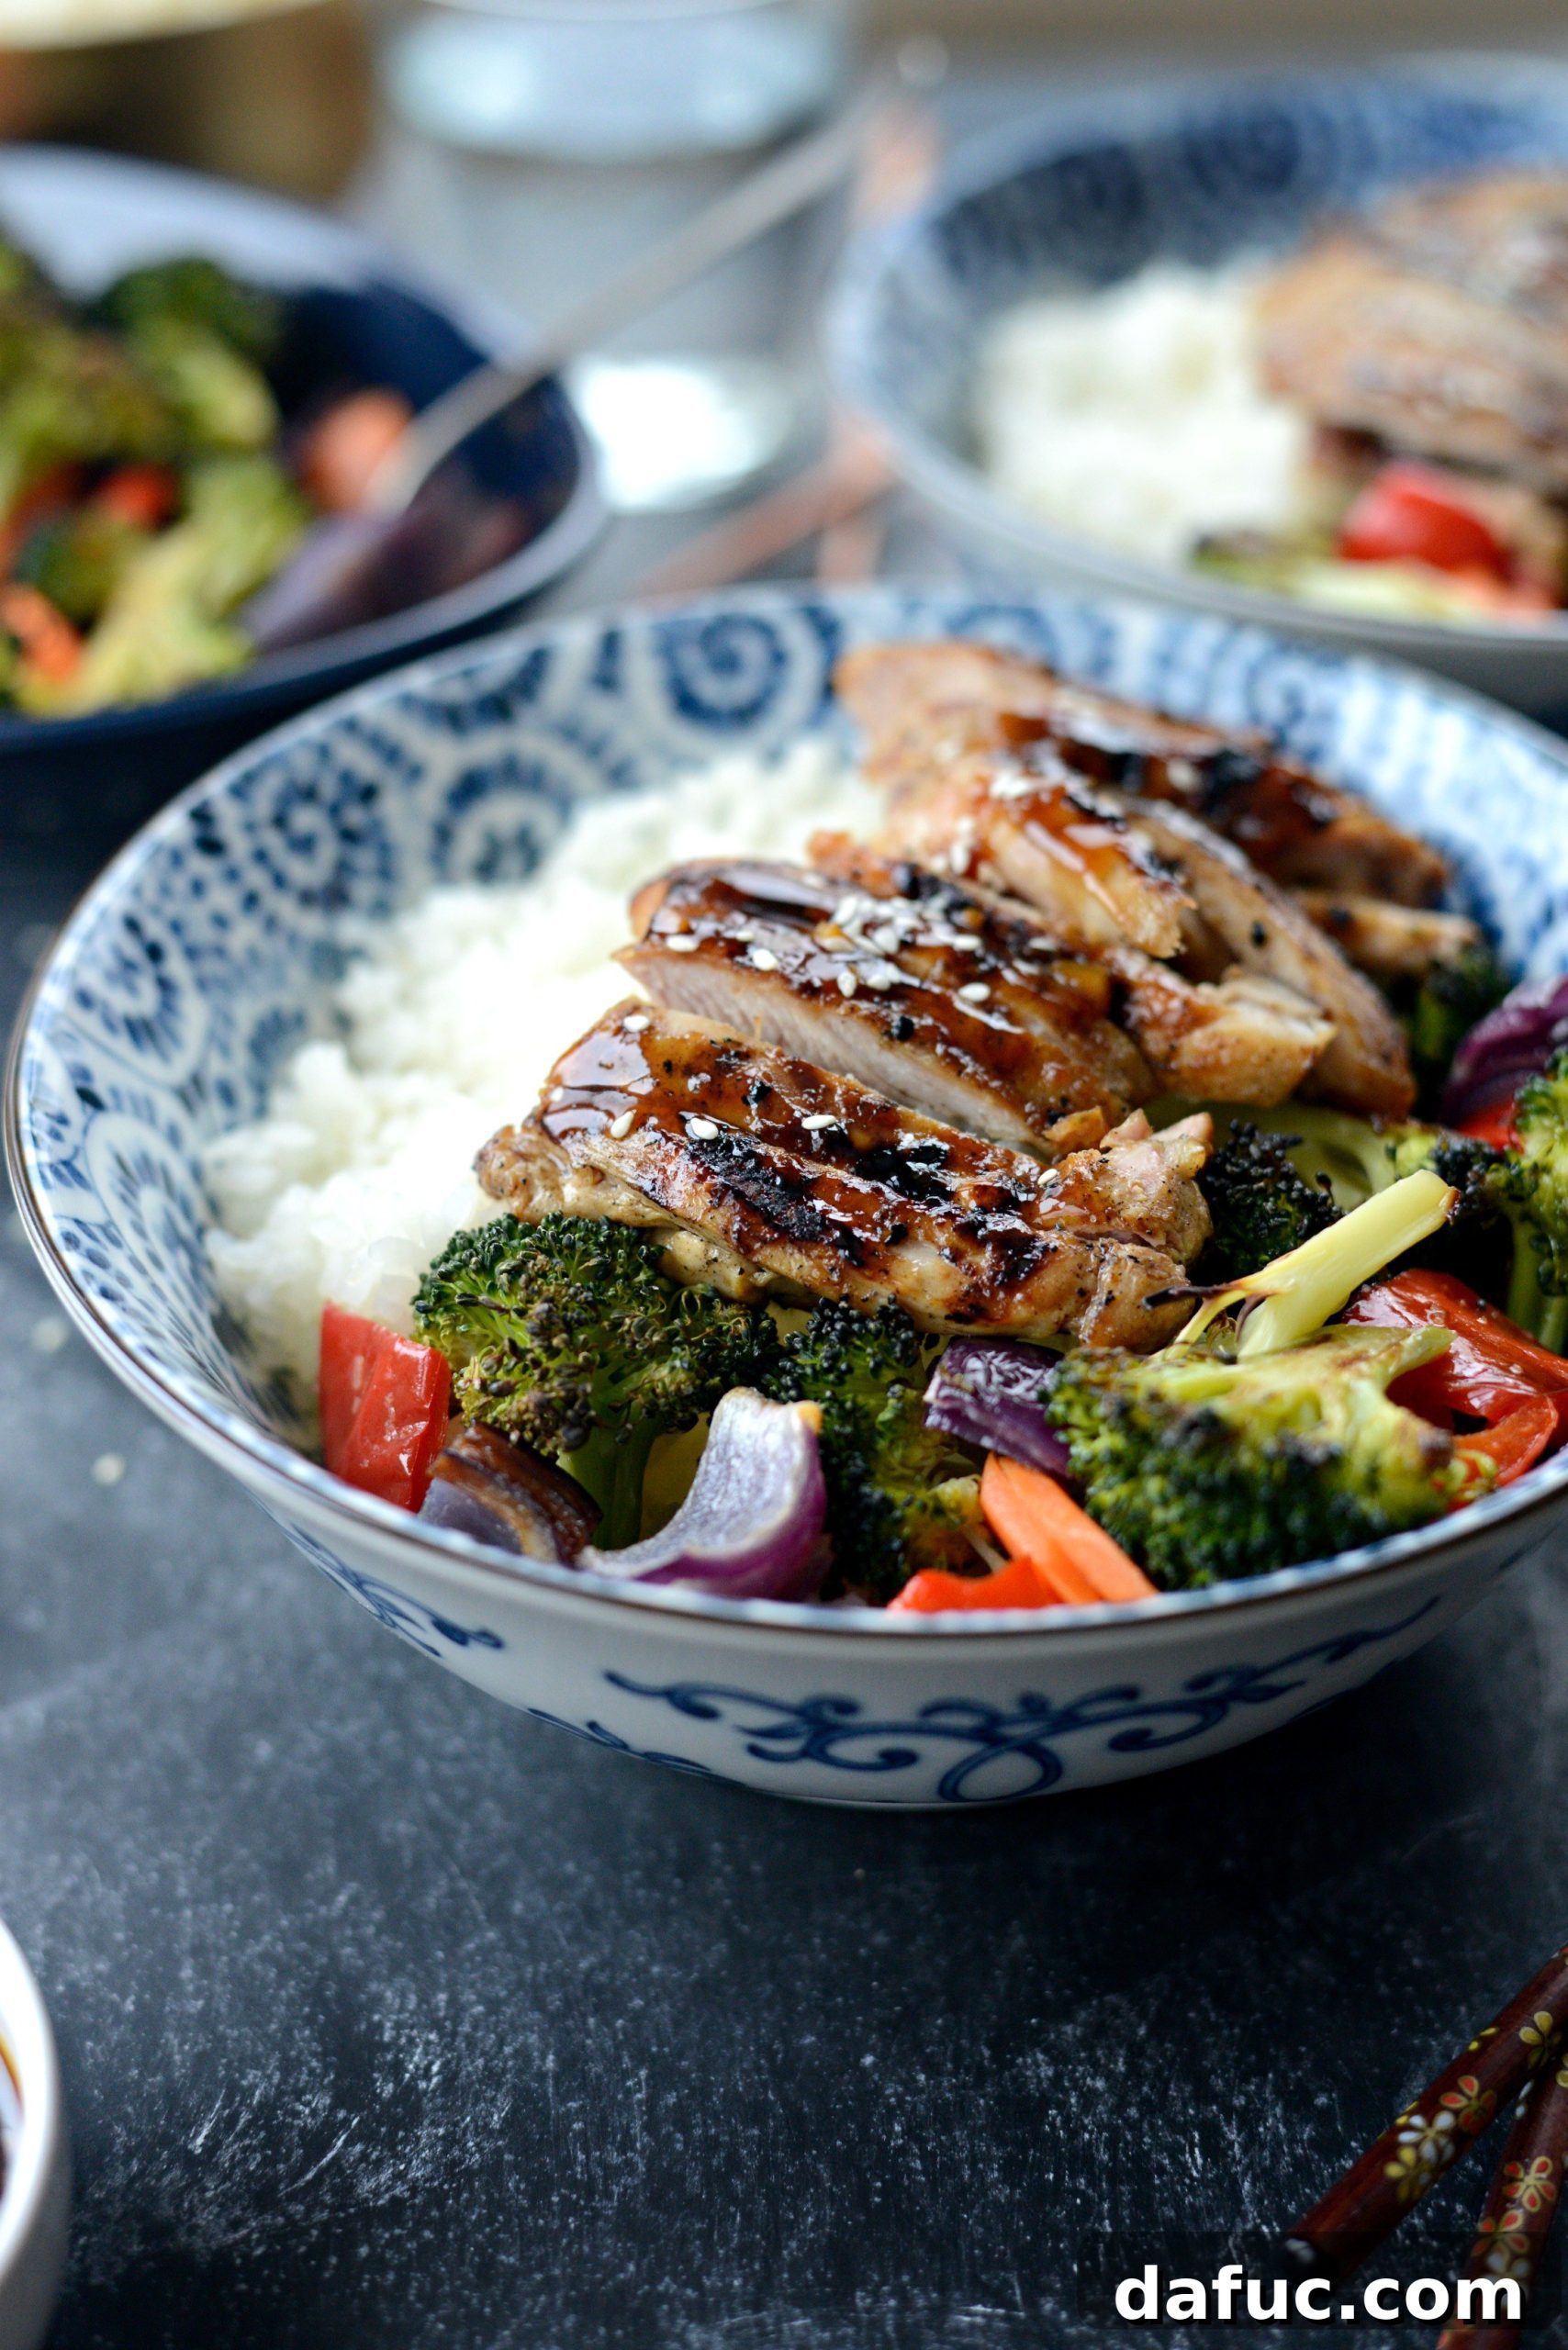
Grilled Teriyaki Chicken Rice Bowls: A Homemade Culinary Delight
Prepare to elevate your weeknight meals with these incredibly simple yet profoundly delicious Grilled Teriyaki Chicken Rice Bowls. Imagine tender, juicy chicken thighs, beautifully charred and coated in a glistening, sweet, and savory homemade teriyaki glaze. Served alongside perfectly cooked fluffy rice and a vibrant medley of roasted vegetables, this dish offers a harmonious blend of textures and flavors that will tantalize your taste buds. It’s not just a meal; it’s an experience that brings the authentic taste of teriyaki straight to your kitchen.
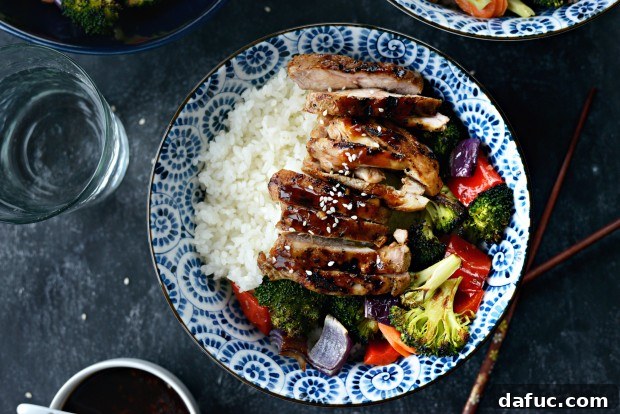
Hello, Gorgeous and Flavorful Bowl of Food!
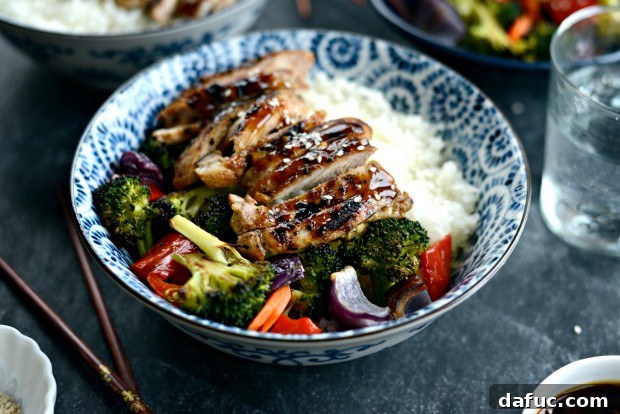
There’s something truly magical about a well-composed rice bowl. It’s a complete meal, offering a symphony of flavors and textures in every bite. This particular Grilled Teriyaki Chicken Rice Bowl is a showstopper, both visually appealing and incredibly satisfying. The vibrant colors of the roasted vegetables, the rich brown of the glazed chicken, and the pristine white of the rice create a feast for the eyes before you even take the first bite.
My journey to creating this recipe often involves overcoming a few culinary challenges, much like the one I faced when planning this dish. I envisioned grilling outdoors, embracing the smoky char that only an open flame can provide. However, Michigan weather had other plans, delivering an unexpected “negative a billion degrees” (a slight exaggeration, perhaps) and a generous covering of snow on my trusty outdoor grill. But as any seasoned home cook knows, adaptability is key! I simply pivoted to my reliable cast iron grill pan, achieving fantastic results indoors. Whether you’re firing up an outdoor grill or using an indoor grill pan, the essence of this dish remains – perfectly cooked chicken with that irresistible char.
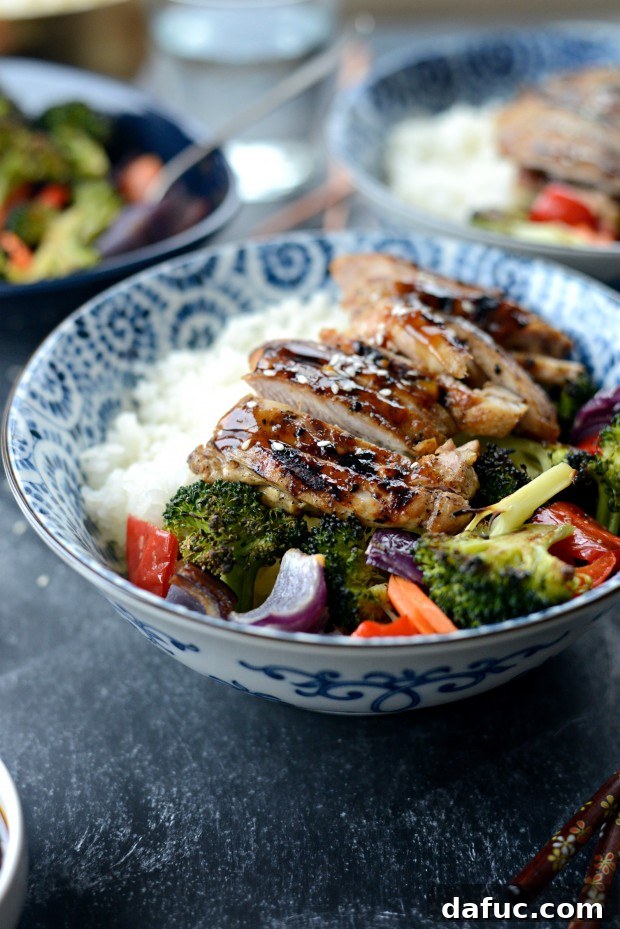
Unveiling the True Meaning of Teriyaki: More Than Just a Sauce
Did you know that “Teriyaki” isn’t merely a type of sauce, but actually refers to a traditional Japanese cooking method? The word ‘teriyaki’ is derived from the Japanese words ‘teri’ (照り), which means glaze or luster, and ‘yaki’ (焼き), which means to grill or broil. This culinary technique involves cooking meat or fish—most commonly chicken, beef, or salmon—by grilling or broiling it, and then basting it repeatedly with a soy-based sauce. This process imparts a distinctive shiny glaze and a rich, deeply savory-sweet flavor profile to the food.
This fascinating tidbit, uncovered during some casual internet research, was the spark that ignited the creation of this very recipe. I immediately had visions of succulent, perfectly grilled chicken thighs, glistening with a homemade teriyaki sauce, each slice dripping with flavor. The idea was so compelling, I couldn’t rest until I brought that vision to life in my own kitchen.
And let me tell you, the outcome was absolutely sensational! The sweet and complex homemade sauce, combined with the smoky char from the grilled chicken, creates an explosion of flavor that is truly “to-die-for.” Piled high on a bed of fluffy rice and complemented by a colorful medley of roasted vegetables, this dish is a testament to the simple elegance and incredible taste of authentic teriyaki cooking.
Crafting Your Perfect Teriyaki Bowl: The Vegetable Medley
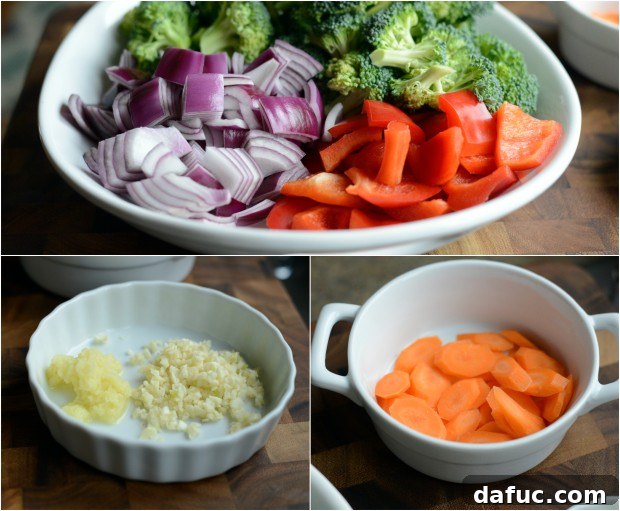
A truly exceptional teriyaki rice bowl isn’t complete without a vibrant and flavorful side of vegetables. For this recipe, we’ll create a simple yet incredibly delicious roasted vegetable medley that perfectly complements the rich chicken. Start by getting all your vegetable prep out of the way. You’ll need one medium red onion, cut into substantial wedges, one red bell pepper, chopped into 1-inch pieces, and two medium heads of broccoli (or one standard package of florets), broken into bite-sized florets. These hearty vegetables are ideal for roasting, as they caramelize beautifully and develop a delightful sweetness.
In addition, prepare your aromatics: finely mince three cloves of fresh garlic and grate 1½ teaspoons of fresh ginger. Fresh ginger adds a wonderful zing and warmth to the sauce, but if you’re in a pinch, store-bought ginger paste works perfectly – no judgment here! Finally, slice two carrots thinly on an angle. The angled cut not only looks appealing but also provides more surface area for even cooking. Having all your vegetables prepped and ready will make the cooking process smooth and enjoyable.
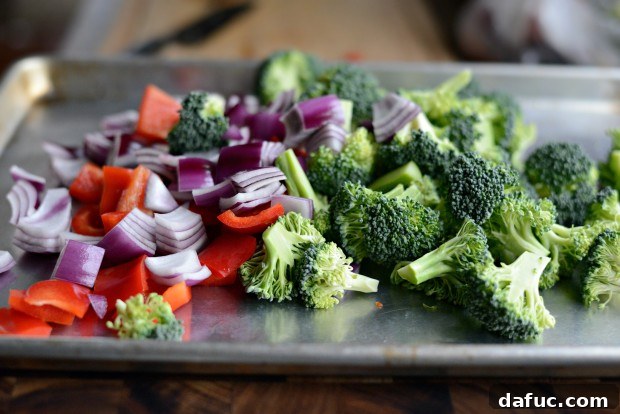
High-Heat Roasting for Superior Flavor and Texture
The secret to perfectly roasted vegetables lies in the heat! Preheat your oven to a blazing 500 degrees Fahrenheit. While this temperature might seem high, it’s crucial for achieving that desired caramelization and tender-crisp texture quickly. High heat ensures that the vegetables develop a beautiful golden-brown exterior and a sweet, intensely flavorful interior without becoming mushy.
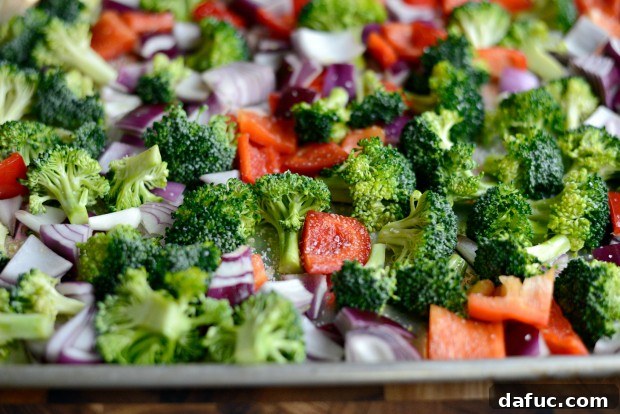
Once your oven is preheated, spread the chopped broccoli, red bell pepper, and red onion evenly onto a large, rimmed metal sheet pan. Avoid overcrowding the pan, as this can steam the vegetables instead of roasting them. Ensure a single layer for optimal browning.
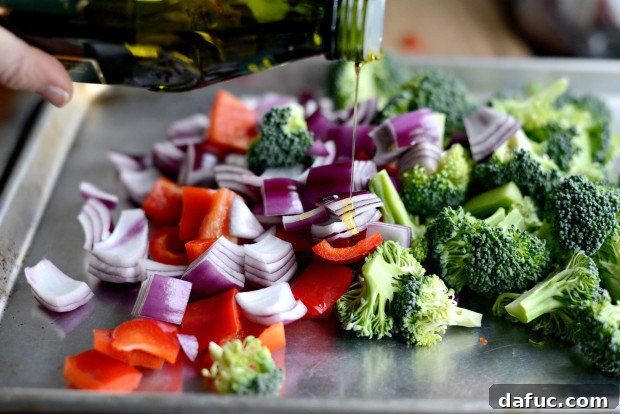
Now, drizzle a generous amount of avocado oil or extra light olive oil over the vegetables. You want them glistening with oil, as this helps them achieve that beautiful char and prevents sticking. Finish with a few generous pinches of kosher salt, which draws out moisture and enhances their natural sweetness. Set this pan aside for now; it will go into the oven when your chicken is almost ready, ensuring everything finishes cooking at the same time for a perfectly coordinated meal.
The Star of the Show: Our Homemade Teriyaki Glaze
While store-bought teriyaki sauces can be convenient, nothing compares to the depth of flavor and freshness of a homemade glaze. Crafting your own teriyaki sauce allows you to control the ingredients and adjust the sweetness and spice to your preference. Let’s make this incredible teriyaki glaze/sauce now.
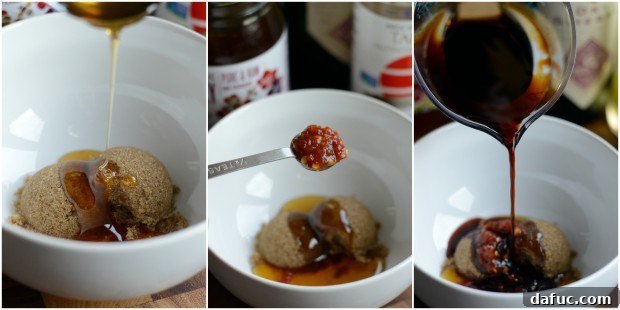
In a medium mixing bowl, combine the following ingredients: 2 tablespoons of dark brown sugar, 1 tablespoon of rich honey, ½ teaspoon of chili garlic paste (or sambal oelek for that perfect touch of heat), ¼ cup of low-sodium tamari (or soy sauce for a gluten-free option), and 3 tablespoons of water or chicken/vegetable broth to thin it out slightly.
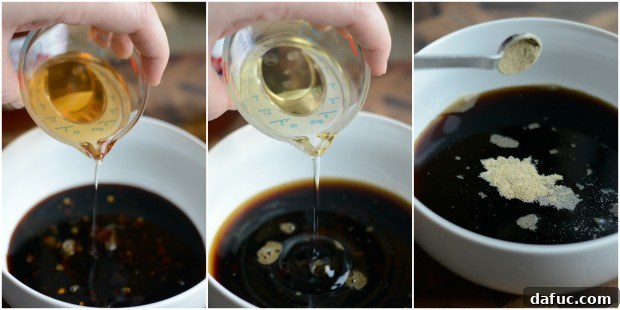
Next, add 3 tablespoons of dry sherry wine, which contributes a subtle nutty depth, 3 tablespoons of rice vinegar for a balancing tang, and ¼ teaspoon of white pepper for a gentle, aromatic warmth. These ingredients create a complex flavor profile that is both traditional and uniquely delicious.
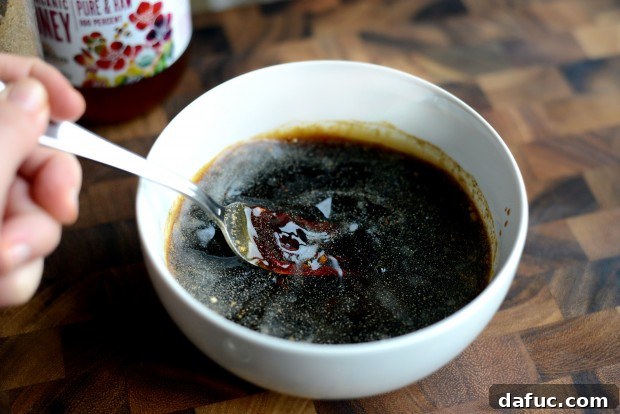
Using a fork or whisk, vigorously combine all the sauce ingredients. Make sure to break up any clumps of brown sugar and ensure that the honey is thoroughly dissolved throughout the sauce. You want a smooth, homogenous mixture ready to be transformed into a glossy glaze.
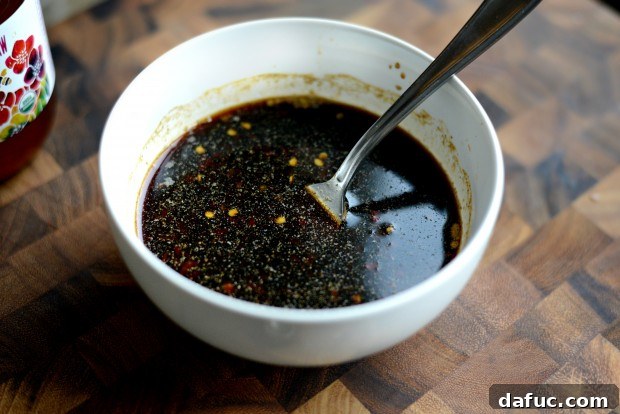
That’s it for the initial sauce preparation! Set it aside for a moment, as we’ll be finishing it on the stovetop shortly. This simple concoction is the heart of our teriyaki bowls, promising incredible flavor with every bite.
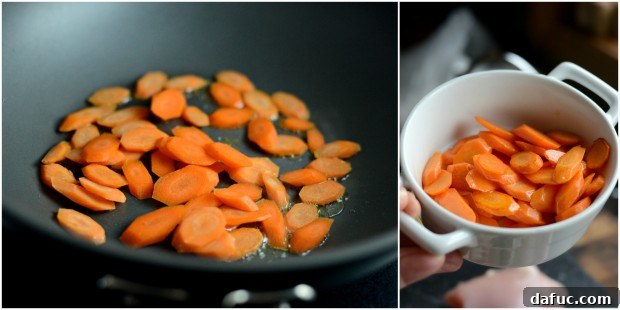
The Carrot Conundrum: Sautéing for Perfect Tenderness
Before we thicken our teriyaki sauce, let’s address the carrots. Heat a wok or a large chef’s pan over medium-high heat. Add a teaspoon of your chosen oil (avocado or light olive oil works well), and once it’s glistening and hot, add the thinly sliced carrots. Cook them for just 2 to 3 minutes, or until they start to soften slightly but still retain a bit of their crispness. Remove them with a spatula and set them aside in a small bowl.
Why Sauté the Carrots Separately?
You might wonder why we don’t roast the carrots with the other vegetables. The reason is simple: carrots have a different density and moisture content than broccoli, bell peppers, and onions. If roasted at 500 degrees for 10-12 minutes, they would likely become too soft or even burnt. By quickly sautéing them, we can control their tenderness, ensuring they are cooked through but still have a pleasant, firm bite, adding a wonderful textural contrast to the roasted medley.
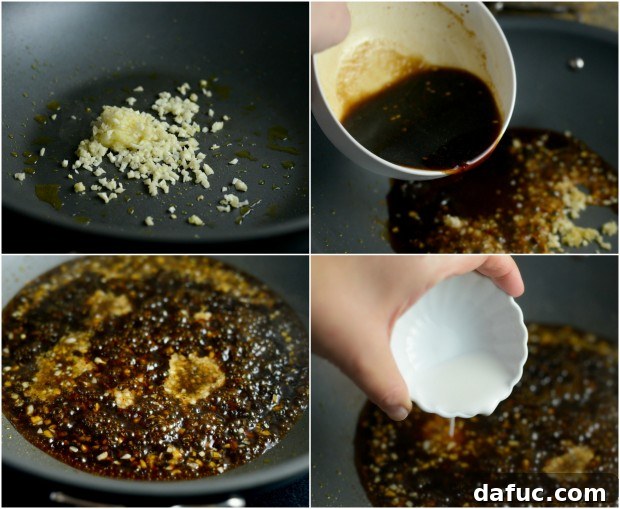
Now, let’s bring our sauce to life. To the remaining oil in the pan (no need to clean it), add the minced garlic and grated ginger. Sauté for just 30 seconds until fragrant – be careful not to burn the garlic. Immediately pour in the previously prepared teriyaki sauce mixture. Bring the sauce to a gentle boil, then stir in your cornstarch slurry (1 tablespoon of cornstarch mixed with 1 tablespoon of cold water). This slurry is what will thicken our sauce into that beautiful, glossy glaze.
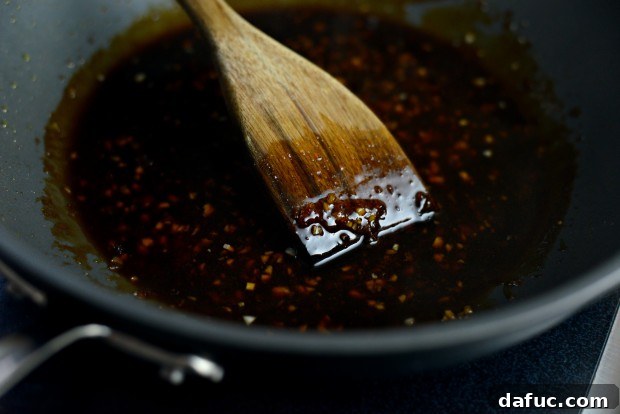
Reduce the heat to medium and continue to cook the sauce, stirring constantly, for about one to two minutes, or until it has thickened to a lovely, syrupy consistency. It should coat the back of a spoon. Once thickened, remove the pan from the heat and carefully transfer the luscious glaze into a heat-safe bowl.
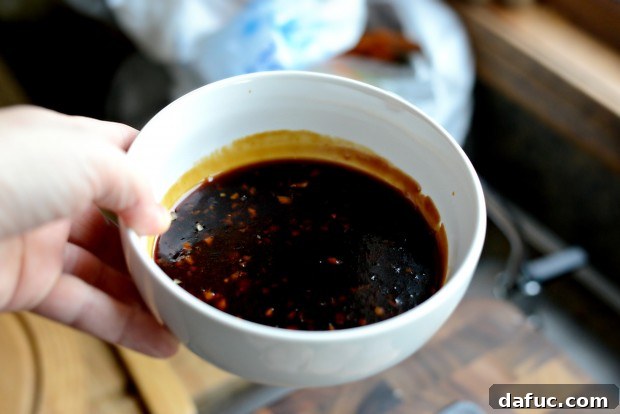
From this freshly made glaze, measure out ¼ cup into a smaller, separate bowl. This portion will be specifically used for brushing onto the chicken during the final grilling stage, creating that perfect caramelized exterior. The larger portion in the main bowl will be reserved for spooning over your finished rice bowls, adding an extra layer of flavor and moisture.
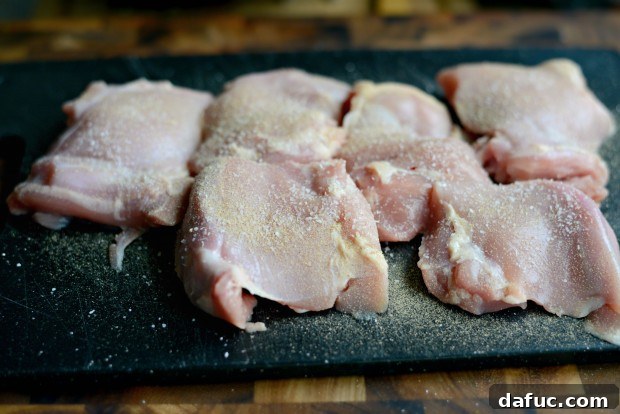
Grilling the Perfect Teriyaki Chicken Thighs
For this recipe, we’re using 1½ pounds of boneless, skinless chicken thighs. Chicken thighs are ideal for grilling because their higher fat content keeps them moist and flavorful, even at high temperatures. Pat them dry with paper towels to ensure a good sear, then season both sides generously with kosher salt and a few shakes of white pepper. White pepper offers a milder, earthier heat compared to black pepper, complementing the Asian flavors beautifully.
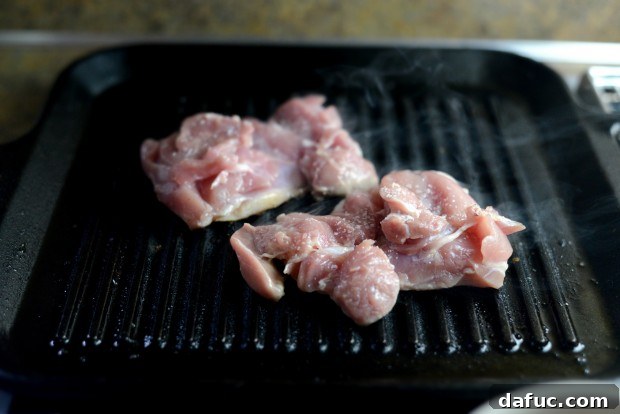
Achieving the Perfect Char and Glaze
Heat your grill or cast iron grill pan over medium-high heat. You want it smoking hot to achieve those beautiful grill marks and a delicious char. If you’re using an outdoor grill and can fit all the chicken on at once, that will save you a significant amount of time. However, if using an indoor grill pan, you’ll likely need to work in batches to avoid overcrowding, which can steam the chicken instead of grilling it. Grill the chicken for approximately 5 to 6 minutes per side, or until it’s fully cooked through and registers an internal temperature of 165°F (74°C).
Here’s a clever timing tip: once you start grilling your final batch of chicken, slide the sheet pan of prepped vegetables into your preheated 500°F oven. They only need about 10-12 minutes to roast to perfection, which perfectly synchronizes with the time it takes to finish grilling the last chicken thighs and glaze them.
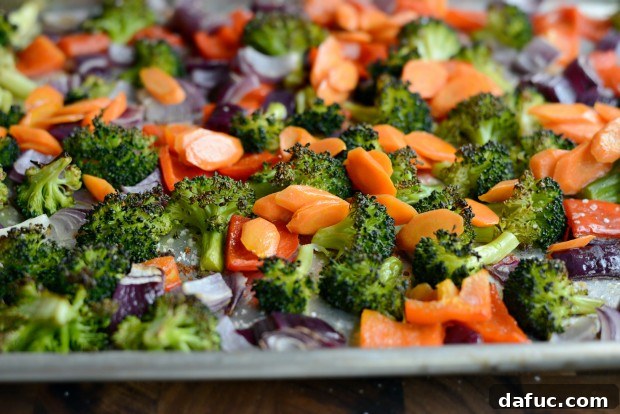
Once the roasted vegetables are done, carefully remove them from the oven. Now, add the previously sautéed carrots to the roasted broccoli, peppers, and onions, tossing gently to combine. To keep them warm while you finish the chicken, return the pan of mixed vegetables to the oven. Turn the oven off and crack the door slightly to prevent overcooking while maintaining warmth.
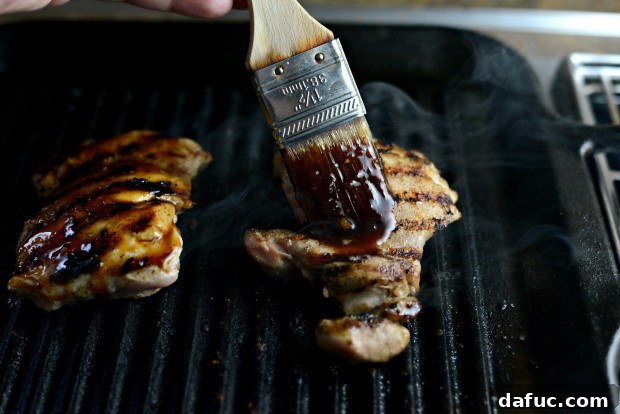
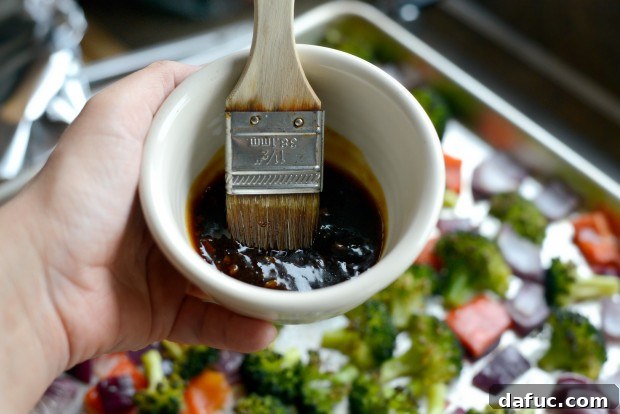
In the final few minutes of grilling, take your reserved ¼ cup of thickened teriyaki glaze and a basting brush. Generously brush both sides of the chicken thighs with the glaze. Grill for only an additional 30 seconds to a minute per side. This quick burst of heat will caramelize the glaze, creating an incredibly rich, sticky, and flavorful crust. Be mindful, as the sugars in the glaze can burn quickly if left on the grill for too long, so keep a close eye on it!
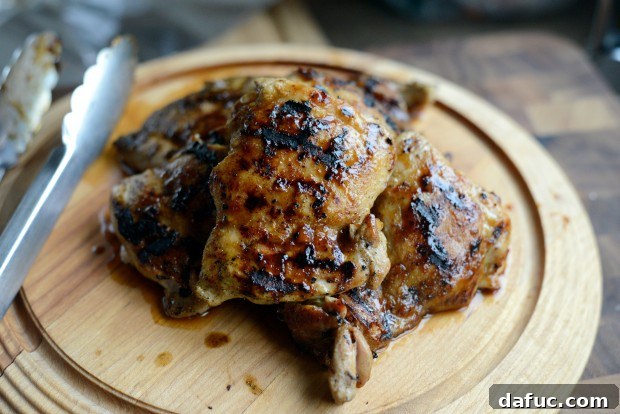
As each batch of grilled teriyaki chicken is finished, transfer it to a clean cutting board. Cover it loosely with aluminum foil to keep it warm and allow it to rest for a few minutes. Resting the chicken is a crucial step that allows the juices to redistribute throughout the meat, ensuring every bite is as tender and juicy as possible.
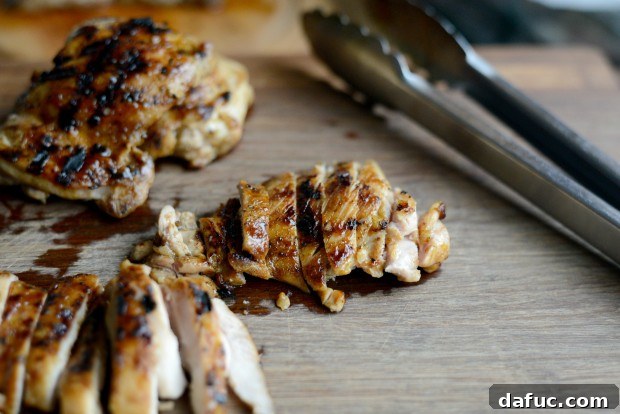
Time to Dish It Up: Assembling Your Perfect Bowl
Once the chicken has rested, slice the grilled thighs into thin, bite-sized strips. Now it’s time for the exciting part: assembling your beautiful teriyaki rice bowls! Start with a generous spoonful of your preferred cooked rice as the base. Then, artfully arrange the sliced grilled teriyaki chicken on top, followed by a hearty serving of the roasted vegetable medley. The combination of textures and colors makes each bowl a masterpiece.
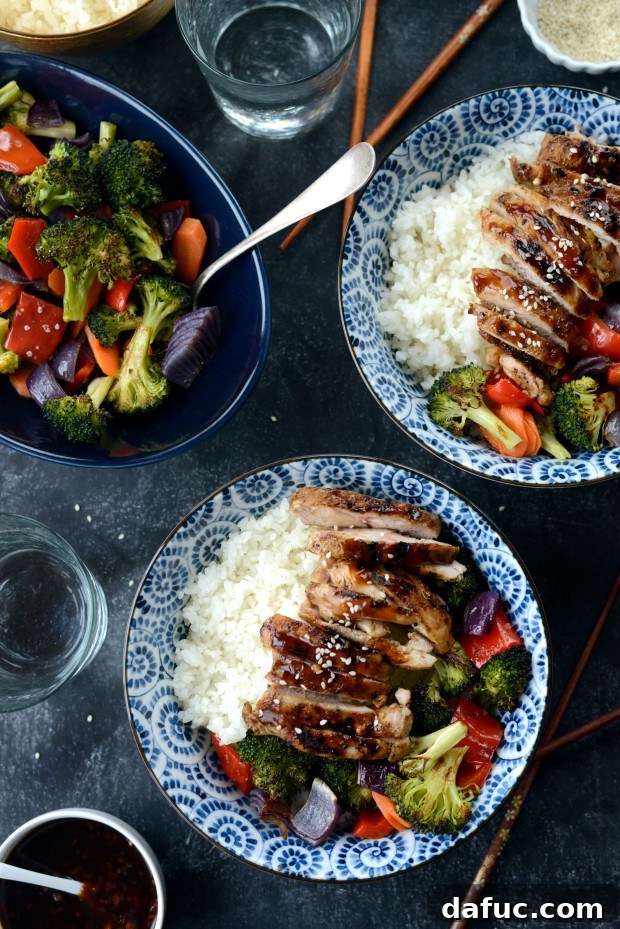
To finish, spoon more of the reserved teriyaki glaze over the chicken and vegetables, allowing its rich flavor to seep into every component of the bowl. Garnish generously with toasted sesame seeds for a delightful crunch and visual appeal. For an extra pop of fresh flavor, consider adding thinly sliced green onions, especially if you have leftovers. Trust me, it’s a delicious addition that brightens the entire dish!
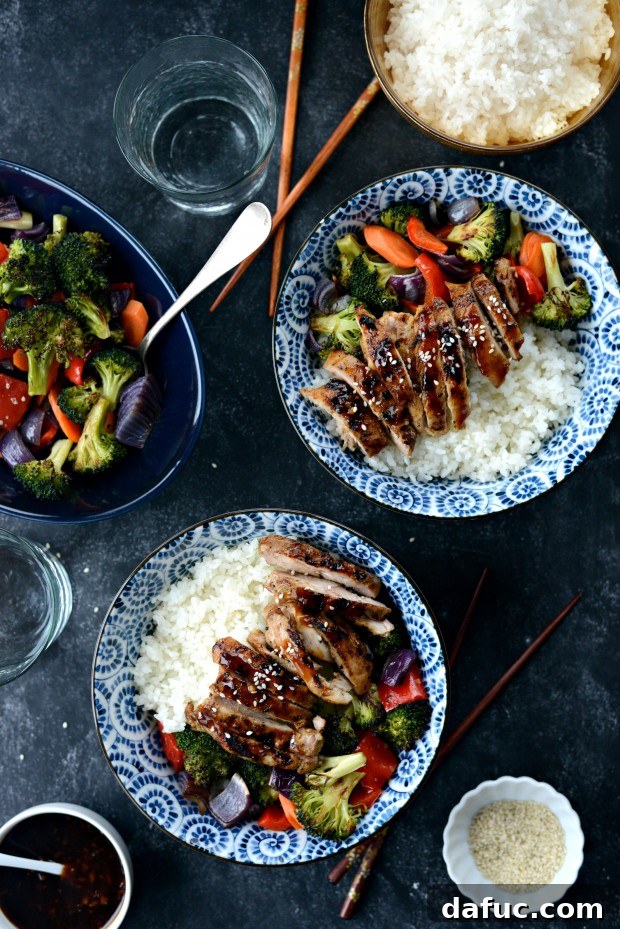
Seriously, This Teriyaki is That Good!
When developing a new recipe, I always seek honest feedback, and my husband Pat is my toughest critic. His standard “good” rating is a precise 7.65 out of 10, which, while consistent, can get a bit old! So, when I first served him these Grilled Teriyaki Chicken Rice Bowls, and he enthusiastically gave it a perfect 10 out of 10, I knew I had a winner on my hands. This dish truly is an absolute standout.
The homemade teriyaki glaze, in particular, will blow your mind. It’s truly the absolute best I’ve ever tasted. It hits all the right notes: beautifully sweet, with a delightful smidgen of sourness from the rice vinegar, and a subtle kick of heat from the chili garlic paste. This complex flavor profile perfectly complements the smoky char on the grilled chicken, creating an unforgettable culinary experience. As for the rice, while any white rice will work, I’ve recently become a big fan of sushi rice for these bowls. It cooks up just like jasmine rice but offers a slightly shorter grain and a subtly different, pleasing texture and flavor. The combination of sushi rice and this teriyaki chicken takes me back to my “real job” days when I’d grab lunch from places like Pei Wei, reminding me of that perfect balance they always achieved.
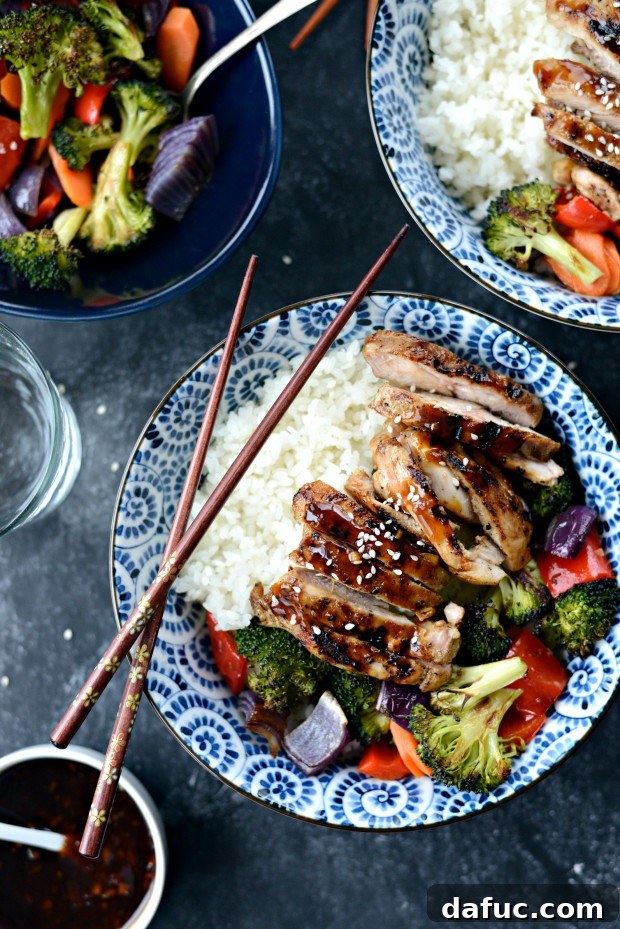
These Grilled Teriyaki Chicken Rice Bowls are more than just delicious; they are a testament to how simple, wholesome ingredients can be transformed into an extraordinary meal. The succulent chicken thighs, brushed with my incredible homemade teriyaki sauce, pair harmoniously with the fluffy rice and the naturally sweet, perfectly roasted vegetables. The beauty of the vegetable medley lies in its simplicity: roasting them with just a drizzle of oil and a sprinkle of kosher salt enhances their inherent flavors, requiring no other seasoning. This balanced approach ensures a healthy, hearty, and unbelievably satisfying dinner that you’ll want to make again and again.
I have a feeling you will absolutely adore these Grilled Teriyaki Chicken Rice Bowls!
Enjoy! And if you give this Grilled Teriyaki Chicken Rice Bowls recipe a try, don’t keep it a secret! Snap a photo and tag me on Twitter or Instagram!
Teriyaki Chicken Rice Bowls
Grilled Teriyaki Chicken Rice Bowls are simple and delicious! Grilled chicken thighs glazed with a sweet homemade teriyaki sauce is served with fluffy cooked rice and a medley of roasted vegetables.
Yield: 4 servings
Prep Time: 30 mins
Cook Time: 30 mins
Total Time: 1 hr
Ingredients
FOR THE VEGETABLES:
- 2 medium heads broccoli, cut into florets (usually 1 package)
- 1 red bell pepper, chopped in 1-inch pieces
- 1 medium red onion, chopped
- Avocado oil, or extra light olive oil
- Kosher salt
FOR THE SAUCE:
- 2 tablespoons dark brown sugar
- 1 tablespoon honey
- 1/2 teaspoon chili garlic paste, like sambal oelek
- 1/4 cup low-sodium tamari
- 3 tablespoons water, or broth (chicken or vegetable)
- 3 tablespoons dry sherry wine
- 3 tablespoons rice vinegar
- 1/4 teaspoon white pepper, plus more for seasoning chicken
- 1 tablespoon cornstarch, plus 1 tablespoon cold water for cornstarch slurry
- 2 peeled carrots, sliced thin and on an angle
- 3 garlic cloves, minced
- 1½ teaspoons peeled and freshly grated ginger
- 1½ pounds boneless skinless chicken thighs
FOR SERVING:
- 2 to 3 cups cooked sushi rice
- 1 tablespoon toasted sesame seeds
- 2 green onions, sliced, for serving
Instructions
- MAKE THE VEGETABLES:
- Preheat your oven to 500°F.
- Toss the broccoli, red pepper, and onion on a rimmed, metal baking sheet. Drizzle generously with oil and sprinkle with kosher salt. Set aside.
- Heat 1 teaspoon of oil in a wok or 12-inch chef’s pan on medium-high heat. Add the carrots and cook for 2 to 3 minutes or just until tender. Transfer to a small bowl and set aside.
- MAKE THE TERIYAKI SAUCE:
- Combine the sugar, honey, chili paste, tamari, water, sherry, rice vinegar, and white pepper in a small bowl. Whisk until both the sugar and honey are dissolved.
- To the remaining oil in the pan (from cooking carrots), add the garlic and ginger and cook for 30 seconds before pouring in the teriyaki sauce mixture. Bring to a boil and then stir in the cornstarch slurry (1 tablespoon cornstarch mixed with 1 tablespoon cold water). Reduce heat to medium and cook until just thickened. Remove from heat and pour into a heat-safe bowl. Measure out 1/4 cup into a smaller bowl for basting the chicken.
- MAKE THE CHICKEN TERIYAKI:
- Heat your grill or cast iron grill pan to medium-high heat.
- Pat chicken thighs dry with paper towel and season with pinches of salt and a few shakes of white pepper.
- Once the grill is hot, work in batches grilling the chicken for about 5 to 6 minutes per side, or until almost fully cooked.
- When the chicken is just about fully cooked, slide the pan of vegetables into your preheated 500°F oven. Roast for 10-12 minutes.
- During the last few minutes of grilling, brush both sides of the chicken with the reserved 1/4 cup of thickened teriyaki sauce. Grill each side for an additional 30 seconds to a minute to caramelize the glaze. Be careful not to burn the sugars.
- Transfer chicken to a cutting board, cover with foil to keep warm, and allow to rest for a few minutes. Once rested, slice into thin strips.
- Remove roasted vegetables from the oven, add the sautéed carrots, and toss to combine. Return the pan to the turned-off oven with the door slightly cracked to keep warm.
- Serve slices of grilled teriyaki chicken on a bed of cooked sushi rice with the roasted vegetable medley. Spoon the remaining teriyaki sauce over top of the chicken and sprinkle with toasted sesame seeds and sliced green onions.
Notes
- For a saucier dish, consider doubling the sauce ingredients.
- If you’re not a fan of spice, simply omit the chili garlic paste.
- If grilling on an outdoor grill and can grill all the chicken at once, I recommend sliding the vegetable pan into the oven at the beginning of grilling the chicken.
Nutrition Information:
Serving: 1g, Calories: 405kcal, Carbohydrates: 41g, Protein: 38g, Fat: 8g, Saturated Fat: 2g, Polyunsaturated Fat: 2g, Monounsaturated Fat: 3g, Trans Fat: 1g, Cholesterol: 162mg, Sodium: 995mg, Potassium: 715mg, Fiber: 3g, Sugar: 15g, Vitamin A: 6133IU, Vitamin C: 44mg, Calcium: 74mg, Iron: 3mg
Author: Laurie McNamara
Course: Mains & Entrees
Cuisine: Japanese