
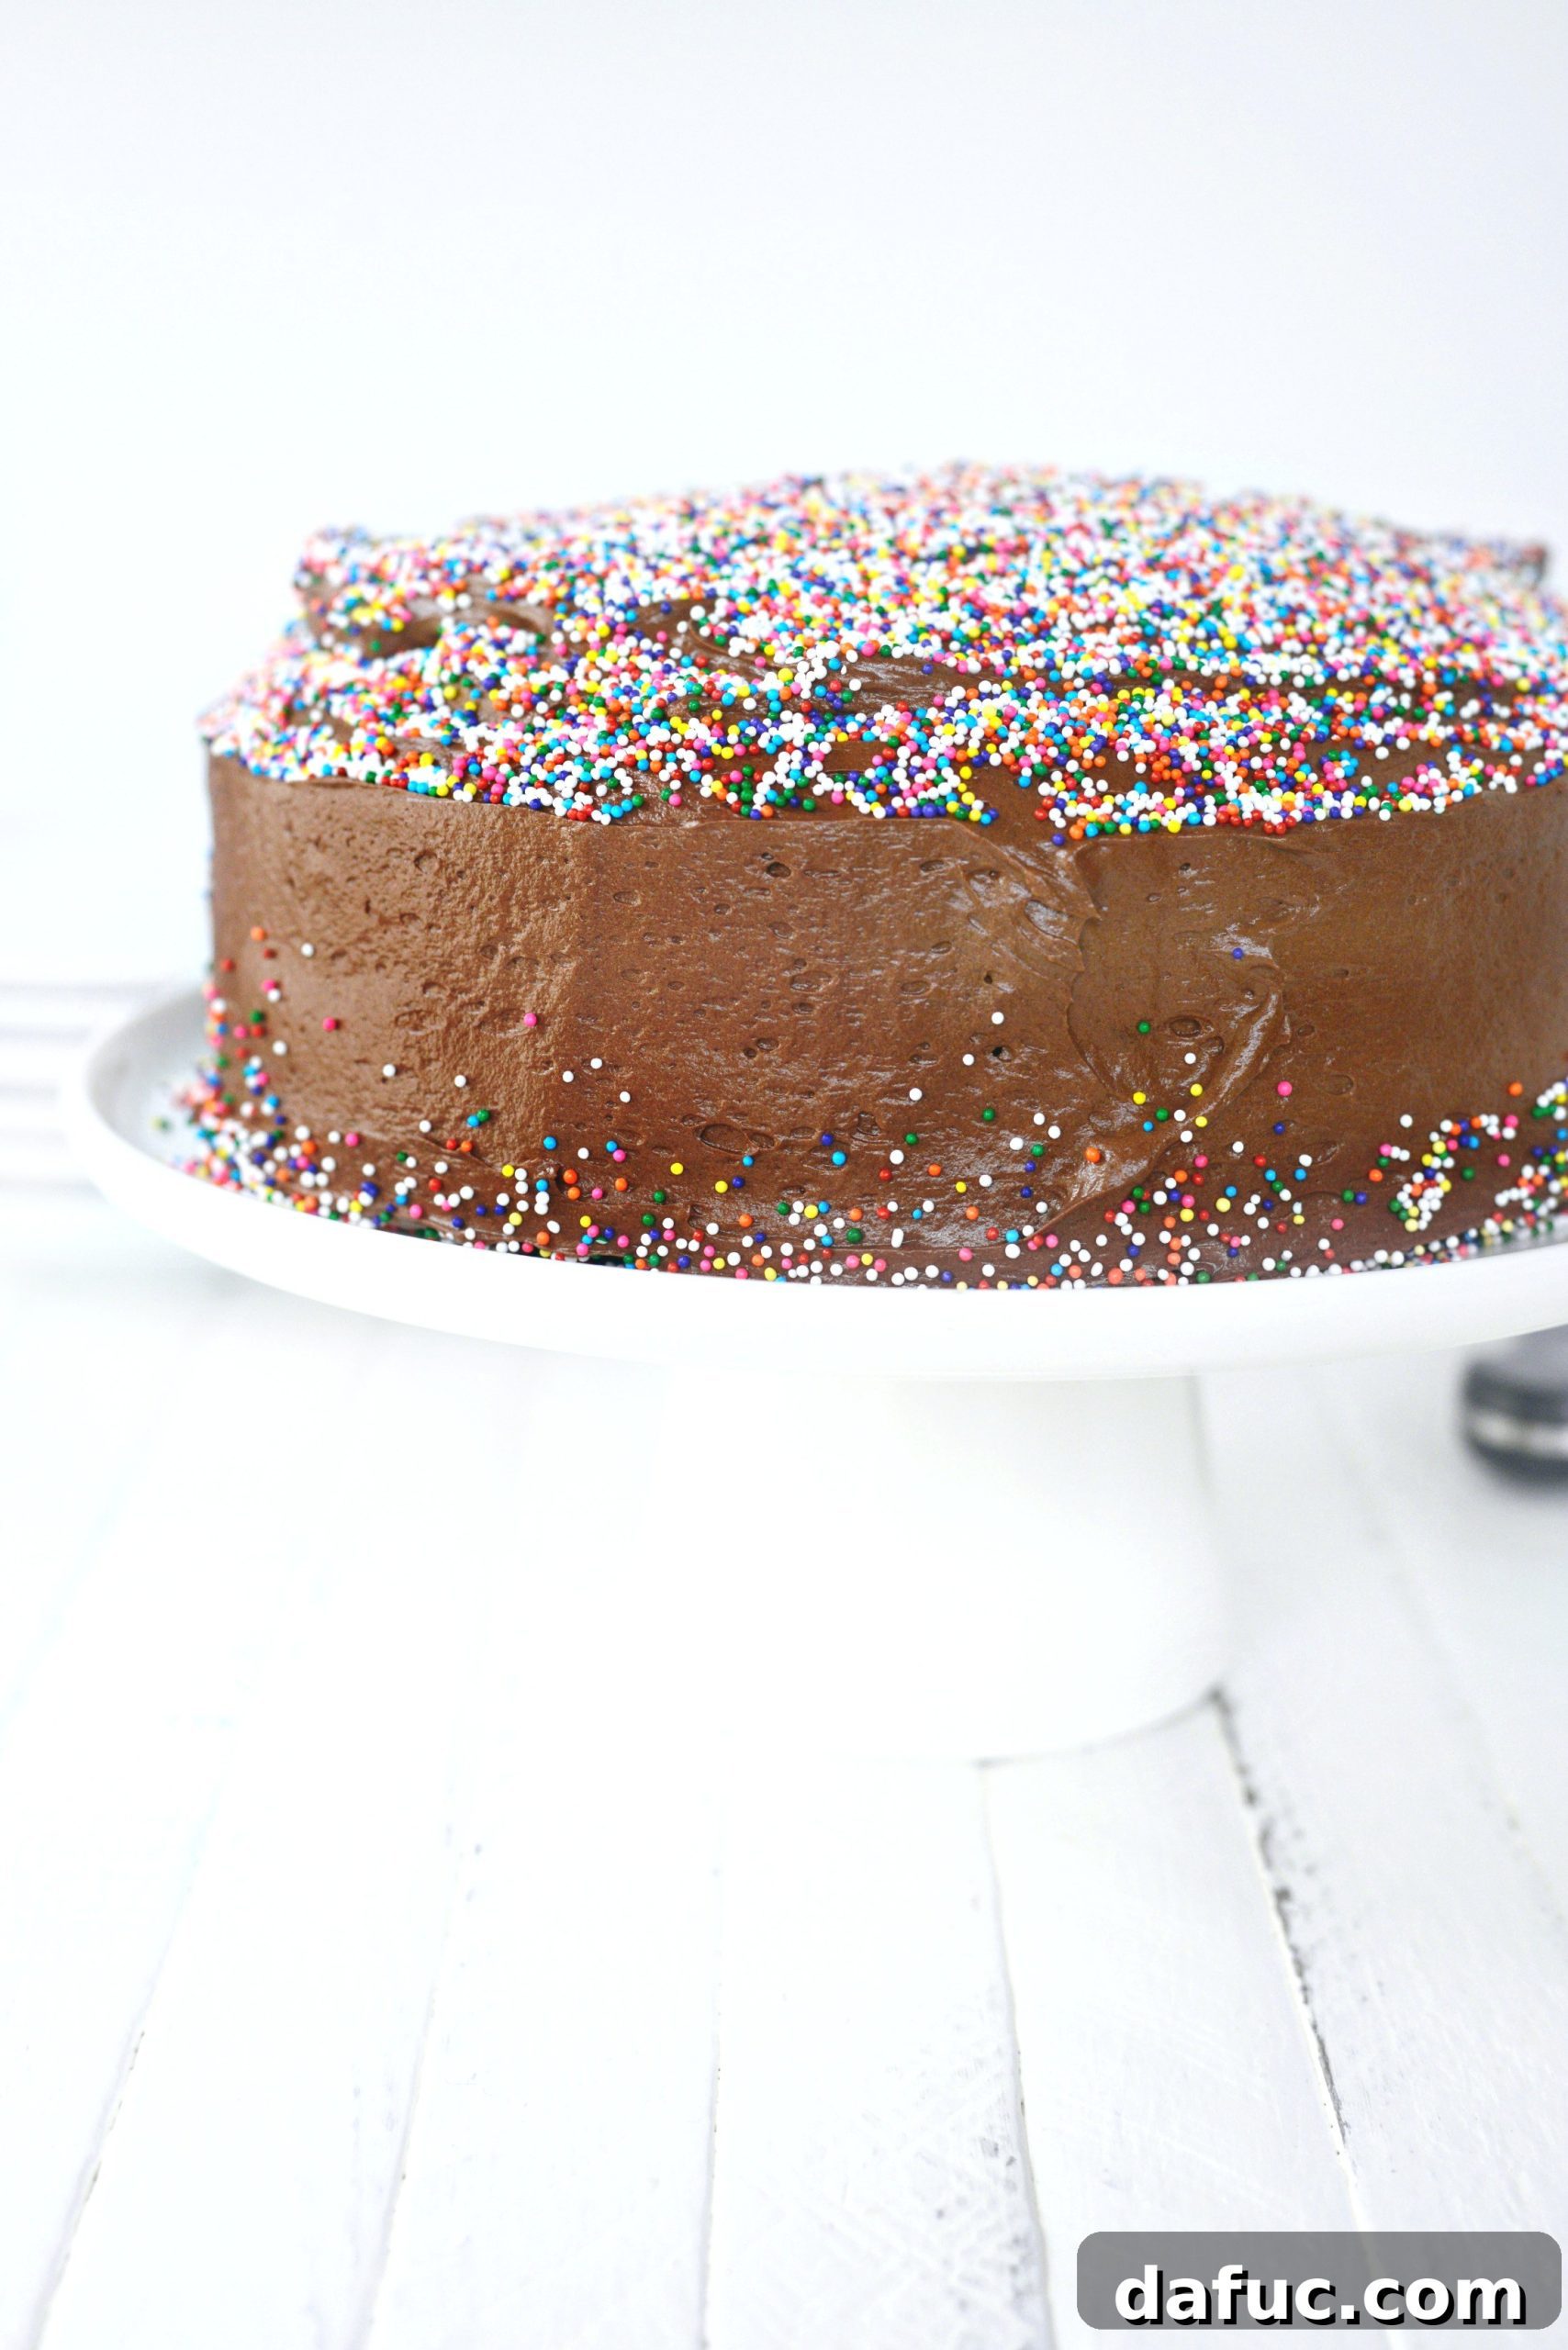
Welcome to the ultimate guide for baking a truly magnificent Homemade Chocolate Cake with a rich, velvety chocolate frosting. Forget those lackluster boxed mixes – this recipe promises an unforgettable dessert that’s not only incredibly moist and deeply chocolaty but also surprisingly simple to prepare. We’re talking about a cake so good, it tastes like it came straight from a gourmet bakery, yet it’s crafted right in your own kitchen using a special homemade chocolate cake mix base.
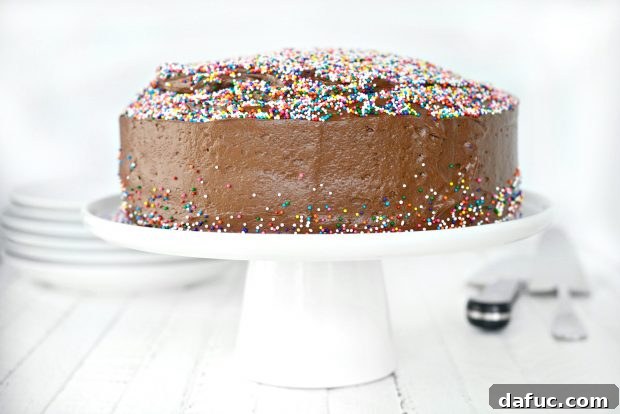
The Joy of Baking: A Homemade Chocolate Cake Masterpiece
There’s something uniquely satisfying about baking a cake from scratch, especially when it involves the universally adored flavor of chocolate. This isn’t just any chocolate cake; it’s a celebration of pure, unadulterated cocoa goodness, lavishly adorned with an abundance of colorful sprinkles. Why sprinkles? Because sometimes, you just need a little extra joy, a splash of color to brighten your day. Whether it’s a special occasion, a casual Friday, or simply a treat for yourself, this cake embodies indulgence and delight.
As I approach another birthday, my youngest, Malloree, delights in counting down the days with an enthusiasm that only youth can truly possess. “It’s in like 5 (or 4, or 3, or 2…) days, Mom!” she exclaims, her excitement palpable. It’s sweet, of course, but for me, these days are less about the countdown and more about reflection. I remember a time, perhaps around 25, when turning a year older felt like an exciting adventure. Now, my milestones seem to shift towards future delights like receiving AARP benefits – a different kind of excitement entirely! Yet, her youthful anticipation is a beautiful reminder of the many fun birthday milestones still ahead for her, like the much-anticipated turn to 13 next month.
This reflection on birthdays brings back cherished memories of my own childhood. A particular tradition stands out: my mom always let my sisters and me choose the flavors for our birthday cakes. For me, it was almost always chocolate cake with chocolate frosting. Interestingly, as a child, I had a peculiar habit of eating the cake and meticulously leaving behind “frosting trenches” – I simply didn’t care for frosting. Why? I have no idea now! Eventually, I even bypassed birthday cakes entirely, opting for cookie bars and cheesecakes instead. Oh, how times have changed!
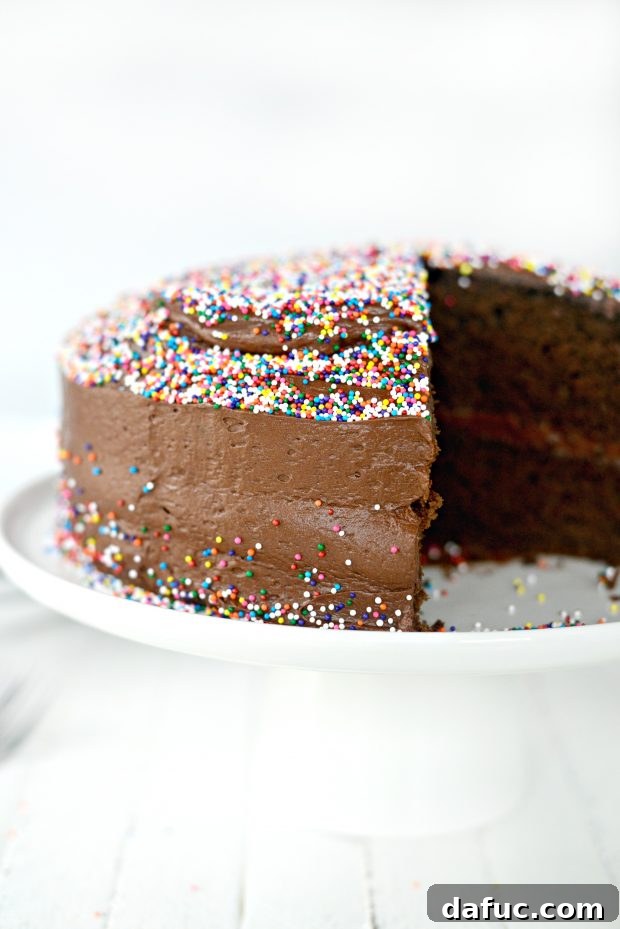
From Box to Brilliance: Why Homemade Cake Mix Makes All the Difference
Fast forward to today, and I am absolutely all about cake. And not just any cake – homemade cake. The secret to this specific unbelievably chocolaty cake lies in using a homemade chocolate cake mix. If you’ve ever followed me on Snapchat (laurie.mcnamara), you might have caught a glimpse of the magic unfolding. It transforms the baking process, elevating the flavor and texture far beyond what any store-bought box mix can achieve. This cake is moist (yes, I used the M-word, and it’s essential here!), rich, intensely delicious, and most importantly, surprisingly easy to assemble. It strikes that perfect balance between homemade quality and practical simplicity, making it a go-to recipe for any occasion.
Using a homemade cake mix foundation offers several advantages. First, you have complete control over the ingredients, ensuring freshness and quality that can genuinely be tasted in every bite. No artificial flavors or preservatives here – just pure, wholesome goodness. Second, it allows you to easily customize the cake to your preferences, although with a base this good, you might not even feel the need! The result is a cake that boasts a finer crumb, a deeper chocolate flavor, and that enviable moistness that makes everyone ask for a second slice. It’s the kind of cake that will make you wonder why you ever settled for anything less.
Baking Your Perfect Chocolate Cake: A Step-by-Step Guide
Let’s get down to the delicious details of creating this amazing chocolate cake. Precision and a little bit of love are all you need to ensure success.
Cake Preparation
- Prepare Your Pans: Begin by thoroughly greasing and flouring two 9-inch round cake pans. For an extra layer of protection against sticking, line the bottoms with parchment paper. This step is crucial for cakes that release effortlessly and look perfectly formed. For a detailed guide on how I line my cake pans, check out this helpful resource: How to Line a Cake Pan.
- Preheat the Oven: Set your oven to 350℉ (180℃). Allowing your oven to fully preheat ensures even baking from the moment your batter goes in.
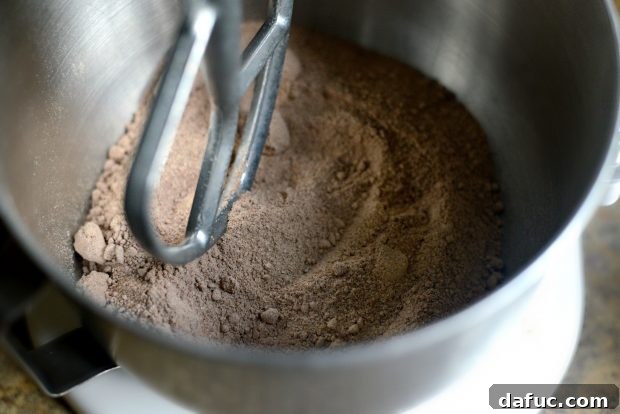
- Combine Dry Ingredients: Transfer your prepared homemade chocolate cake mix into the bowl of a stand mixer fitted with the paddle attachment.
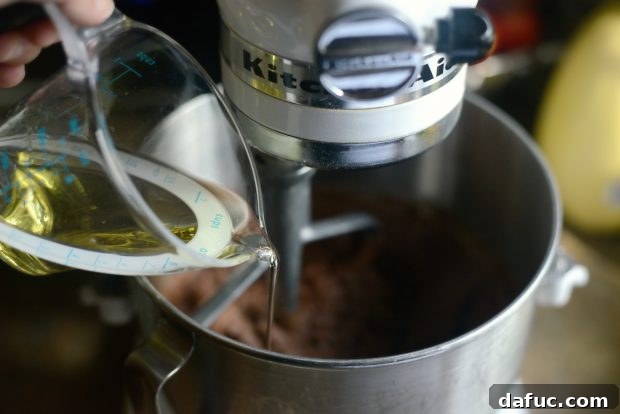
- Add Wet Ingredients (Liquids First): With the mixer on a low speed, gradually pour in 1 cup of water and 2/3 cup of grapeseed oil. Grapeseed oil is excellent for cakes as it has a neutral flavor and contributes to a wonderfully moist crumb.
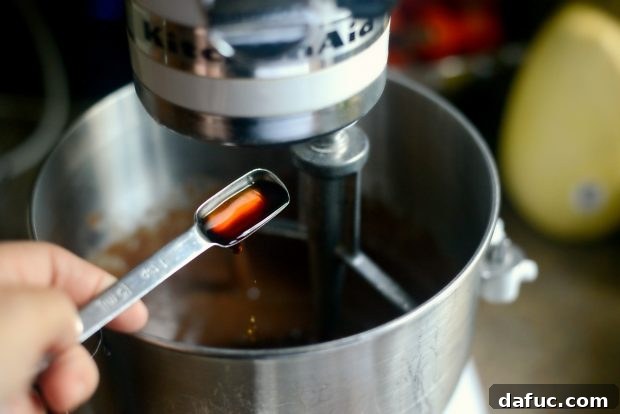
- Incorporate Flavoring: Next, add 2 teaspoons of pure vanilla extract. Continue mixing on low speed until all the liquid ingredients are just incorporated into the cake mix. Be careful not to overmix at this stage.
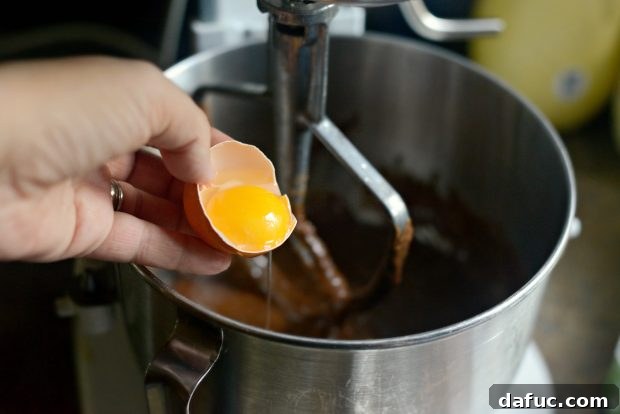
- Add Eggs: Introduce 3 large eggs one at a time, mixing well after each addition. It’s important to scrape down the sides of the bowl thoroughly after each egg to ensure everything is evenly combined, leading to a homogenous batter and a perfectly textured cake.
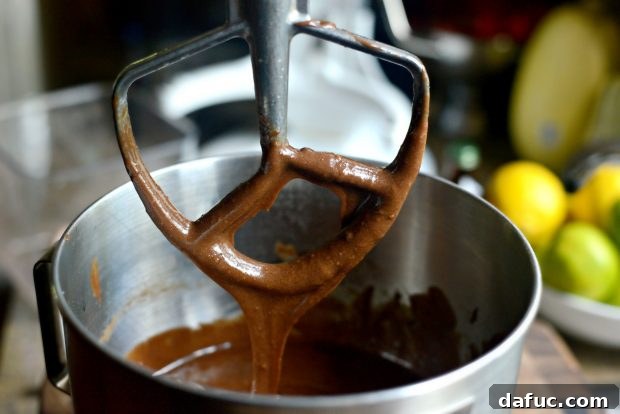
Voila! Your rich, glossy chocolate cake batter is now ready.
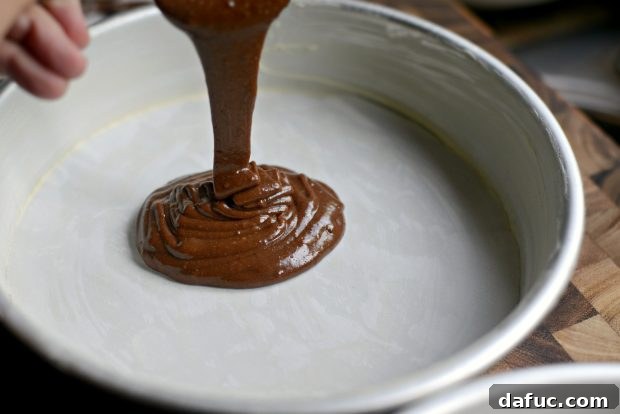
- Fill the Pans: Evenly divide the cake batter between your two prepared pans. Approximately 2 1/2 cups of batter per pan works well for a balanced two-layer cake.
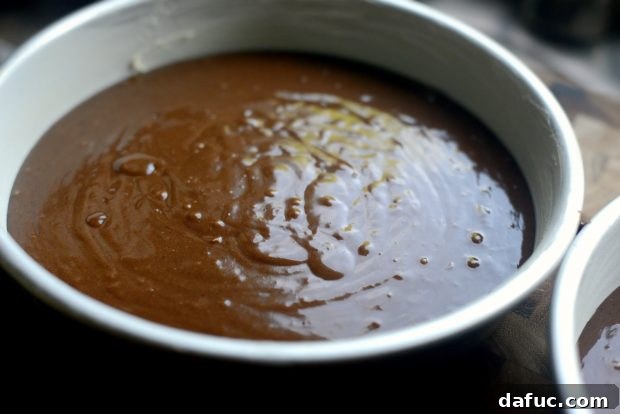
- Bake to Perfection: Gently tap the filled cake pans on the counter a few times to release any trapped air bubbles, which helps prevent large air pockets in your baked cake. Then, slide the pans into your preheated 350°F (180°C) oven. Bake for 25 to 30 minutes, or until a wooden skewer or toothpick inserted into the center comes out with only a few moist crumbs attached. For consistent baking, remember to rotate the pans halfway through the baking time.
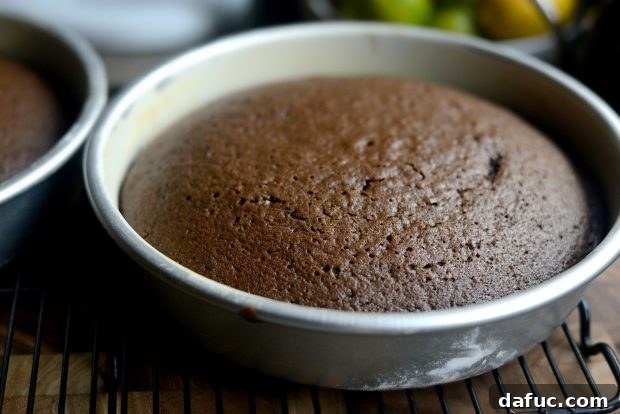
- Cooling Process: Allow the cakes to cool in their pans for 10 to 15 minutes. This crucial cooling period helps the cakes firm up, making them less likely to break when you remove them. After this time, run a knife carefully around the edges of each pan and invert the cakes onto a wire rack to cool completely. Cooling completely is paramount; attempting to frost warm cakes will only result in melted, messy frosting.
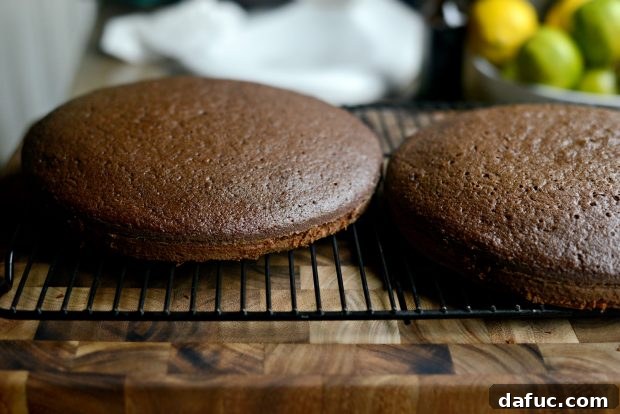
Patience is a virtue, especially when it comes to cooling cakes. Ensure they are entirely cool before moving on to the frosting stage.
Crafting the Perfect Chocolate Frosting
No chocolate cake is complete without a luscious, homemade chocolate frosting. This recipe delivers a whipped, creamy frosting that perfectly complements the rich chocolate cake layers. The base for this incredible frosting comes from this wonderful recipe, with a special twist: the harmonious blend of both almond and vanilla extracts. The almond extract adds a subtle depth and sophistication that elevates the chocolate flavor beautifully.
Frosting Preparation
- Cream the Butter: In the bowl of your stand mixer, fitted with the whisk attachment, add 1/2 cup of unsalted butter (at room temperature). Mix on low speed for about 2 minutes until the butter is light and wonderfully creamy. This aeration is key for a fluffy frosting.
- Sift Dry Ingredients: In a separate large bowl, sift together 2½ cups of powdered sugar and 1/2 cup of natural unsweetened cocoa powder. Sifting prevents lumps and ensures a smooth, uniform frosting texture.
- Combine Liquids: In a large liquid measuring cup, whisk together 3 tablespoons of whole milk, 2 to 3 tablespoons of low-fat buttermilk, 1/2 teaspoon of pure vanilla extract, and 1/2 teaspoon of almond extract. The buttermilk adds a slight tang that balances the sweetness and richness of the chocolate.
- Whip to Fluffy Perfection: Gradually add a few large spoonfuls of the sifted cocoa-sugar mixture to the creamed butter, alternating with small amounts of the liquid mixture. Mix on low speed until just combined after each addition. Once all ingredients are incorporated, increase the mixer speed to high and beat for 4 to 5 minutes. The frosting will transform into a light, airy, and incredibly fluffy consistency that is a dream to spread.
Assembling Your Masterpiece: How to Frost the Cake
Now comes the artistic part – frosting your perfectly cooled chocolate cake. Don’t worry if you’re not a professional baker; a few simple tricks will help you achieve a beautiful finish, and remember, sprinkles are always your friend!
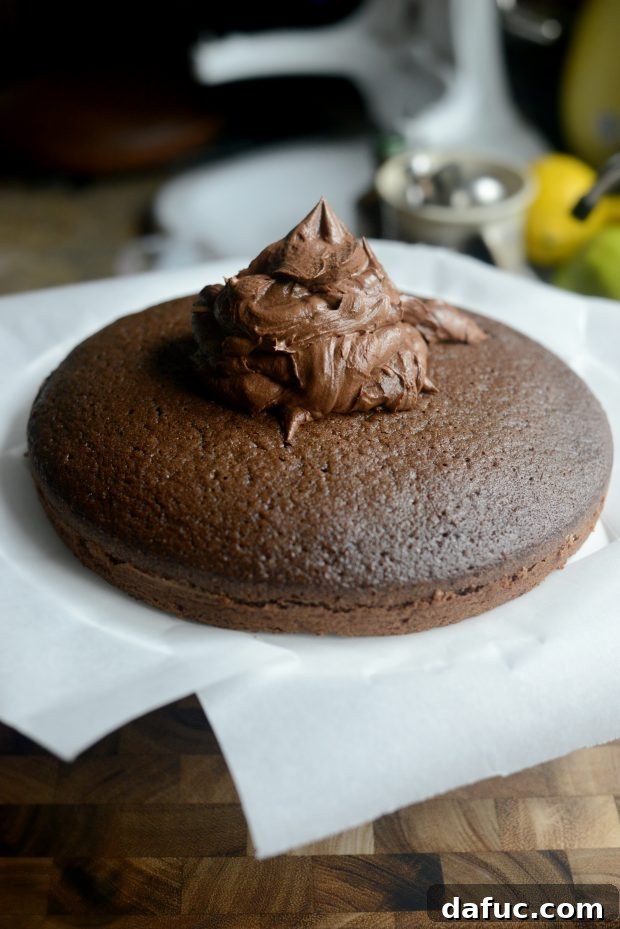
- Secure the Cake: To prevent your cake from sliding and keep your cake plate clean, spread a tiny dollop (about a teaspoon) of frosting in the very center of your cake plate or stand. Place the first cooled cake layer directly on top. For cleaner edges, loosely arrange strips of parchment paper or wax paper just underneath the edge of the cake all around the perimeter. These can be removed once frosting is complete.
- First Layer Frosting: Top the first cake layer with about one-third of your prepared frosting. Using an offset spatula or a knife, start at the center and gently spread the frosting outwards to the edge. Allow a little extra frosting to overhang the edge; this will help cover the sides later.
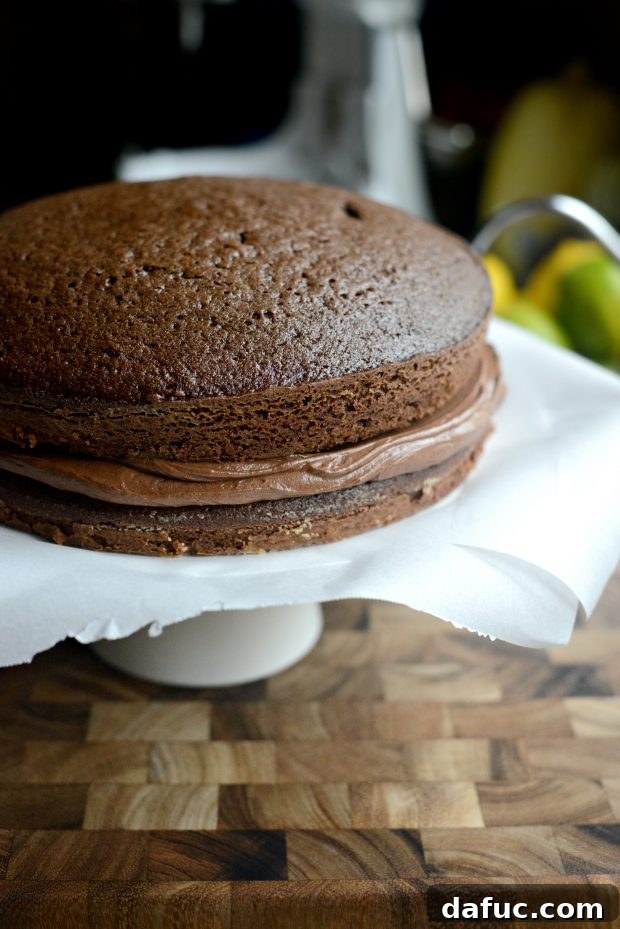
- Stack the Second Layer: Carefully place the second cooled cake layer on top of the frosted first layer. Press down gently to ensure it’s level and secure.
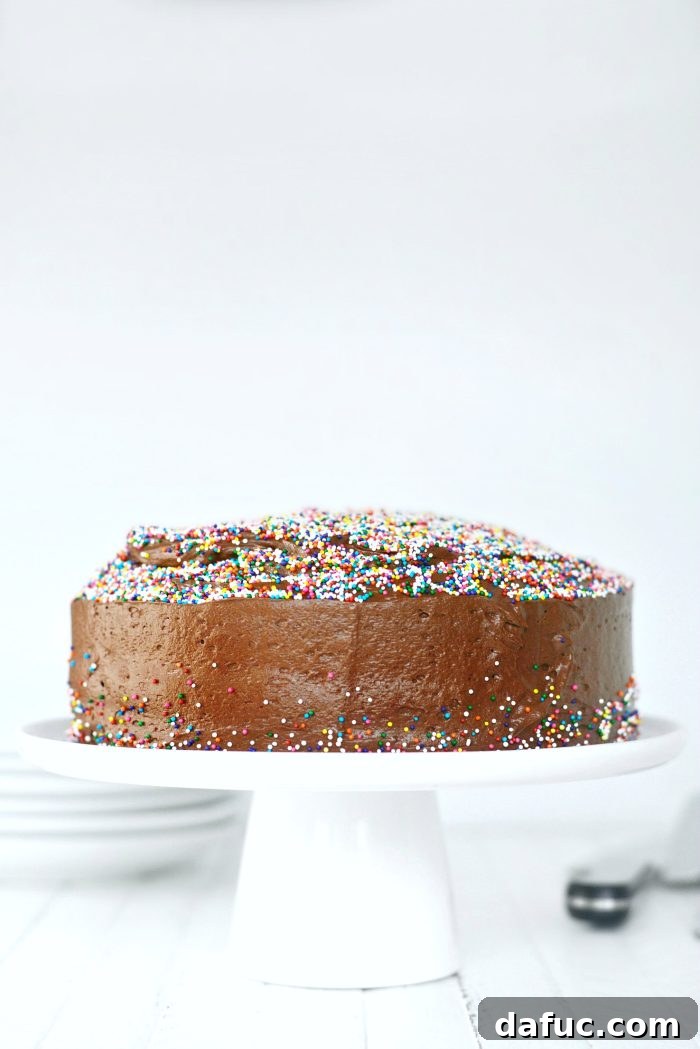
- Final Frosting: With the remaining frosting, apply it to the top of the second layer, spreading it out from the center and then carefully working your way down to cover the sides of the cake. Don’t stress too much about achieving absolute perfection; the rustic look is charming, and any imperfections can be magnificently masked!
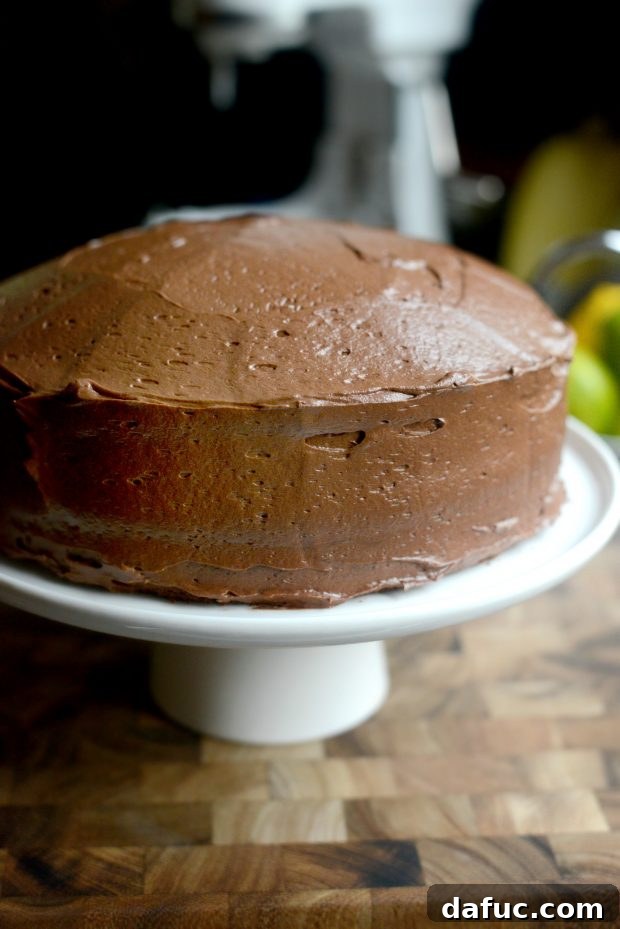
As you can see, I am still perfecting my frosting techniques. But here’s a golden rule for all home bakers:
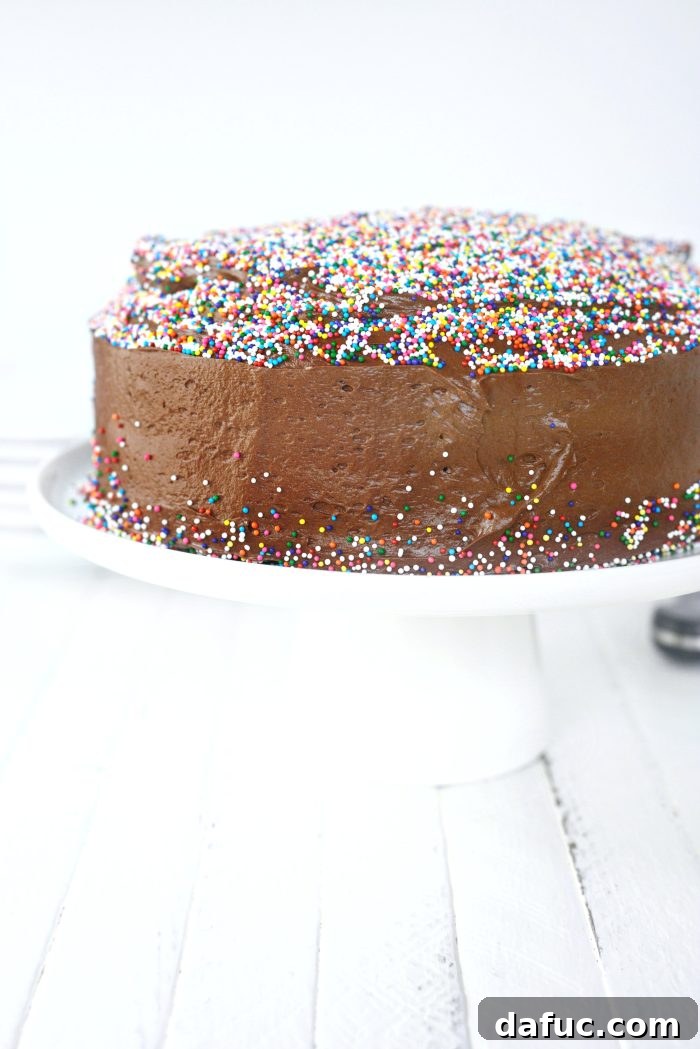
When in doubt, cover it in sprinkles!
Sprinkles add a festive touch and are excellent at camouflaging any minor frosting mishaps, transforming them into charming features. They instantly elevate the cake’s appearance and bring a smile to everyone’s face.
A Guaranteed Crowd-Pleaser
This homemade chocolate cake was an absolute hit! My daughters came home from school, and each enjoyed a generous slice for an afternoon snack. Truly, a “mom of the year” moment! The next day, I carved out a massive quarter-slice, plated it, and sent it off with my daughter to her best friend’s house. Three teenagers, a delectable chocolate cake, and no fear of calories – it was a winning combination, as always! Cake, especially this kind of rich, homemade chocolate cake, always brings people together and spreads happiness.
Why this cake is simply GREAT:
- Unbeatable Flavor: Deep, rich chocolate that satisfies every craving.
- Perfect Texture: Incredibly moist crumb that melts in your mouth.
- Homemade Goodness: Crafted with care from a homemade mix for superior taste and quality.
- Easy to Make: Despite its impressive appearance, the process is straightforward and enjoyable.
- Versatile: Perfect for birthdays, holidays, or any day you need a sweet escape.
- Customizable: Easily adapt with different frostings, fillings, or toppings beyond sprinkles!
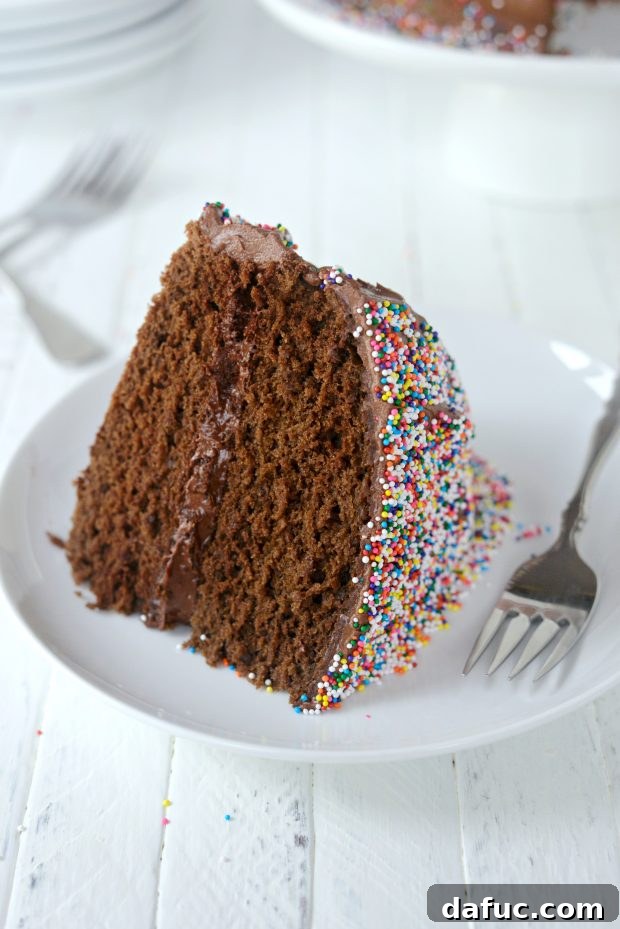
Enjoy the baking process and savor every bite of this truly special chocolate cake! If you try this recipe, I would absolutely love to hear about it. Please snap a photo and share your creations, tagging me on Twitter or Instagram! Your culinary adventures inspire me!
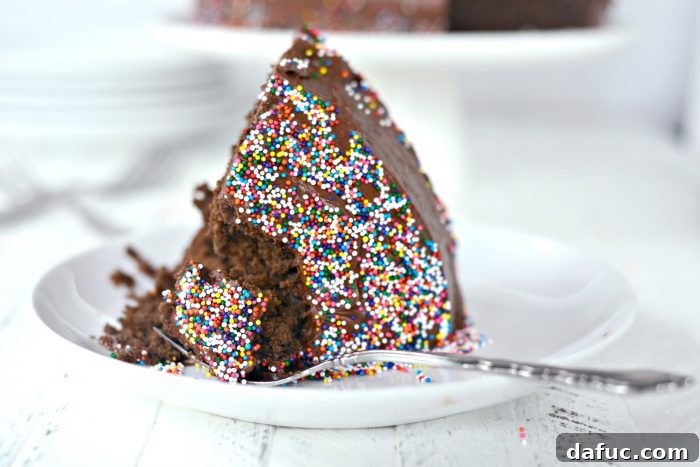
Homemade Chocolate Cake with Chocolate Frosting Recipe
This gorgeous Chocolate Cake is made from my homemade chocolate cake mix! And it’s so much better than boxed cake mix! Moist, chocolaty but just as easy!
Recipe Details
- Yield: 14 servings
- Prep Time: 25 mins
- Cook Time: 30 mins
- Additional Time (Cooling/Frosting): 1 hr 5 mins
- Total Time: 2 hrs
Ingredients
For the Cake:
- 1 recipe homemade chocolate cake mix
- 1 cup water
- 2/3 cup grapeseed oil
- 2 teaspoons pure vanilla extract
- 3 large eggs
For the Frosting:
- 1/2 cup unsalted butter, softened
- 2½ cups powdered sugar, sifted
- 1/2 cup natural unsweetened cocoa powder, sifted
- 3 tablespoons whole milk
- 2 to 3 tablespoons low-fat buttermilk
- 1/2 teaspoon pure vanilla extract
- 1/2 teaspoon almond extract
Equipment
- KitchenAid KP26M1XWH 6 Qt. Professional 600 Series Bowl-Lift Stand Mixer – White
- USA Pan Bakeware Round Cake Pan Set
- 9-inch round cake pans
- Parchment paper
- Wire cooling rack
- Offset spatula (optional, for frosting)
Instructions
For the Cake:
- Preheat your oven to 350℉ (180℃). Grease and flour two 9-inch round cake pans, then line the bottoms with parchment paper.
- Into the bowl of your stand mixer fitted with the paddle attachment, add the homemade cake mix.
- With the mixer on low speed, pour in 1 cup water and 2/3 cup grapeseed oil. Mix until just combined.
- Add 2 teaspoons vanilla extract. Mix on low to incorporate.
- Add the 3 large eggs one at a time, mixing well after each addition and scraping down the sides of the bowl to ensure a smooth, even batter.
- Divide the cake batter evenly (approximately 2 1/2 cups each) between the two prepared pans. Tap the pans gently on the counter to release any air bubbles.
- Bake for 25 to 30 minutes, or until a toothpick inserted into the center comes out with only a few moist crumbs attached. Rotate the pans halfway through baking for even results.
- Allow the cakes to cool in the pans for 10 minutes before running a knife around the edge and carefully turning them out onto a wire cooling rack. Cool completely before frosting.
For the Frosting:
- In the bowl of your stand mixer fitted with the whisk attachment, add the 1/2 cup softened unsalted butter. Mix on low speed until light and creamy (about 2 minutes).
- In a separate large bowl, sift together the 2½ cups powdered sugar and 1/2 cup natural unsweetened cocoa powder.
- In a liquid measuring cup, combine the 3 tablespoons whole milk, 2 to 3 tablespoons low-fat buttermilk, 1/2 teaspoon pure vanilla extract, and 1/2 teaspoon almond extract.
- Add a few large spoonfuls of the sifted cocoa-sugar mixture to the butter in the mixer, alternating with small amounts of the liquid mixture. Mix on low speed until just combined after each addition.
- Increase the mixer speed to high and beat for 4 to 5 minutes, or until the frosting is wonderfully light and fluffy.
How to Frost the Cake:
- To secure the cake and keep your serving plate clean, spread a teaspoon of frosting in the middle of your cake plate or stand. Place the first cooled cake layer onto the plate, and loosely arrange strips of parchment or wax paper just underneath the edges all around the cake.
- Spread about one-third of the frosting evenly over the top of the first cake layer, extending slightly over the edge.
- Carefully place the second cooled cake layer on top.
- Use the remaining frosting to cover the top and sides of the cake, spreading from the center outwards and then down around the sides. Smooth as desired.
- Remove the parchment strips from underneath the cake once frosting is complete.
- For extra flair, liberally cover your frosted cake with colorful sprinkles!
Nutrition Information (per serving, approximate)
- Serving Size: 1 slice
- Calories: 445 kcal
- Carbohydrates: 60g
- Protein: 5g
- Fat: 22g
- Saturated Fat: 8g
- Polyunsaturated Fat: 8g
- Monounsaturated Fat: 5g
- Trans Fat: 1g
- Cholesterol: 66mg
- Sodium: 311mg
- Potassium: 139mg
- Fiber: 2g
- Sugar: 43g
- Vitamin A: 367 IU
- Vitamin C: 1mg
- Calcium: 94mg
- Iron: 1mg
Additional Information
- Author: Laurie McNamara
- Course: Desserts & Sweet Treats
- Cuisine: American