
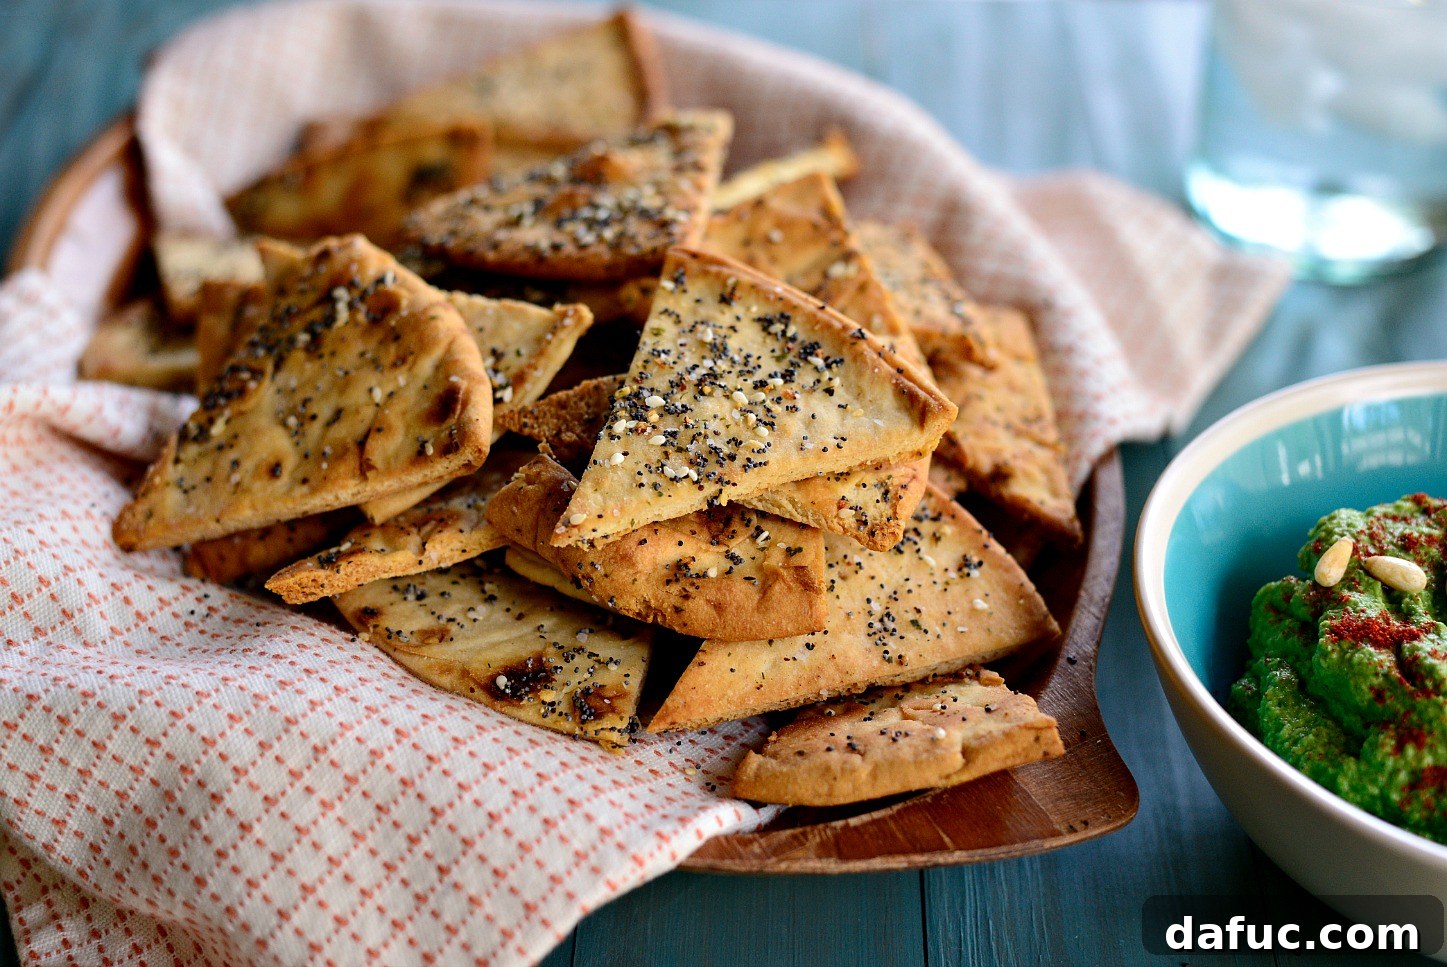
Homemade Everything Baked Pita Chips: Your New Favorite Crispy Snack
There’s an undeniable joy in a perfectly crunchy pita chip. While convenient, store-bought pita chips often disappoint, arriving in a bag of broken pieces, lacking the robust flavor and satisfying texture only homemade can provide. This comprehensive guide will take you through every step of creating your own everything baked pita chips, a snack so delicious and easy, it will quickly become a staple in your kitchen. Say goodbye to overpriced, underwhelming chips and hello to superior homemade goodness!
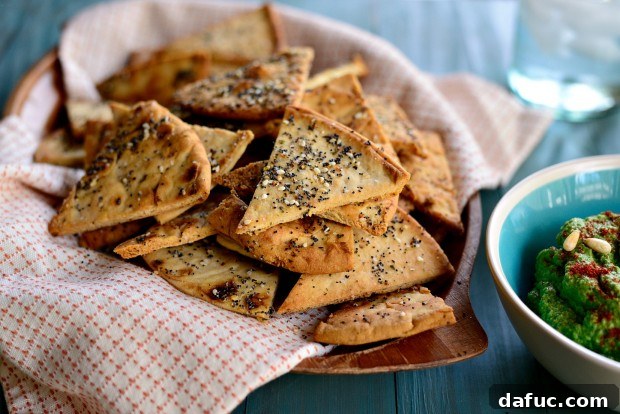
The Unbeatable Appeal of Homemade Pita Chips
My personal journey to homemade pita chips began with a moment of culinary betrayal. I once paid nearly eight dollars for a bag of premium pita chips, only to open it and find a collection of small, fractured shards. It was a disheartening experience that led me to swear off store-bought versions for good. From that day on, I committed to making my own, and it has been a revelation. Not only is it significantly more economical, but it also offers unparalleled control over every aspect of your snack.
Cost Savings and Customization at Your Fingertips
The financial benefits of making your own pita chips are substantial. A single package of pita bread, costing just a few dollars, can produce several batches of chips, making it a budget-friendly alternative to constantly buying pre-made bags. Beyond the savings, the power of customization is immense. You dictate the size and shape of your chips, ensuring they are perfectly suited for scooping your favorite dips. More importantly, you have complete freedom to experiment with flavors. While a simple dusting of salt is always a winner, the real magic happens when you introduce a custom seasoning blend, like our delightful “everything” topping.
Superior Quality and Perfect Dippability, Every Time
One of the most frustrating aspects of store-bought pita chips is their tendency to break. No one wants their chip to crumble mid-dip! Homemade pita chips are crafted for durability. Using the right type of pita and a simple baking method, you’ll achieve chips that are robust, golden, and incredibly crispy, designed to withstand even the thickest hummus or a hearty baba ghanoush. The fresh aroma and warm crunch straight from the oven deliver a sensory experience that no mass-produced product can replicate.
Unlocking Flavor with “Everything” Seasoning
When I recently prepared a batch of my rich and savory roasted garlic kale hummus, I knew a plain pita chip wouldn’t do it justice. My mind immediately went to the iconic “everything bagel”—my absolute favorite, especially when generously spread with creamy onion and chive cream cheese. This led to the inspiration for an “everything” seasoning blend, perfectly suited to transform ordinary pita bread into an extraordinary snack.
The Allure of the “Everything” Blend
The “everything” seasoning mix is revered for its intricate profile, combining savory, aromatic, and nutty notes into a harmonious symphony of flavor. Typically, it features poppy seeds, white and black sesame seeds, dried minced garlic, dried minced onion, and a touch of flaky salt. This potent combination creates an incredibly addictive taste that elevates any food it graces. While it’s phenomenal on pita chips, remember its versatility: sprinkle it on roasted vegetables, avocado toast, homemade breadsticks, or even a simple fried egg for an instant flavor boost.
Crafting Your Own “Everything” Seasoning Blend
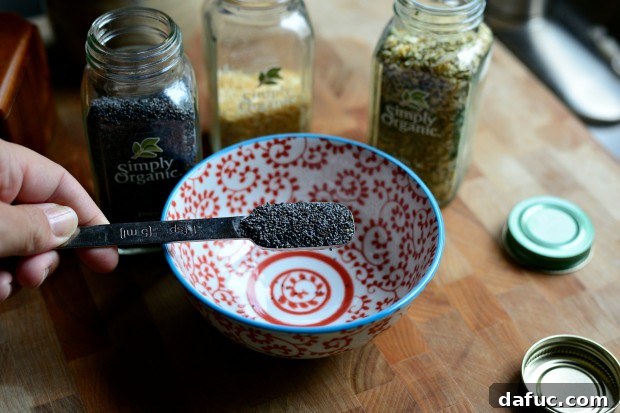
Let’s begin by assembling our homemade seasoning. First, measure out 2 teaspoons of poppy seeds. These tiny seeds provide a delicate crunch and a subtle, earthy flavor that’s essential to the blend.
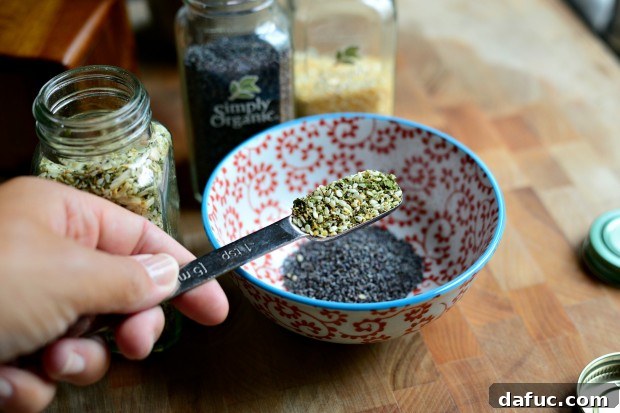
Next, for the vibrant aromatic base, you’ll need dried garlic and onion. I initially searched for individual dried minced garlic flakes, but serendipitously discovered a garlic-herb seasoning in my pantry. This blend was a perfect find, containing sesame seeds, dried herbs, dried garlic, and onion. I opted to use two heaping teaspoons of this convenient mix, which provided an excellent shortcut while still delivering rich flavor.
Should you not have a similar garlic-herb seasoning blend readily available, don’t worry! You can easily replicate it with individual spices. A fantastic substitute would be 3/4 teaspoon of white sesame seeds, 3/4 teaspoon of dried garlic flakes (minced or granulated), 3/4 teaspoon of dried minced onion flakes, and an optional 1/2 teaspoon of dried parsley flakes for a touch of color and freshness. Feel free to adjust these amounts slightly to match your personal preference, adding a pinch of black sesame seeds for visual contrast if desired.
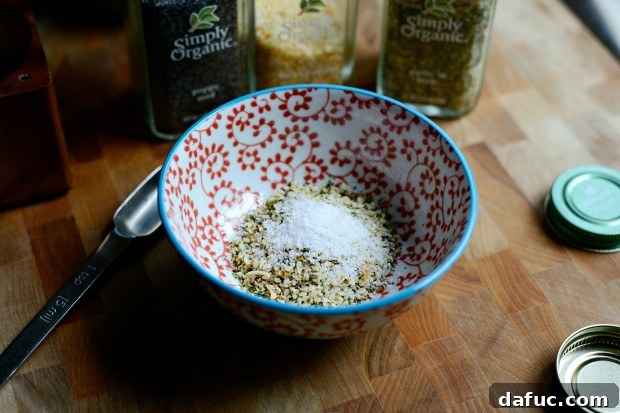
Finally, to amplify all these wonderful flavors and provide a balanced seasoning, incorporate 3/4 teaspoon of kosher salt. Kosher salt is often preferred by chefs for its pure taste and larger flakes, which adhere well and dissolve gradually, offering a burst of flavor without over-salting.
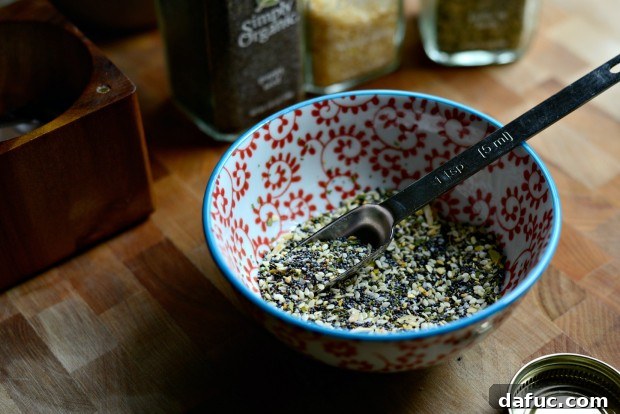
Once all the ingredients are in the bowl, give them a good stir to ensure they are thoroughly combined. This simple action creates a powerful seasoning blend ready to elevate your pita chips.
Selecting and Preparing Your Pita Bread
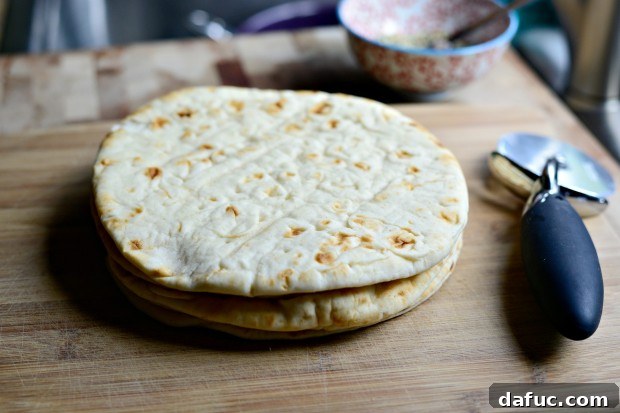
The secret to superior pita chips begins with the right pita bread. While the adventurous home cook might consider making pita bread from scratch (a rewarding endeavor, though consistently achieving a pocket-less version can be a delightful challenge!), for convenience and reliability, good quality store-bought pita works perfectly. The crucial element here is to choose “pocket-less” pita bread or a thin flatbread.
The Advantage of Pocket-less Pita
Traditional pita bread forms a distinct pocket during baking, which is fantastic for stuffing with fillings. However, for chips, this pocket can cause the bread to split or become too delicate, resulting in fragile chips that break easily. Pocket-less pitas or sturdy flatbreads, on the other hand, maintain a solid structure, making them ideal for creating firm, crispy chips that stand up to any dip. I specifically purchased pocket-less pita bread from the store for this recipe. They were originally intended for quick mini pizzas, but when those plans fizzled, they happily found their true calling as these delicious Everything Baked Pita Chips. If pocket-less pita isn’t available, look for any thin, un-puffed flatbreads that closely resemble it.
Assembling Your Everything Baked Pita Chips
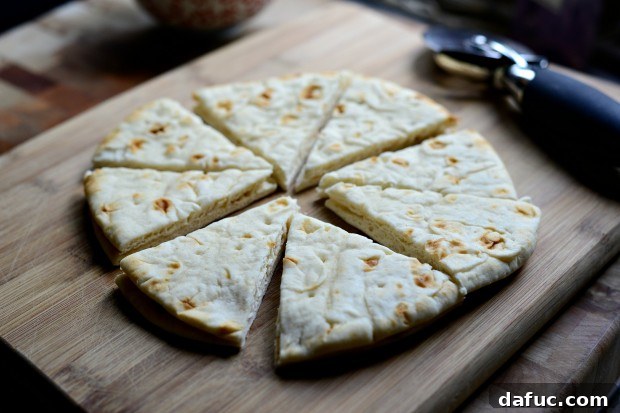
With your pita bread selected, it’s time for some simple knife work. Take each round of pita bread and cut it in half, then proceed to cut each half into quarters. This method yields eight perfectly sized, uniform wedges per pita, which are ideal for dipping and baking evenly.
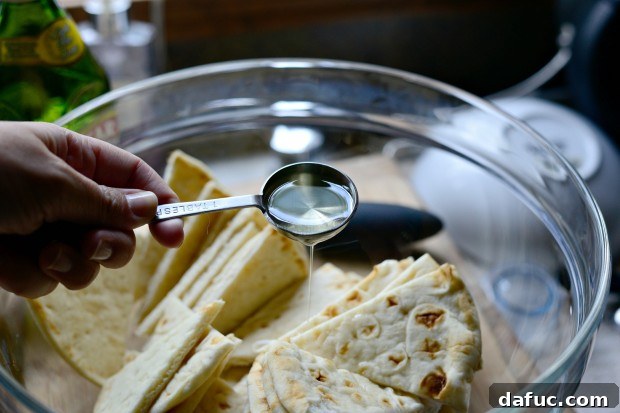
Once all your pita wedges are cut, transfer them into a large mixing bowl. Next, drizzle a couple of tablespoons of light olive oil over the wedges. Olive oil serves a dual purpose here: it helps the chips achieve that desirable golden crispness in the oven and acts as a binder, ensuring our delicious “everything” seasoning adheres beautifully to each piece. Opt for light olive oil, as its milder flavor won’t compete with our seasoning blend.
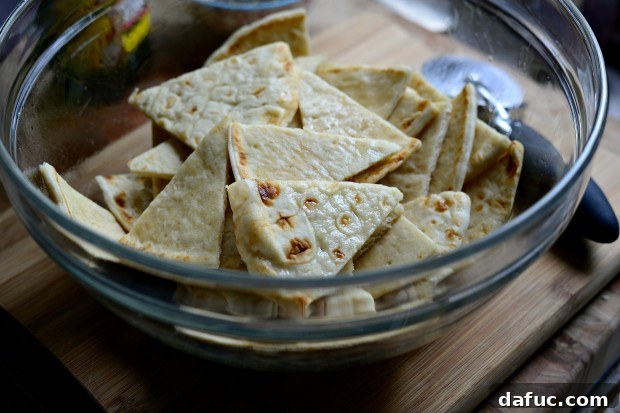
Thoroughly toss the pita wedges to coat them evenly with the olive oil. You want each piece to have a light, glossy sheen. If some pieces appear dry, add a small amount of extra olive oil, about a teaspoon at a time, until everything is lightly coated. Be careful not to over-oil, as too much oil can lead to greasy chips rather than perfectly crispy ones.
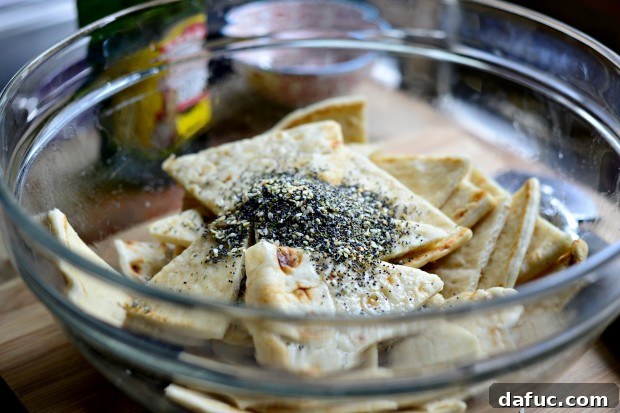
Now, it’s time for the star ingredient: generously sprinkle your homemade “everything” seasoning blend over the oiled pita wedges.
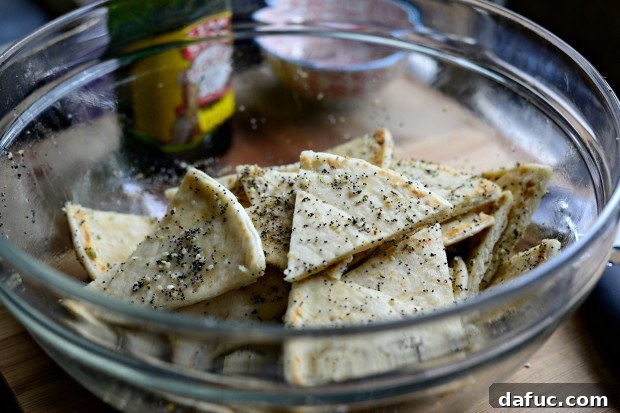
Employ your impeccably clean hands to toss the seasoned pita triangles once more. This hands-on approach is the most effective way to ensure that every single chip is evenly coated with the flavorful “everything” topping. Maximum coverage means maximum flavor in every single bite!
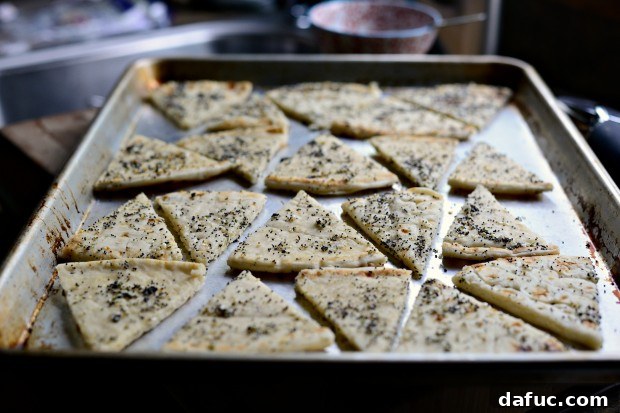
Baking to Golden, Crispy Perfection
Preheat your oven to 375°F (190°C). Divide the seasoned pita triangles evenly between two large, rimmed sheet pans. It is essential to arrange them in a single, non-overlapping layer. Overcrowding the pan will cause the pitas to steam rather than crisp, resulting in soft or chewy chips instead of crunchy ones. If you only have one sheet pan, bake the chips in two separate batches to ensure optimal crispiness.
Bake for approximately 10-15 minutes, or until the chips turn a beautiful golden brown and feel perfectly crispy to the touch. I’ve found that rotating the sheet pans halfway through the baking time helps promote even browning across all the chips. A common question is whether to flip the pita chips during baking. In my experience, it’s completely unnecessary. These chips achieve a delightful crispness on their own without the need for additional handling or risking singed fingertips. Trust the process, and you’ll be rewarded with perfectly crunchy chips!
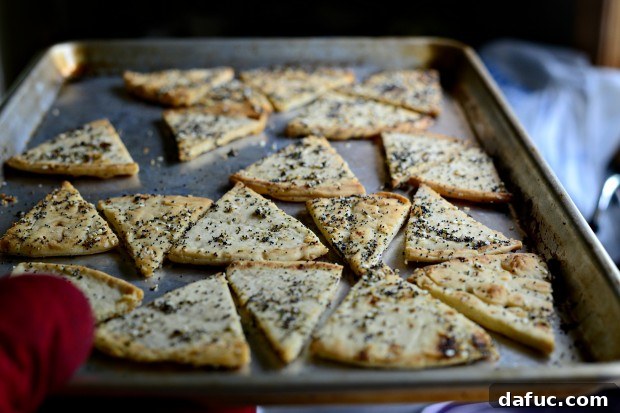
Once baked to perfection, allow the pita chips to cool slightly on the baking sheets before serving. This brief cooling period not only makes them safe to handle but also allows them to firm up even further, enhancing their crisp texture.
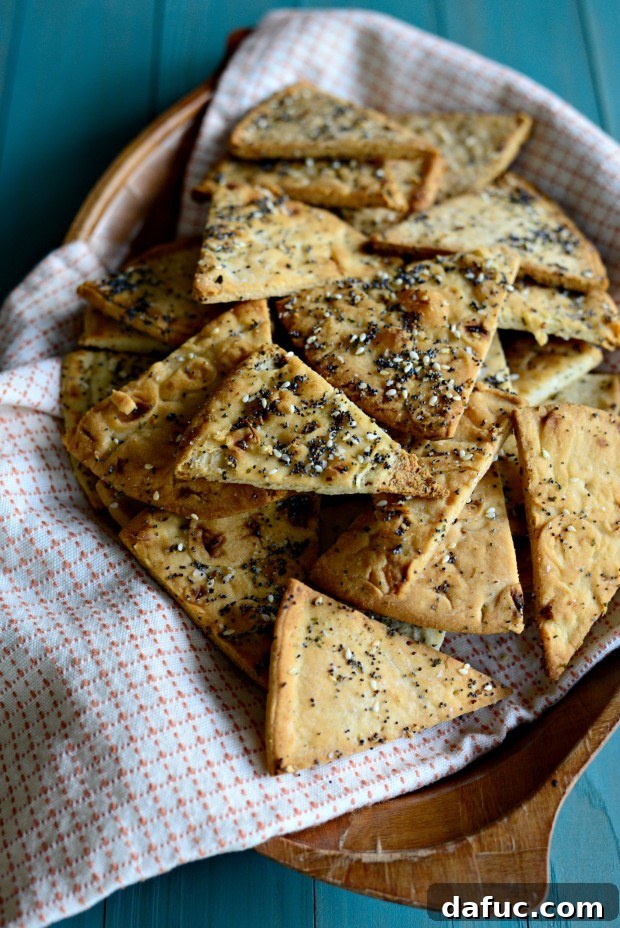
Serving Your Irresistible Homemade Pita Chips
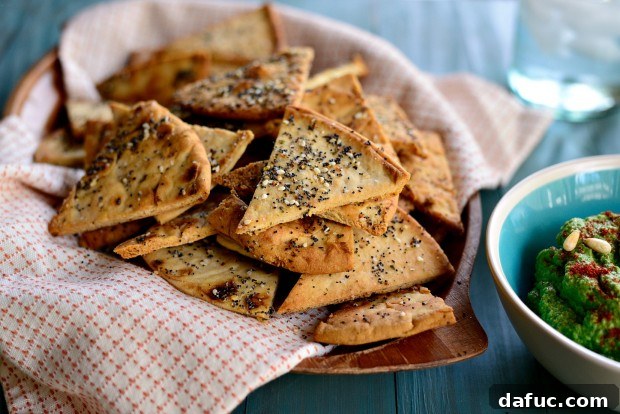
And just like that, you’ve created a batch of incredibly crispy, flavorful, homemade pita chips with minimal effort. It’s genuinely an embarrassingly easy recipe, so simple that the delicious results almost feel like a culinary cheat code.
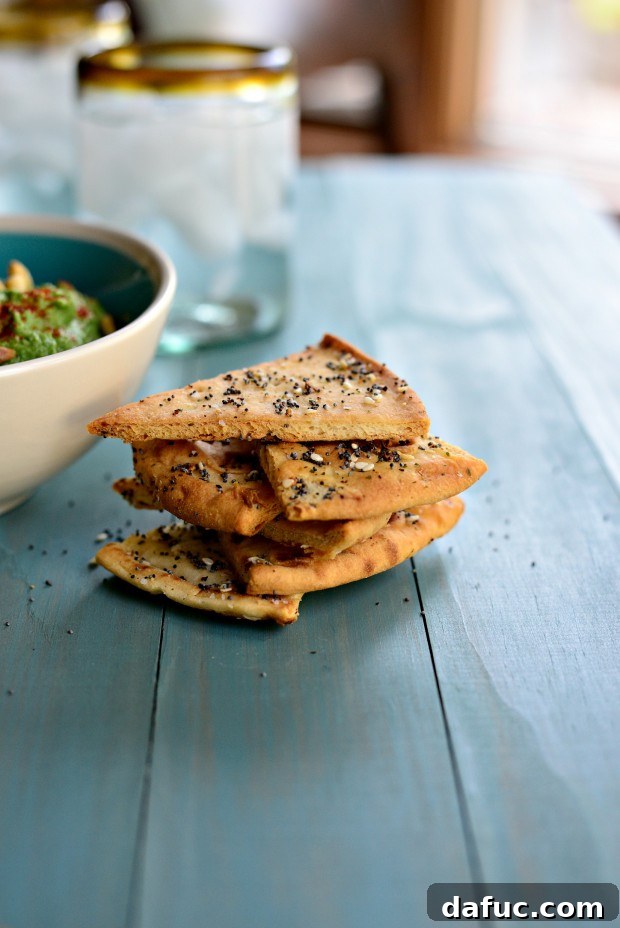
These glorious pita chips are practically begging to be dipped! Their sturdy structure and bold “everything” flavor make them an ideal companion for a wide variety of spreads. Your homemade hummus, whether it’s a classic creamy chickpea variety or something more adventurous like the roasted garlic kale hummus that inspired these chips, is the perfect match. But don’t limit yourself! These chips are also superb with:
- Creamy Baba Ghanoush (roasted eggplant dip)
- Cool and refreshing Tzatziki sauce (cucumber-yogurt dip)
- Rich and cheesy Spinach Artichoke Dip
- Spicy Feta Dip (Tirokafteri) for a Mediterranean kick
- Fresh Guacamole or Pico de Gallo for a Mexican flair
- As a flavorful crouton alternative in salads or crumbled over soups
Storage Tips for Lasting Crispness
To maintain the delightful crispness of your homemade pita chips, store them in an airtight container at room temperature. They will remain fresh and crunchy for up to 3-5 days. While they are undoubtedly at their best enjoyed warm from the oven, they hold up surprisingly well. If they happen to lose a bit of their crunch over time, a quick refresh in a toaster oven or a warm oven (around 300°F/150°C) for a few minutes will bring them back to life.
Frequently Asked Questions About Homemade Pita Chips
Can I use whole wheat pita bread for this recipe?
Absolutely! Whole wheat pita bread is an excellent choice for this recipe. It offers a slightly nuttier flavor profile and adds beneficial fiber. Just ensure you select the pocket-less or flatbread variety for the best texture and structure.
What if I don’t have olive oil?
While light olive oil provides the best flavor and helps achieve optimal crispiness, you can substitute it with other neutral-flavored oils. Good alternatives include avocado oil, grapeseed oil, or even a mild vegetable oil. Avoid oils with strong flavors that might clash with the “everything” seasoning.
Can I make these pita chips with different seasonings?
Definitely! The versatility of homemade pita chips is one of their greatest strengths. Instead of “everything” seasoning, you could try tossing them with smoked paprika and cumin for a smoky flavor, Italian herbs for a Mediterranean twist, or even a sprinkle of cinnamon sugar for a sweet dessert chip that pairs wonderfully with fruit salsa or vanilla yogurt dips.
How can I ensure the seasoning sticks well to the pita chips?
The key to good adhesion is to ensure your pita wedges are evenly coated with olive oil before you add the seasoning. The oil acts as a binder. Also, while you want generous flavor, avoid oversaturating the chips with seasoning; a good, even layer is usually sufficient to prevent excess from falling off.
Conclusion: Elevate Your Snacking Experience
Making your own Everything Baked Pita Chips is a simple yet incredibly rewarding culinary endeavor. It’s a testament to how effortlessly you can transform basic ingredients into a gourmet-level snack. This recipe empowers you to enjoy superior flavor, perfect texture, and cost savings, all from the comfort of your kitchen. So, the next time a snack craving hits, bypass the grocery aisle’s disappointing options and whip up a batch of these glorious homemade pita chips. They are perfect for casual snacking, elegant entertaining, or as the ideal companion to your favorite dips.
Enjoy! And if you give this delicious baked pita chips recipe a try, I’d love to hear about it! Please share a photo and tag me on your favorite social media platform!
Leave a Review »
Everything Baked Pita Chips
Ingredients
- 6 pocket-less pita flatbreads or naan bread, cut into 8 wedges each
- 2 tablespoons light olive oil
- 1 to 2 tablespoons everything seasoning (store-bought or homemade)
- 3/4 teaspoon kosher salt (if using store-bought seasoning or for taste)
- For Homemade “Everything” Seasoning (if not using pre-made):
- 2 teaspoons poppy seeds
- 3/4 teaspoon white sesame seeds
- 3/4 teaspoon dried minced garlic flakes
- 3/4 teaspoon dried minced onion flakes
- 1/2 teaspoon dried parsley flakes (optional, for color and freshness)
- 3/4 teaspoon kosher salt
Instructions
-
Preheat oven to 375°F (190°C). Prepare two large, rimmed baking sheets.
-
If making your own “everything” seasoning, combine poppy seeds, white sesame seeds, dried minced garlic, dried minced onion, optional dried parsley flakes, and kosher salt in a small bowl. Stir well to combine. Set aside.
-
Cut each pocket-less pita flatbread in half, then cut each half into quarters, yielding 8 triangular wedges per pita.
-
Place all pita wedges in a large mixing bowl. Drizzle with 2 tablespoons of light olive oil. Toss thoroughly to ensure all pieces are evenly coated. Add a little more olive oil if any pieces appear dry.
-
Sprinkle the homemade or store-bought “everything” seasoning blend (and any additional kosher salt, if using pre-made seasoning) over the oiled pita wedges. Use clean hands to toss the pita triangles until the seasoning is evenly distributed on all sides.
-
Divide the seasoned pita triangles onto the prepared baking sheets in a single, even layer. Ensure no pieces overlap, as this is key for crispiness. If necessary, bake in batches.
-
Bake for 10-15 minutes, or until the pita chips are golden brown and crispy. Rotate the baking sheets halfway through the baking time to ensure even browning. There is no need to flip the pita triangles.
-
Remove from the oven and allow the baked pita chips to cool slightly on the baking sheets. They will continue to crisp up as they cool.
-
Serve warm or at room temperature with your favorite dips. Store any leftover pita chips in an airtight container at room temperature for up to 5 days.
Notes
Calories: 98kcal,
Carbohydrates: 16g,
Protein: 3g,
Fat: 3g,
Saturated Fat: 0.4g,
Polyunsaturated Fat: 0.4g,
Monounsaturated Fat: 2g,
Sodium: 361mg,
Potassium: 34mg,
Fiber: 1g,
Calcium: 24mg,
Iron: 0.4mg