
Unlock the secret to flawless baking with this comprehensive guide on how to line a cake pan with parchment paper. Say goodbye to dreaded stuck cakes and difficult cleanups! Achieving a perfect cake release is an essential skill for any baker, from novice enthusiasts to seasoned professionals. This simple yet incredibly effective technique not only prevents your delicious creations from adhering to the pan but also contributes to more even baking and a beautifully presented finished product. Whether you’re whipping up a delicate sponge or a rich, dense chocolate cake, proper pan preparation is the foundational step for success. By the end of this tutorial, you’ll master this easy method, ensuring every cake slides out effortlessly, leaving you with picture-perfect results every single time.
Baking a cake is often a labor of love, whether it’s for a joyous birthday celebration, a cherished anniversary, a festive holiday gathering, or simply because the season inspires a craving for a decadent two-tier strawberry shortcake. No matter the occasion or the complexity of your recipe, the last thing any baker wants is for their masterpiece to stick stubbornly to the pan. This common baking dilemma can ruin both the cake’s appearance and your spirits. Fortunately, the solution is remarkably straightforward. This detailed “how-to” guide provides an exceptionally easy and efficient method for lining any standard cake pan, guaranteeing a smooth transfer from pan to plate. It’s a game-changer for consistently achieving professional-looking cakes right in your home kitchen.
The process of lining a cake pan with parchment paper is surprisingly simple and requires minimal effort, yet yields significant benefits. This versatile technique can be applied to virtually any size or shape of cake pan you own, making it an indispensable skill in your baking repertoire. From small individual ramekins to large sheet pans, and from classic round springform pans to intricate novelty shapes, the principles remain the same. Mastering this method means you’ll never again have to worry about your beautifully baked cake tearing or crumbling as you attempt to release it. It’s about empowering you to bake with confidence and achieve consistently perfect results, enhancing both the taste and presentation of your homemade treats.
Why Lining Your Cake Pan is a Non-Negotiable Step for Perfect Baking
Many home bakers might wonder if lining a cake pan is truly necessary, especially if they already grease and flour their pans. While greasing and flouring are good practices, parchment paper lining offers several distinct advantages that elevate your baking results. Firstly, it provides an almost foolproof non-stick barrier, ensuring your cake releases cleanly and intact, preserving its delicate structure and beautiful crust. This is particularly crucial for delicate cakes like cheesecakes, angel food cakes, or any recipe prone to sticking. The parchment forms a smooth, even surface that prevents the cake from baking directly against the metal, which can sometimes lead to uneven browning or a tough bottom crust.
Beyond preventing sticking, lining your cake pan with parchment paper significantly simplifies cleanup. Instead of scrubbing baked-on batter from the bottom of your pan, you can simply lift out the parchment paper with any residue, leaving your pan much cleaner. This not only saves time and effort but also prolongs the life of your bakeware by minimizing abrasive cleaning. Furthermore, parchment paper helps distribute heat more evenly across the bottom of the cake, reducing the risk of over-baking the edges while the center remains undercooked. It acts as a slight insulator, contributing to a consistently moist and tender crumb throughout the entire cake. For cakes that require delicate handling, such as those with soft toppings or intricate designs, the parchment paper allows for easy transfer and handling, reducing the chances of damage. In essence, lining your cake pan is a small step that yields monumental benefits for the quality, presentation, and ease of your baking experience.
Essential Tools You’ll Need for Flawless Cake Pan Lining
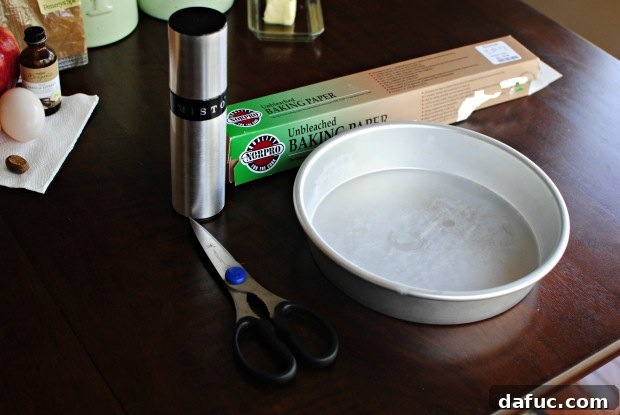
Gathering your tools before you begin ensures a smooth and efficient process. You’ll only need a few basic items, most of which you likely already have in your kitchen or craft drawer. The star of the show, of course, is a roll of good quality parchment paper. While wax paper can be used in some applications, for baking, parchment paper is superior as it is heat-resistant and non-stick, making it ideal for direct oven contact. You’ll also need a sharp pencil for tracing, a pair of kitchen scissors for precise cutting, and the cake pan you intend to line. Optionally, a small amount of butter, shortening, or non-stick cooking spray can be used to help the parchment paper adhere securely to the pan, though for the bottom circle, it’s often not strictly necessary if cut correctly. Having these simple tools at hand will make the lining process effortless and enjoyable.
Step-by-Step Guide: How to Line a Round Cake Pan Like a Pro
Let’s dive into the simple steps that will transform your cake baking. This method is specifically tailored for round cake pans, which are perhaps the most common type used in home baking. The key to success lies in precision and a little bit of patience. By following these easy instructions, you’ll be able to cut a perfectly sized parchment paper circle that fits snugly into the bottom of your pan, creating that essential non-stick barrier we’ve been discussing. Remember, a well-prepared pan sets the stage for a beautifully baked cake, so take your time with each step and enjoy the process of perfecting your baking technique.
1. Prepare Your Work Surface and Paper
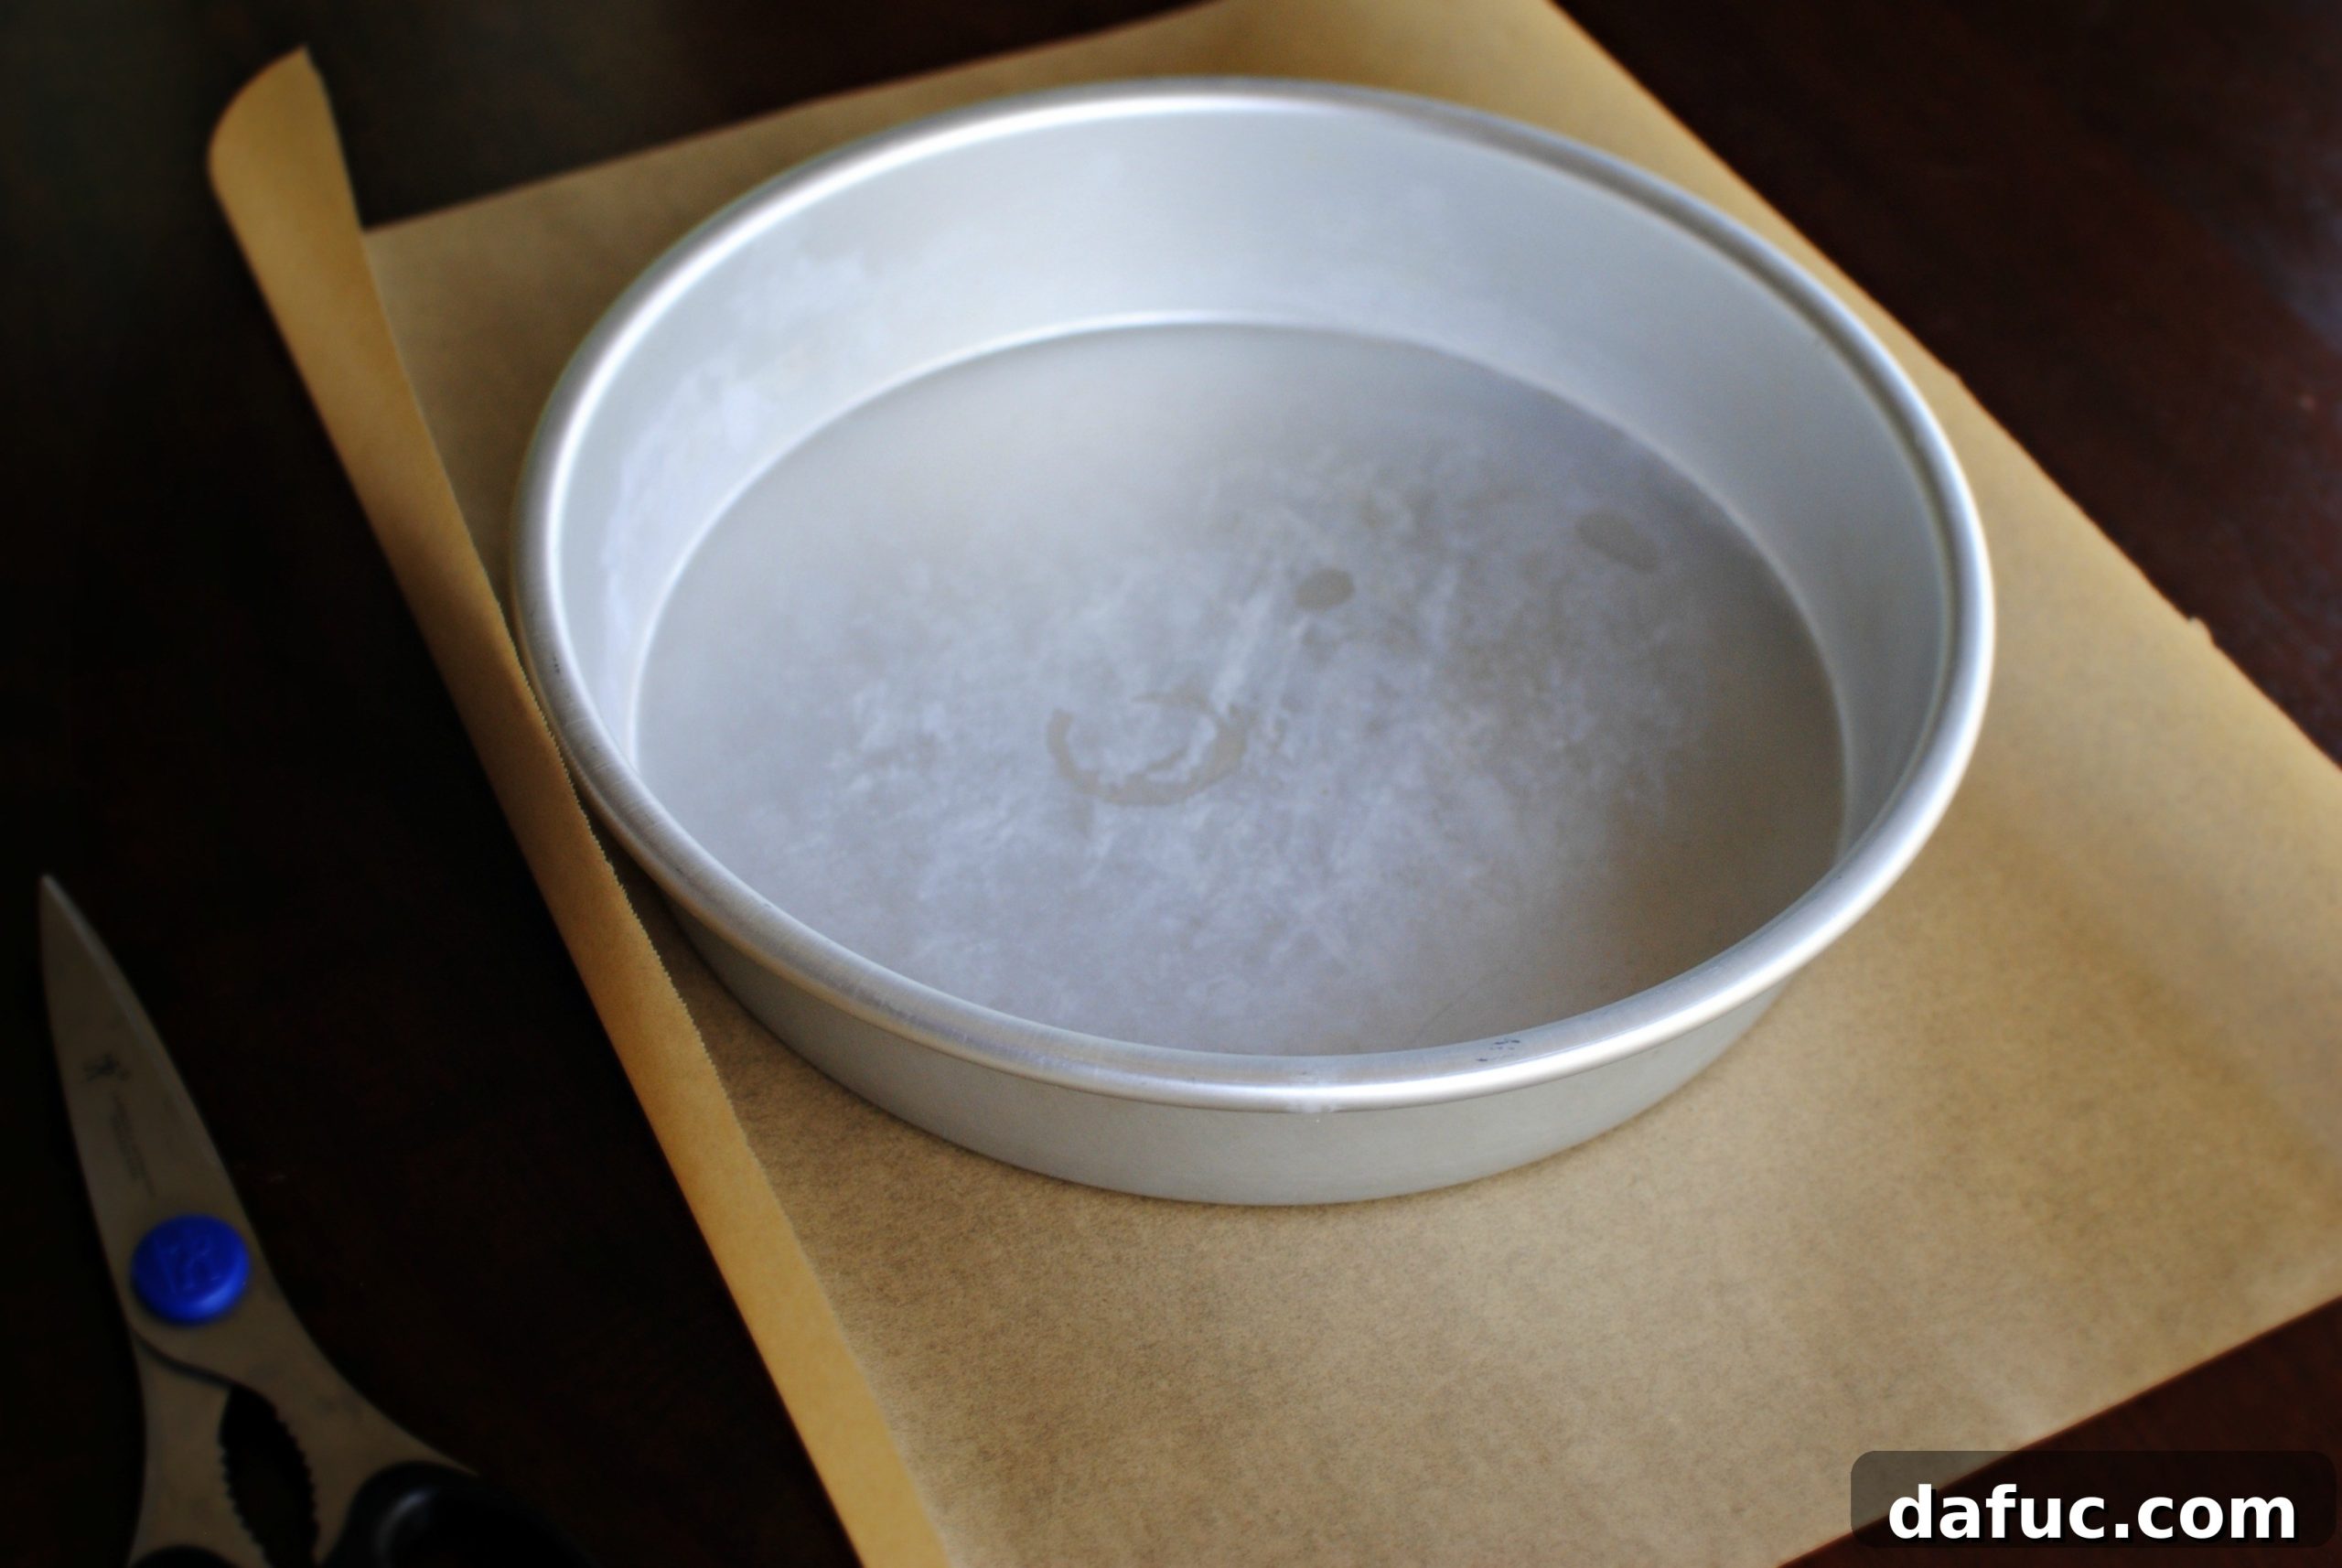
First, unroll a generous sheet of parchment paper onto a clean, flat work surface. Ensure you have enough space to comfortably place your cake pan and trace around it without the paper slipping or moving. The goal is to avoid any wrinkles or creases in the parchment paper, as these can transfer to the bottom of your cake. Smooth out the paper thoroughly with your hands to create a perfectly flat canvas for tracing. This initial setup might seem minor, but it’s crucial for achieving an accurately cut circle that will fit flawlessly into your cake pan.
2. Trace the Cake Pan Base
Place your cake pan firmly in the center of the parchment paper. Take a sharp pencil and carefully trace around the outside edge of the pan’s base. The objective here is to get a clean, continuous line that accurately represents the diameter of your pan. Keep the pencil tip flush against the pan’s edge as you trace to ensure accuracy. Avoid pressing too hard, as this can tear the paper, and ensure your pan doesn’t shift during tracing. This outline will serve as your guide for cutting, making it a critical step for a well-fitting parchment circle.
3. Fold the Parchment Paper
Once you have a perfect circle traced, carefully remove the cake pan. Now, fold the parchment paper in half, ensuring that your traced pencil line aligns perfectly. This initial fold is crucial for creating a symmetrical shape when cutting. Next, fold it in half again, and then once more, if your paper is large enough, to create a smaller wedge or triangle shape. The more folds you make (while still keeping the traced line visible), the easier it can be to cut a smooth curve, resembling a pie slice. This folding technique minimizes the amount of free-hand cutting needed, leading to a much more accurate and uniform circle.
4. Cut Along the Line
With your parchment paper neatly folded, it’s time to cut. Using sharp kitchen scissors, carefully cut along the traced pencil line. For an optimal fit that prevents any batter from seeping underneath, it’s often best to cut just *inside* the pencil line, making the resulting parchment circle slightly smaller than the pan’s exact diameter. This snug fit ensures the paper lays flat without any buckles or overlaps. Take your time with the cut, aiming for a smooth, continuous curve. Precision here will pay off when your cake bakes evenly and releases effortlessly.
5. Unfold and Place in Pan
Once you’ve made your cut, gently unfold the parchment paper. You should now have a perfectly cut round of parchment paper, typically around 9 inches if you used a standard round cake pan, though the size will vary based on your pan. This custom-cut circle is precisely what you need! Now, it’s time to prepare your actual cake pan for its new lining. For extra security and to ensure the parchment paper lies completely flat, lightly grease the bottom of your cake pan with butter, shortening, or cooking spray. This acts as an adhesive, keeping the parchment paper firmly in place during pouring and baking. Then, carefully place your perfectly cut parchment paper circle into the bottom of the greased pan, pressing down gently to remove any air bubbles or wrinkles. The paper should fit snugly and lie completely flat against the base.
Your cake pan is now perfectly lined and ready for batter! This meticulously placed parchment paper will act as a reliable barrier, ensuring the bottoms of your cakes won’t stick, no matter how delicate or rich the recipe. This simple step truly makes a monumental difference in the outcome of your baked goods. The clean release means your cakes will maintain their shape, making them easier to frost, decorate, and ultimately, present beautifully. This technique not only simplifies the baking process but also elevates the quality and appearance of every cake you create. It’s an essential hack for achieving bakery-quality results right in your own kitchen.
Expert Tips for Achieving Perfect Cake Pan Lining Every Time
While the basic steps are straightforward, a few additional tips can elevate your cake pan lining game to professional levels:
- Grease the Sides Too: Even with parchment on the bottom, it’s always a good idea to lightly grease and flour the sides of your pan (if not using parchment for the sides). This ensures a complete non-stick environment for your cake.
- Parchment vs. Wax Paper: Always use parchment paper for baking. Wax paper is not heat resistant and can melt, smoke, or even catch fire in the oven, transferring an unpleasant wax taste to your cake. Parchment paper, on the other hand, is coated with silicone, making it truly non-stick and heat-safe.
- For Taller Cakes: If you’re baking a very tall cake or a cake that tends to dome significantly, consider lining the sides of the pan as well. Cut a long strip of parchment paper that is slightly taller than your cake pan and long enough to wrap around the entire circumference. Grease the sides of the pan, then press the parchment strip against the greased sides, allowing it to extend above the pan’s rim. This creates a “collar” that helps prevent overflow and makes it easier to remove tall cakes.
- Troubleshooting Wrinkles: If your parchment paper circle doesn’t lie perfectly flat and develops wrinkles, try lightly re-greasing the bottom of the pan. A thin, even layer of fat helps the parchment adhere smoothly. If wrinkles persist, slightly trim the edge of your parchment circle – it might be ever so slightly too large.
- Pre-cut Parchment Circles: For frequent bakers, investing in pre-cut parchment paper circles can be a huge time-saver. These are available in various standard cake pan sizes and eliminate the need for tracing and cutting.
- For Square or Rectangular Pans: Lining square or rectangular pans is even simpler. Just cut a piece of parchment paper to fit the bottom, then cut two strips for the long sides and two for the short sides, allowing them to overlap slightly at the corners and extend above the pan’s rim if desired. Greasing the pan first helps them stay in place.
- Using the Pencil Line: When placing the cut parchment paper into your cake pan, ensure the side with the pencil line faces down. This prevents any graphite from transferring to your delicious cake.
By incorporating these simple tips and understanding the versatility of parchment paper, you’ll ensure that every cake you bake is not just delicious, but also effortlessly beautiful, making your baking journey even more rewarding.
Cake Recipes On Simply Scratch:
- Rhubarb Almond Cake
- Strawberry Shortcake Cake
- Clementine Cake
- Homemade White Cake with Buttercream Frosting
- Chocolate Guinness Cake
- Pumpkin Coffee Cake
- Homemade Chocolate Cake with Chocolate Almond Frosting
- Homemade Carrot Cake
- Yellow Cake with Whipped Chocolate Frosting
- Honey Butter Blackberry Lemon Polenta Cake
- Classic Red Velvet Cake
- Apple Cinnamon Cake
- Martha’s Rhubarb Upside Down Cake
- Chocolatey Chocolate Cake with Chocolate Buttercream Frosting
- Carrot Coconut Cake
- Coconut Lime Cake
For More How To’s Click Here!
Enjoy Flawless Baking! We hope this detailed tutorial on How To Line A Cake Pan with Parchment Paper empowers you to bake with newfound confidence. No more cakes stuck to the bottom of the pan, just pure baking joy and perfectly released treats. If you give this simple yet effective method a try, we’d love to see your beautiful, non-stick creations! Snap a photo of your perfectly lined pan or your smoothly released cake and tag us on Twitter or Instagram. Happy baking, and we can’t wait to celebrate your baking successes with you!