
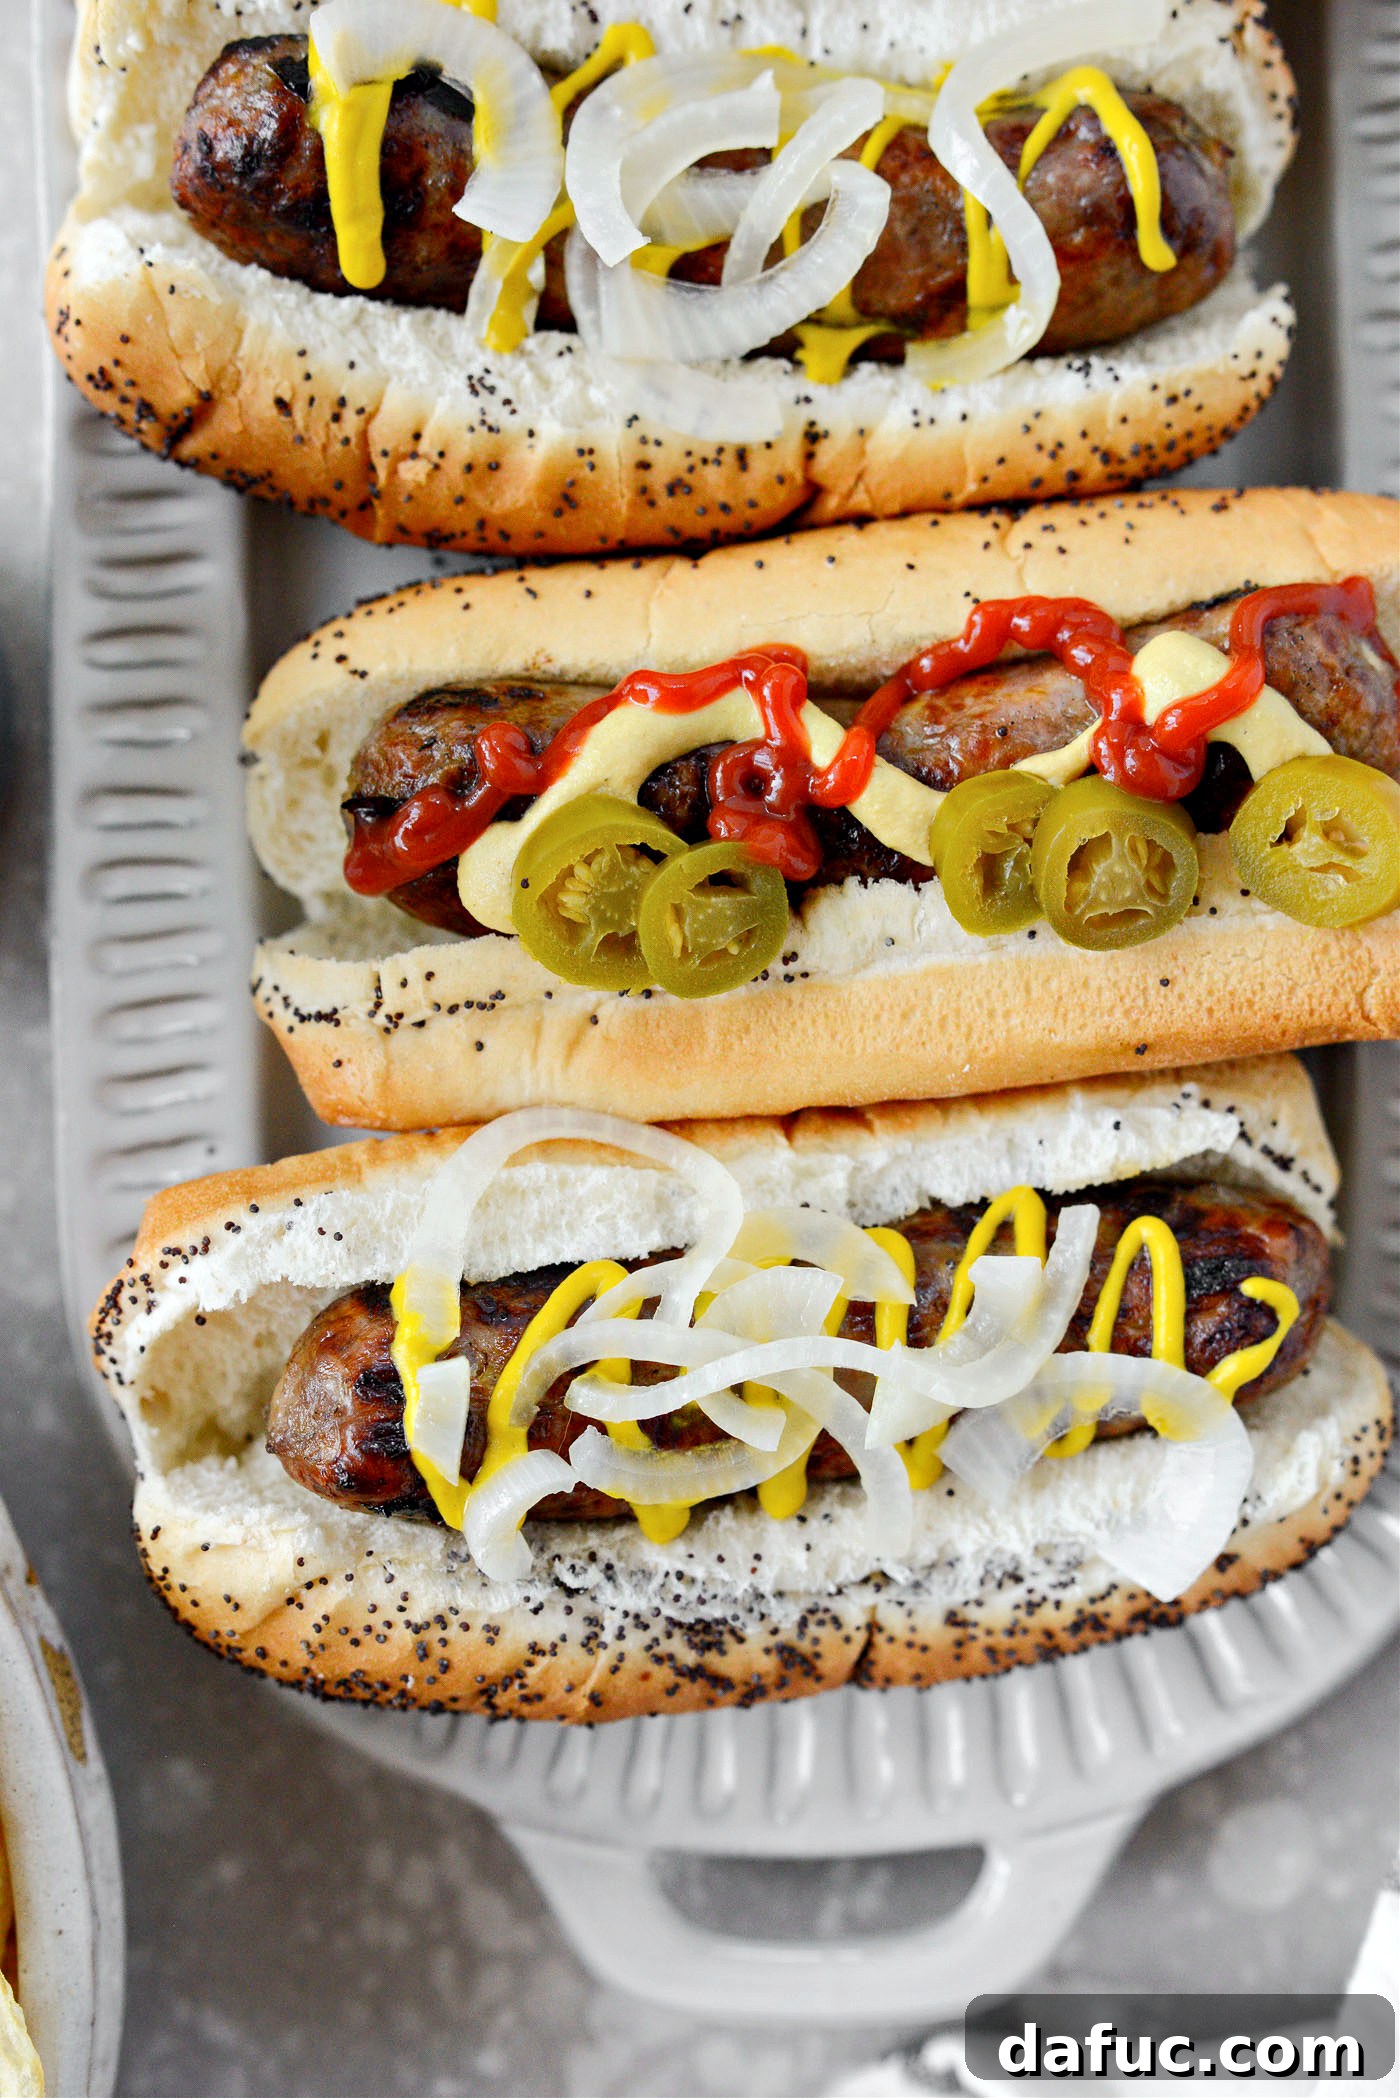
In the world of outdoor cooking, few things rival the mouthwatering aroma of brats sizzling on a hot grill. But what if you could achieve that perfect, juicy tenderness and infuse them with incredible flavor *before* they even hit the grates, all while freeing up valuable grill space for other cookout essentials? Enter the brilliant method of **Oven Braised Beer Brats**. This ingenious recipe ensures your brats are wonderfully succulent, packed with savory notes of beer, onions, and garlic, and then finished with a quick kiss of flame for that irresistible char and grilled perfection. It’s a game-changer for your next backyard barbecue, offering both convenience and unparalleled flavor. This recipe is designed to generously serve 10 people, making it ideal for gatherings.
Oven Braised Beer Brats: Your Secret to Stress-Free Grilling
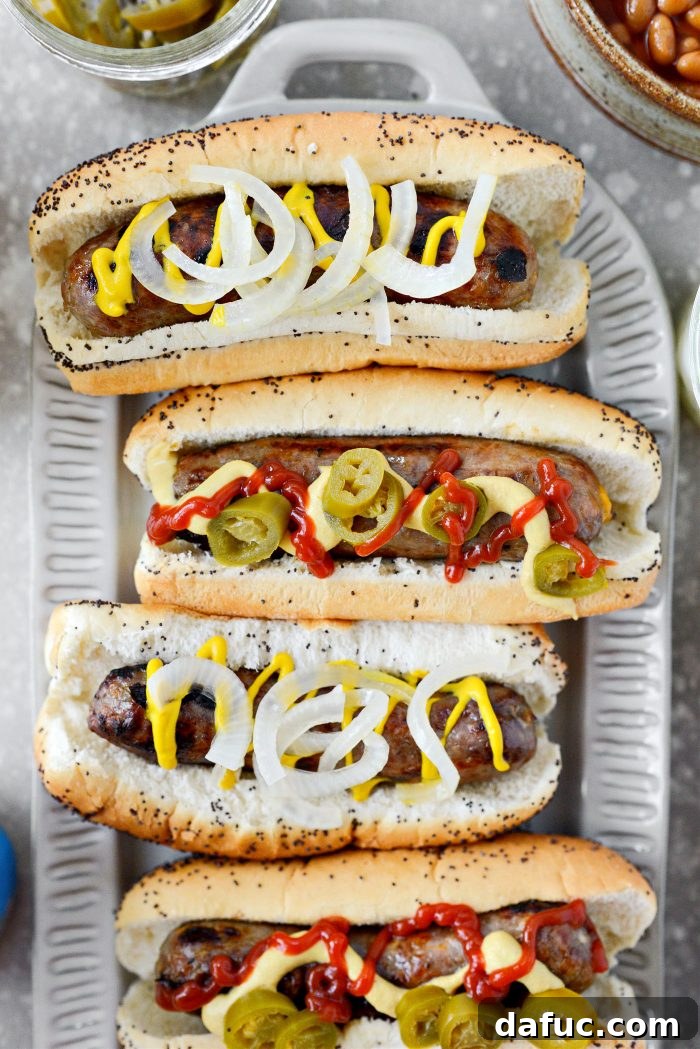
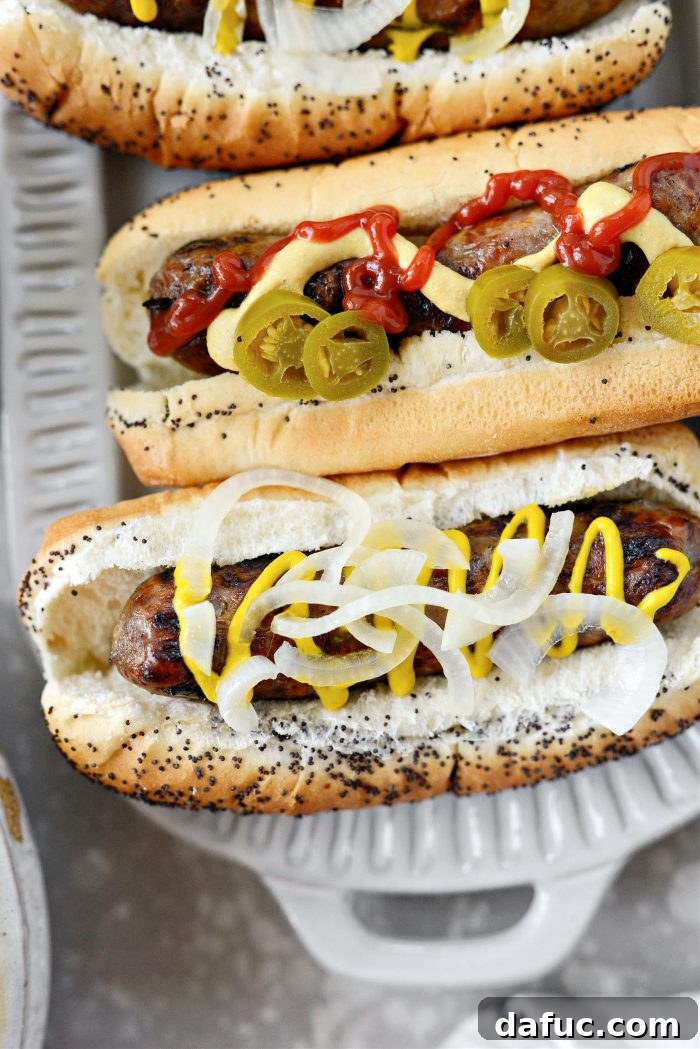
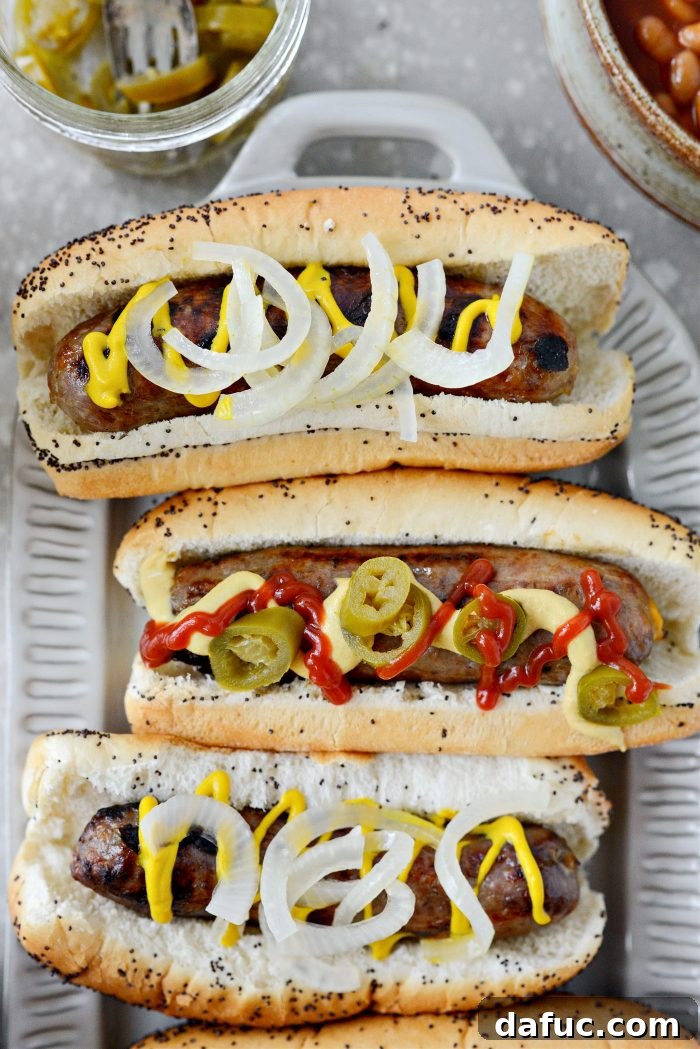
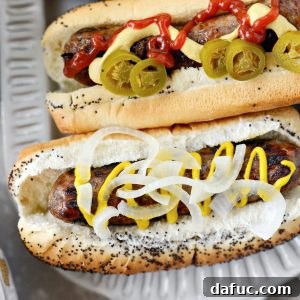
When faced with the classic cookout dilemma – hot dogs or brats – for many, the choice is clear: brats, every single time. There’s something inherently satisfying about a plump, flavorful bratwurst nestled in a bun, adorned with classic condiments. For me, it’s a generous dollop of mustard (ketchup, thanks for playing, but no), a heap of extra onions, and a zingy kick from pickled jalapeños. It’s a culinary experience that truly encapsulates the spirit of summer gatherings.
As festive holidays and outdoor entertaining opportunities like Memorial Day weekend swiftly approach, planning your party menu becomes a key strategy. Traditionally, brats are placed directly on the grill grates, cooked low and slow until their skins achieve that delightful snap and juices begin to sputter. While this method is undeniably delicious and a time-honored tradition, it often monopolizes precious grill real estate, especially when you’re juggling burgers, corn on the cob, and other grilled favorites. This year, why not elevate your game and try the incredibly efficient and flavor-rich beer braised brat method?
The Genius of Oven Braising Brats
Cooking your brats in the oven before they hit the grill offers a multitude of benefits, primarily freeing up a substantial amount of space on your grill. This invaluable advantage allows you or your designated grill master to effortlessly manage other barbecue staples like succulent burgers, hot dogs, sweet corn, or an array of grilled vegetables, ensuring everything is ready at just the right moment. The process begins with the brats leisurely braising in a flavorful concoction of beer, sweet onions, and aromatic garlic. This slow, moist cooking method tenderizes the sausages beautifully, infusing them with deep, complex flavors. Once perfectly tender and imbued with the savory braising liquid, the brats are ready for their grand finale: a quick trip to the hot grill. This final step is crucial for achieving that irresistible grilled flavor, appealing char, and tantalizing golden-brown color that makes a brat truly shine. It’s the best of both worlds – tender, flavorful insides with a perfectly crisp, smoky exterior.
Gather Your Ingredients: Crafting the Perfect Braising Liquid
The foundation of these incredible beer brats lies in a simple yet powerful combination of ingredients that work together to create a deeply savory and aromatic braising liquid. For a batch serving 10, you’ll need the following:
- 2 medium yellow onions, sliced: Yellow onions offer a balanced sweetness and sharpness that mellow beautifully as they cook, becoming tender and infused with the beer’s flavor. They also provide a natural bed for the brats.
- 4 cloves fresh garlic, minced: Freshly minced garlic adds an indispensable pungent and aromatic quality that deepens the overall flavor profile of the brats and the braising liquid.
- 2 tablespoons butter: A touch of butter adds richness and helps to sauté the onions and garlic, releasing their flavors before the brats are added.
- 10 brats (any kind you like!): This recipe is incredibly versatile. While my family often opts for savory cheddar brats, feel free to use your favorite variety – traditional pork brats, spicy Italian sausages, or even chicken apple brats would all be delicious. The braising method works wonders on virtually any type of sausage.
- 48 ounces (four 12-ounce bottles) beer, preferably a lager: The star of the braising liquid! A lager is often recommended for its crisp, clean flavor that doesn’t overpower the brats. However, feel free to experiment with other beers like a light ale for a milder taste or even a darker stout for a more robust, malty profile. The key is to use enough beer so the brats can comfortably nestle into the liquid, ensuring they absorb all those fantastic flavors. If you prefer to avoid alcohol, you can easily substitute with chicken or vegetable broth.
Preparing Your Oven Braised Beer Brats: A Step-by-Step Guide
Achieving perfectly tender and flavorful brats is a straightforward process with this oven-braising method. Follow these simple steps for a truly delicious result:
Step 1: Preheat Your Oven and Prepare the Pan
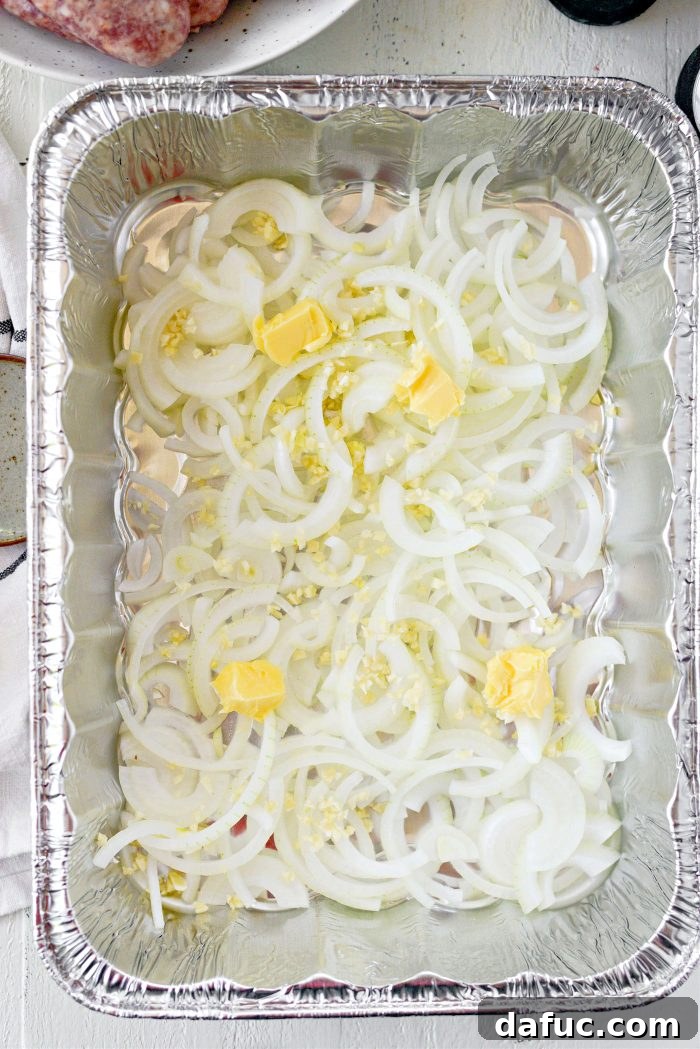
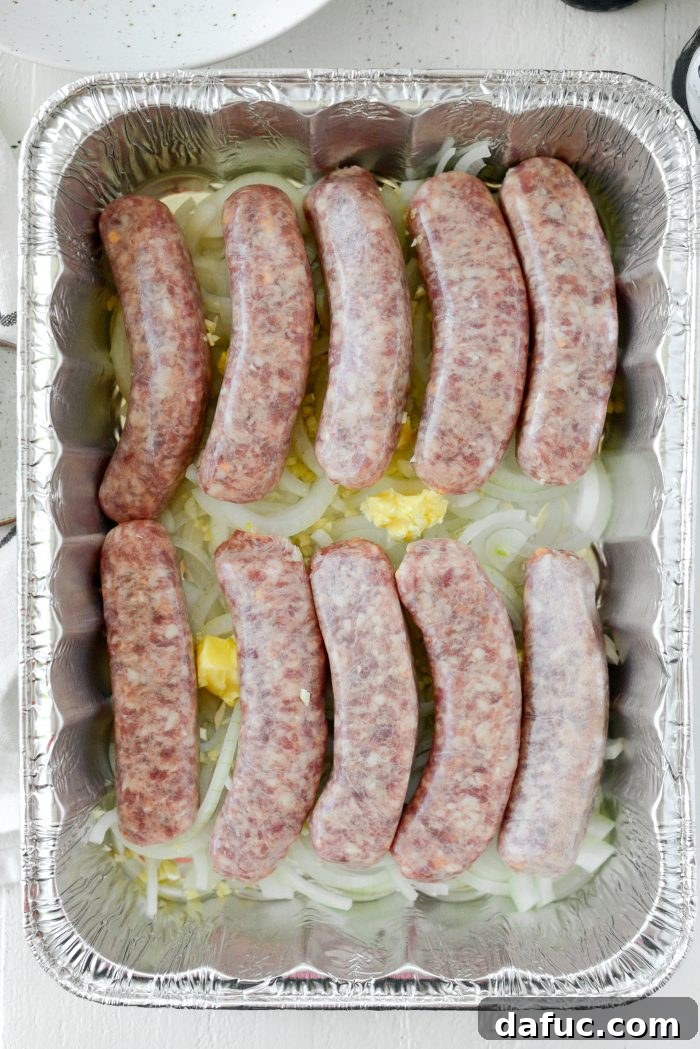
Begin by preheating your oven to a steady 400℉ (or 200℃). This ensures a consistent cooking environment for the braising process. While the oven heats, grab a disposable aluminum lasagna pan. These pans are incredibly convenient for cookouts as they simplify cleanup. Break apart your two sliced yellow onions and arrange them evenly across the bottom of the pan, creating a fragrant base.
Step 2: Layer the Aromatics and Brats
Once the onions are in place, sprinkle the four cloves of minced fresh garlic evenly over them. Next, dot the surface with the two tablespoons of butter. This combination will slowly melt and infuse the onions and brats with rich, savory flavors. Now, carefully arrange your 10 brats on top of this aromatic bed. Whether you’re a fan of cheddar brats, traditional pork, or another variety, this is where your personal preference comes into play!
Step 3: Add the Beer and Nestle
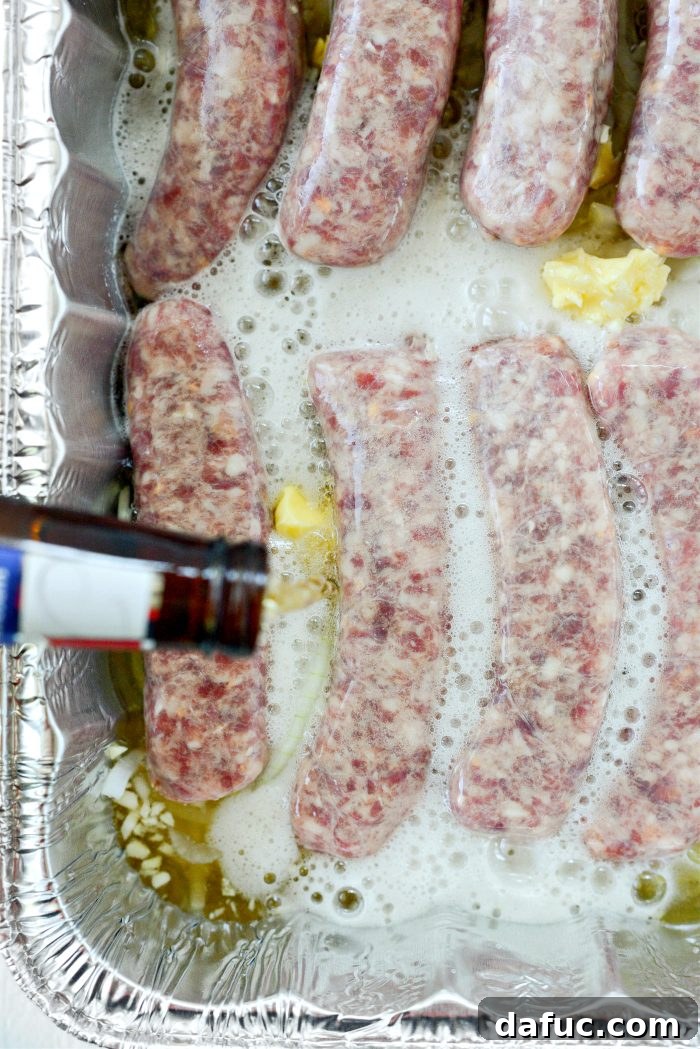
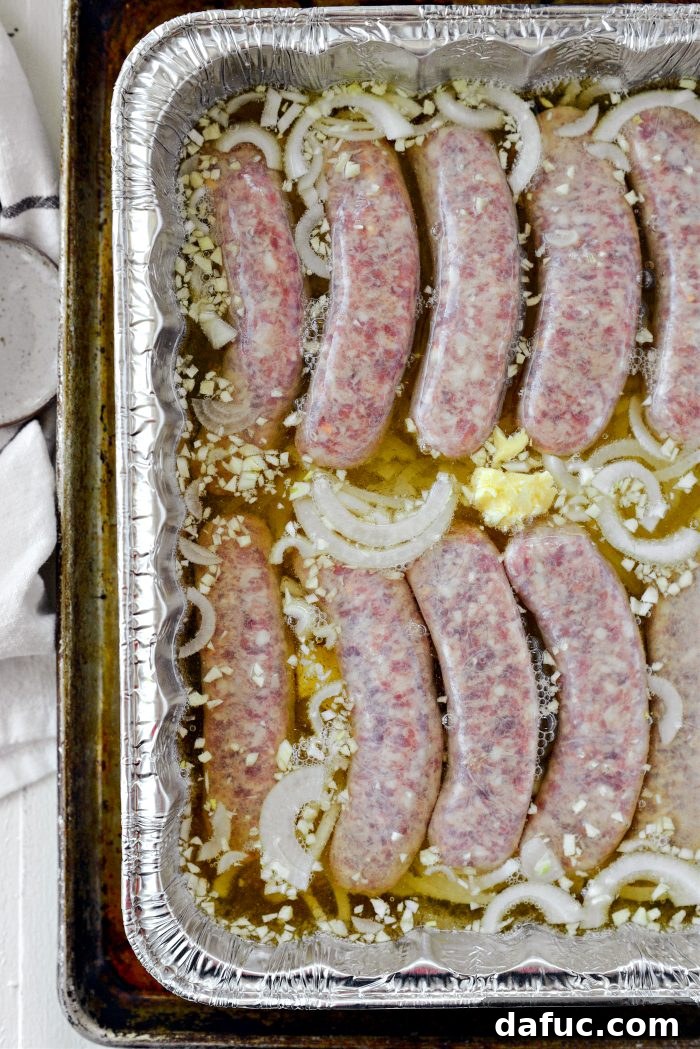
It’s time for the star liquid! Pour four 12-ounce bottles of beer (ideally at room temperature to prevent temperature shock) over the brats and onions. The goal is to have enough beer to submerge at least half of each brat. Using a pair of tongs, gently nestle the brats into the liquid, ensuring they are partially immersed. As the onions cook down and the liquid slightly reduces in the oven, the brats will sink further, allowing them to thoroughly absorb the beer’s wonderful flavor. This step is where the magic truly begins – get ready for some serious flavor infusion!
Step 4: Oven Braising – Covered Bake
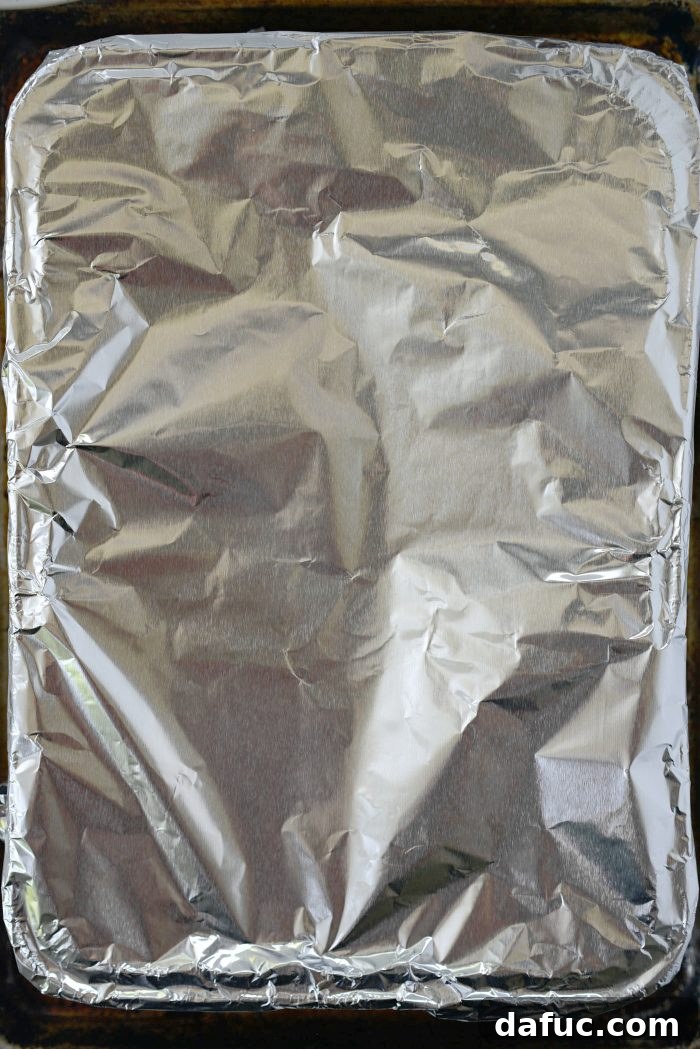
Once your brats are comfortably submerged in the flavorful beer bath, tightly cover the aluminum pan with heavy-duty aluminum foil. This seal is crucial for trapping the steam and ensuring the brats braise perfectly, becoming incredibly tender. Place the covered pan onto a rimmed sheet pan – this provides stability and catches any potential spills. Carefully slide the entire setup into your preheated oven and bake for 30 minutes. This initial phase gently cooks the brats, allowing them to soak up all the delicious liquid.
Step 5: Oven Braising – Uncovered Bake
After the first 30 minutes, carefully remove the pan from the oven. Using tongs, uncover the pan and gently flip each brat. This ensures even cooking and browning. Return the now uncovered pan to the oven and continue baking for another 30 minutes. During this phase, the liquid will reduce slightly, concentrating the flavors, and the brats will finish cooking through, reaching that perfectly tender, fully cooked state. The internal temperature of a fully cooked brat should reach 160°F (71°C).
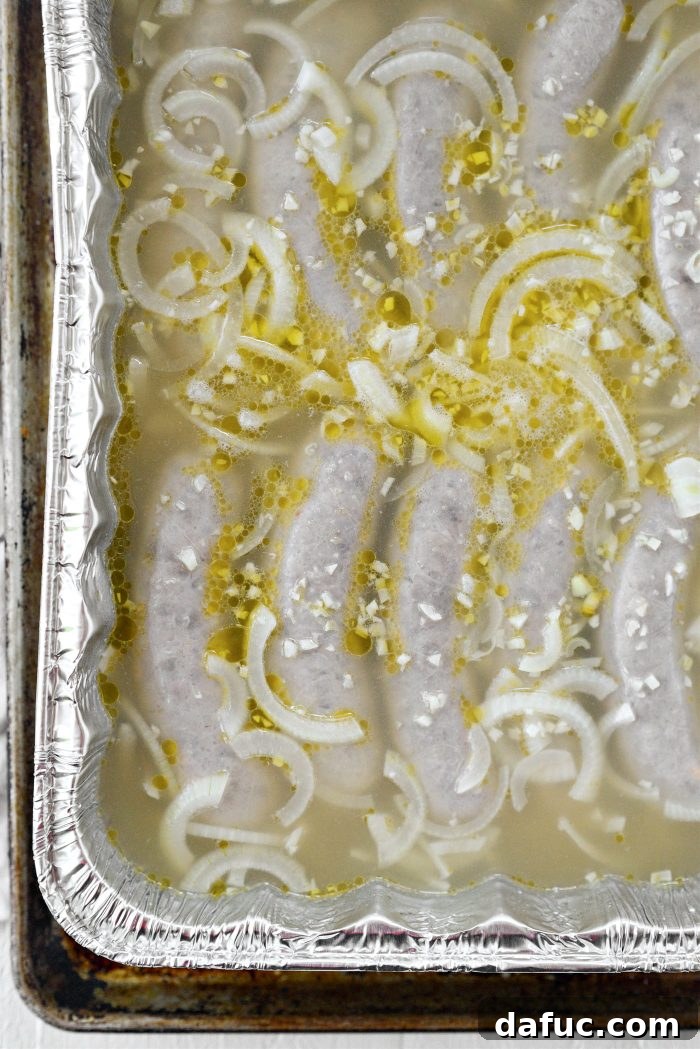
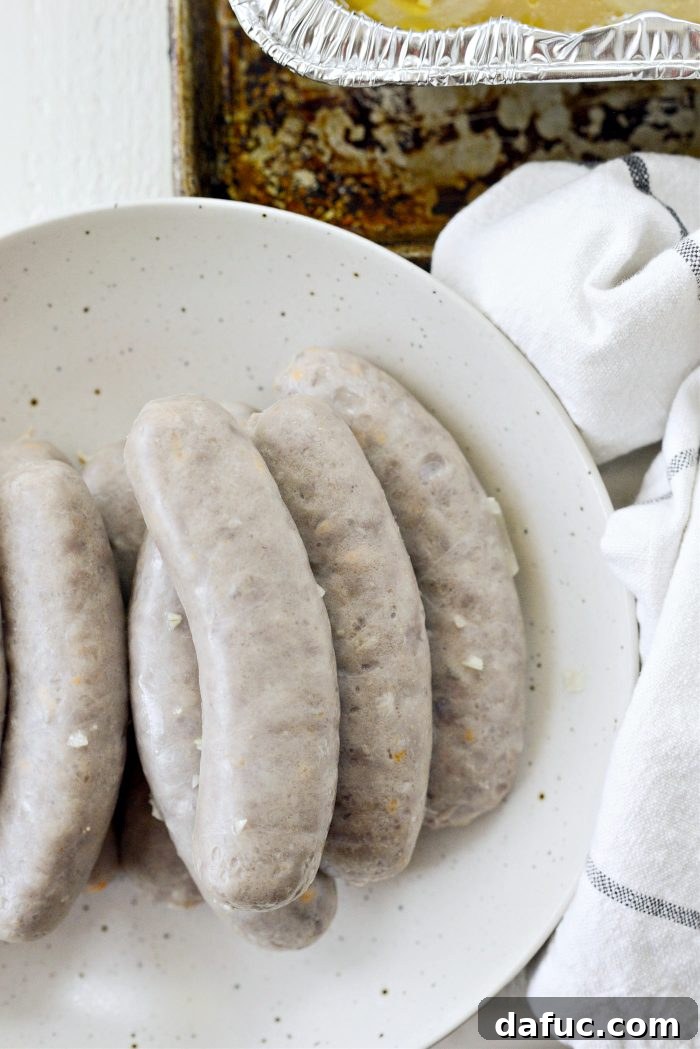
Step 6: The Grilling Grand Finale
Voila! Your brats are now fully cooked through, wonderfully tender, and bursting with flavor from the beer, onions, and garlic. They are, however, in desperate need of some grill time to achieve that quintessential char and crispness. Preheat your outdoor grill to 400℉ (or 200℃). Once hot, place the oven-braised brats directly onto the grates. Grill them for just a few minutes per side – approximately 2 to 3 minutes – until the skin is beautifully crisped and they boast that much-needed grilled color and tantalizing smoky aroma. Be careful not to overcook them, as they are already fully cooked internally. The goal here is solely for texture and exterior flavor. After grilling, you can transfer the brats back into the warm beer-braising liquid (and those delicious, tender onions!) to keep them warm until ready to serve. This also allows them to continue soaking in the savory juices, ensuring maximum deliciousness.
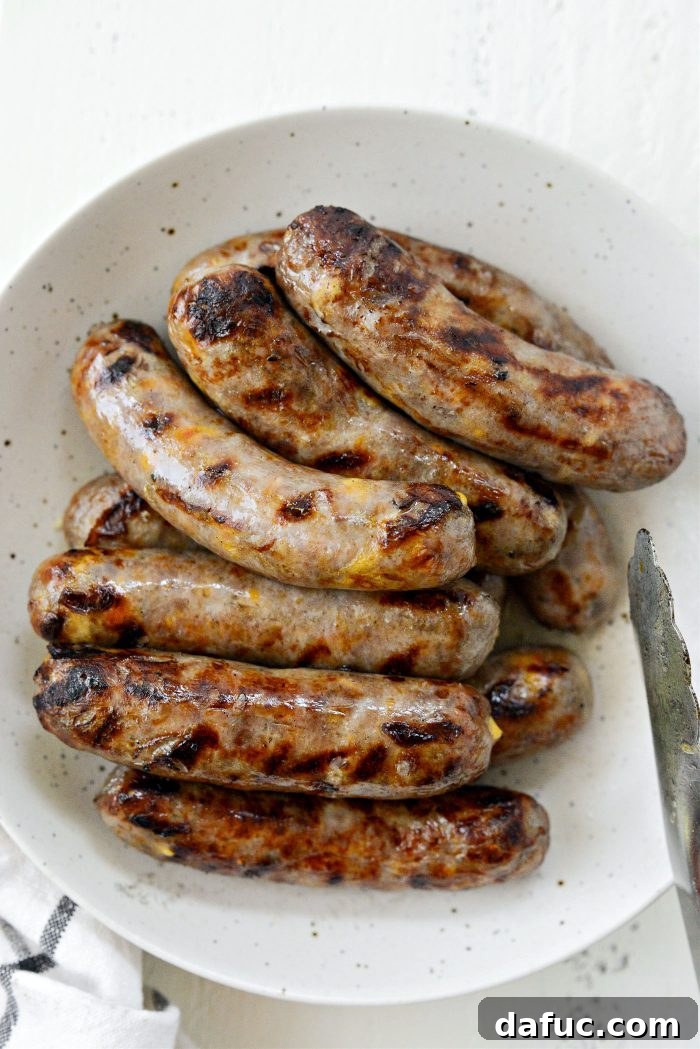
Serving Suggestions: Building the Perfect Brat
The beauty of a perfectly cooked brat lies not only in its inherent flavor but also in the myriad of ways it can be dressed and enjoyed. Once your oven-braised and grilled beer brats are ready, it’s time to customize them to your heart’s content. A classic presentation involves placing a warm brat into a toasted hot dog bun or a dedicated sausage roll. Then, the real fun begins with the toppings.
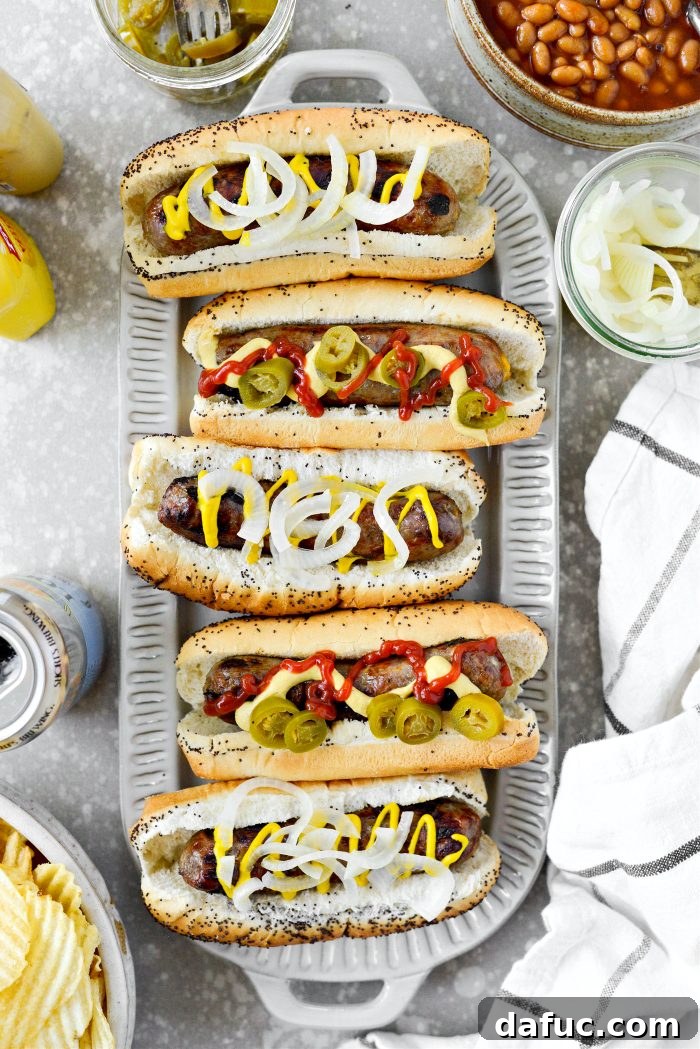
Classic Toppings and Beyond
- Beer-Soaked Onions: Don’t discard those incredibly flavorful, tender onions from the braising liquid! They are a must-have topping, offering a sweet, savory, and slightly tangy counterpoint to the rich brats.
- Mustard: A quintessential brat companion. Whether you prefer classic yellow mustard, spicy brown, whole grain, or a gourmet Dijon, mustard adds that essential piquant bite.
- Sauerkraut: The fermented tang of sauerkraut is a traditional and highly recommended topping that cuts through the richness of the brat.
- Ketchup: While some are purists, a squeeze of ketchup can add a touch of sweet and tangy flavor for those who enjoy it.
- Pickled Jalapeños: For a delightful kick, add some homemade or store-bought pickled jalapeños. Their heat and acidity elevate the flavor profile.
- Caramelized Peppers and Onions: A slightly more gourmet route, thinly sliced bell peppers and onions sautéed until sweet and tender add incredible depth and texture.
- Cheese Sauce: For an indulgent treat, a warm, creamy cheese sauce can elevate your brats to a new level.
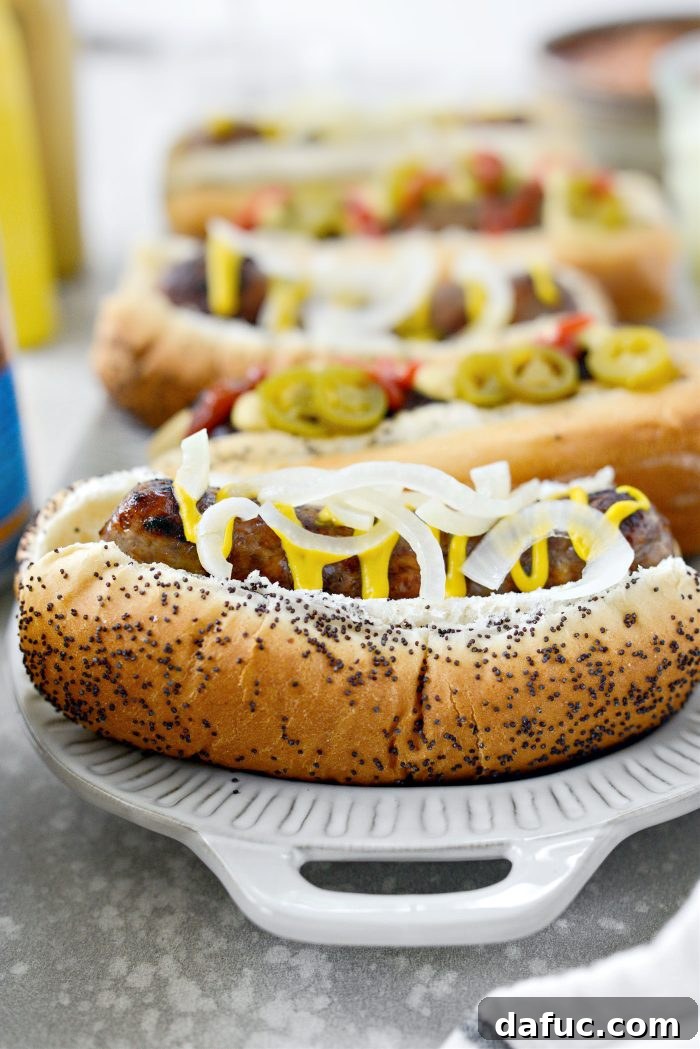
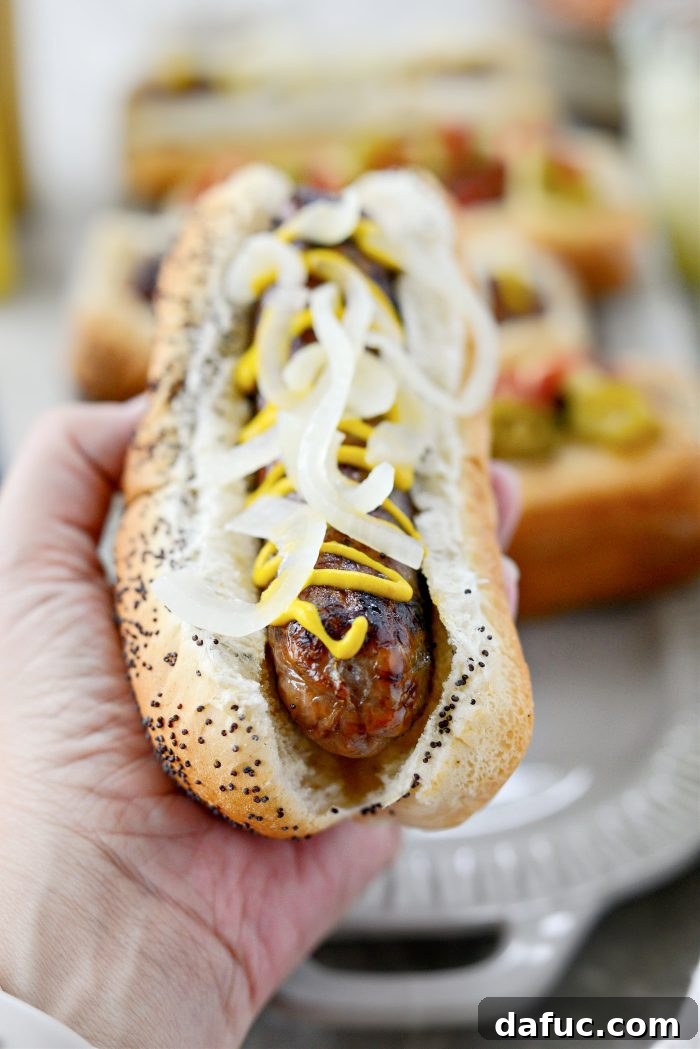
My personal preference, as seen in the images, usually leans towards a generous serving of the beer-soaked onions, a good mustard, and often those tangy pickled jalapeños. However, occasionally, I enjoy indulging in the sweet and savory combination of caramelized peppers and onions. Don’t be afraid to experiment and find your own perfect combination!
The Perfect Companions: Side Dishes for Beer Brats
No barbecue is complete without an array of delicious side dishes. Oven Braised Beer Brats pair wonderfully with a variety of classic cookout sides. Here are some fantastic suggestions to complement your meal:
- Baked Beans: A barbecue staple!
- Classic homestyle baked beans offer a comforting, sweet, and savory flavor.
- Sweet and spicy baked beans provide a zesty kick.
- For an extra layer of heat, try spicy jalapeño baked beans.
- Or for a quick option, whip up 5-ingredient barbecue beans!
- Pasta Salads: Cool, creamy, or vibrant, pasta salads are perfect for any warm-weather meal.
- A classic macaroni salad with a tangy homemade dressing is always a hit.
- For an herbaceous twist, consider an Italian bowtie pasta salad.
- Or, for a lighter, Mediterranean-inspired option, Greek orzo salad is a fantastic choice.
- Grain-Free Salads: For lighter or dietary-friendly options, these fresh salads are ideal.
- A creamy bacon pea salad offers a delightful crunch and smoky flavor.
- Brighten your plate with a colorful confetti picnic salad.
- The refreshing texture of a broccoli crunch salad provides a crisp contrast.
- A simple cucumber salad is always a refreshing choice.
- Don’t forget a vibrant rainbow fruit salad with citrus honey syrup for a sweet finish.
- Potato Salads: Another barbecue essential, potato salads come in many delicious forms.
- You can’t go wrong with classic potato salad.
- For a twist, try a bacon cheddar ranch potato salad.
- If you love a pickle, dill pickle potato salad is incredibly flavorful.
- Or, for a smoky touch, a grilled potato salad with a bacon Dijon vinaigrette is a revelation.
- Coleslaw: Crisp and creamy, coleslaw is a perfect textural complement. This classic homemade coleslaw is our family’s go-to recipe.
- Potato Chips: Sometimes, the simplest sides are the best. A bowl of your favorite potato chips offers a satisfying crunch.
- Corn on the Cob or Grilled Veggies: Sweet corn on the cob (grilled or boiled) or an assortment of grilled vegetables like bell peppers, zucchini, and asparagus make excellent fresh accompaniments.
Tips for Success & FAQs
Making Ahead & Storing
- Prepare in Advance: Oven braised beer brats are fantastic for making ahead. You can braise them fully in the oven, then store them in the braising liquid in the refrigerator for up to 3 days. When ready to serve, simply reheat gently in the liquid on the stovetop or in the oven, then finish on the grill.
- Leftovers: Any leftover cooked brats can be stored in an airtight container in the refrigerator for 3-4 days. They are delicious sliced and added to scrambled eggs, pasta dishes, or enjoyed cold.
Common Questions
- Can I skip the grill entirely? While the grill adds an unmatched char and smoky flavor, if you don’t have a grill or prefer not to use one, you can still get a decent finish. After oven braising, place the brats under a hot broiler for a few minutes, turning frequently, until they are browned and slightly crispy. Alternatively, you can pan-fry them in a hot skillet with a little oil.
- What if I don’t drink beer or prefer not to use it? No problem! You can easily substitute the beer with chicken broth, vegetable broth, or even a non-alcoholic beer. The goal is to provide a flavorful liquid for braising and tenderizing the brats.
- Can I use a slow cooker for braising? Yes, a slow cooker is another excellent option for braising. Simply combine the onions, garlic, butter, brats, and beer (or broth) in your slow cooker. Cook on low for 3-4 hours or on high for 1.5-2 hours, or until the brats are tender. Then proceed with the grilling step.
- How do I prevent the brats from bursting on the grill? The initial oven braising helps prevent bursting as it cooks the brats gently. When grilling, ensure your grill isn’t excessively hot and avoid piercing the brats with a fork, as this releases their flavorful juices. A moderate heat for a short period is key to achieving a crisp skin without explosions.
Enjoy these incredibly flavorful and convenient Oven Braised Beer Brats. They are sure to be a hit at your next barbecue, simplifying your cooking process without compromising on taste. This method offers a stress-free way to serve up delicious brats, allowing you more time to relax and enjoy the company of your guests.
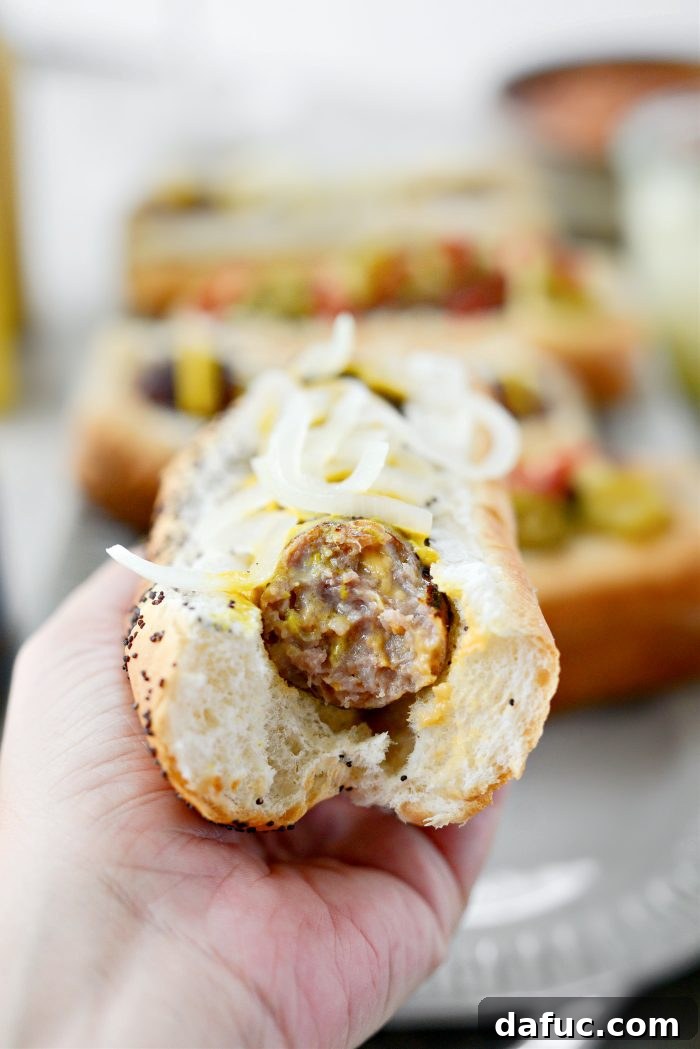
Enjoy! And if you give this Oven Braised Beer Brats recipe a try, we’d love to hear from you! Snap a photo of your delicious creation and tag us on Twitter or Instagram!
Print Recipe
Pin Recipe
Leave a Review »
Oven Braised Beer Brats
Ingredients
FOR THE OVEN-BRAISED BRATS:
- 2 medium yellow onions, sliced
- 4 cloves garlic, minced
- 2 tablespoons butter
- 10 brats, any kind you like
- 48 ounces beer, lager preferably
FOR SERVING:
- 10 hotdog buns, or brat/sausage rolls
Instructions
-
Preheat your oven to 400℉ (or 200℃).
-
In a disposable lasagna pan, break apart the onions and layer them in the bottom of the pan.
-
Sprinkle the garlic over top and dot with butter.
-
Place the brats on the onions, pour in the beer and nestle the brats into the liquids so half is submerged into the beer. Cover the pan tightly with heavy duty aluminum foil.
-
Place on the middle rack of your preheated oven and cook for 30 minutes. When time is up, flip and slip the uncovered pan back into the oven for 30 more minutes or until the brats are fully cooked.
-
Preheat your grill to 400℉ (or 200℃).
-
Grill the brats for 2 to 3 minutes a side or until the skin is crispy and has good color. Transfer the grilled brats back to the warm beer liquids to keep warm while serving.
-
Serve with the beer-soaked onions, sauerkraut, mustard, jalapenos or anything your heart desires.
Notes
Note: Keep in mind the nutritional info is including all of the beer which is not actually consumed.
This recipe was originally posted on May 18, 2016 and has been updated with clear and concise instructions, new photography and helpful information.