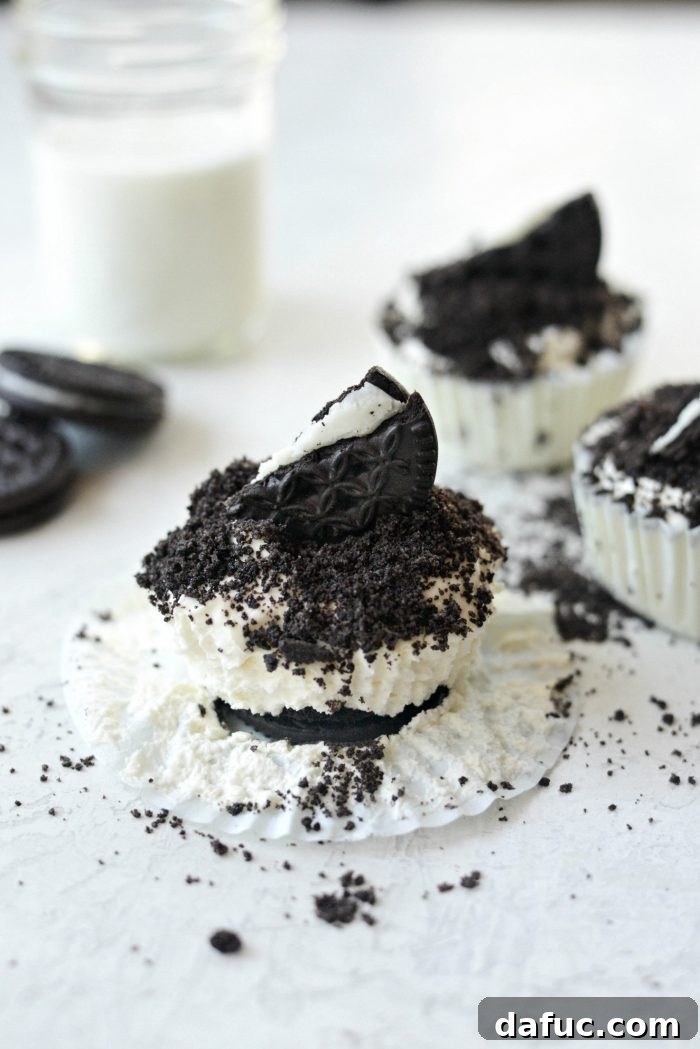
No-Bake Cookies and Cream Mini Cheesecakes: Your Perfect Easy Dessert Solution
Imagine indulging in a rich, creamy cheesecake that requires absolutely no baking. These No-Bake Cookies and Cream Mini Cheesecakes are a dream come true for anyone craving an effortless yet incredibly satisfying sweet treat. Combining a smooth, vanilla-infused cream cheese filling with the delightful crunch of chocolate sandwich cookies, this recipe promises a cool, decadent experience without ever needing to turn on your oven. Whether it’s a hot summer day or you’re simply looking for a quick and impressive dessert, these mini cheesecakes have got you covered.
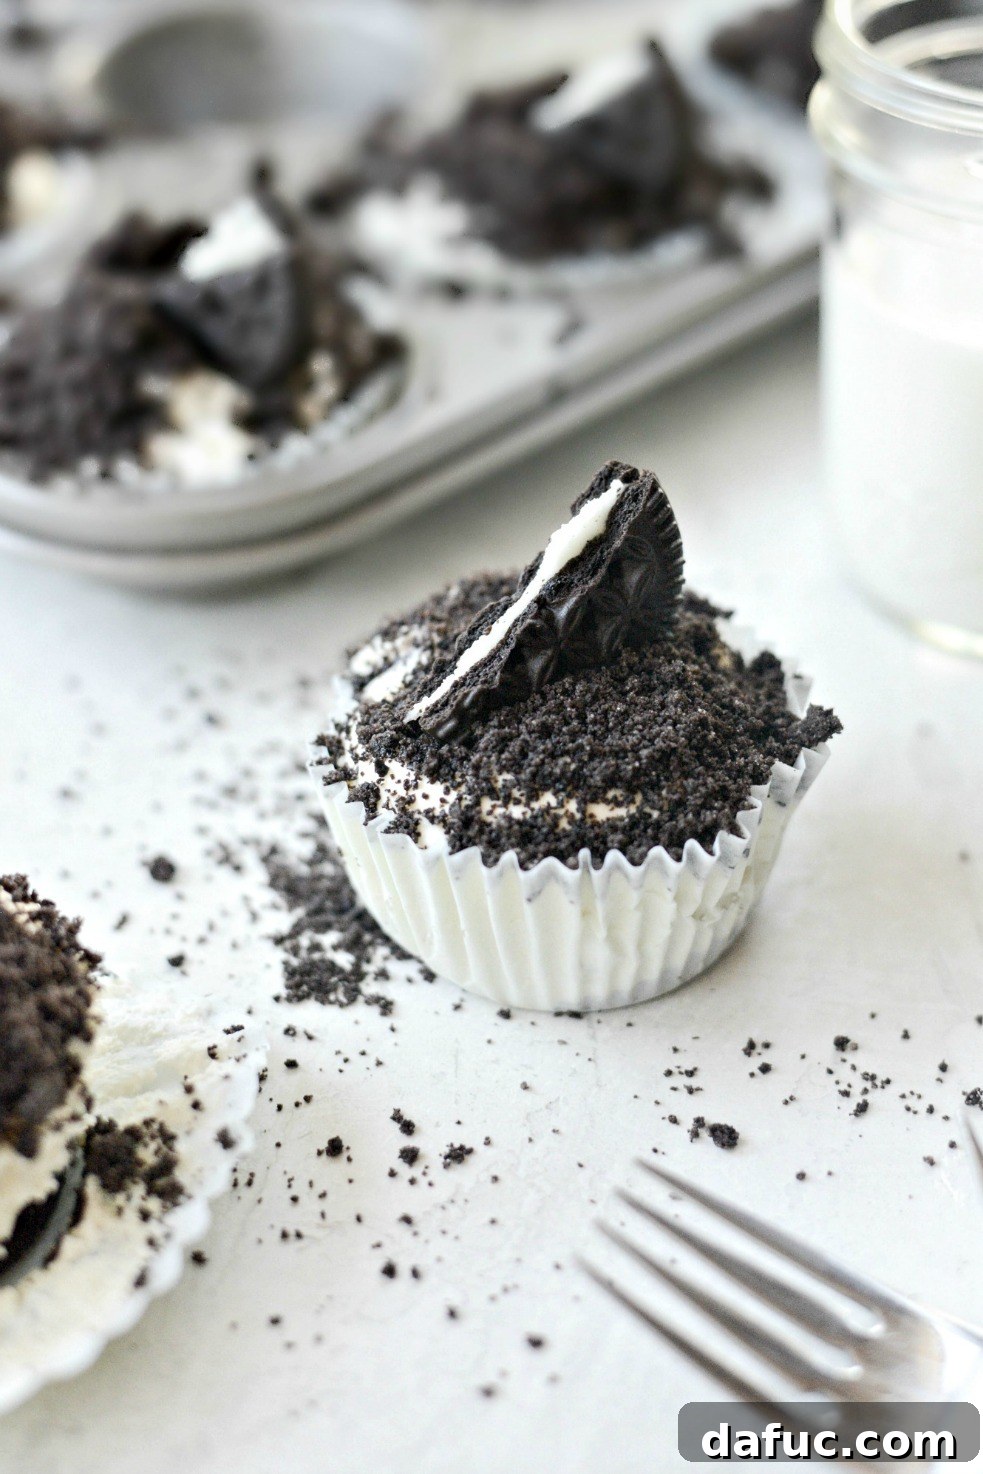
The Irresistible Appeal of No-Bake Desserts
While I appreciate a well-crafted dessert, I confess my sweet tooth can be quite particular. Many treats I encounter online or in bakeries often lean towards being excessively sweet or overwhelmingly rich, diminishing my overall enjoyment. Coupled with a general preference for lessfuss in the kitchen, especially when it comes to baking, I rarely find myself diving deep into complex dessert recipes. However, there’s one category that always captures my attention: no-bake delights. They offer the joy of a homemade dessert with a fraction of the effort, making them perfect for both seasoned cooks and beginner bakers alike.
Why These No-Bake Mini Cheesecakes Are a Must-Make
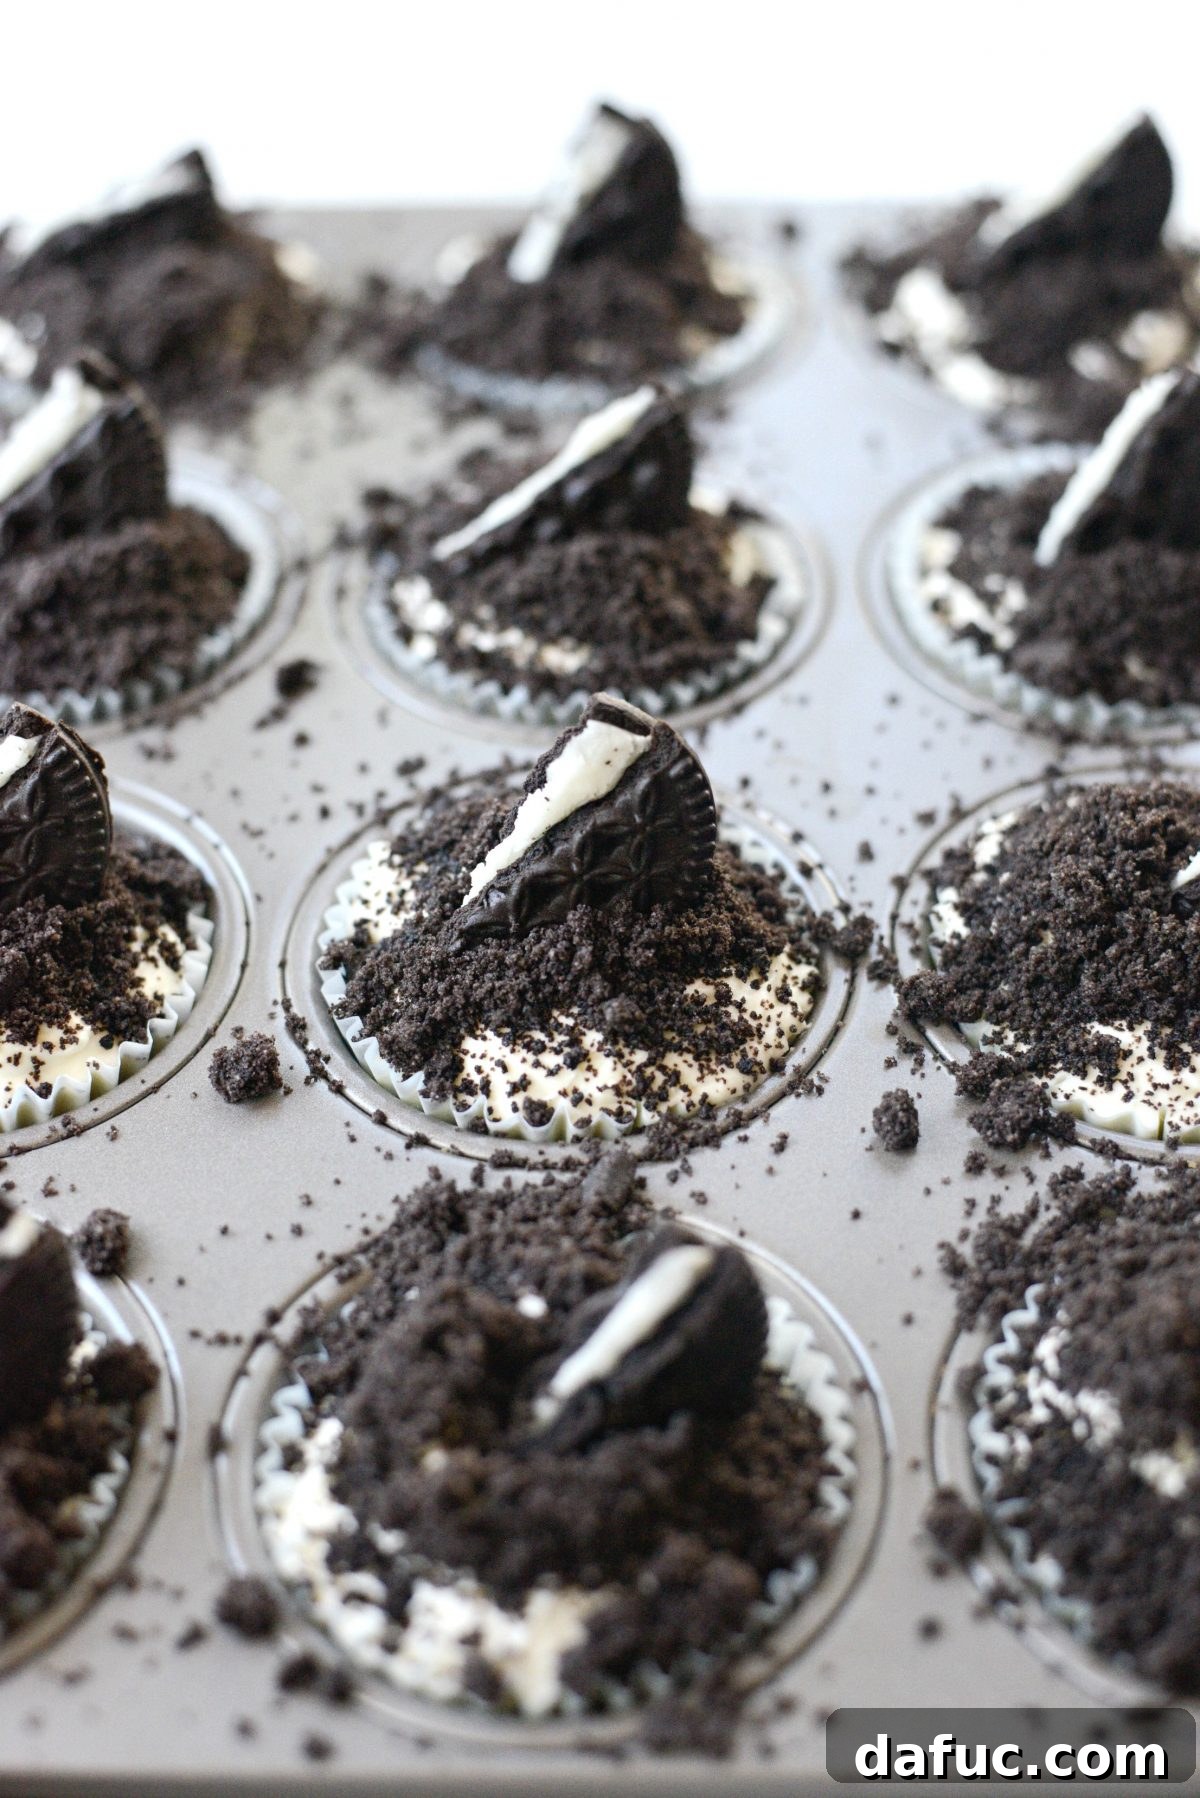
This particular recipe for No-Bake Cookies and Cream Mini Cheesecakes hits every single sweet spot on my mental “must-make” list, especially for warm weather entertaining:
- Effortlessly Simple: The preparation is straightforward, requiring no advanced baking skills.
- Minimal Ingredients: You’ll only need a handful of readily available items to create these showstoppers.
- Oven-Free Zone: Keep your kitchen cool and comfortable, a huge bonus during hot months.
- Cheesecake Perfection: Experience the classic creamy, tangy goodness of cheesecake in a convenient mini form.
- Scrumptious Cookies and Cream: This iconic flavor combination guarantees a crowd-pleasing dessert every single time.
The marriage of creamy cheesecake and crunchy, chocolatey cookies creates a texture and flavor profile that is simply divine. It’s a dessert that feels indulgent yet is surprisingly simple to assemble, making it ideal for impromptu gatherings or a special treat for yourself.
Key Ingredients for Cookies and Cream Bliss
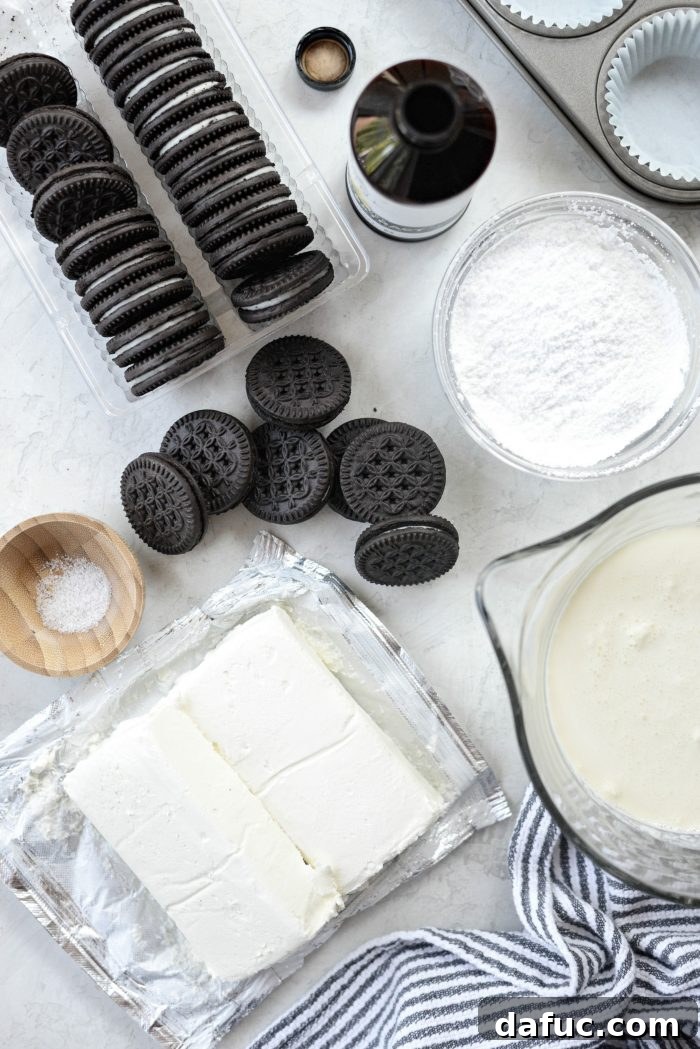
Crafting these delectable mini cheesecakes relies on a few core ingredients, each playing a vital role in achieving the perfect balance of flavor and texture:
- Cream Cheese: The foundation of any great cheesecake! Be sure to use full-fat block cream cheese, not the spreadable kind, as it provides the necessary structure and richness. It is absolutely essential for it to be softened to room temperature before mixing to ensure a silky-smooth, lump-free filling.
- Powdered Sugar: Also known as confectioners’ sugar, its fine texture allows it to dissolve seamlessly into the cream cheese mixture, contributing to the smooth consistency and providing the perfect level of sweetness without graininess. Sifting the powdered sugar before adding it is a small but crucial step for a superior texture.
- Pure Vanilla Extract: A splash of high-quality vanilla extract elevates the overall flavor of the cheesecake, adding a warm, aromatic note that complements the cream cheese beautifully. Don’t skimp on good vanilla!
- Fine Sea Salt: A tiny pinch of sea salt might seem insignificant, but it’s a flavor enhancer that balances the sweetness of the sugar and cookies, preventing the dessert from becoming cloyingly sweet and bringing out the depth of the other ingredients.
- Heavy Cream: This ingredient is key to achieving the luxurious, airy, and rich texture of the no-bake cheesecake filling. When whipped, it adds volume and helps the mixture set beautifully in the refrigerator. Ensure it’s very cold before whipping for optimal results.
- Cream-Filled Chocolate Sandwich Cookies: The unmistakable star! These iconic cookies provide the delicious chocolatey crust for each mini cheesecake and are also used to create the signature “cookies and cream” topping. Their flavor and texture are central to this recipe.
Step-by-Step Guide to Making the No-Bake Cheesecake Filling
The heart of these mini cheesecakes is a divinely smooth and thick filling. Follow these steps carefully to ensure a perfect consistency every time:
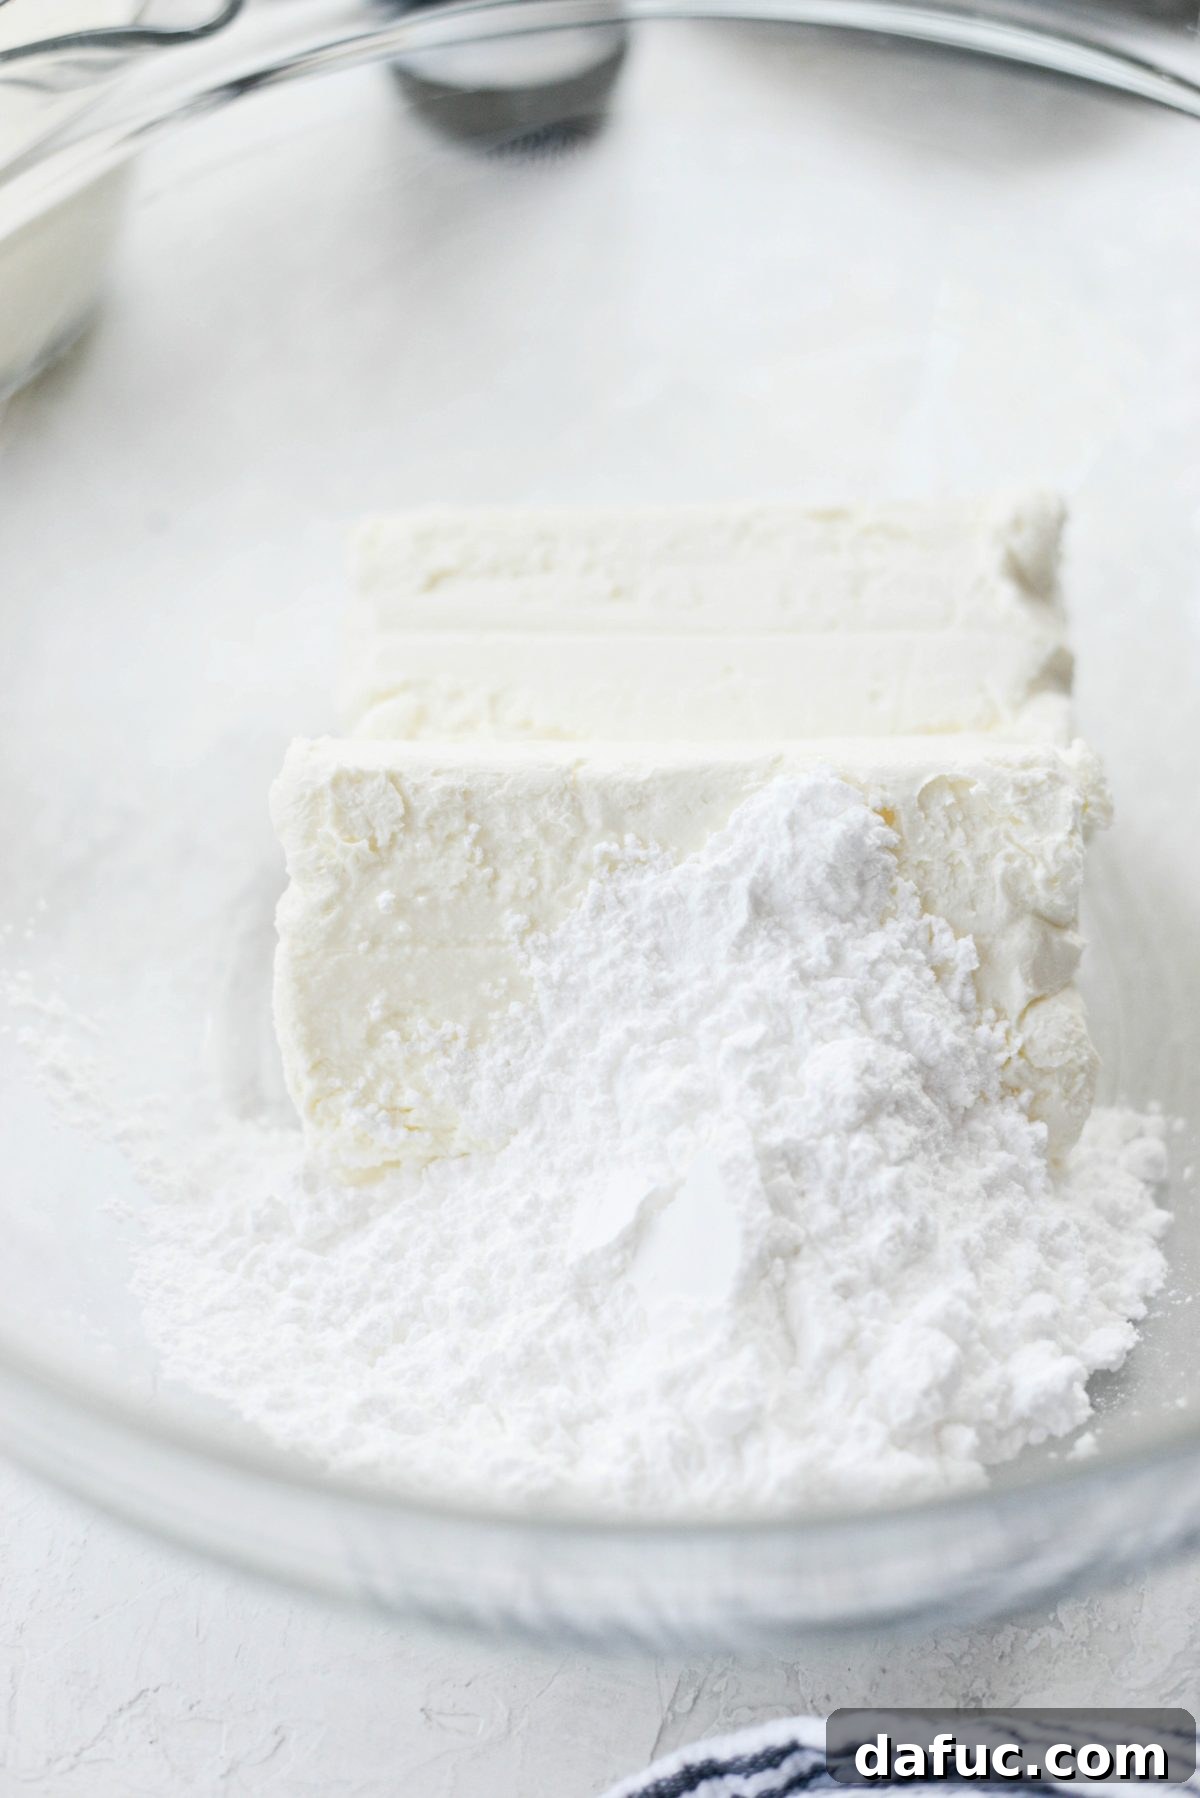
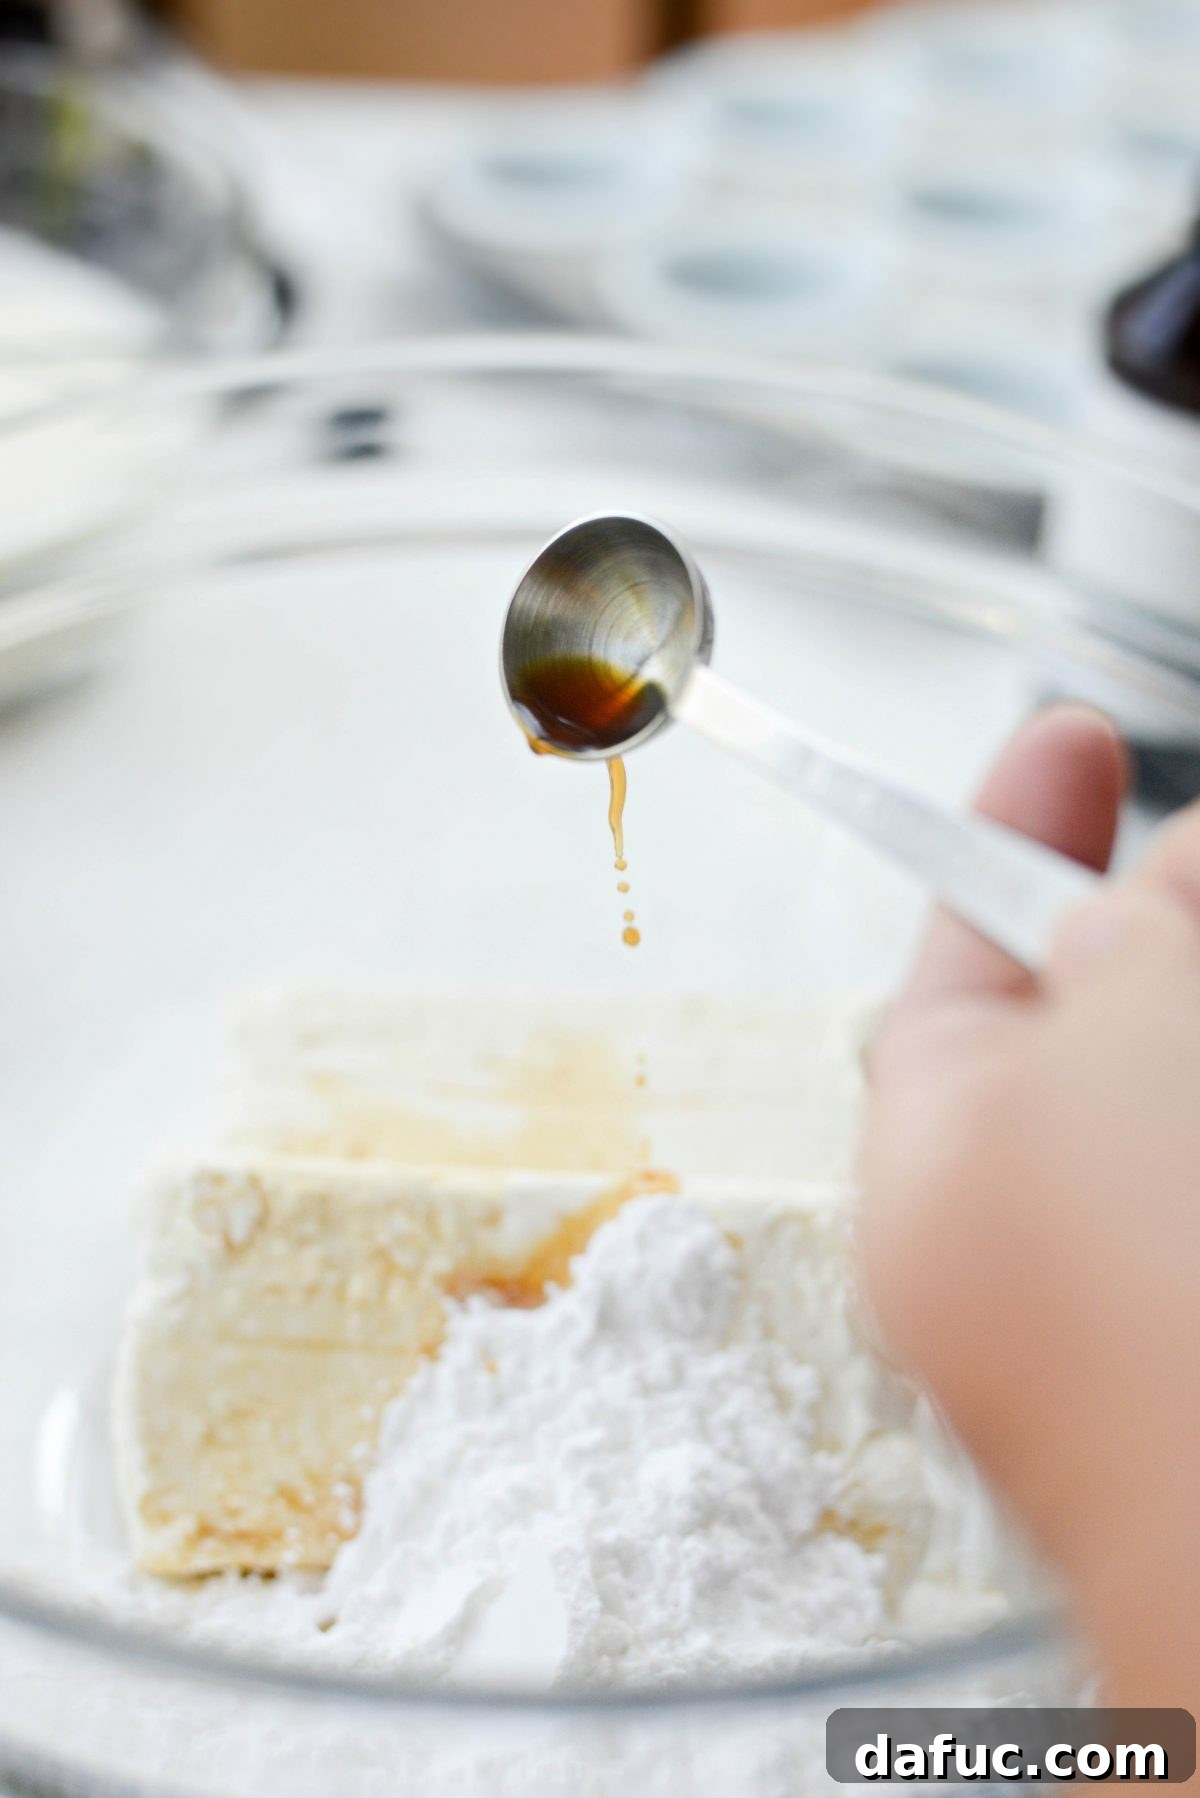
- Initial Blend: Begin by adding 16 ounces of softened cream cheese, a generous 1/2 cup of sifted powdered sugar, 1 teaspoon of pure vanilla extract, and a small pinch of fine sea salt into a large mixing bowl. The key to a lump-free filling starts with well-softened cream cheese.

- Mix Until Combined: Start your electric mixer on low speed, allowing the ingredients to slowly come together. This gentle start helps prevent the powdered sugar from puffing up. Continue mixing until most of the powdered sugar has been incorporated into the cream cheese.
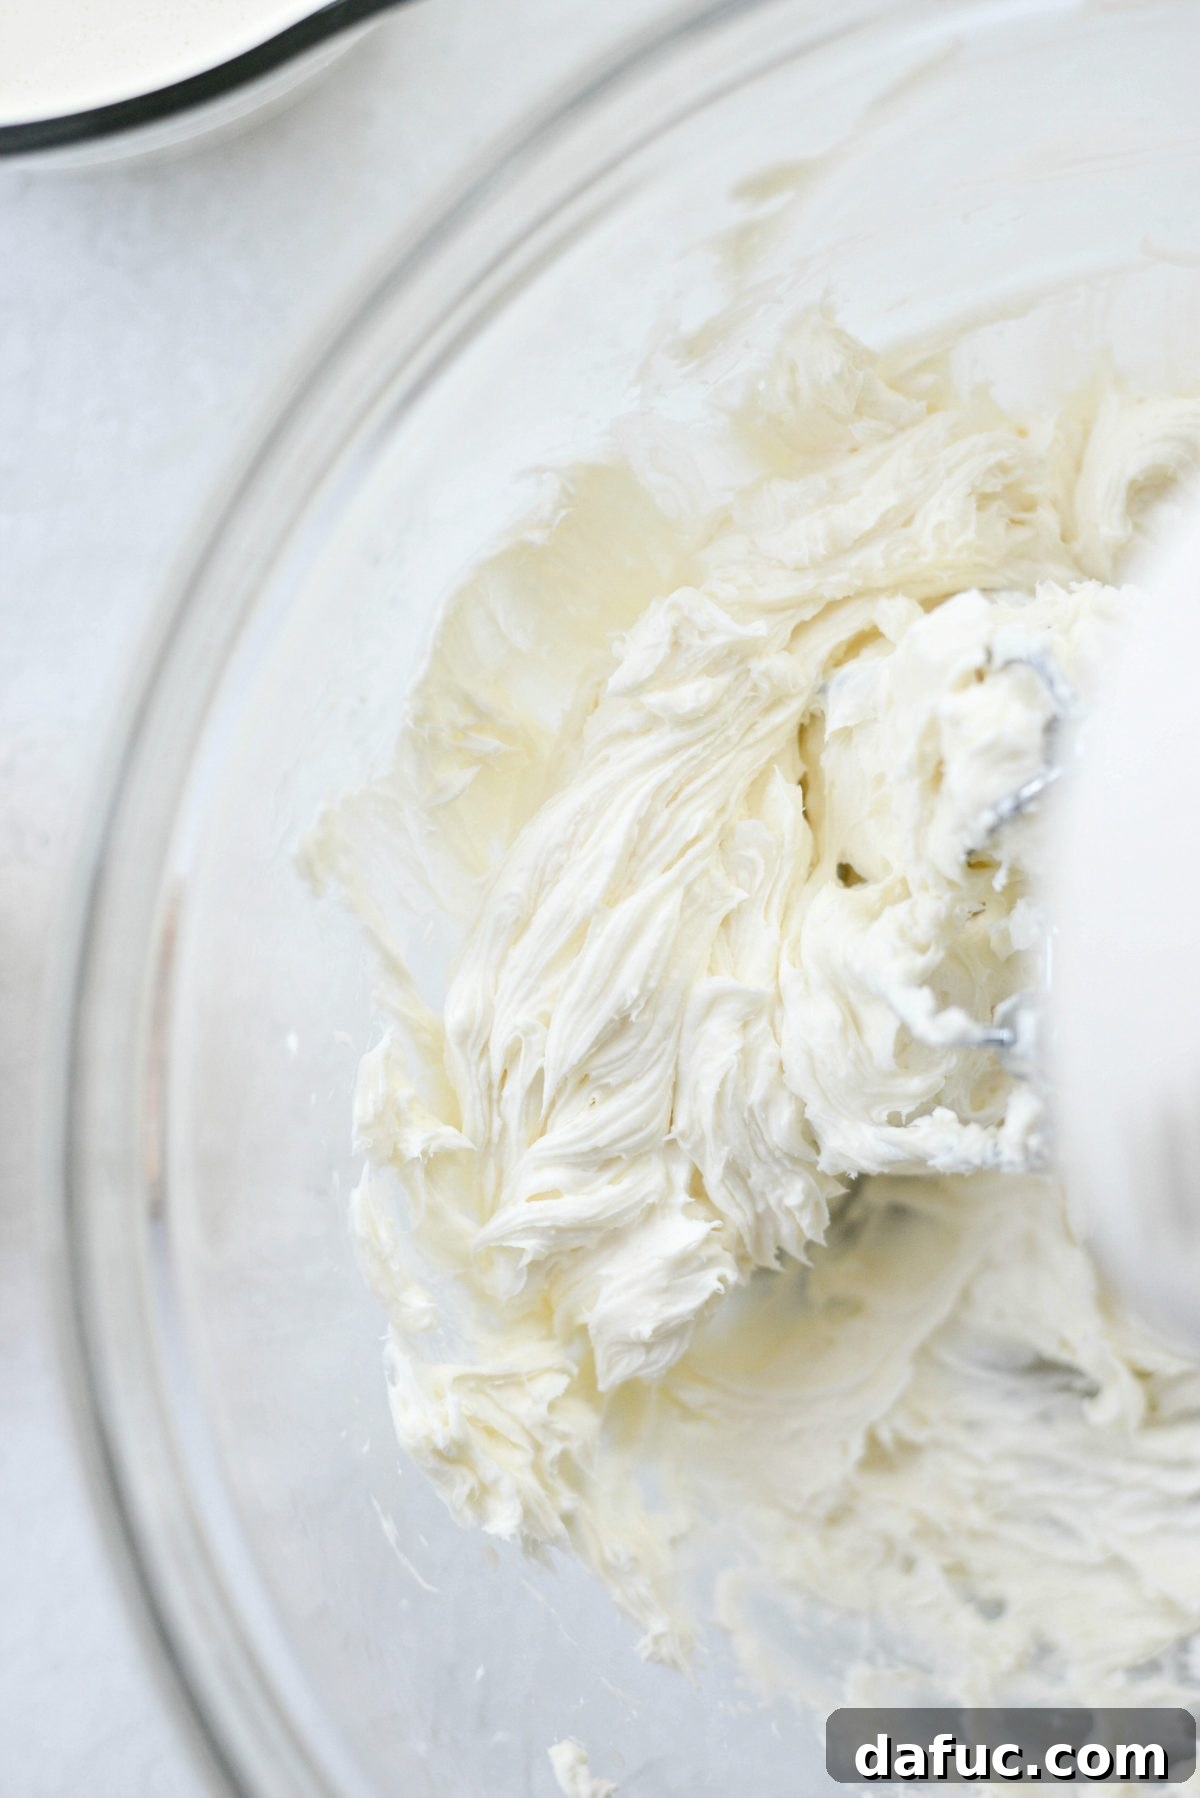
- Achieve Ultimate Smoothness: Increase the mixer speed to medium-low or medium. Continue beating until the mixture is incredibly smooth, with absolutely no lumps visible. The prior sifting of the powdered sugar will greatly assist in achieving this desired velvety texture.
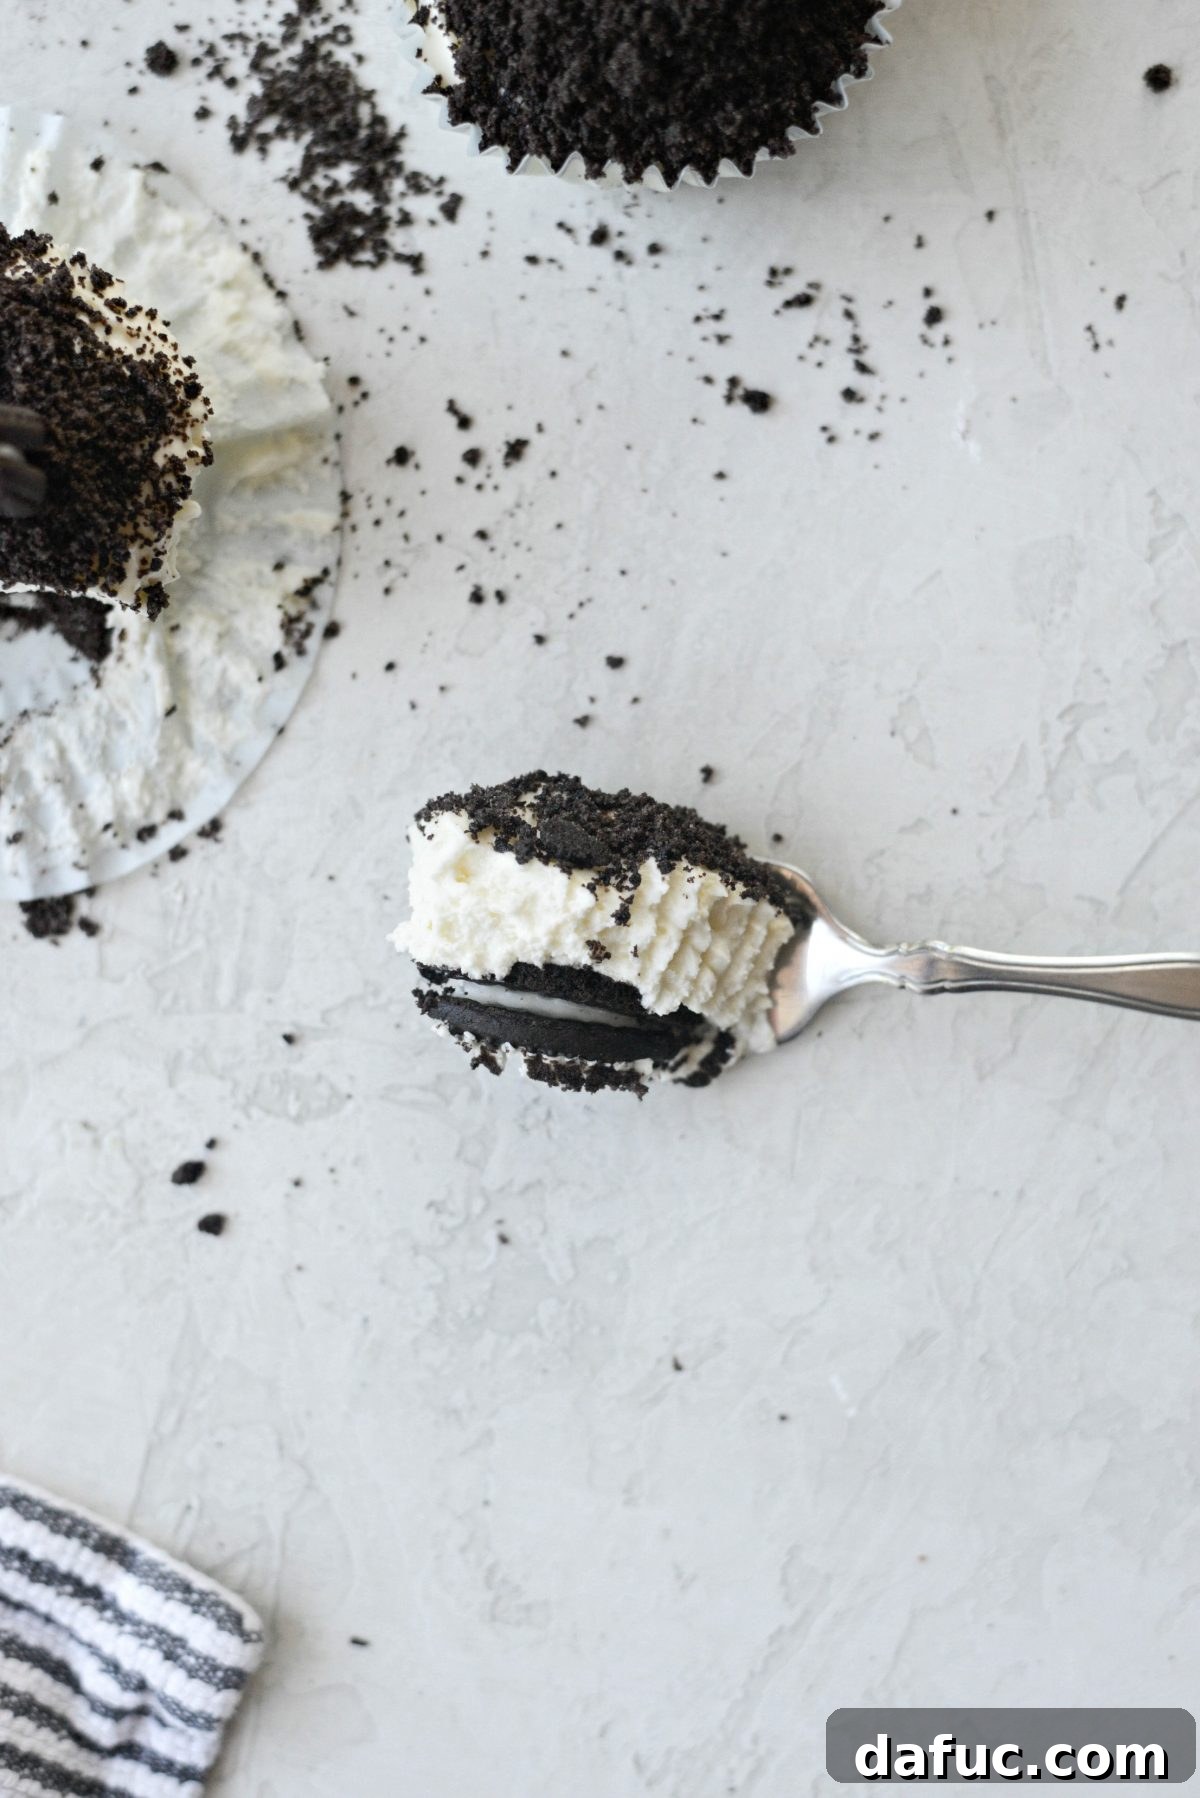
- Whip to a Thick Consistency: Finally, pour in 2 cups of very cold heavy cream. Start mixing on low speed until the cream is just barely combined. Then, gradually increase the speed to medium-high and whip until the cheesecake filling becomes wonderfully thick, creamy, and fluffy. It should hold its shape when you lift the beaters. Be careful not to overmix, which can sometimes cause the cream to separate.
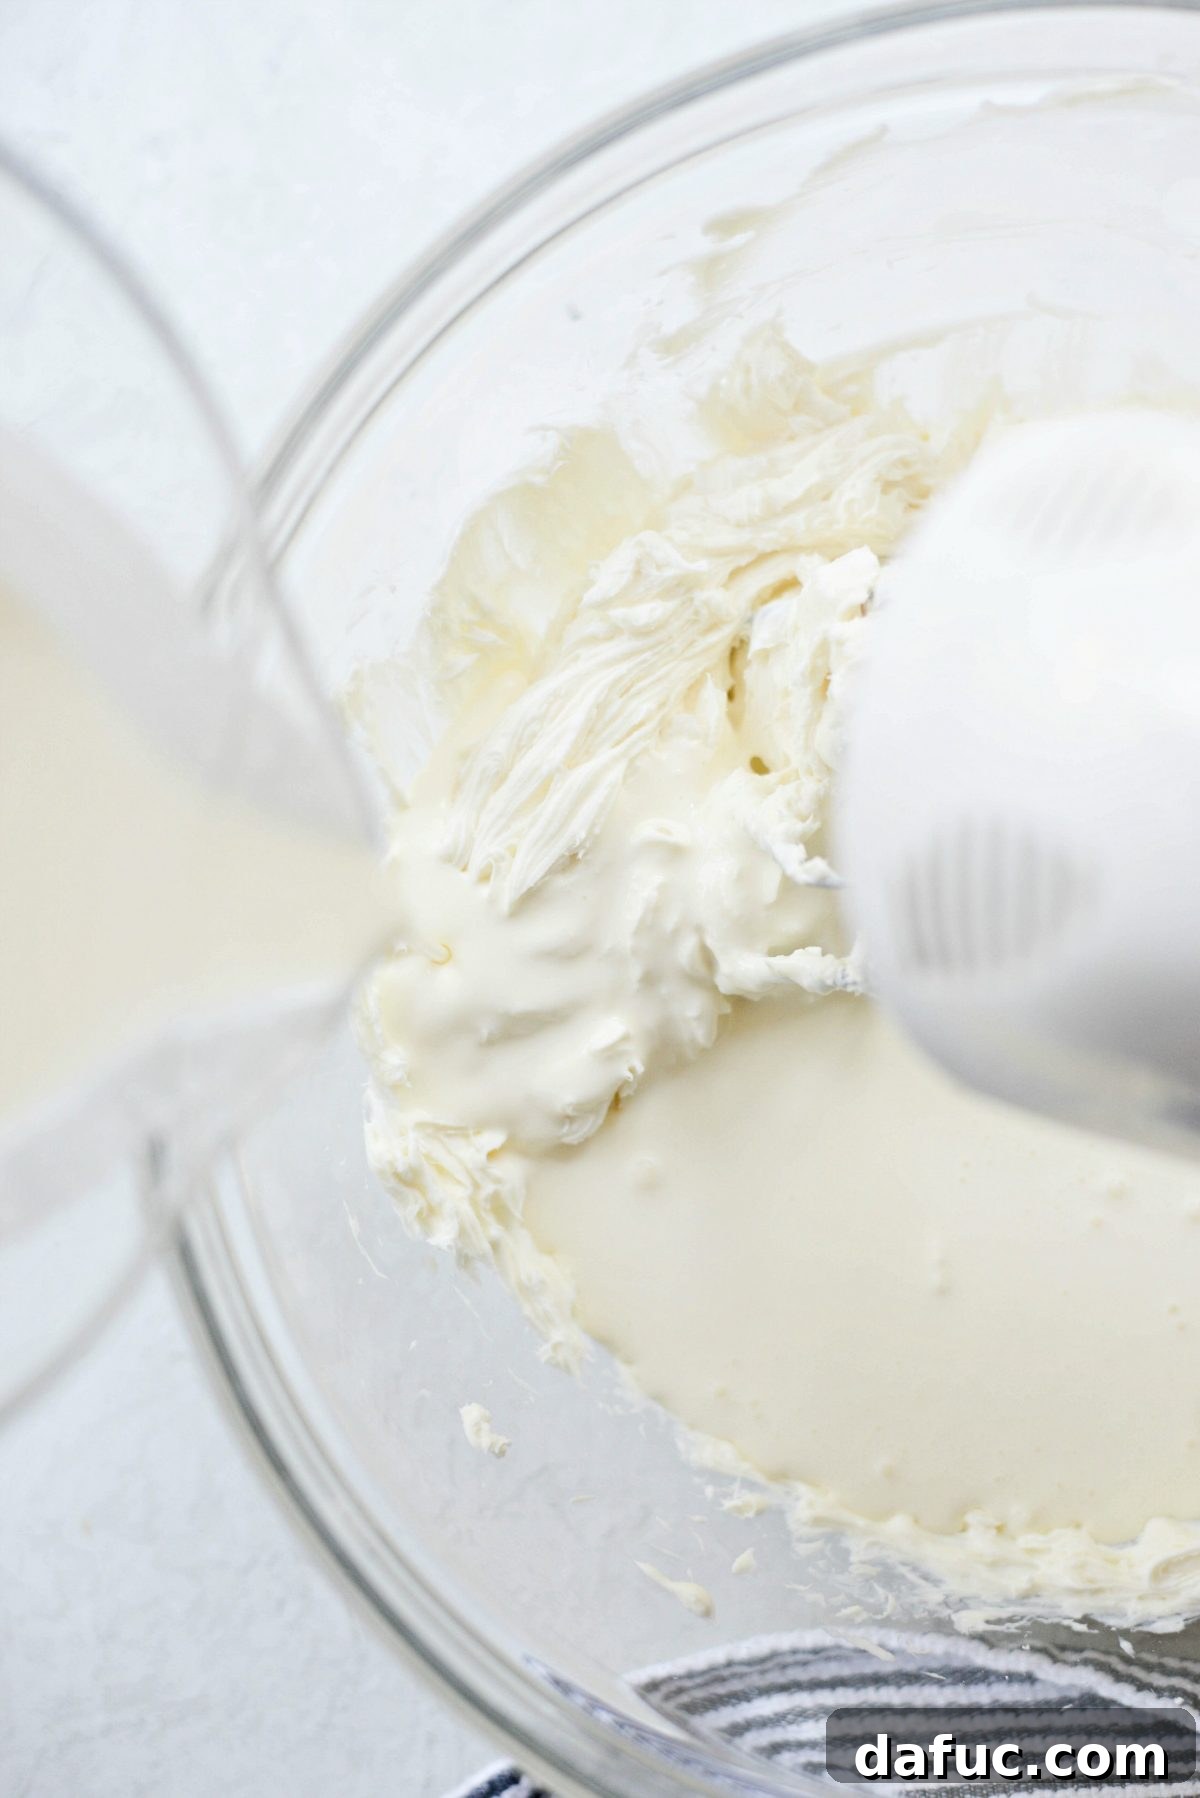
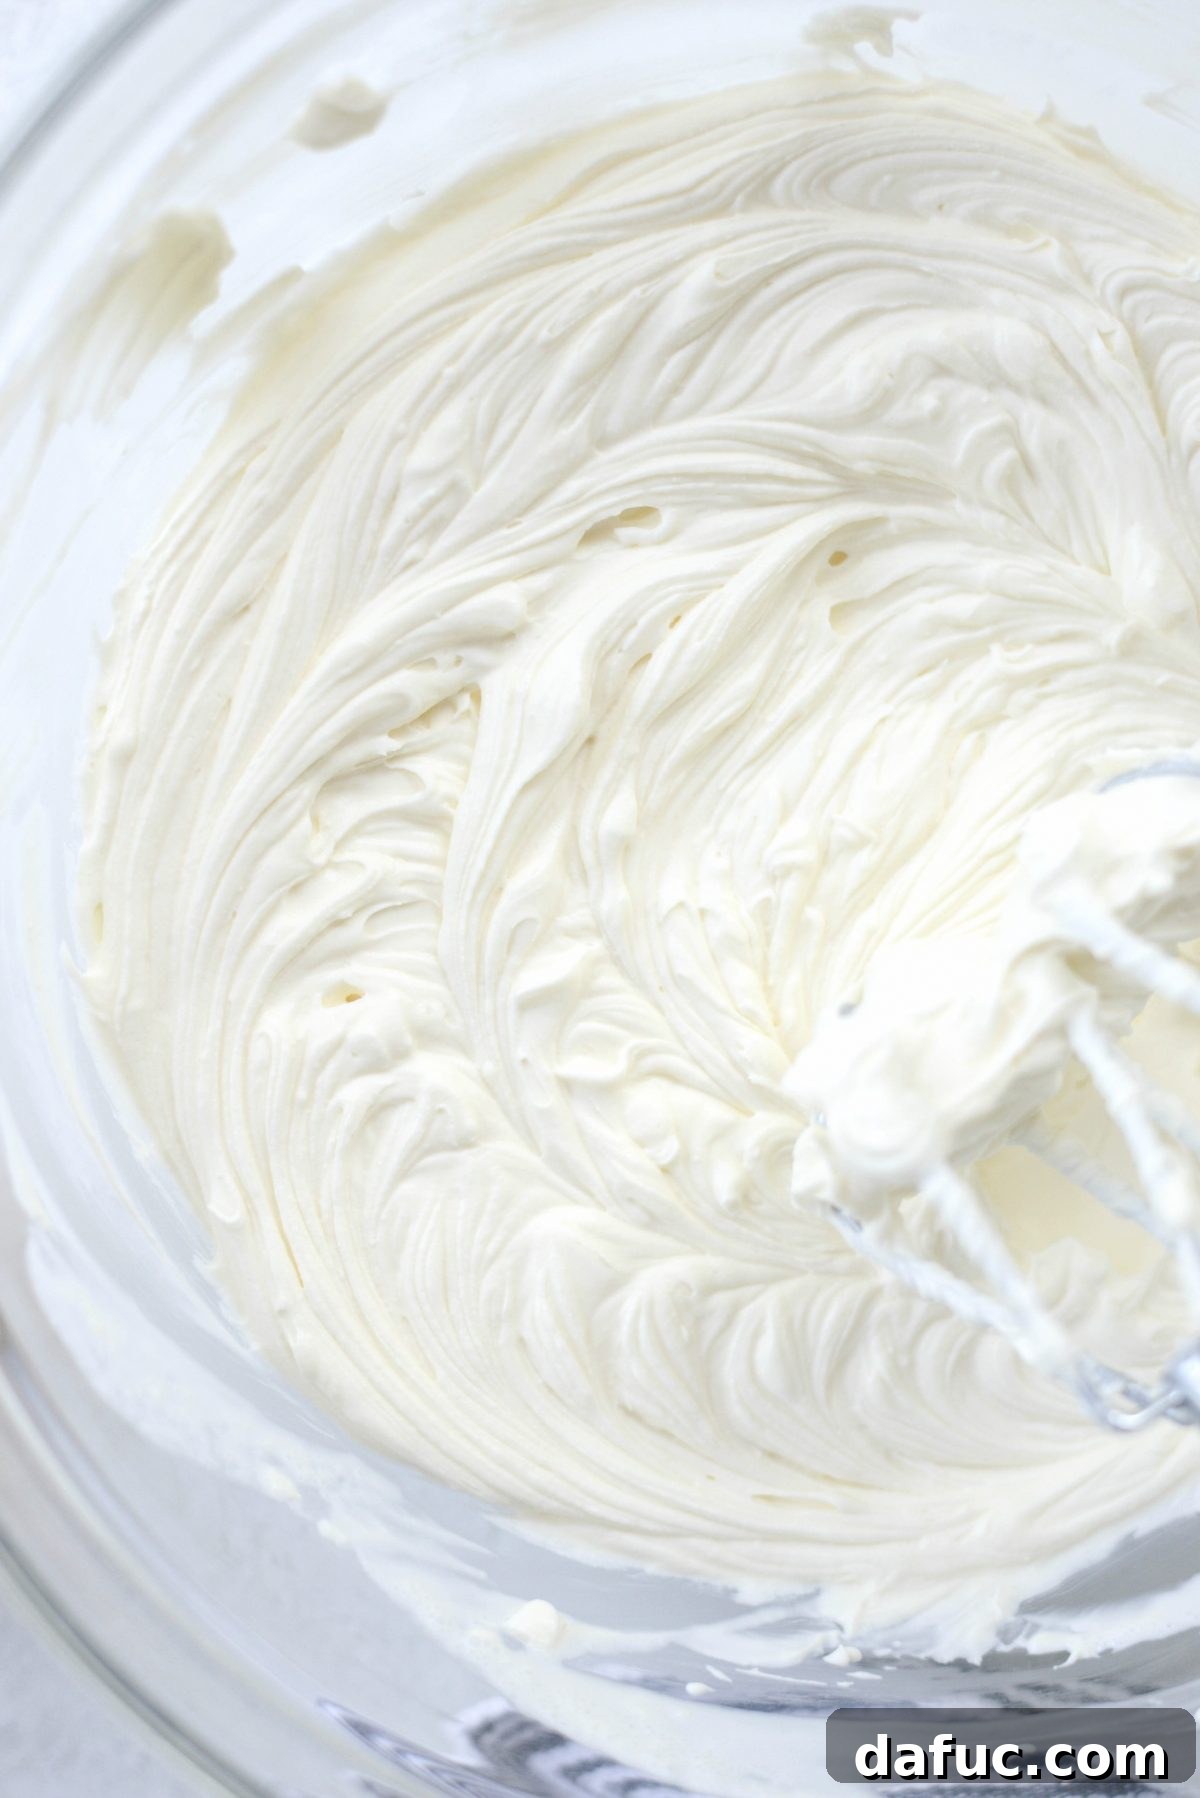
Once your irresistible filling is prepared, set it aside momentarily while you move on to assembling your mini masterpieces.
Effortless Assembly: Bringing Your Mini Cheesecakes Together
The assembly process for these no-bake cheesecakes is quick and satisfying, transforming simple ingredients into beautiful, individual desserts.
- Prepare Your Muffin Tin: Line a standard 12-cup muffin tin with paper cupcake liners. These liners are indispensable for easy removal and serving of your finished cheesecakes.
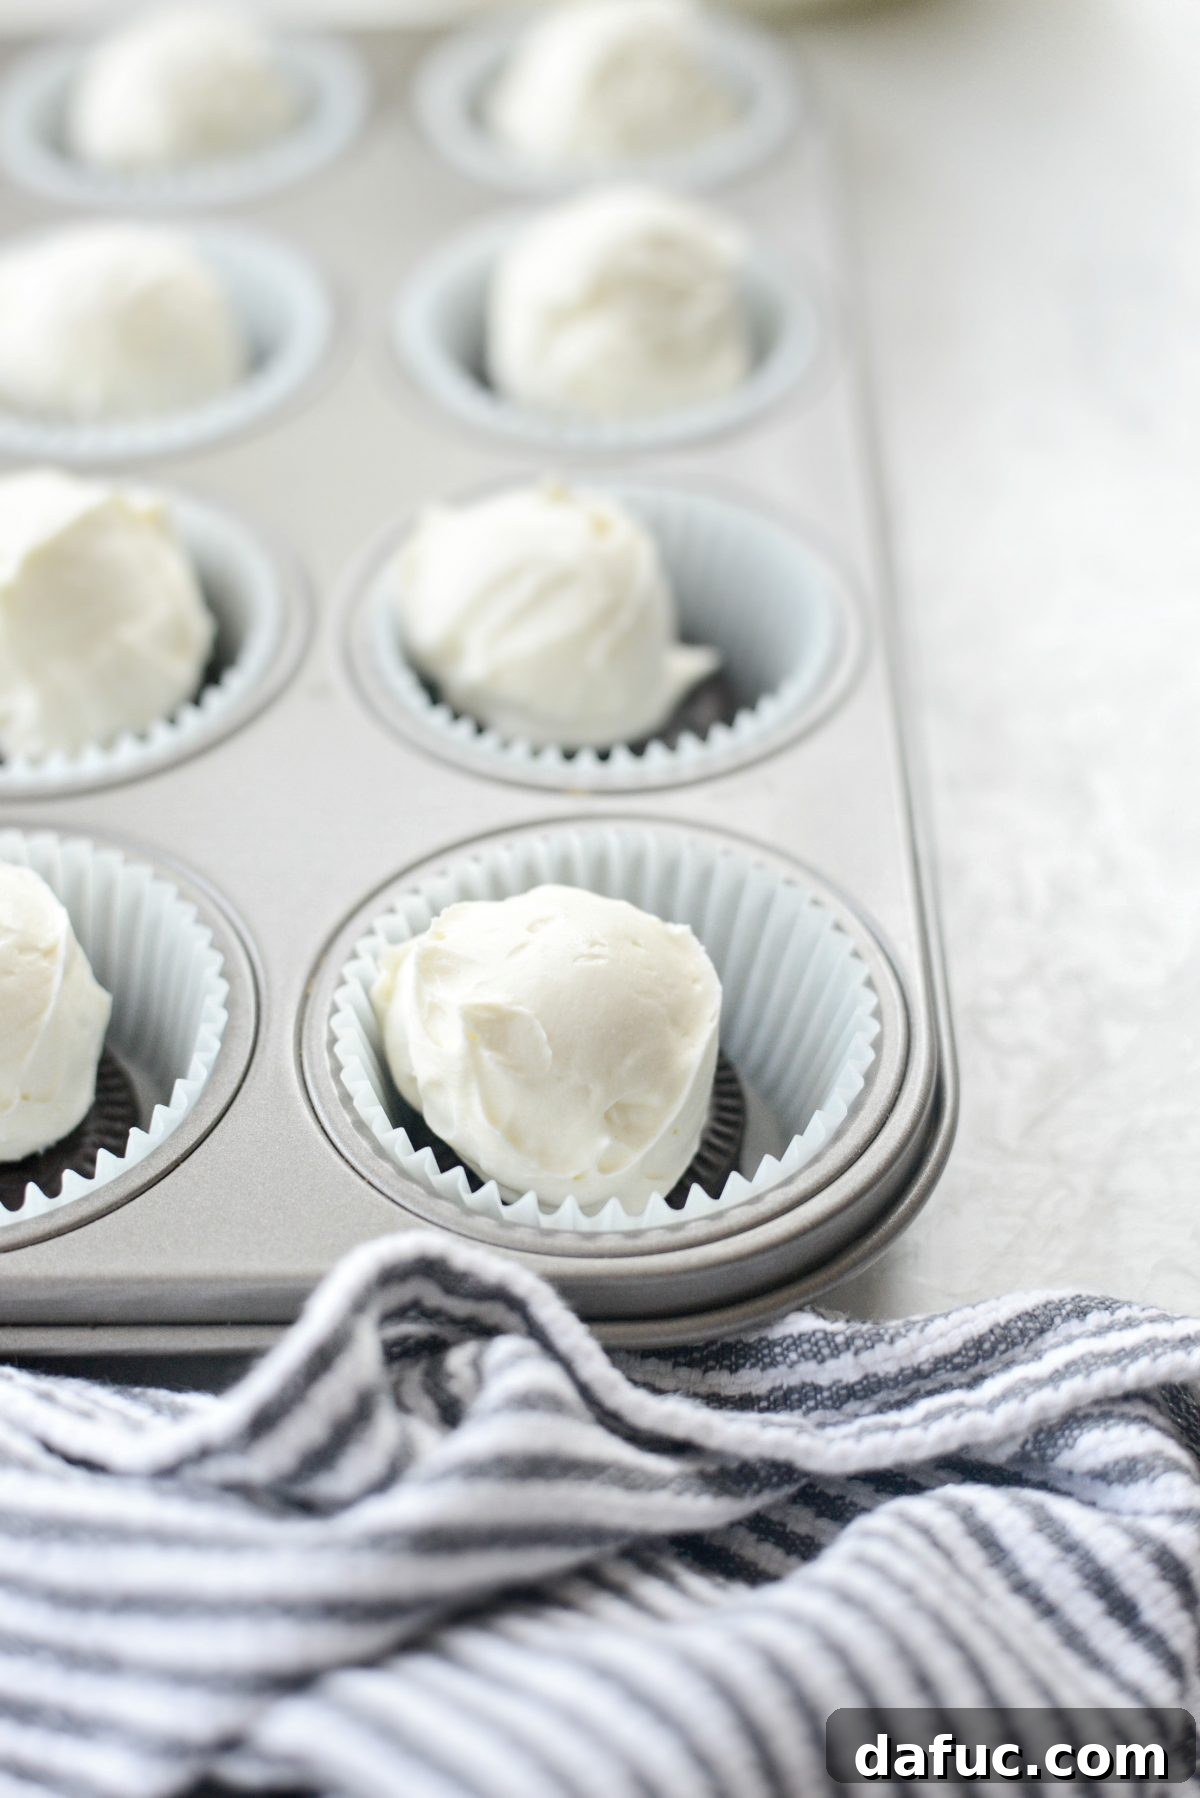
- Lay the Cookie Foundation: Place one whole cream-filled chocolate sandwich cookie at the bottom of each paper liner. These cookies ingeniously serve as the perfect, no-fuss “crust” for your mini cheesecakes, providing a delightful chocolatey base and a satisfying textural contrast.
- Initial Filling Layer: Using a 2-tablespoon scoop (this tool is highly recommended for neatness and portion control), scoop out a generous portion of the cheesecake filling.
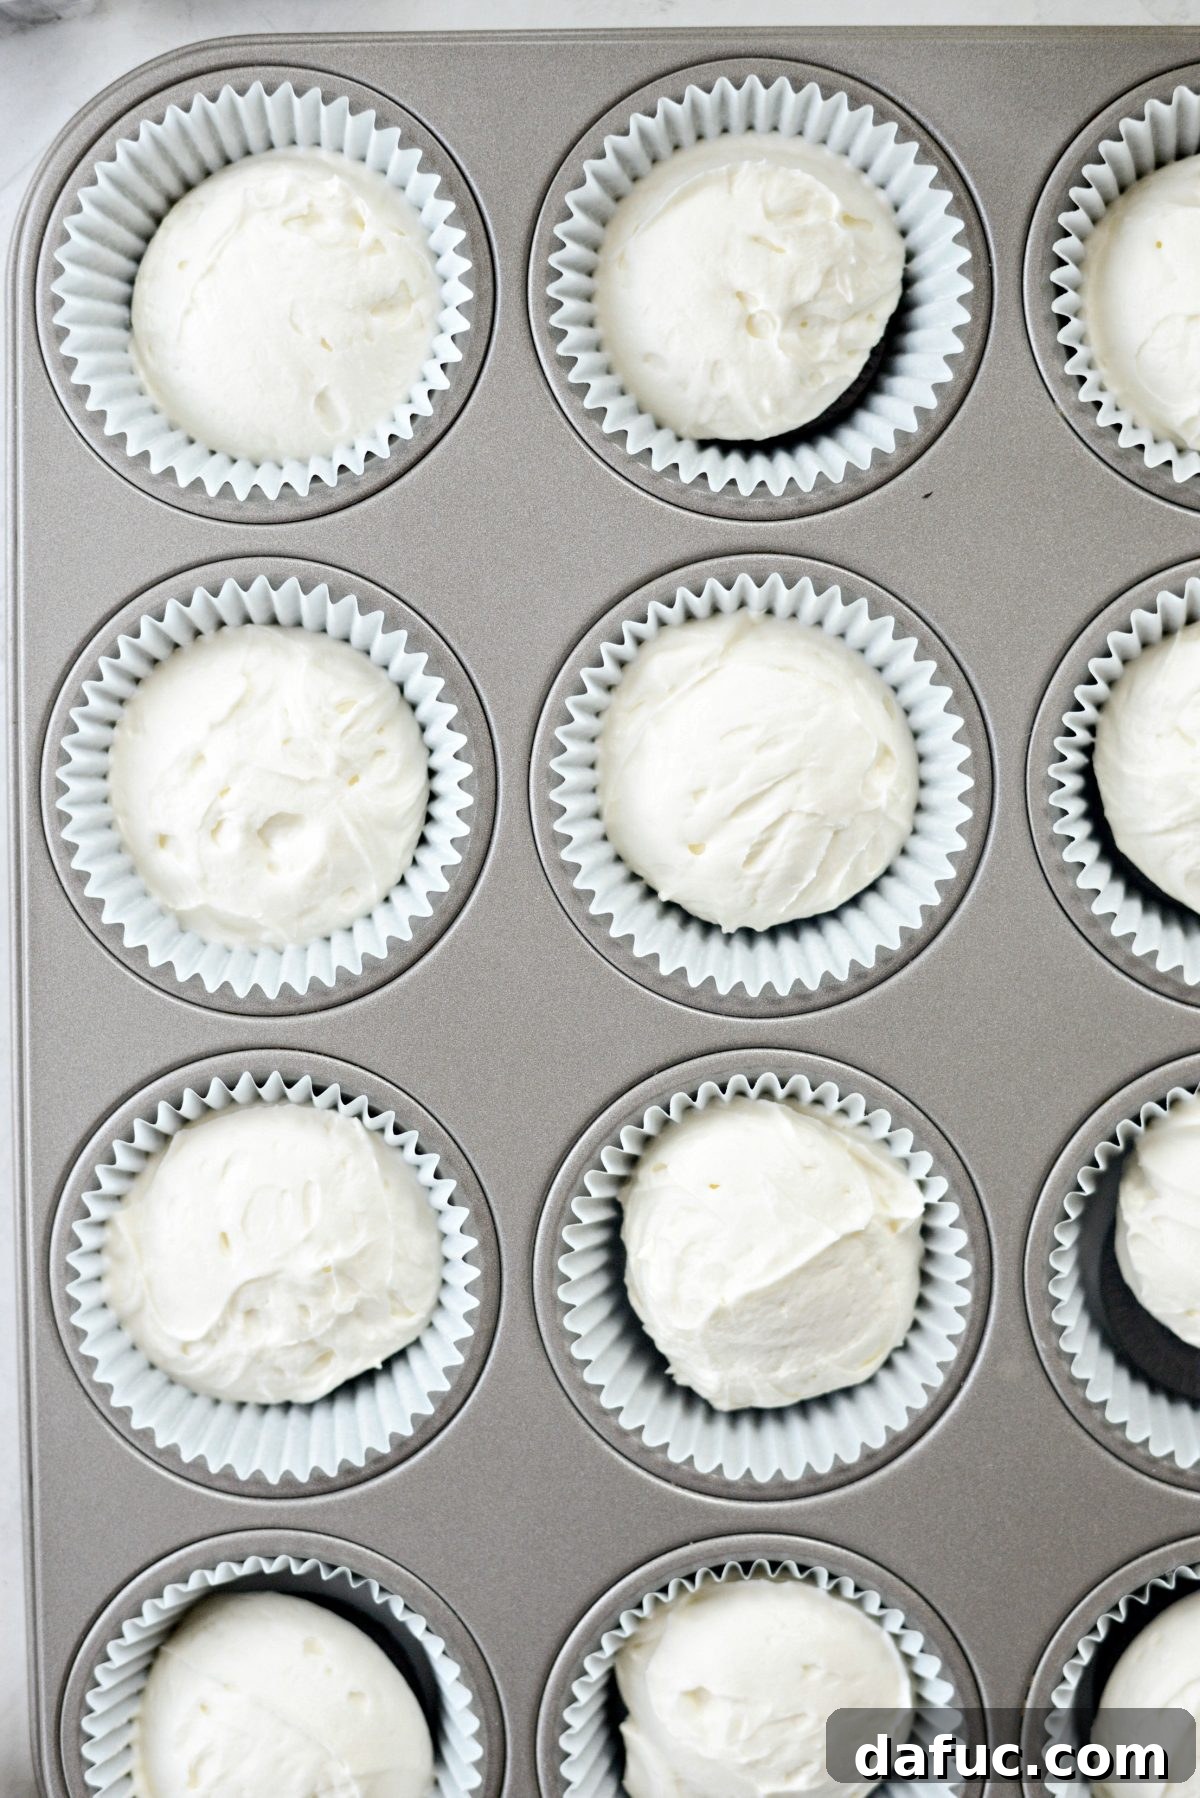
- Cover the Cookies: Carefully place the filling over each cookie base, ensuring an even layer that completely covers the cookie.
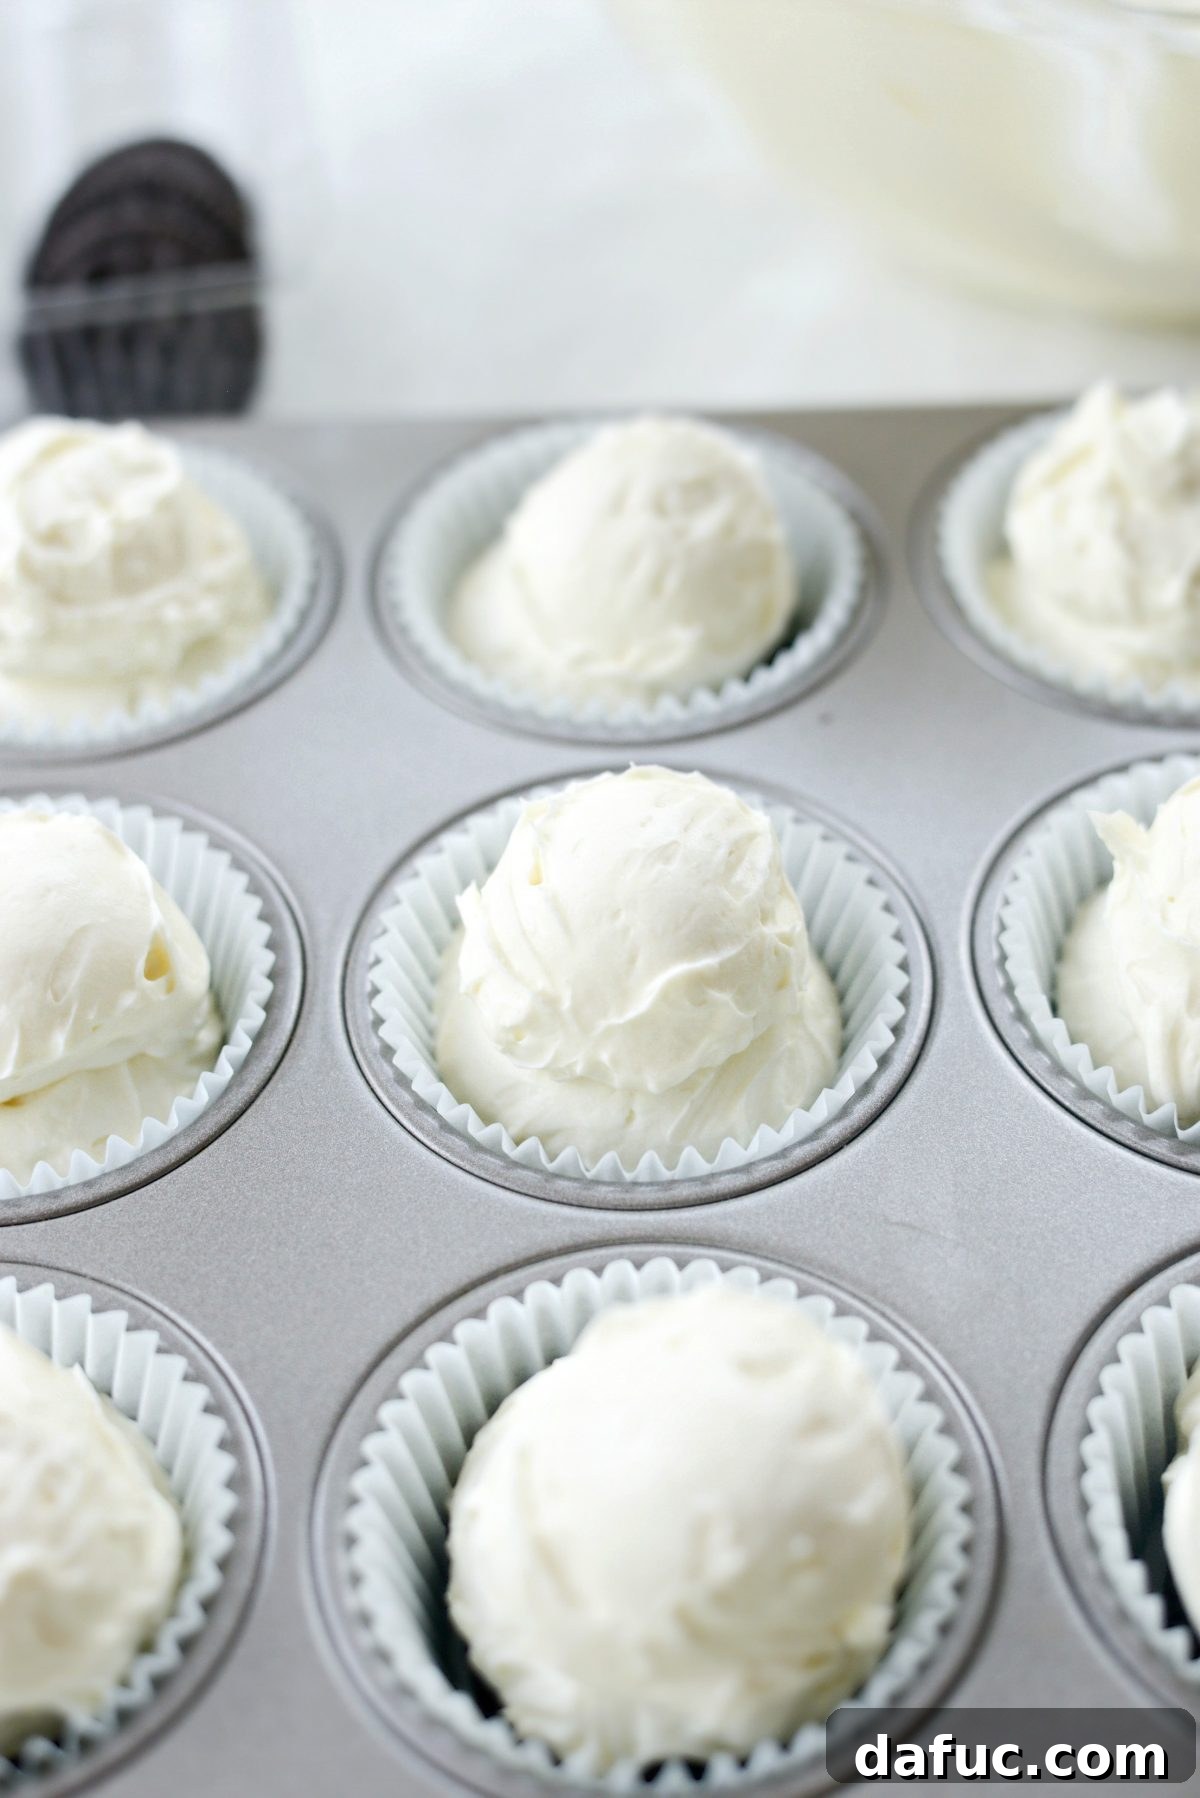
- Settle and Smooth: Gently but firmly tap the muffin pan on your counter about 10-15 times. This vital step helps to release any trapped air bubbles and allows the filling to settle evenly, resulting in a dense, smooth cheesecake surface.
- Top Up the Fillings: Divide the remaining cheesecake filling among the muffin liners, ensuring each mini cheesecake is generously topped to the brim. Give the pan another few firm taps to settle the additional filling even more effectively. In the end, each mini cheesecake should contain approximately 1/4 cup of the rich, creamy filling.
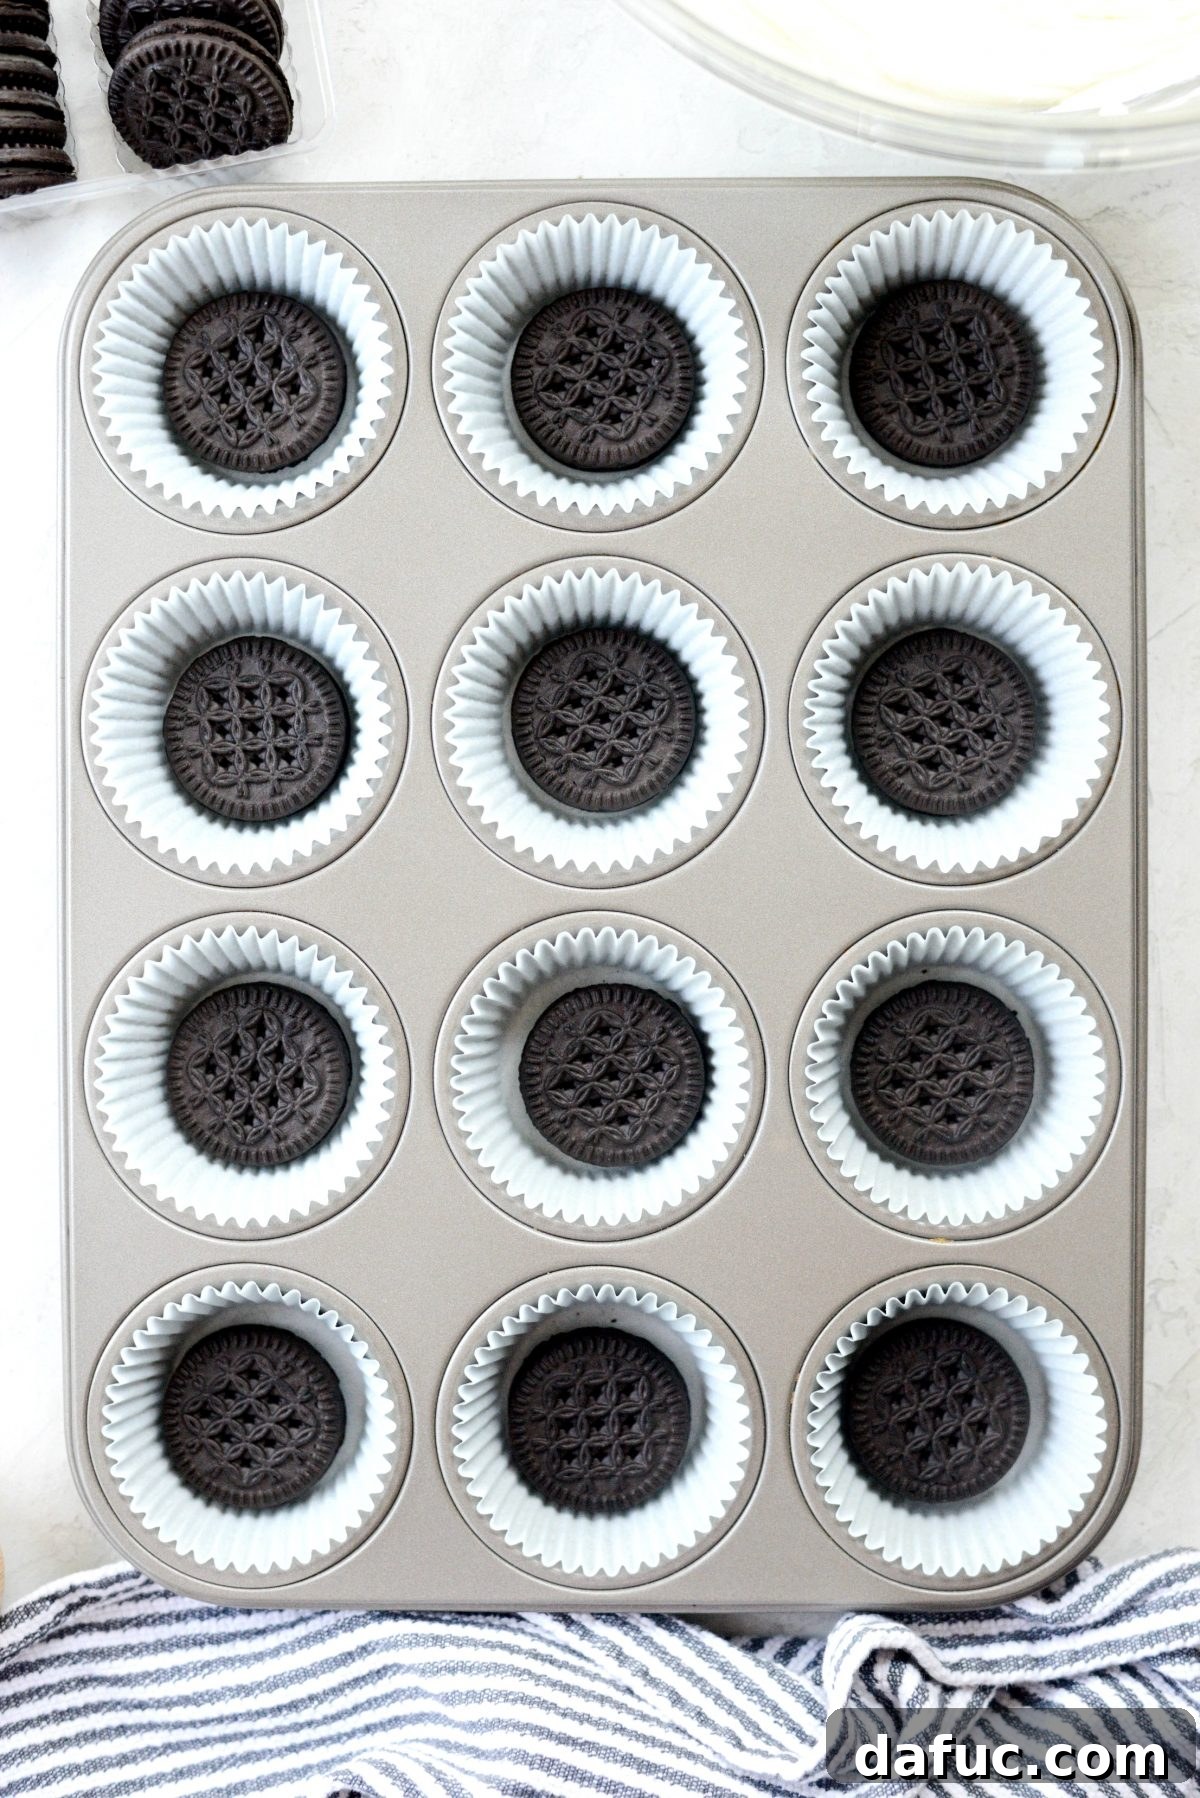
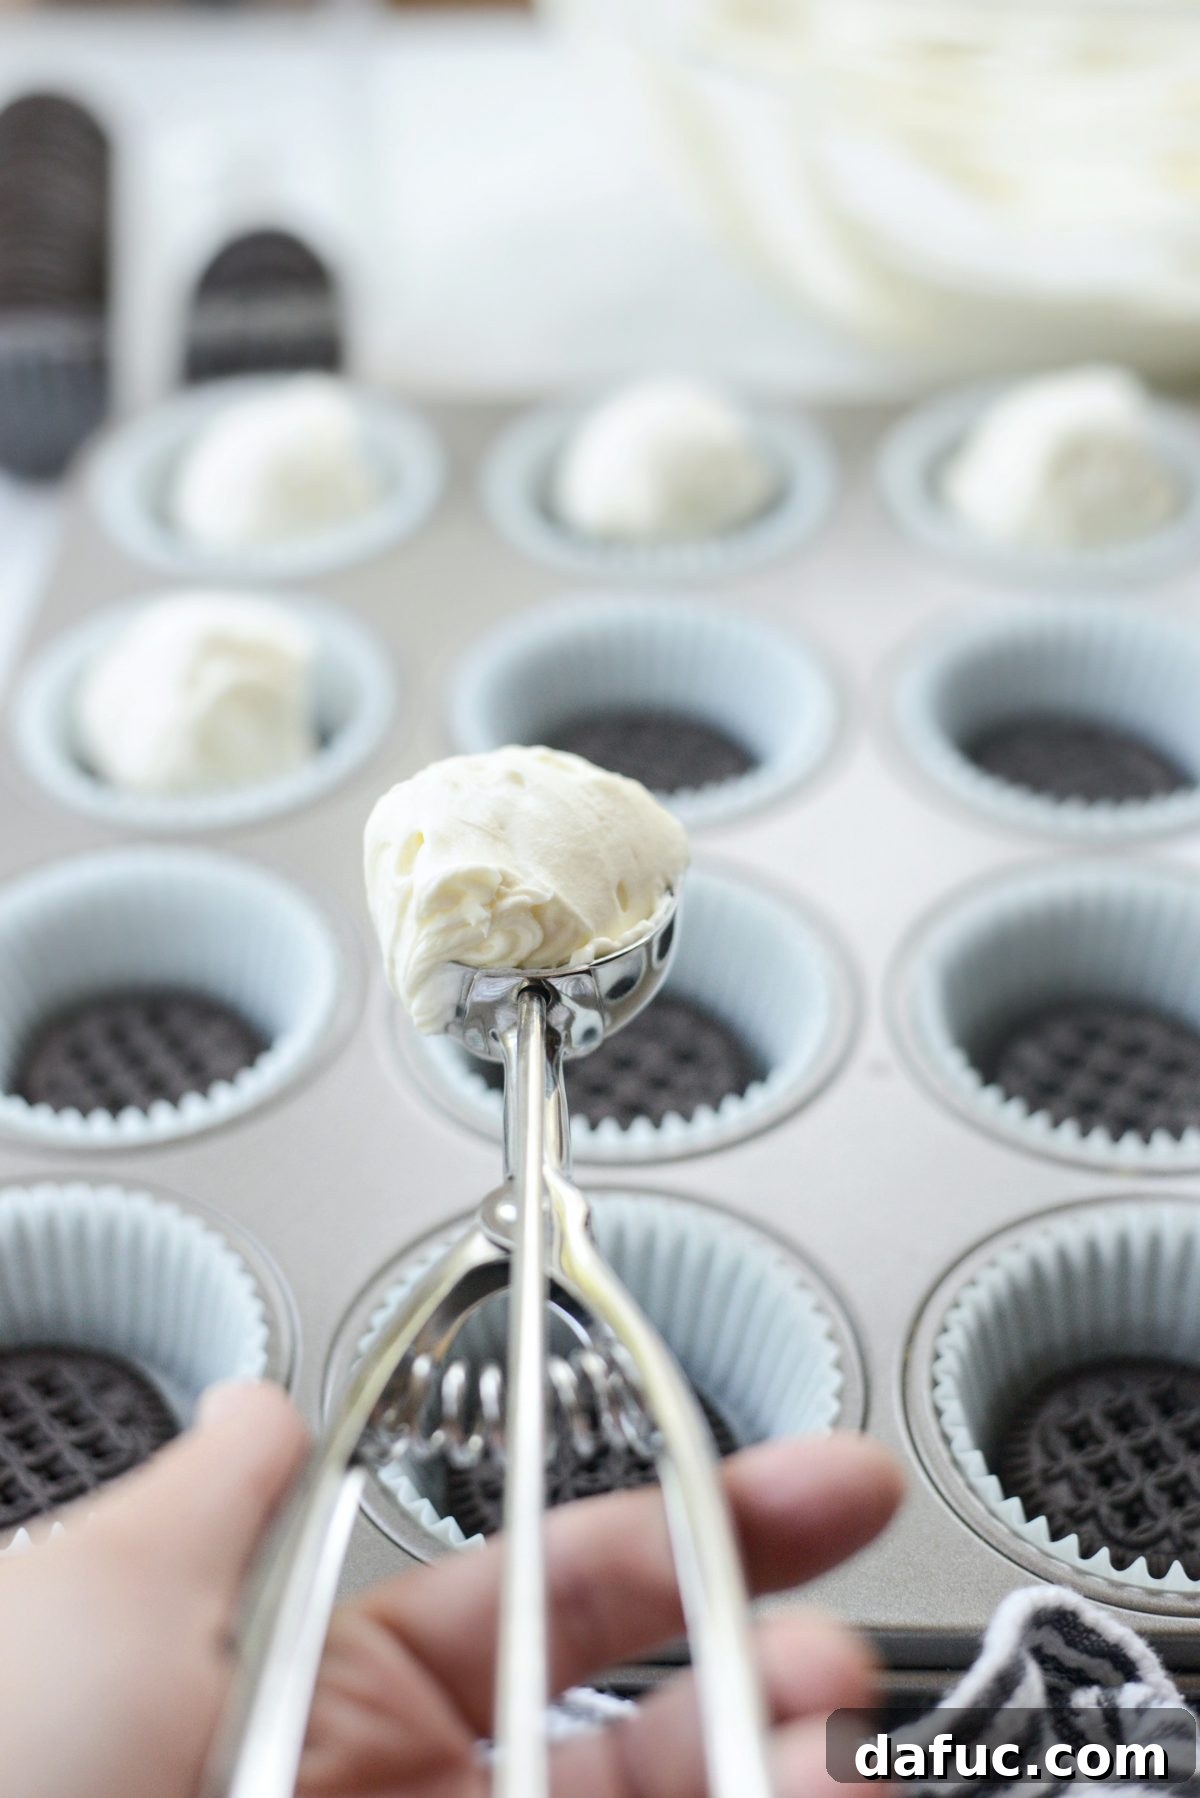
Personalizing Your Cookies and Cream Topping
Now comes the moment to add that signature “cookies and cream” flourish to your mini cheesecakes. You have the flexibility to choose a topping that best suits your preference for texture:
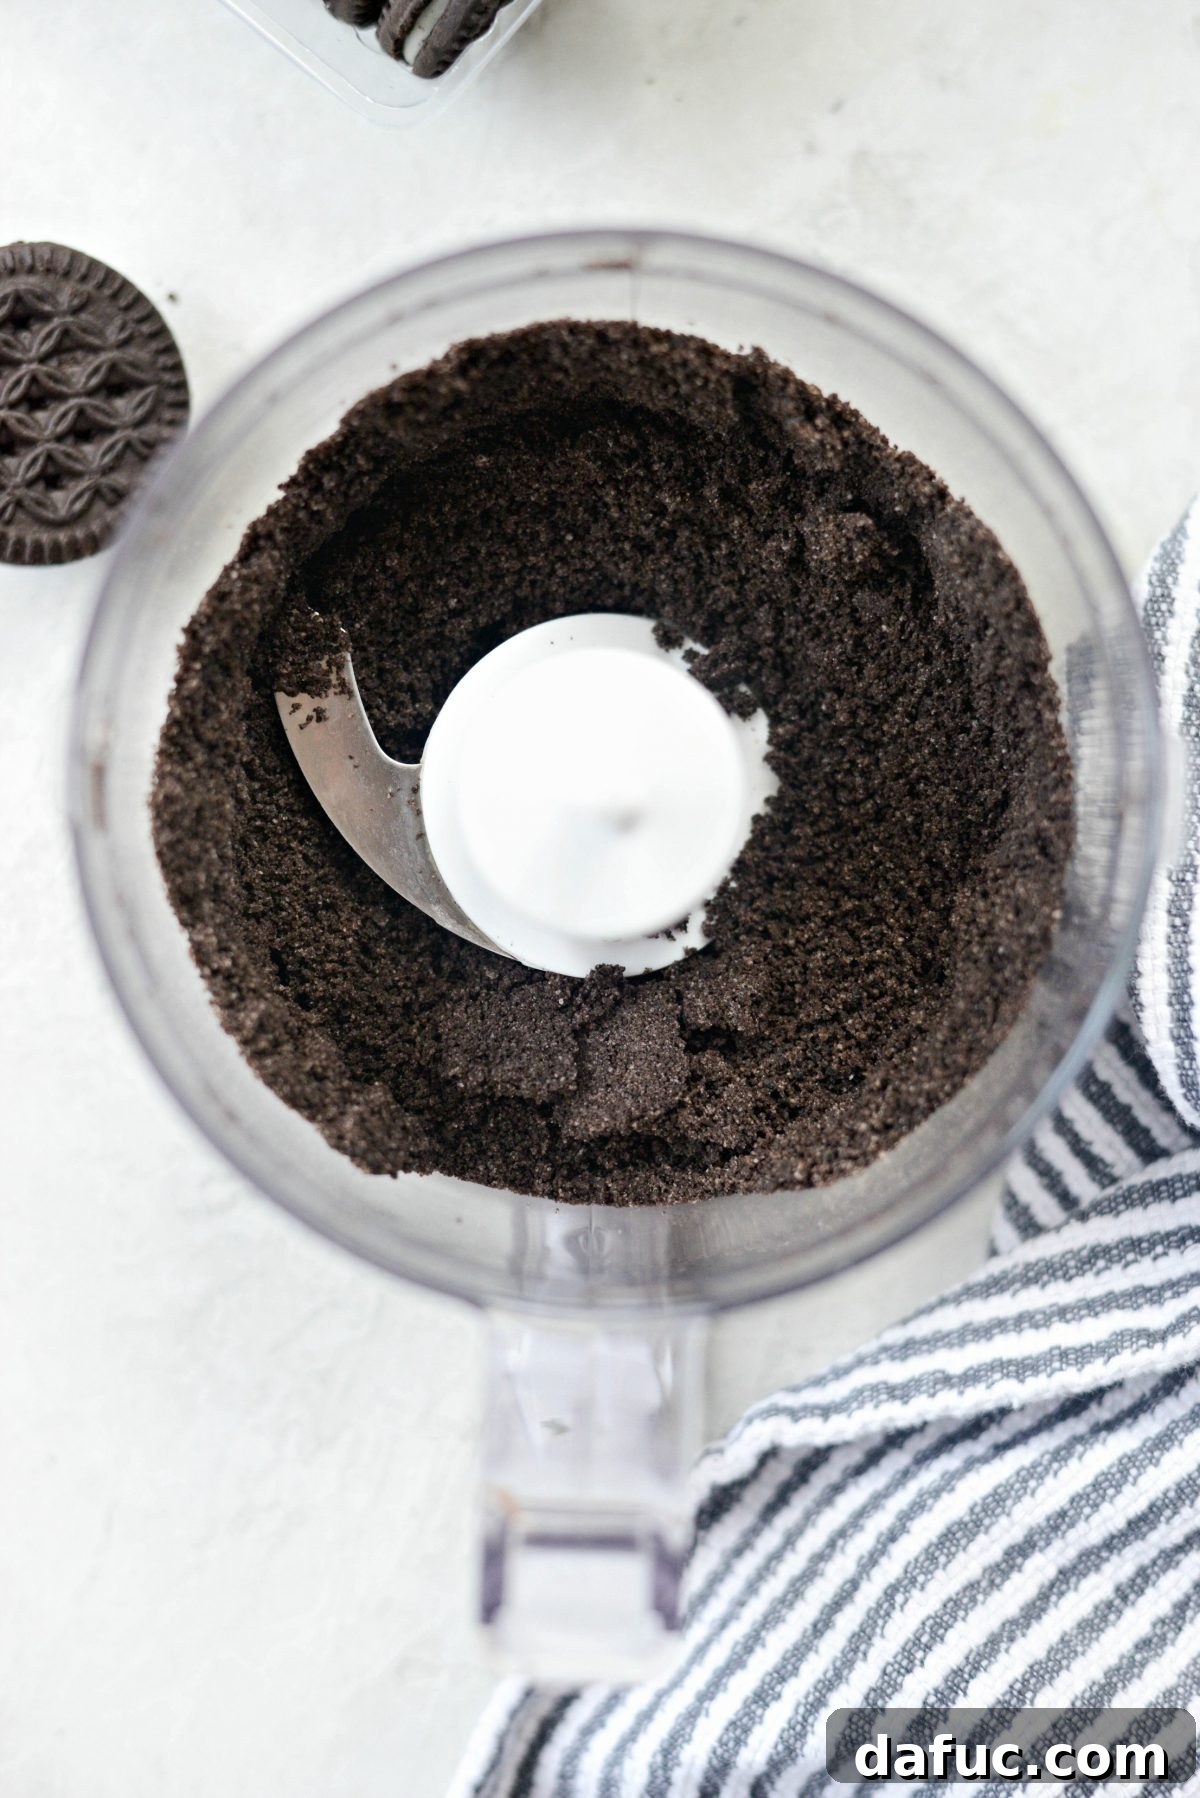
Option 1: Elegant Fine Crumbs
For a classic and polished look, separate about 6 cream-filled chocolate sandwich cookies, discarding the cream (or save it for another treat!). Place the chocolate wafers into a food processor and pulse until fine, uniform crumbs are achieved. Gently sprinkle these delicate crumbs over the top of each cheesecake. This method provides a subtle cookie flavor and a visually appealing, smooth finish.
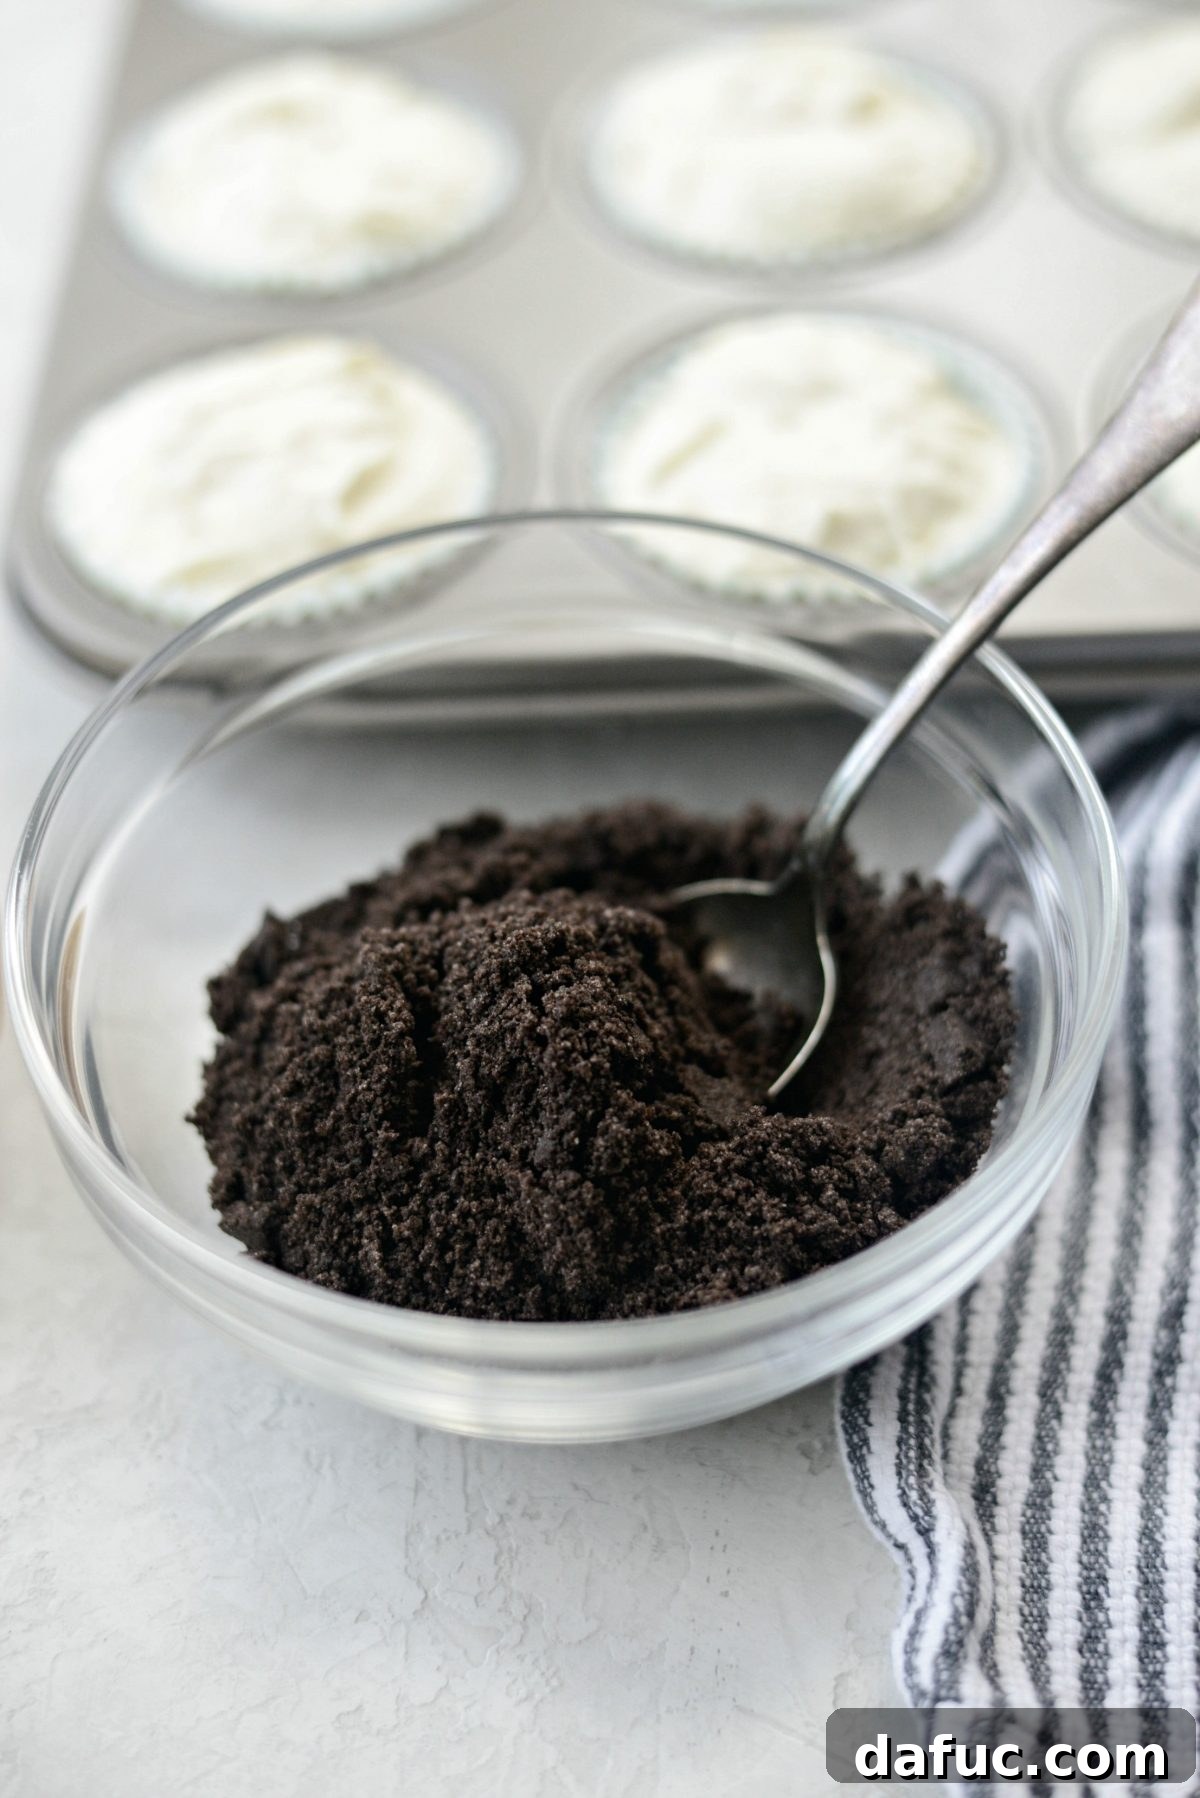
Option 2: Satisfying Chunky Pieces
If you crave more texture and a hearty cookie bite, crush 12 to 16 (or even more, depending on your love for cookies!) chocolate sandwich cookies into larger, irregular pieces. You can achieve this by placing them in a sturdy plastic bag and using a rolling pin or the bottom of a heavy glass to break them up. Gently press these chunky cookie pieces directly into the cheesecake filling. This provides a fantastic textural contrast, perfectly breaking up the smooth creaminess of the cheesecake. Rest assured, you can’t go wrong with either choice – both yield incredibly delicious results!
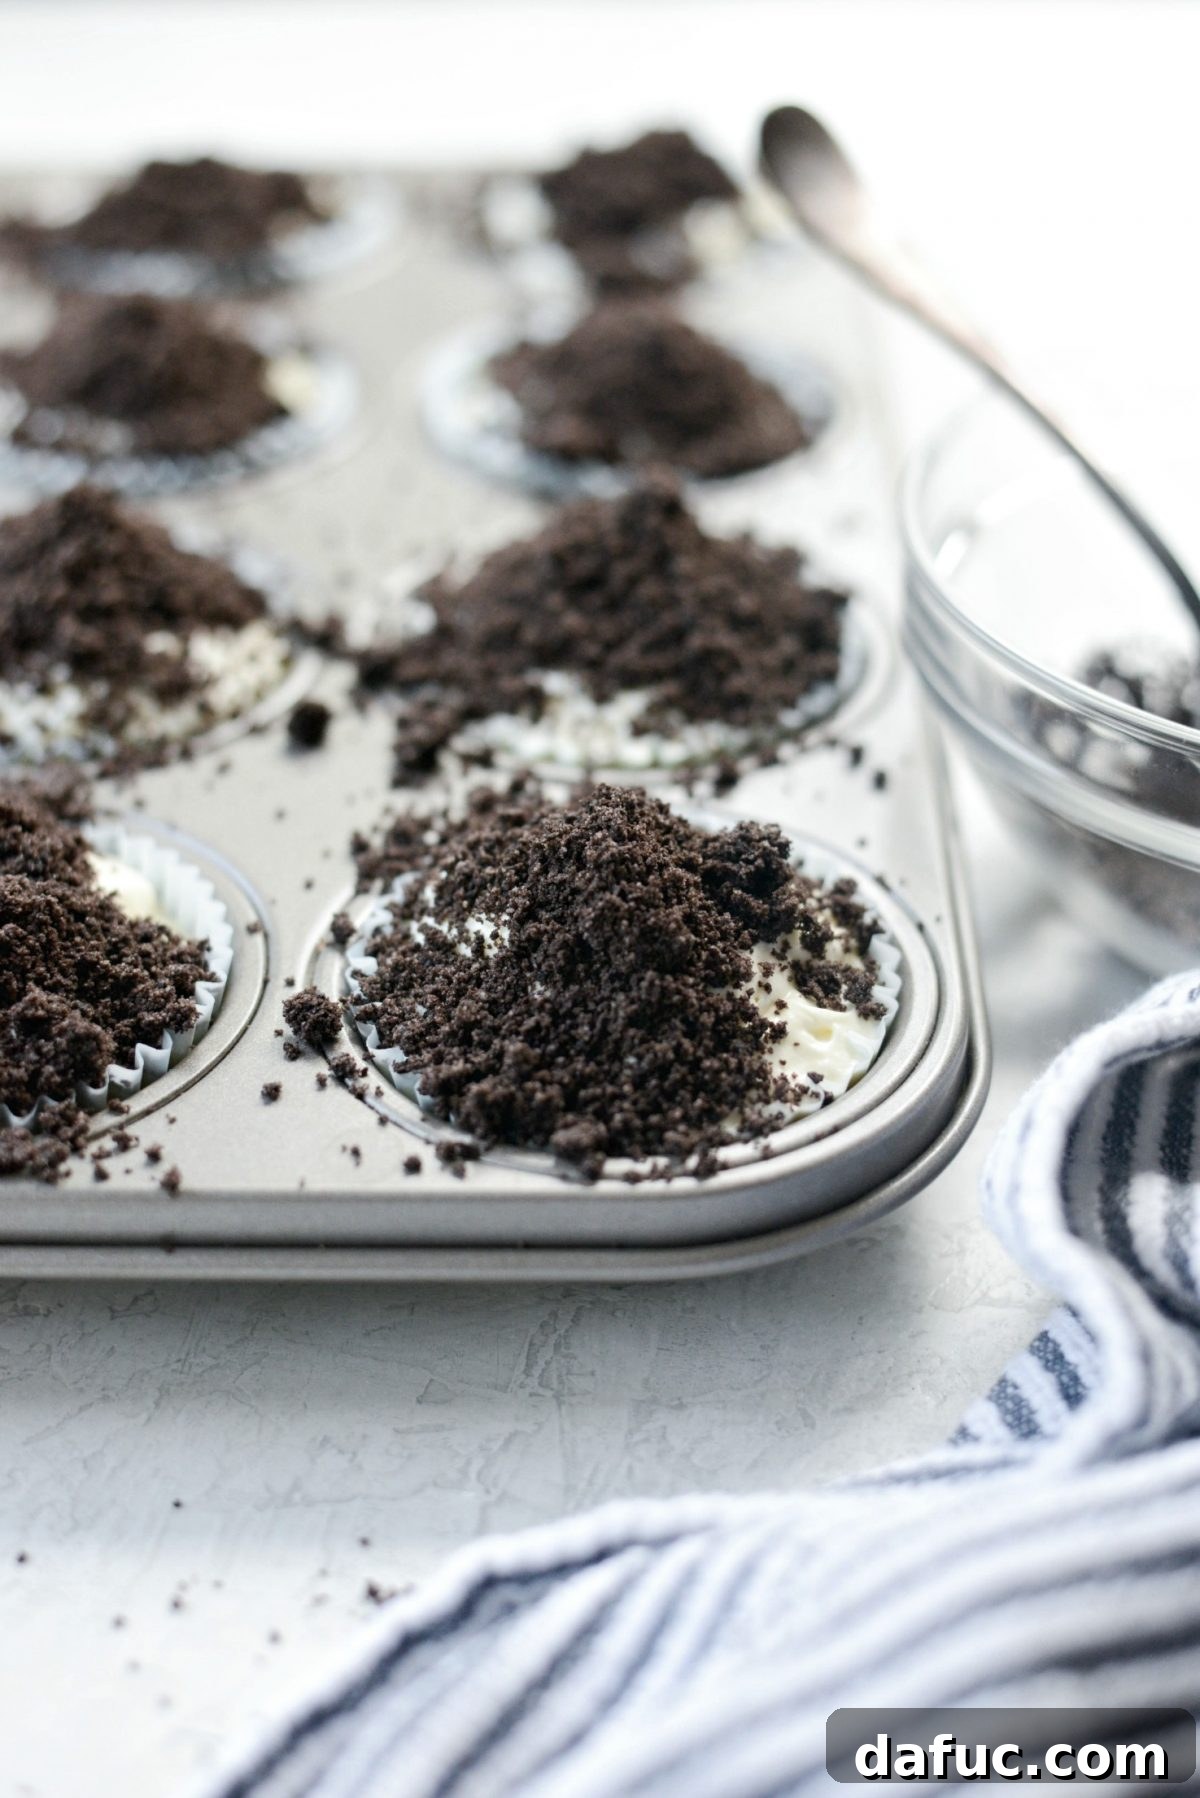
The Magic of Chill Time: Setting for Success
Once topped, your mini cheesecakes are ready for their most important step: refrigeration. Place the muffin pan in your refrigerator and chill for a minimum of 4 to 6 hours. For the absolute best results, I highly recommend letting them chill overnight. This extended cooling period is crucial as it allows the cheesecake filling to fully firm up and set, ensuring each mini cheesecake holds its perfect shape when removed from the liners. Additionally, the chill time allows the cookie bases and toppings to slightly soften, letting all the flavors meld together harmoniously. While these little delights are working their magic, why not take a well-deserved nap? You’ve certainly earned it!
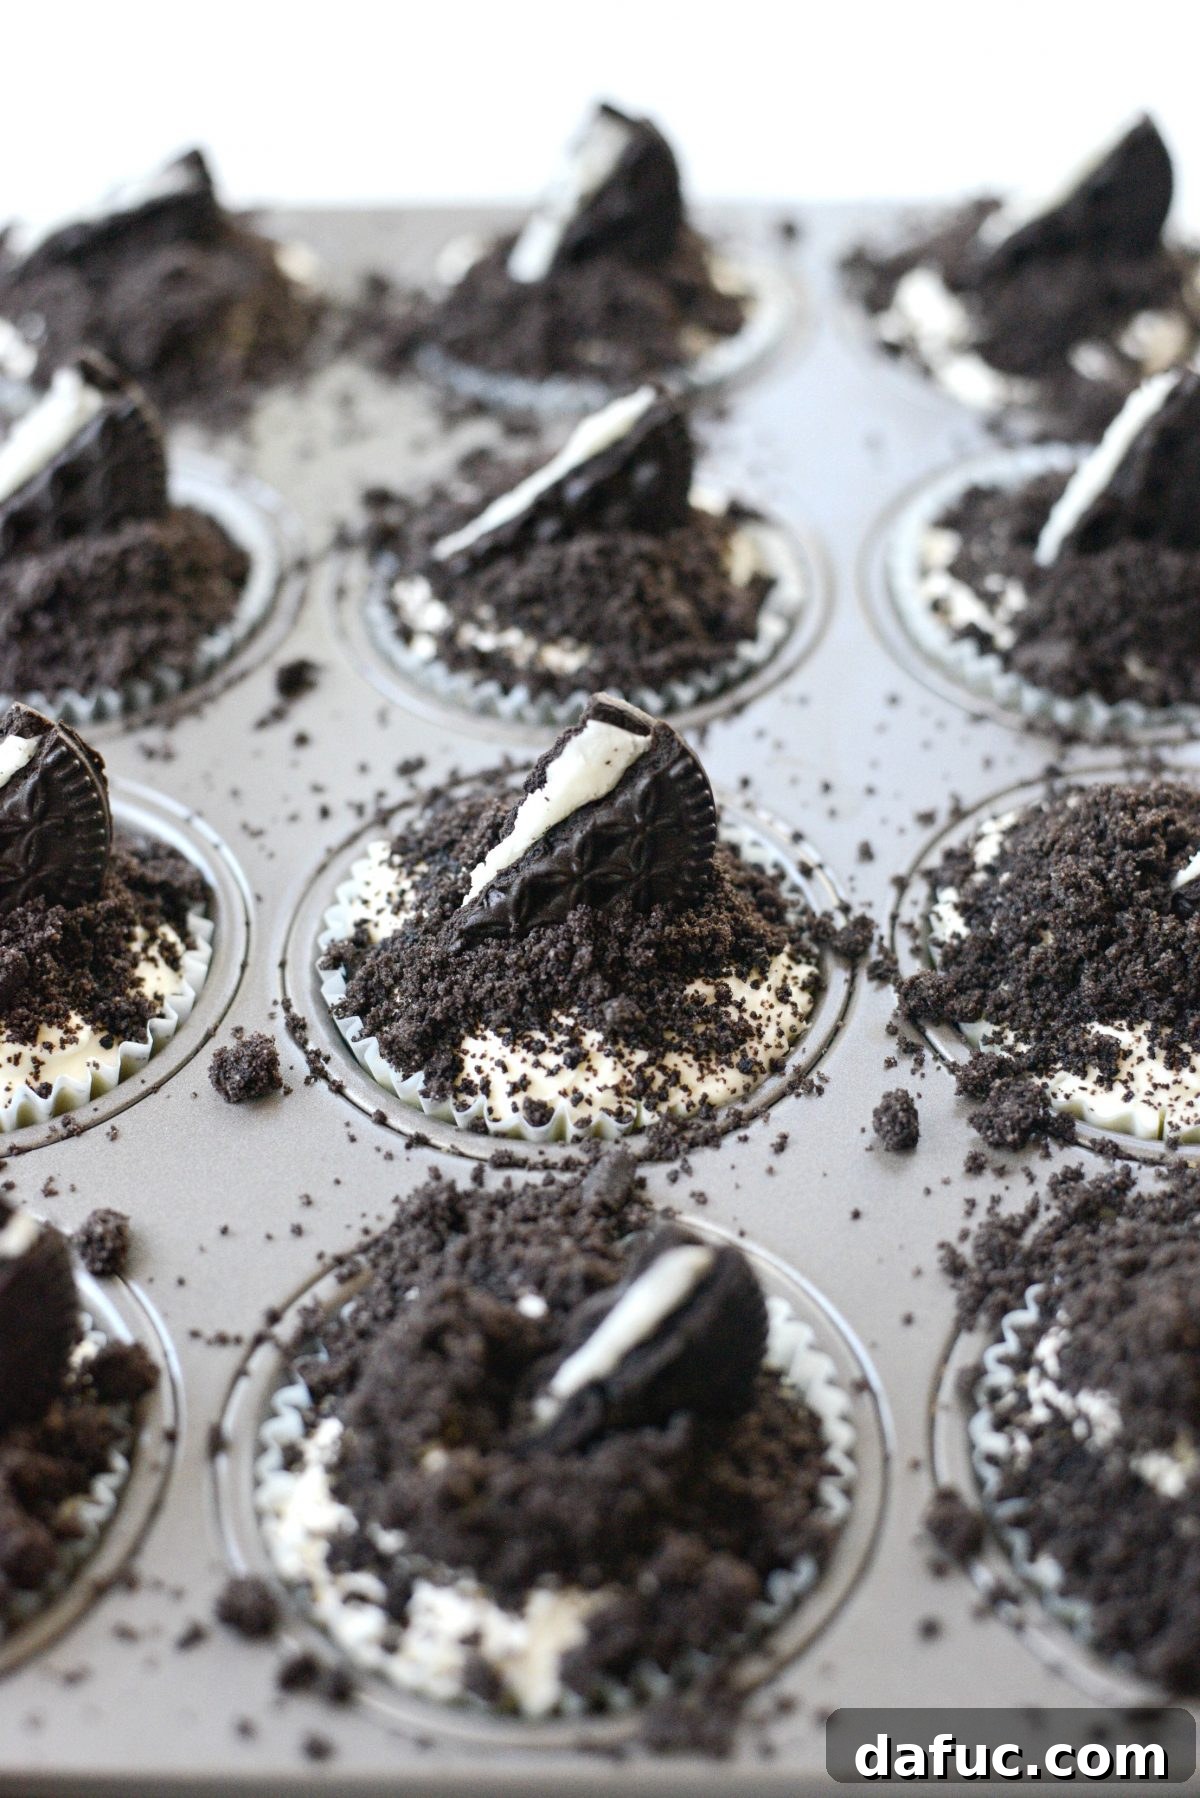
Serving and Enjoying Your Decadent Creation
Once your No-Bake Cookies and Cream Mini Cheesecakes are thoroughly chilled and firm, they are ready to be unveiled and enjoyed! If you opted for the fine crumb topping, a beautiful finishing touch is to break any remaining chocolate sandwich cookies in half and press a cookie half (or two, if you’re feeling extra indulgent!) into the top of each mini cheesecake just before serving. This adds an extra layer of visual appeal and a satisfying crunch. Serve them directly from the refrigerator for the most refreshing and delightful experience.
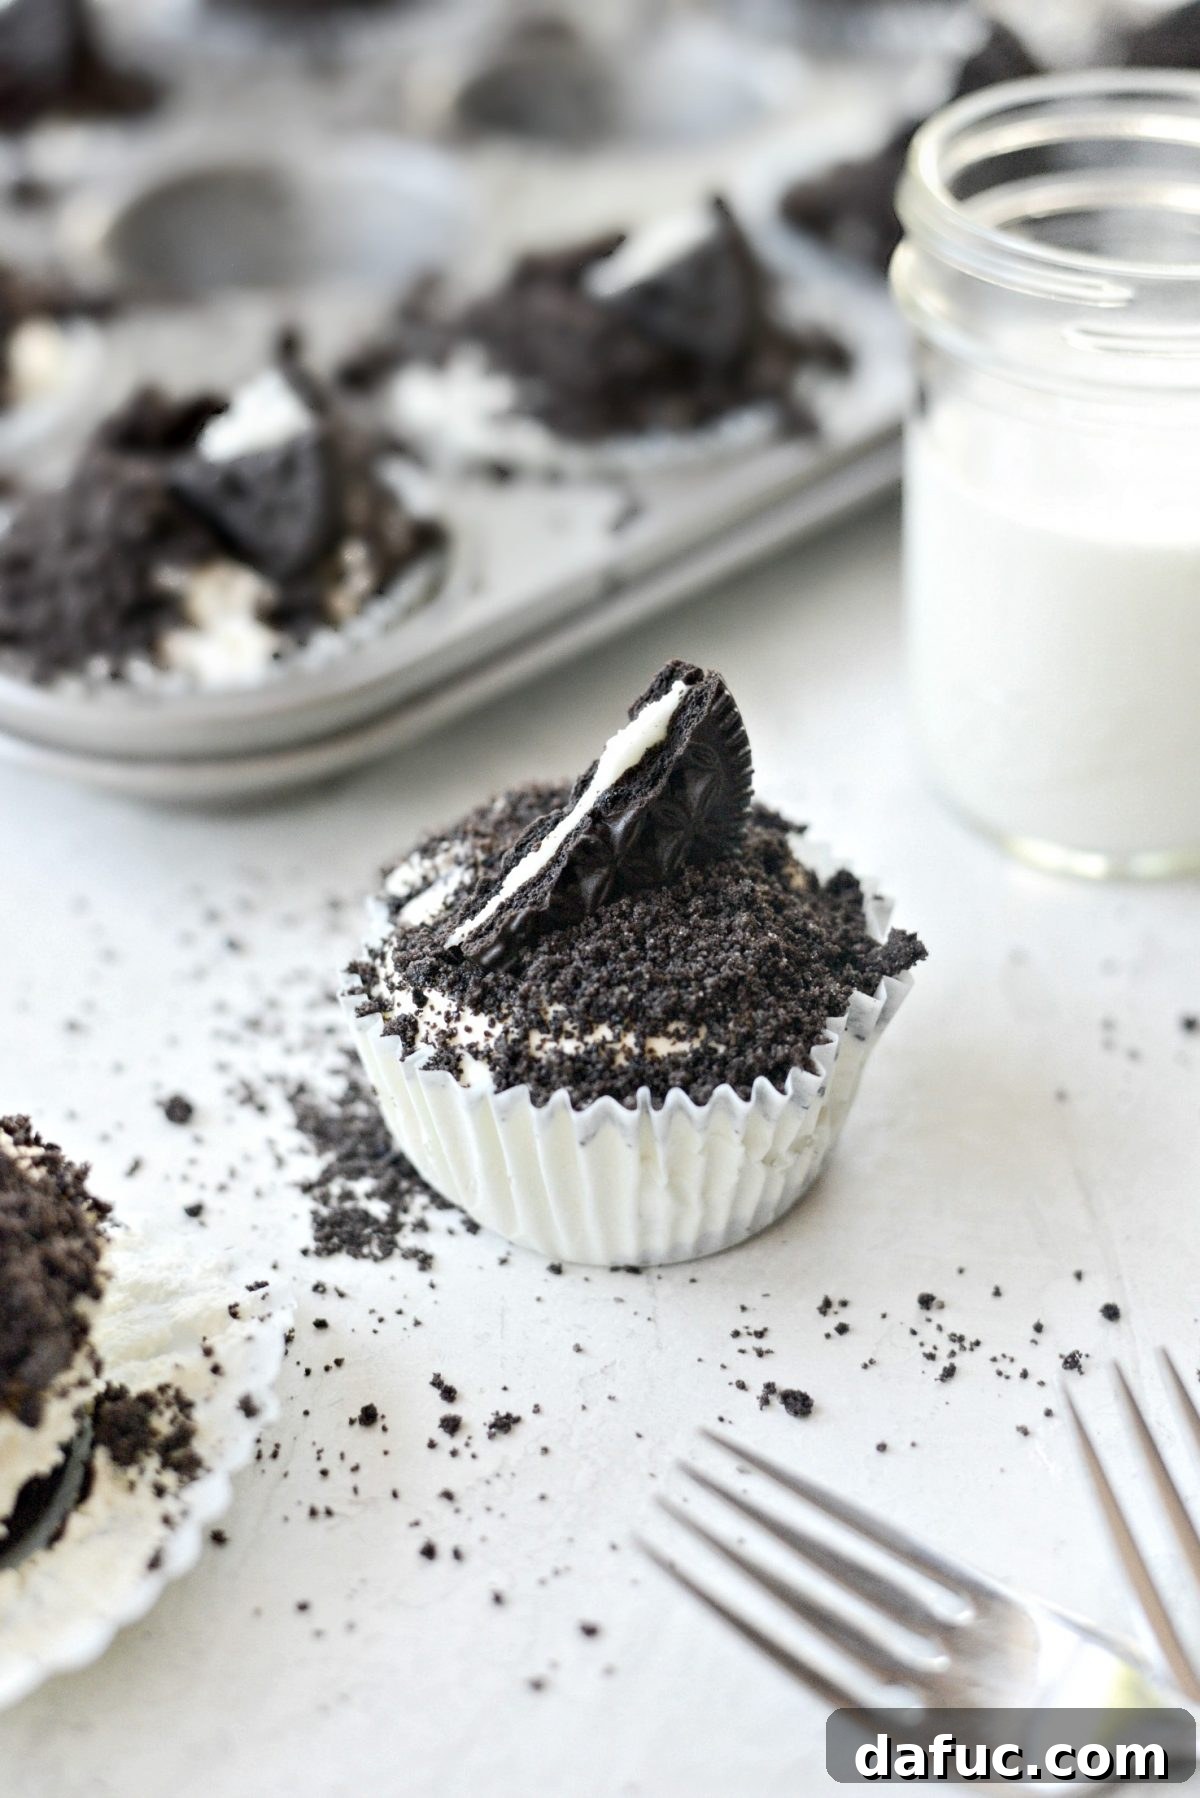
My Personal Conversion to a Cookies and Cream Fan
In all honesty, I’ve never been a massive enthusiast of “cookies and cream” flavored anything. While I could appreciate a truly exceptional dessert like this peppermint icebox cake, it wasn’t a flavor combination I actively sought out. However, these No-Bake Cookies and Cream Mini Cheesecakes have completely changed my perspective and, dare I say, made a genuine fan out of me. Why the sudden conversion? Firstly, it’s cheesecake – and who can argue with the creamy, dreamy perfection of cheesecake? Secondly, it’s the utterly delightful combination of smooth, rich filling with the comforting crunch and familiar taste of chocolate sandwich cookies. It’s a match made in dessert heaven, offering a perfect balance that satisfies without being overly sweet.
The true seal of approval came from my family. My daughter, Malloree, was particularly smitten, her eyes lighting up as she declared, “This may be my most favorite thing you’ve ever made, Mom.” And I couldn’t agree more, Mal. I truly couldn’t agree more. These mini cheesecakes are not just easy; they are genuinely delightful and incredibly addictive.
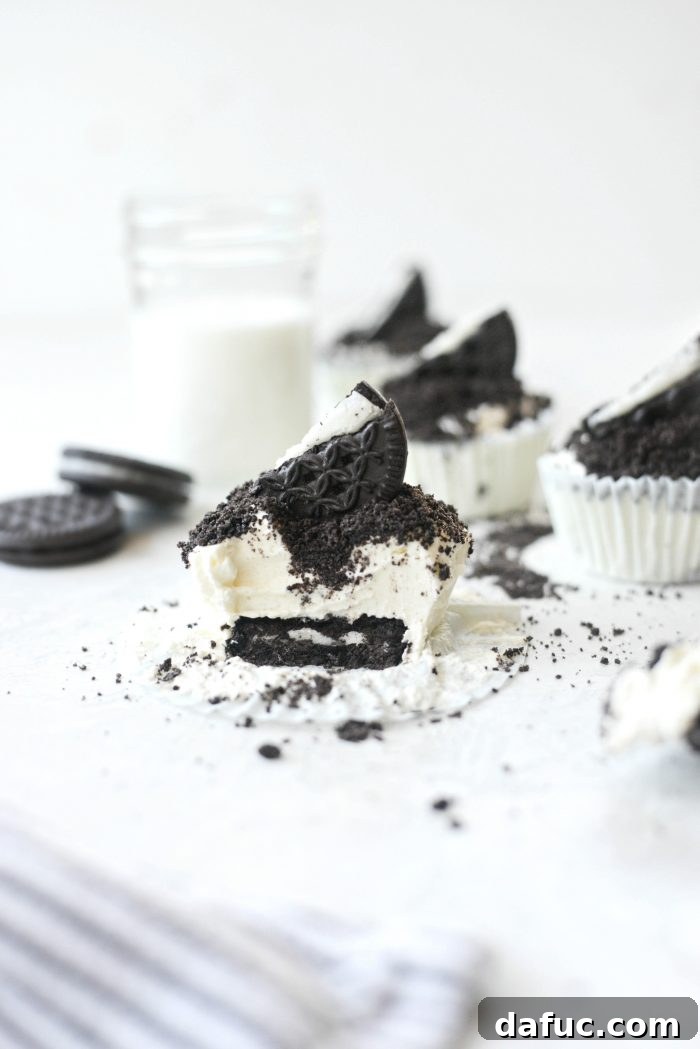
Enjoy! If you decide to give this incredible No-Bake Cookies and Cream Mini Cheesecakes recipe a try, please let me know! I’d love to see your creations. Snap a photo and tag me on Twitter or Instagram!
No-Bake Mini Cookies and Cream Cheesecakes Recipe
These No-Bake Cookies and Cream Mini Cheesecakes are an unbelievably easy dessert that comes together without turning on your oven. A smooth, creamy mixture of cream cheese, powdered sugar, vanilla, and heavy cream is poured over classic cream-filled chocolate sandwich cookies, resulting in a perfectly cool and sweet indulgence!
- Yield: 12 servings
- Prep Time: 20 minutes
- Additional Time (Chill): 5 hours 40 minutes
- Total Time: 6 hours
Ingredients
- 16 ounces cream cheese, softened to room temperature
- 1/2 cup powdered sugar (heaping 1/2 cup), sifted
- 1 teaspoon pure vanilla extract
- 1 small pinch fine sea salt
- 2 cups heavy cream, cold
- 12 ounces cream-filled chocolate sandwich cookies (approximately 36 cookies for bases and topping)
Equipment
- Wilton Perfect Results Premium Non-Stick Bakeware Muffin and Cupcake Pan, 12-Cup
- Large mixing bowl
- Electric mixer (handheld or stand mixer)
- 2-tablespoon scoop (optional, but highly recommended for even filling)
- Food processor (optional, for making fine crumbs)
Instructions
- In a large mixing bowl, combine the softened cream cheese, sifted powdered sugar, vanilla extract, and sea salt. Using an electric mixer, beat on medium-low speed until the ingredients are well incorporated and the mixture is smooth.
- Next, pour in the cold heavy cream. Begin mixing on low speed until it starts to combine. Then, gradually increase the speed to medium-high and continue mixing until the cheesecake filling becomes thick, creamy, and holds its shape. Be careful not to overmix.
- Line a standard 12-cup muffin tin with paper cupcake liners. Place one whole cream-filled chocolate sandwich cookie at the bottom of each liner to form the base.
- Using a 2-tablespoon scoop, divide approximately half of the prepared cheesecake filling evenly over each cookie base in the muffin liners.
- Firmly tap the muffin pan onto a hard surface about 10-15 times. This step is essential to settle the filling and eliminate any air bubbles, ensuring a smooth cheesecake texture.
- Divide the remaining cheesecake filling among the muffin liners, topping each mini cheesecake generously. Tap the pan again a few times to settle the second layer of filling. Each mini cheesecake should contain about 1/4 cup of filling in total.
- For fine cookie crumbs: Take 6 chocolate sandwich cookies, twist them apart, remove the cream filling, and place the chocolate wafers into a food processor. Pulse until fine crumbs are formed. Sprinkle a spoonful of these crumbs evenly over the top of each cheesecake.
Alternatively for chunky cookie pieces: Crush 12-16 (or more) chocolate sandwich cookies into larger, irregular pieces. Gently press these chunky pieces into the top of the cheesecake filling for a more pronounced texture. - Carefully transfer the muffin pan to the refrigerator and chill for a minimum of 4 to 6 hours, or ideally overnight, to allow the cheesecakes to set completely and the cookie bases to soften.
- Serve the mini cheesecakes cold. If you used fine crumbs, you can optionally garnish each with a half of a whole chocolate sandwich cookie pressed into the top just before serving for added visual appeal and crunch.
Notes
- Custom Topping: Experiment with your cookie topping! Crushing 12-16+ cookies into larger pieces and pressing them into the filling provides a wonderful textural contrast to the smooth cheesecake.
- Storage: Store any leftover No-Bake Mini Cookies and Cream Cheesecakes in an airtight container in the refrigerator for up to 3-4 days.
- Make Ahead: This recipe is fantastic for preparing a day in advance, allowing the flavors to meld and the cheesecakes to set perfectly.
Approximate Nutrition Information (per cheesecake)
- Serving: 1 cheesecake
- Calories: 400 kcal
- Carbohydrates: 23g
- Protein: 5g
- Fat: 33g
- Saturated Fat: 18g
- Polyunsaturated Fat: 2g
- Monounsaturated Fat: 10g
- Trans Fat: 1g
- Cholesterol: 96mg
- Sodium: 270mg
- Potassium: 143mg
- Fiber: 1g
- Sugar: 13g
- Vitamin A: 1091 IU
- Vitamin C: 1mg
- Calcium: 69mg
- Iron: 3mg
Nutrition Disclaimer: All nutritional information presented on this site is intended for informational purposes only. I am not a certified nutritionist, and any nutritional details shared should be used as a general guideline. For specific dietary advice, please consult a qualified health professional.
- Author: Laurie McNamara
- Course: Dessert
- Cuisine: American
Print Recipe | Pin Recipe