
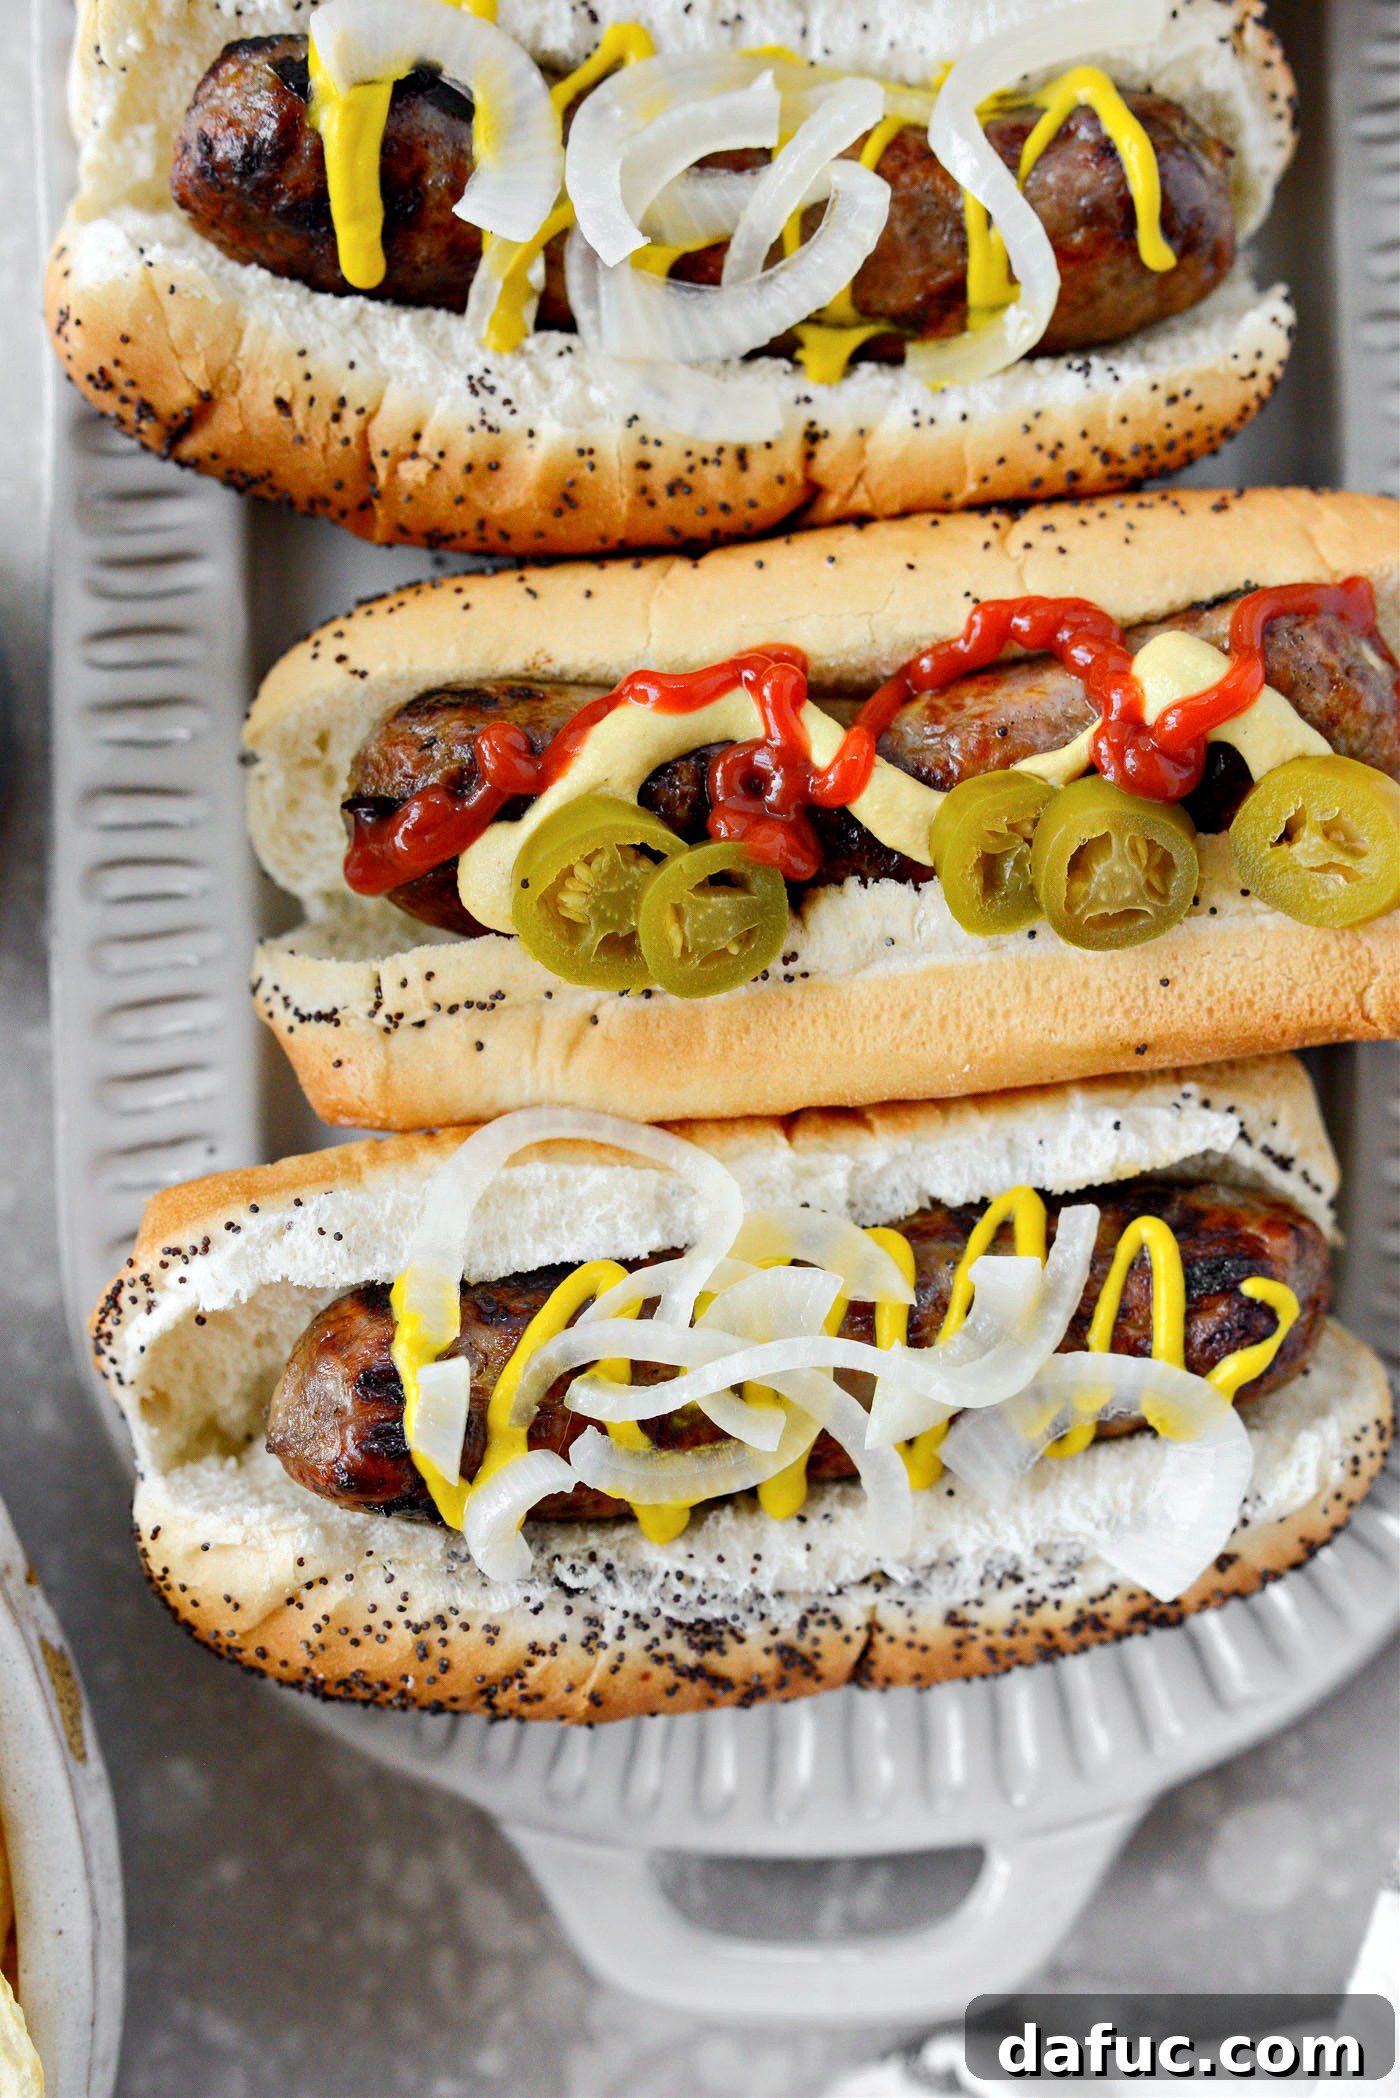
Transform your summer cookouts and outdoor gatherings with a brilliant cooking hack: **Oven Braised Beer Brats**! This ingenious method not only frees up valuable grill space for other delicious fare but also ensures your brats are incredibly tender, juicy, and bursting with flavor before they even hit the grill. Imagine succulent bratwursts, slow-cooked in a bath of aromatic beer, sweet onions, and pungent garlic, then finished with a quick sear on the grill for that irresistible smoky char and beautiful color. This recipe is designed to serve 10, making it the perfect centerpiece for your next big get-together.
Elevate Your Cookout: The Irresistible Appeal of Oven Braised Beer Brats
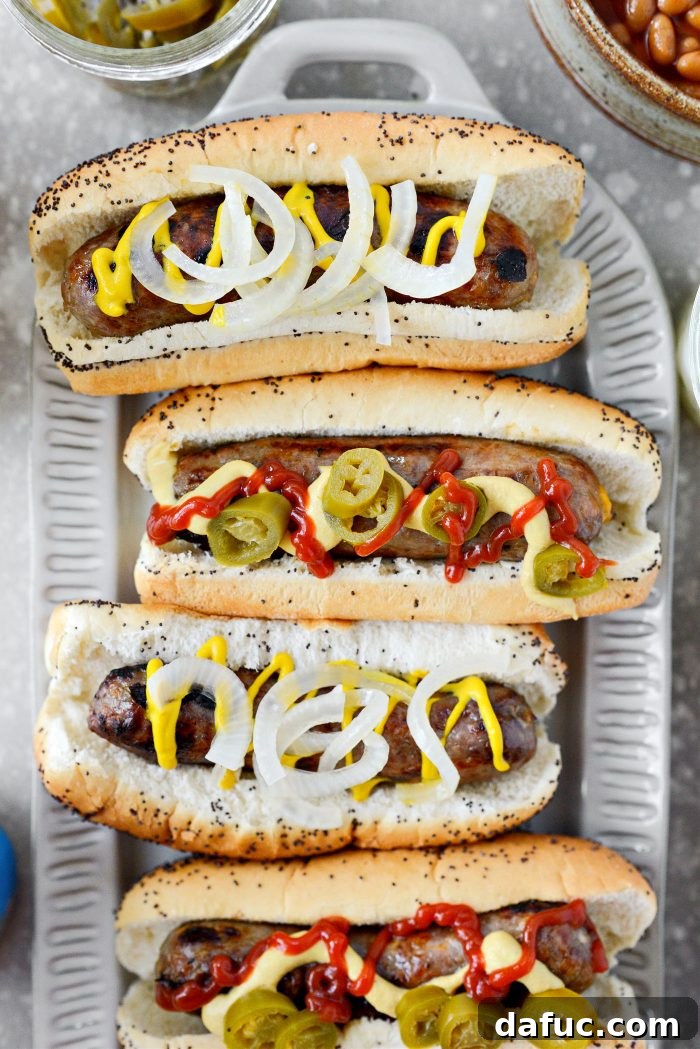
When faced with the ultimate summer dilemma – hot dogs or brats? For many, including myself, the choice is unequivocally the bratwurst. There’s something inherently satisfying about a perfectly cooked brat: its robust texture, the burst of savory flavor, and its incredible versatility with toppings. Whether it’s a slather of zesty mustard, a generous pile of caramelized onions, or a kick from homemade pickled jalapeños, a brat provides a canvas for culinary creativity that a hot dog simply can’t match.
As Memorial Day weekend approaches, or any time you’re planning a lively outdoor party, optimizing your cooking strategy becomes key. Traditionally, brats are slow-grilled until their skins split and juices sizzle. While undeniably delicious, this method monopolizes precious grill real estate, especially when you’re juggling burgers, corn on the cob, and other cookout essentials. This is where the magic of Oven Braised Beer Brats comes in. By braising them in the oven first, you unlock a new level of convenience and flavor, making your next BBQ effortlessly impressive.
Why Braise? Unlocking Tenderness and Maximizing Grill Space
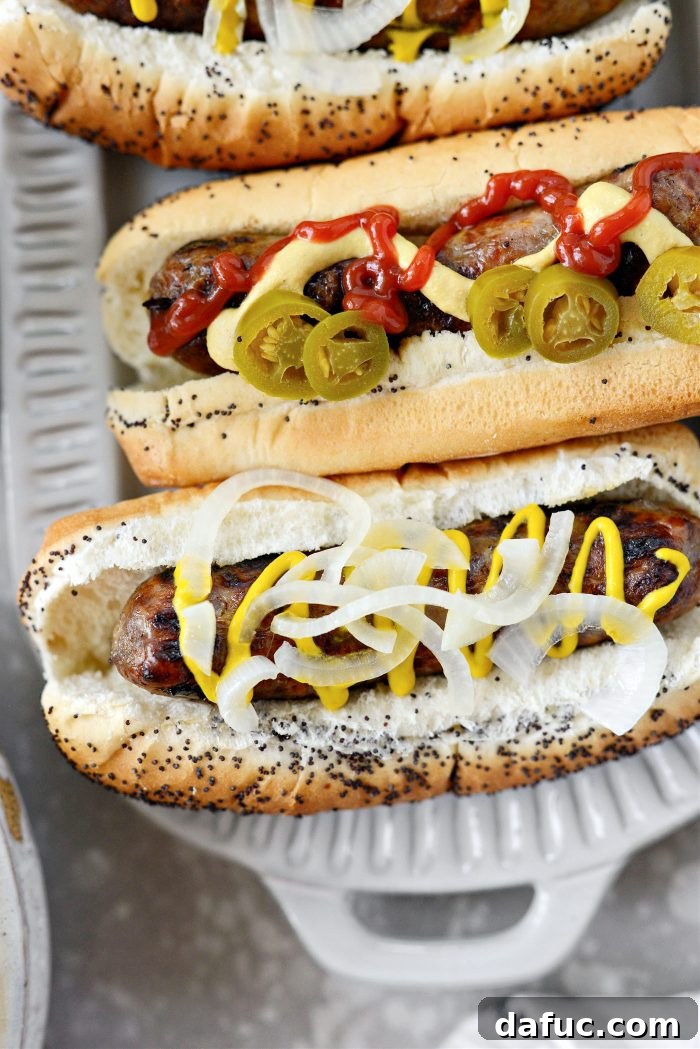
The beauty of cooking brats in your oven before grilling lies in its dual benefits: unparalleled tenderness and significant grill space liberation. Braising the bratwursts in a fragrant liquid of beer, onions, and garlic ensures they cook through slowly, absorbing all those incredible flavors and becoming incredibly succulent. This means when they finally make their quick journey to the grill, they’re already perfectly tender on the inside. The grill’s role then transforms from cooking to purely finishing – giving them that beautiful char, crispy skin, and unmistakable grilled aroma that everyone loves. This method allows you or your designated grill master to easily manage other items like burgers, steaks, or vegetables, making entertaining a breeze. It’s a culinary win-win for flavor and efficiency!
Prepping Your Ingredients: The Foundation of Flavor
Before diving into the braising process, let’s gather our simple yet powerful ingredients. You’ll need ten of your favorite brats – whether your family prefers classic pork, cheddar-infused, or even a spicier variety, the braising method works wonders for all. The key to our aromatic liquid starts with two medium yellow onions, thinly sliced, and four cloves of fresh garlic, minced. Don’t underestimate the impact of these foundational elements; they’ll sweeten and deepen the beer flavor beautifully. And, of course, two tablespoons of butter will add richness and help everything caramelize. Lastly, four 12-ounce bottles of beer, preferably a lager or an ale, at room temperature, will form the braising liquid. The room temperature beer helps maintain a consistent cooking temperature without shocking the brats.
Step-by-Step Braising Perfection: The Oven Method
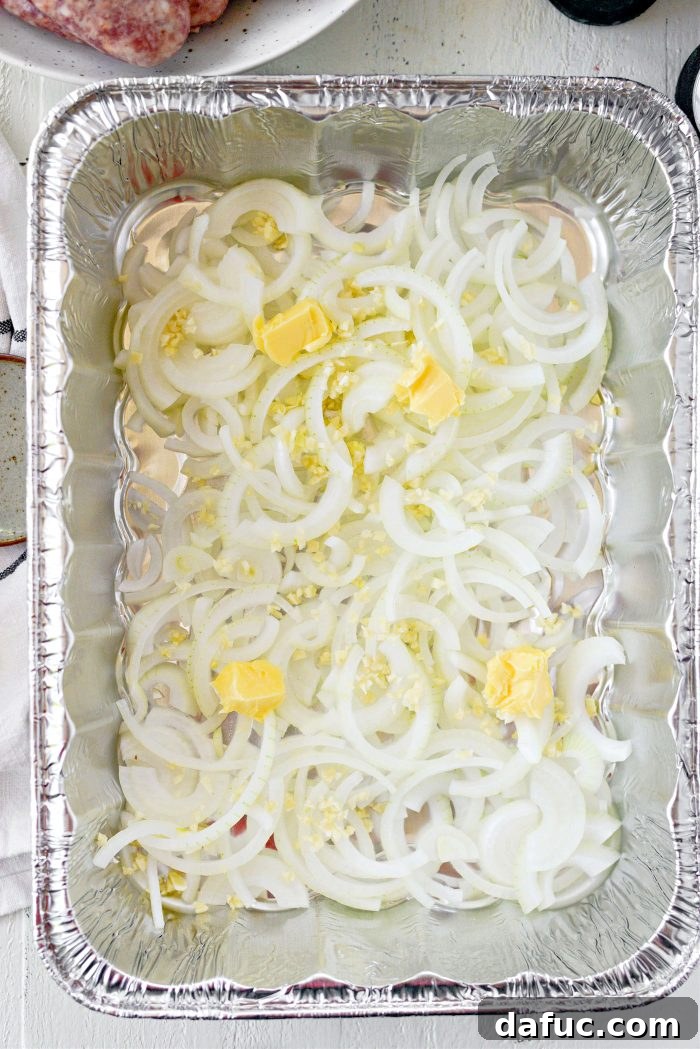
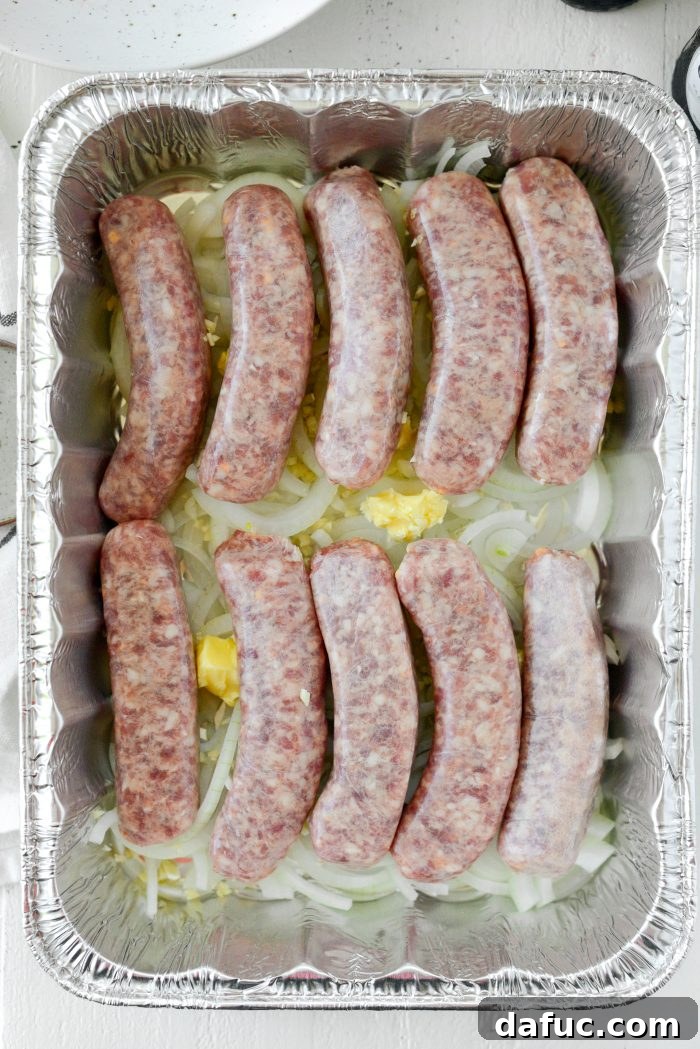
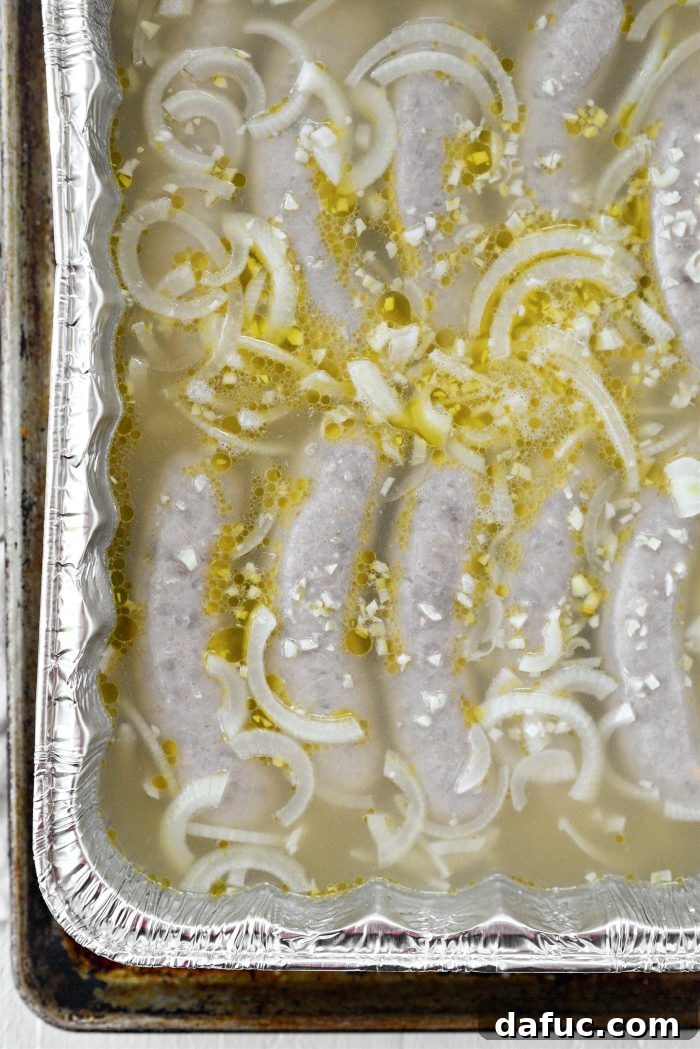
Begin by preheating your oven to a steady 400℉ (or 200℃). This temperature is ideal for creating a gentle, even braise. Next, grab one of those convenient disposable aluminum lasagna pans – they make cleanup a breeze – or a sturdy, oven-safe roasting pan. Evenly spread your two sliced yellow onions across the bottom of the pan, forming a flavorful bed. Generously sprinkle the four cloves of minced fresh garlic over the onions, ensuring every bite will be infused with its pungent aroma. Finally, dot the surface with two tablespoons of butter; as it melts, it will contribute to the rich braising liquid.
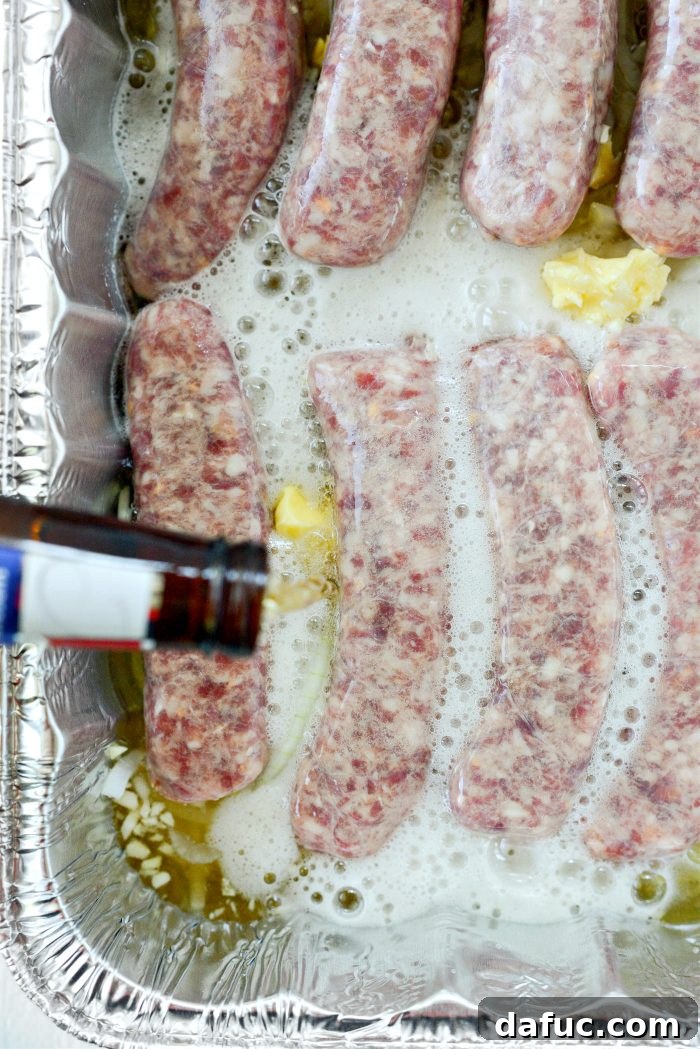
Now, carefully add your ten brats to the pan, nestling them amongst the onions and garlic. If your family, like mine, adores cheddar brats, use those! But feel free to choose any variety that delights your taste buds. Once the brats are in place, pour four 12-ounce bottles of room-temperature beer over them. You want enough beer so that the brats are at least halfway submerged. This ensures they can truly “sink into” the liquid and absorb all those fantastic flavors. As the onions cook down, the brats will become even more immersed in the delicious brew – a truly mouth-watering thought!
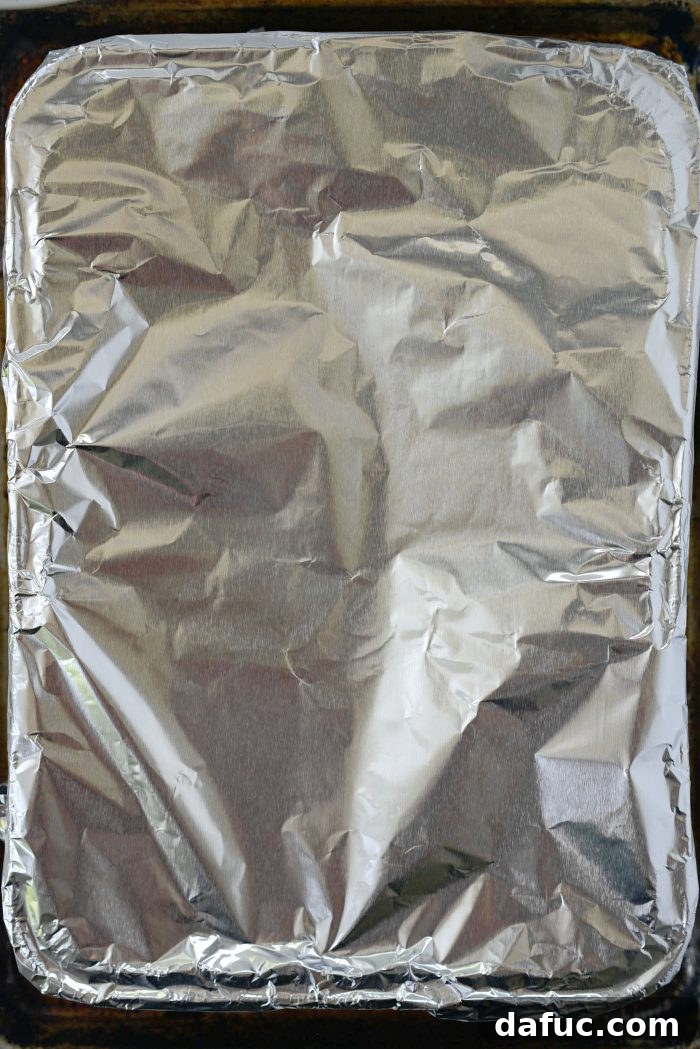
With the brats happily bathing in their beer bath, tightly cover the entire pan with heavy-duty aluminum foil. This seals in the moisture and steam, creating the perfect environment for braising. Place the covered pan onto a rimmed sheet pan – this provides extra stability and catches any potential spills. Slide the sheet pan into your preheated oven and let the brats braise for a full 30 minutes. During this initial phase, the brats will begin to cook through, and the onions will start to soften and release their sweetness into the beer, creating an incredibly rich and aromatic liquid.
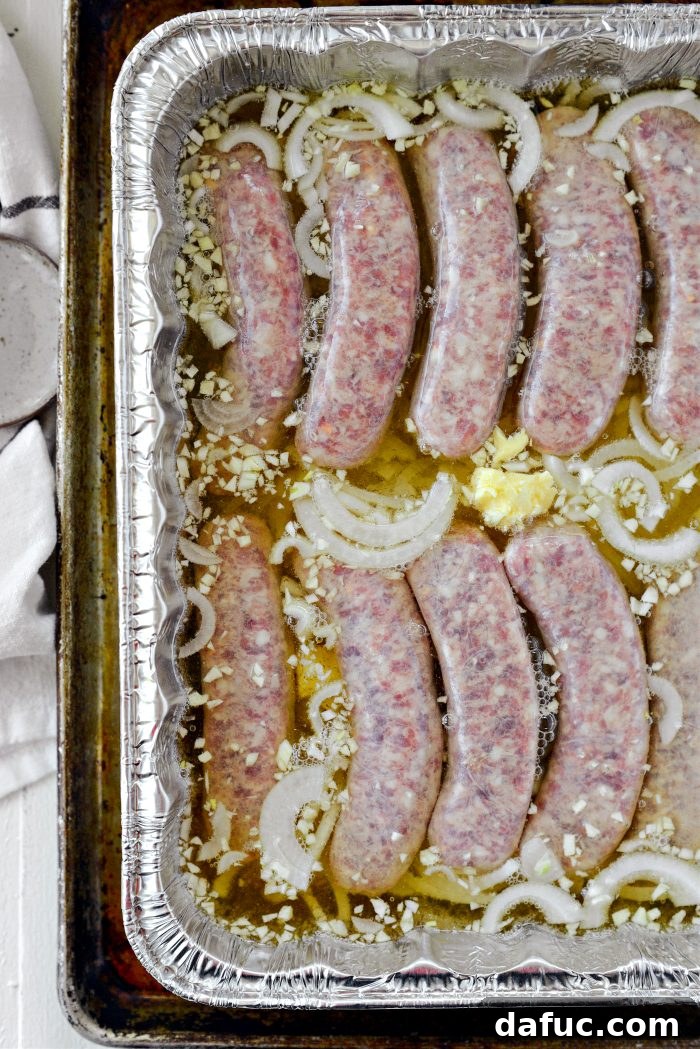
After the first 30 minutes, carefully remove the pan from the oven. Gently uncover the foil and, using tongs, flip each brat. This ensures that both sides get an equal chance to soak in the flavorful liquid and cook evenly. Once flipped, return the *uncovered* pan to the oven for another 30 minutes. This second baking phase allows the braising liquid to reduce slightly and the brats to fully cook through, becoming plump and juicy. By the time this second baking period is complete, your brats will be fully cooked and ready for their grand finale!
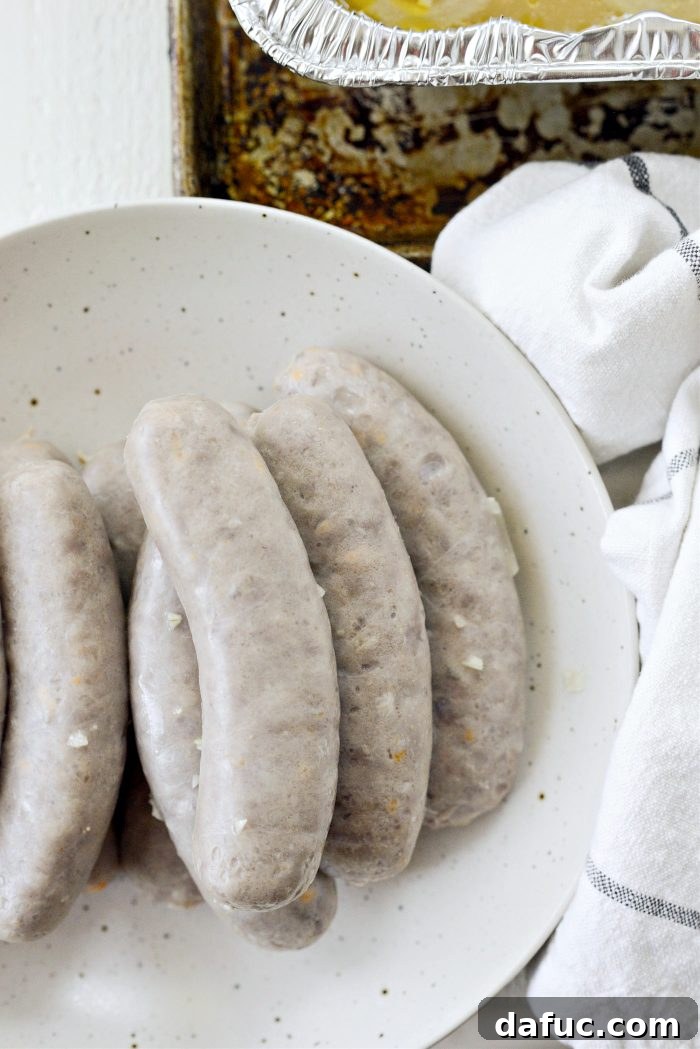
Ta-da! Your brats are now perfectly cooked and unbelievably tender, infused with the rich flavors of beer, onion, and garlic. They might look a little pale at this stage, but fear not – they’re in desperate need of some grill time to achieve that iconic golden-brown exterior and satisfying snap. This two-step process truly delivers the best of both worlds: deep, slow-cooked flavor and that quintessential grilled finish.
The Finishing Touch: Grilling for Golden Perfection
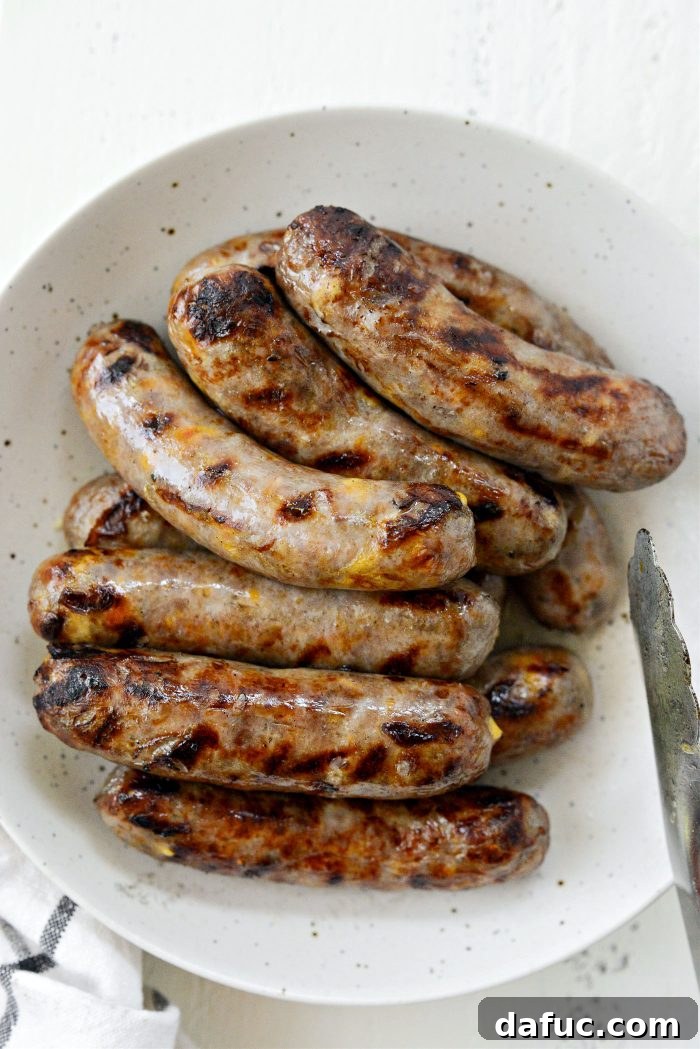
Now for the exciting part – bringing those beautifully braised brats to their full glory on the grill! While the brats are finishing their oven bath, preheat your outdoor grill to a medium-high heat, around 400℉ (200℃). Once hot, transfer the oven-cooked brats to the grill grates. At this point, you’re not cooking them through, but rather adding that essential grilled flavor and color. Grill the brats for only a few minutes per side, just long enough to crisp up the skin and give them that much-needed char and golden-brown hue. Be careful not to over-grill, as they are already cooked inside. Once they have that perfect grilled finish, you can place them back into the warm beer and onion mixture in the aluminum pan. This keeps them wonderfully moist and warm until you’re ready to serve, soaking up even more of that delicious beer-infused goodness.
Creative Toppings and Serving Suggestions for Your Beer Brats
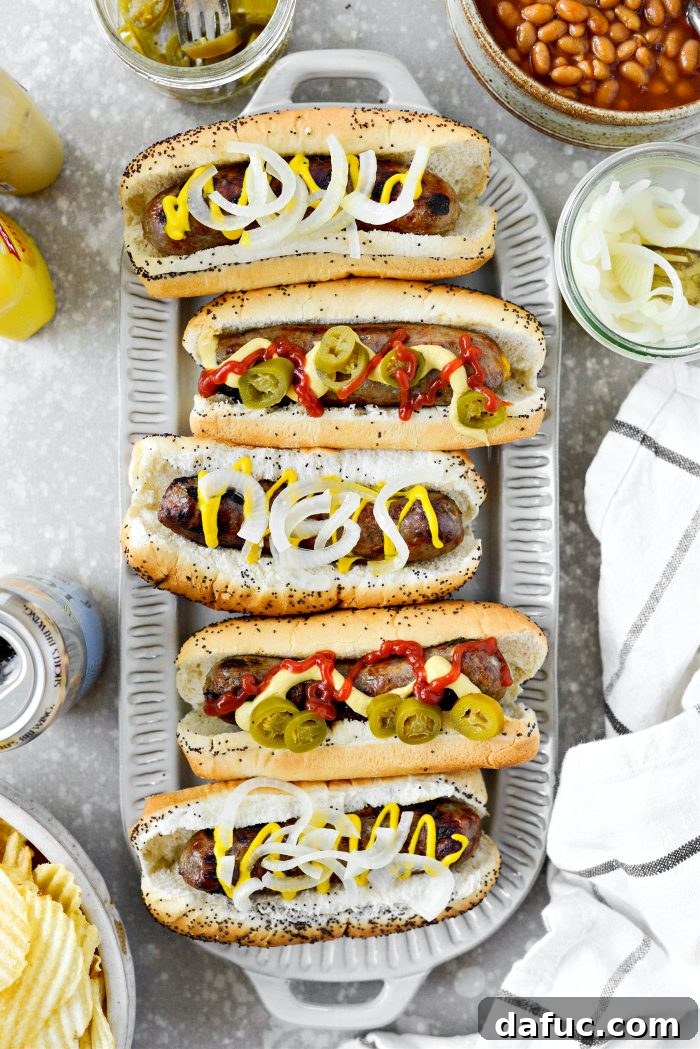
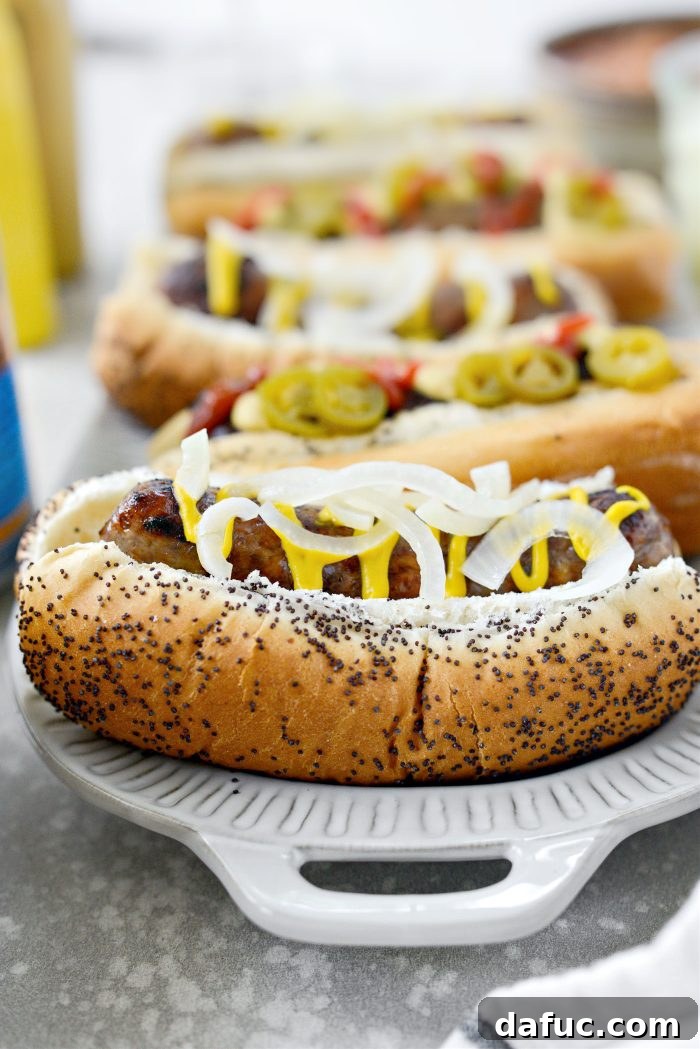
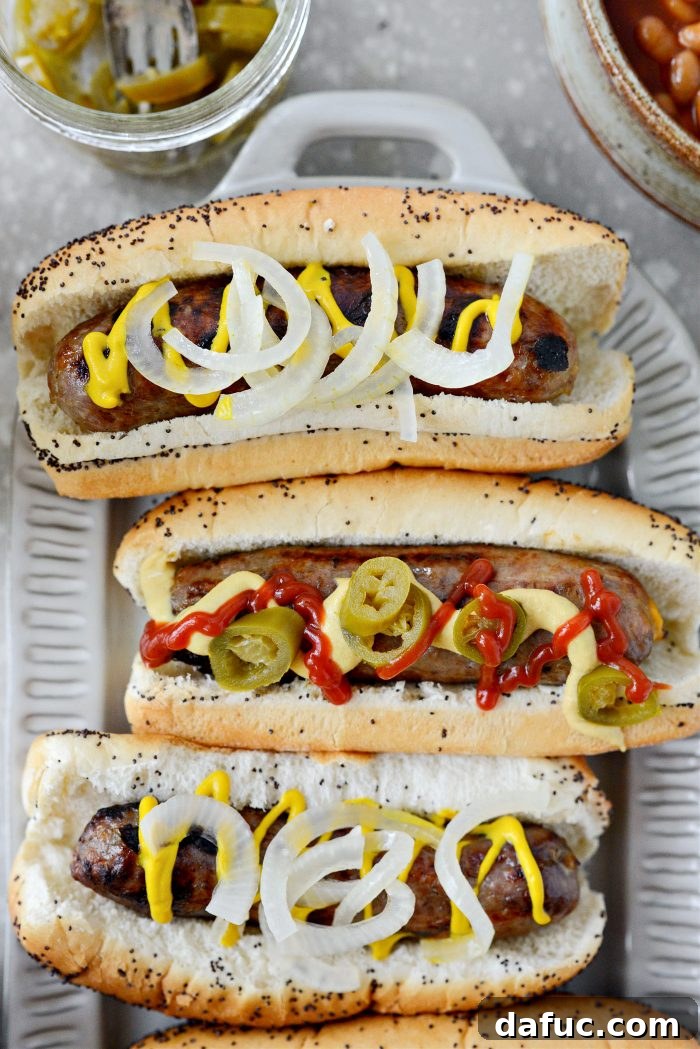
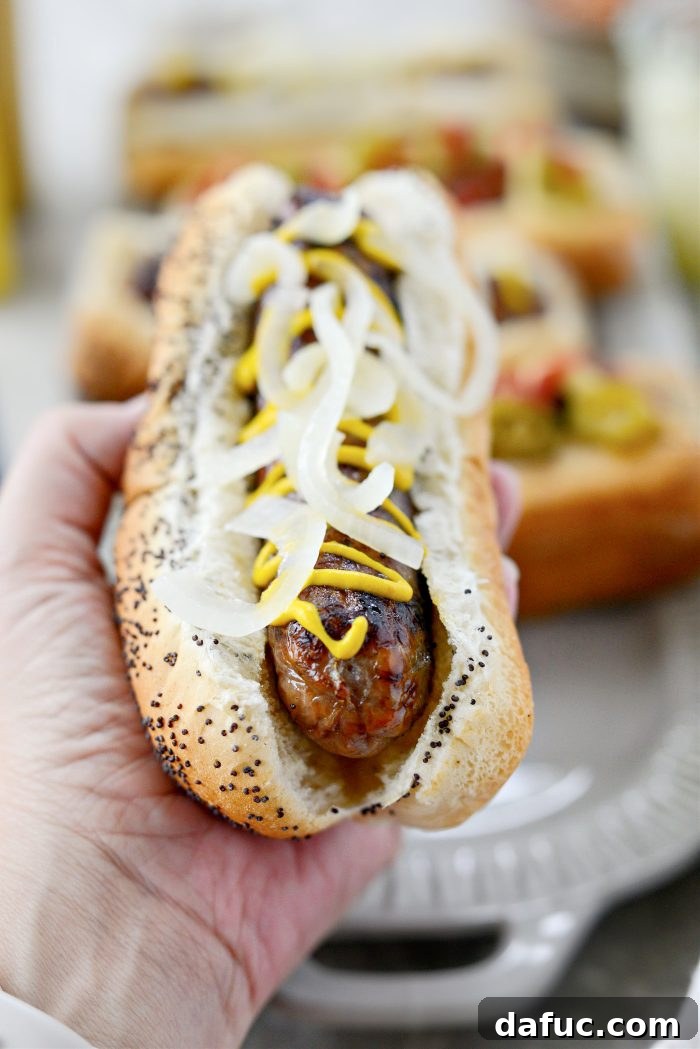
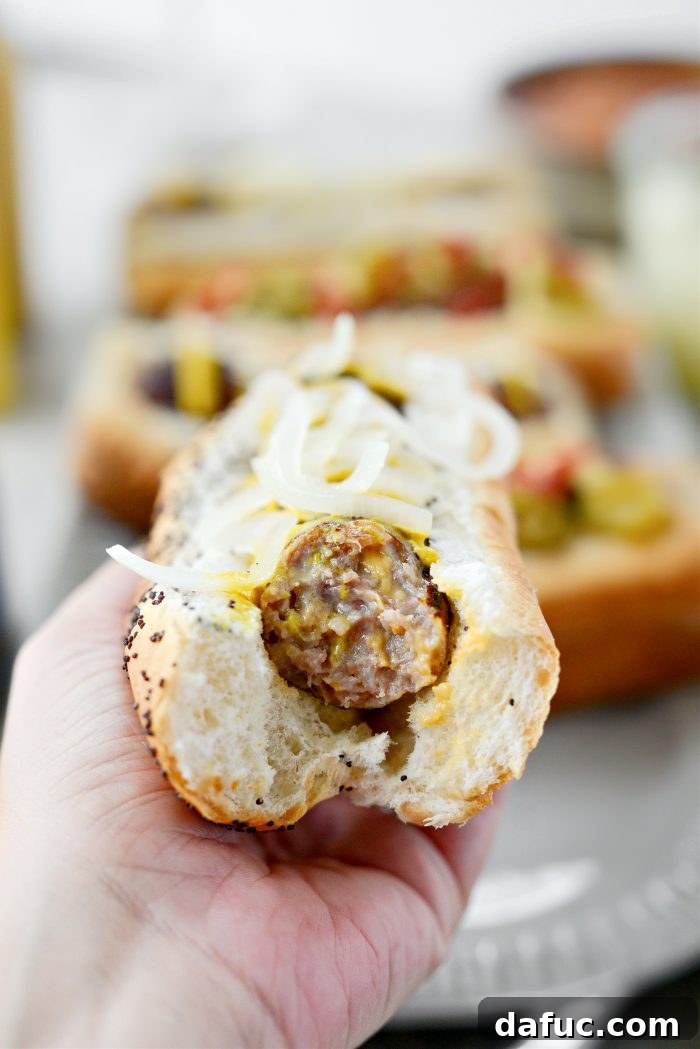
Once your Oven Braised Beer Brats are hot off the grill, it’s time to customize them with your favorite toppings. The classic choice involves piling on the beer-soaked onions from the braising pan, a generous swirl of classic yellow mustard, and perhaps some tangy sauerkraut. However, don’t limit yourself! While I’m pretty firm with my preferred toppings (what you see here is my norm: mustard, onions, and maybe some pickled jalapeños), sometimes I venture out. Consider a vibrant caramelized peppers and onion route for a sweeter, more complex flavor profile. Other fantastic options include a spicy brown mustard, relish, a sprinkle of fresh chopped herbs, or even a dollop of creamy coleslaw. Let your culinary imagination run wild!
Perfect Pairings: Side Dishes That Complement Beer Brats
No cookout is complete without an array of delectable side dishes. These Oven Braised Beer Brats pair wonderfully with a variety of classic barbecue staples. Here are some fantastic ideas to complete your meal, ranging from comforting classics to fresh, vibrant salads:
- Baked Beans: A timeless barbecue companion! Choose from classic homestyle for a comforting, savory-sweet flavor, sweet and spicy for a delightful kick, spicy jalapeño for those who love extra heat, or 5-ingredient barbecue beans for a quick and easy option. Their rich, hearty nature perfectly balances the savory brats.
- Pasta Salad: Cool, refreshing pasta salads offer a great textural contrast. Options like classic macaroni, Italian bowtie pasta, or a light and flavorful Greek orzo salad are excellent choices to start with!
- Grain-Free Salads: For lighter alternatives, vibrant and crunchy salads are ideal. Try a creamy bacon pea salad, a colorful confetti picnic salad, a crunchy broccoli crunch salad, a refreshing cucumber salad, or a sweet and juicy fruit salad. These add freshness and variety to your spread.
- Potato Salad: Another quintessential BBQ side, potato salad comes in many delightful forms. Explore a classic creamy version, a zesty bacon cheddar ranch, a tangy dill pickle, or even a smoky grilled potato salad!
- Coleslaw: This classic recipe with homemade dressing is our go-to for its creamy crunch and tangy dressing, cutting through the richness of the brats.
- Potato Chips: Sometimes, simplicity is best! A big bowl of crispy potato chips offers a satisfying crunch and salty counterpoint.
- Corn on the Cob or Grilled Veggies: Fresh, seasonal corn on the cob (grilled or boiled) or a medley of grilled vegetables like bell peppers and zucchini make excellent healthy and delicious additions.
Print Recipe
Pin Recipe
Leave a Review »
Oven Braised Beer Brats
Ingredients
FOR THE OVEN-BRAISED BRATS:
- 2 medium yellow onions, sliced
- 4 cloves garlic, minced
- 2 tablespoons butter
- 10 brats, any kind you like (e.g., cheddar brats, plain pork brats)
- 48 ounces beer, about four 12-ounce bottles of lager or ale, at room temperature
FOR SERVING:
- 10 hotdog buns, or brat/sausage rolls
- Optional toppings: mustard, ketchup, sauerkraut, pickled jalapeños, caramelized peppers and onions, etc.
Instructions
-
Preheat your oven to 400℉ (200℃). This ensures even cooking from the start.
-
In a disposable aluminum lasagna pan (or a sturdy oven-safe baking dish), spread the sliced yellow onions evenly across the bottom.
-
Sprinkle the minced garlic over the onions, then dot the top with the tablespoons of butter. These aromatics will create a deeply flavorful base for your brats.
-
Carefully place the brats on top of the onion mixture. Pour in the beer, ensuring the brats are at least halfway submerged in the liquid. You might need to use tongs to gently nestle them in. Covering them sufficiently helps with braising.
-
Tightly cover the pan with heavy-duty aluminum foil. This traps steam and moisture, allowing the brats to braise perfectly. Place the covered pan on the middle rack of your preheated oven and cook for 30 minutes.
-
After 30 minutes, remove the pan from the oven, carefully uncover it, and flip each brat to ensure even braising. Return the uncovered pan to the oven and continue baking for another 30 minutes, or until the brats are fully cooked through and have a plump appearance.
-
While the brats finish cooking in the oven, preheat your outdoor grill to 400℉ (200℃).
-
Once the brats are fully cooked in the oven, transfer them to the preheated grill. Grill for 2 to 3 minutes per side, or until the skin achieves a delightful crispness and an appealing golden-brown color. This step adds the signature grilled flavor and texture.
-
For serving, you can place the grilled brats back into the warm beer and onion mixture in the aluminum pan to keep them warm and moist. Serve them on hotdog buns or brat rolls with the flavorful beer-soaked onions, and your favorite toppings like mustard, sauerkraut, or pickled jalapeños. Enjoy the succulent, perfectly cooked brats!
Notes
Note: Keep in mind the nutritional info is including all of the beer which is not actually consumed.
Pro Tip: For an extra layer of flavor, consider caramelizing the braised onions in a separate pan with a touch of butter after removing the brats, before serving. This will enhance their sweetness and texture.
There you have it – a recipe for incredibly flavorful, perfectly tender, and beautifully grilled Oven Braised Beer Brats that will undoubtedly become a staple at your gatherings. This method truly simplifies your cookout planning without compromising on taste. So go ahead, give this recipe a try and impress your guests with a meal that’s both delicious and effortlessly executed. And if you do, don’t forget to share your culinary creations! Snap a photo and tag me on Twitter or Instagram – I’d love to see your amazing brats!
This recipe was originally posted on May 18, 2016, and has been thoughtfully updated with enhanced instructions, fresh photography, and helpful new information to improve your cooking experience.