
The Ultimate Homemade American Flag Cake: A Star-Spangled Centerpiece for Your 4th of July Celebrations
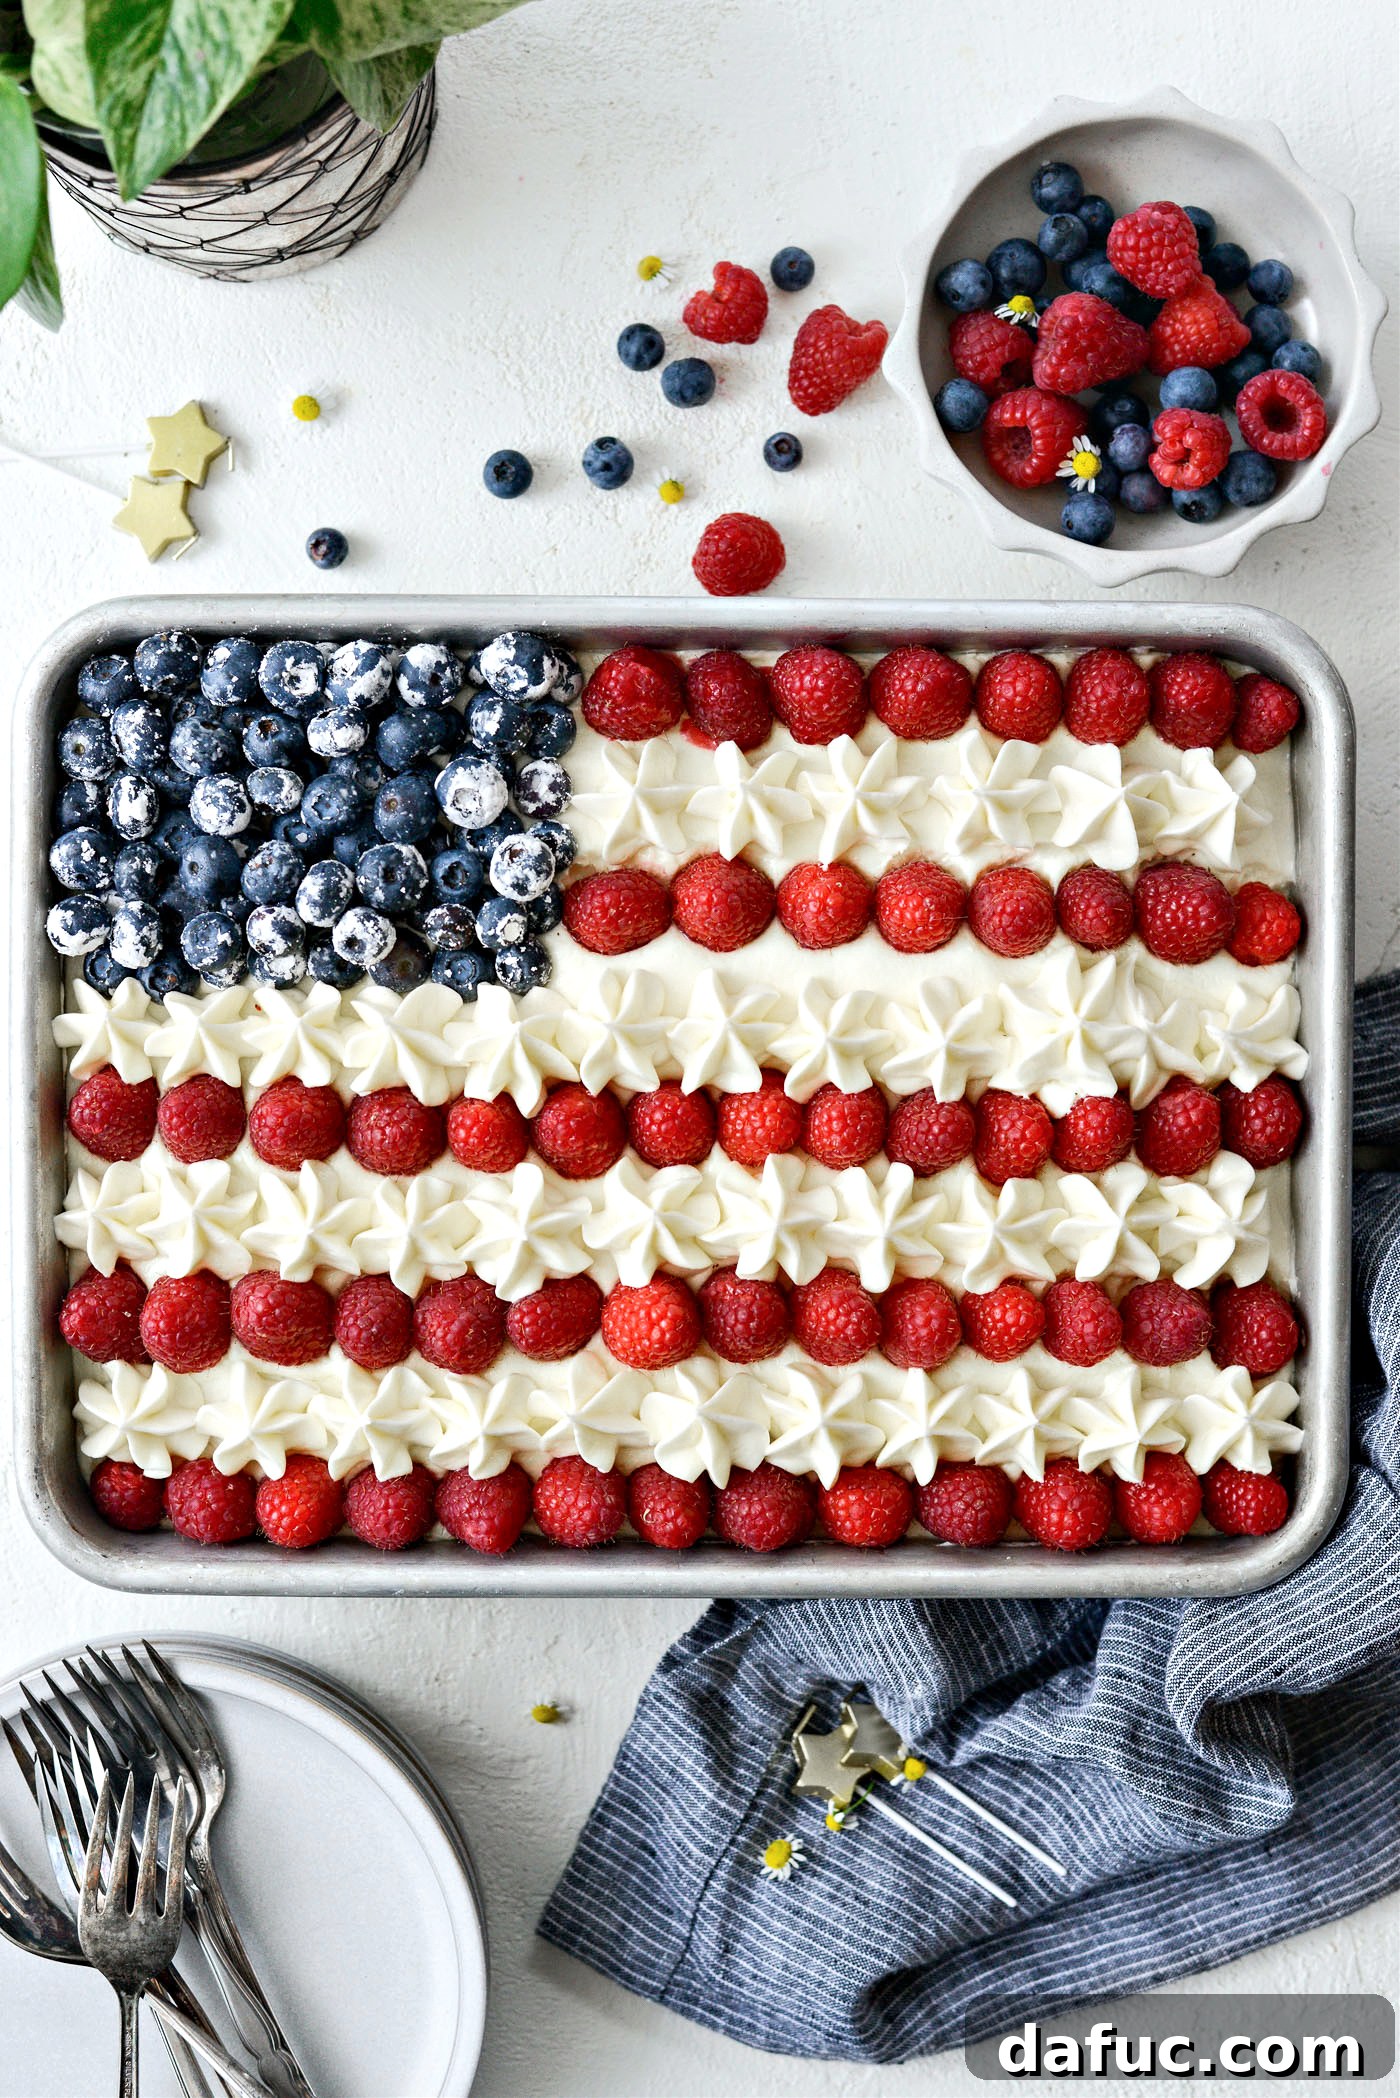
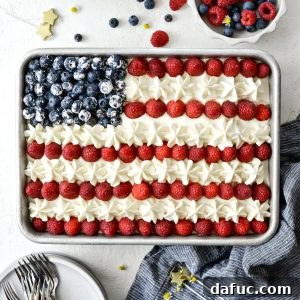
Get ready to ignite your Fourth of July celebrations with a show-stopping dessert that’s as delicious as it is patriotic! Our homemade American Flag Cake is the quintessential treat for any summer gathering, especially for Independence Day. This delightful creation features a perfectly moist, fluffy white cake as its canvas, generously layered with rich, velvety vanilla buttercream frosting, and brilliantly adorned with a vibrant array of fresh, juicy raspberries and plump blueberries. It’s more than just a cake; it’s an edible masterpiece that captures the spirit of the holiday in every bite.
Crafted with love from scratch, this recipe promises not only an unforgettable dessert experience but also a fun and rewarding baking project. Designed to yield a generous 12 to 16 servings, depending on how you slice this festive marvel, it’s perfect for sharing with family and friends. Imagine the smiles as you present this stunning display of red, white, and blue, a true testament to homemade goodness and celebratory cheer.
Why This American Flag Cake Will Be Your New 4th of July Tradition
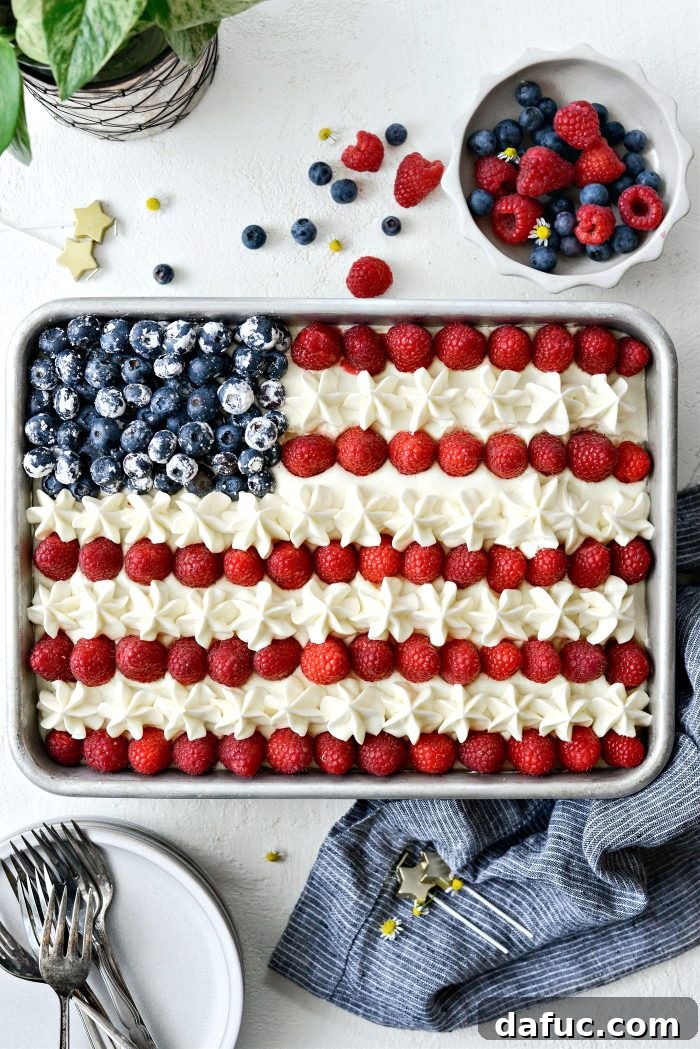
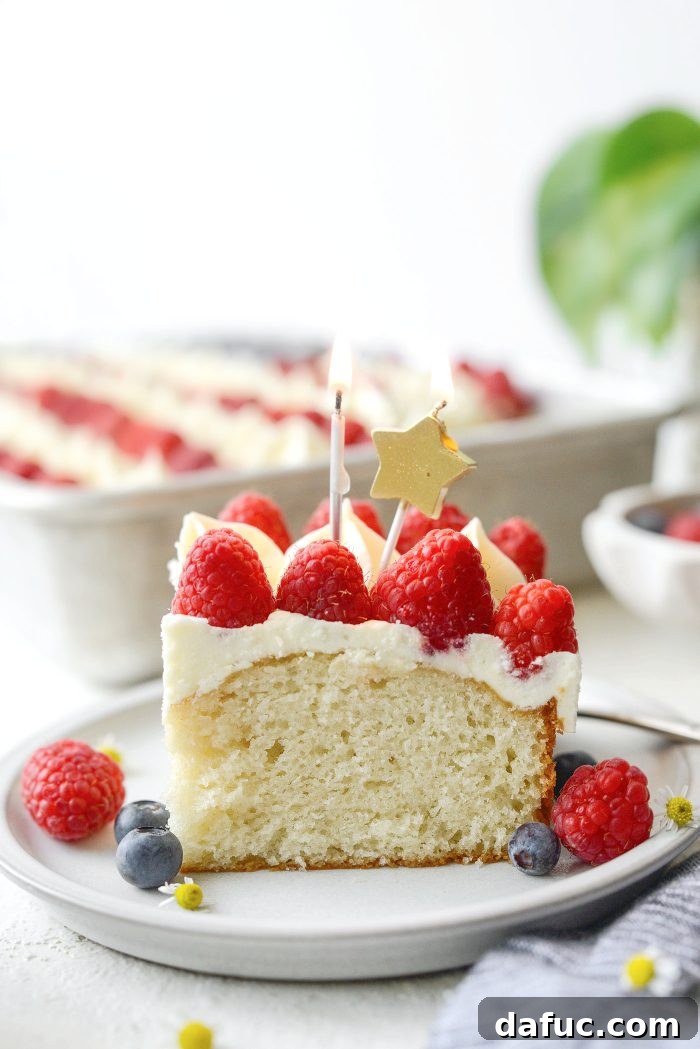
As the Fourth of July draws near, the quest for the perfect celebratory dessert begins. And honestly, there’s no better way to honor the occasion than with a dessert that proudly displays the iconic colors of the American flag. This isn’t just any cake; it’s a labor of love, a delicious emblem of tradition and festivity. The foundation of this spectacular treat is a tender, from-scratch white cake, celebrated for its delicate crumb and subtle sweetness. It’s the ideal base for our creamy, homemade vanilla buttercream, which provides a luxurious, melt-in-your-mouth experience.
What truly sets this cake apart is its vibrant decoration, achieved with an abundance of fresh blueberries and raspberries. These natural jewels are not only bursting with flavor but also create the unmistakable red and blue pattern of the flag. Many people shy away from cake decorating, fearing complicated techniques. But the beauty of this American Flag Cake lies in its charming simplicity. Even if your piping skills aren’t professional-grade (and whose are, really?), the homemade touch adds character and warmth. My own rows might not be perfectly straight, but that’s the magic of baking from scratch – it’s about effort, flavor, and enjoyment, not flawless precision. In fact, for a touch of expert flair, I sometimes enlist my youngest, who once honed her skills as a baker, to help with the delicate star piping. It just goes to show that baking can be a wonderful, collaborative family activity, creating memories as sweet as the cake itself.
Essential Ingredients for Your Patriotic Masterpiece
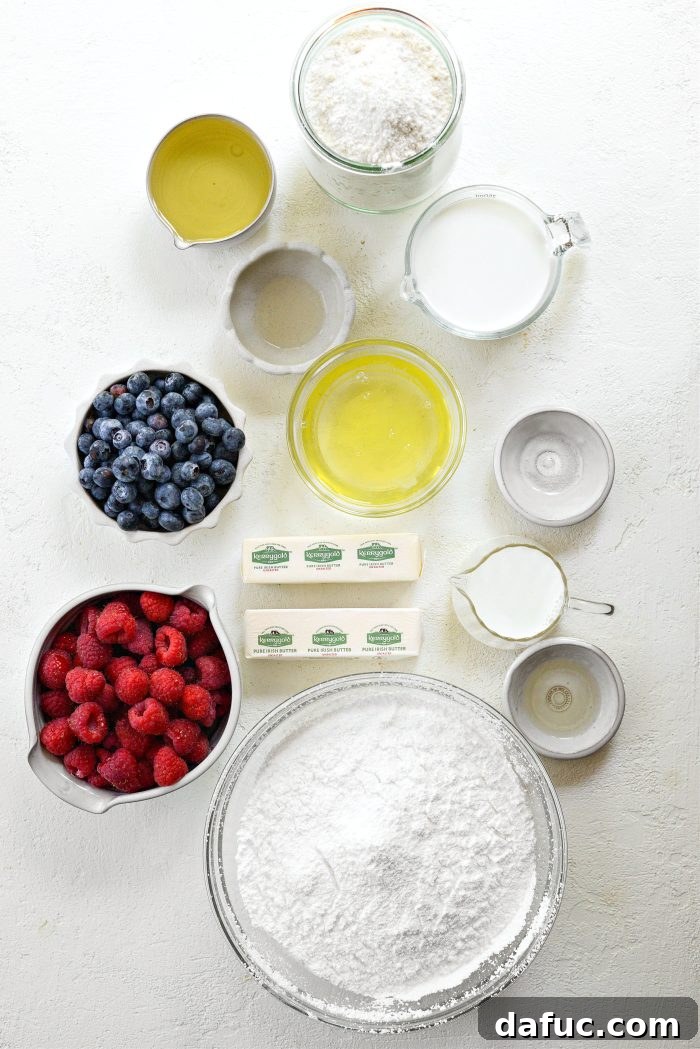
Creating this magnificent American Flag Cake requires a selection of quality ingredients that contribute to its incredible flavor and texture. Here’s a closer look at what you’ll need and why each component is crucial:
- Nonstick Spray with Flour: This isn’t just any cooking spray; the addition of flour creates an unparalleled nonstick surface, ensuring your beautiful cake releases cleanly from the pan every single time. It’s a small detail that makes a huge difference in preventing baking day disasters.
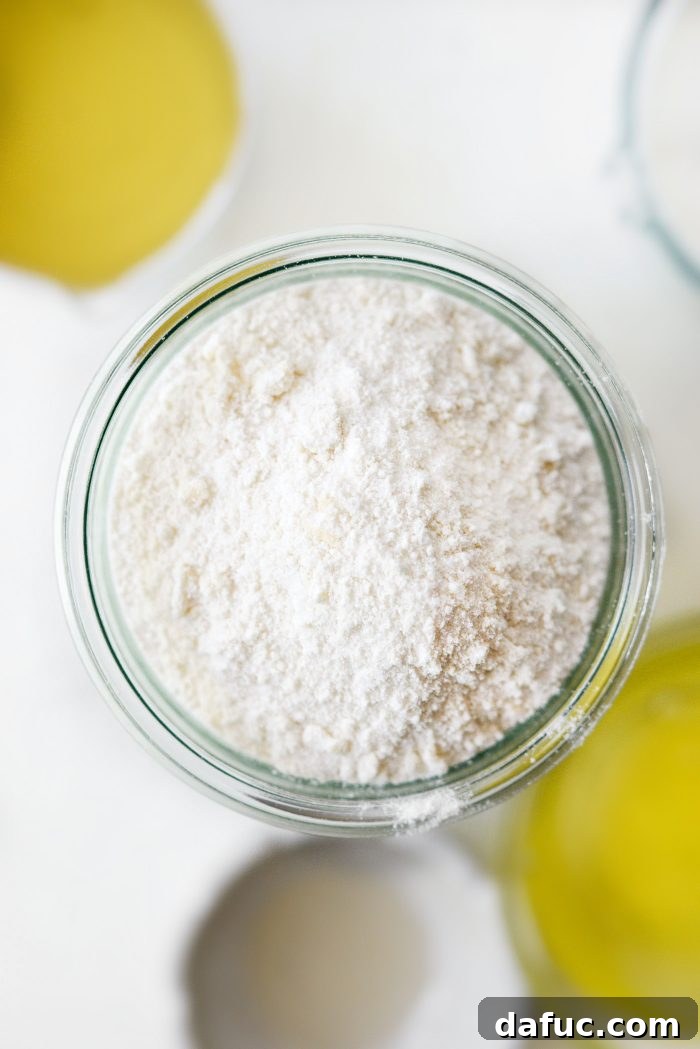
- Homemade White Cake Mix: The heart of our cake, this homemade mix delivers a flavor and texture far superior to any boxed alternative. It’s simple to prepare in advance, consisting of basic pantry staples like flour, sugar, salt, and baking soda, blended with softened unsalted butter for that rich, tender crumb.
- Whole Milk: For cakes, whole milk is my preferred choice. Its higher fat content contributes significantly to a moist, rich, and tender cake. While you can use other types of milk, whole milk truly enhances the cake’s luxurious feel and flavor.
- Neutral Oil: Using a neutral-flavored oil, such as extra light olive oil or grapeseed oil, is key. It provides essential moisture to the cake without imparting any distinct flavor, allowing the delicate vanilla notes to shine through. The result is a wonderfully tender and moist cake that stays fresh longer.
- Vanilla Extract: The soul of vanilla cake! For a truly pure white cake, opt for clear vanilla extract, which offers the same delightful flavor without adding any color. However, if you’re not concerned about a slight off-white tint, pure vanilla extract offers a deeper, more complex vanilla aroma that is simply irresistible.
- Egg Whites: The secret to a brilliantly white cake lies in using only egg whites. By omitting the yolks, we prevent any yellow discoloration, ensuring our cake has that pristine, clean white appearance that serves as the perfect contrast to the vibrant berries.
- Homemade Vanilla Buttercream Frosting: A flag cake is incomplete without its creamy, dreamy frosting. And when it comes to buttercream, homemade always triumphs. Our recipe delivers a smooth, luscious frosting that’s easy to work with and boasts an incredible vanilla flavor. Its sweetness perfectly balances the tartness of the berries.
- Fresh Raspberries: You’ll need about 12 ounces of fresh raspberries to create those iconic red stripes. Choose firm, brightly colored berries for the best appearance and flavor. They add a beautiful pop of color and a lovely tart-sweet counterpoint.
- Blueberries: Approximately 1 cup of fresh blueberries will form the “stars” portion of your flag. For an extra touch of elegance and to prevent them from bleeding too much into the frosting, I like to gently toss them in a little powdered sugar before arranging them on the cake.
Baking Your Perfect White Cake: Step-by-Step Guide
The journey to a show-stopping American Flag Cake begins with baking the perfect white cake. This recipe streamlines the process, especially if you’ve prepped your homemade white cake mix in advance. Follow these detailed steps to ensure a moist, fluffy, and delicious cake every time.
Preparation and Mixing
- Preheat your oven to 350°F (180°C). Proper preheating is crucial for an even bake. While the oven heats, prepare your baking pan.
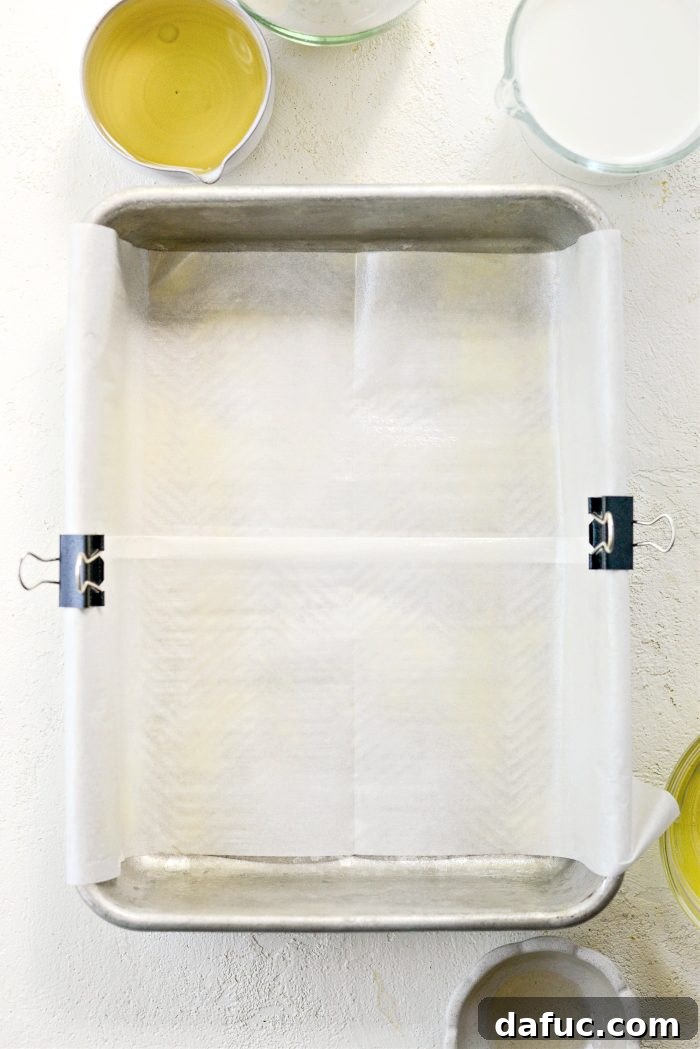
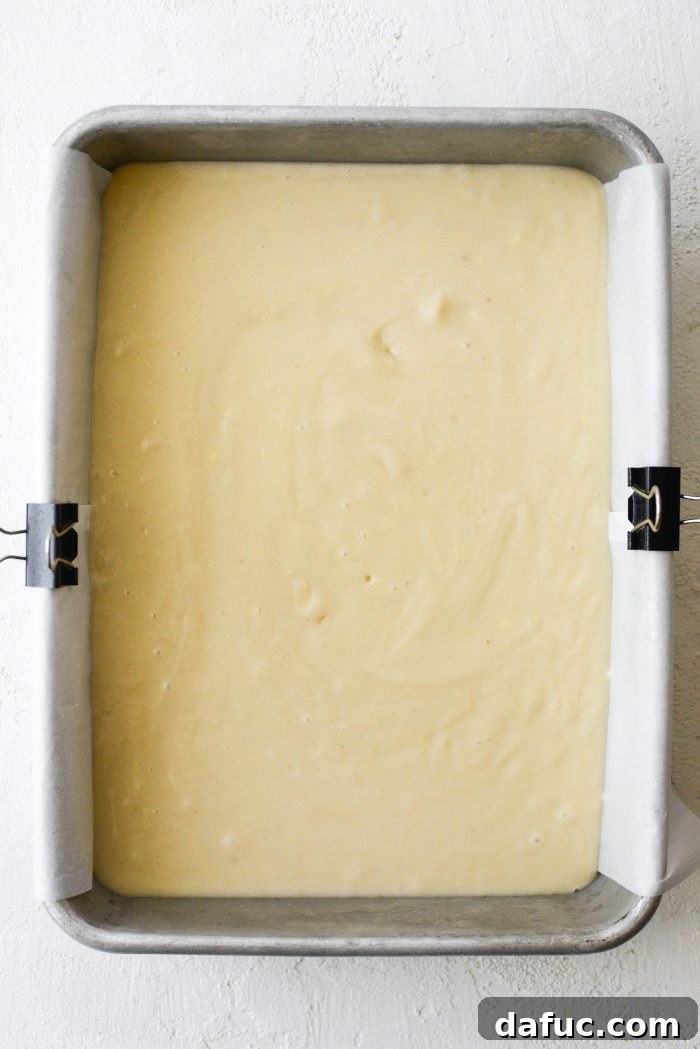
- Prepare your 9×13 inch baking pan. Line the pan with parchment paper, allowing some overhang on the sides to create “handles.” This makes lifting the cooled cake out much easier. Then, generously spray the parchment and exposed sides of the pan with nonstick spray that contains flour. This double layer of protection ensures no sticking.

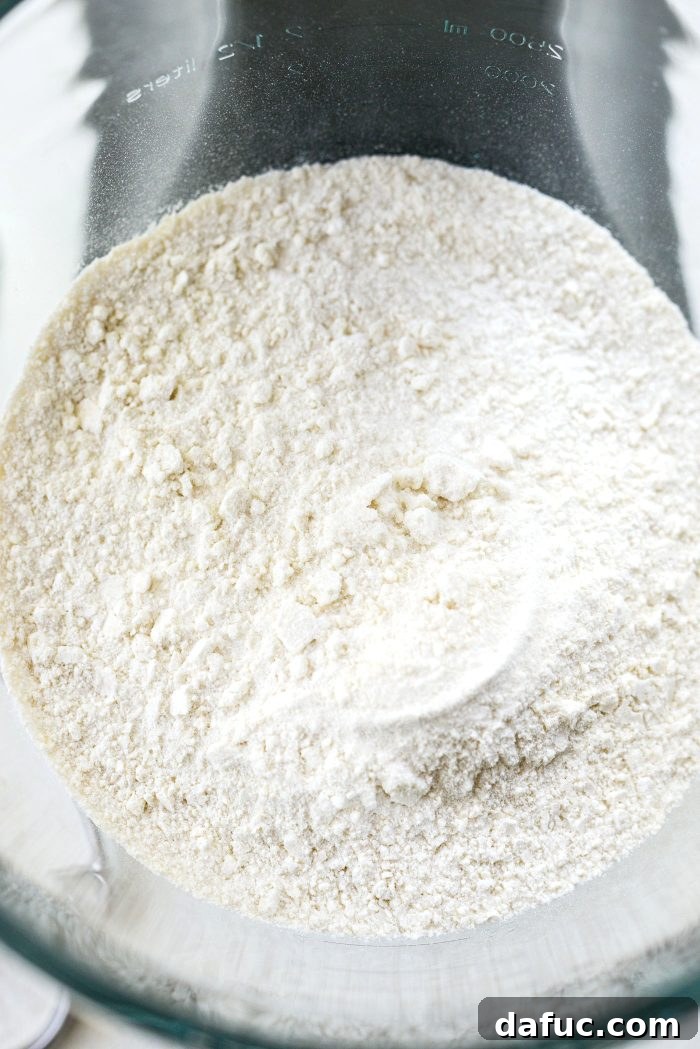
- Begin making the cake batter. In the spacious bowl of your stand mixer, fitted with the paddle attachment, add the entire contents of your homemade white cake mix. Ensure the butter in the mix is softened, which aids in smooth incorporation.
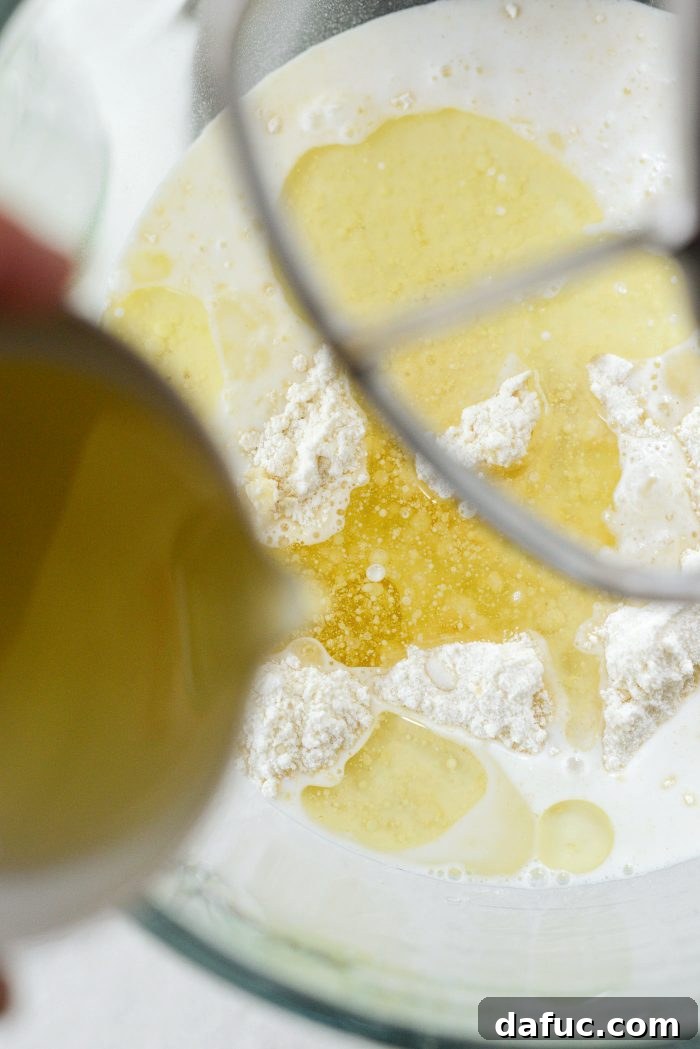
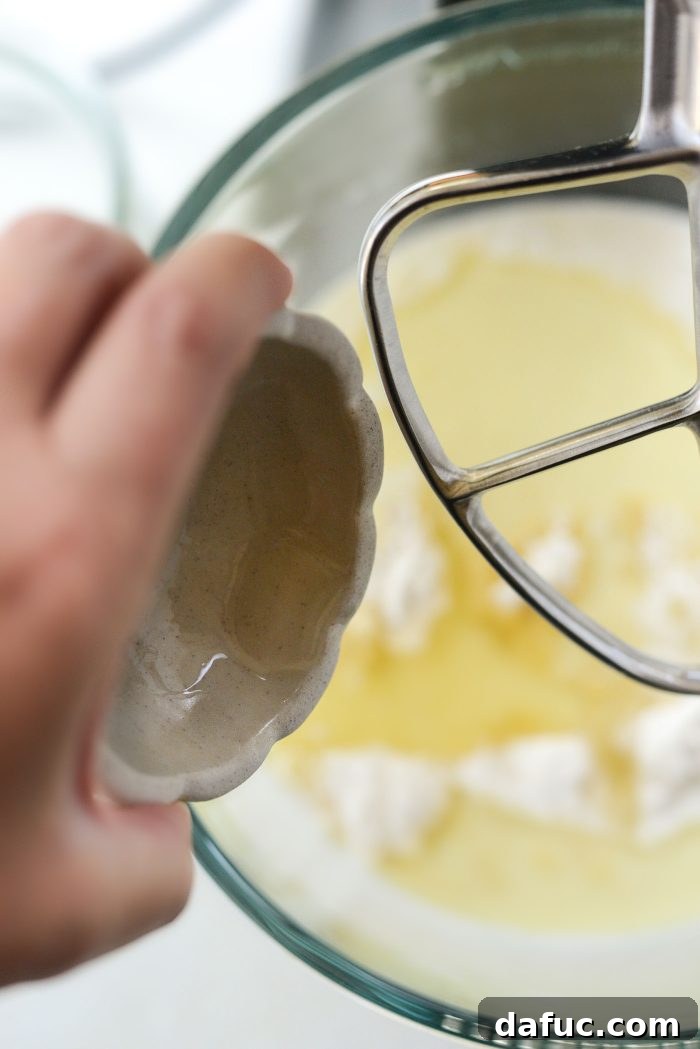
- Add the wet ingredients. Pour in 1 cup of whole milk and 2/3 cup of your chosen neutral oil (such as extra light olive oil or grapeseed oil). These liquids are vital for the cake’s moisture and tender texture.
- Introduce the vanilla. Stir in 2 teaspoons of vanilla extract. Remember, for a truly pure-white cake, opt for a clear vanilla extract. If the color isn’t a top priority, a high-quality pure vanilla extract will offer a richer flavor profile.
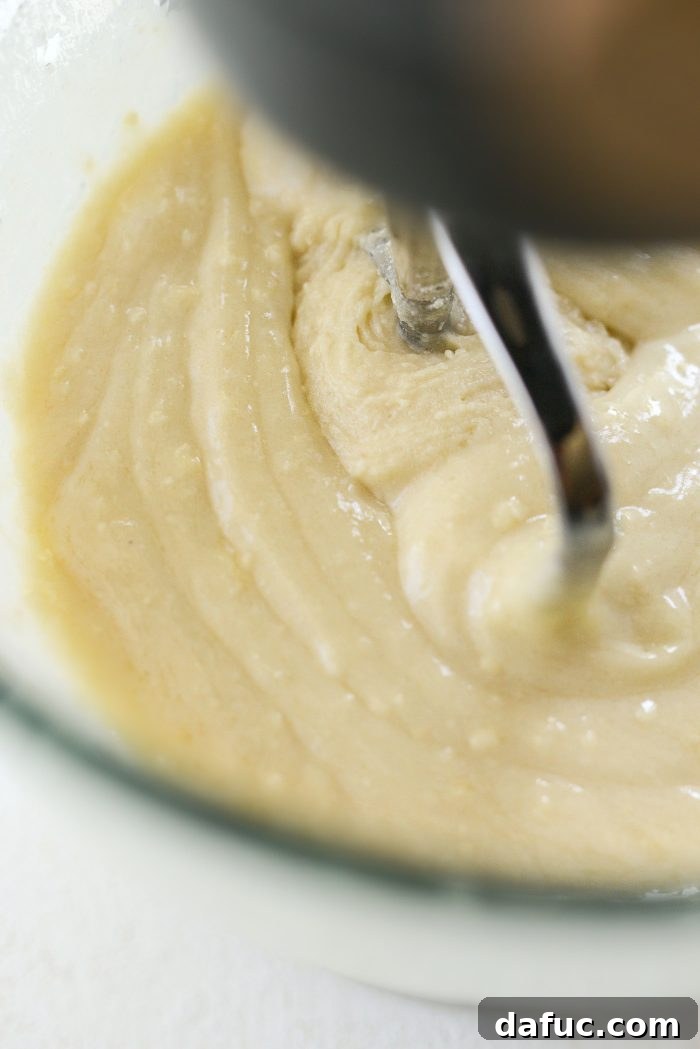
- Combine the ingredients. Mix on medium-low speed until all ingredients are thoroughly incorporated. Be careful not to overmix; overmixing can lead to a tough cake. Mix just until no dry streaks remain.
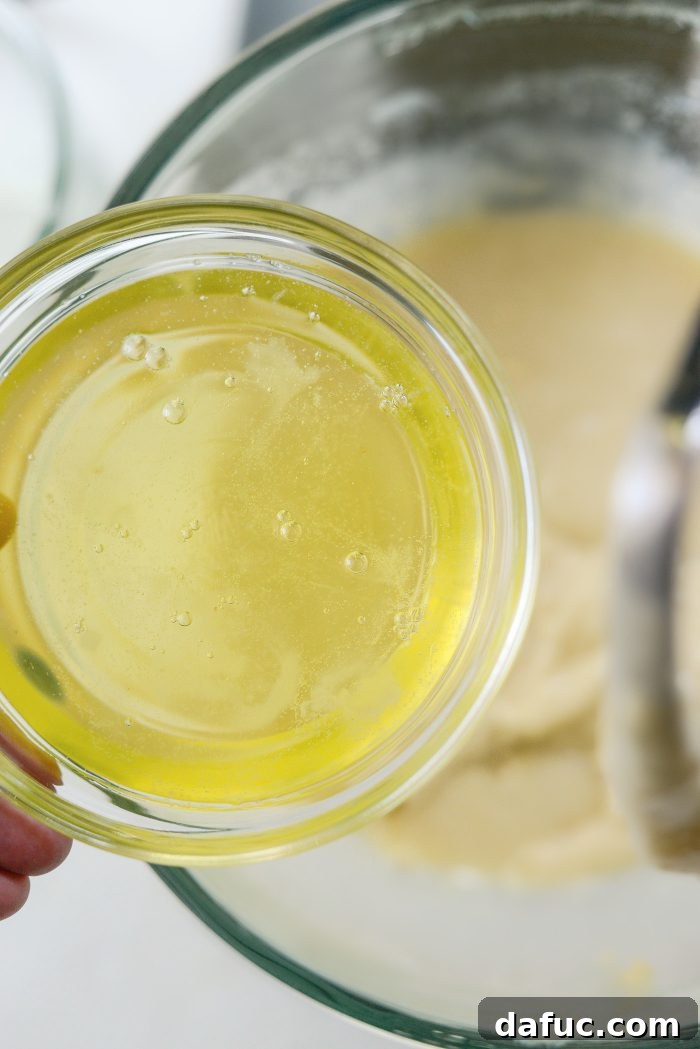
- Incorporate the egg whites. Finally, add the 4 egg whites. Mix again on low speed until they are just combined into the batter. The egg whites are key for a light, airy, and truly white cake.
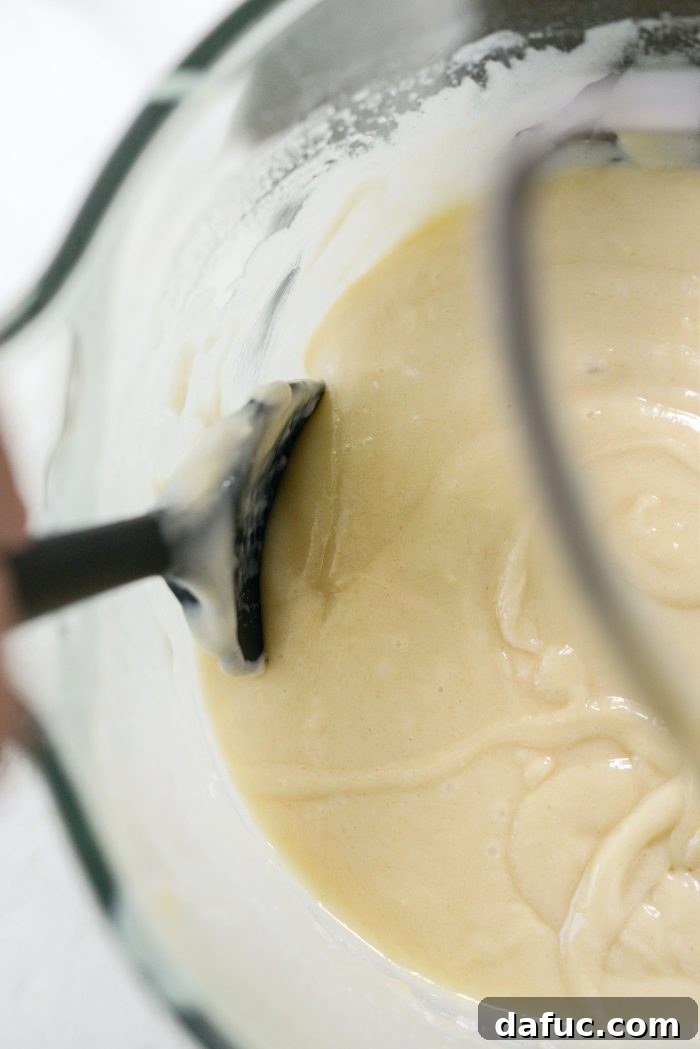
- Final mix. Scrape down the sides and bottom of the bowl with a spatula to ensure everything is fully mixed, then give it one last quick mix to unify the batter.
Baking and Cooling
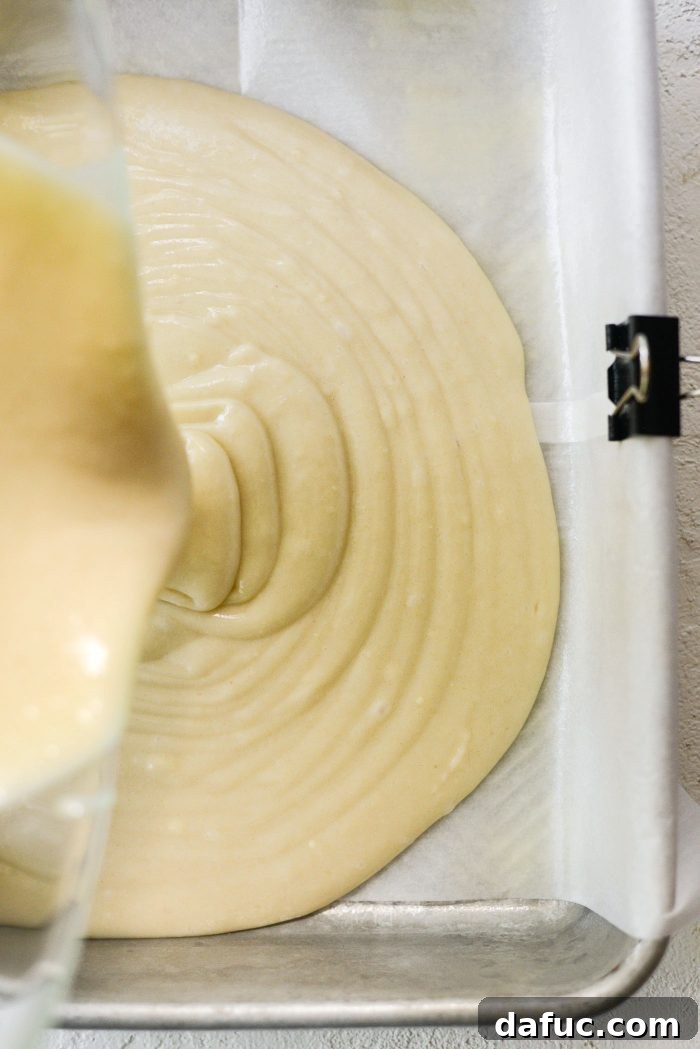
- Transfer and bake. Pour the cake batter into your prepared 9×13 inch pan, spreading it evenly with a spatula to ensure a level cake.
- Bake the cake. Place the pan on the middle rack of your preheated oven. Bake for approximately 28 to 30 minutes. To check for doneness, insert a wooden skewer or toothpick into the center of the cake. It should come out clean, possibly with a few moist crumbs attached, indicating a perfectly baked, tender cake.
- Cooling the cake. Once baked, remove the cake from the oven and let it cool in the pan for about 30 to 45 minutes. This initial cooling helps the cake set and makes it less fragile. After this period, use the parchment paper overhang to gently lift the cake out of the pan and transfer it to a wire rack. Allow it to cool completely before frosting. A fully cooled cake prevents the buttercream from melting and sliding off.
Crafting the Perfect Vanilla Buttercream Frosting
No American Flag Cake would be complete without a luxurious, homemade vanilla buttercream frosting. Its creamy texture and sweet flavor provide the perfect backdrop for our patriotic berries. Making buttercream from scratch might sound daunting, but it’s surprisingly simple and yields results far superior to store-bought alternatives. Here’s how to achieve that silky, spreadable consistency.
Mixing the Buttercream
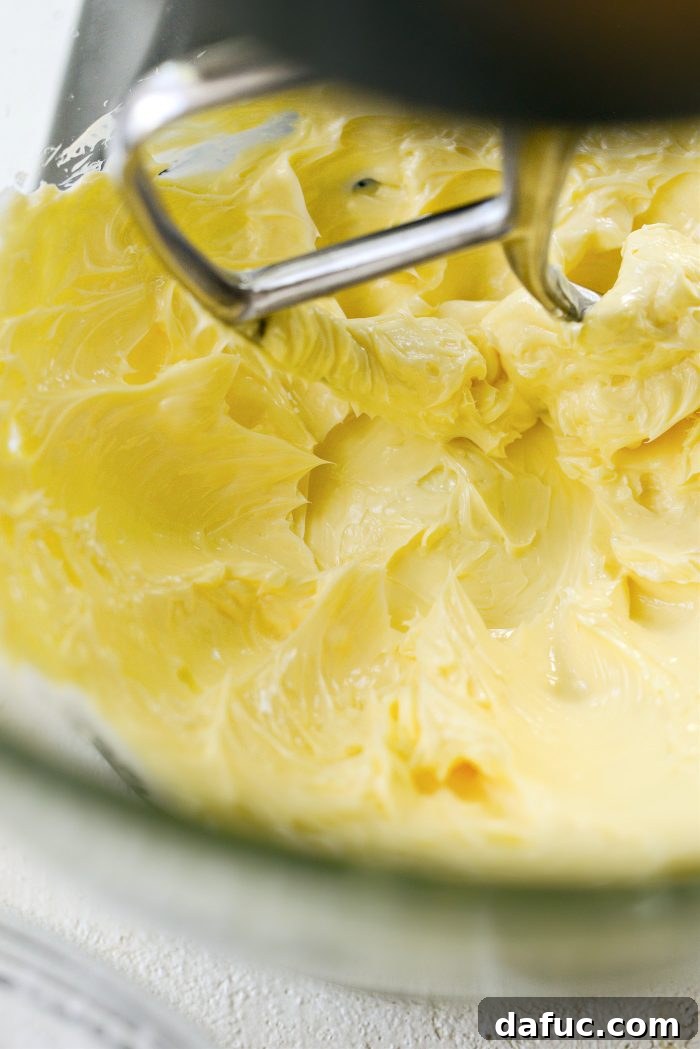
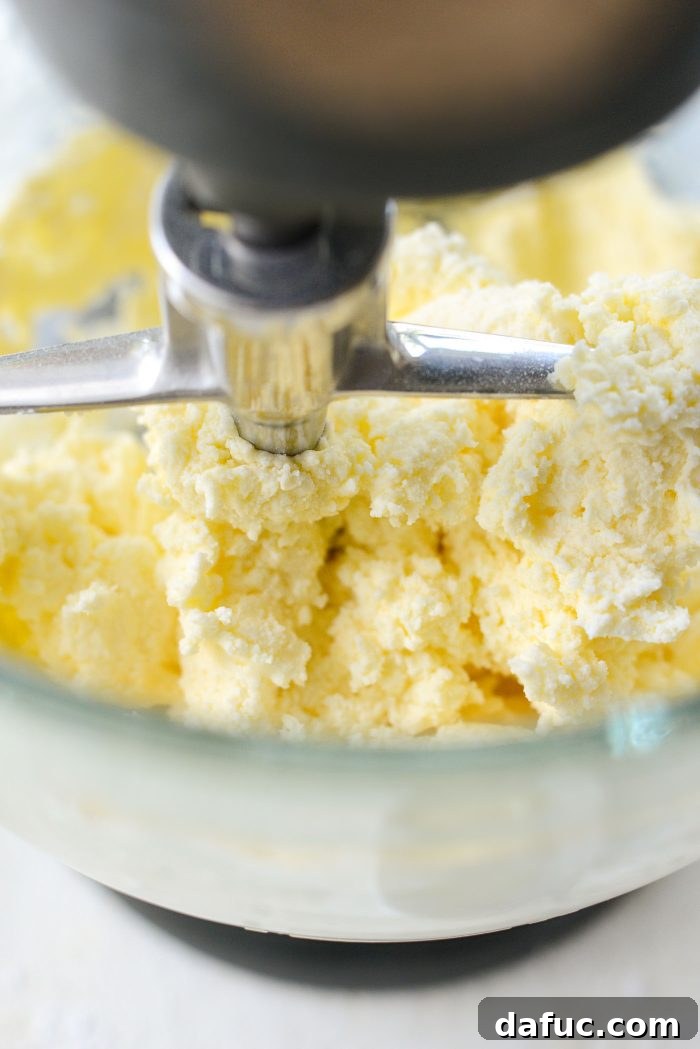
- Cream the butter. In the bowl of your stand mixer, fitted with the paddle attachment, add 1 cup of super softened unsalted butter. It’s crucial for the butter to be at room temperature, but not melted, for optimal creaming. Turn the mixer on medium speed and cream the butter for about 2 minutes, until it’s light in color and fluffy in texture. This step incorporates air, making the frosting light and smooth.
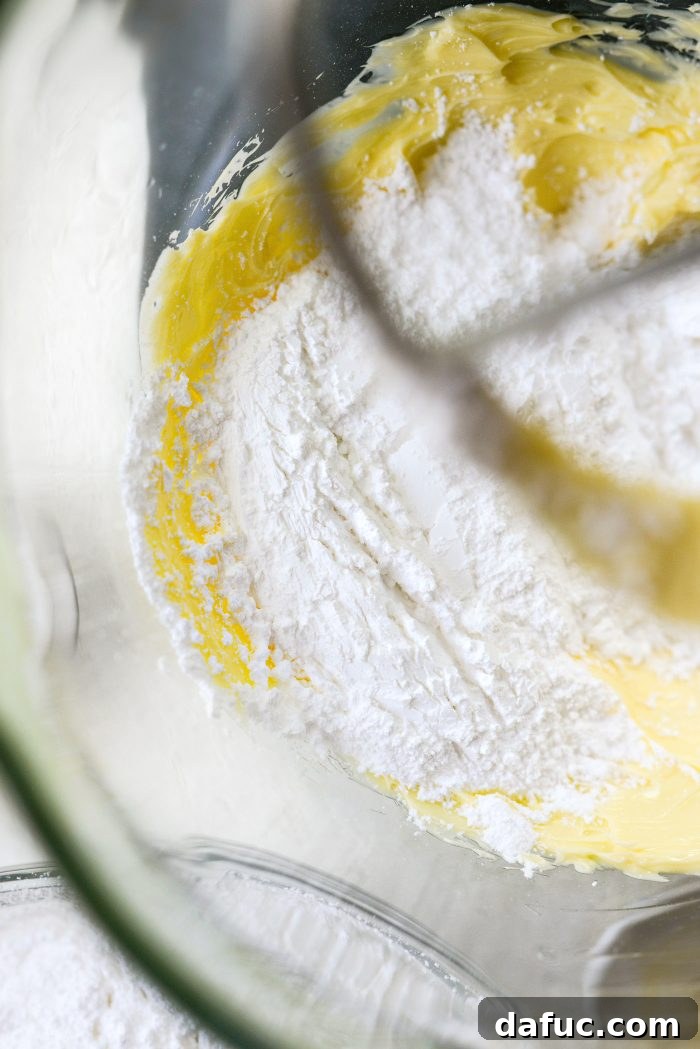
- Gradually add powdered sugar. With the mixer on low speed, begin gradually adding 4 cups of sifted powdered sugar, one large spoonful at a time. Sifting the sugar prevents lumps, ensuring a smooth frosting.
- Mix after each addition. Continue mixing on low speed after each addition of powdered sugar until fully incorporated. This slow incorporation prevents a cloud of sugar dust from coating your kitchen!
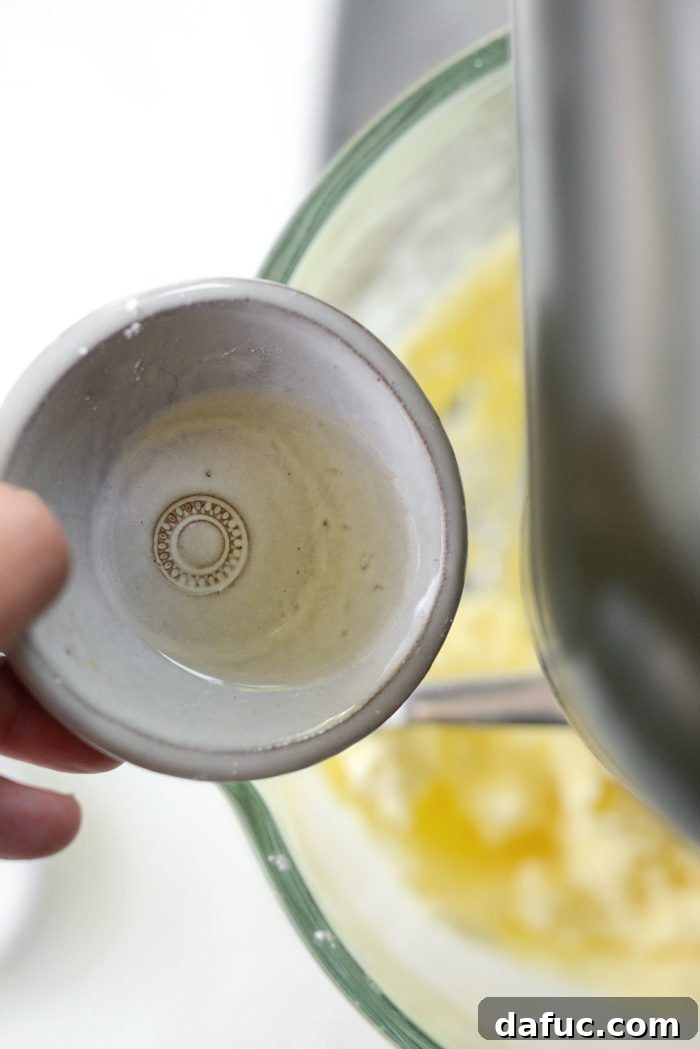
- Add flavor and balance. Next, add a pinch of fine salt (to balance the sweetness) and 2 teaspoons of vanilla extract. Again, use clear vanilla for a whiter frosting or pure vanilla for richer flavor. Mix well to combine on low speed.
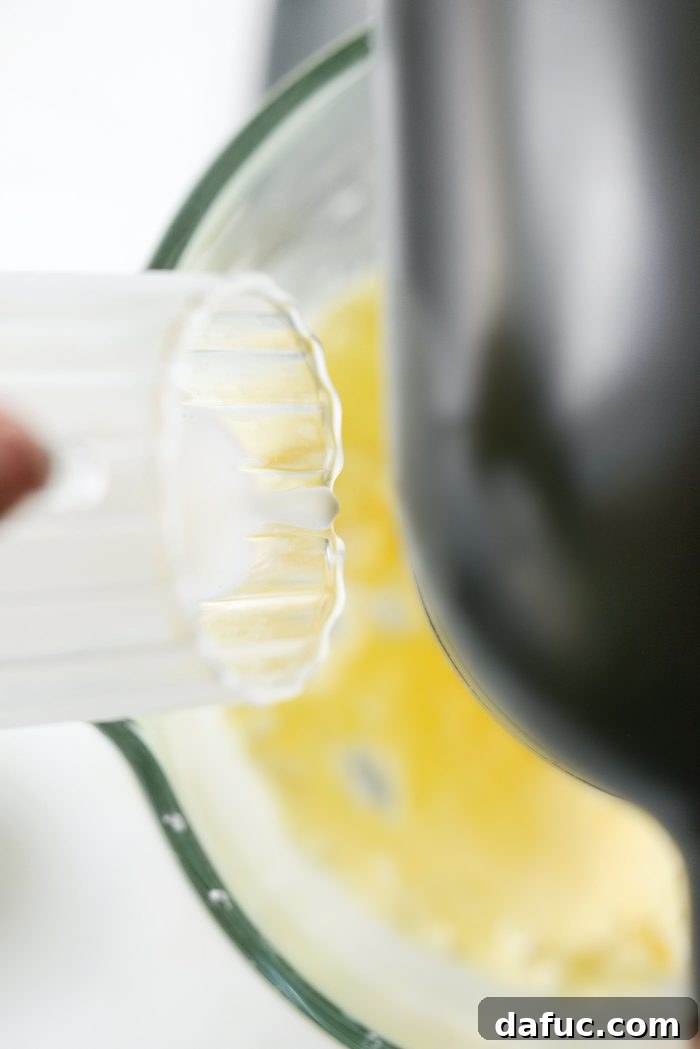
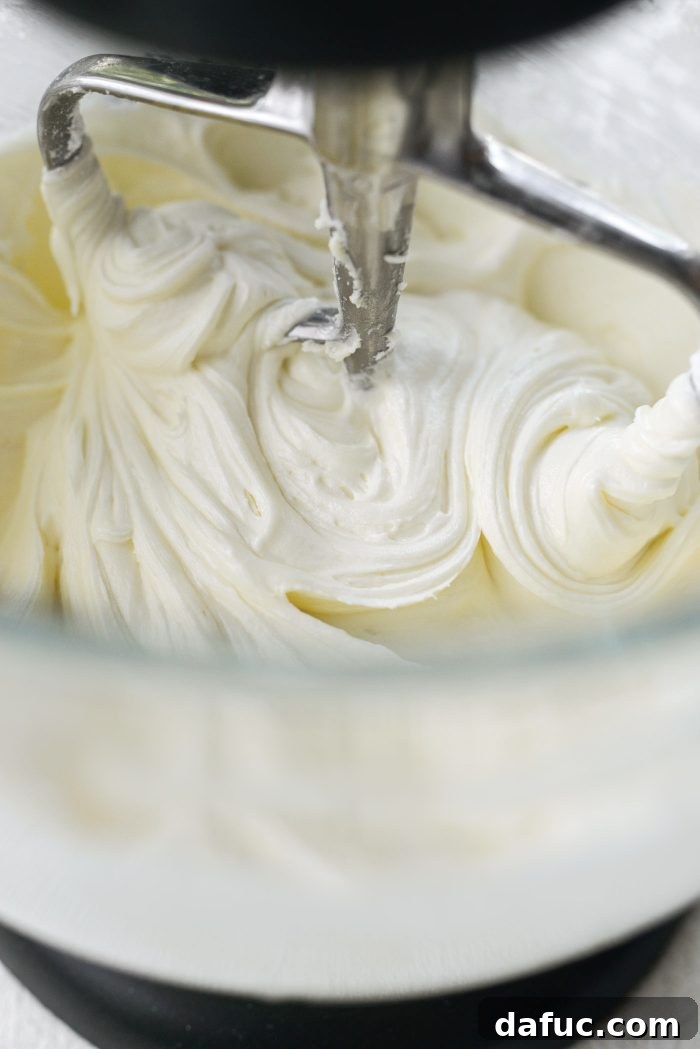
- Adjust consistency with milk. Gradually add a little milk at a time, mixing on low speed, until your desired consistency is achieved. Start with a tablespoon and add more as needed. You want it smooth and spreadable, but not runny.
- Troubleshooting consistency. If your frosting becomes too stiff, simply add another tablespoon of milk until it loosens up. Conversely, if it’s too thin or runny, mix in a bit more sifted powdered sugar, one spoonful at a time, until it thickens to the perfect piping or spreading consistency.
Assembling Your Patriotic American Flag Cake
Now for the most exciting part: transforming your cooled cake and luscious buttercream into a stunning American Flag dessert! This is where your creativity truly shines, even if you’re aiming for charmingly rustic rather than perfectly precise. The fresh berries will bring the flag to life with their vibrant colors.
Frosting and Decorating
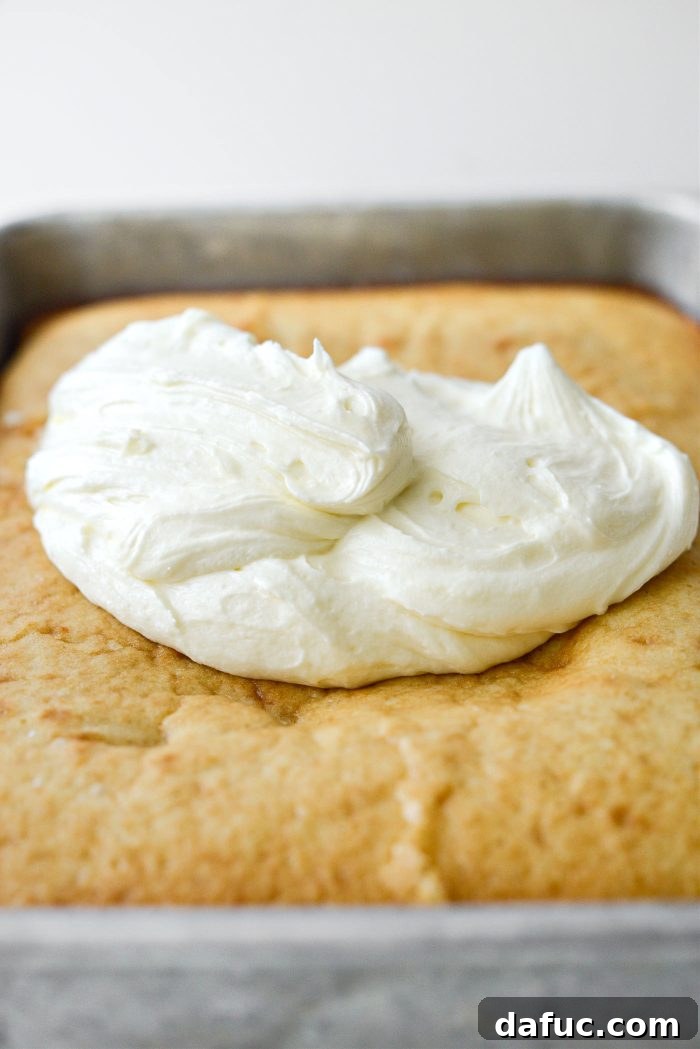
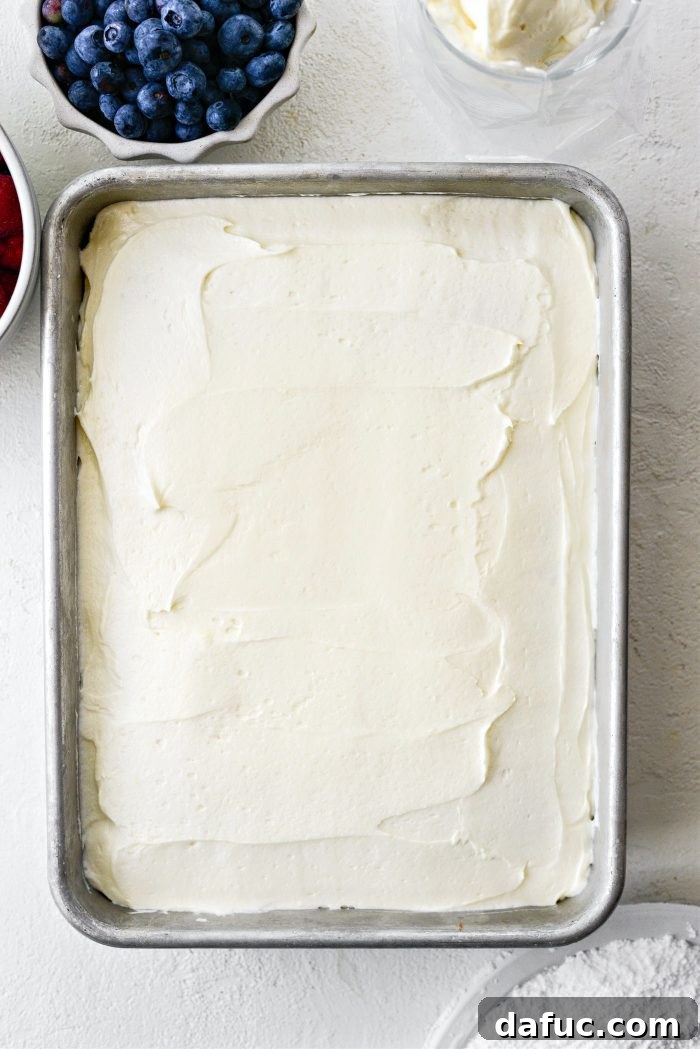
- Frost the cake. Take approximately two-thirds of your prepared vanilla buttercream and spread it evenly over the top of your completely cooled cake. Use an offset spatula to achieve a smooth, consistent layer, ensuring every inch of the cake is covered.
- Prepare for piping. Transfer the remaining one-third of the buttercream into a pastry bag fitted with a large star tip. This will be used for piping decorative stars and adding definition between your berry stripes.
- Arrange the “stars” and “stripes”. Begin by arranging 3/4 cup of your fresh blueberries in the top left corner of the frosted cake to form the blue field for the “stars.” (Optional: For a subtle shimmer and to prevent excessive color bleed, you can gently toss the blueberries in a little powdered sugar before placing them.) Next, meticulously arrange the 12 ounces of fresh raspberries in neat rows across the remaining surface of the cake, creating the iconic red “stripes.” You’ll want to leave a small space between each raspberry stripe for the piped white stars.
- Pipe the stars. Using the pastry bag filled with the reserved buttercream, pipe small, delicate white stars in the empty spaces between the rows of raspberries. This completes the flag design, adding texture and a beautiful finishing touch. Don’t worry about perfection; the charm of a homemade cake lies in its unique, handcrafted appeal!
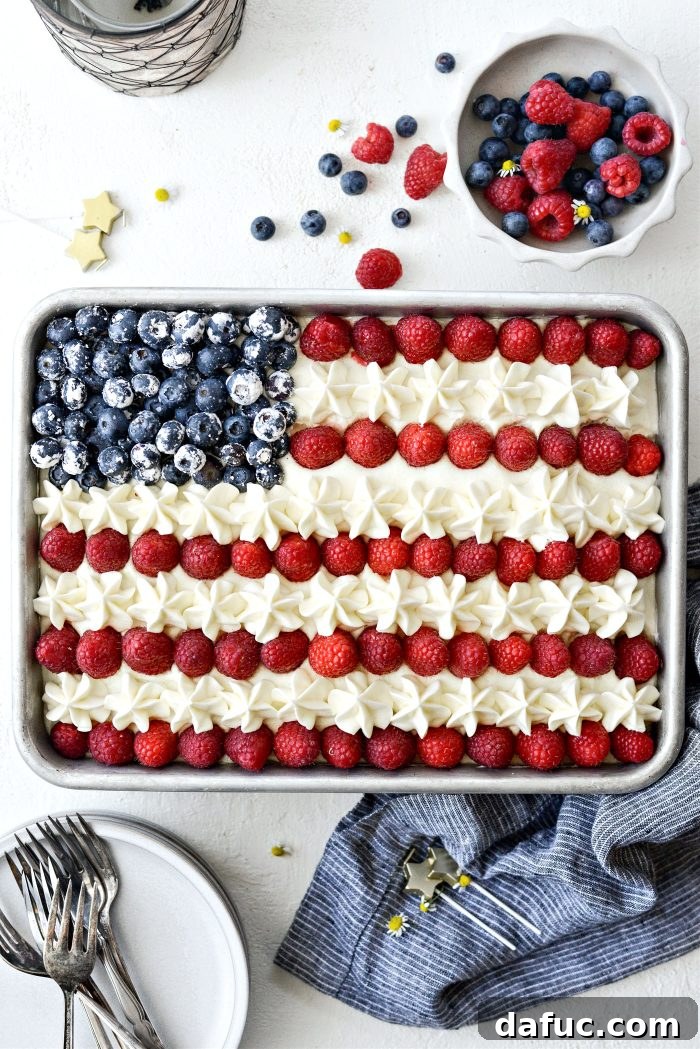
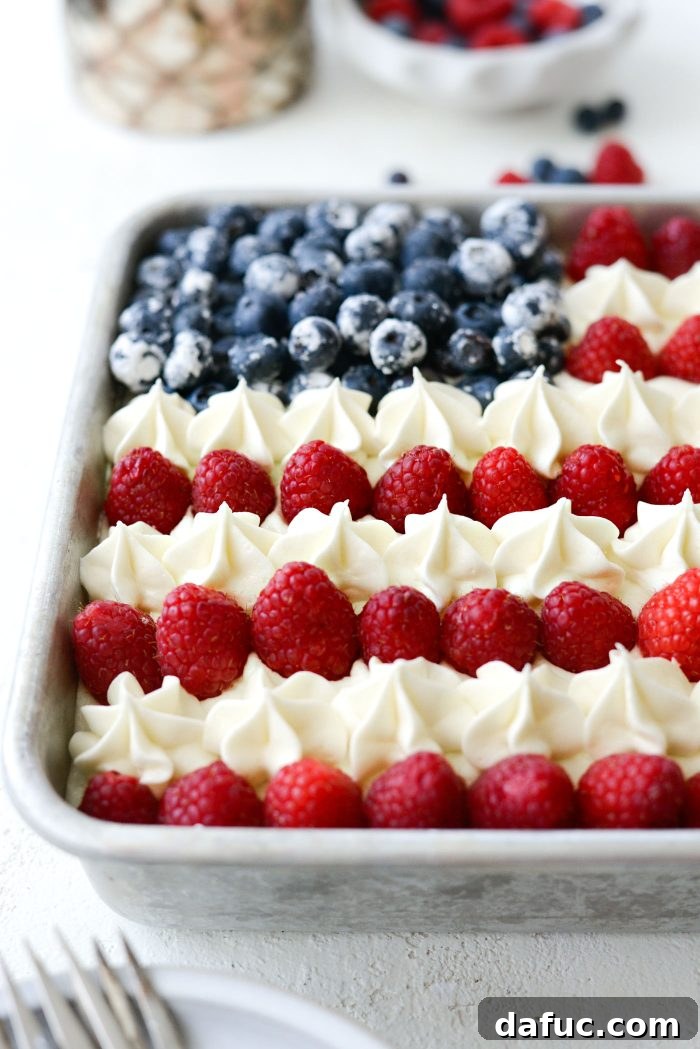
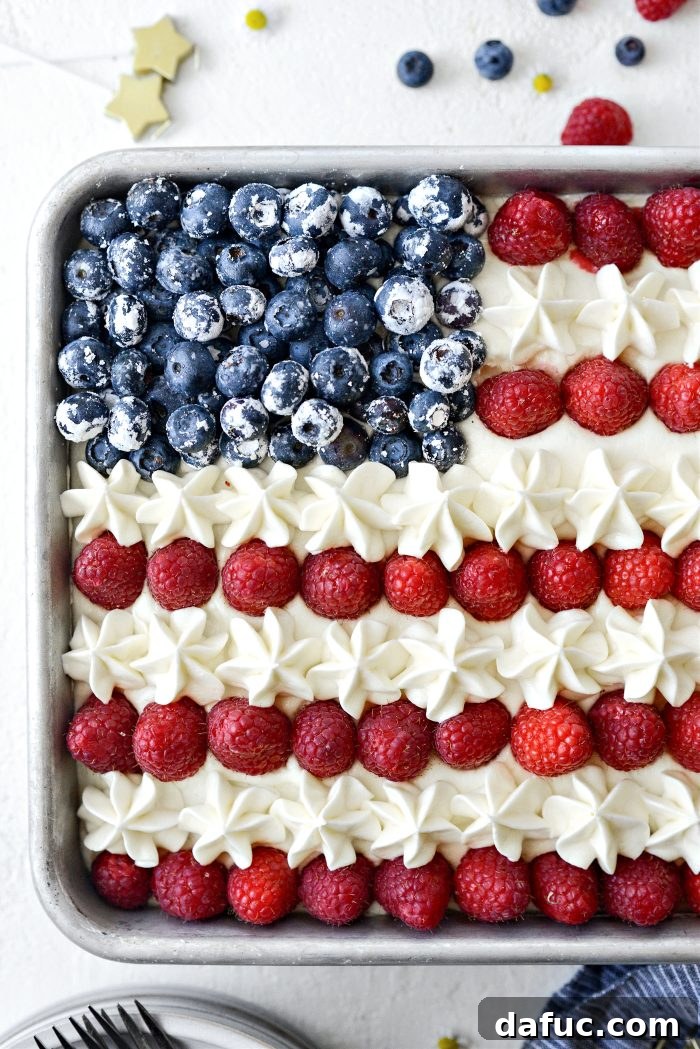
And just like that, you’ve created a truly adorable and delicious centerpiece for your celebrations!
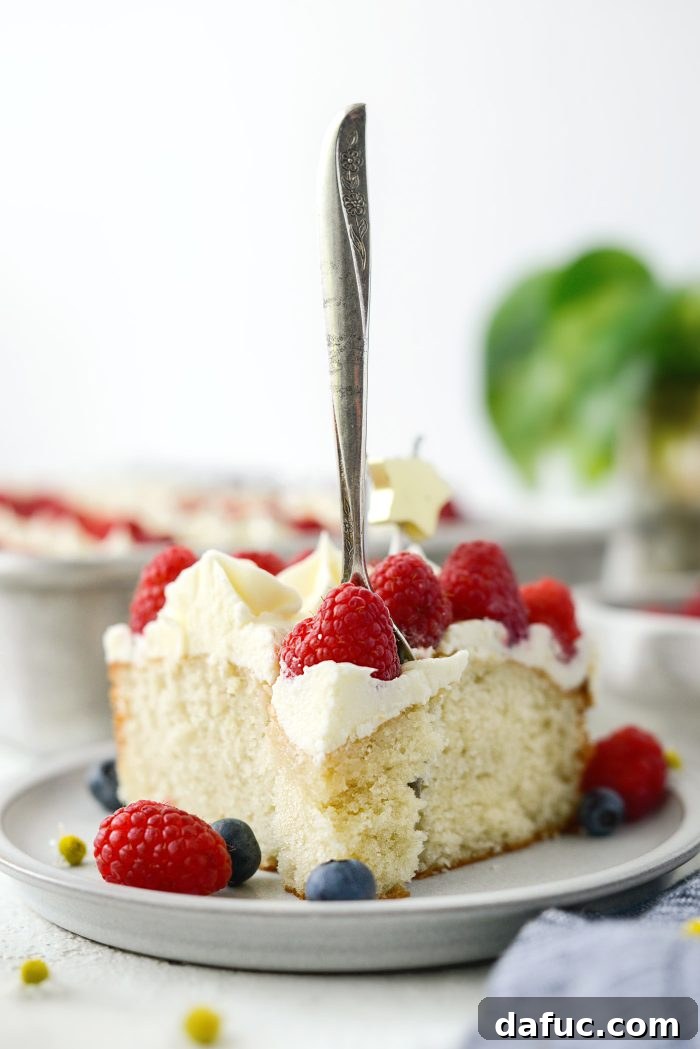
Tips for Success, Serving, and Storage
To ensure your American Flag Cake is a triumph and enjoyed to its fullest, here are some invaluable tips:
Baking & Decorating Tips:
- Room Temperature Ingredients: Always ensure your butter, milk, and eggs (whites especially) are at room temperature before you begin. This allows them to emulsify properly, creating a smooth batter and creamy frosting.
- Don’t Overmix: When making the cake batter, mix only until ingredients are just combined. Overmixing develops gluten, which can lead to a dense, tough cake.
- Sift Powdered Sugar: For the smoothest, lump-free buttercream, sifting your powdered sugar is a non-negotiable step.
- Cool Completely: Patience is key! Frosting a warm cake is a recipe for disaster. Ensure your cake is absolutely cool to the touch before applying any buttercream.
- Berry Prep: Gently wash and thoroughly dry your berries before placing them on the cake. Excess moisture can make them bleed into the frosting. Tossing blueberries in a little powdered sugar is a great trick to minimize this and add a subtle sweetness.
Serving Suggestions:
This cake is a feast for the eyes and the palate! Slice it carefully to preserve the flag design. I personally love to enjoy this cake chilled from the refrigerator. The firm, cold cake combined with the creamy buttercream and fresh, cool berries creates a delightful textural and temperature contrast that is simply heavenly. Serve it alongside a scoop of vanilla ice cream or a dollop of whipped cream for an extra special treat.
Storage Instructions:
To keep your American Flag Cake tasting fresh and looking its best, store it in an airtight container in the refrigerator. The fresh berries and dairy in the buttercream mean it should always be kept cool. It will stay wonderfully fresh for 3-4 days. If you’re planning to make it a day or two in advance, it holds up beautifully when refrigerated.
Celebrate with Every Slice!
This American Flag Cake is more than just a dessert; it’s a celebration baked into every forkful. It embodies the joy of homemade treats, the vibrance of summer, and the pride of a special holiday. Whether you’re gathering with loved ones for a backyard barbecue or a festive picnic, this cake is guaranteed to be the star of your dessert table.
So go ahead, preheat your oven, gather your ingredients, and embark on this delightful baking adventure. You’ll be rewarded with a spectacular, patriotic cake that tastes as incredible as it looks. Don’t forget to capture your creation!
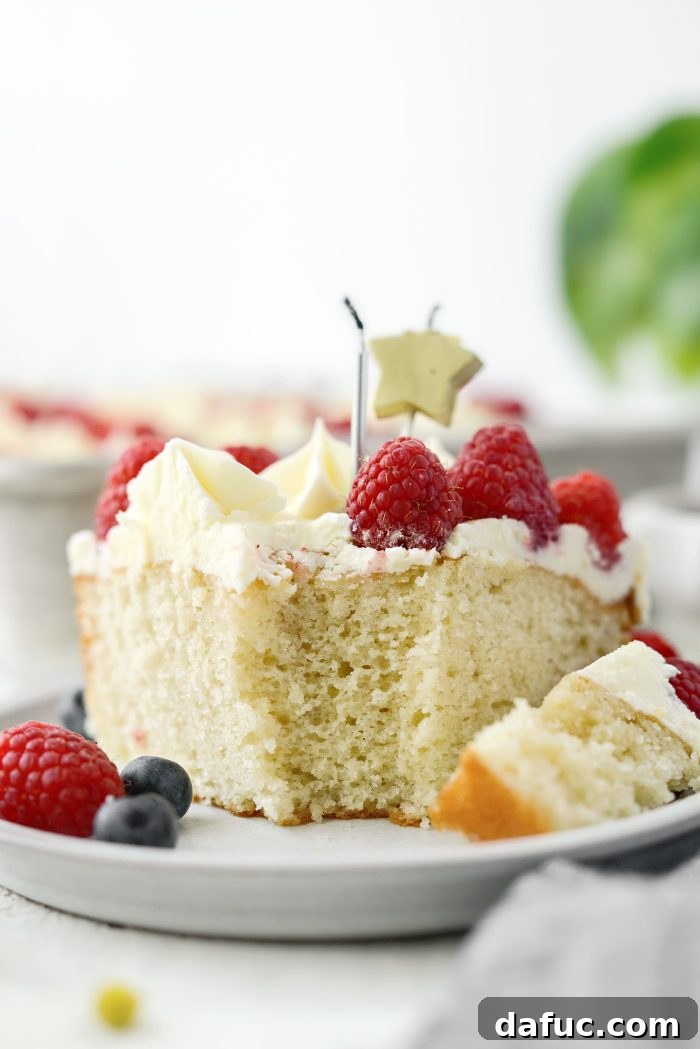
Enjoy your delicious creation! If you give this American Flag Cake recipe a try, we’d love to see it! Snap a photo and tag us on Twitter or Instagram!
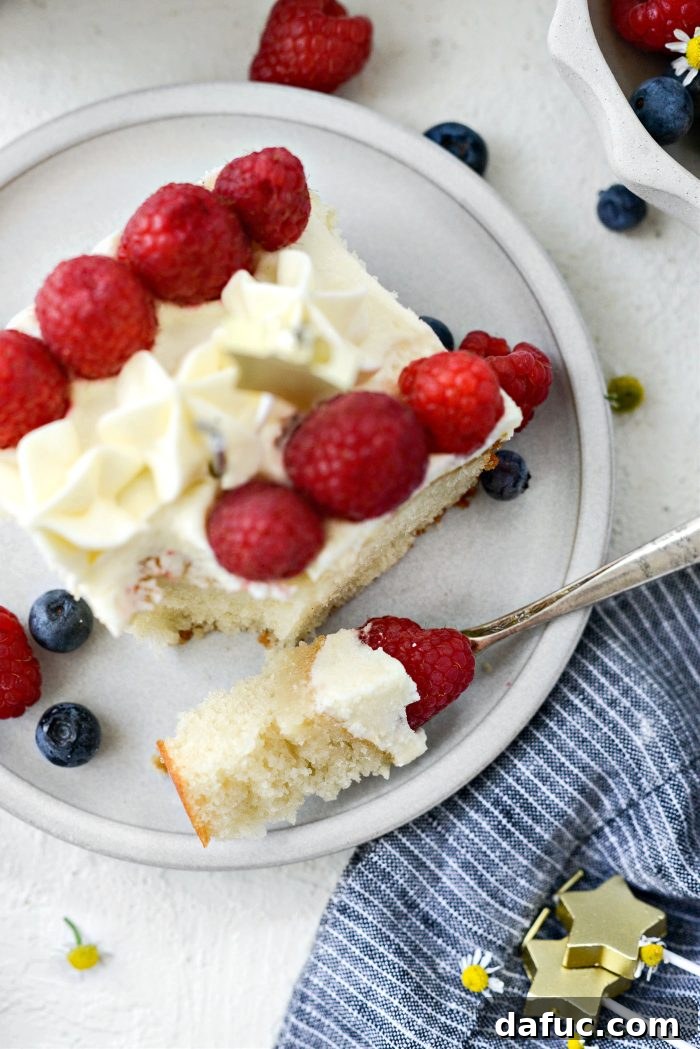
American Flag Cake Recipe Card
Print Recipe
Pin Recipe
12
servings
American Flag Cake
This American Flag Cake is the perfect dessert for your 4th of July festivities! A homemade white cake is topped with homemade vanilla buttercream frosting and adorned with juicy raspberries and blueberries. This recipe will yield 12 to 16 servings depending on how you cut it.
35
mins
30
mins
45
mins
1
hr
50
mins
Ingredients
- nonstick spray with flour
- 1 recipe homemade white cake mix
- 1 cup whole milk
- 2/3 cup neutral oil, like extra light olive oil or grapeseed oil
- 2 teaspoons vanilla extract
- 4 egg whites
- 1 recipe homemade vanilla buttercream frosting
- 1 cup blueberries
- 12 ounces fresh raspberries
Equipment
-
1 Nordic Ware Prism 9×13 Baking Pan
Instructions
-
Preheat your oven to 350°F (or 180°C).
Line a 9×13 pan with parchment paper and spray with nonstick spray that contains flour.
-
In the bowl of your stand mixer, add all of the homemade white cake mix, whole milk, oil, and vanilla extract. Mix on medium-low speed until the ingredients are incorporated. Add in the egg whites and mix until combined. Scrape down the sides and bottom of the bowl and mix one last time.
-
Pour the cake batter into the prepared pan and spread evenly with a spatula. Bake on the middle rack of your preheated oven for 28 to 30 minutes or until a tester comes back clean (maybe with a few crumbs attached) after inserted into the middle of the cake.
-
Once baked, remove and let cool for about 30 to 45 minutes before using the parchment paper to lift the cake out of the pan and transferring it to a wire rack to finish cooling.
MAKE THE VANILLA BUTTERCREAM FROSTING:
-
In the bowl of your stand mixer, fitted with the paddle attachment, add the softened butter. With your mixer on medium-speed, cream the butter until smooth and light in color. About 2 minutes.
-
Gradually add in the sifted powdered sugar, one large spoonful at a time, mixing on low speed after each addition. Next, add a pinch of fine salt and the vanilla extract. Continue to mix on low speed to combine. Lastly, add a little milk at a time until you’ve reached your desired consistency.
Note: If you need a stiffer frosting, simply add more sifted powdered sugar. Likewise, if your frosting is too stiff, continue adding a little more milk.
BUILD THE CAKE:
-
Add about 2/3 of the buttercream to your cooled cake. Transfer the remaining frosting to a pastry bag fitted with a large star tip. Use an offset spatula to spread the buttercream evenly over the cake.
-
Next, arrange the blueberries (optional: toss them in a little powdered sugar first) in the top left corner of the frosted cake for the “stars.” Then arrange the raspberries in rows as the “stripes.” Lastly, pipe stars in between the rows of raspberries.
Notes
Nutrition Disclaimer: All information presented on this site is intended for informational purposes only. I am not a certified nutritionist and any nutritional information shared on SimplyScratch.com should only be used as a general guideline.
Calories: 679 kcal,
Carbohydrates: 92 g,
Protein: 7 g,
Fat: 32 g,
Saturated Fat: 14 g,
Polyunsaturated Fat: 11 g,
Monounsaturated Fat: 6 g,
Trans Fat: 2 g,
Cholesterol: 54 mg,
Sodium: 370 mg,
Potassium: 144 mg,
Fiber: 3 g,
Sugar: 69 g,
Vitamin A: 646 IU,
Vitamin C: 9 mg,
Calcium: 128 mg,
Iron: 2 mg
Laurie McNamara
Desserts & Sweet Treats
American
Click Here for More 4th of July Recipes!