
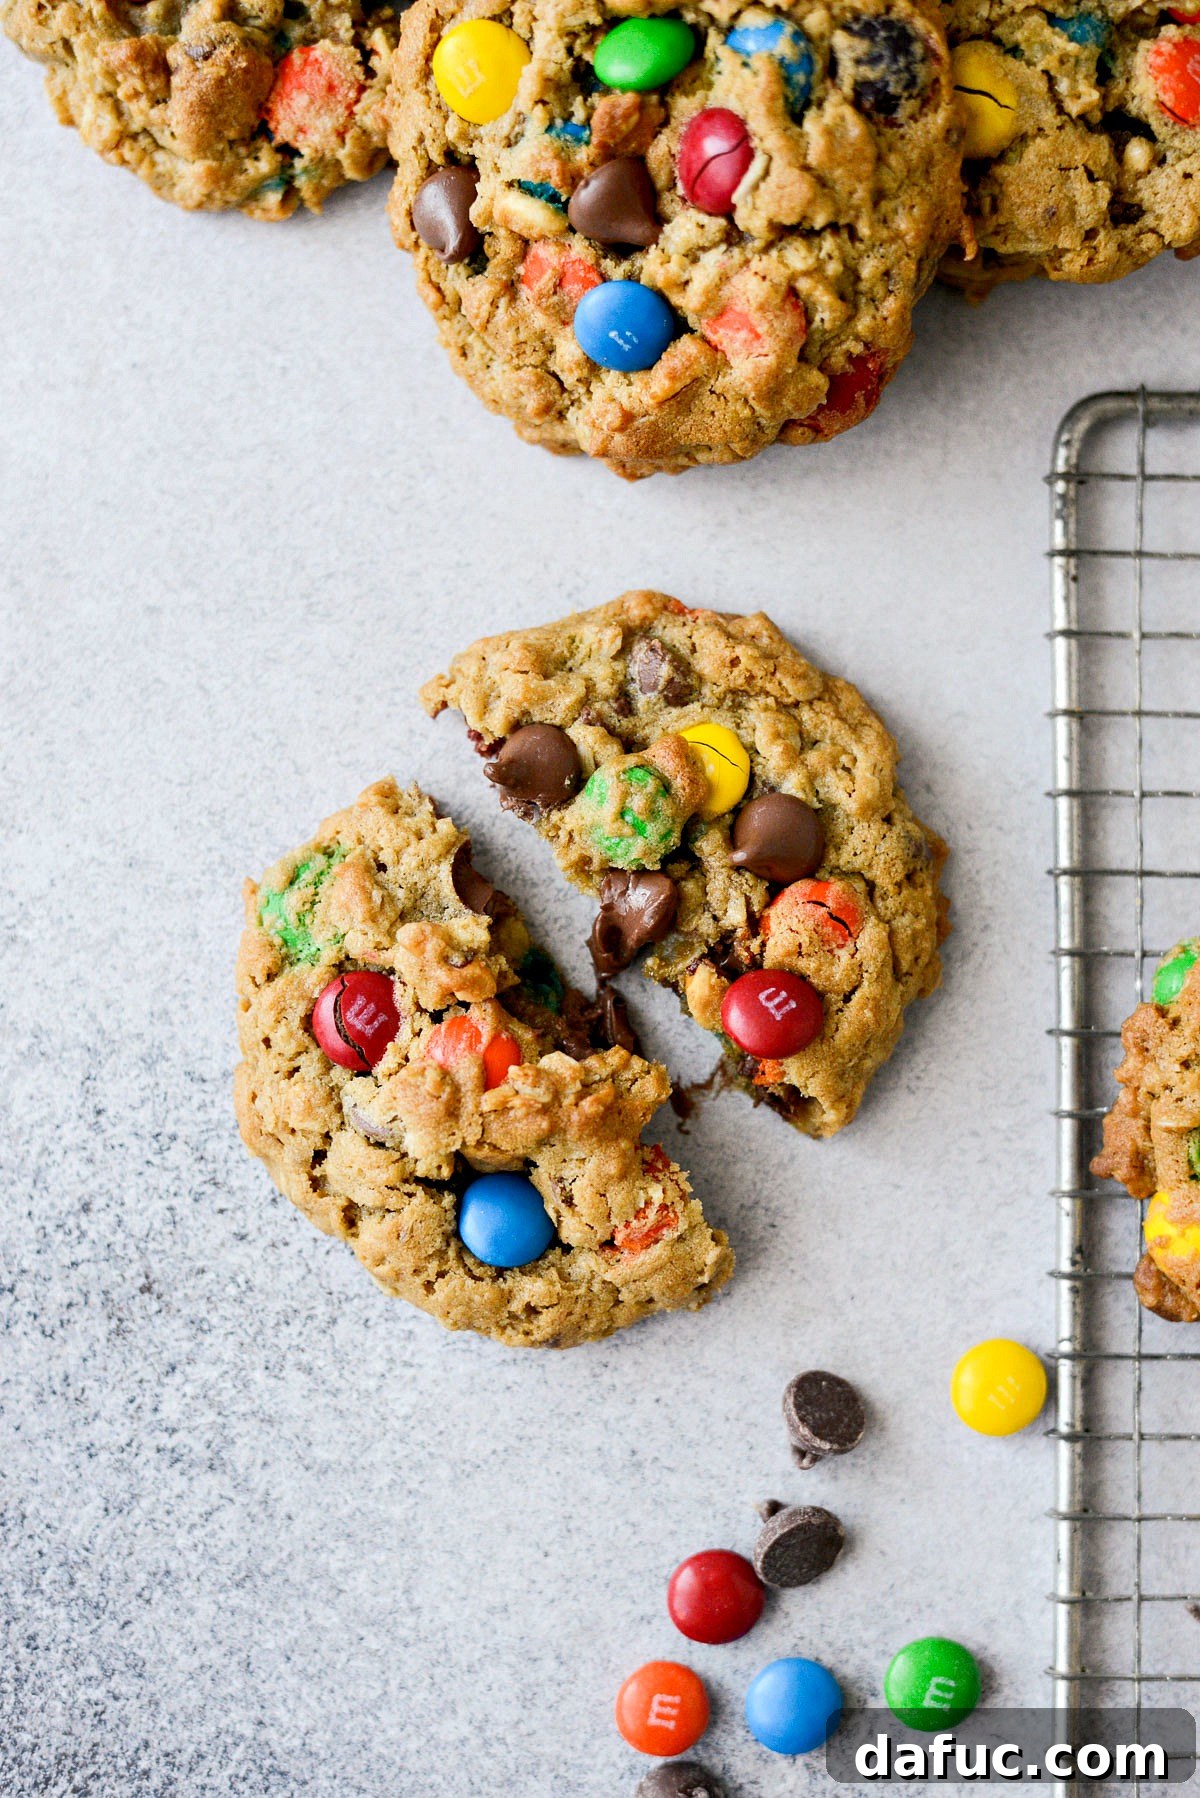
Welcome to the ultimate guide for crafting the most irresistible Monster Cookies! If you’re searching for a cookie that truly delivers on flavor, texture, and pure indulgence, you’ve hit the jackpot. These aren’t just any cookies; they’re a symphony of oats, creamy peanut butter, rich chocolate chips, and colorful M&M candies, all baked into one glorious treat. Designed to be thick, perfectly chewy, and packed with an abundance of delightful add-ins, this recipe promises to elevate your baking game and satisfy every sweet craving.
Monster Cookies are renowned for their generous mix of favorite ingredients, creating an explosion of taste and texture in every single bite. Imagine a cookie with the wholesome chewiness of old-fashioned oats, the nutty richness of peanut butter, the classic melt-in-your-mouth joy of chocolate chips, and the playful crunch and vibrant color of M&M’s. It’s a combination that’s hard to beat, making these cookies a true crowd-pleaser for all ages and occasions. Whether you’re baking for a party, a casual family gathering, or simply to treat yourself, these Monster Cookies are guaranteed to impress.
Why You’ll Fall in Love with This Monster Cookie Recipe
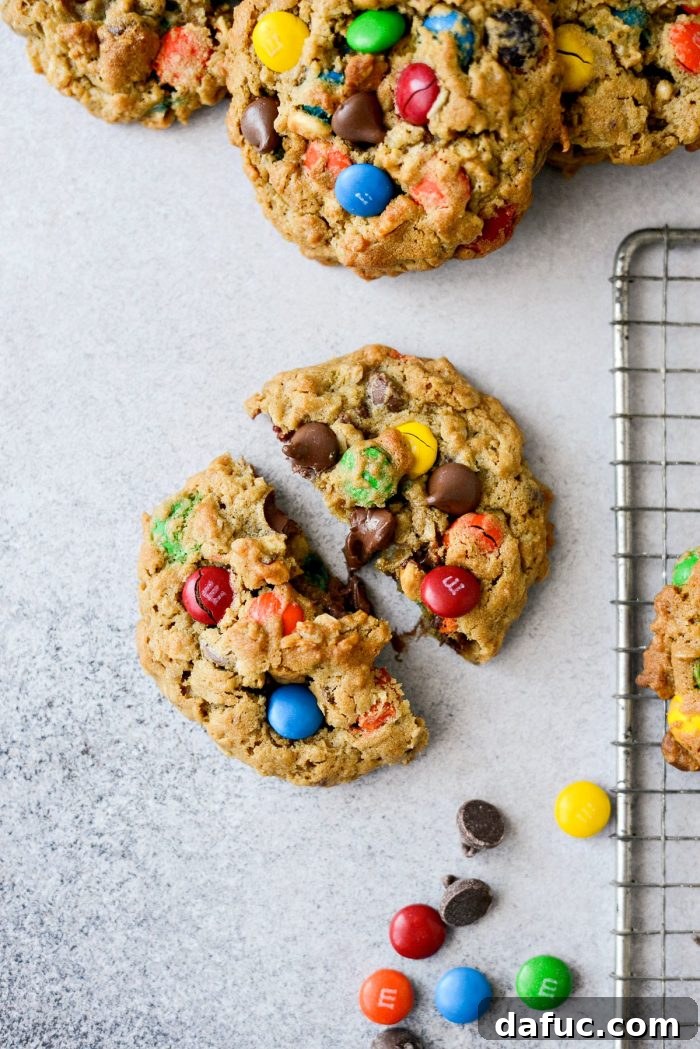
These Monster Cookies are truly in a league of their own. What makes them stand out? It’s a combination of thoughtfully selected ingredients and a baking process that ensures perfection every time. We’re talking about cookies that are robust and hearty, with a delightful chewiness thanks to the abundance of old-fashioned rolled oats. But the magic doesn’t stop there.
One of the key secrets to their incredible texture is the use of crunchy peanut butter. While creamy peanut butter certainly has its place, the added texture from crunchy peanut butter elevates these cookies, providing an extra dimension of bite that complements the soft interior and crispy edges beautifully. This thoughtful choice makes each cookie a complex experience for your palate, offering varying textures from the moment you take your first bite.
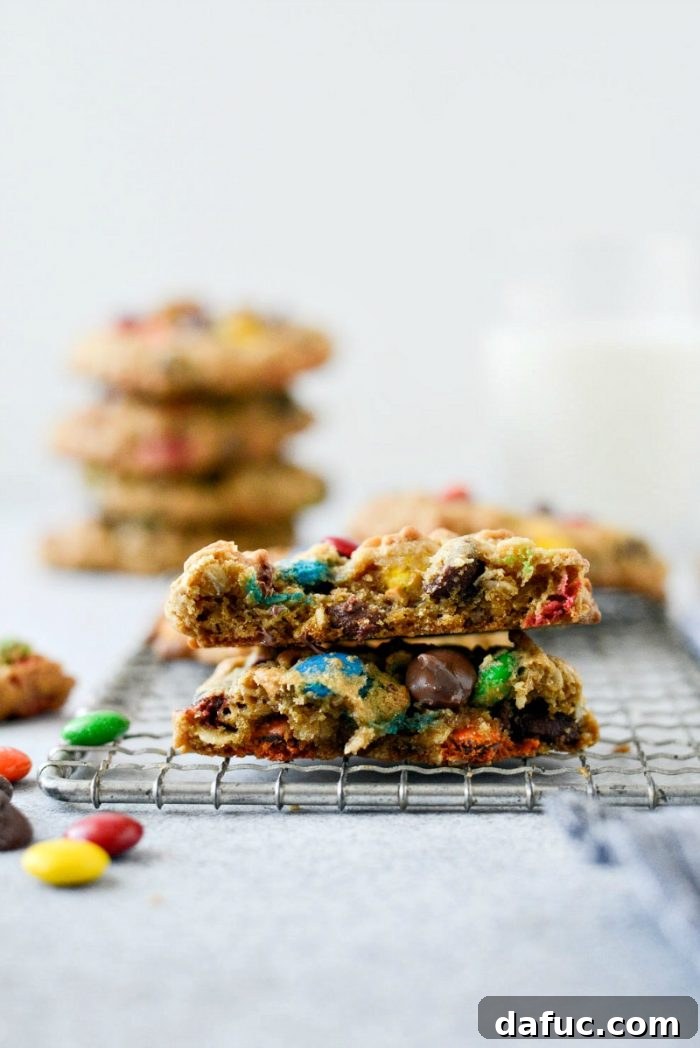
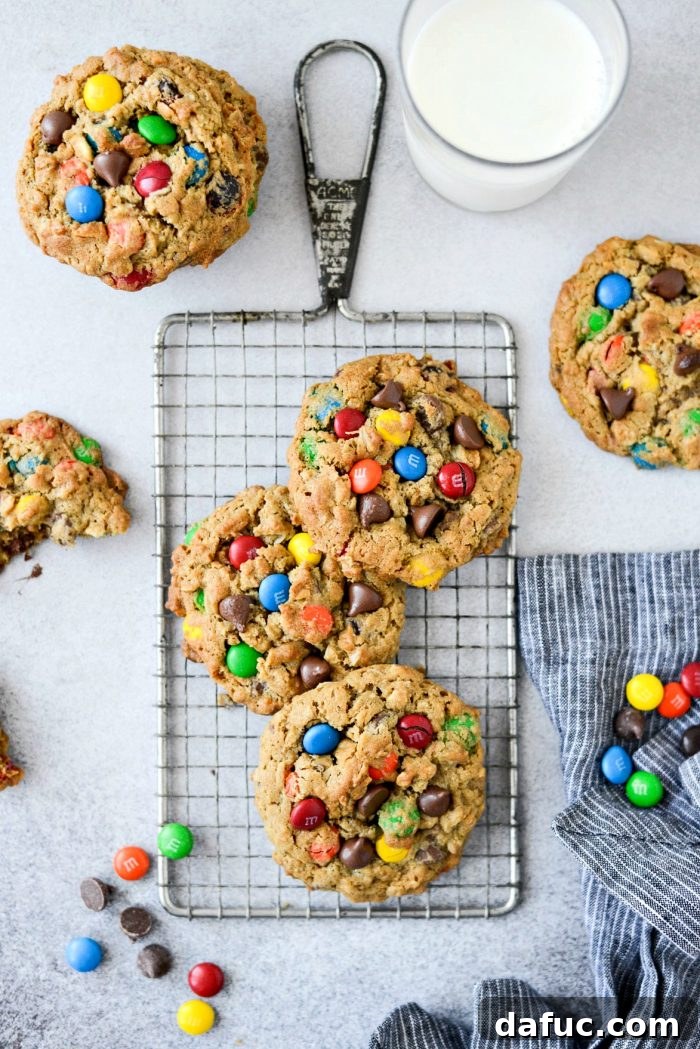
Beyond the internal texture, these cookies boast a crisp, buttery exterior that gives way to a wonderfully tender and decadent center. The balance of a slightly firm, golden-brown edge with a soft, gooey middle is what cookie dreams are made of. This recipe yields approximately 30 generous cookies in about an hour, making it an efficient and rewarding baking project for any home baker.
If your heart beats for the rich, comforting taste of peanut butter, the hearty wholesomeness of oatmeal, and the indulgent joy of chocolate chips and M&M’s, then consider this your new go-to cookie recipe. It combines all these beloved elements into one harmonious, utterly satisfying cookie that will quickly become a household favorite.
The Essential Ingredients for Monster Cookies
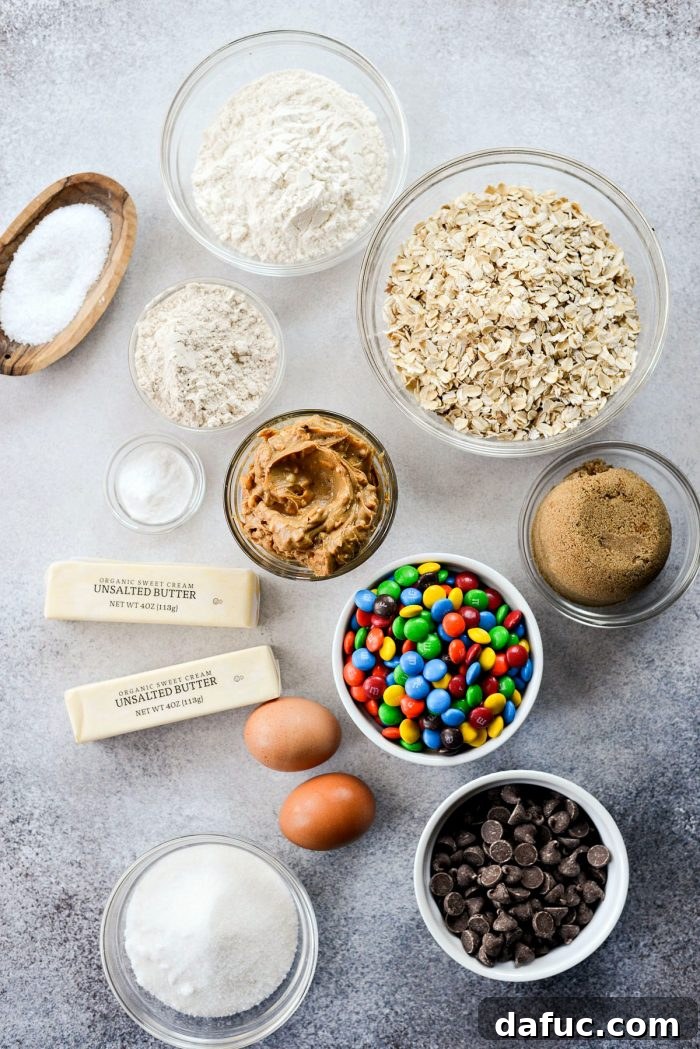
Crafting these phenomenal Monster Cookies starts with gathering the right ingredients. Each component plays a crucial role in achieving the perfect balance of flavor, texture, and structure. Here’s a detailed look at what you’ll need and why each ingredient is important:
Dry Ingredients: The Foundation of Flavor and Texture
- Old-Fashioned Rolled Oats: These are non-negotiable for that signature chewy, hearty texture that defines Monster Cookies. Unlike quick oats, old-fashioned oats hold their shape better during baking, contributing to a more substantial and satisfying bite. They also add a wonderful, earthy flavor that pairs perfectly with peanut butter and chocolate.
- Unbleached All-Purpose Flour: This provides the primary structure for our cookie dough, ensuring the cookies hold together beautifully while remaining tender. Unbleached flour offers a slightly finer texture and purer flavor profile compared to bleached varieties.
- Whole Wheat Flour: Adding a touch of whole wheat flour introduces a subtle nutty flavor and a denser mouthfeel, enhancing the complexity of the cookie. It also contributes a small boost of fiber, making these cookies feel a little more wholesome without compromising on taste.
- Baking Soda: This leavening agent is essential for creating the perfect rise and spread. When activated by the acidic ingredients (like brown sugar) and heat, it produces carbon dioxide gas, resulting in soft, slightly puffed cookies with a tender crumb.
- Fine Salt: A crucial flavor enhancer, fine salt (such as sea salt or pink Himalayan salt) balances the sweetness of the sugars and highlights all the other rich flavors in the cookie. It prevents the cookies from tasting overly sweet and brings out the depth of the chocolate and peanut butter.
Wet Ingredients: Richness, Moisture, and Binding
- Unsalted Butter: Softened to room temperature, butter is key for richness, tenderness, and contributing to the cookie’s structure. Using unsalted butter allows you to control the overall saltiness of the recipe precisely. Its fat content helps create those irresistible crisp, buttery edges.
- Crunchy Peanut Butter: This is where the “monster” in Monster Cookies truly shines, offering a robust nutty flavor and, as mentioned, invaluable textural contrast from the peanut pieces. Opt for a good quality, natural crunchy peanut butter for the best results, ensuring it’s well-stirred if separated.
- Dark Brown Sugar: With its molasses content, dark brown sugar lends a richer, more complex caramel-like flavor and contributes to a chewier cookie. It also helps keep the cookies moist due to its higher moisture content.
- Granulated Sugar: Provides classic sweetness and helps the cookies achieve that desirable golden-brown color and slightly crisp texture when baked. The combination of both sugars creates a perfect balance of chewiness and crispness.
- Eggs: Large eggs act as a binder, holding all the ingredients together. They also add structure, contribute to the leavening alongside baking soda, and enrich the cookie dough with their subtle flavor.
- Pure Vanilla Extract: A touch of high-quality vanilla extract is a must. It enhances all the other flavors in the recipe, adding warmth and a depth of aroma that makes these cookies truly irresistible.
The “Monster” Add-Ins: Flavor Bursts and Visual Appeal
- M&M Candies: These colorful chocolate-covered candies are iconic in Monster Cookies. They not only provide delightful pops of chocolate flavor and a satisfying crunch but also add a vibrant visual appeal, making each cookie a feast for the eyes.
- Milk Chocolate Chips: For an extra dose of classic chocolaty goodness, milk chocolate chips melt into delightful pockets throughout the cookie, offering a creamy sweetness that complements the peanut butter and M&M’s beautifully.
By understanding the role of each ingredient, you’re well on your way to baking a batch of Monster Cookies that are not just delicious but truly exceptional.
Step-by-Step Guide to Baking Perfect Monster Cookies
Baking these Monster Cookies is a straightforward and enjoyable process. Follow these detailed steps to ensure a batch of perfectly chewy, chunky, and utterly delicious cookies every time.
1. Prepare Your Baking Station
Begin by preheating your oven to 350℉ (180℃). This ensures a consistently hot oven for even baking. Next, line several rimmed metal baking sheets with parchment paper or silicone baking mats. This prevents sticking and makes for easy cleanup.
2. Combine the Dry Ingredients
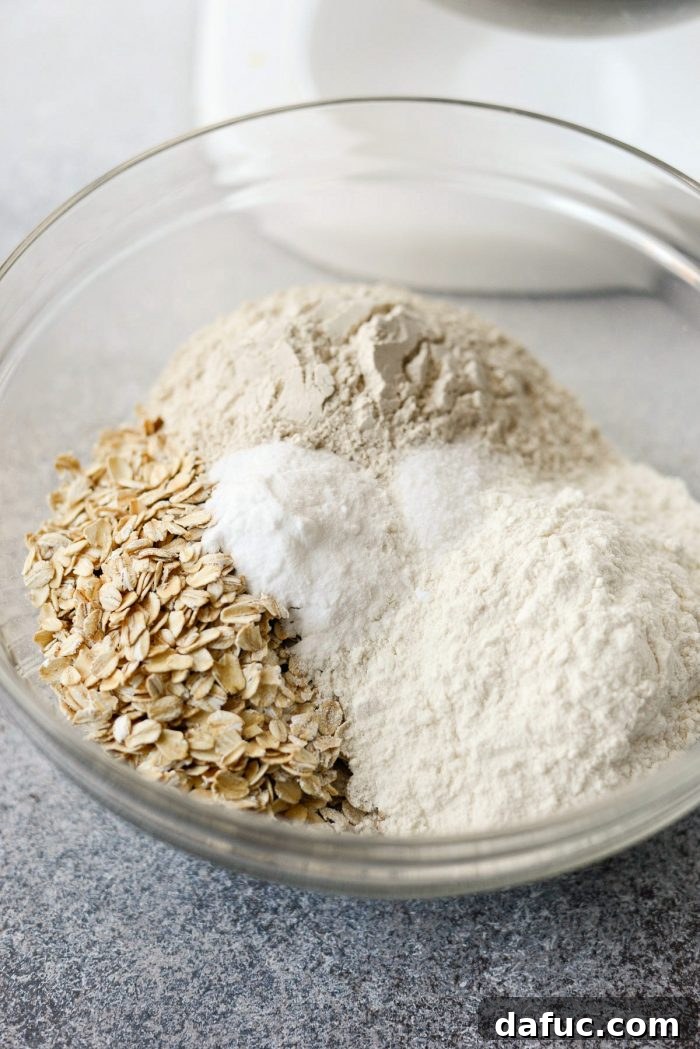
In a large bowl, measure out 2½ cups of old-fashioned rolled oats, 1 cup of unbleached all-purpose flour, ½ cup of whole wheat flour, 2 teaspoons of baking soda, and ½ teaspoon of fine salt (such as sea salt or kosher salt). Use a whisk or a spoon to thoroughly combine these ingredients. This step ensures that the leavening and salt are evenly distributed throughout the dough. Set this bowl aside for later.
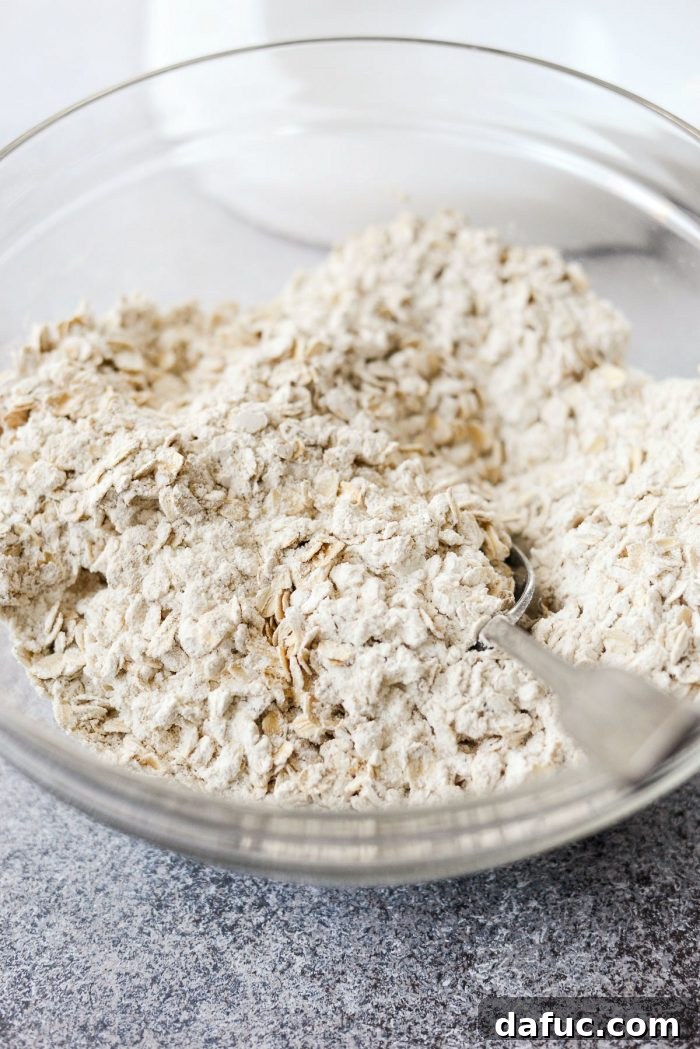
Stir to combine all the dry ingredients evenly. This prevents pockets of unmixed flour or baking soda in your final cookies.
3. Cream the Wet Ingredients
In the bowl of a stand mixer fitted with the paddle attachment, add 1 cup (which is two sticks) of unsalted butter, softened to room temperature, 1 cup of crunchy peanut butter, ¾ cup of dark brown sugar (packed), and ¾ cup of granulated sugar. Beat these ingredients together on medium speed until they are light, creamy, and well combined. This creaming process incorporates air into the mixture, contributing to the cookies’ fluffy texture.
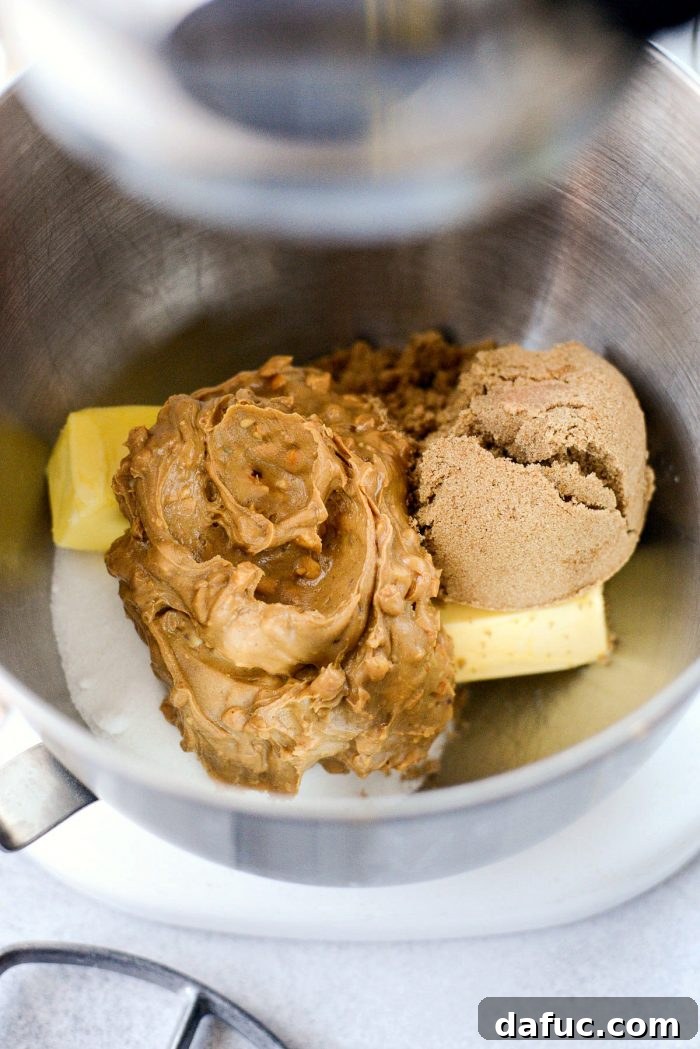
Ensure the mixture is thoroughly combined and has a fluffy consistency before moving on. This is crucial for the final texture of your cookies.
4. Incorporate Eggs and Vanilla
With the mixer on low speed, add the eggs one at a time, mixing well after each addition until just combined. Overmixing at this stage can lead to tough cookies. With the second egg, pour in 1 teaspoon of pure vanilla extract. Continue mixing until the vanilla is fully incorporated.
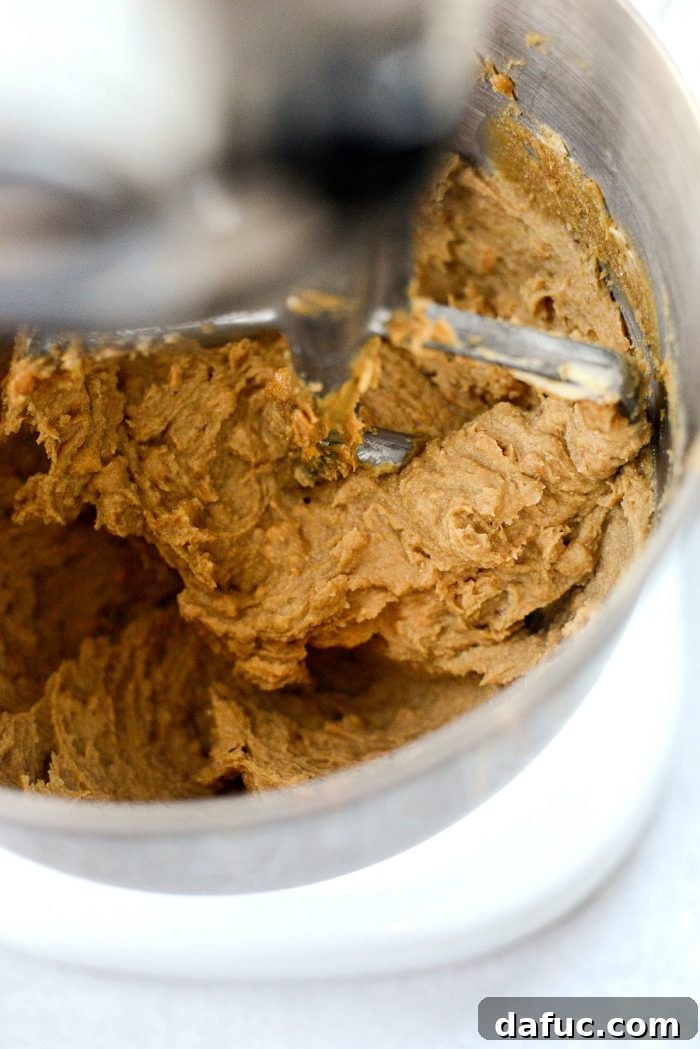
Mix until the eggs are fully integrated into the batter.
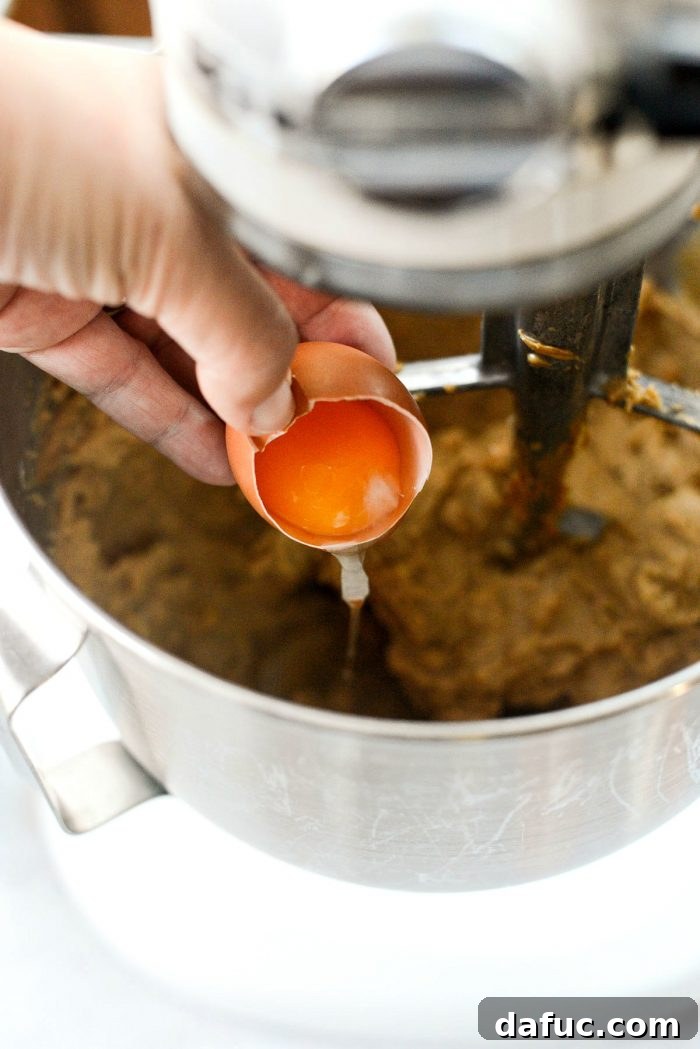
Adding eggs gradually ensures they emulsify properly with the fats.
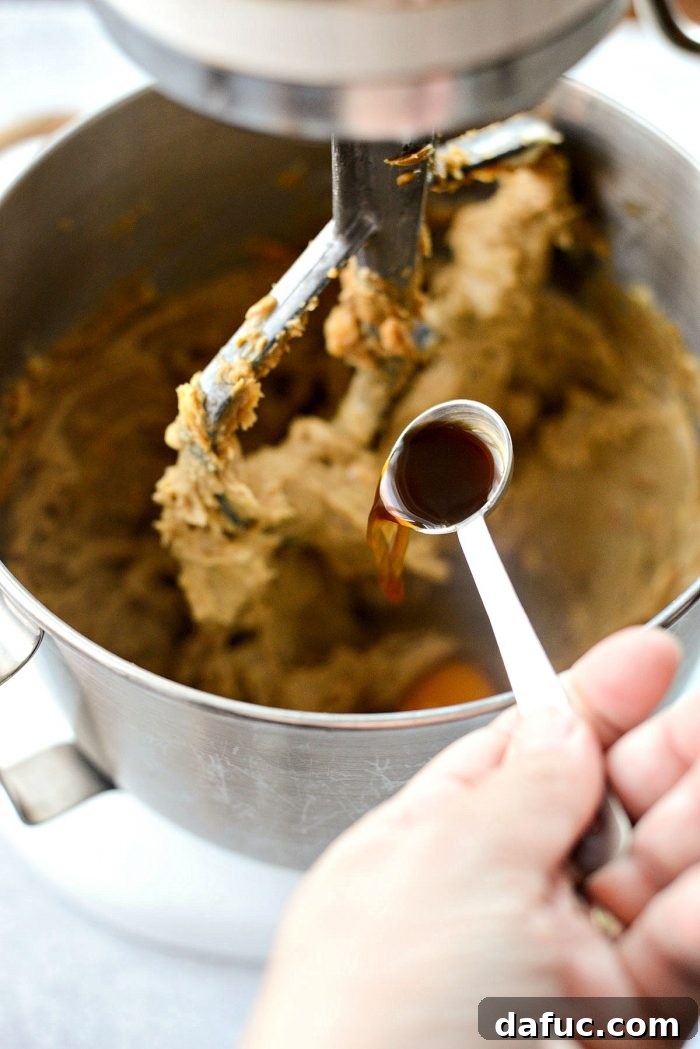
Vanilla extract enhances the overall flavor profile, adding warmth and depth.
5. Mix in Dry Ingredients Gradually
Add half of the dry ingredient mixture (oats, flours, baking soda, salt) to the wet ingredients. Mix on low speed until just combined, being careful not to overmix. Then, add the remaining dry mixture and mix until no streaks of flour remain, stopping as soon as everything is incorporated. Overmixing develops gluten, which can make cookies tough.
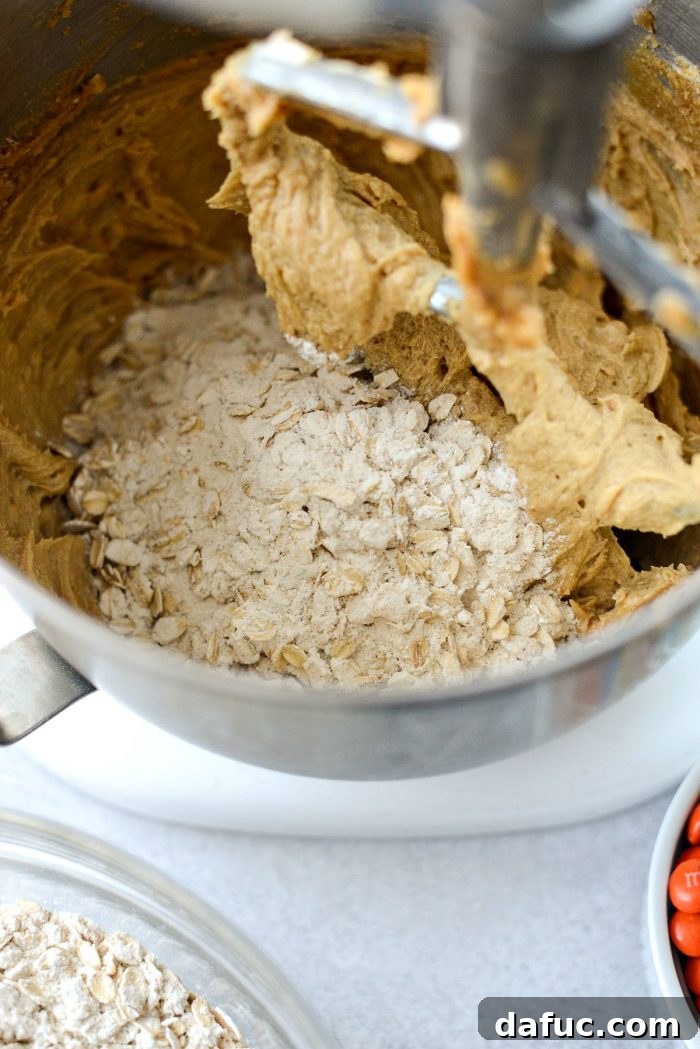
Add the dry ingredients in two batches to ensure even mixing without overworking the dough.
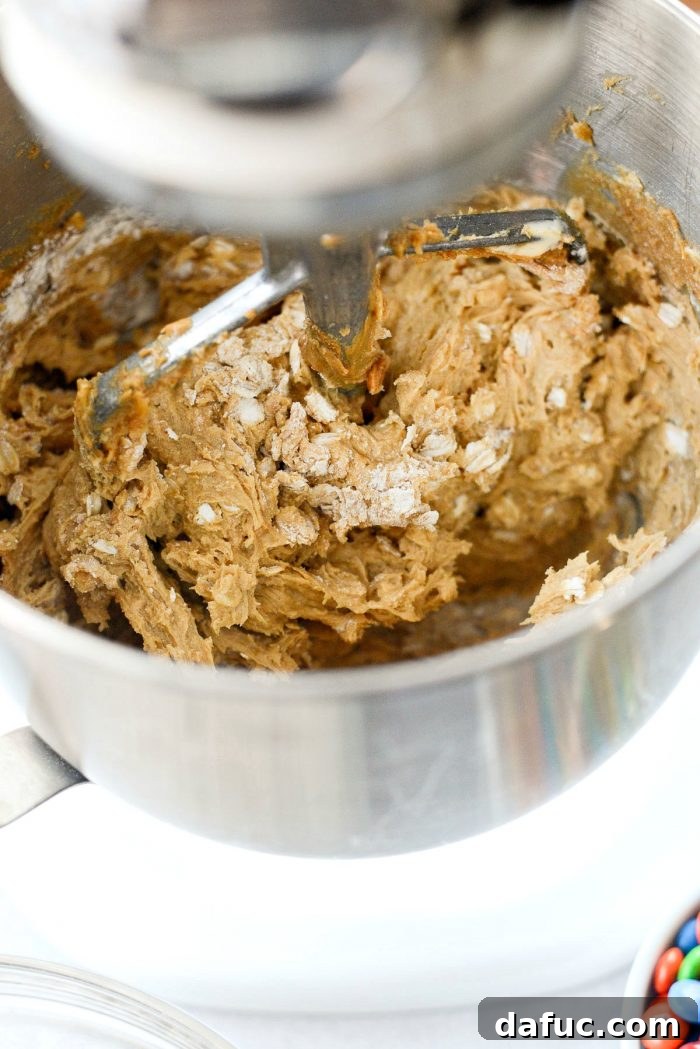
Stop mixing as soon as the dry ingredients are no longer visible to keep the cookies tender.
6. Fold in the “Monster” Add-Ins
Measure and add 1 cup of milk chocolate chips to the dough. Mix briefly on low speed or by hand to just incorporate them. Finally, add 2½ cups of M&M’s candies. At this stage, it’s best to switch to a sturdy spatula and fold them in by hand. This gentle mixing prevents crushing the M&M’s and ensures they are evenly distributed throughout the dough.
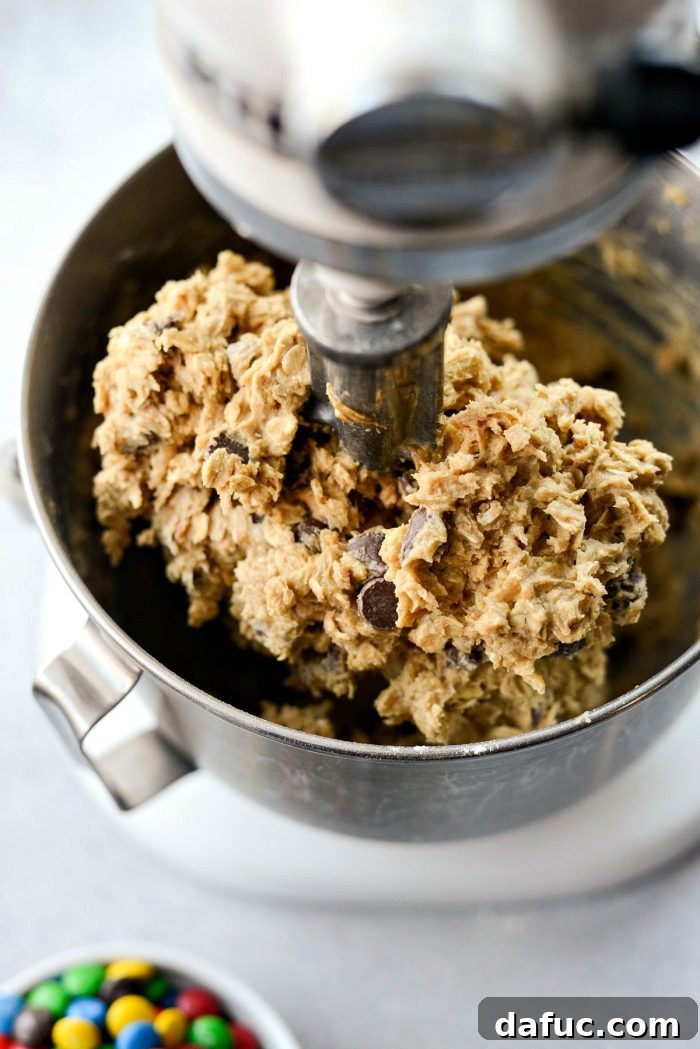
Gently fold in the chocolate chips to avoid breaking them.
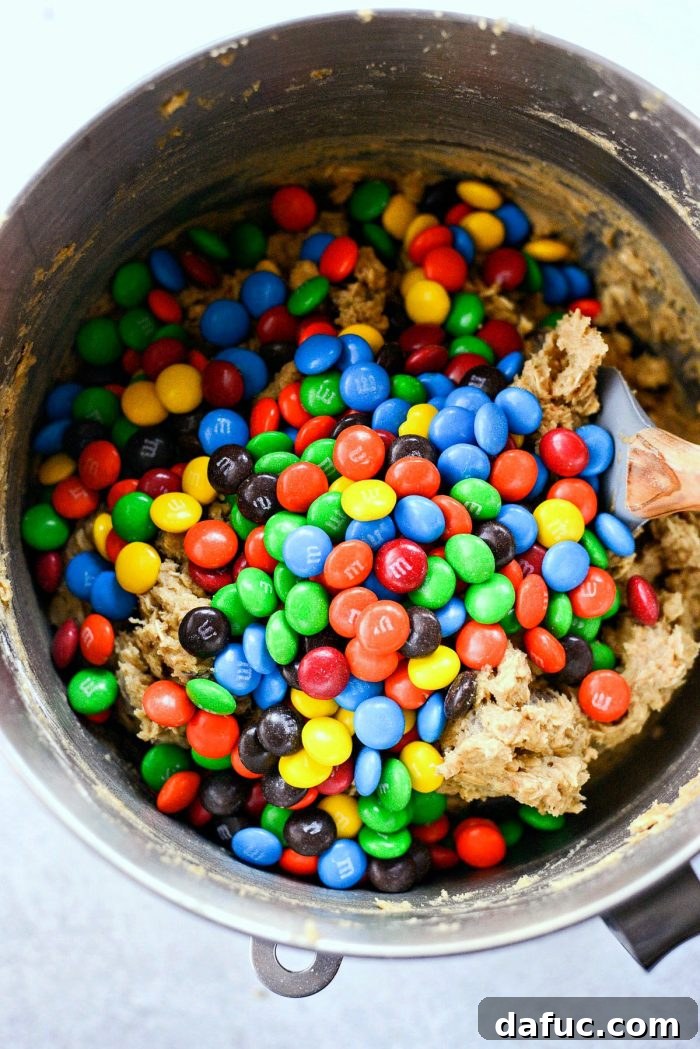
The colorful M&Ms are the final touch, making these cookies truly “monster” worthy.
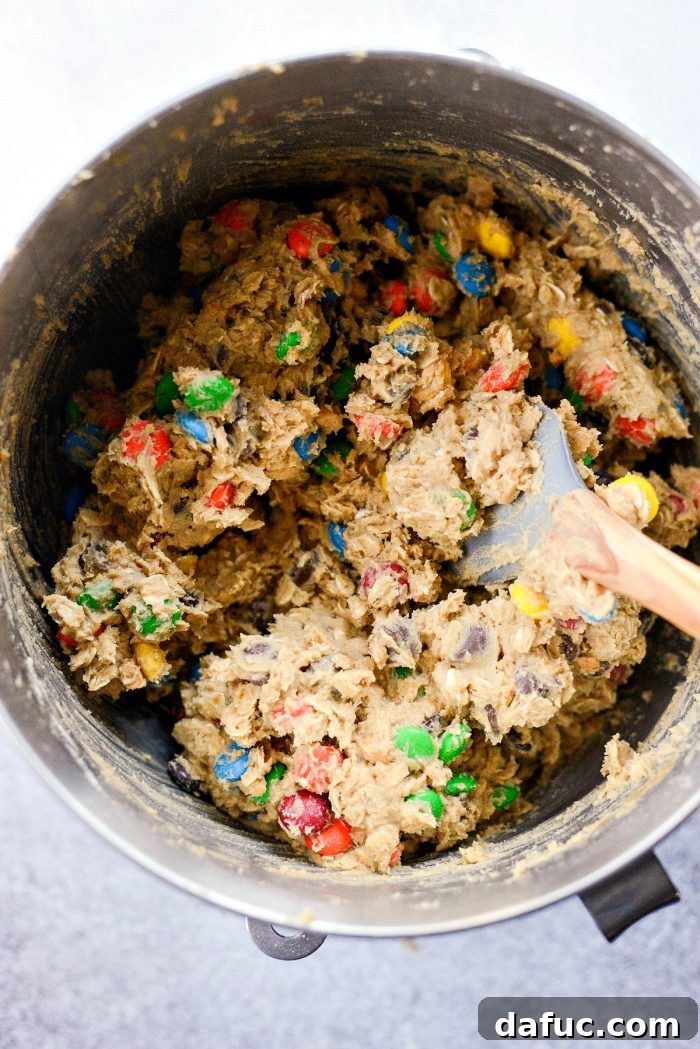
Hand mixing ensures the M&Ms are incorporated without getting crushed.
7. Scoop and Bake
Using a 3-tablespoon scoop (or a generously rounded tablespoon), portion out the cookie dough onto your prepared baking sheets. Space the scoops a few inches apart to allow for spreading. You should be able to fit about 10-12 cookies per standard baking sheet.
Bake on the middle rack of your preheated oven for 12 to 14 minutes, or until the edges are golden brown and the centers are still slightly soft. For even baking, you can rotate the baking sheets halfway through the baking time. Avoid overbaking, as this will result in dry cookies.
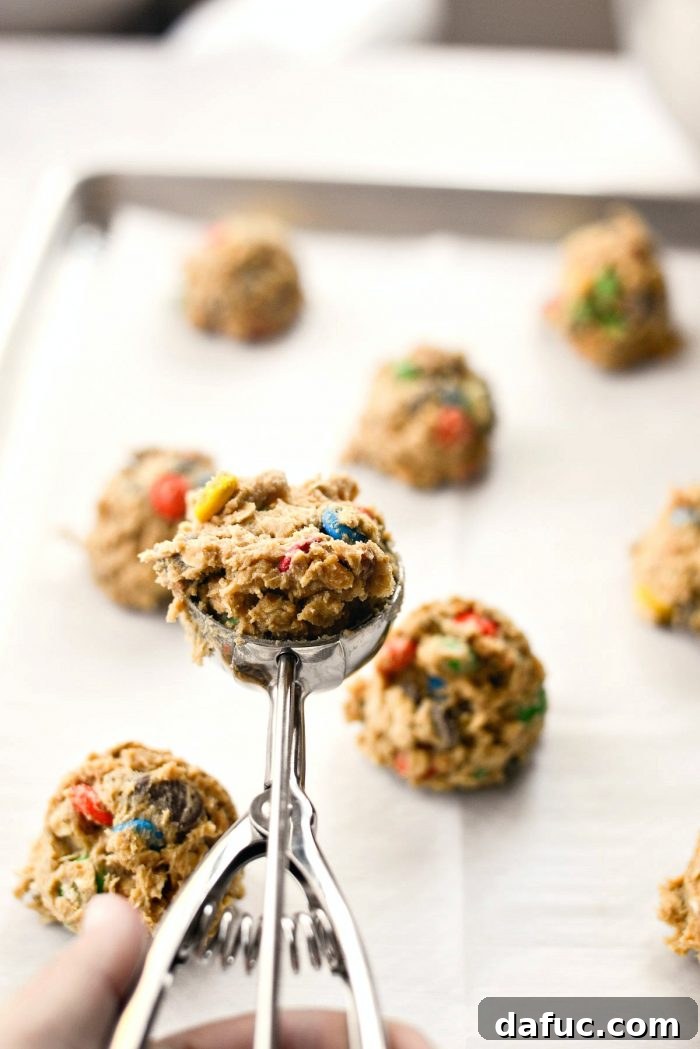
Consistent scoop size leads to even baking.
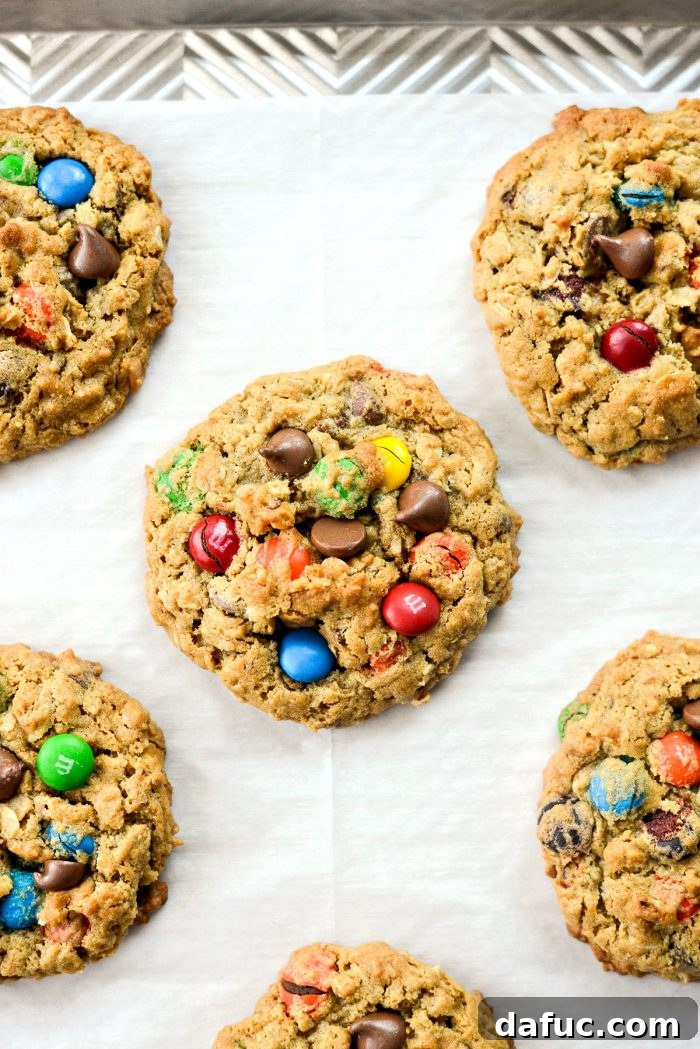
The cookies will continue to set as they cool, so don’t worry if they seem a little soft in the center.
8. Cool and Enjoy
Once baked, remove the baking sheets from the oven and let the cookies cool on the pan for 5 minutes. This allows them to set further and prevents them from breaking when transferred. Then, carefully transfer the cookies to a wire cooling rack to cool completely. Repeat the process with the remaining cookie dough.
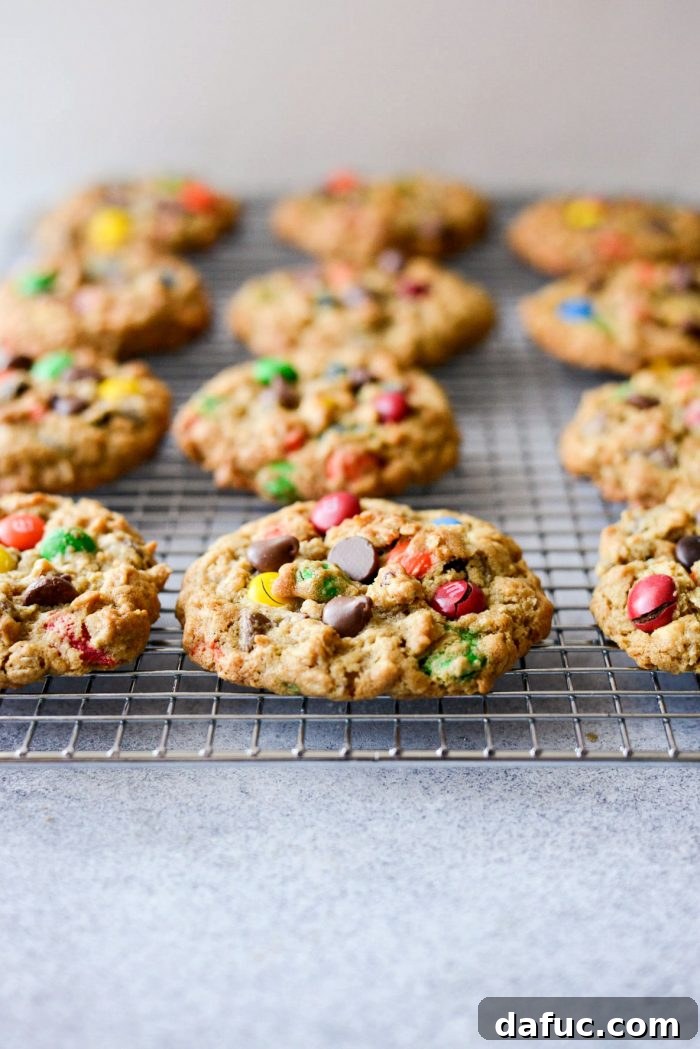
It’s challenging, but try to resist inhaling them all at once! The combination of crisp edges, peanut buttery goodness, crunchy candy, and chewy oatmeal makes these truly amazing.
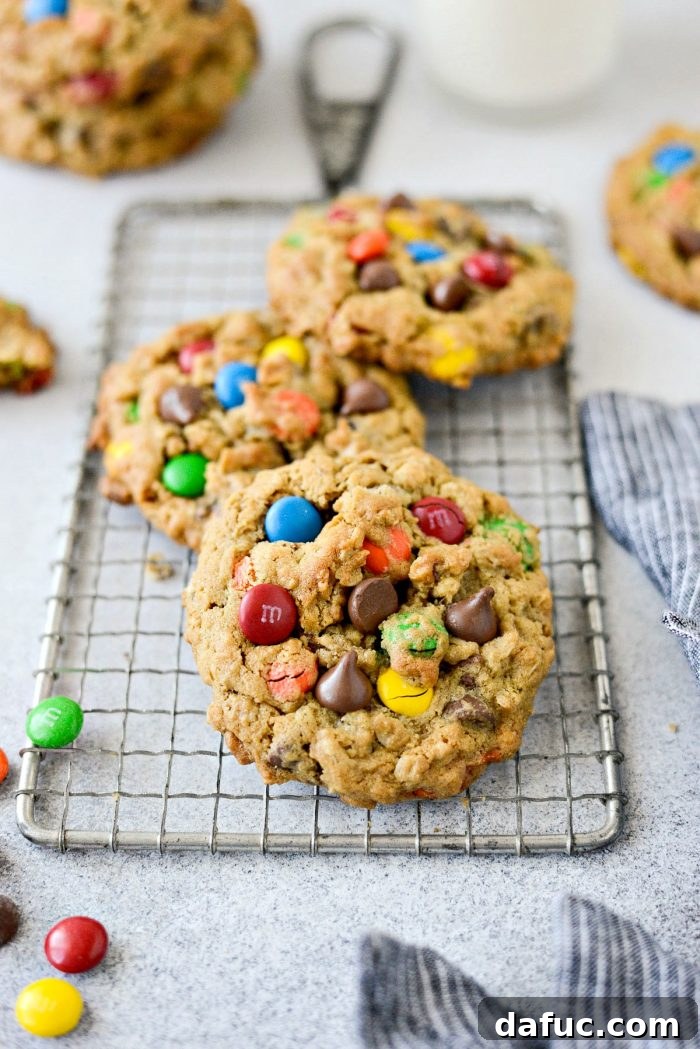
Expert Baking Tips for Monster Cookies
- Room Temperature Ingredients: Ensure your butter and eggs are at room temperature. This allows them to cream together more smoothly with the sugars, creating an emulsified mixture that traps air and results in a lighter, more evenly textured cookie.
- Don’t Overmix: Once you add the flour mixture, mix only until the ingredients are just combined. Overmixing develops gluten, which can lead to tough, dense cookies.
- Chilling the Dough (Optional but Recommended): While this recipe doesn’t explicitly call for it, chilling the dough for at least 30 minutes (or up to 24 hours) can significantly enhance flavor development and reduce spread, resulting in thicker, chewier cookies.
- Use a Cookie Scoop: A cookie scoop ensures uniform size, which leads to even baking. Plus, it makes portioning much quicker and cleaner.
- Parchment Paper or Silicone Mats: These are essential for preventing sticking and ensuring easy release of your cookies without breaking. They also promote even browning on the bottom.
- Don’t Overbake: Monster Cookies are best when slightly soft in the center. The edges should be golden brown, but the middle can look slightly underdone when you pull them from the oven. They will continue to bake slightly on the hot baking sheet as they cool.
- Rotate Baking Sheets: If your oven has hot spots, rotate your baking sheets halfway through the baking time to ensure all cookies bake evenly.
Customizing Your Monster Cookies
One of the best things about Monster Cookies is their versatility! Feel free to experiment with different additions to make them uniquely yours:
- Chocolate Varieties: Swap out milk chocolate chips for semi-sweet, dark chocolate, white chocolate, or a mix of several.
- Other Candies: Instead of or in addition to M&M’s, try chopped peanut butter cups, Reese’s Pieces, or other small candy-coated chocolates.
- Nuts: Add chopped walnuts, pecans, or additional peanuts for more crunch and nutty flavor.
- Pretzels: Crushed pretzels can add a delightful salty crunch, creating a wonderful sweet and savory contrast.
- Spices: A pinch of cinnamon or a dash of nutmeg can add an extra layer of warmth to the cookies.
Storage and Freezing Tips for Monster Cookies
To ensure your delicious Monster Cookies stay fresh and enjoyable for as long as possible, proper storage is key. You can store both baked cookies and unbaked cookie dough, making them a fantastic make-ahead treat.
How to Store Baked Monster Cookies:
Once your Monster Cookies have completely cooled down to room temperature, transfer them to an airtight container. Stored this way, they will remain fresh and delightfully chewy for up to a week. For optimal freshness and to prevent them from drying out, you can place a slice of bread in the container with the cookies. The bread will dry out, and the cookies will absorb its moisture, staying softer for longer.
How to Freeze Monster Cookies:
Freezing Monster Cookies is an excellent way to prepare ahead or ensure you always have a fresh-baked treat on hand. You have two main options:
- Freezing Baked Cookies: Allow the baked cookies to cool completely. Once cool, place them in a single layer on a baking sheet and freeze until solid (about 1-2 hours). Once frozen, transfer them to a freezer-safe zip-top bag or an airtight container, separating layers with parchment paper to prevent sticking. They can be stored for up to 2-3 months. To enjoy, simply thaw at room temperature or warm briefly in a microwave or oven.
- Freezing Raw Cookie Dough: This is a fantastic option for fresh-baked cookies whenever the craving strikes. Portion out the raw cookie dough using a 3-tablespoon scoop, just as you would for baking. Place the scoops of dough onto a parchment-lined baking sheet, leaving a small space between each. Transfer the baking sheet to your freezer and freeze until the dough balls are completely solid (this usually takes 2-3 hours). Once frozen, transfer the solid dough balls to a freezer-safe container or a heavy-duty freezer bag. Label with the date and baking instructions. The dough can be stored for up to 2 months.
To Bake Frozen Dough: There’s no need to thaw the dough before baking! Simply place the frozen dough balls on a prepared baking sheet and bake according to the recipe instructions (350℉/180℃ for 12-14 minutes). You might need to add an extra 1-3 minutes to the baking time, so keep an eye on them until the edges are golden brown. This method delivers warm, fresh-from-the-oven cookies with minimal effort.
For more delicious cookie recipes, explore our collection here.
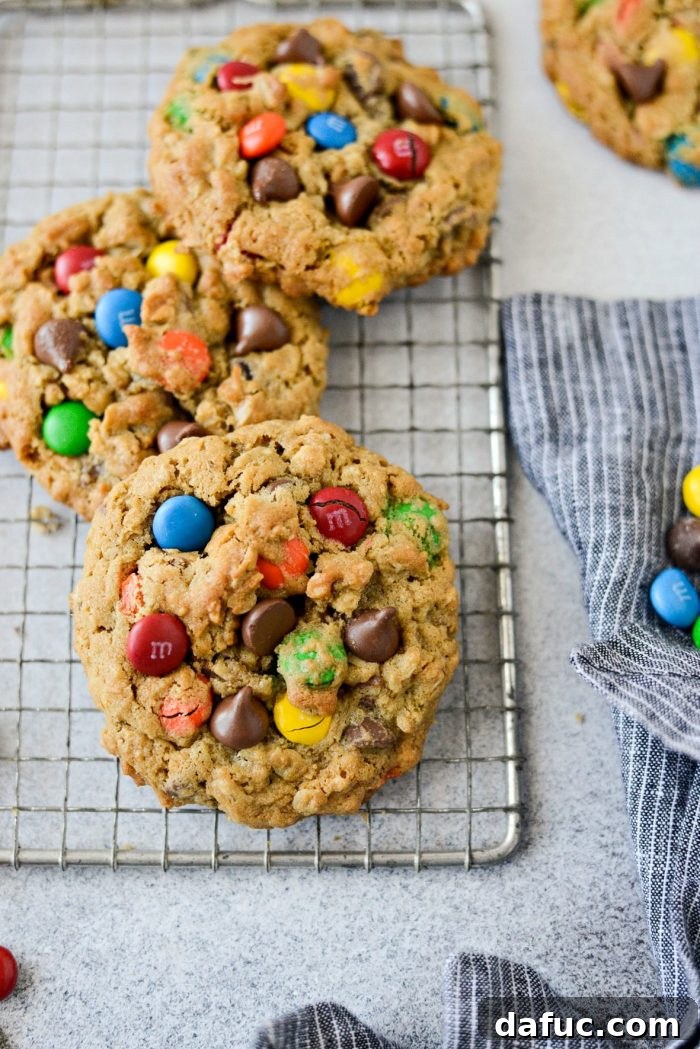
Enjoy! And if you give this Monster Cookies recipe a try, we’d love to hear from you! Snap a photo and tag us on Twitter or Instagram!

Print Recipe
Pin Recipe
Average Rating: 4.86 from 7 ratings
Leave a Review »
Monster Cookies
Monster Cookies are jammed packed with goodies like oatmeal, peanut butter, chocolate chips and M&M candies! The ultimate cookie loaded with delicious flavor and texture.
Ingredients
- 2½ cups old fashioned rolled oats
- 1 cup unbleached all-purpose flour
- 1/2 cup whole wheat flour
- 2 teaspoons baking soda
- 1/2 teaspoon fine salt, like sea salt or pink himalayan
- 1 cup unsalted butter, softened to room temperature
- 1 cup peanut butter, crunchy
- 3/4 cup dark brown sugar
- 3/4 cup granulated sugar
- 2 large eggs
- 1 teaspoon vanilla extract
- 1 cup milk chocolate chips
- 1½ cups M&M candies
Equipment
-
KitchenAid KP26M1XWH 6 Qt. Professional 600 Series Bowl-Lift Stand Mixer – White
Instructions
-
Preheat your oven to 350℉ (or 180℃) and line a rimmed metal baking sheets with parchment or silicone mats.
-
Combine oats, flours, baking soda and salt in a bowl. Then set off to the side.
-
In the bowl of your stand mixer, fitted with the paddle attachment, add the softened butter, peanut butter and both sugars. Mix until light and creamy.
-
Add in one egg at a time, mixing well after each addition. Add 1 teaspoon vanilla extract with the final egg.
-
Then add in half of the oat and flour mixture, mixing until just combined. Repeat with the remaining oat/flour mixture, mixing until just combined.
-
Mix in the chocolate chips and then fold in the M&M’s by hand using a spatula.
-
Use a 3-tablespoon scoop to measure out each cookie. Space 10-12 scoops of cookie dough a few inches apart on the prepared pan. Bake on the middle rack of your preheated oven for 12 to 14 minutes (rotating halfway through if needed).
-
Once the edges are golden, remove the cookies and transfer them to a wire cooling rack after 5 minutes on the baking sheet. Repeat with remaining dough.
Notes
Nutrition Information (per serving):
- Serving: 1 cookie
- Calories: 290 kcal
- Carbohydrates: 34g
- Protein: 5g
- Fat: 16g
- Saturated Fat: 8g
- Polyunsaturated Fat: 2g
- Monounsaturated Fat: 4g
- Trans Fat: 0.3g
- Cholesterol: 30mg
- Sodium: 163mg
- Potassium: 121mg
- Fiber: 2g
- Sugar: 22g
- Vitamin A: 231 IU
- Vitamin C: 0.1mg
- Calcium: 35mg
- Iron: 1mg