
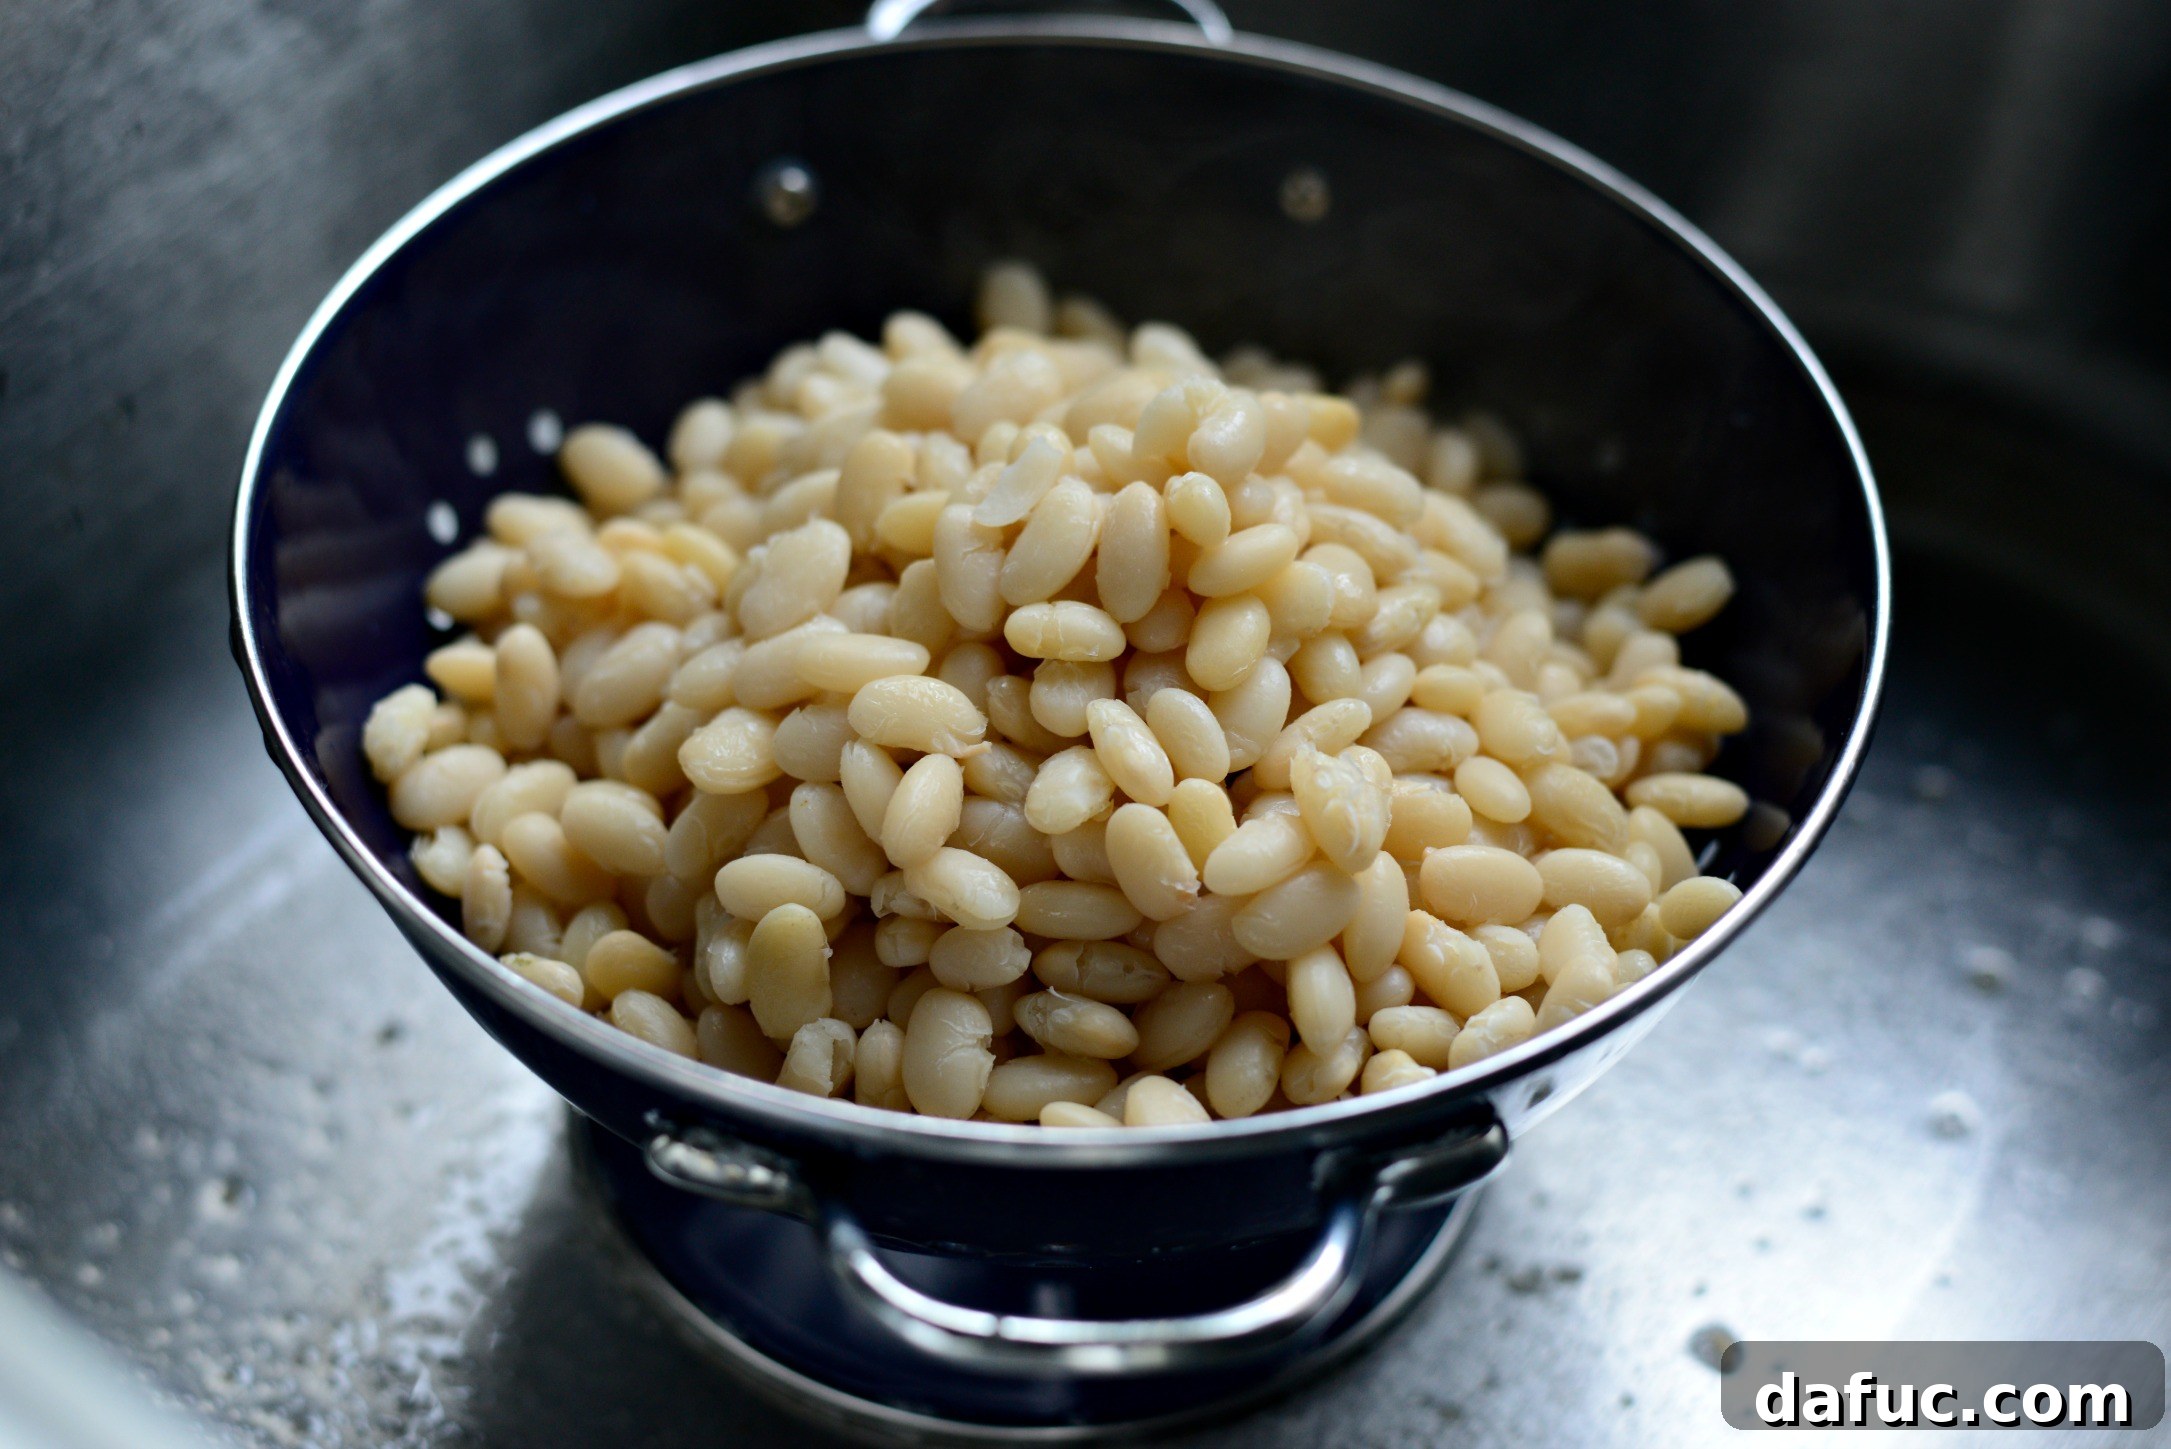
Unlock the secrets to perfectly tender, flavorful dried beans with this comprehensive guide on how to soak and cook them from scratch. Whether you prefer the traditional overnight soak or need a quicker method, mastering bean preparation will elevate your cooking, offer significant health benefits, and save you money. This fool-proof method will ensure your beans are always delicious, ready for any recipe, from hearty chili to fresh salads.
Why Cook Dried Beans from Scratch?
There’s a world of difference between canned beans and those prepared at home. While canned varieties offer convenience, cooking dried beans provides superior flavor, texture, and nutritional control. By preparing beans from scratch, you can regulate the sodium content, avoid unwanted additives, and enjoy a fresher, earthier taste that canned versions simply can’t match. It’s also significantly more cost-effective, making it a budget-friendly staple for any kitchen. From kidney beans to cannellini, pinto, black beans, or chickpeas, the method is largely the same, allowing you to produce versatile ingredients for countless meals.
Understanding Bean Soaking: Why It Matters
Soaking dried beans before cooking is a step often debated but widely recommended by culinary experts. This pre-treatment offers several key advantages:
- Reduced Cooking Time: Soaking rehydrates the beans, significantly cutting down on their simmering time.
- Improved Texture: It helps the beans cook more evenly, resulting in a creamier interior and fewer burst skins.
- Aids Digestion: Soaking helps to break down oligosaccharides, complex sugars responsible for gas and indigestion. Discarding the soaking water removes a good portion of these compounds.
- Enhanced Nutrient Absorption: It can reduce phytic acid, an anti-nutrient that can inhibit the absorption of minerals like iron, zinc, and calcium.
While some smaller, fresher beans might do well without a soak, most varieties benefit immensely from this simple preparatory step.
Essential First Steps: Sorting and Rinsing Your Dried Beans
Before you begin any soaking method, it’s crucial to properly prepare your dried beans. This initial stage ensures you’re working with clean, high-quality legumes.
Start by carefully sorting through the dried beans. Spread them out on a light-colored surface, like a baking sheet or a clean kitchen towel. Even though beans are machine-processed, small foreign objects can sometimes slip through. Look for and discard any tiny stones, clumps of dirt, shriveled beans, or broken pieces that might have been packaged with the whole beans. This step is essential to prevent any unpleasant surprises in your cooked dish.
Once sorted, place the beans in a colander and rinse them thoroughly under cold running water. This removes any dust or surface debris that might be clinging to the beans. A good rinse ensures your beans start clean before they absorb any liquid.
Mastering the Soak: Two Effective Methods
There are two primary methods for soaking dried beans, each with its advantages. Your choice will depend on how much time you have and your personal preference.
Method 1: The Traditional Long Soak (Overnight Method)
The long soak is the most common and arguably the easiest method, requiring minimal active effort. It’s perfect for planning ahead.
- After sorting and rinsing your beans, place them in a large bowl.
- Cover the beans with cold water by at least 2 to 3 inches. Beans will expand significantly, so ensure there’s plenty of liquid.
- Let the beans soak at room temperature for 8 to 12 hours, or overnight. If you live in a very warm climate or are soaking for longer than 12 hours, it’s best to place the bowl in the refrigerator.
- After soaking, drain the water from the beans and rinse them thoroughly under cold running water again. Discarding this water is key to reducing those gas-producing compounds.
Method 2: The Expedited Quick Soak
For those times when you forget to soak your beans overnight, the quick soak method comes to the rescue. It achieves similar results in a fraction of the time.
- Place your sorted and rinsed beans in a medium-sized pot.
- Cover the beans generously with hot water, ensuring they are submerged by at least 2 inches. Roughly 6 cups of water per pound of beans is a good starting point.
- Bring the water to a rolling boil over high heat.
- Once boiling vigorously, continue to cook the beans in the rolling boil for exactly 2 minutes.
Remove the pot from the heat, cover it tightly with a lid, and let the beans stand in the hot water for 1 hour. During this time, the hot water rapidly rehydrates the beans.
After the hour, drain the beans thoroughly. You might notice their skins starting to pull back slightly, indicating they are rehydrated. Give them another quick rinse under cold water.
Cooking Soaked Dried Beans to Perfection
Once your beans are properly soaked using either method, they are ready for the final cooking stage. This is where they transform from hard kernels into tender, creamy legumes.
Final Rinse and Fresh Water
After soaking and draining the beans, place them back into a clean, medium-to-large pot. Cover them with fresh, cool water by about 2-3 inches above the beans. Using fresh water for cooking is important; don’t reuse the soaking water, even if it was a quick soak. This helps in achieving better flavor and further reduces gas-producing compounds.
The Cooking Process: From Simmer to Tender
Now, it’s time to cook your beans until they reach perfect tenderness.
- Bring the pot of beans and fresh water to a boil over high heat.
- Once a rolling boil is achieved, reduce the heat immediately to low. The goal is a gentle simmer, where the liquid barely bubbles.
- Cover the pot with a lid and simmer for 1.5 to 2 hours. The cooking time can vary significantly depending on the type and age of the beans. Older beans often take longer to cook.
- Check for tenderness periodically by tasting a bean. It should be creamy and soft, not chalky or hard in the center.
Tips for Perfectly Cooked Beans Every Time:
- When to Add Salt: Avoid adding salt to the cooking water at the beginning, as it can sometimes toughen the bean skins, leading to uneven cooking. Instead, wait until the beans are almost tender, in the last 15-20 minutes of cooking, or season them after they are fully cooked.
- Enhance Flavor: For added depth, consider adding aromatics to the cooking water, such as a bay leaf, a few garlic cloves, half an onion, or a sprig of fresh herbs like thyme. Remove these before serving.
- Don’t Overcrowd the Pot: Ensure there’s enough room for the beans to expand and cook evenly.
- Maintain a Gentle Simmer: A hard boil can cause beans to break apart or become mushy. A gentle simmer ensures even cooking and prevents excessive agitation.
- Different Bean Types: While the method is similar, cooking times vary. Lentils (except some larger varieties) generally don’t require soaking and cook much faster (20-30 minutes). Chickpeas, kidney beans, and other large beans typically fall within the 1.5-2 hour range.
- Troubleshooting Hard Beans: If your beans remain hard despite adequate cooking time, it could be due to old beans or hard water. Adding a pinch of baking soda (about 1/4 teaspoon per pound of beans) to the cooking water can sometimes help soften them, but use sparingly to avoid a soapy taste.
Storing Your Home-Cooked Beans
Once your beans are perfectly cooked and tender, drain them (unless you intend to use them immediately in a soup or stew that calls for their cooking liquid). Let them cool completely before storing. Place the cooled beans in an airtight container in the refrigerator, where they will stay fresh for 3 to 5 days. For longer storage, you can freeze them in freezer-safe bags or containers for several months. Freezing cooked beans in portions is a fantastic way to have them ready to go for future meals, making them just as convenient as canned beans, but with superior quality.
Versatile Uses for Your Delicious Dried Beans
With a batch of freshly cooked beans on hand, the culinary possibilities are endless. They are a versatile ingredient that can be incorporated into a wide array of dishes:
- Chili and Soups: The foundation for hearty chilis, stews, and comforting bean soups.
- Salads: Add to green salads, grain bowls, or create a vibrant bean salad with fresh vegetables and vinaigrette.
- Dips and Spreads: Mash them into hummus (chickpeas), refried beans (pinto beans), or other savory dips.
- Side Dishes: Serve as a simple, nutritious side dish seasoned with herbs and spices.
- Burritos, Tacos, and Wraps: A flavorful and filling component for your favorite Tex-Mex creations.
- Vegetarian Meals: A fantastic source of plant-based protein for vegetarian and vegan dishes.
The Nutritional Powerhouse: Health Benefits of Beans
Beyond their culinary versatility, beans are a nutritional powerhouse. They are an excellent source of dietary fiber, promoting digestive health and helping to regulate blood sugar levels. Rich in plant-based protein, they are a fantastic option for vegetarians and vegans. Beans also provide essential vitamins and minerals, including folate, iron, magnesium, potassium, and zinc. Regularly incorporating beans into your diet can contribute to heart health, weight management, and overall well-being.
Conclusion: Embrace the Joy of Home-Cooked Beans
Cooking dried beans from scratch might seem like a daunting task at first, but with these simple, fool-proof methods, you’ll discover a world of flavor, savings, and nutritional benefits. The satisfaction of transforming humble dried beans into a tender, delicious ingredient is immensely rewarding. So go ahead, give it a try! You’ll wonder why you ever relied solely on canned varieties. Enjoy the journey to perfectly cooked beans!
Enjoy! And if you give this How To Soak and Cook Dried Beans method a try, let me know! Snap a photo and tag me on twitter or instagram!
Print Recipe
Pin Recipe
How To Soak and Cook Dried Beans from Scratch
Ingredients
- 1 pound dried beans (e.g., cannellini, kidney, pinto, black beans)
- 6-8 cups water (for soaking and cooking)
- Salt (to taste, added at the end of cooking)
- Optional aromatics (bay leaf, garlic cloves, onion halves)
Instructions
-
Sort through the dried beans carefully to remove any small stones, debris, or broken pieces.
-
Rinse the sorted beans thoroughly under cold running water using a colander.
-
Choose your soaking method:
- Long Soak (Overnight): Place rinsed beans in a large bowl, cover with water by 2-3 inches. Let soak at room temperature for 8-12 hours. Drain and rinse before cooking.
- Quick Soak: Place rinsed beans in a medium-sized pot, cover with at least 6 cups of hot water. Bring to a rolling boil for 2 minutes. Remove from heat, cover, and let stand for 1 hour. Drain and rinse before cooking.
-
After soaking, return the drained and rinsed beans to the pot. Cover with fresh, cool water (about 2-3 inches above the beans). Add any optional aromatics like a bay leaf or garlic cloves now.
-
Bring the water to a boil over high heat. Once boiling, reduce the heat to low, cover the pot, and simmer for 1.5 to 2 hours, or until the beans are tender. Cooking time may vary based on bean type and freshness. Do not add salt until the beans are tender.
-
Once tender, drain the beans (unless they are part of a soup or stew where the liquid is desired). Season with salt to taste.
-
Serve immediately or allow to cool before storing in an airtight container in the refrigerator for up to 3-5 days, or freeze for several months.