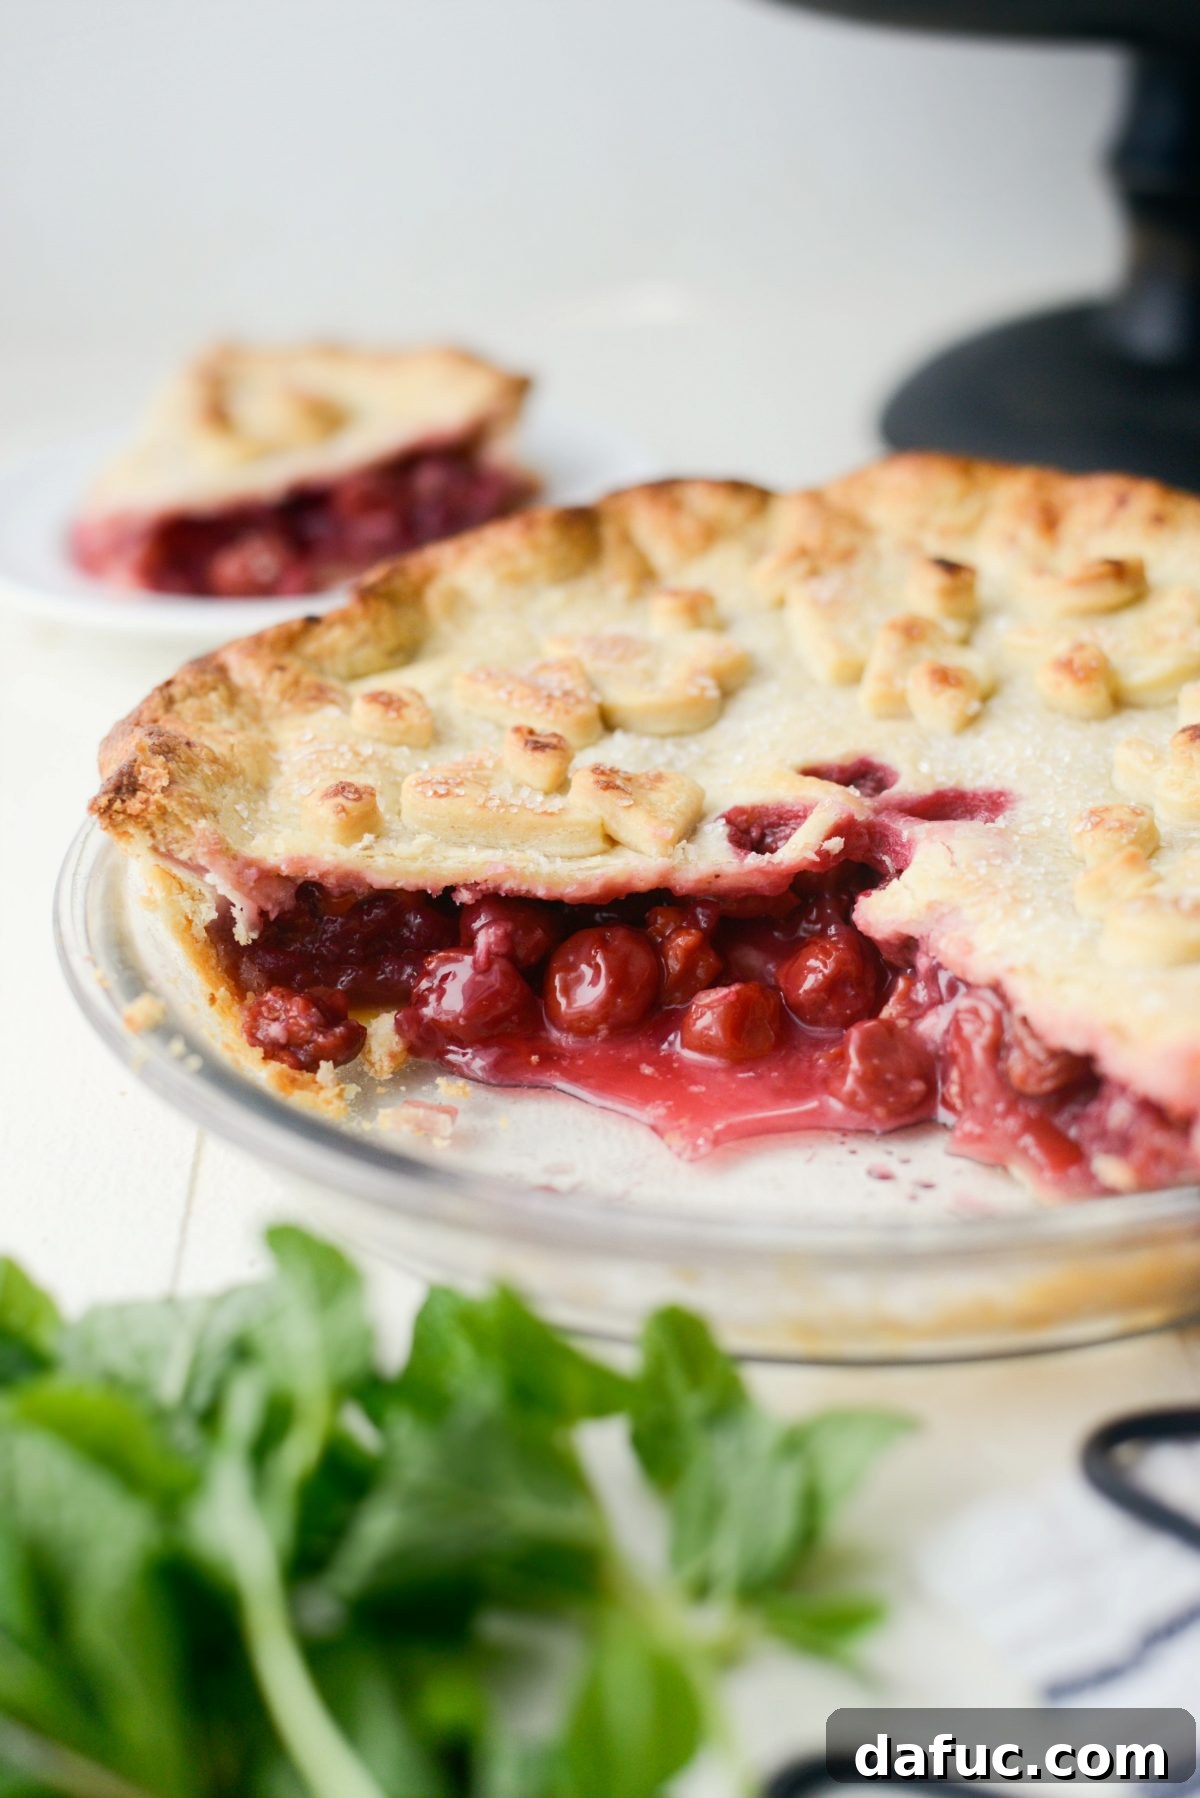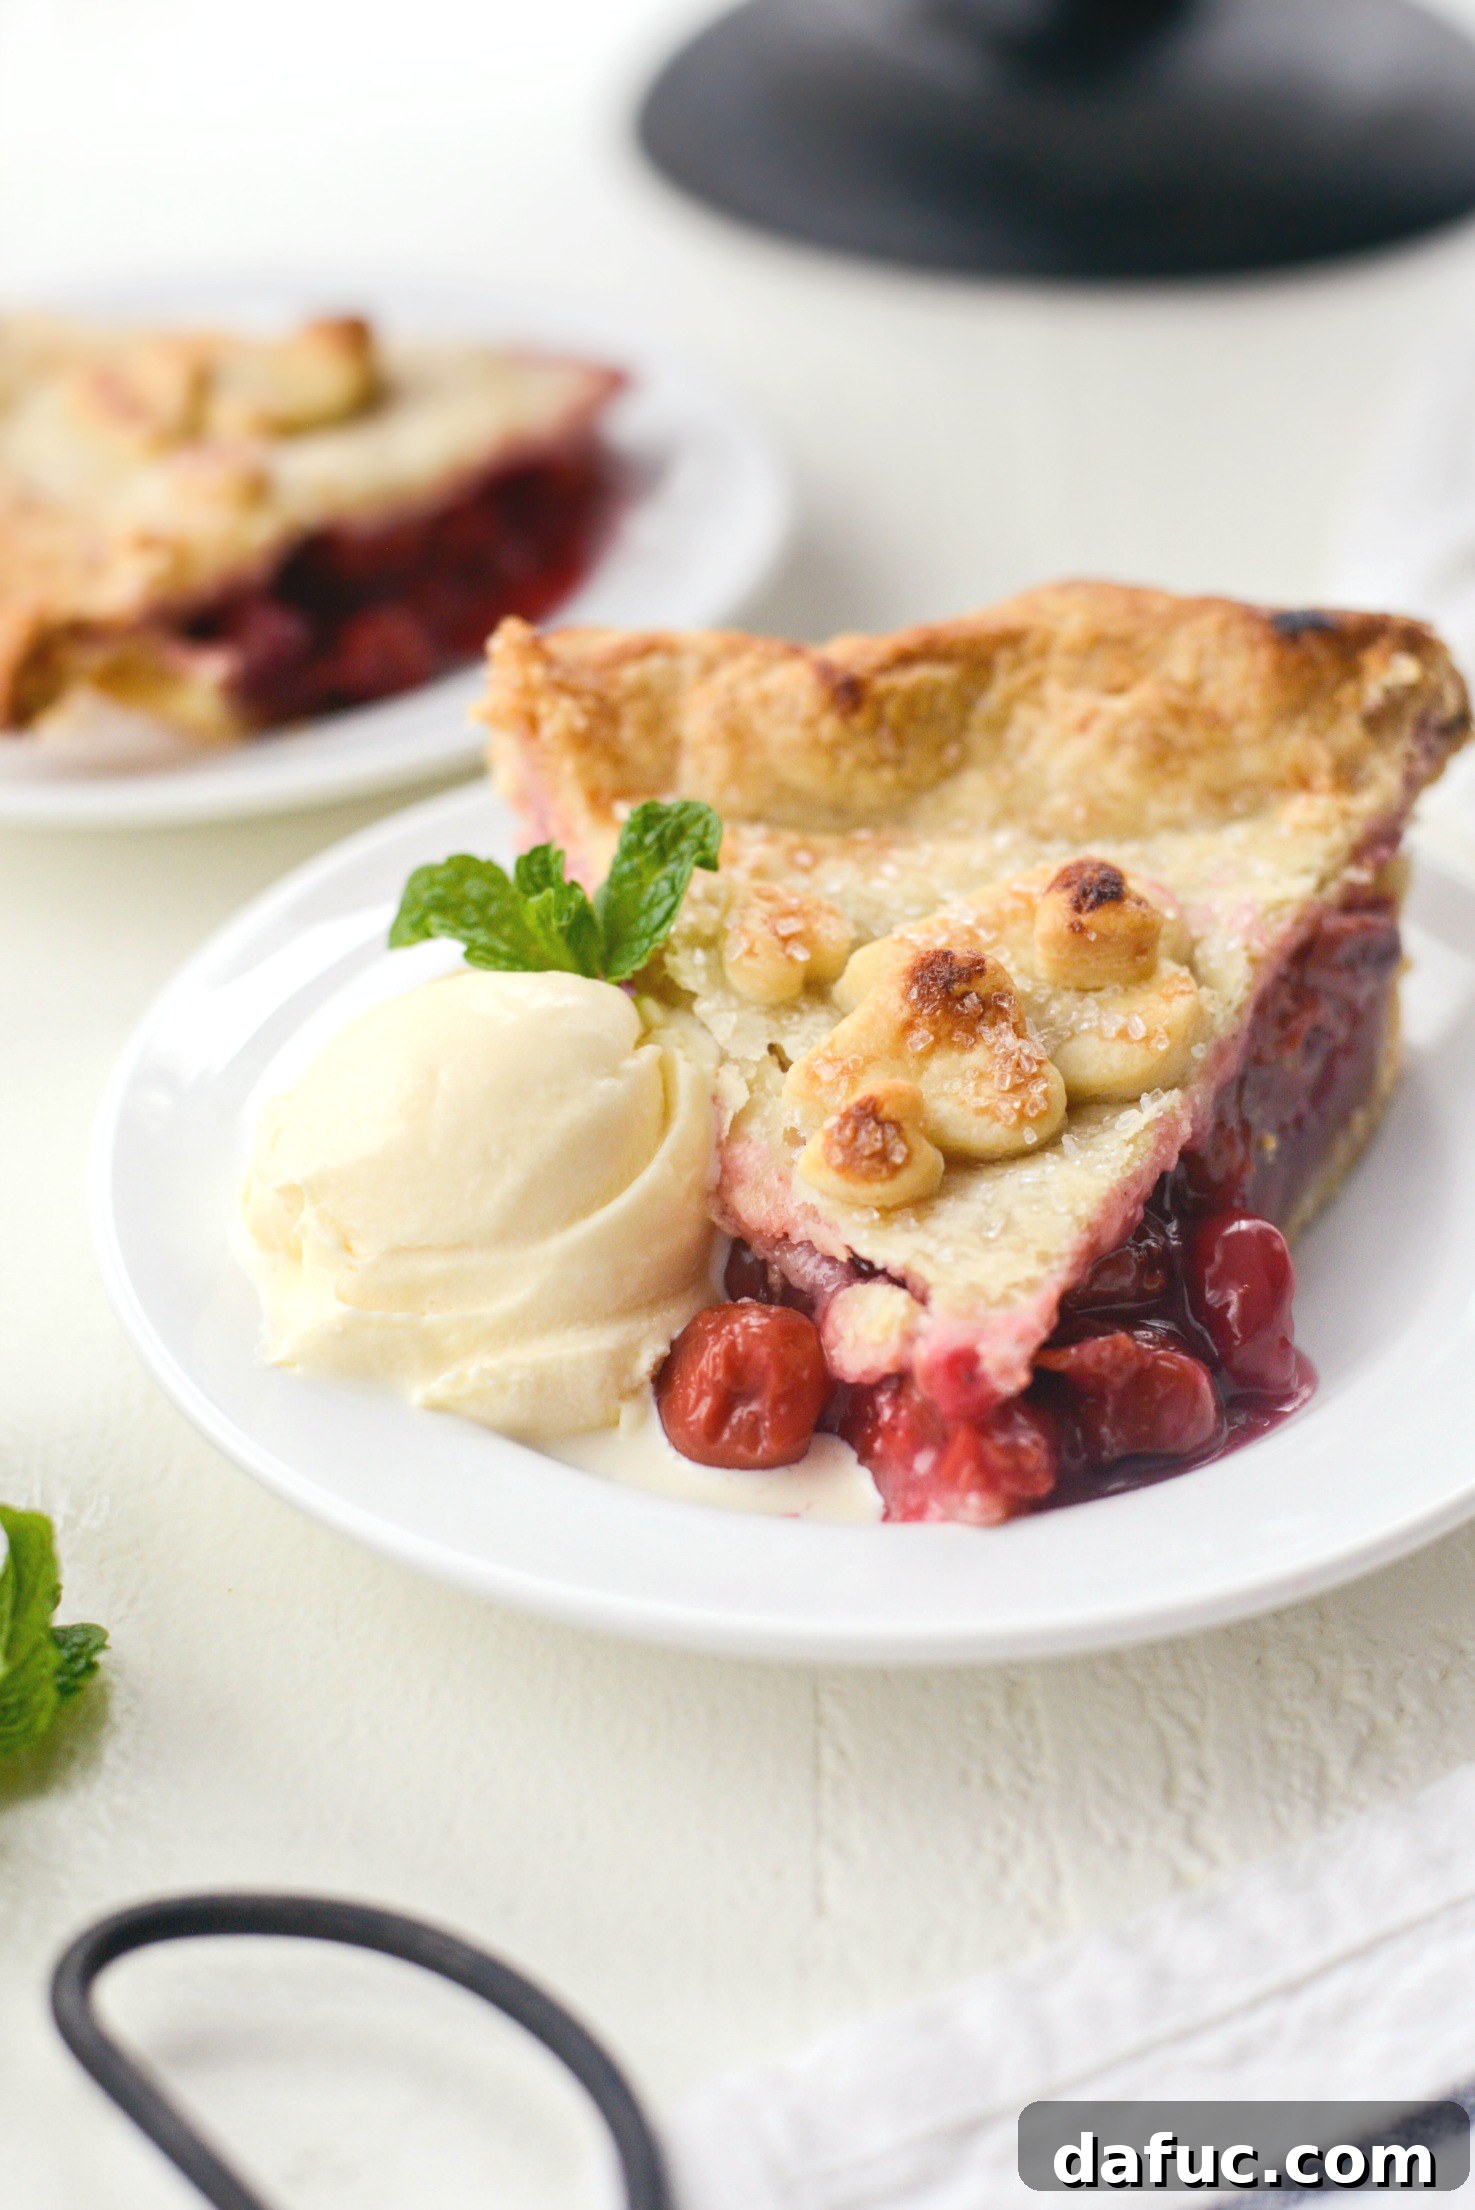
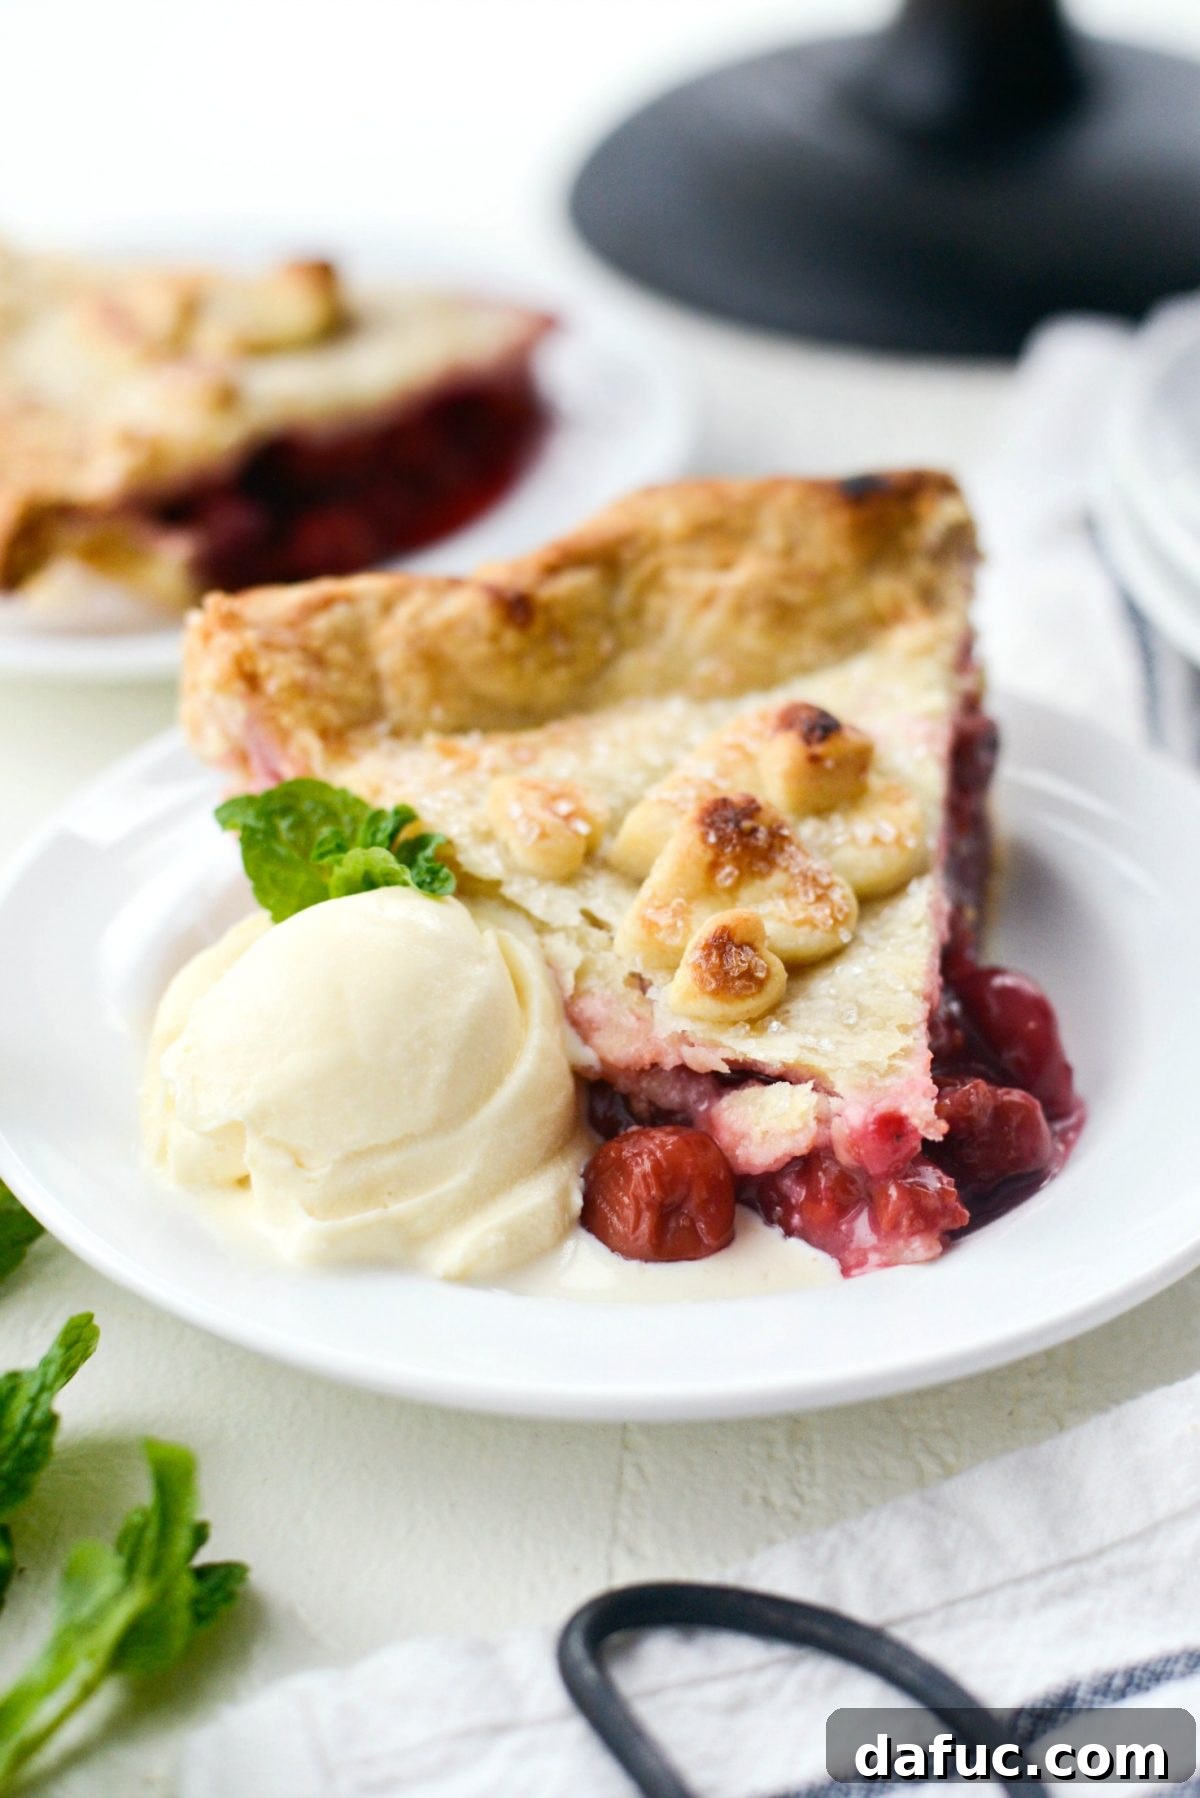
There are few desserts as iconic and comforting as a classic Homemade Cherry Pie. Imagine sinking your teeth into a slice of pure bliss: a perfectly flaky, golden-brown crust cradling a luscious, thick filling bursting with the vibrant sweetness and subtle tartness of ripe cherries. Served warm with a generous scoop of vanilla bean ice cream and a steaming mug of coffee, it’s a culinary experience that truly embodies the essence of homemade goodness. This isn’t just a dessert; it’s a warm hug, a taste of nostalgia, and a testament to the simple joys of baking from scratch.
Embracing the Cherry Season: Why This Pie is Perfect Anytime
Did you know that February is often celebrated as National Cherry Month? While fresh cherries typically grace our produce aisles in late spring and early summer, this designated month encourages us to celebrate this delightful fruit in all its forms, making it an ideal time to indulge in a homemade cherry pie. The beauty of this recipe is its versatility, allowing you to enjoy the unparalleled flavor of cherry pie regardless of the season. By utilizing high-quality frozen tart cherries, you can capture that peak summer taste year-round.
For this recipe, I specifically sought out a 40-ounce bag of frozen Michigan “red” pie cherries. These particular tart cherries are renowned for their intense flavor and vibrant color, making them the superior choice for a truly exceptional cherry pie. While sweet cherries can be delicious for snacking, their tart counterparts create a more complex and balanced filling that pairs perfectly with a buttery crust. Whether it’s National Cherry Month, Valentine’s Day, or simply a craving for something sweet and comforting, there’s always a good reason to bake this pie.
What truly sets this cherry pie apart, much like my acclaimed apple pie recipe, is the ingenious technique of preparing the filling ahead of time. This crucial step prevents the common issue of a sunken top crust and ensures that your filling thickens beautifully and consistently throughout the baking process. No more runny pie or uneven textures – just pure, perfectly set cherry delight in every single slice.
Crafting the Perfect Homemade Cherry Pie: A Step-by-Step Guide
Baking a homemade cherry pie from scratch is a rewarding experience that fills your kitchen with an irresistible aroma. While it might seem daunting, this recipe is designed to be straightforward and accessible, even for novice bakers. The key lies in careful preparation and attention to detail, ensuring every element, from the flaky crust to the bubbling cherry filling, is absolutely perfect. Let’s gather our ingredients and embark on this delicious journey!
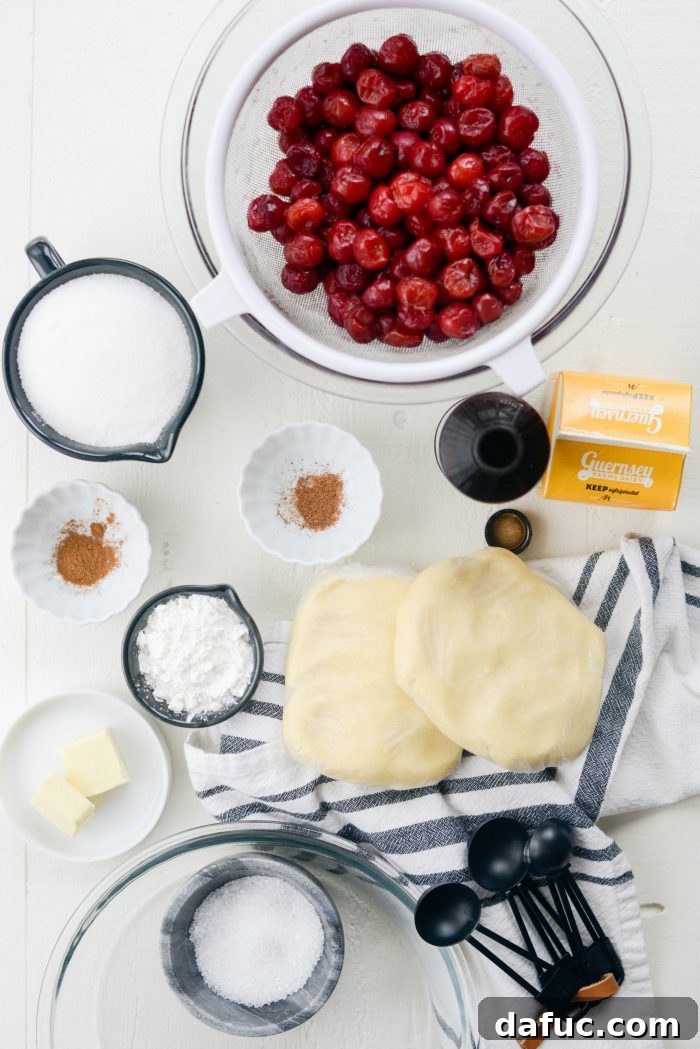
Essential Ingredients for Your Cherry Pie Masterpiece:
- **Sweet Red Pie Cherries:** Frozen is best for consistency and year-round availability. Remember to save all the precious juices that collect during thawing!
- **Homemade Pie Crust:** A good pie starts with a great crust. Use your favorite recipe for a flaky, buttery pastry.
- **Granulated Sugar:** To balance the tartness of the cherries and create that irresistible sweetness.
- **Cornstarch:** The secret to a perfectly thick, glossy filling that won’t run.
- **Pure Vanilla Extract:** Adds a warm, aromatic depth that complements the fruit beautifully.
- **Ground Cinnamon & Nutmeg:** These classic spices enhance the cherry flavor with a hint of warmth and complexity.
- **Unsalted Butter:** Dotted over the filling, it adds richness and helps create a luxurious texture.
- **Heavy Cream:** For brushing the top crust, encouraging a golden-brown finish and a touch of richness.
- **Coarse Sugar:** Sprinkled on top for a beautiful sparkle and delightful crunch.
Preparation: The Night Before (or at Least 6 Hours Ahead)
The first crucial step to a perfectly set cherry pie filling begins well before baking. This simple overnight process ensures optimal flavor and consistency:
Place 5 cups of frozen tart pie cherries into a mesh strainer set over a bowl. This setup allows the cherries to thaw slowly in your refrigerator, collecting all their natural juices in the bowl below. This thawing process typically takes at least 6 hours, so it’s most convenient to do it overnight. This patient approach is vital, as those collected juices are key to building a flavorful and perfectly thickened filling.
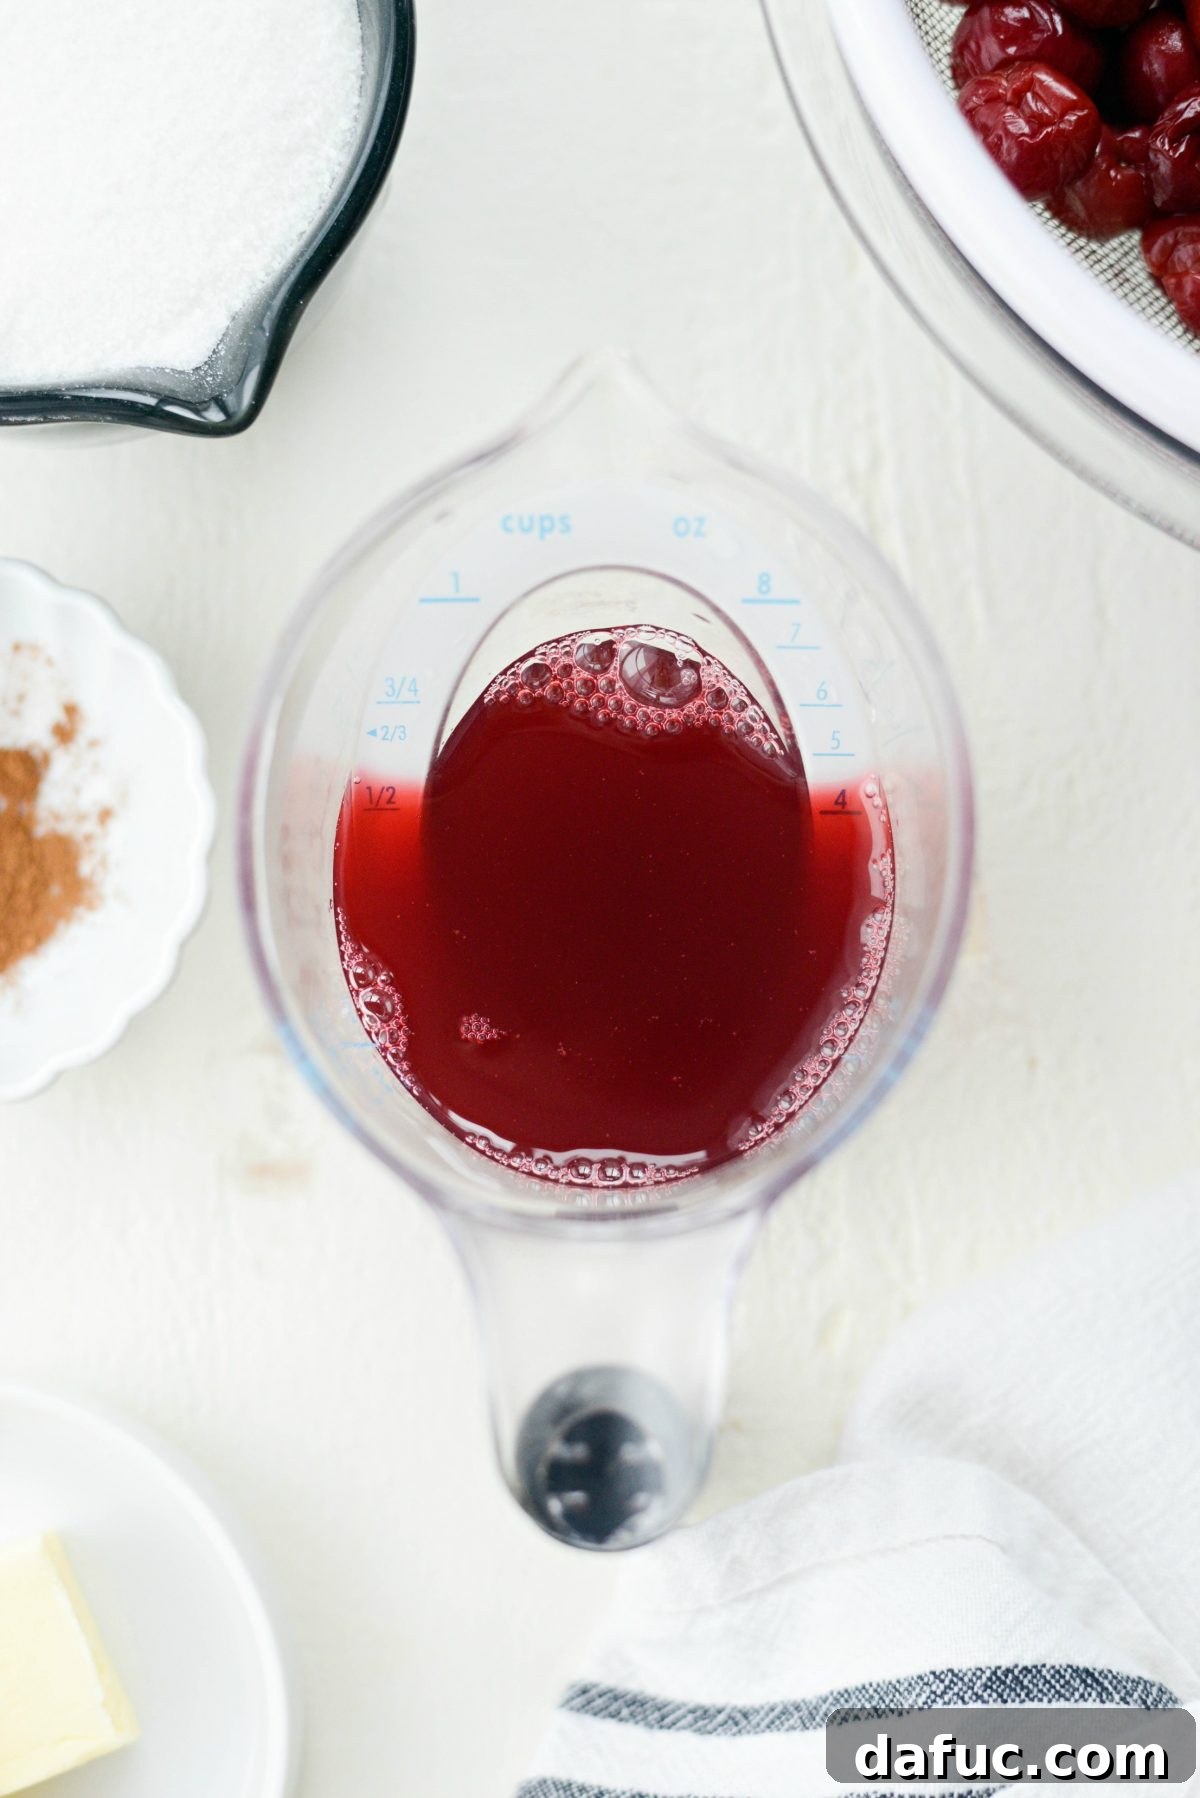
Once thawed, pour the reserved cherry juices into a liquid measuring cup. If necessary, add enough water to reach a total of 3/4 cup. This ensures you have the precise amount of liquid needed for the filling’s consistency.
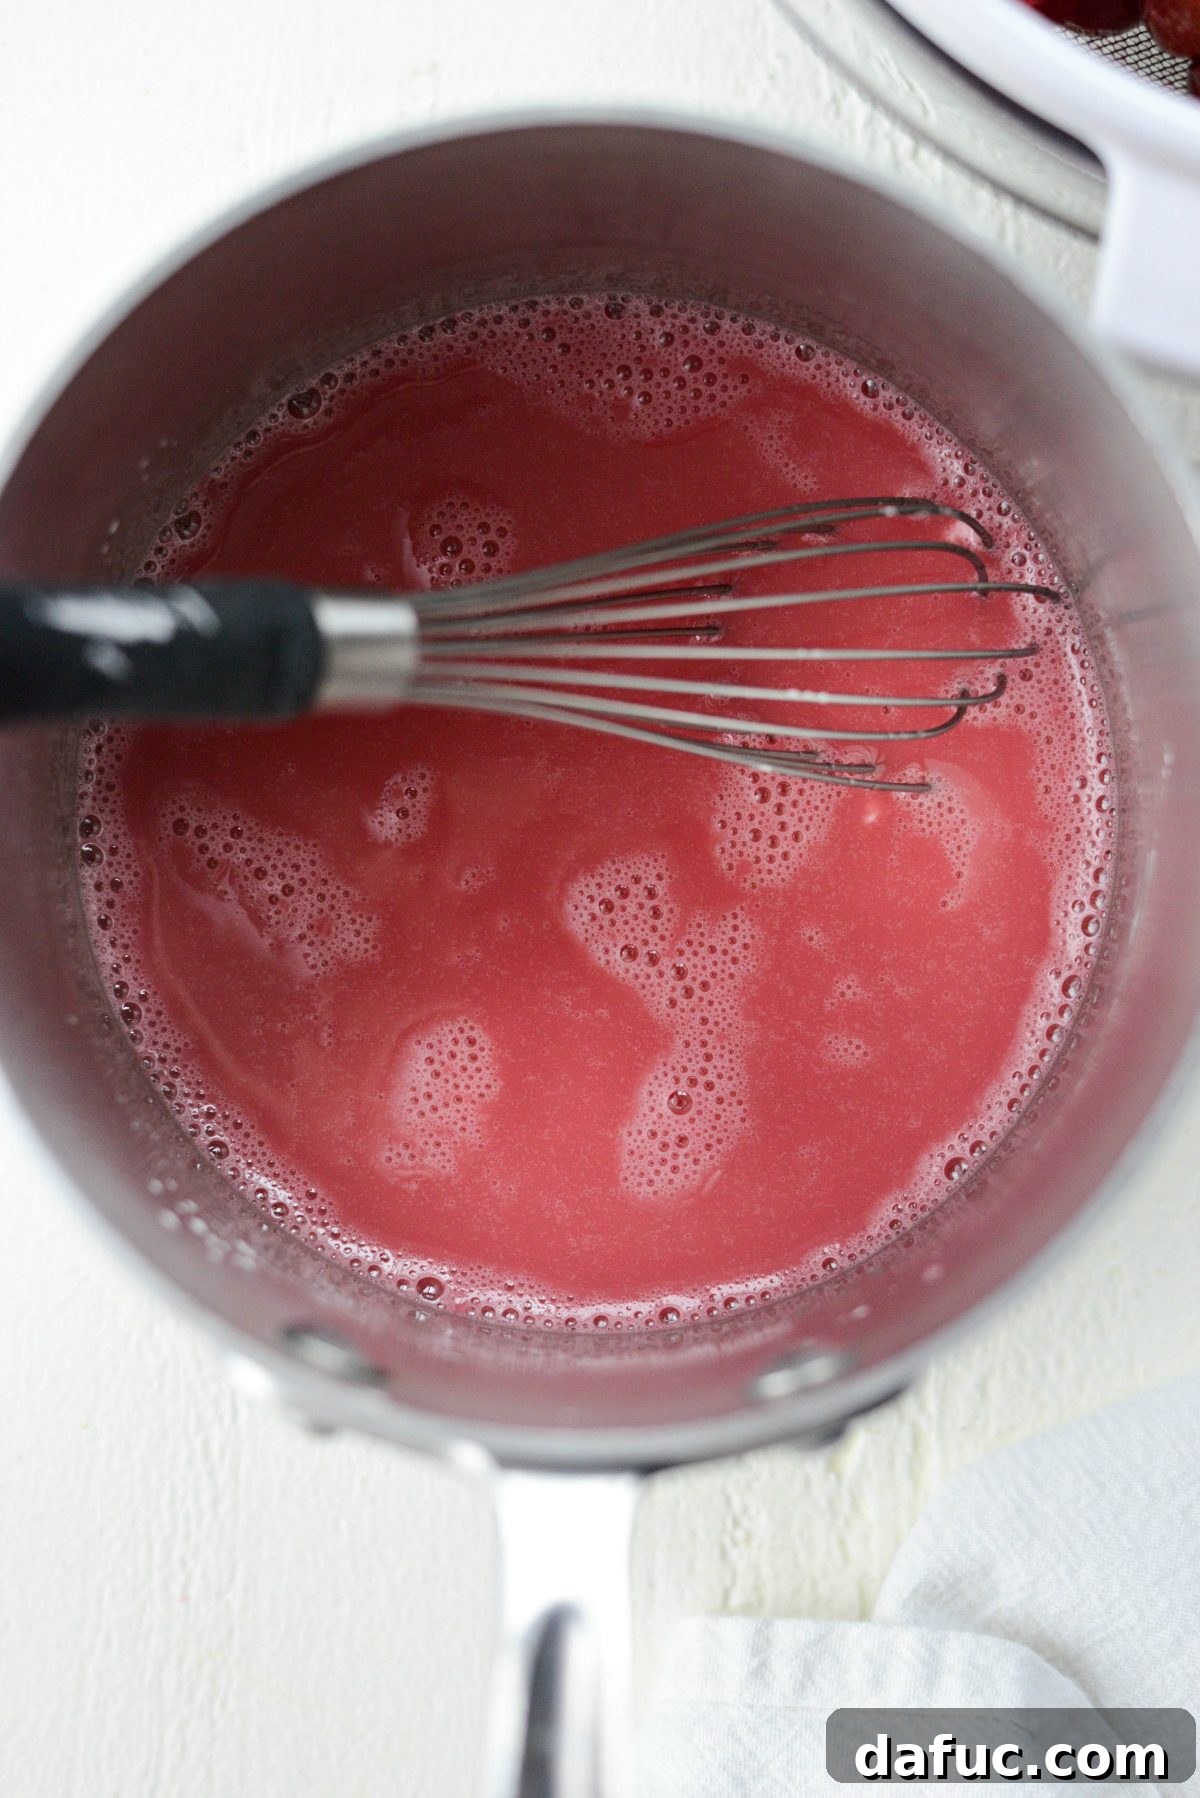
Next, in a heavy-bottomed saucepan, combine 1 cup of granulated sugar, 1/4 cup of cornstarch, and the 3/4 cup of cherry juices. Whisk these ingredients together thoroughly until smooth. Bring the mixture to a boil over medium-high heat, continuously whisking for about 5 minutes, or until it has noticeably thickened into a glossy, translucent sauce. The constant whisking is important to prevent lumps and ensure even thickening.
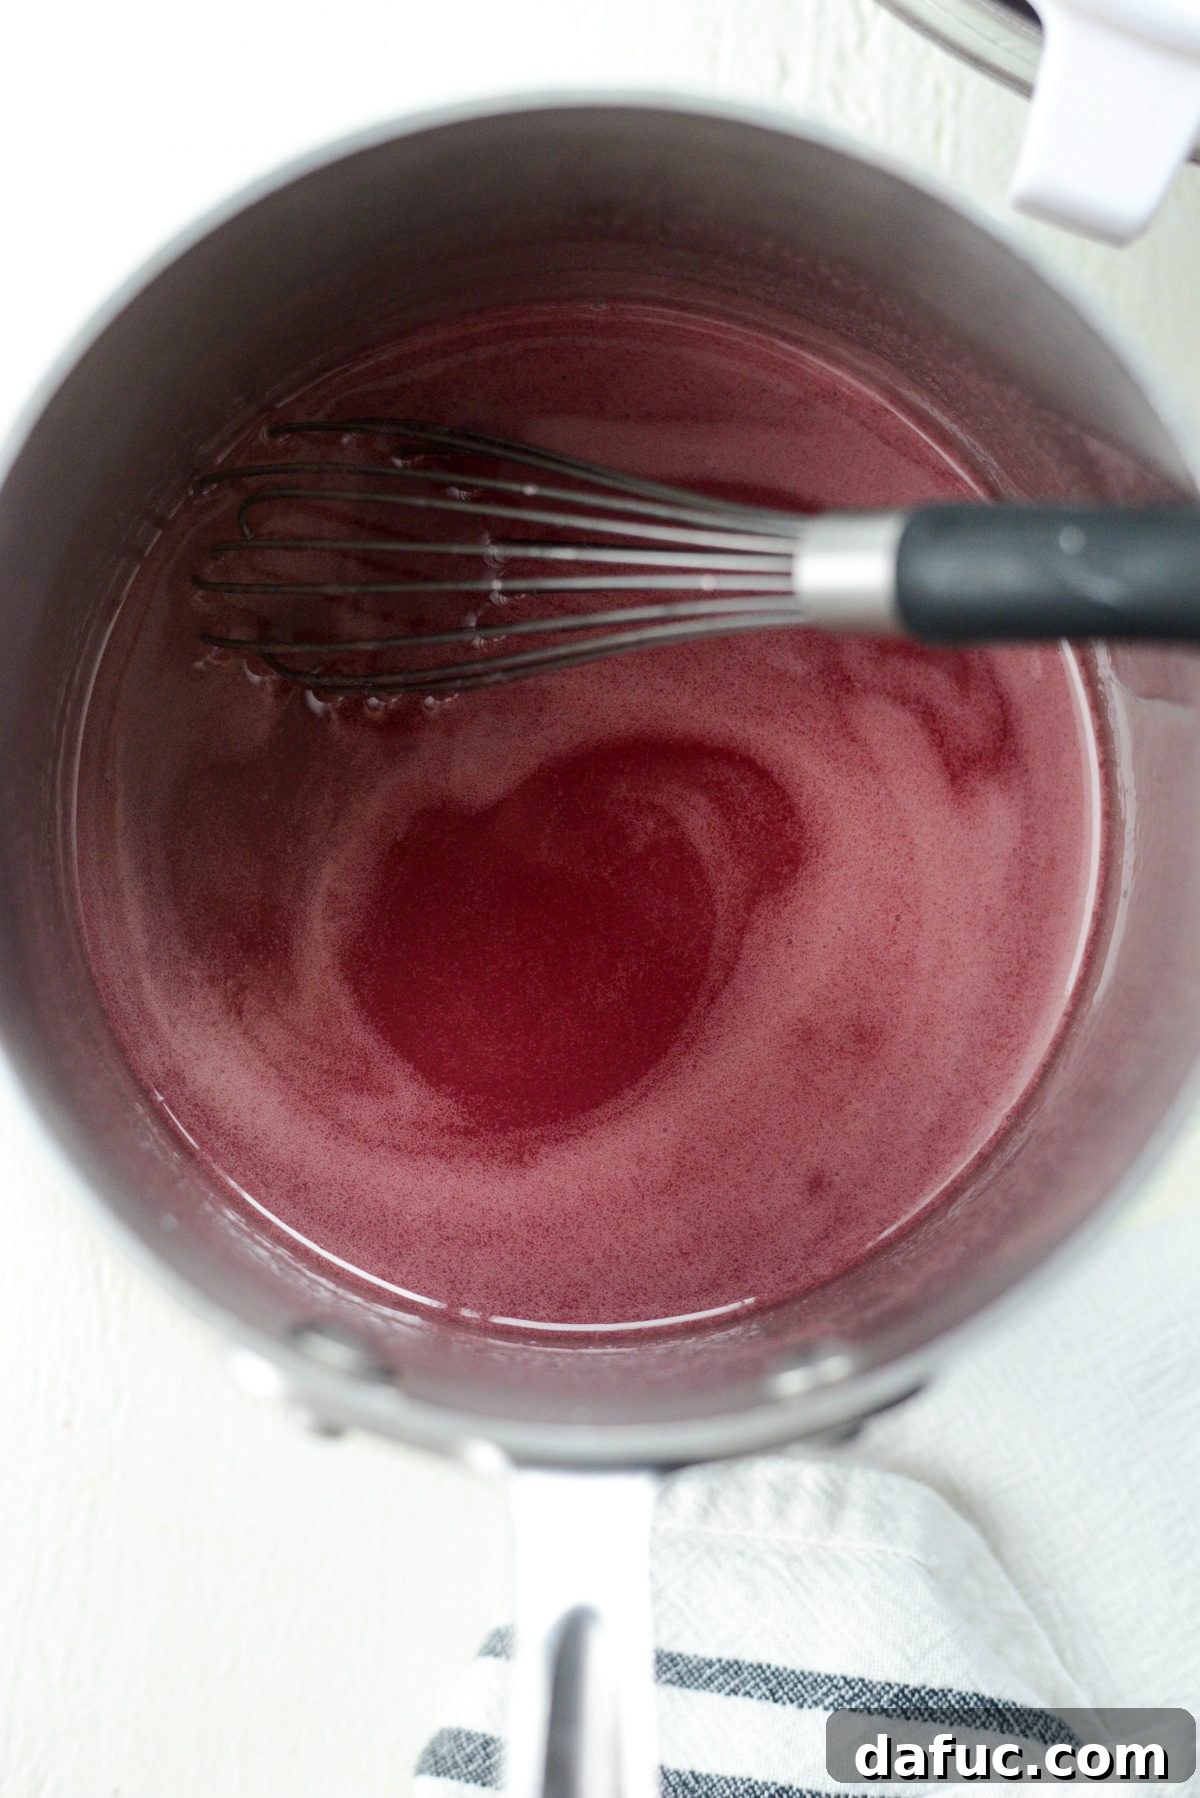
Remove the saucepan from the heat. Whisk in 3/4 teaspoon of pure vanilla extract, 1/4 teaspoon of ground cinnamon, and a pinch of ground nutmeg. These spices will infuse the filling with a warm, inviting aroma and flavor. Set the filling aside and allow it to cool completely. As it cools, it will continue to thicken, creating that perfect pie consistency.
Assembling Your Magnificent Cherry Pie
With your filling perfectly cooled and thickened, it’s finally time for the exciting assembly! This stage brings all your hard work together into a beautiful, ready-to-bake dessert. Precision here ensures a stunning and delicious final product.
**Preheat your oven to 425℉ (220℃) and position an oven rack in the lower third of your oven.** This initial high heat helps set the crust and create that desirable flakiness before the temperature is lowered for even baking.
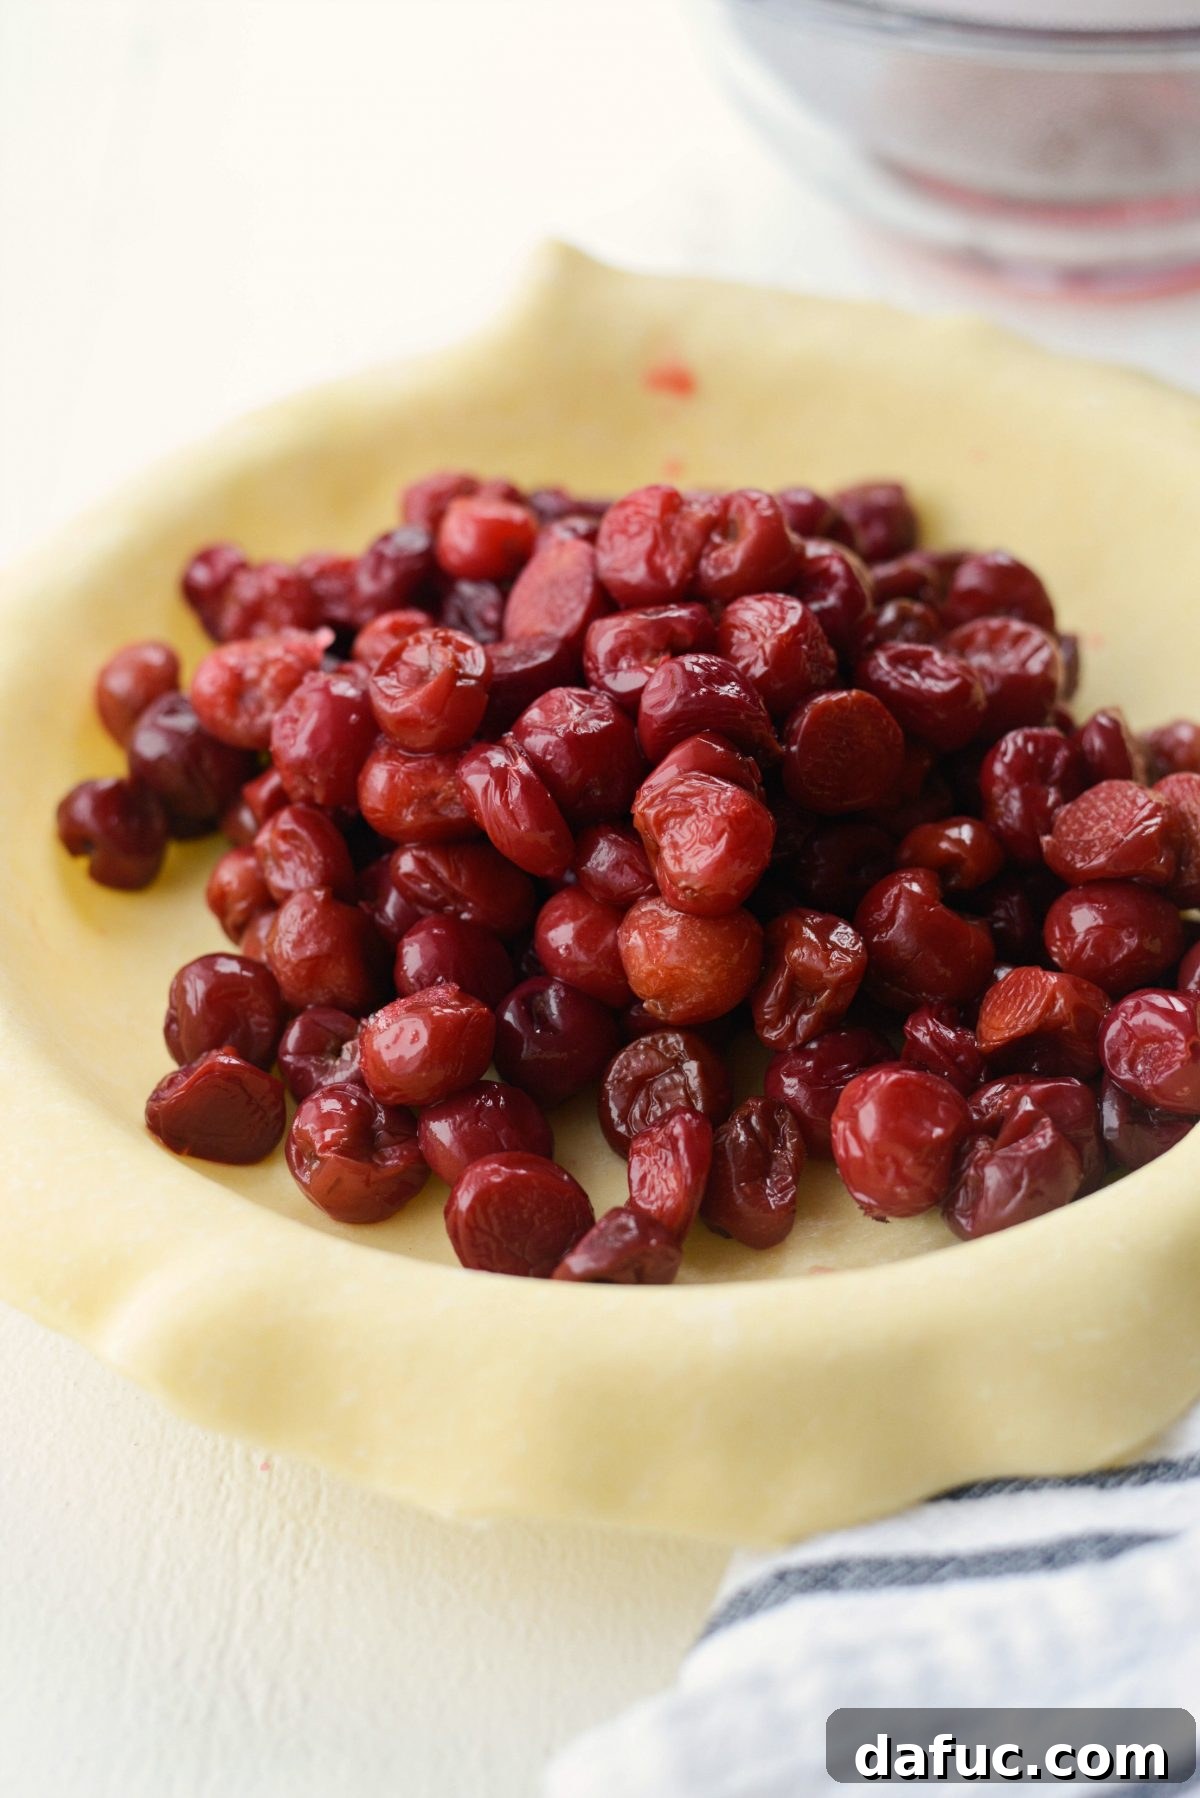
Gently transfer your thawed and pitted cherries into your chilled bottom pie crust, spreading them evenly. A cold crust is paramount for preventing a soggy bottom and achieving that enviable flaky texture.
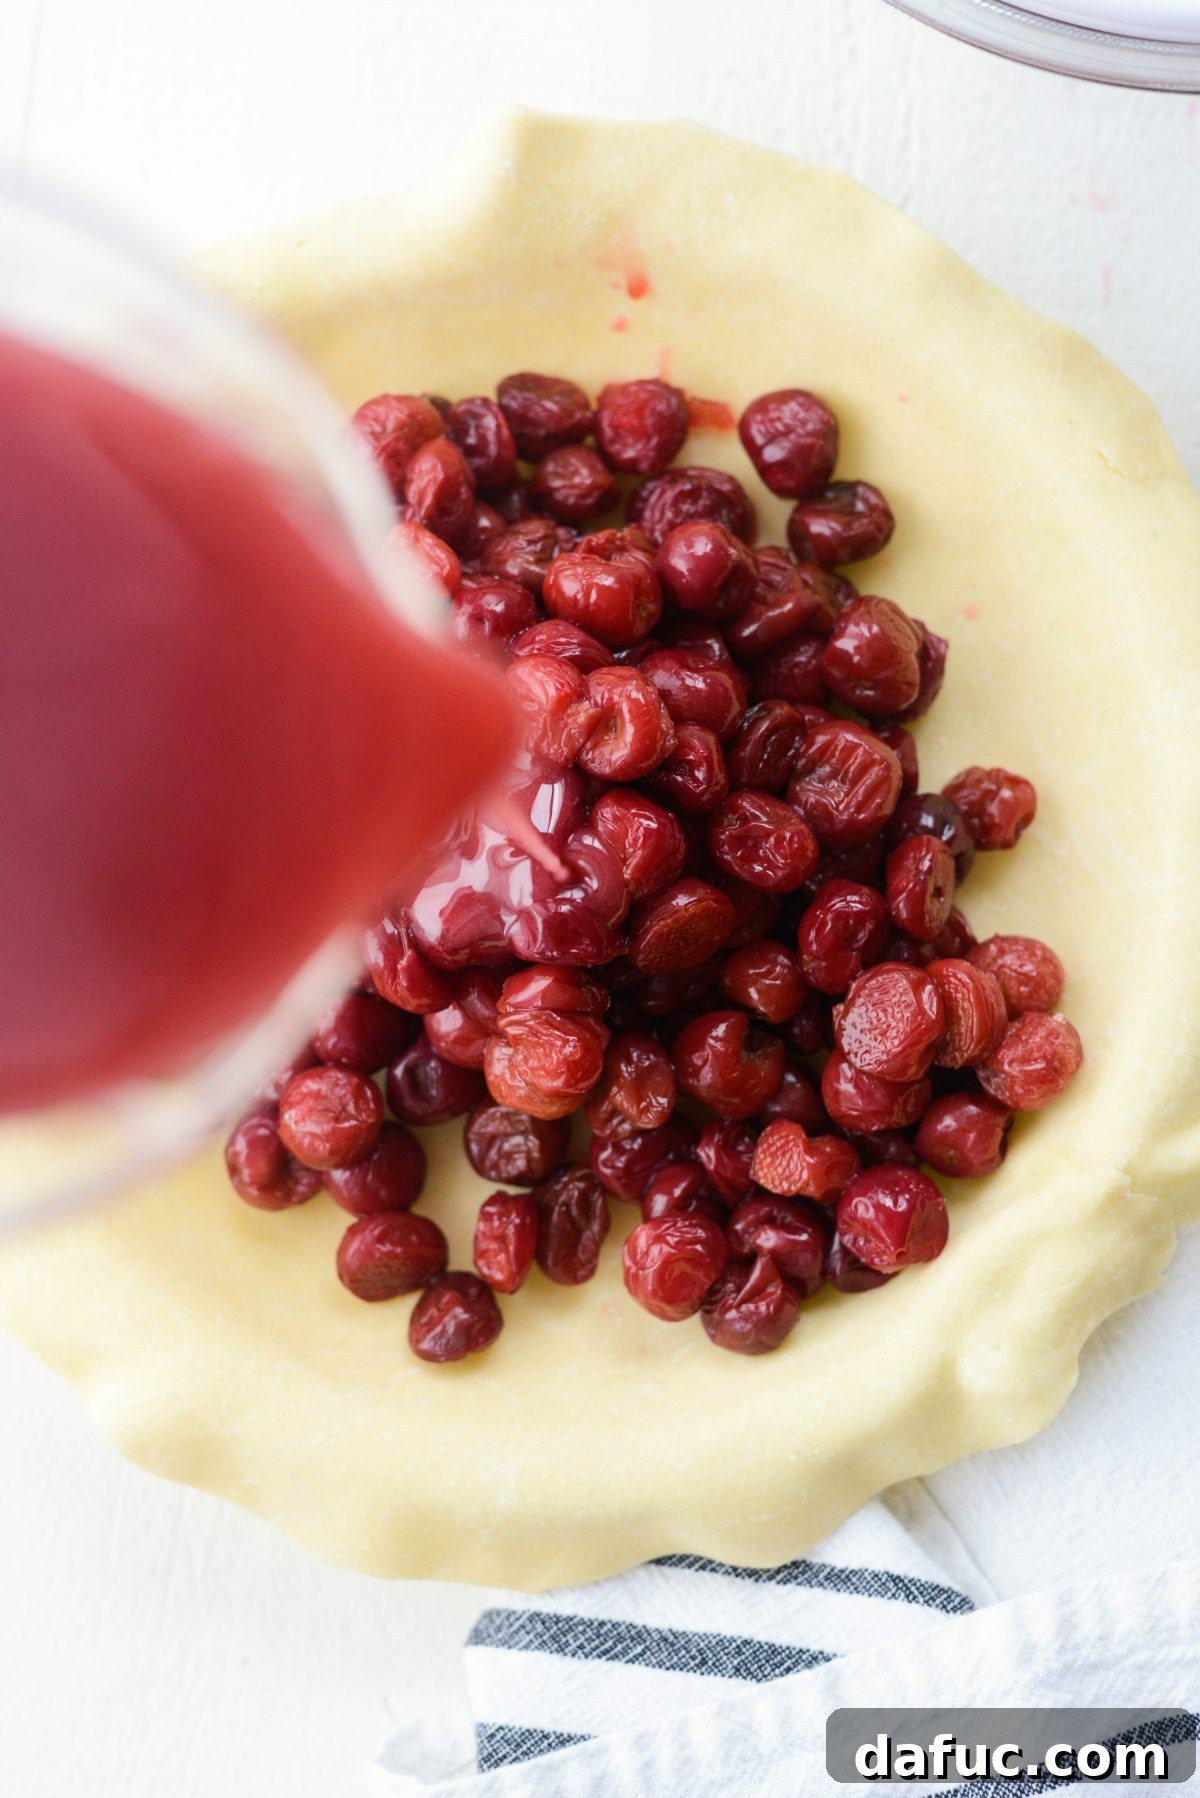
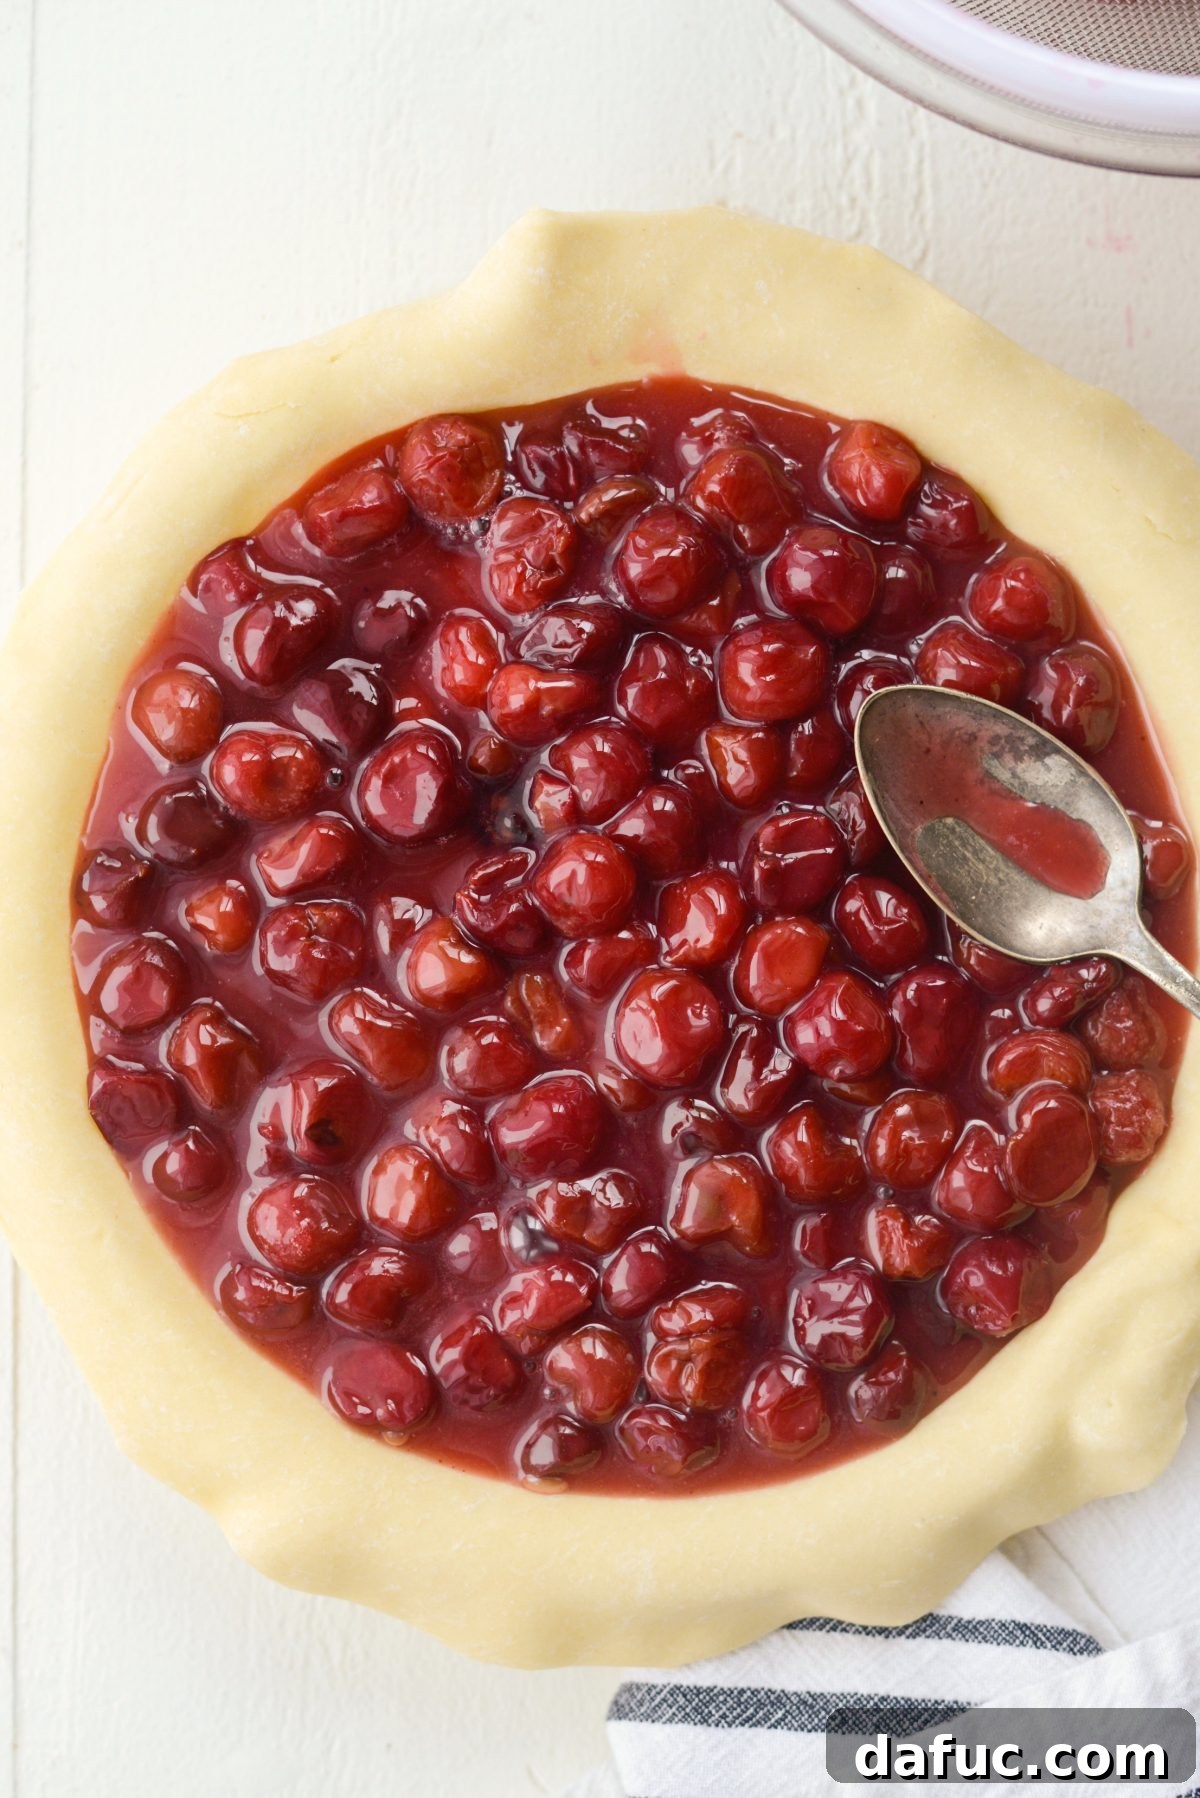
Carefully pour the cooled, thickened cherry filling over the cherries in the bottom crust. Using a spoon or spatula, gently spread the filling to ensure an even layer across the entire pie. This pre-cooked filling technique is a game-changer, preventing any sinking of the top crust and guaranteeing a consistently delicious texture.
Doesn’t that look simply stunning already? The vibrant red of the cherries peeking through is a promise of deliciousness!
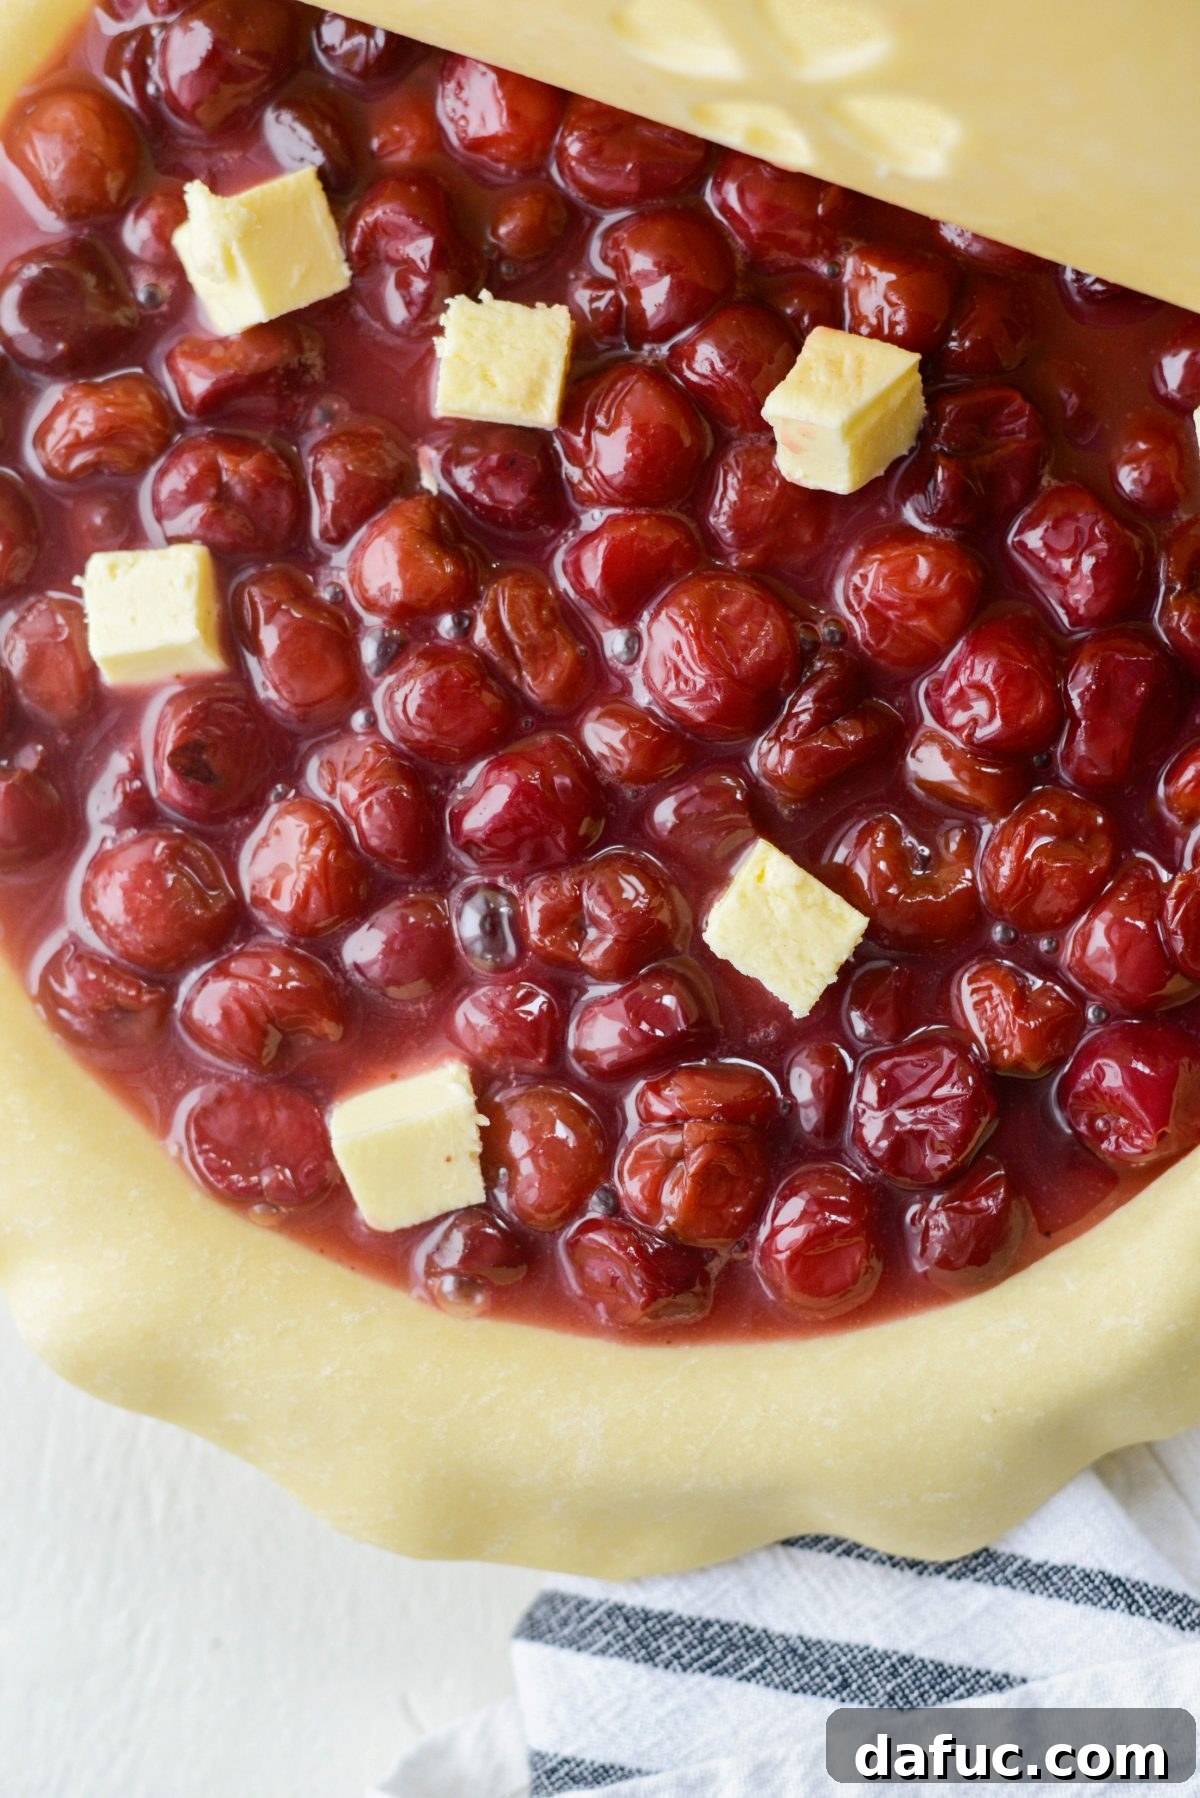
To add an extra layer of richness and flavor, dot the top of the cherry filling with 2 tablespoons of unsalted butter, cut into small pieces. This butter will melt into the filling during baking, creating an even more luxurious taste. Then, carefully drape your prepared top crust over the filling.
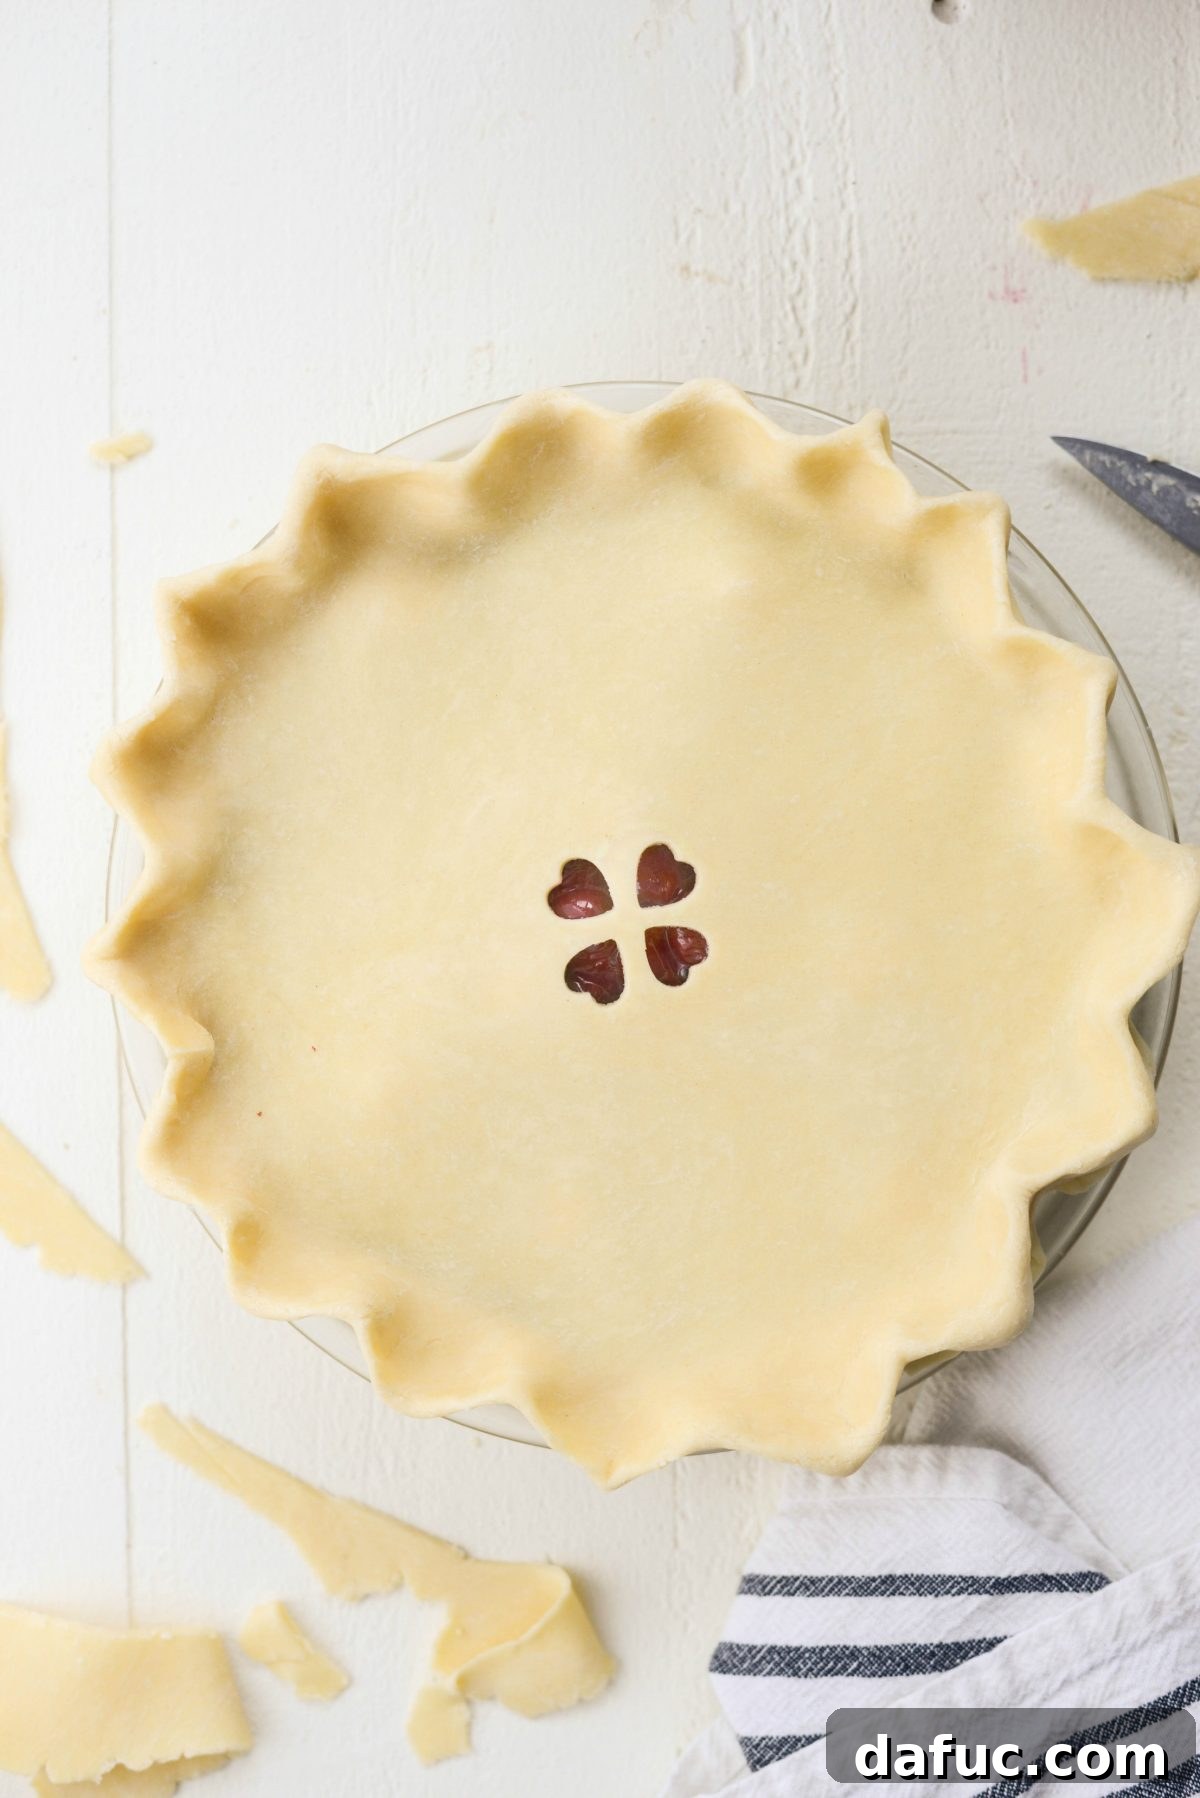
Before placing the top crust, remember to cut several air vents into it. These vents are essential for allowing steam to escape during baking, preventing the crust from becoming soggy or bursting. Trim any excess dough from the edges and then crimp the top and bottom crusts together to seal the pie. This not only creates a beautiful edge but also keeps the delicious filling safely inside.
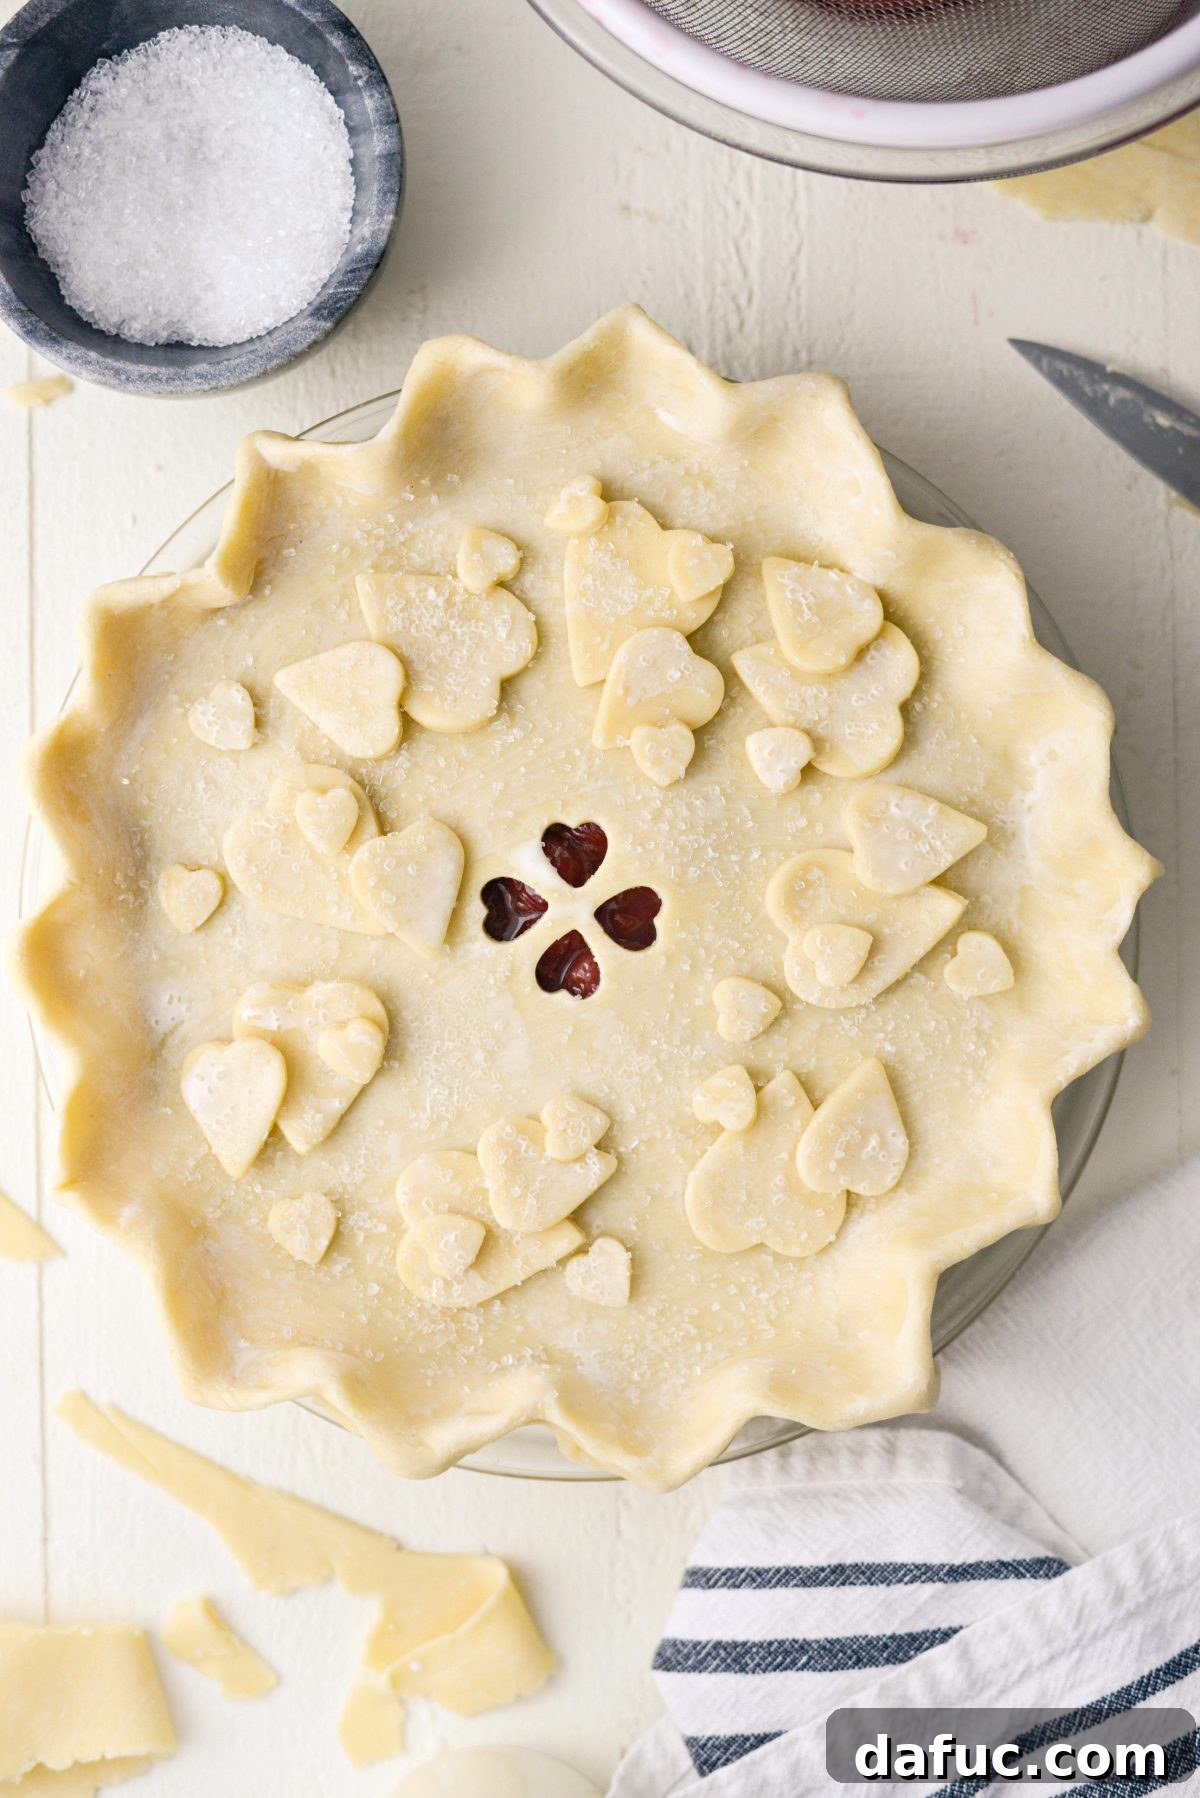
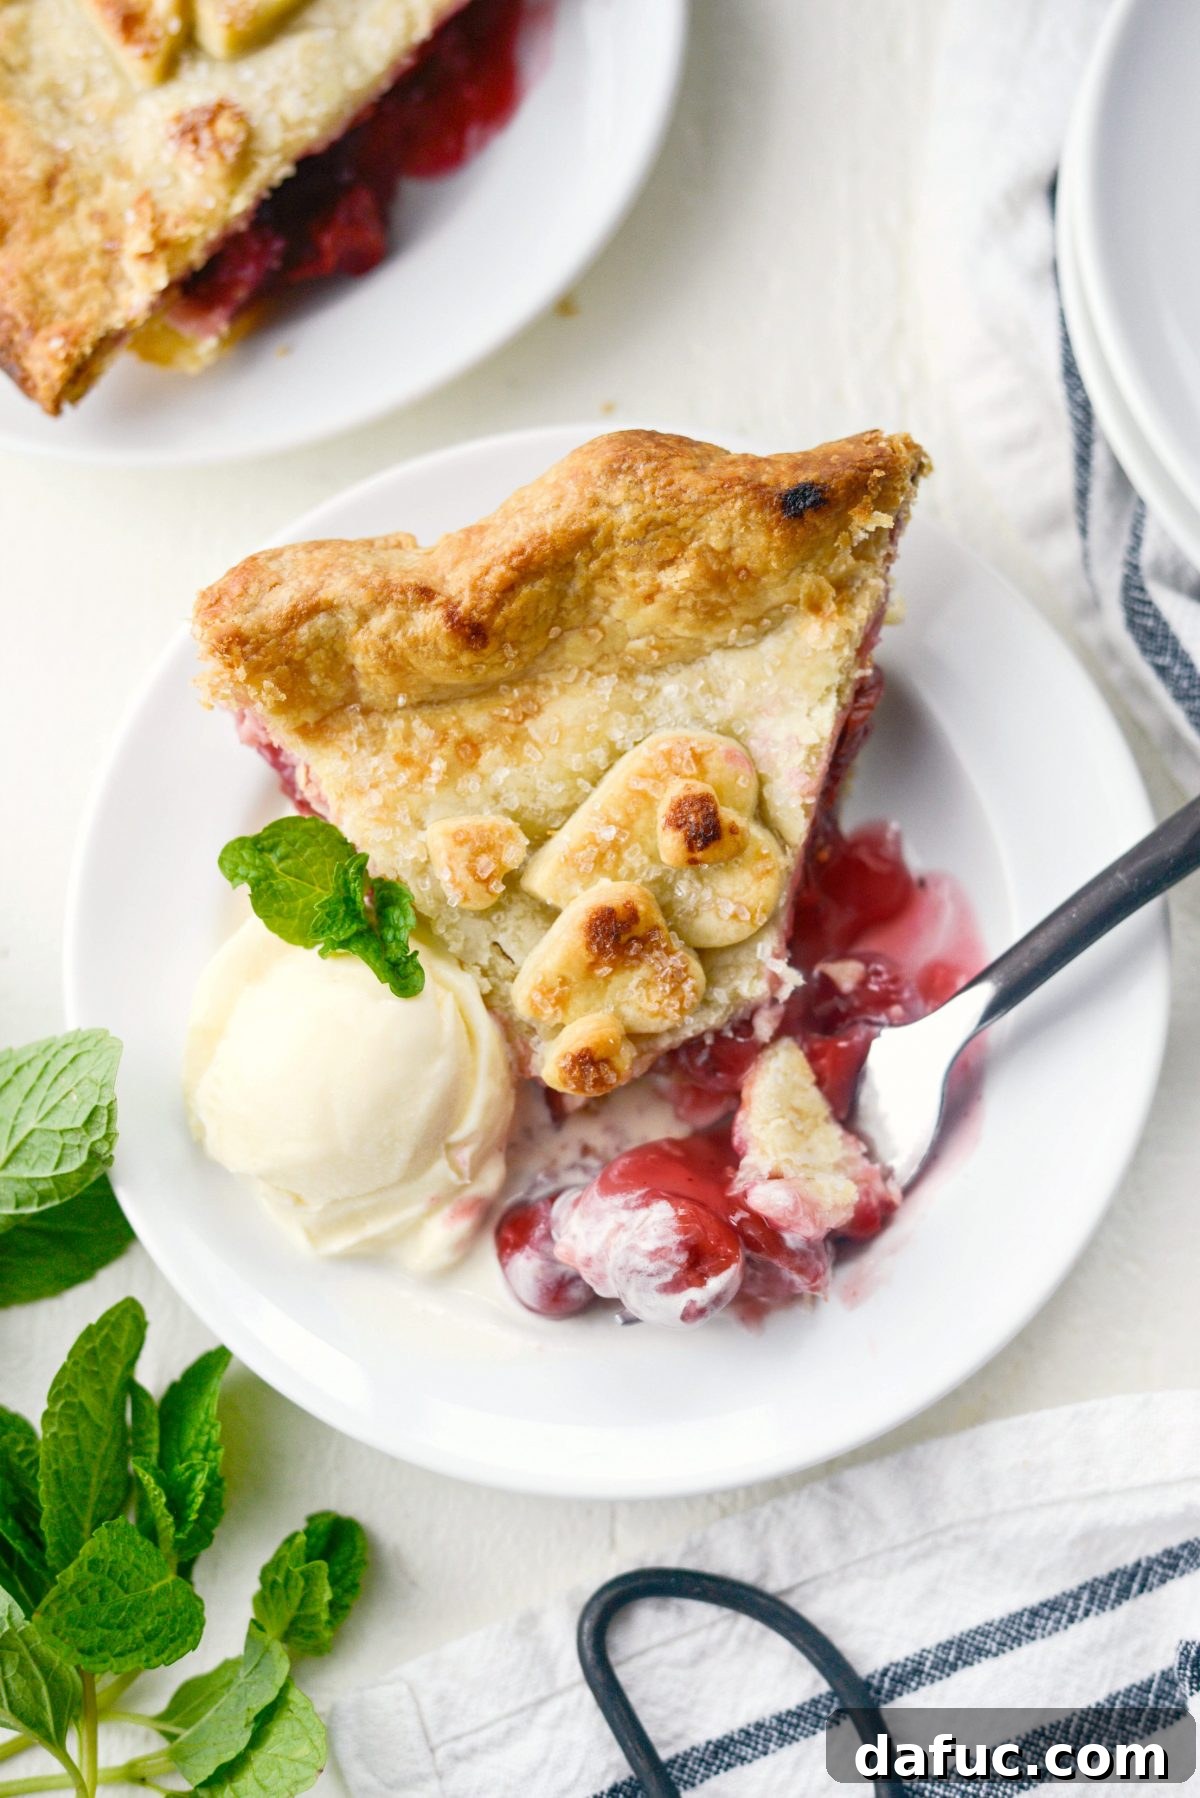
For an extra touch of elegance, you can use any leftover pie dough scraps to create decorative cutouts like hearts, leaves, or stars. Arrange these decorative pieces on top of the pie. Brush the entire top crust (and any decorative cutouts) with a little milk or heavy cream. This wash helps the crust achieve a beautiful golden-brown color and a lovely sheen.
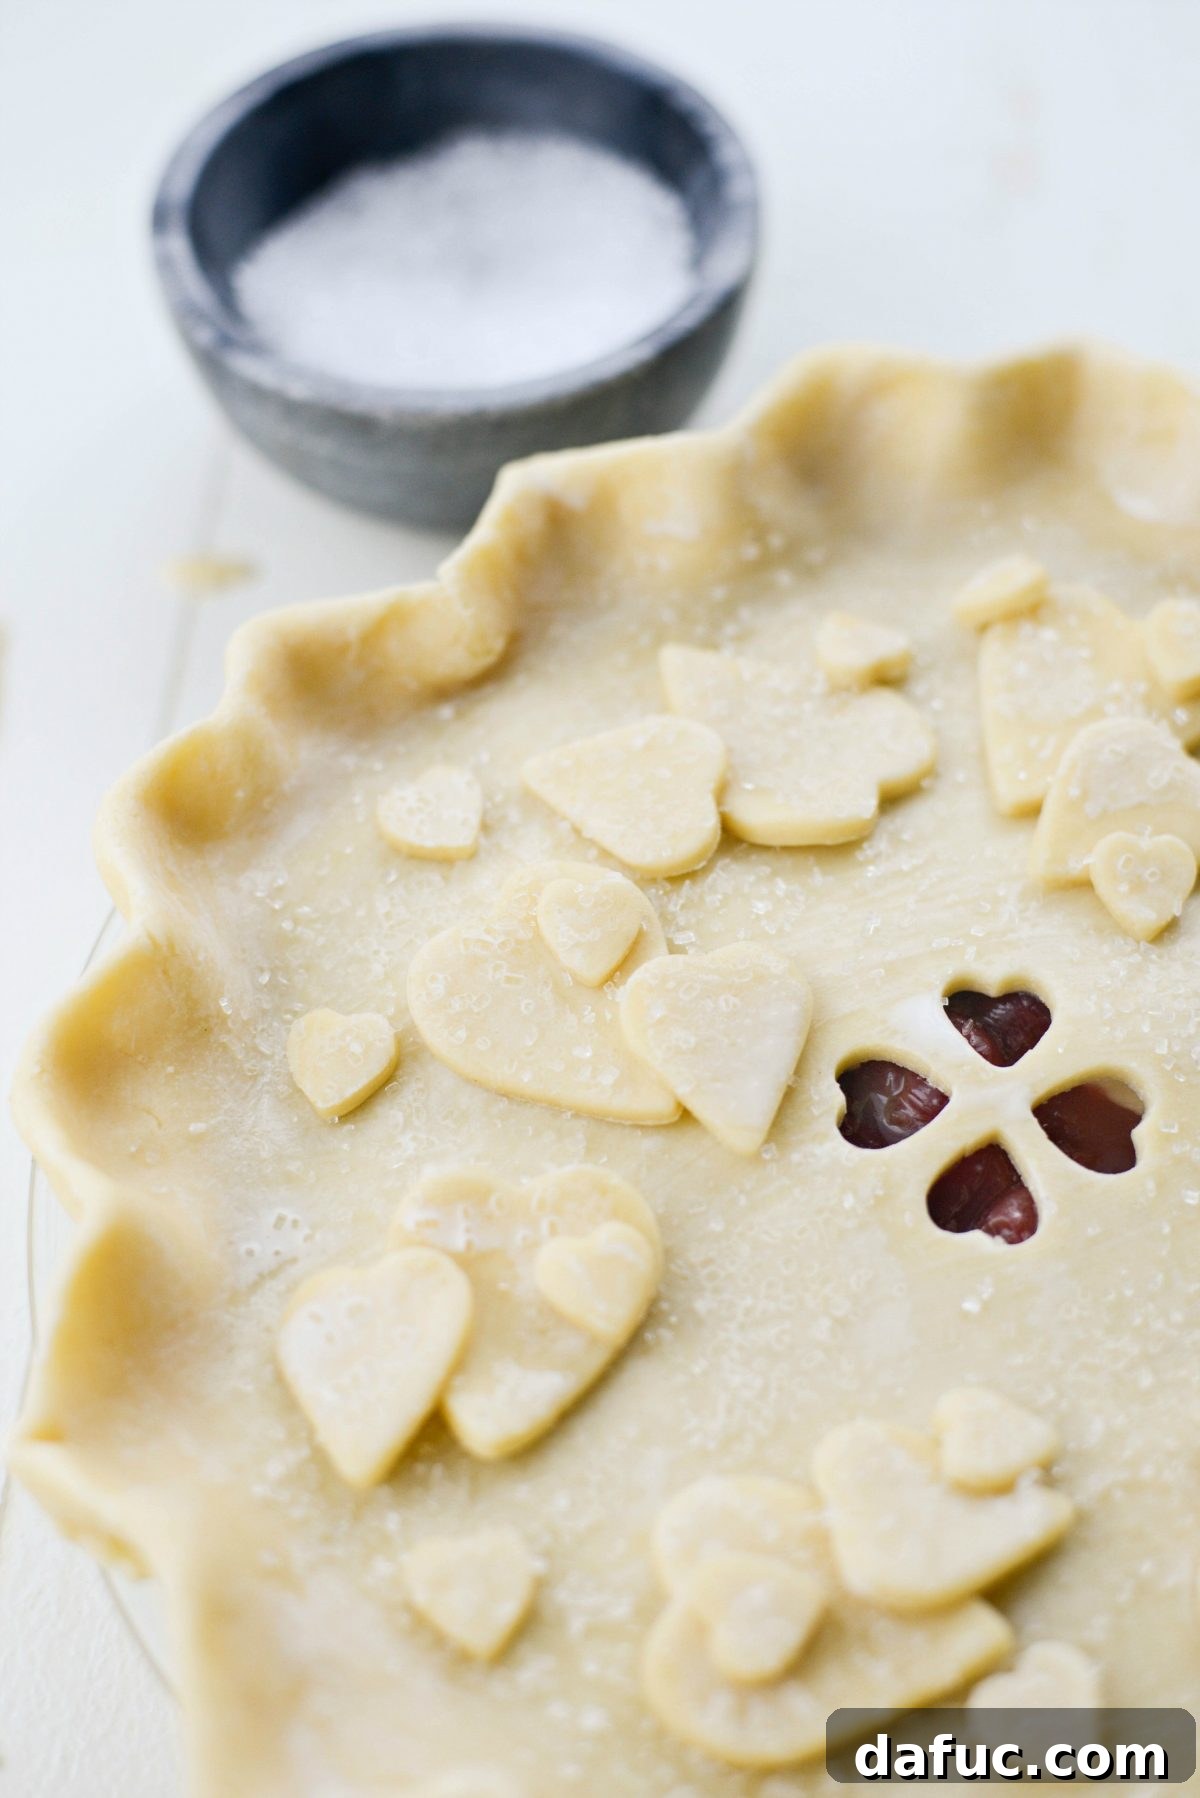
For a dazzling finish, sprinkle a generous amount of coarse sugar over the cream-brushed crust. The coarse sugar adds a delightful crunch and a shimmering appearance to your freshly baked pie.
Baking Your Homemade Cherry Pie to Golden Perfection
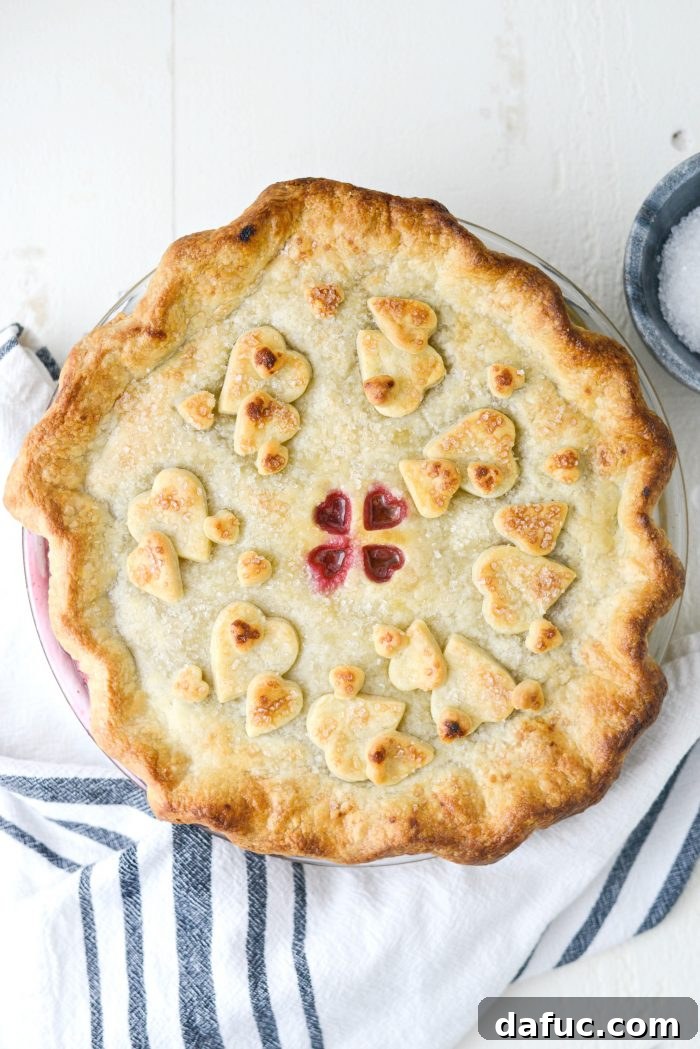
Place your assembled pie on the lower third oven rack, making sure to place a baking sheet directly underneath it. This trusty sheet pan will catch any potential drips or spills from the bubbling filling, keeping your oven clean. Bake the pie at 425°F (220°C) for 30 minutes. This initial high heat helps to puff up the crust and begin the caramelization process. After 30 minutes, reduce the oven temperature to 350°F (175°C) and continue baking for another 25 to 30 minutes, or until the filling is visibly bubbling through the vent cutouts and the crust is beautifully golden brown. The bubbling filling is your sign that the cherries are perfectly cooked and the sauce has reached its ideal consistency.
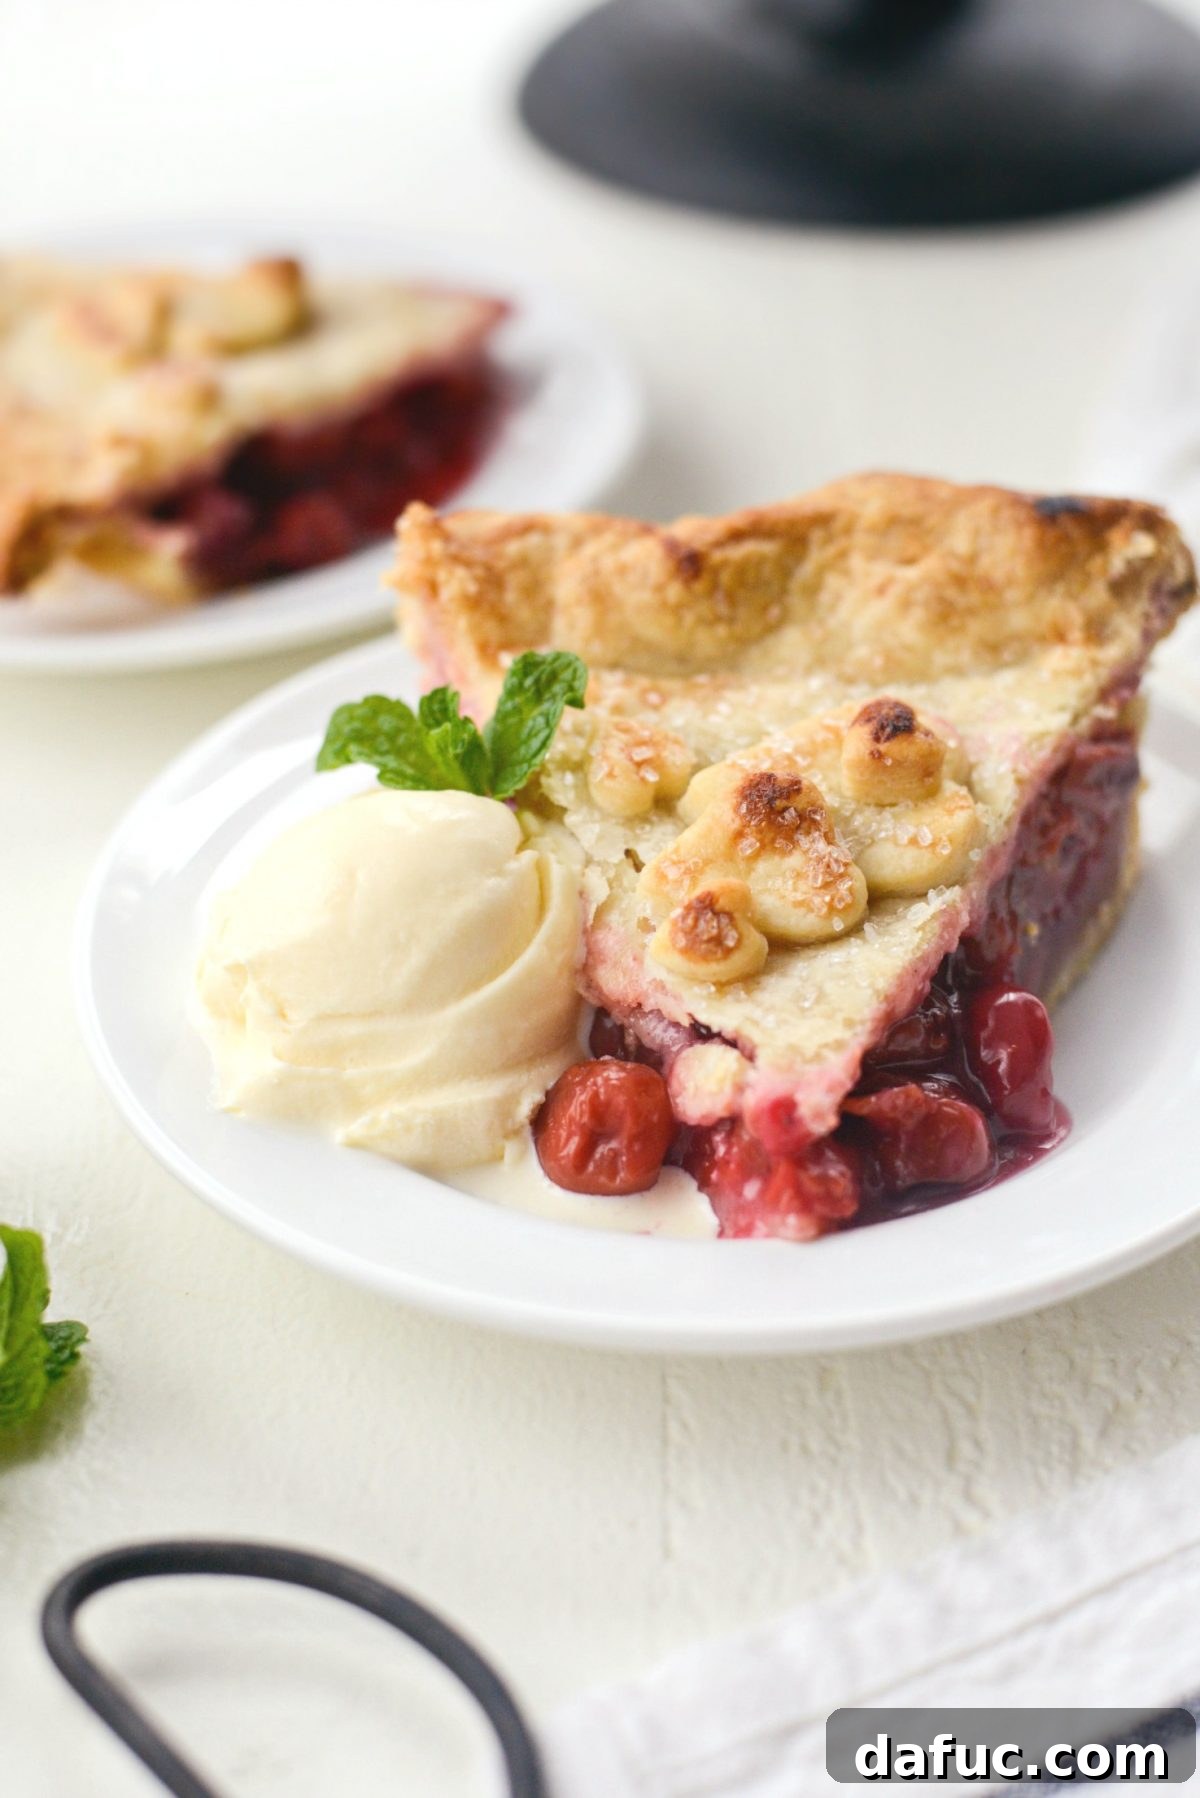
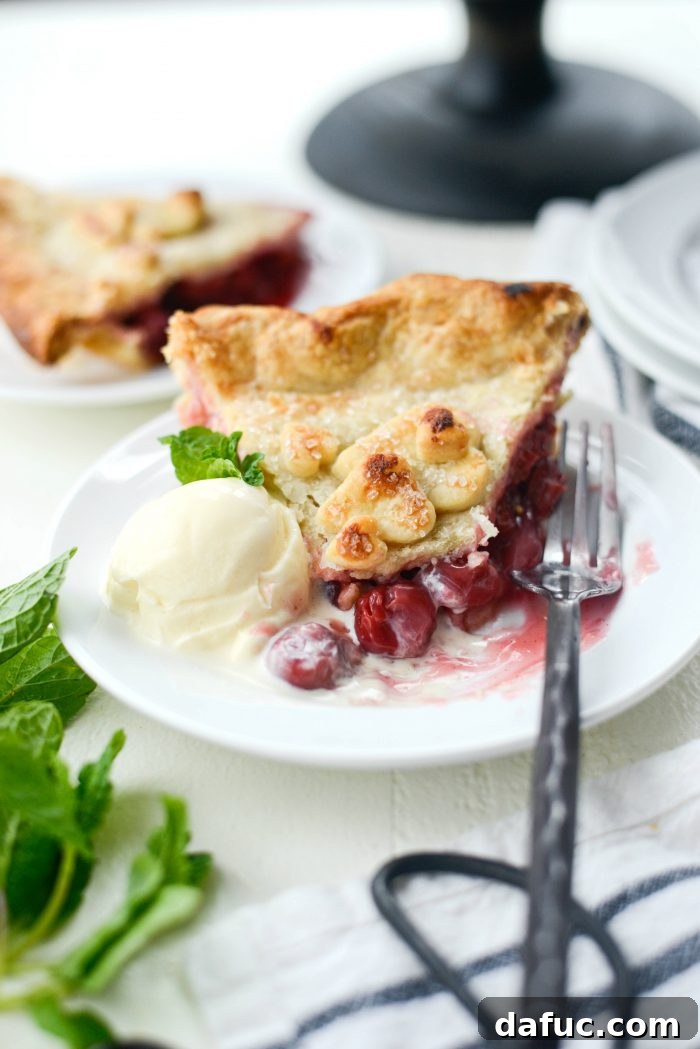
Once baked, resist the urge to slice into your masterpiece immediately! It’s crucial to allow the pie to cool for at least a few hours before attempting to cut into it. This cooling period allows the filling to fully set, ensuring clean, beautiful slices. Once cooled to a warm temperature, slice and serve with a scoop of premium vanilla ice cream. There’s truly nothing more satisfying than the contrast of a warm, fruity pie with its tender, flaky crust against the refreshing chill of melting ice cream. This sweet and tart cherry pie, with its homemade charm, undeniably surpasses any store-bought or diner version you’ll find. The effort is minimal, the reward is immense, and the flavor is simply unforgettable.
Homemade is truly where the heart is, especially when it comes to pie.
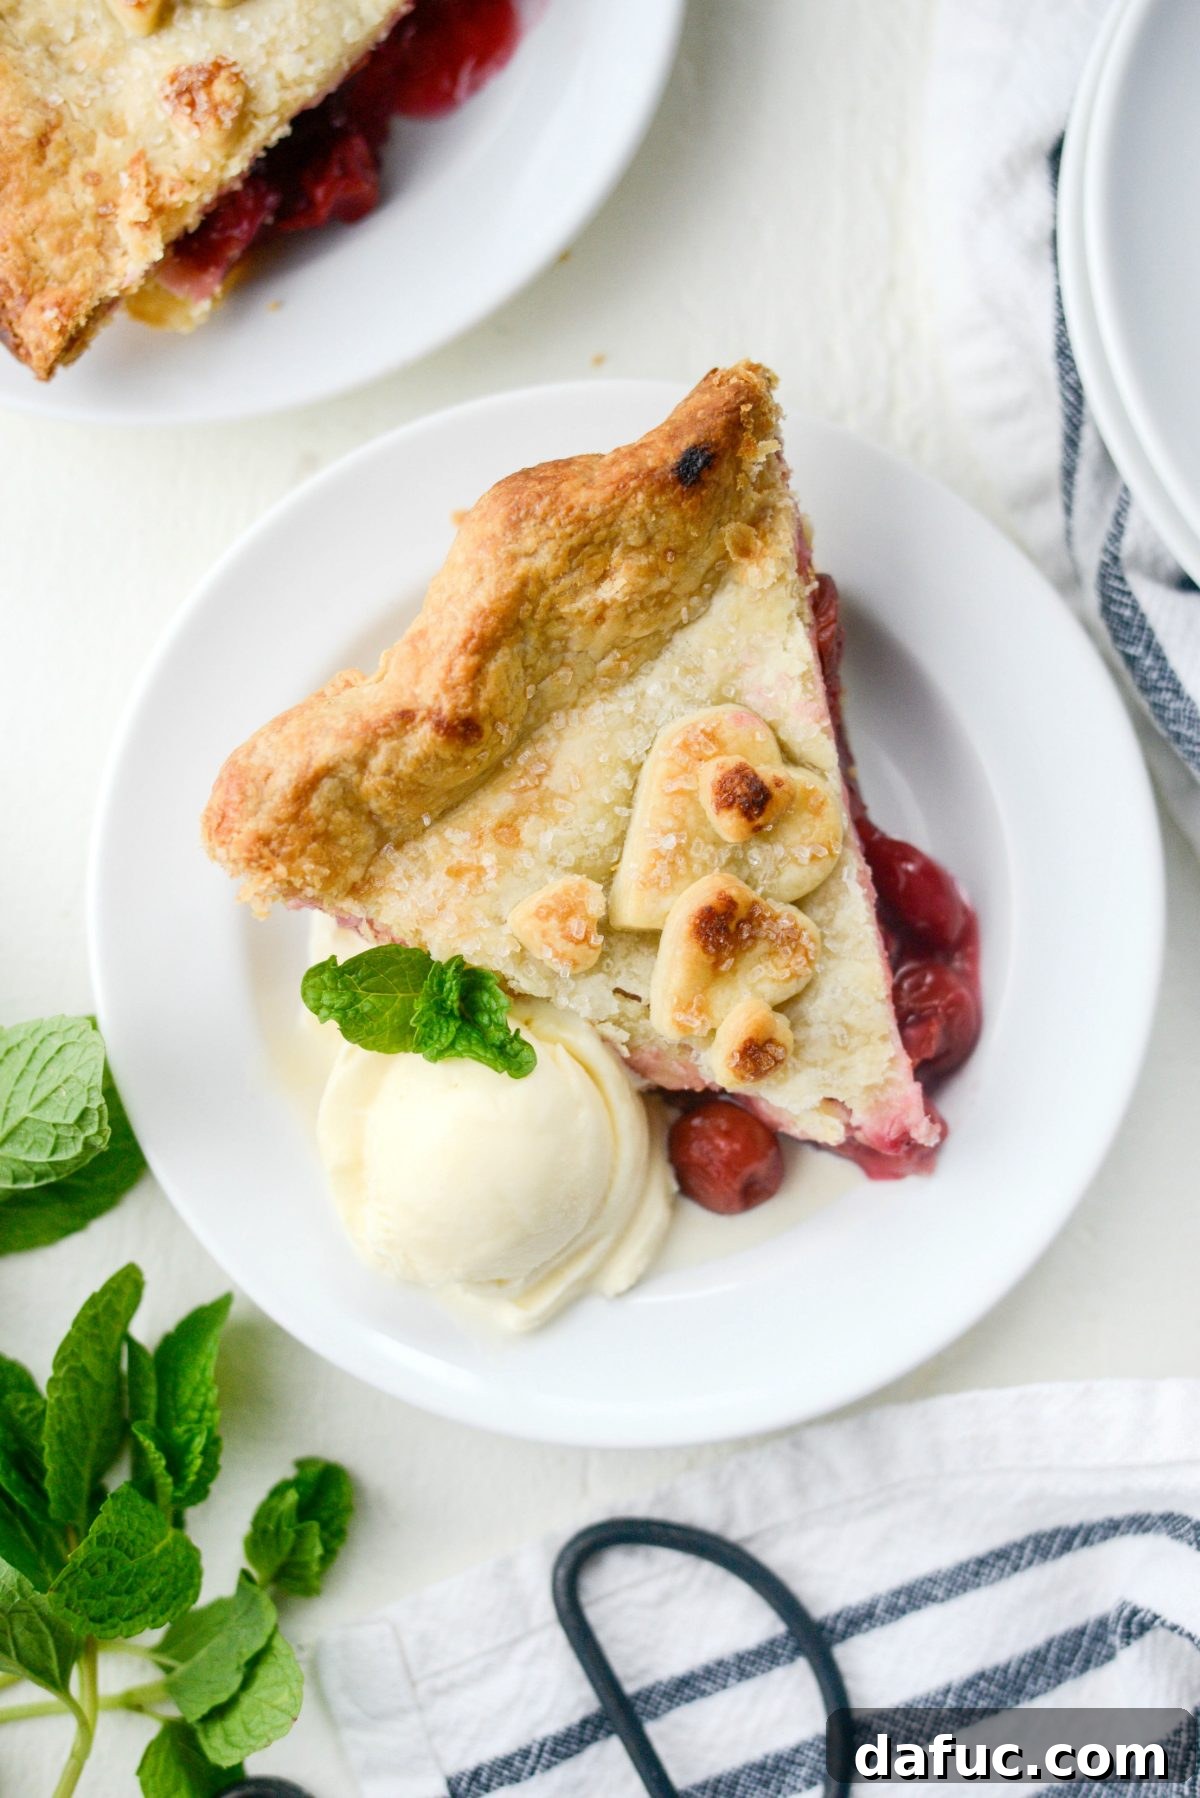
We hope you truly **enjoy** making and devouring this Homemade Cherry Pie recipe! If you give it a try, we’d absolutely love to hear from you. Snap a photo of your beautiful creation and share it with us on Twitter or Instagram by tagging us!
Print Recipe
Pin Recipe
5 from 2 ratings
Leave a Review »
Yield: 8 servings
Homemade Cherry Pie
What is more classic than a Homemade Cherry Pie? Tart pie cherries in a glossy thick sauce, baked in a flaky homemade pie crust! Serve with a scoop of vanilla ice cream and a steaming cup of coffee.
Prep Time: 35 mins
Cook Time: 1 hr
Additional Time: 6 hrs
Total Time: 7 hrs 35 mins
Ingredients
- 5 cups frozen sour cherries
- 1 recipe homemade pie dough
- 1 cup sugar
- 1/4 cup cornstarch
- 3/4 teaspoon pure vanilla extract
- 1/4 teaspoon ground cinnamon
- 1 pinch ground nutmeg
- 2 tablespoons unsalted butter, cut into small pieces
- 2 tablespoons heavy cream, cold
- 1 tablespoon coarse sugar, for sprinkling, or more to taste
Instructions
THE NIGHT BEFORE:
-
Set your frozen cherries into a colander set over a bowl and place into your refrigerator. As the cherries thaw the juices will be collected in the bowl below (save those juices!). These need at least 6+ hours to thaw.
THE DAY OF:
-
Roll out the bottom pie and top crust to 12-inches in diameter. Place one into a 9-1/2-inch deep pie dish. Trim off excess pie crust, leaving a 1-inch border and refrigerate. Save the scraps if you plan to cut out any designs to top the pie.
-
Cut vent holes out of the top crust and transfer it to a lined baking sheet and refrigerate as you work on the filling.
-
Into a liquid measuring cup, pour the reserved cherry juice, add enough water (if need be) to measure 3/4 cup total.
-
In a heavy-bottom saucepan, add the sugar, cherry juice and cornstarch, whisk to combine. Bring to a boil, reduce the heat to medium-high whisking often until thickened. About 5 minutes. Remove the pan off of the heat and stir in the vanilla, cinnamon and nutmeg.
-
Allow this to cool completely before assembling the pie.
-
Position an oven rack in the lower third of your oven and then preheat your oven to 425℉ (or 220℃).
-
Add the thawed cherries to your chilled bottom crust, pour the cooled filling over top and smooth out with a spoon.
-
Drape the top crust over the filling, trim off the excess dough and fold and crimp the edges.
-
Brush the top crust with cold heavy cream and decorate with cut out hearts or shapes if desired. Brush those with cream as well before sprinkling coarse sugar over top.
-
Bake on the lower third rack with a sheet pan below it to catch any spills. Bake for 30 minutes before reducing the heat to 350° and continue baking for 25 to 30 more or until the filling is bubbling through the vent cutouts.
-
Allow the pie to cool for a few hours before slicing and serving.
Serving: 1 slice
Calories: 326 kcal
Carbohydrates: 56g
Protein: 3g
Fat: 11g
Saturated Fat: 5g
Polyunsaturated Fat: 1g
Monounsaturated Fat: 4g
Trans Fat: 1g
Cholesterol: 13mg
Sodium: 105mg
Potassium: 222mg
Fiber: 3g
Sugar: 38g
Vitamin A: 198IU
Vitamin C: 6mg
Calcium: 20mg
Iron: 1mg
Author: Laurie McNamara
Course: Desserts & Sweet Treats
Cuisine: American