
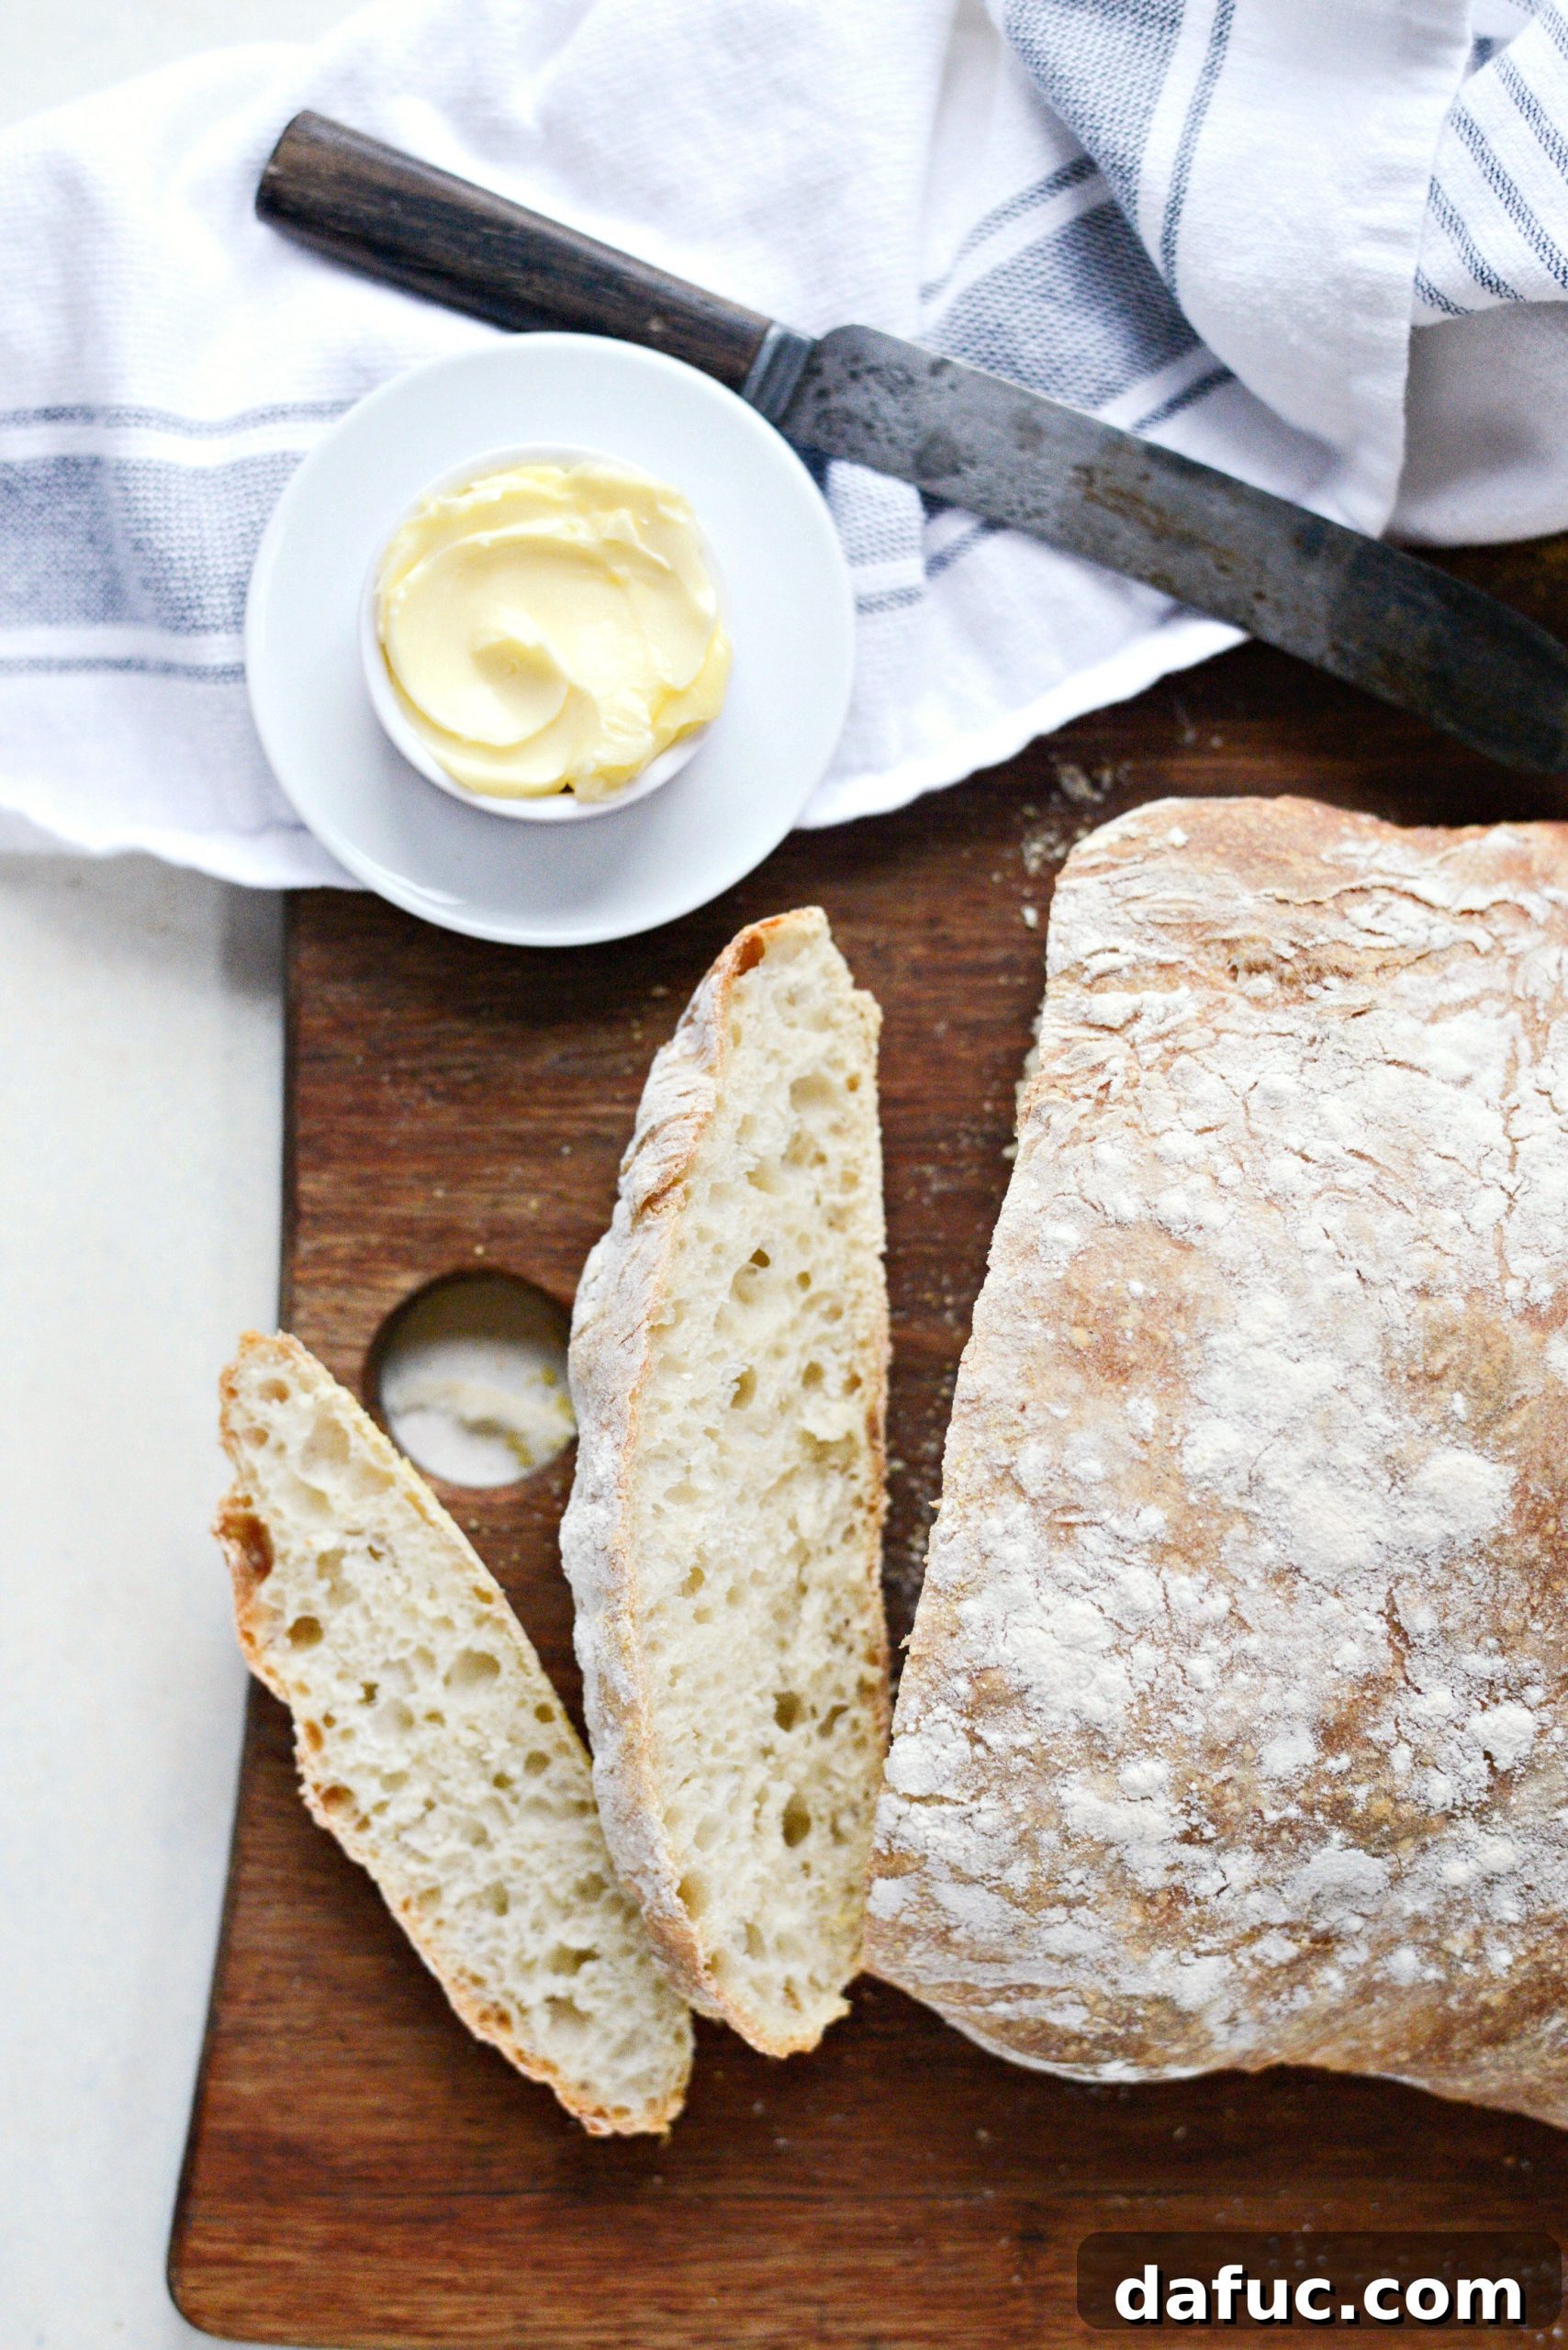
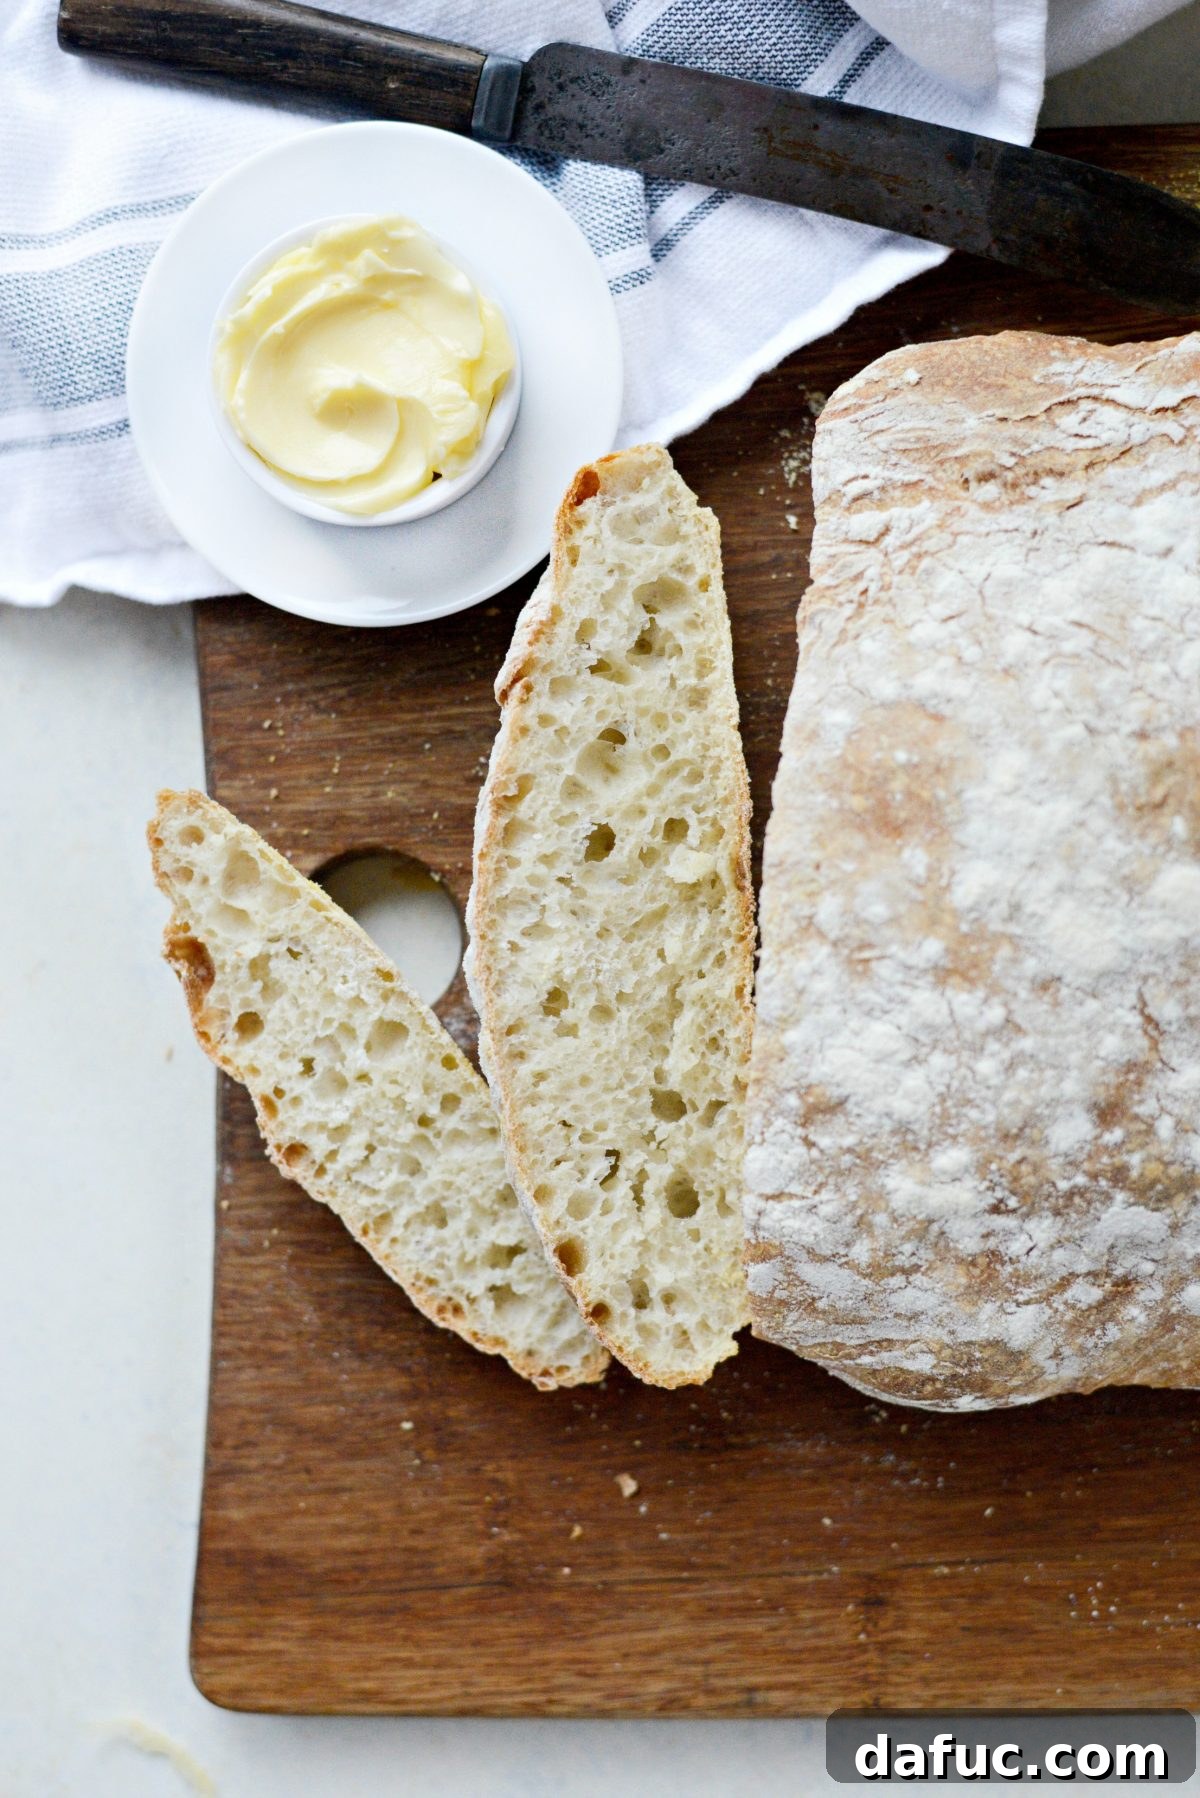
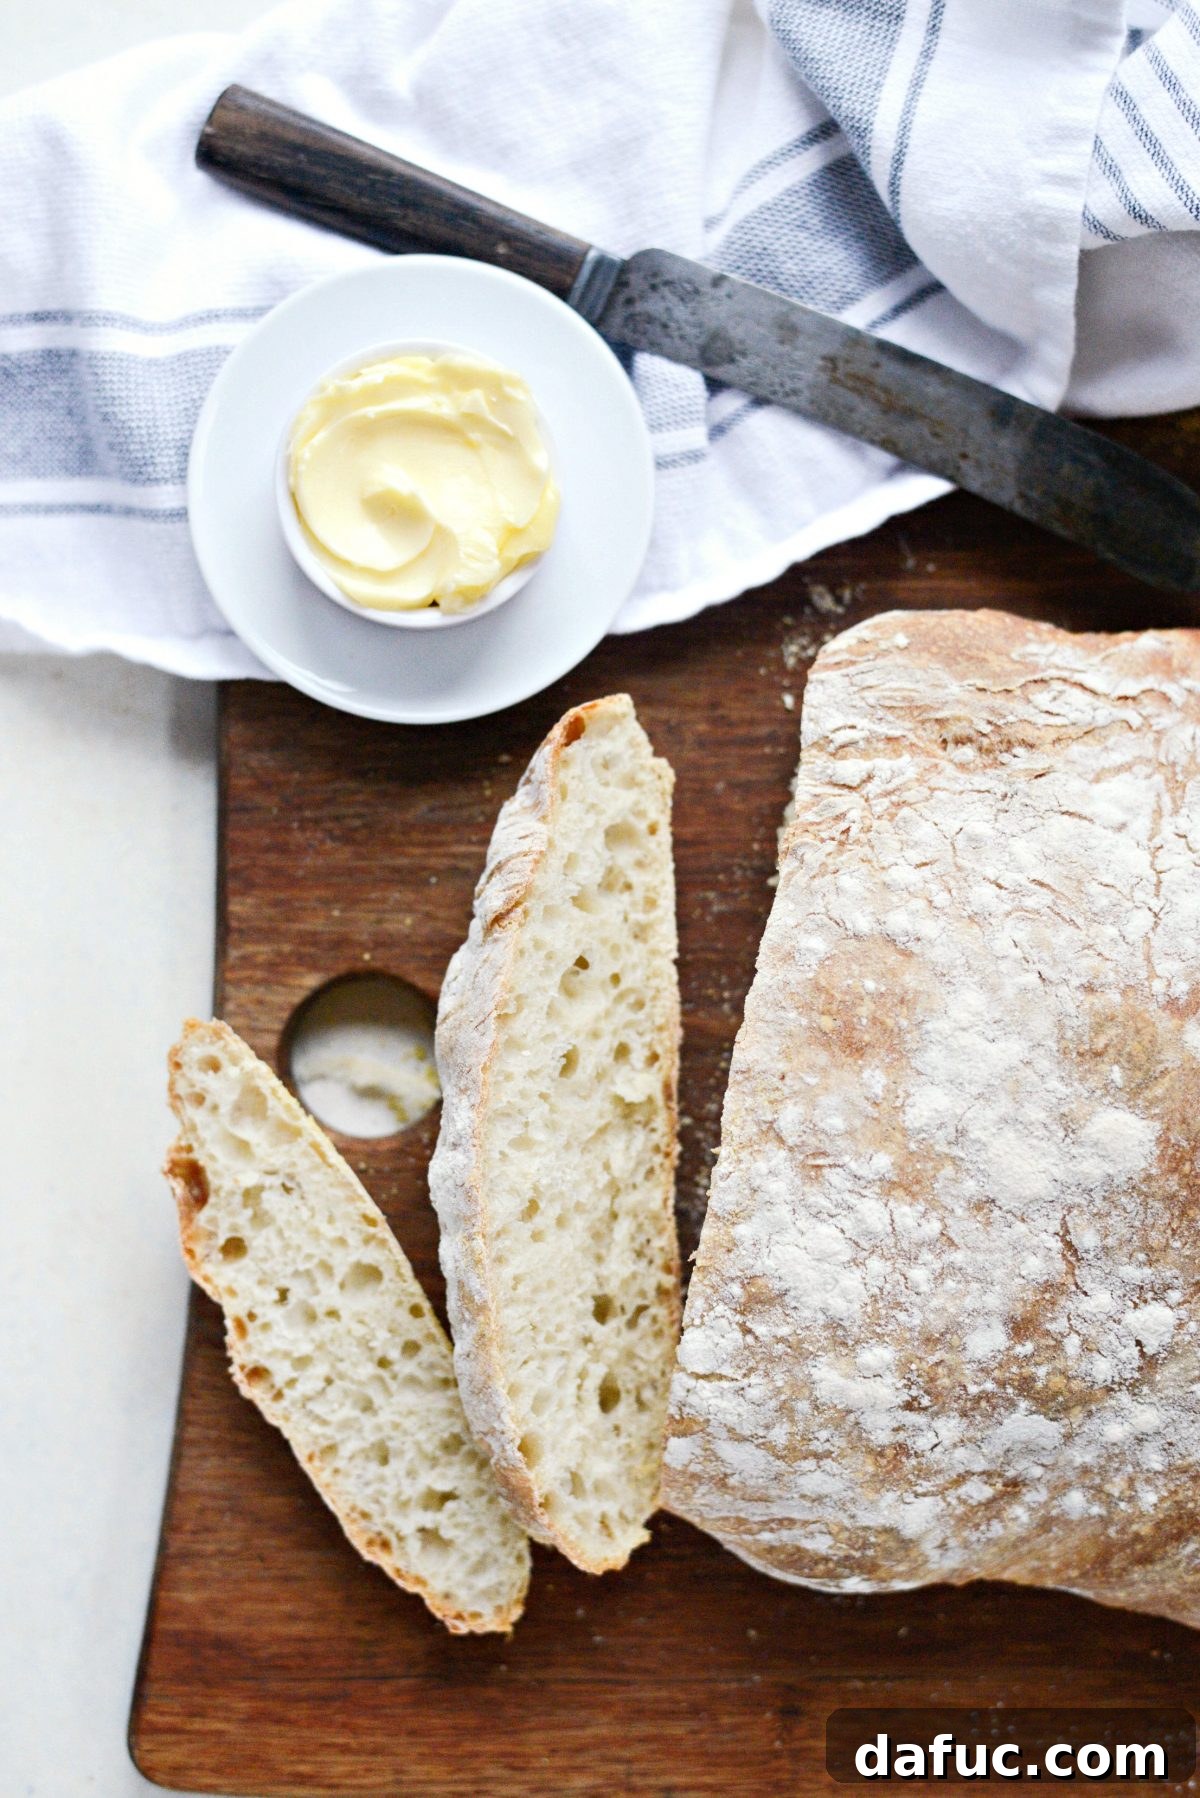
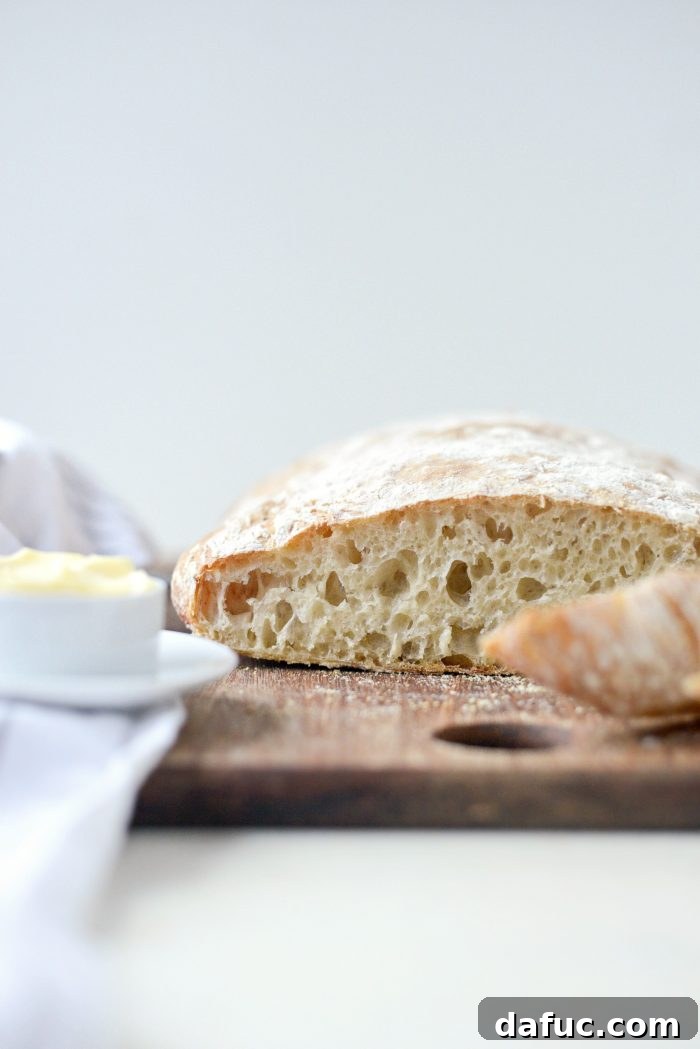
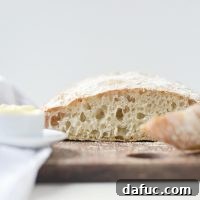
Embark on a culinary adventure that promises the satisfaction of freshly baked bread without the toil of traditional kneading. This Homemade No-Knead Ciabatta Bread recipe is a testament to the magic that happens when a few simple ingredients are given time to transform. The result is nothing short of extraordinary: a loaf boasting a magnificently crispy, golden-brown exterior that shatters gently with each bite, yielding to an interior that is incredibly soft, airy, and full of characteristic large, irregular holes – truly an artisan experience just begging to be slathered with butter, dipped in olive oil, or used for the most delectable sandwiches.
The Irresistible Allure of Homemade Bread, Simplified
For many, the idea of baking bread from scratch is intimidating, often conjuring images of vigorous kneading, complex starters, and hours of hands-on work. However, this no-knead ciabatta bread shatters those misconceptions, proving that gourmet bread making can be incredibly accessible. My love for bread is no secret; it’s a fundamental joy in life. From the comforting embrace of homemade dinner rolls to the rich indulgence of brioche and the herbaceous delight of focaccia, bread holds a special place in my heart. Ciabatta, with its rustic charm and distinct texture, stands proudly among these favorites.
When I first stumbled upon a no-knead ciabatta recipe, skepticism was my immediate reaction. Could something so seemingly sophisticated truly be so simple? I anticipated a multi-day process involving a sourdough starter or an arduous 15-minute kneading session. Yet, the truth revealed itself: the foundation of this incredible bread lies in just four staple ingredients – flour, salt, yeast, and water – and the powerful, patient force of time. This revelation was a game-changer, proving that the myth of complex bread making could be effortlessly busted.
If the dreaded act of kneading has been the primary barrier preventing you from diving into the rewarding world of homemade bread, then this recipe is your ultimate salvation. It demands absolutely zero kneading whatsoever. Instead, it relies on an extended fermentation period at room temperature, allowing the yeast and gluten to develop naturally and beautifully, with minimal effort from you. Imagine all the years one could have spent enjoying fresh ciabatta, instead of just dreaming about it! This recipe allows you to reclaim that lost time, offering a simple path to artisanal bread perfection.
This method truly transforms the process from a daunting task into a simple act of mixing and waiting. The time spent is predominantly hands-off, leaving you free to go about your day while the dough slowly works its magic. It’s a rewarding process, culminating in a loaf that feels both deeply traditional and incredibly modern in its simplicity. You’ll wonder why you ever hesitated.
Essential Ingredients for Your Ciabatta Masterpiece
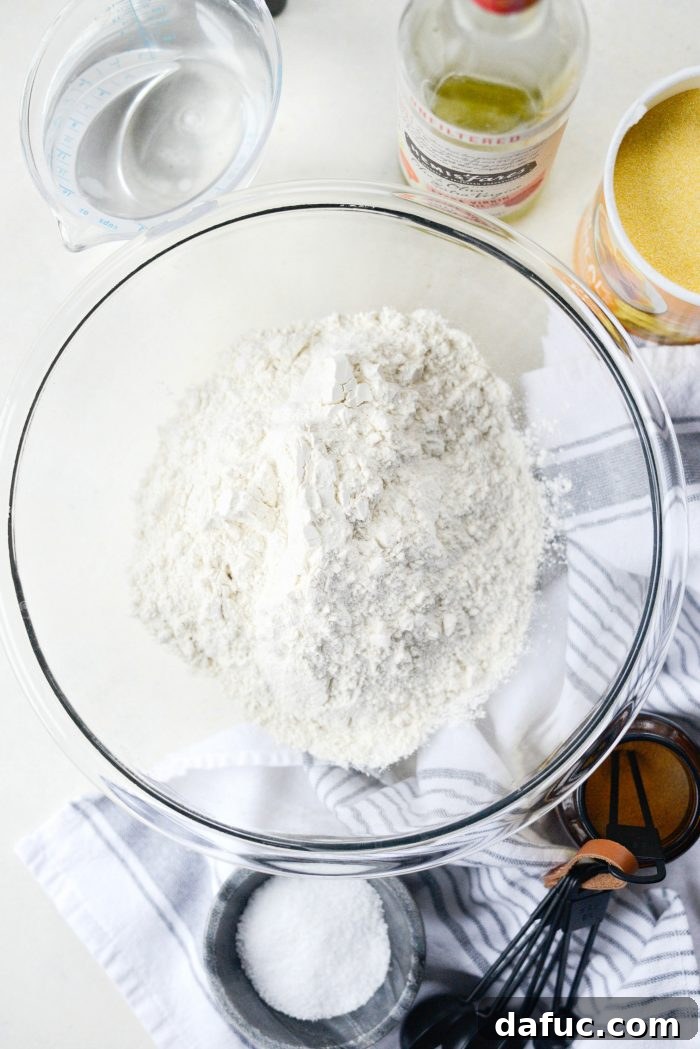
One of the beauties of this no-knead ciabatta recipe is its reliance on readily available, basic pantry staples. You won’t need any exotic flours or specialized equipment. Here’s what you’ll need to gather:
- **Unbleached All-Purpose Flour:** The foundation of our bread, providing the structure.
- **Kosher Salt:** Essential for flavor and regulating yeast activity.
- **Active Dry Yeast:** The powerhouse that creates those beautiful air pockets and distinct bread flavor.
- **Water:** Hydrates the dough and activates the yeast.
- **Olive Oil:** Used for preparing the baking sheet, adding a subtle richness.
- **Cornmeal (or Semolina):** Prevents sticking and adds a lovely rustic texture to the crust.
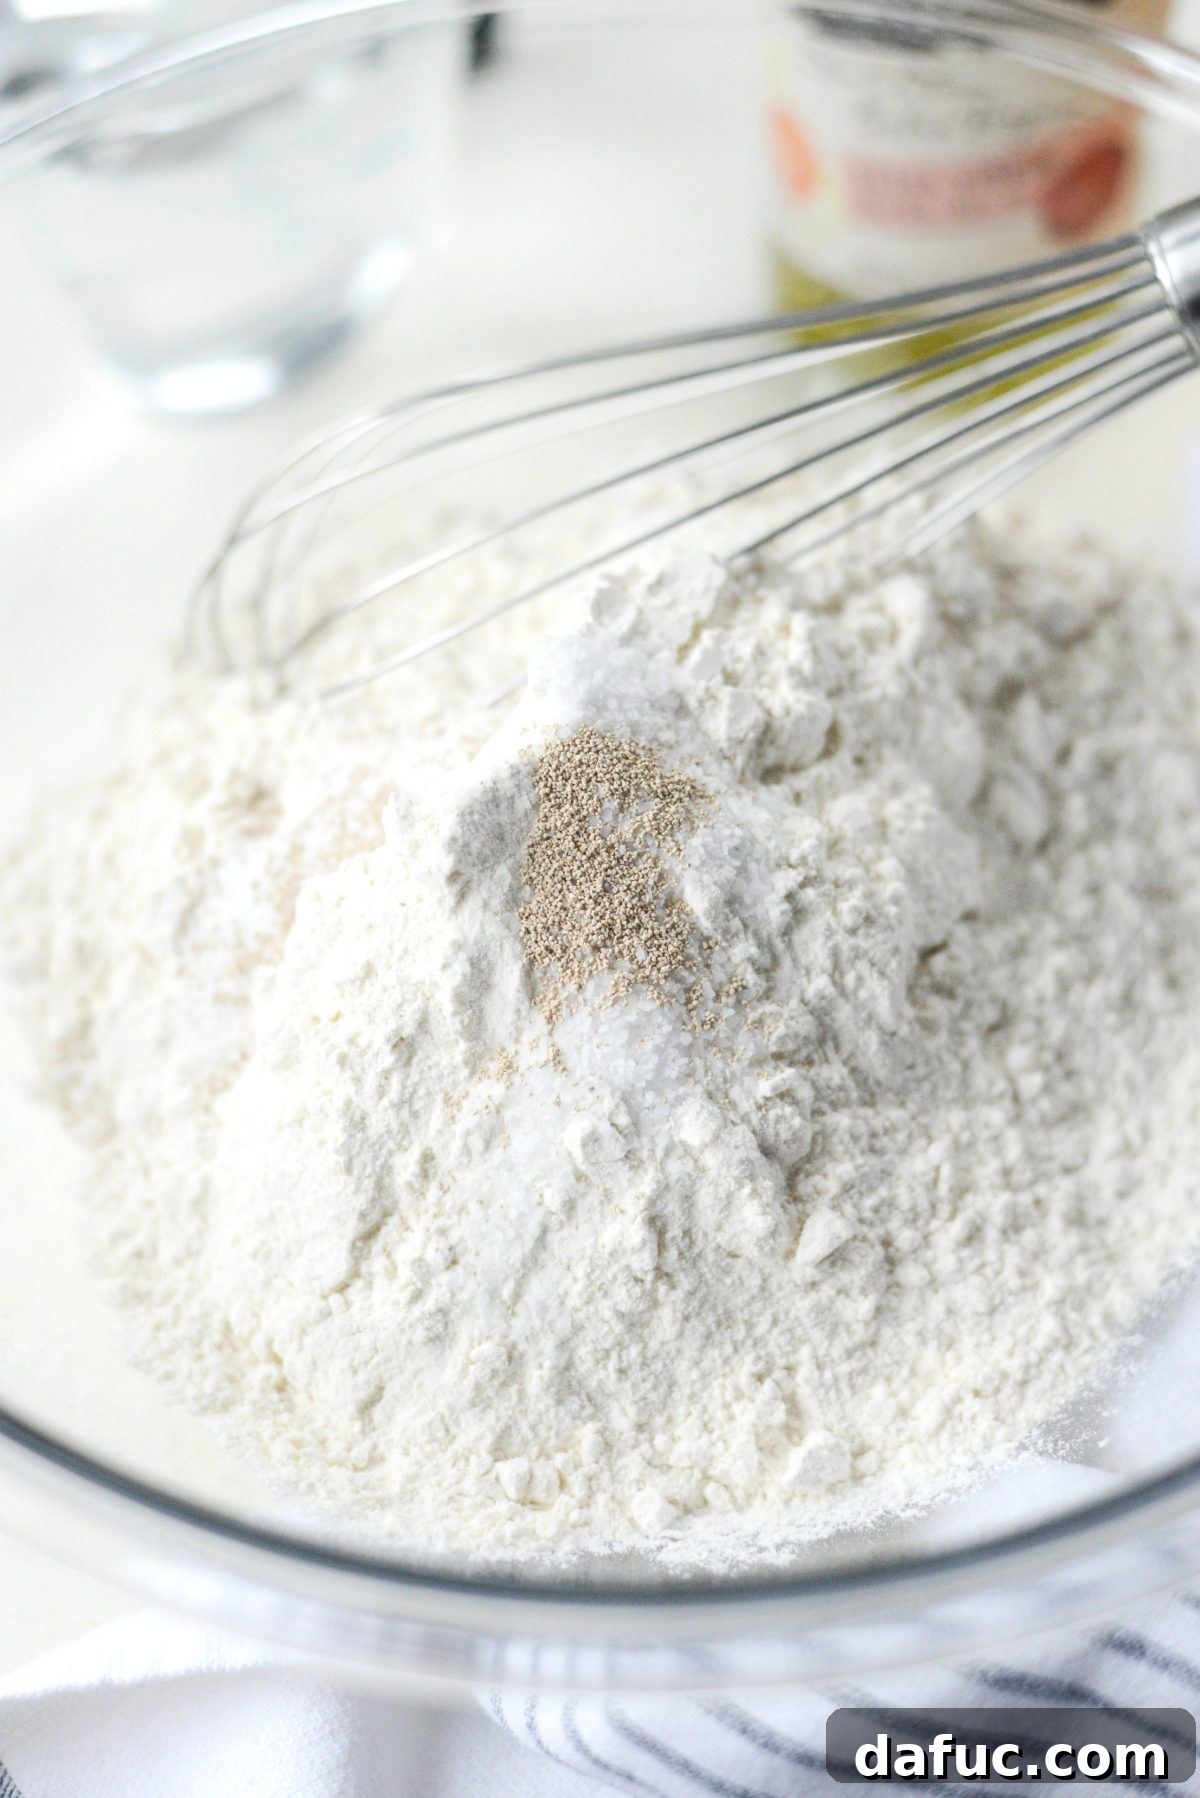
Begin by measuring 4 cups of unbleached all-purpose flour into a spacious mixing bowl. There’s no need for sifting; simply scoop and add. Next, carefully measure in 1-1/2 teaspoons of kosher salt and a mere 1/4 teaspoon of active dry yeast. You might, like me, find yourself questioning the seemingly small amount of yeast – especially if you’re accustomed to using significantly more in other doughs, such as pizza dough. Rest assured, this precise measurement is correct and is key to the slow, flavorful fermentation that defines this ciabatta.
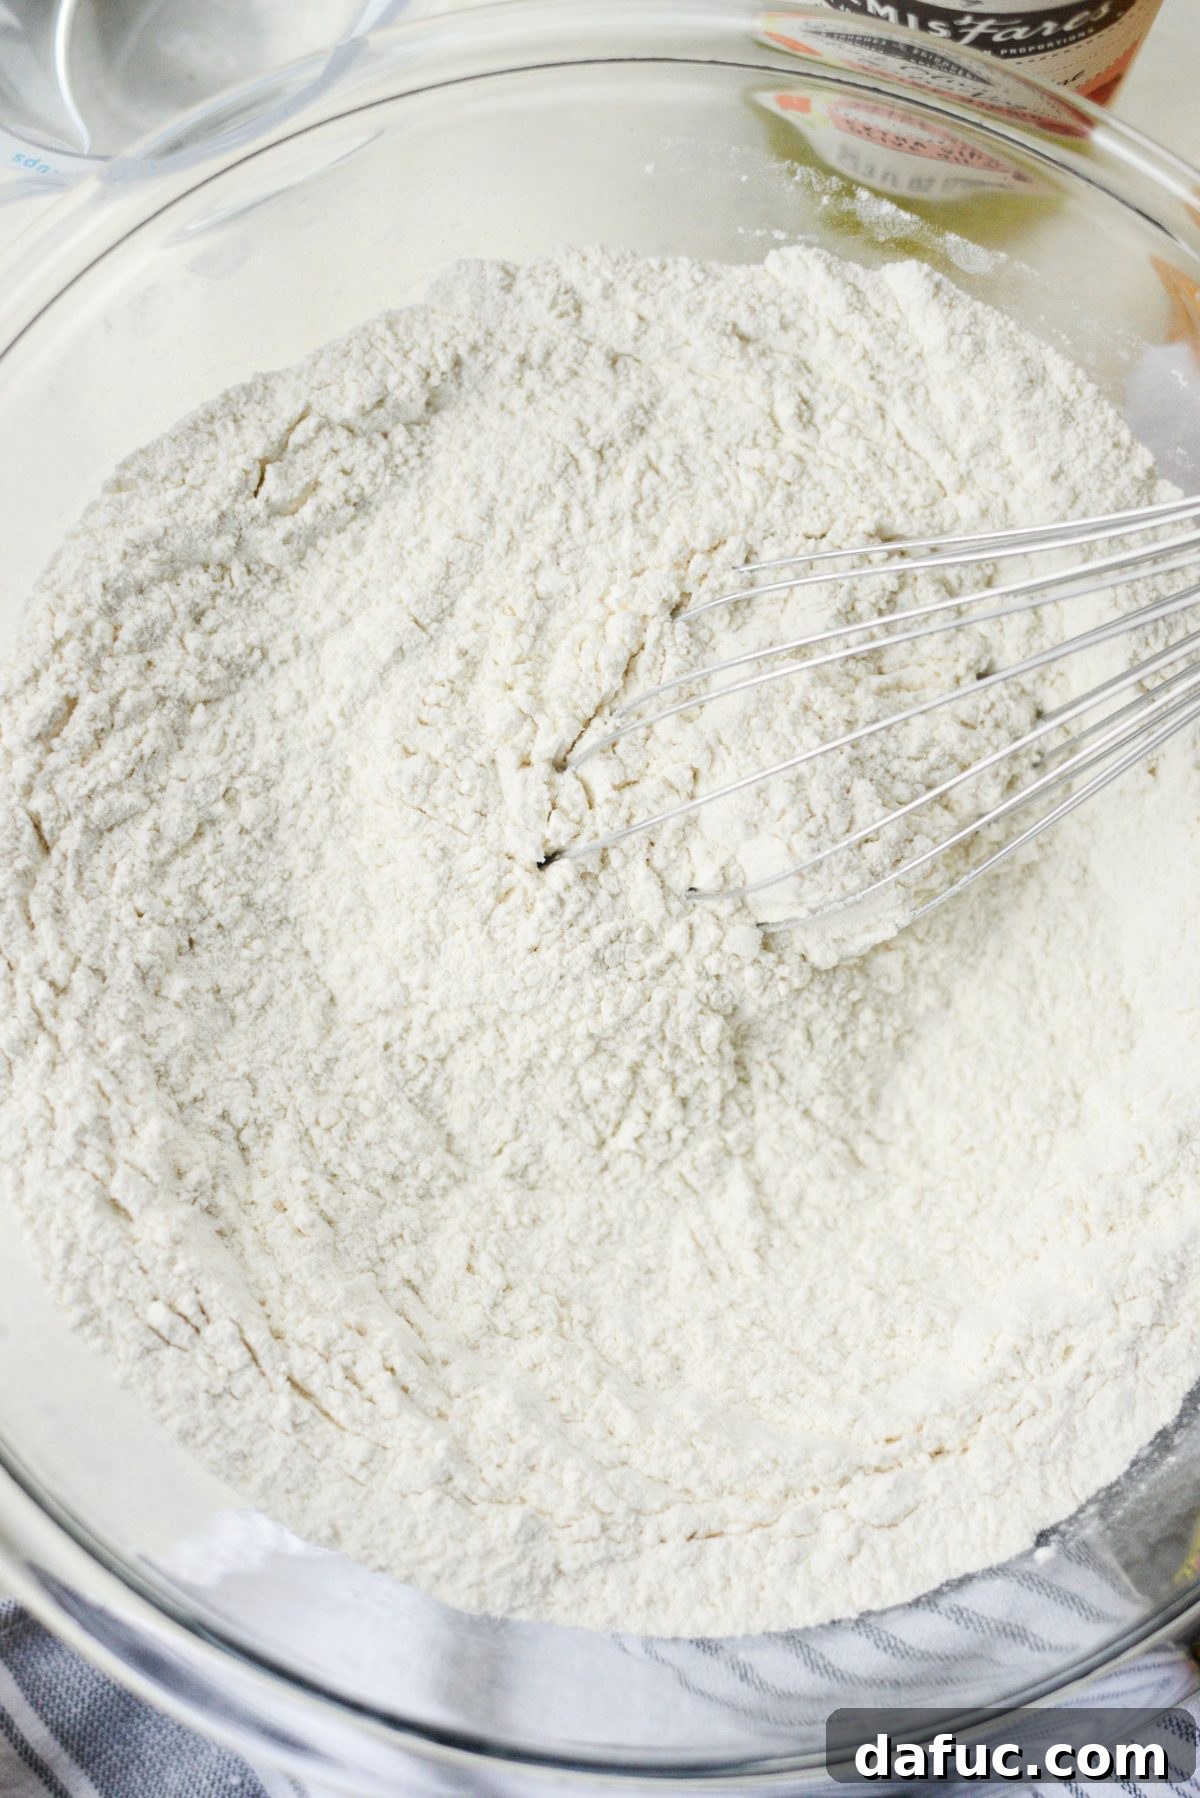
Give these dry ingredients a good whisk. This step isn’t just about mixing; it’s about aerating the flour and ensuring the salt and yeast are evenly distributed, which is crucial for uniform fermentation and flavor development throughout the dough.
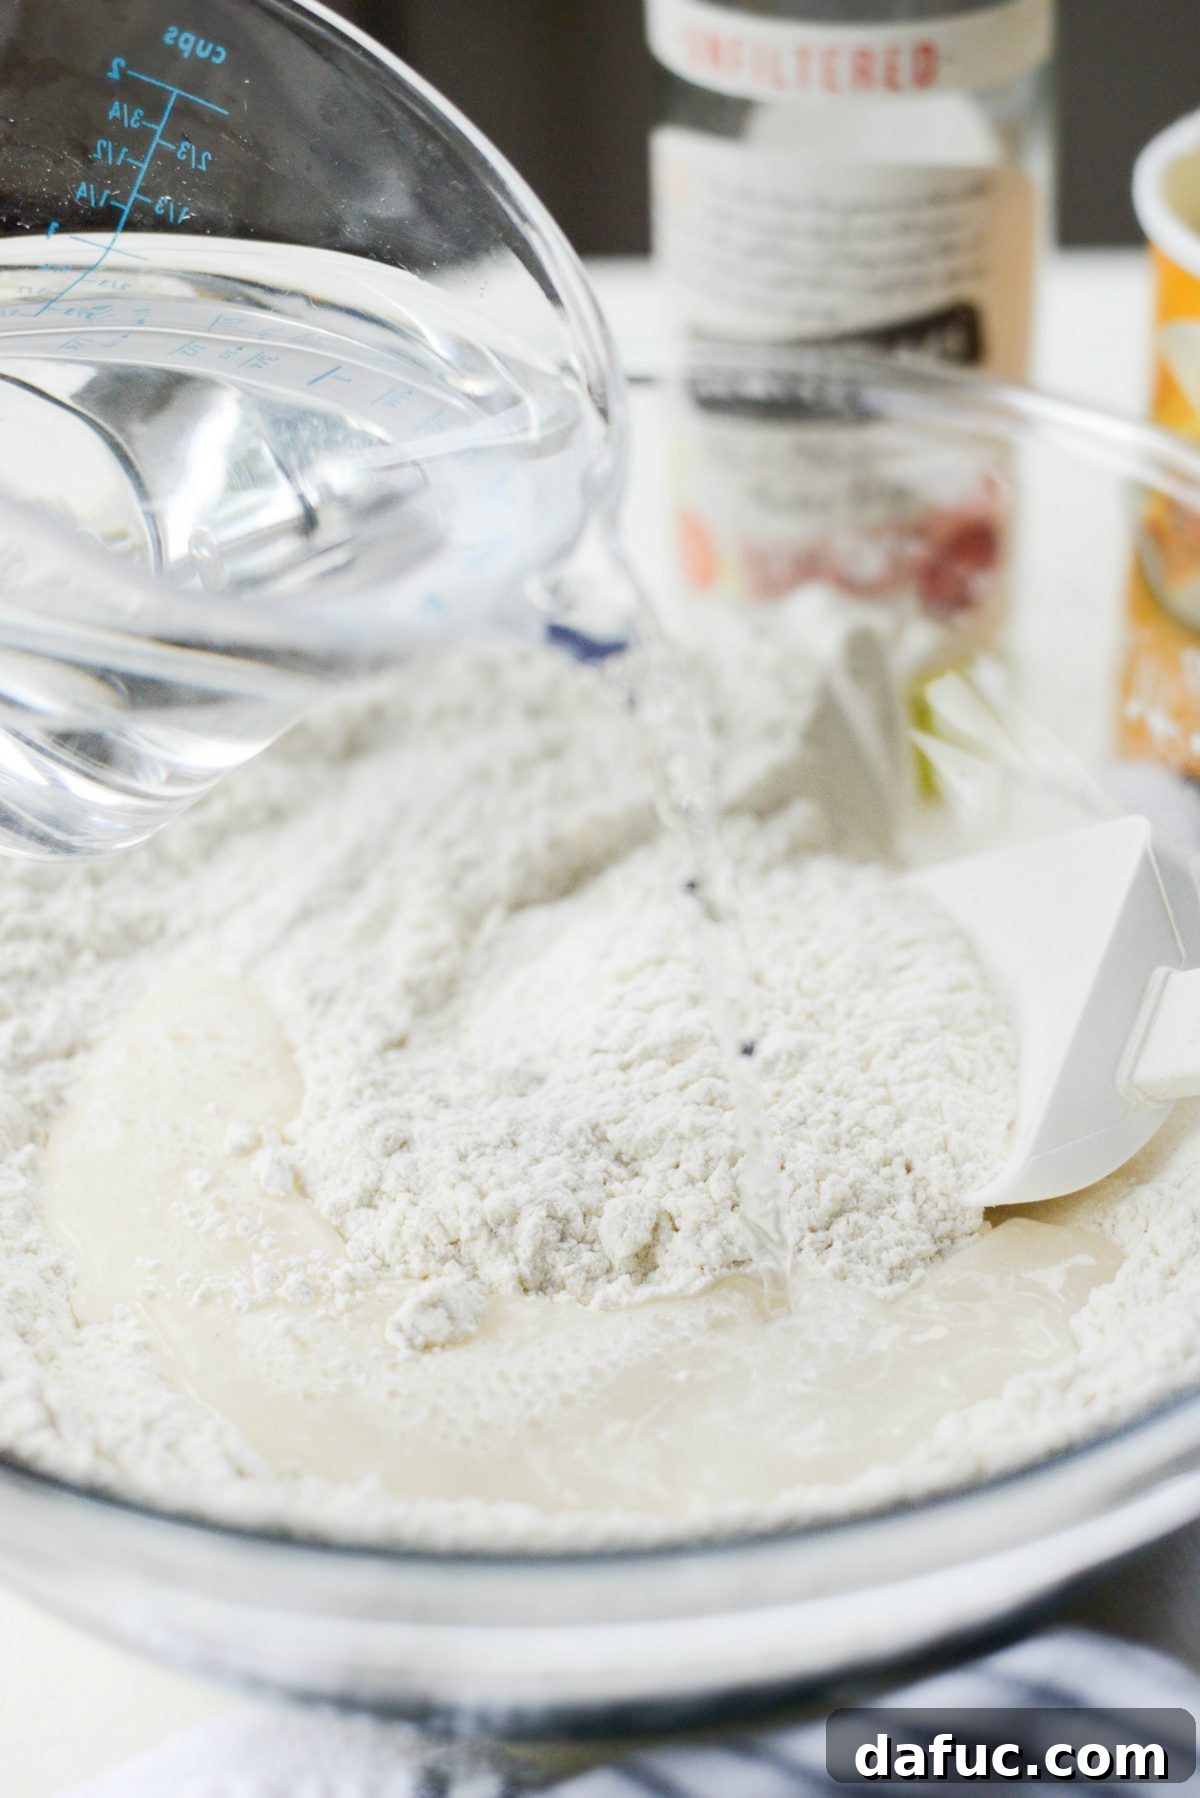
Now, pour in 2 cups of water. There’s no need to fuss over specific water temperatures here; plain tap water will do perfectly fine. The simplicity continues!
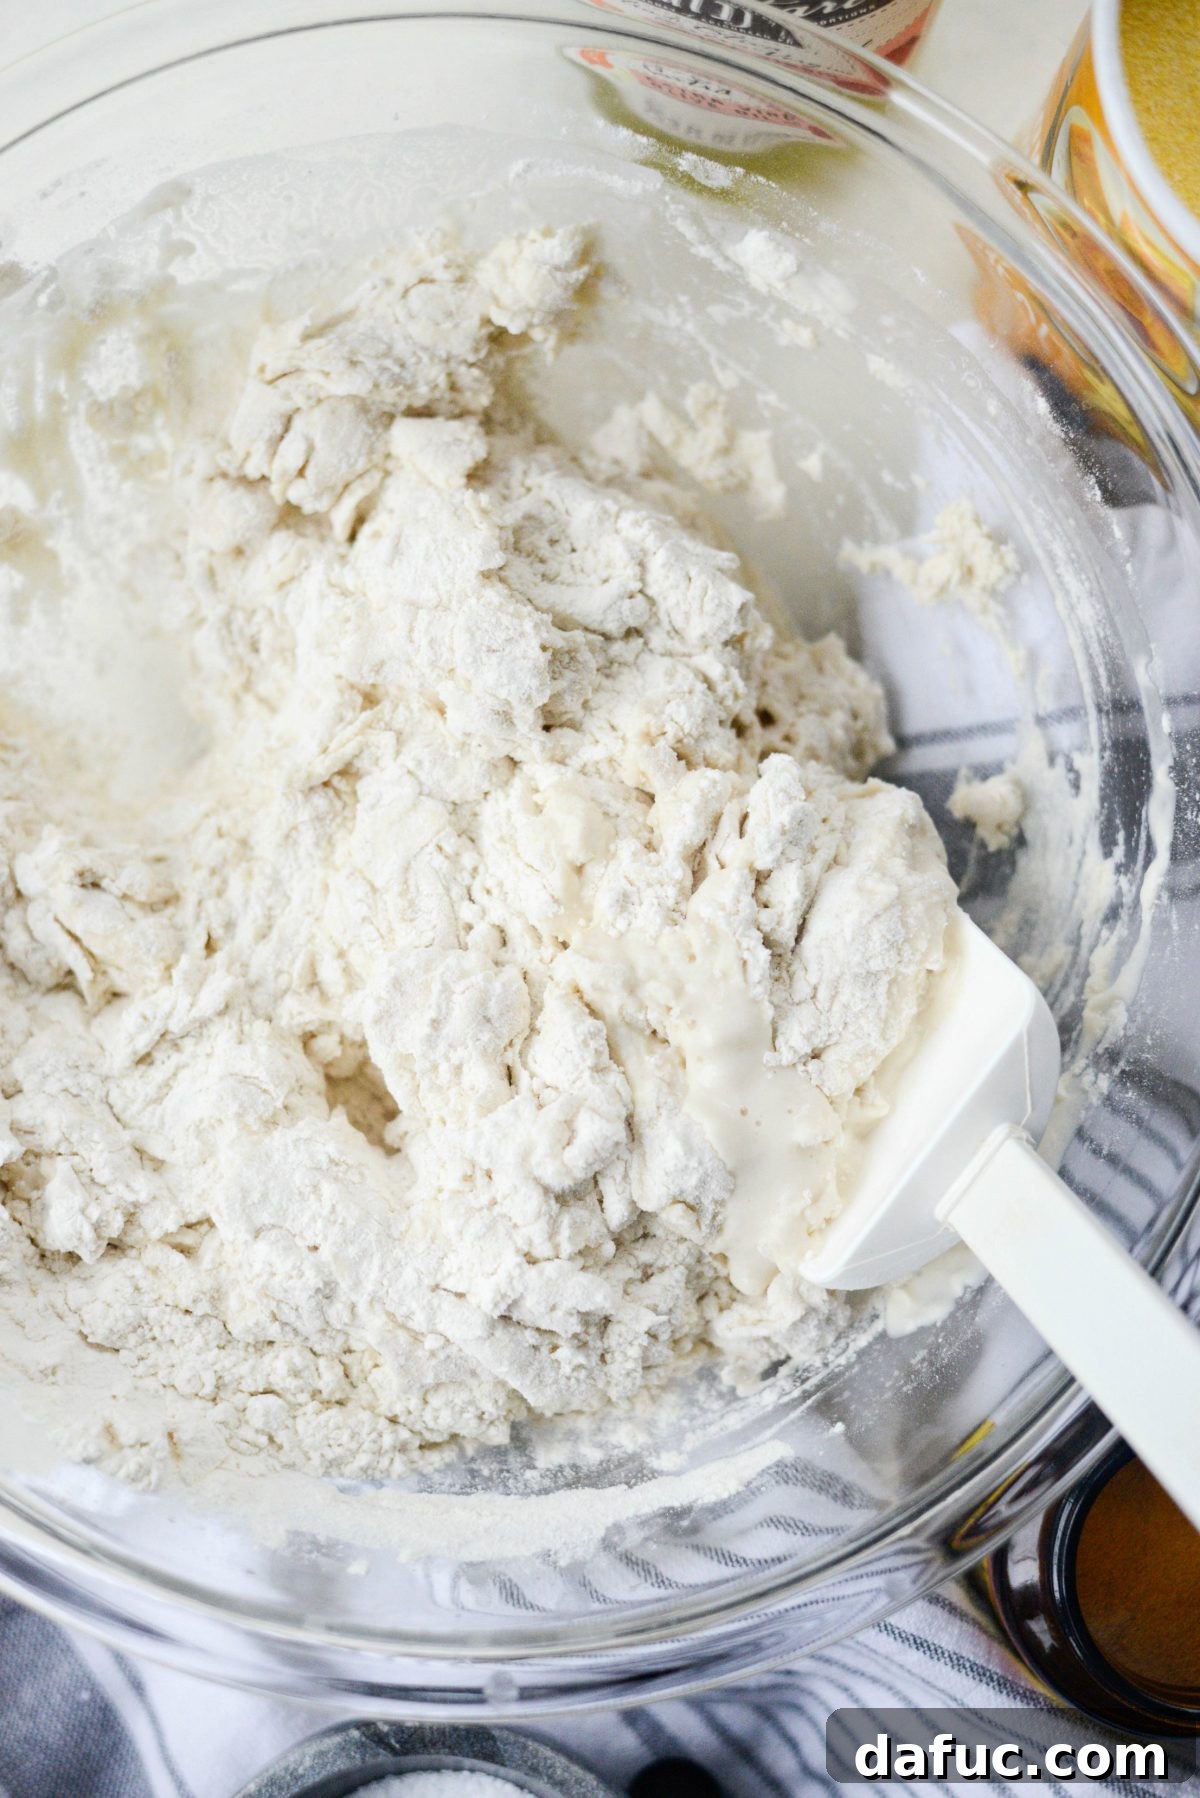
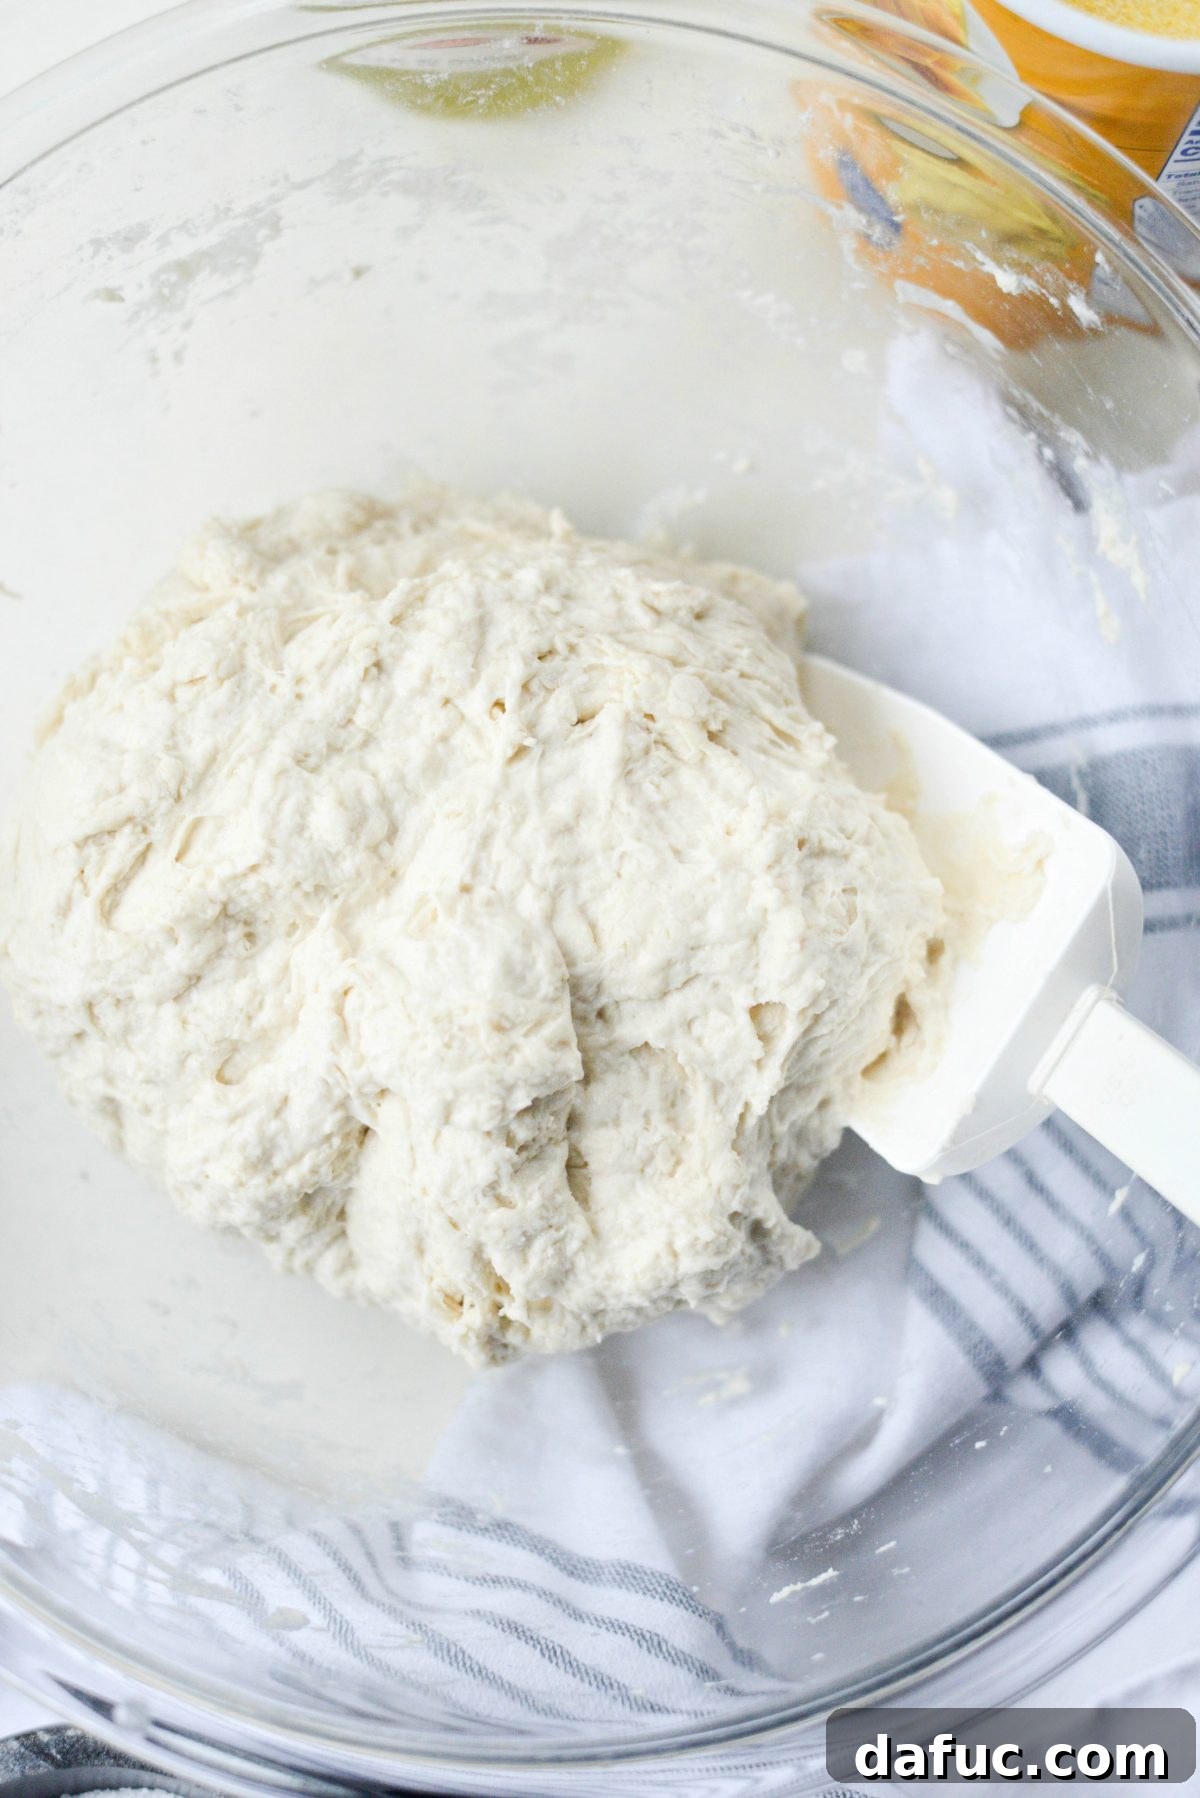
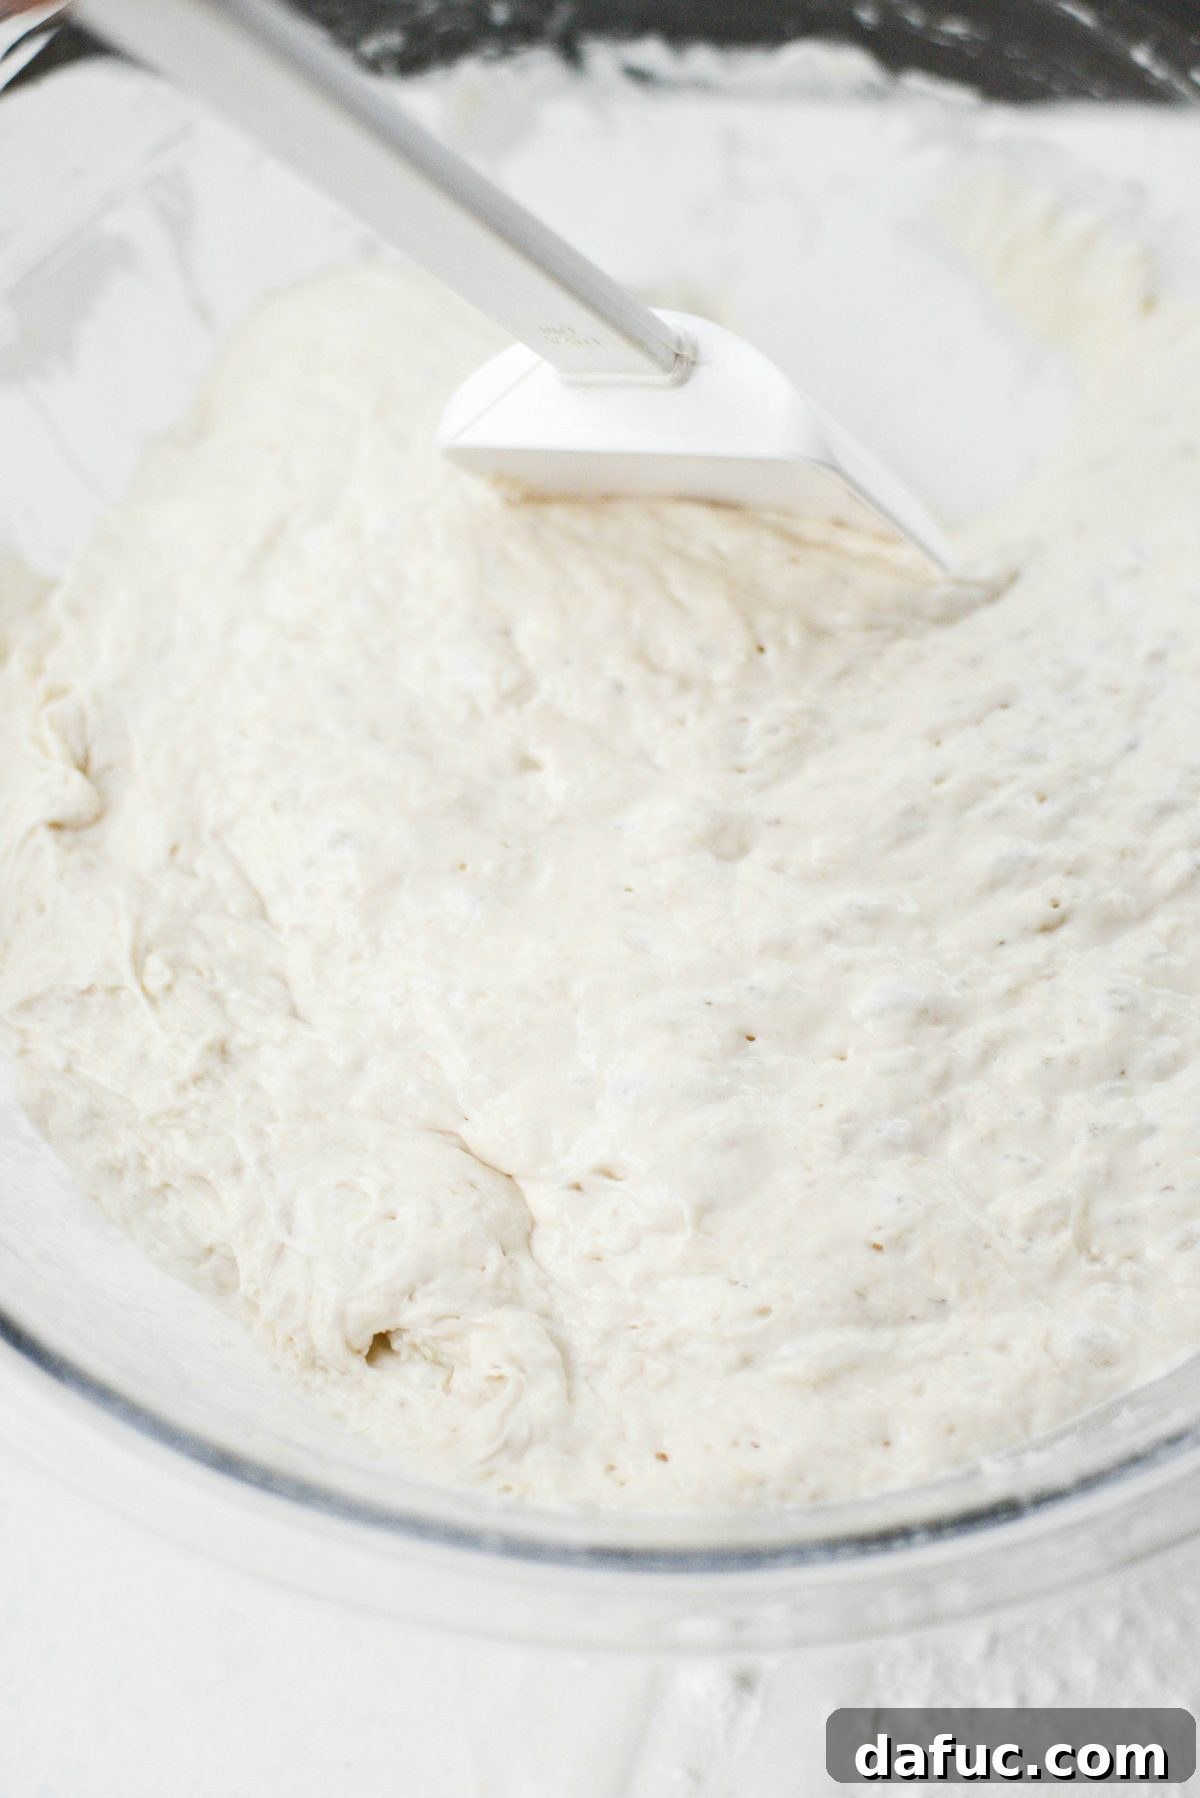
Switch to a sturdy rubber spatula and mix the flour mixture with the water until all the dry flour is thoroughly incorporated. At this stage, the dough will be incredibly wet and sticky – this is exactly what you want for ciabatta, as it contributes to its characteristic open crumb. Resist the urge to add more flour; embrace the stickiness!
The Magic of Long Fermentation: Your Dough’s First Rise
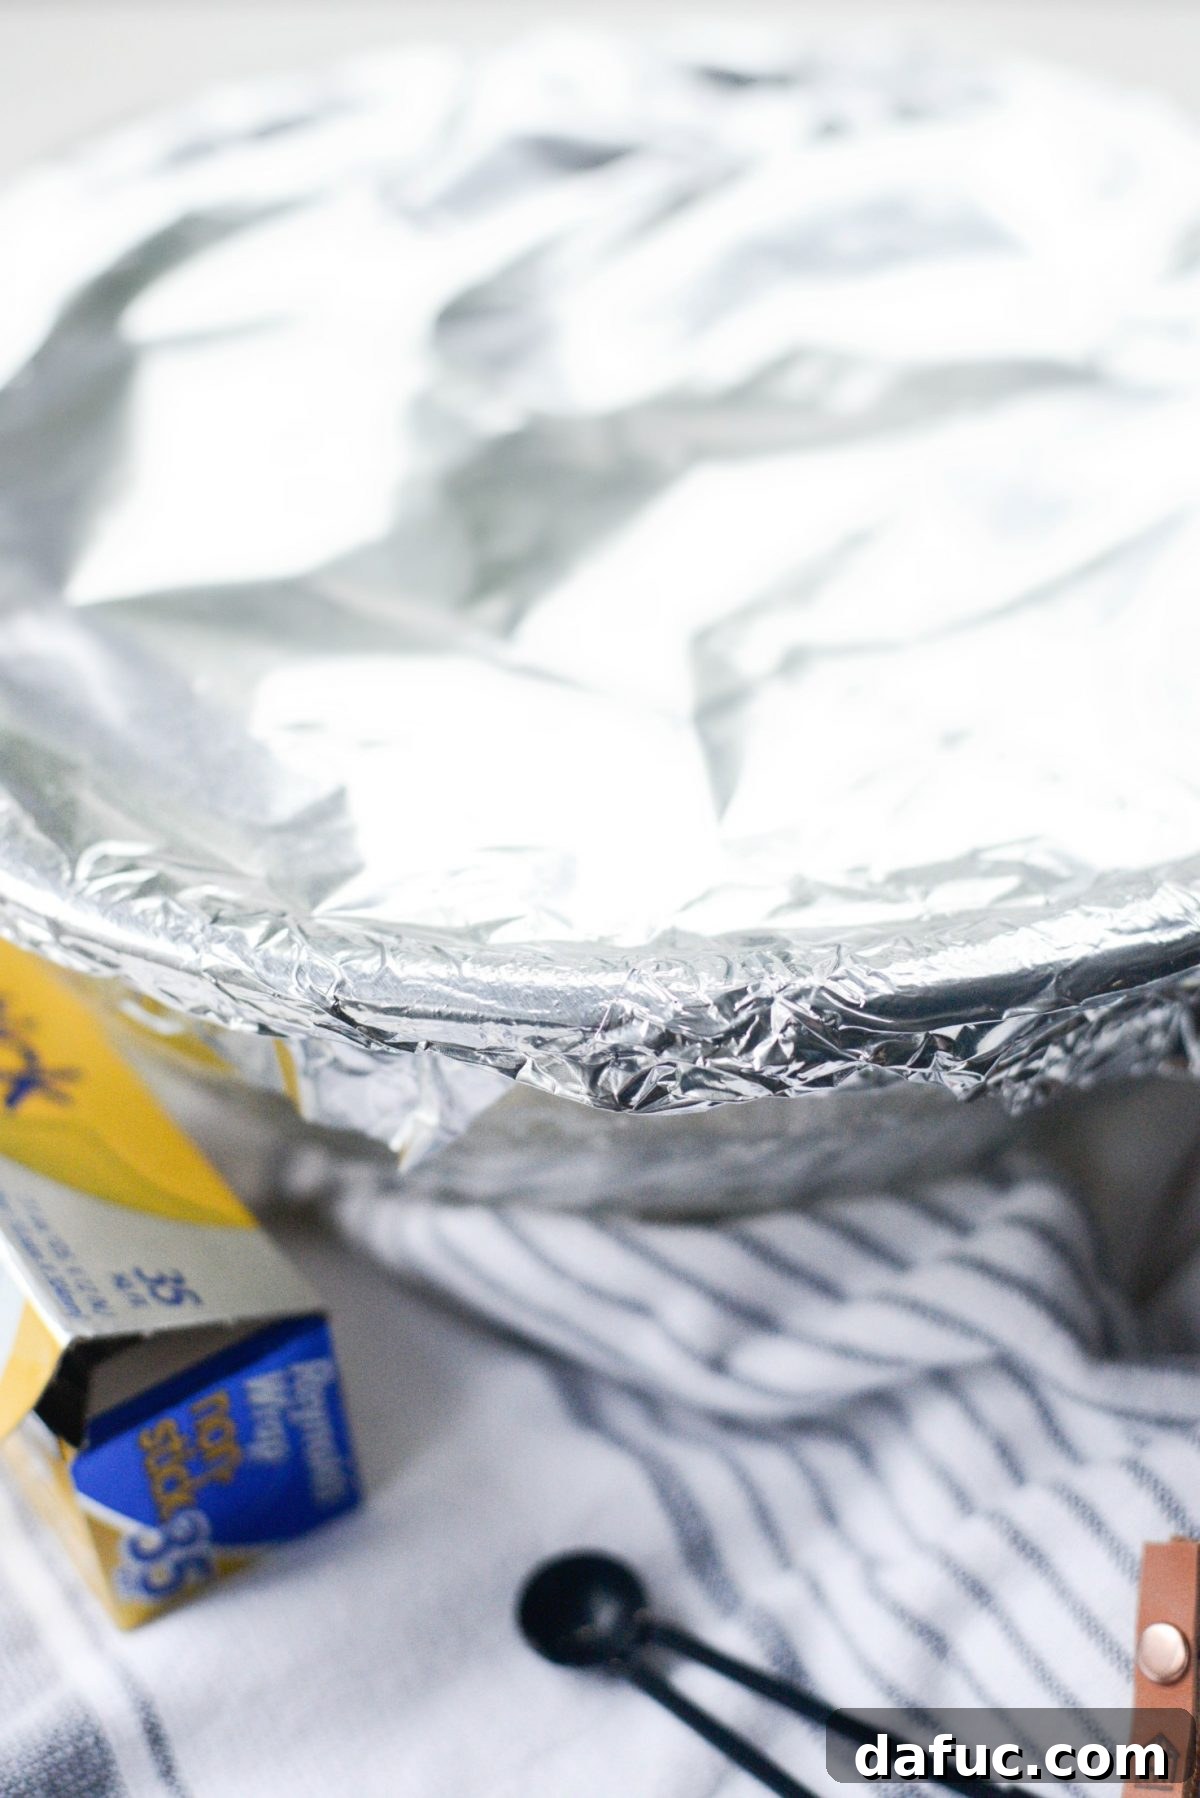
Once mixed, cover the bowl tightly with aluminum foil and leave it to rest at room temperature for an extended period of 18 to 24 hours. This long, slow fermentation is the true “magic” of this recipe. During this time, the yeast slowly works its wonders, developing complex flavors and creating a strong gluten structure without any manual kneading. The dough will become incredibly bubbly and more than double in size, indicating that the yeast has been busy converting sugars and producing gas.
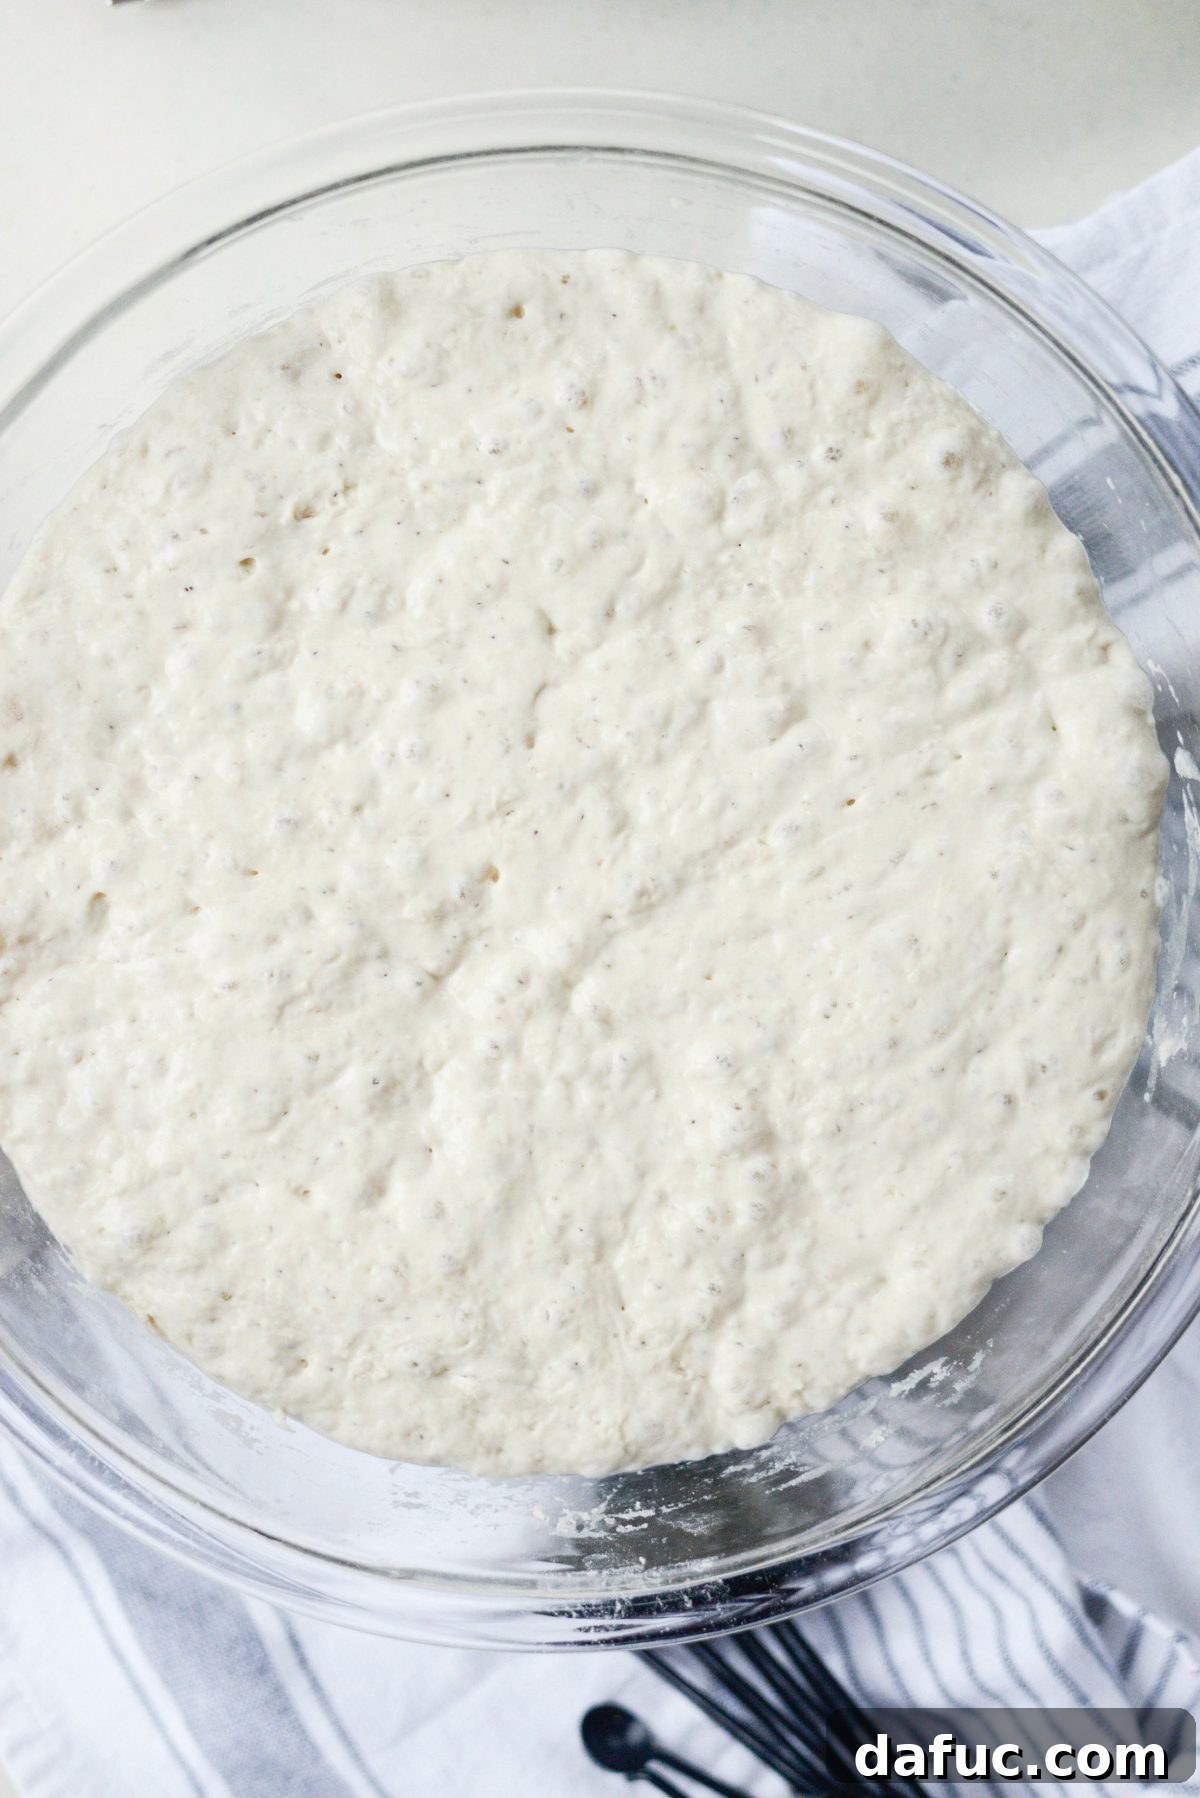
After this extensive rest, you’ll be greeted by a dramatically transformed dough. It will be light, airy, and visibly expanded, covered with a beautiful network of bubbles on its surface. This is a clear sign that the fermentation process has been successful, laying the groundwork for the airy texture characteristic of authentic ciabatta.
Preparing Your Workspace and Shaping the Ciabatta
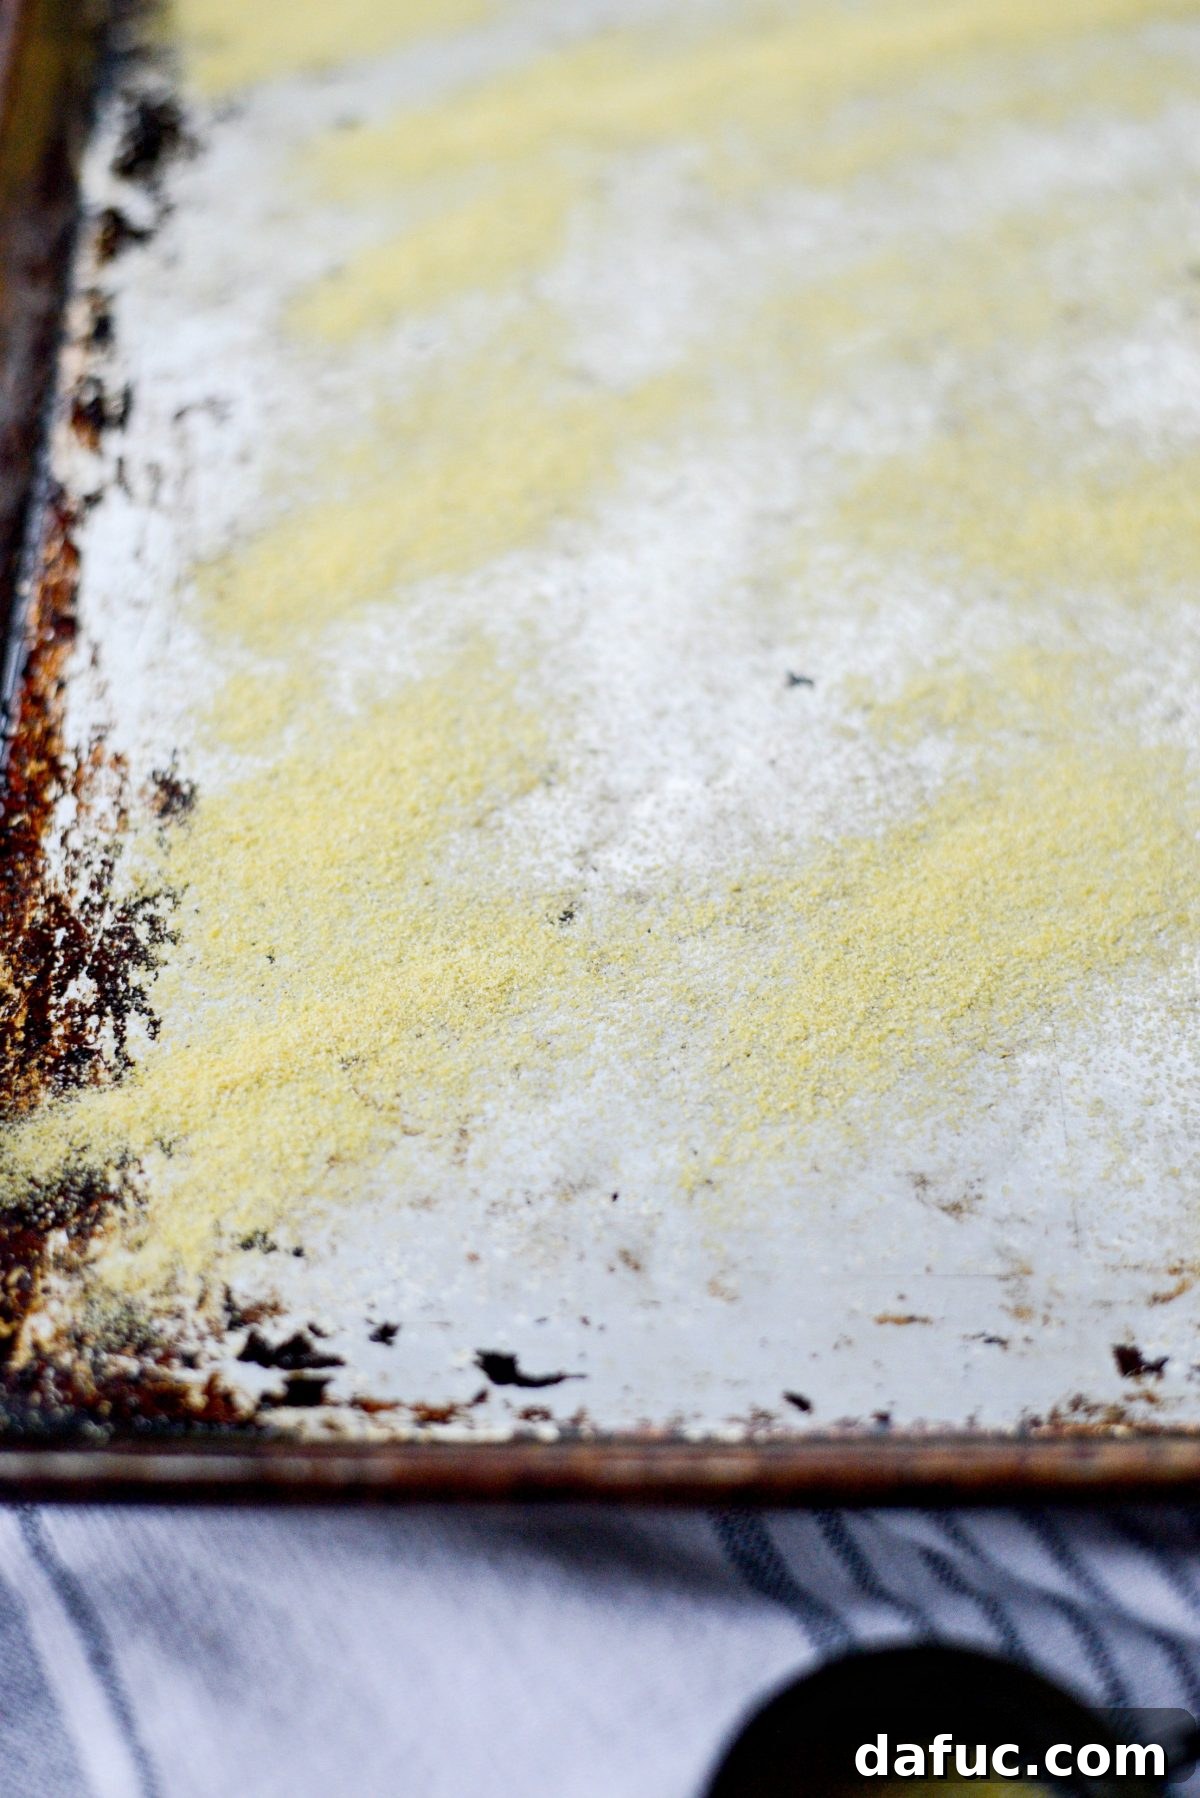
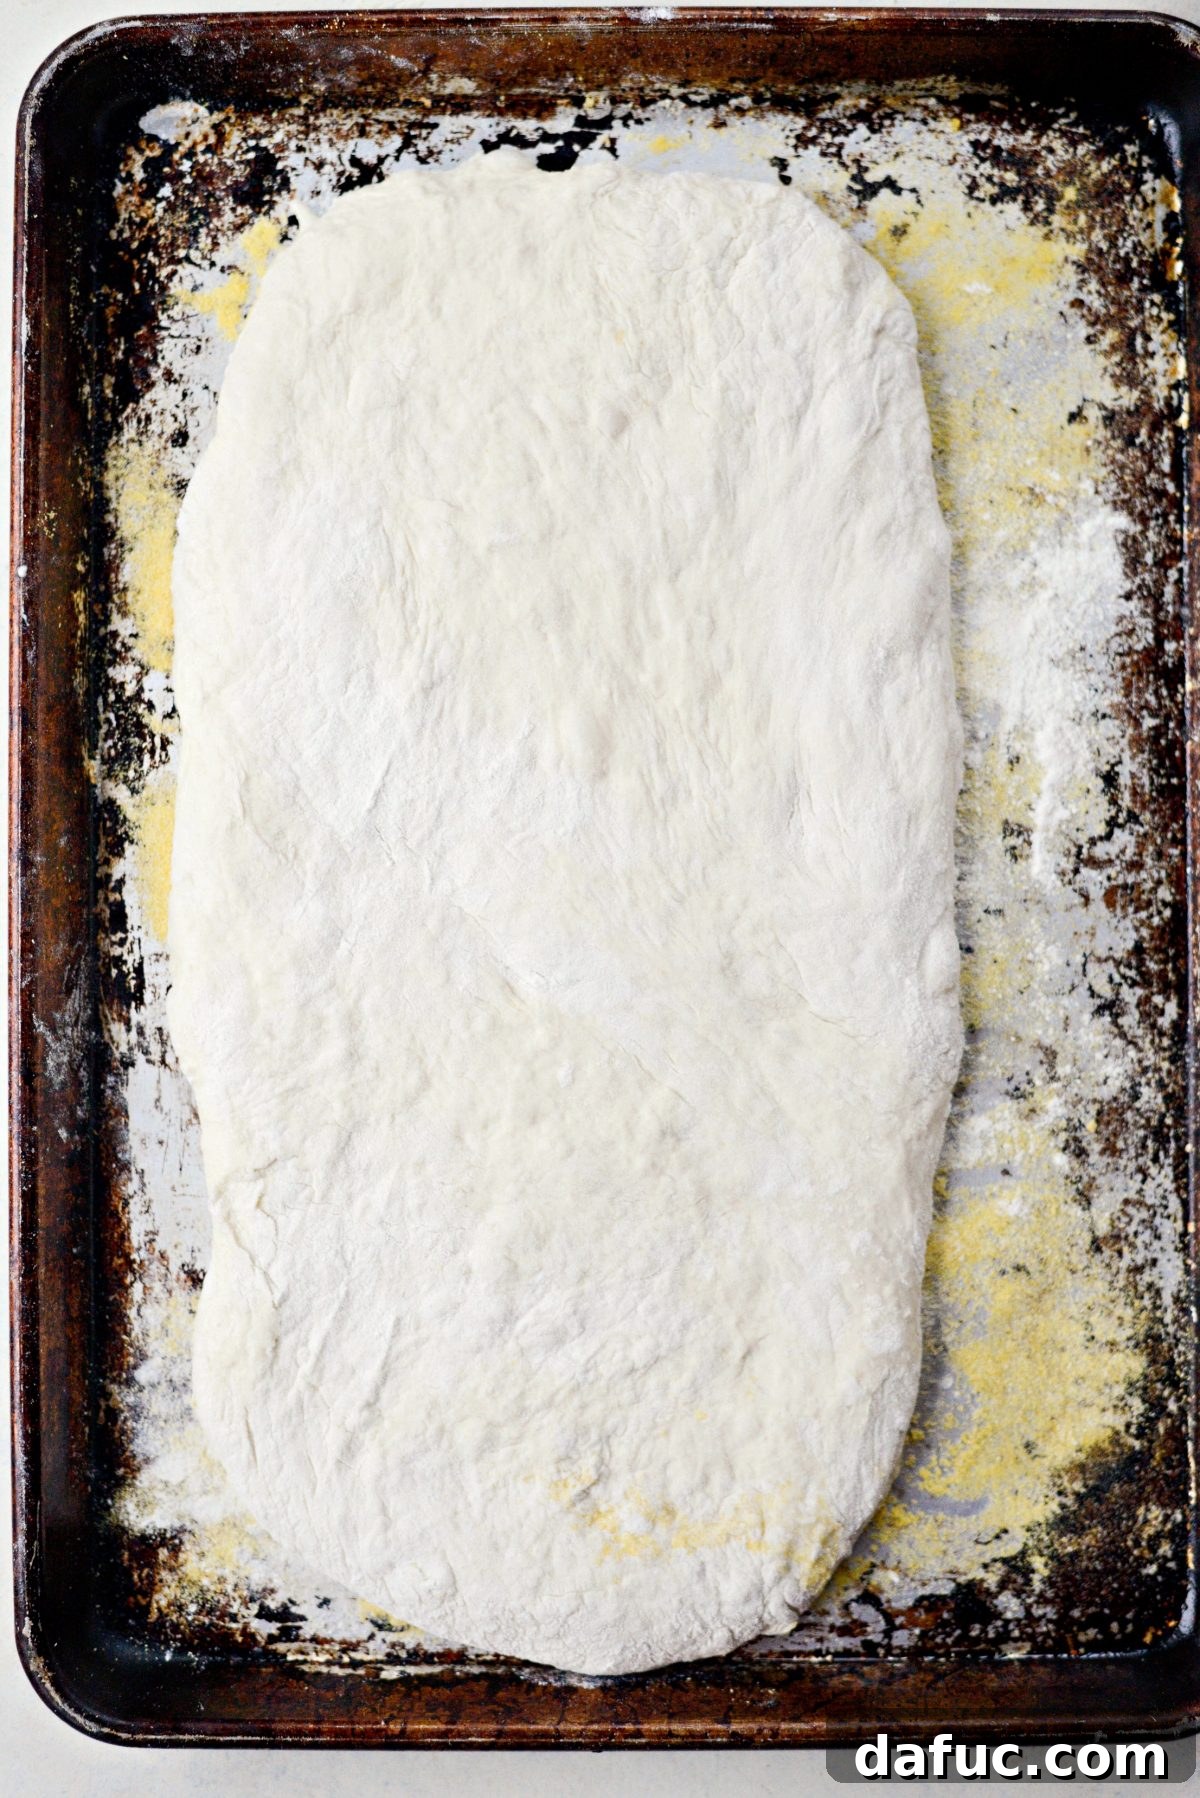
The next day, it’s time for the final preparations before baking. Lightly brush a metal rimmed baking sheet with olive oil, ensuring even coverage. Then, generously sprinkle a couple of tablespoons of cornmeal (or semolina) over the oiled surface. This will prevent the sticky dough from adhering to the pan and contributes to a wonderfully crisp bottom crust. Set this prepared pan aside.
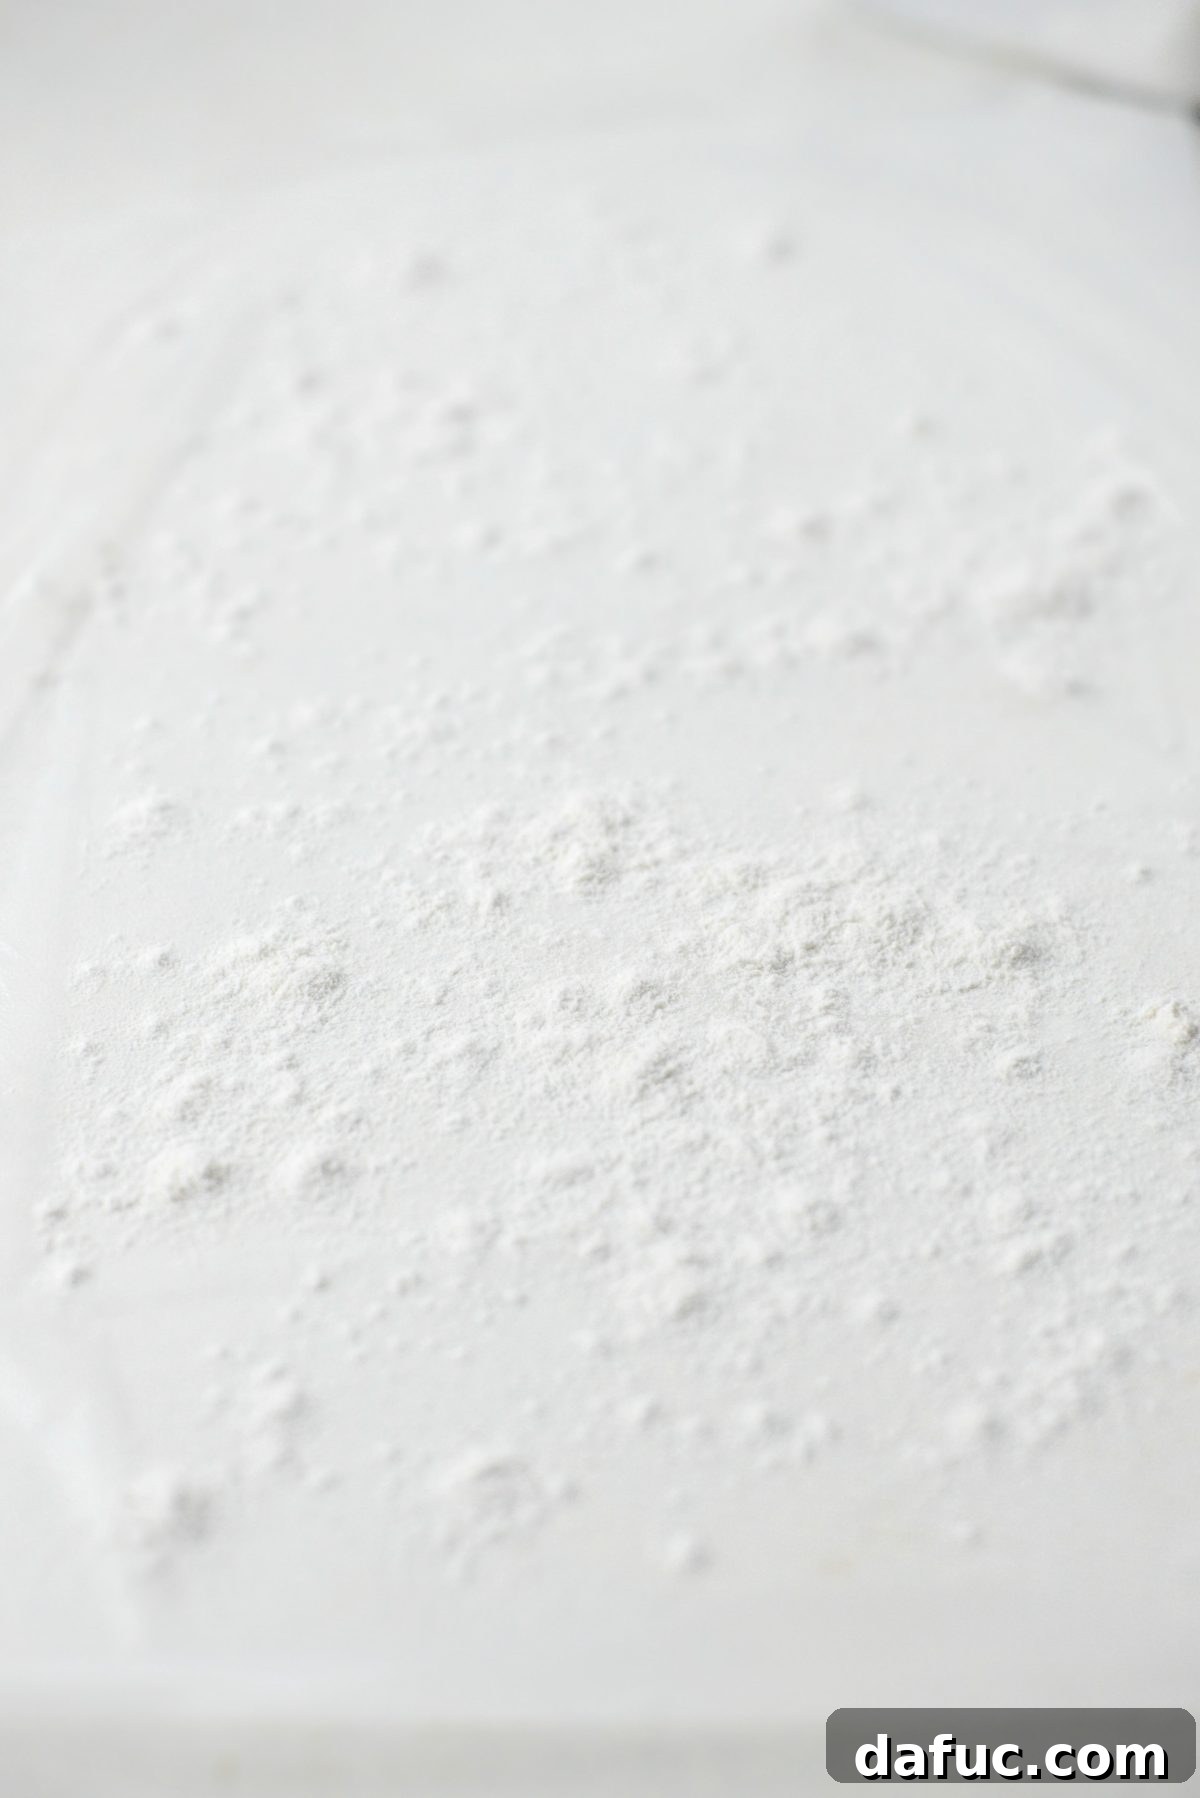
Next, prepare your work surface. Lightly spray or wipe your clean counter with water before laying down a large piece of plastic wrap. The dampness helps the plastic adhere to the counter, preventing it from shifting as you work with the very delicate ciabatta dough. Liberally sprinkle the entire surface of the plastic wrap with flour; this is crucial, as it will prevent the extremely sticky dough from clinging to the plastic. Don’t be shy with the flour here!
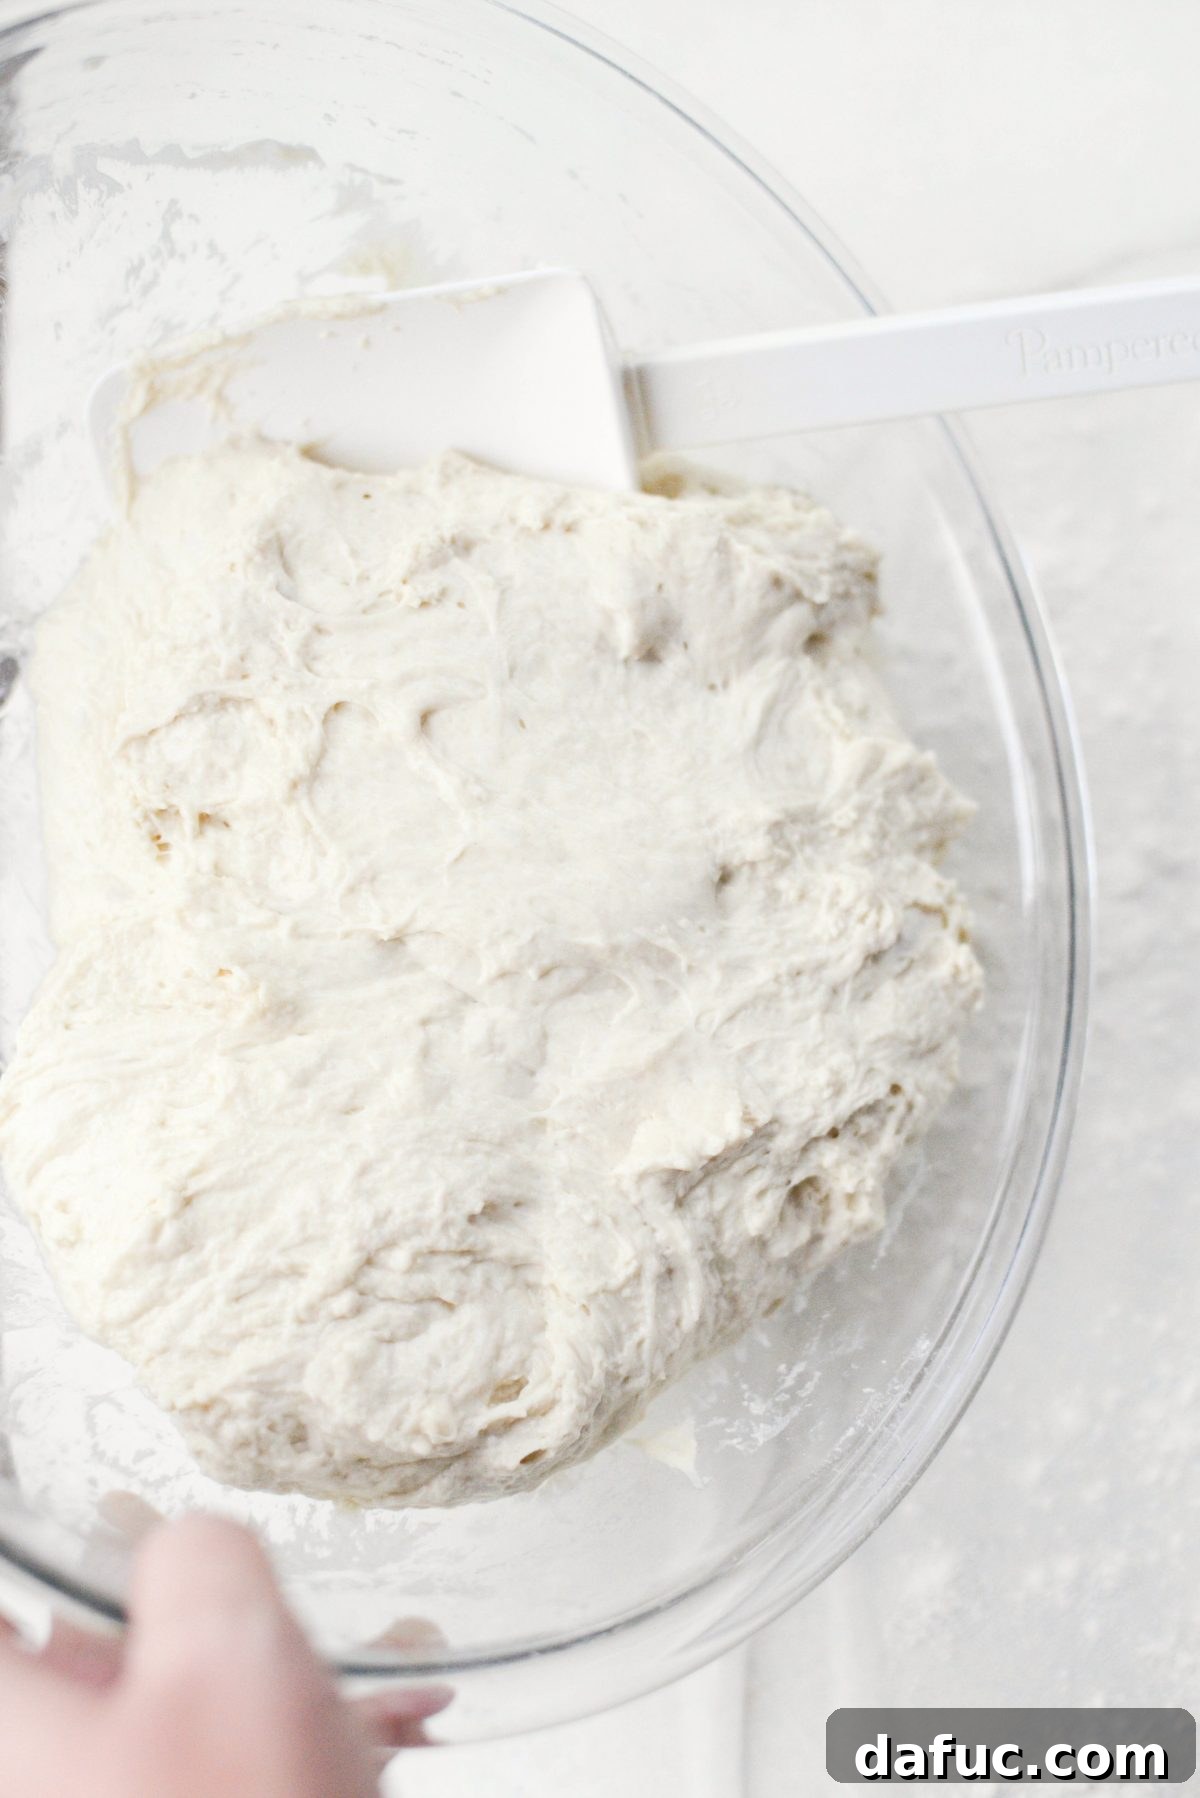
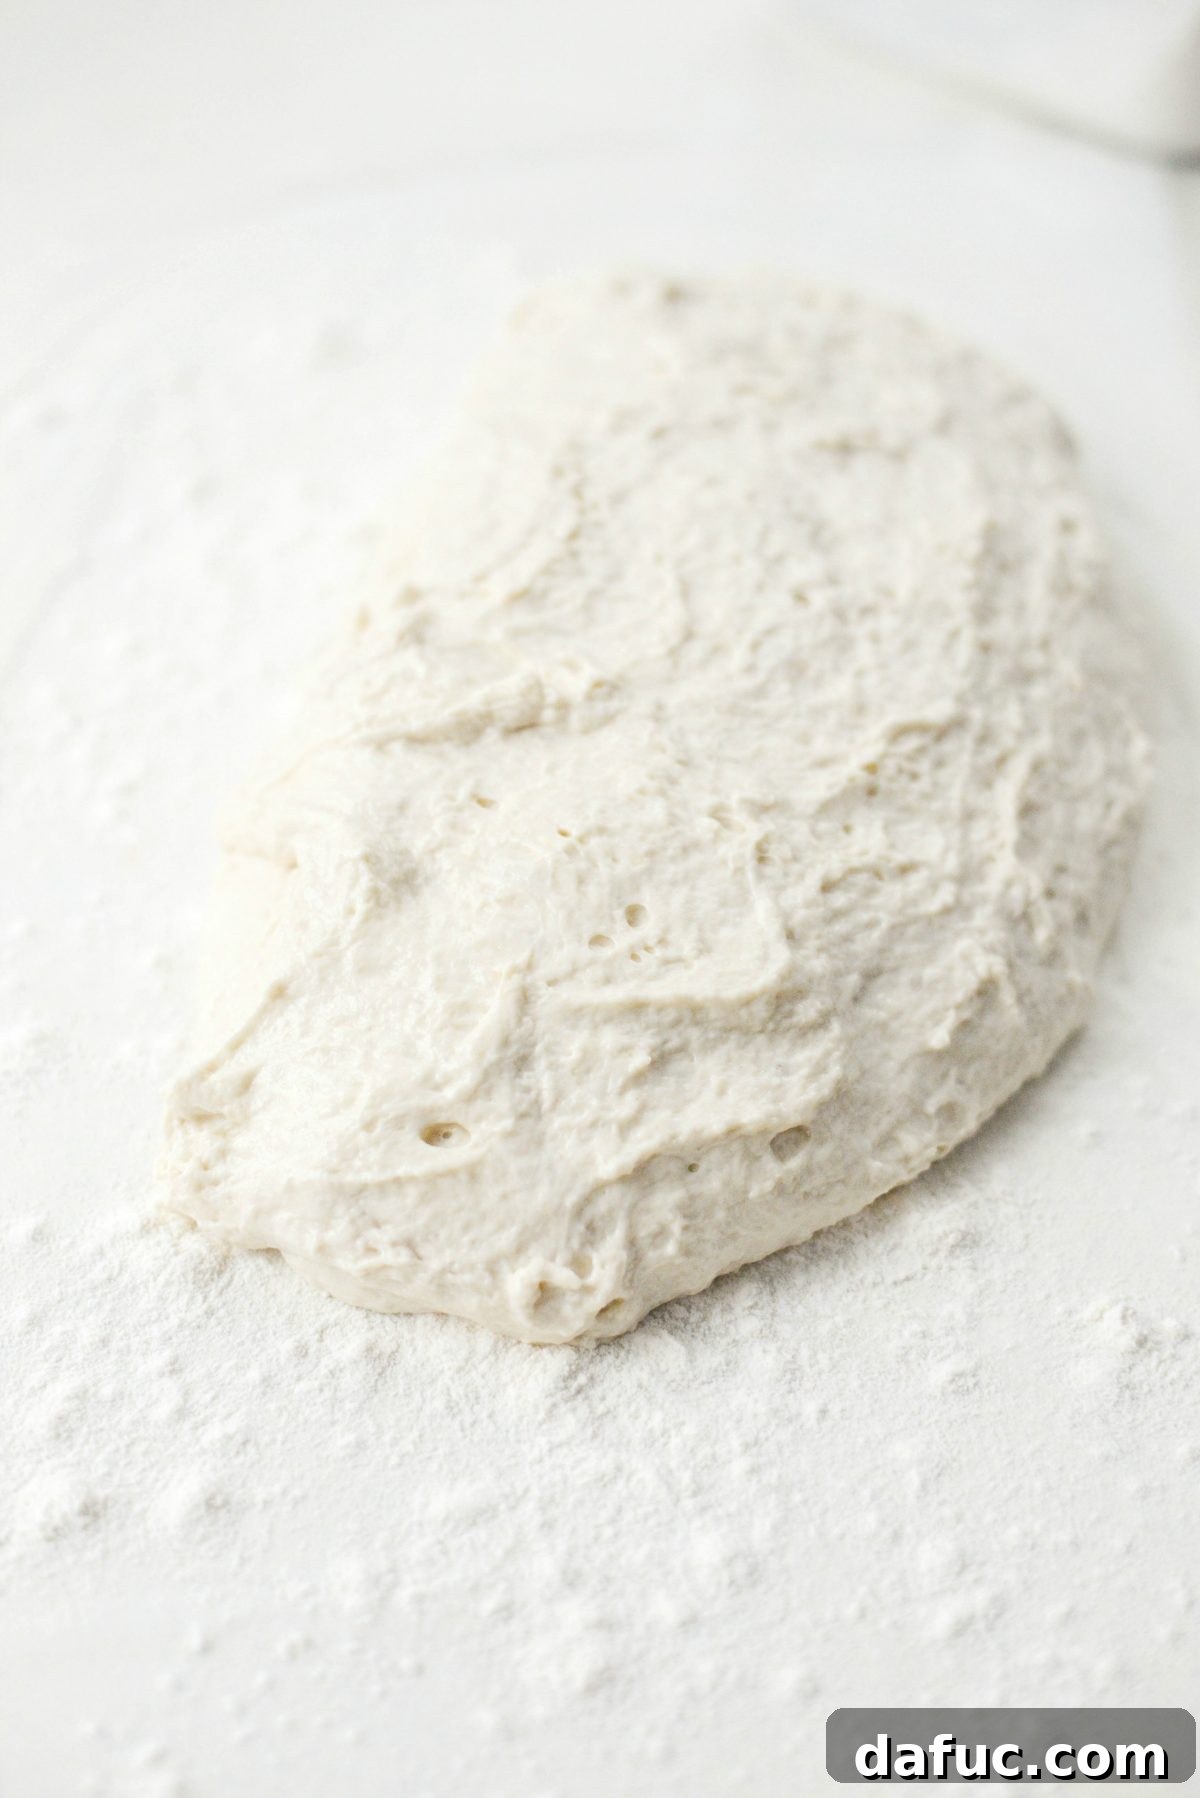
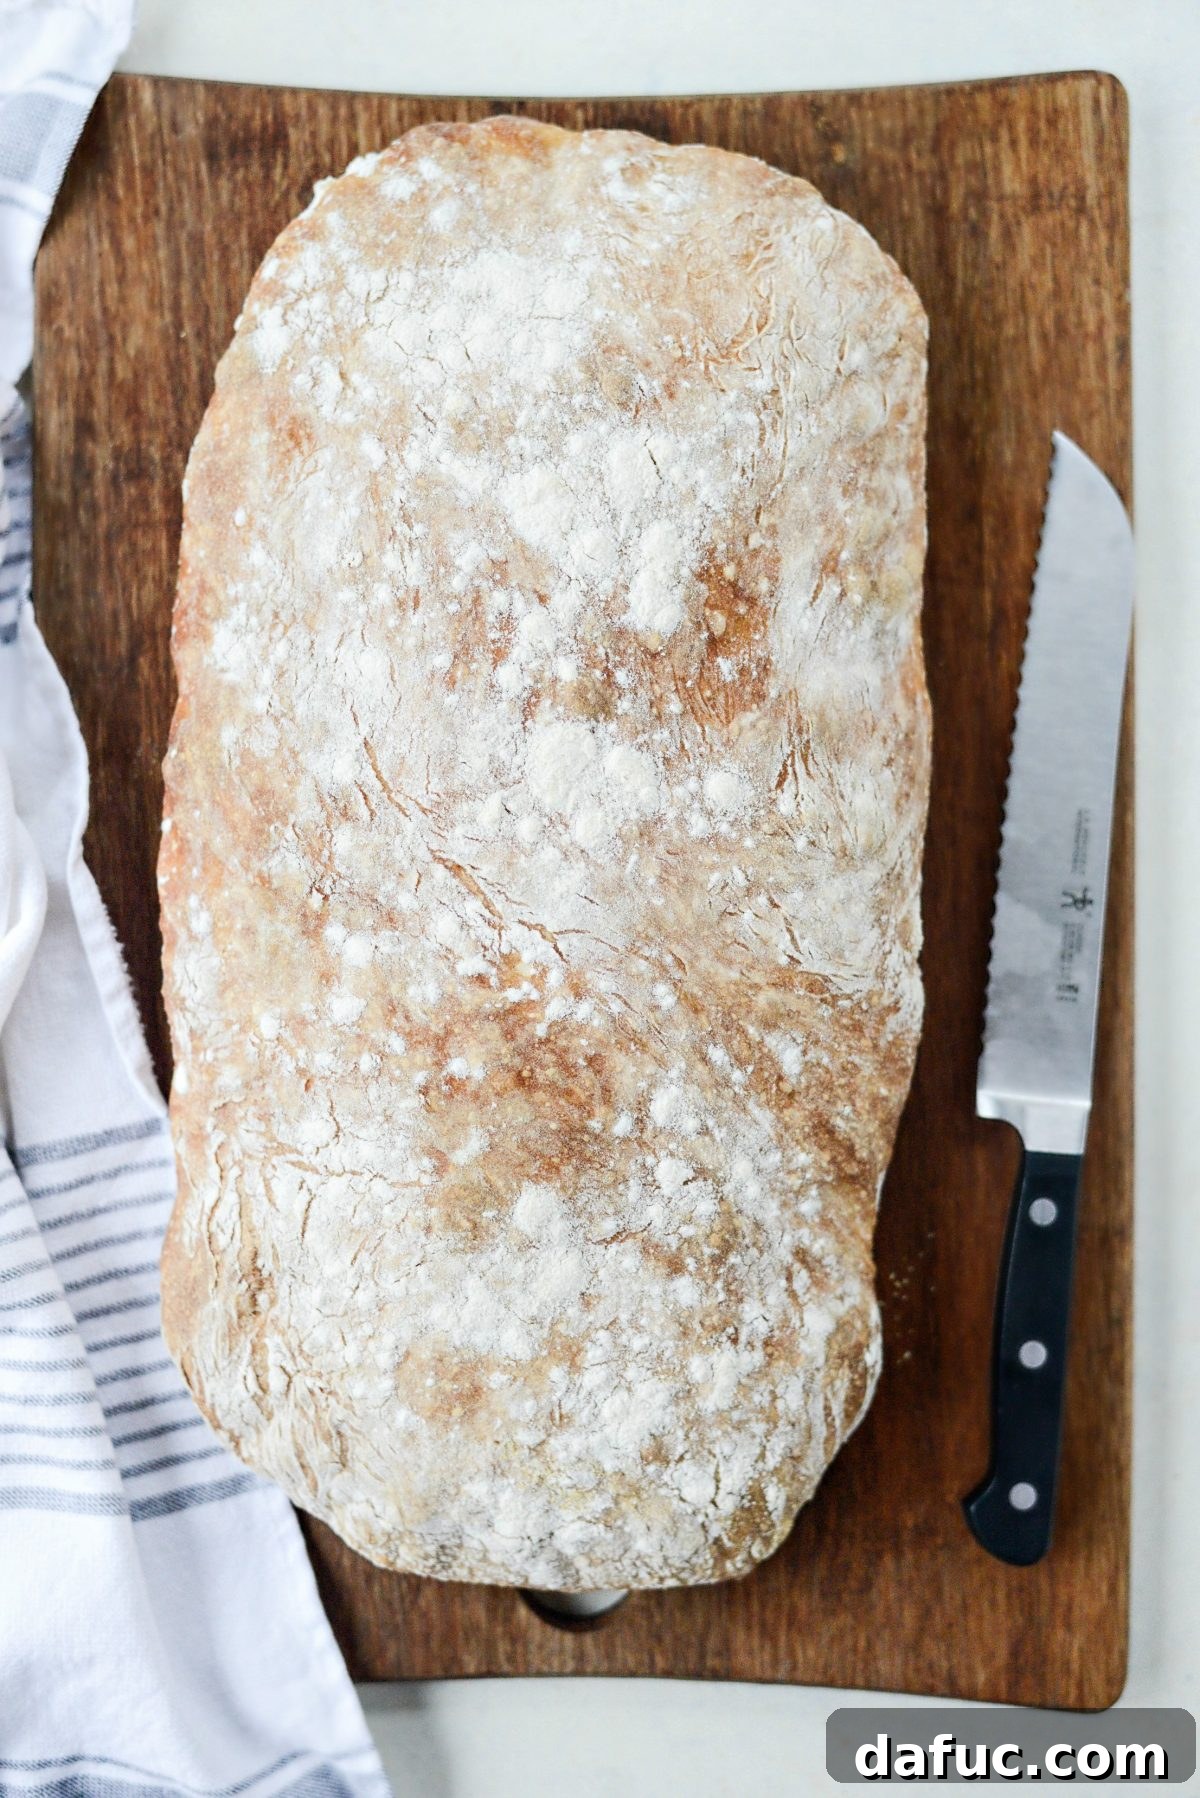
With a spatula, gently scrape the risen, bubbly dough down the sides of the bowl and onto the generously floured plastic wrap. Take care not to deflate the dough too much, preserving as many of those precious air pockets as possible. With floured fingers, delicately press and stretch the dough into a long, flat loaf shape. Ciabatta means “slipper” in Italian, referring to its elongated, somewhat flat form, so aim for a rustic, rectangular shape rather than a perfectly uniform one.
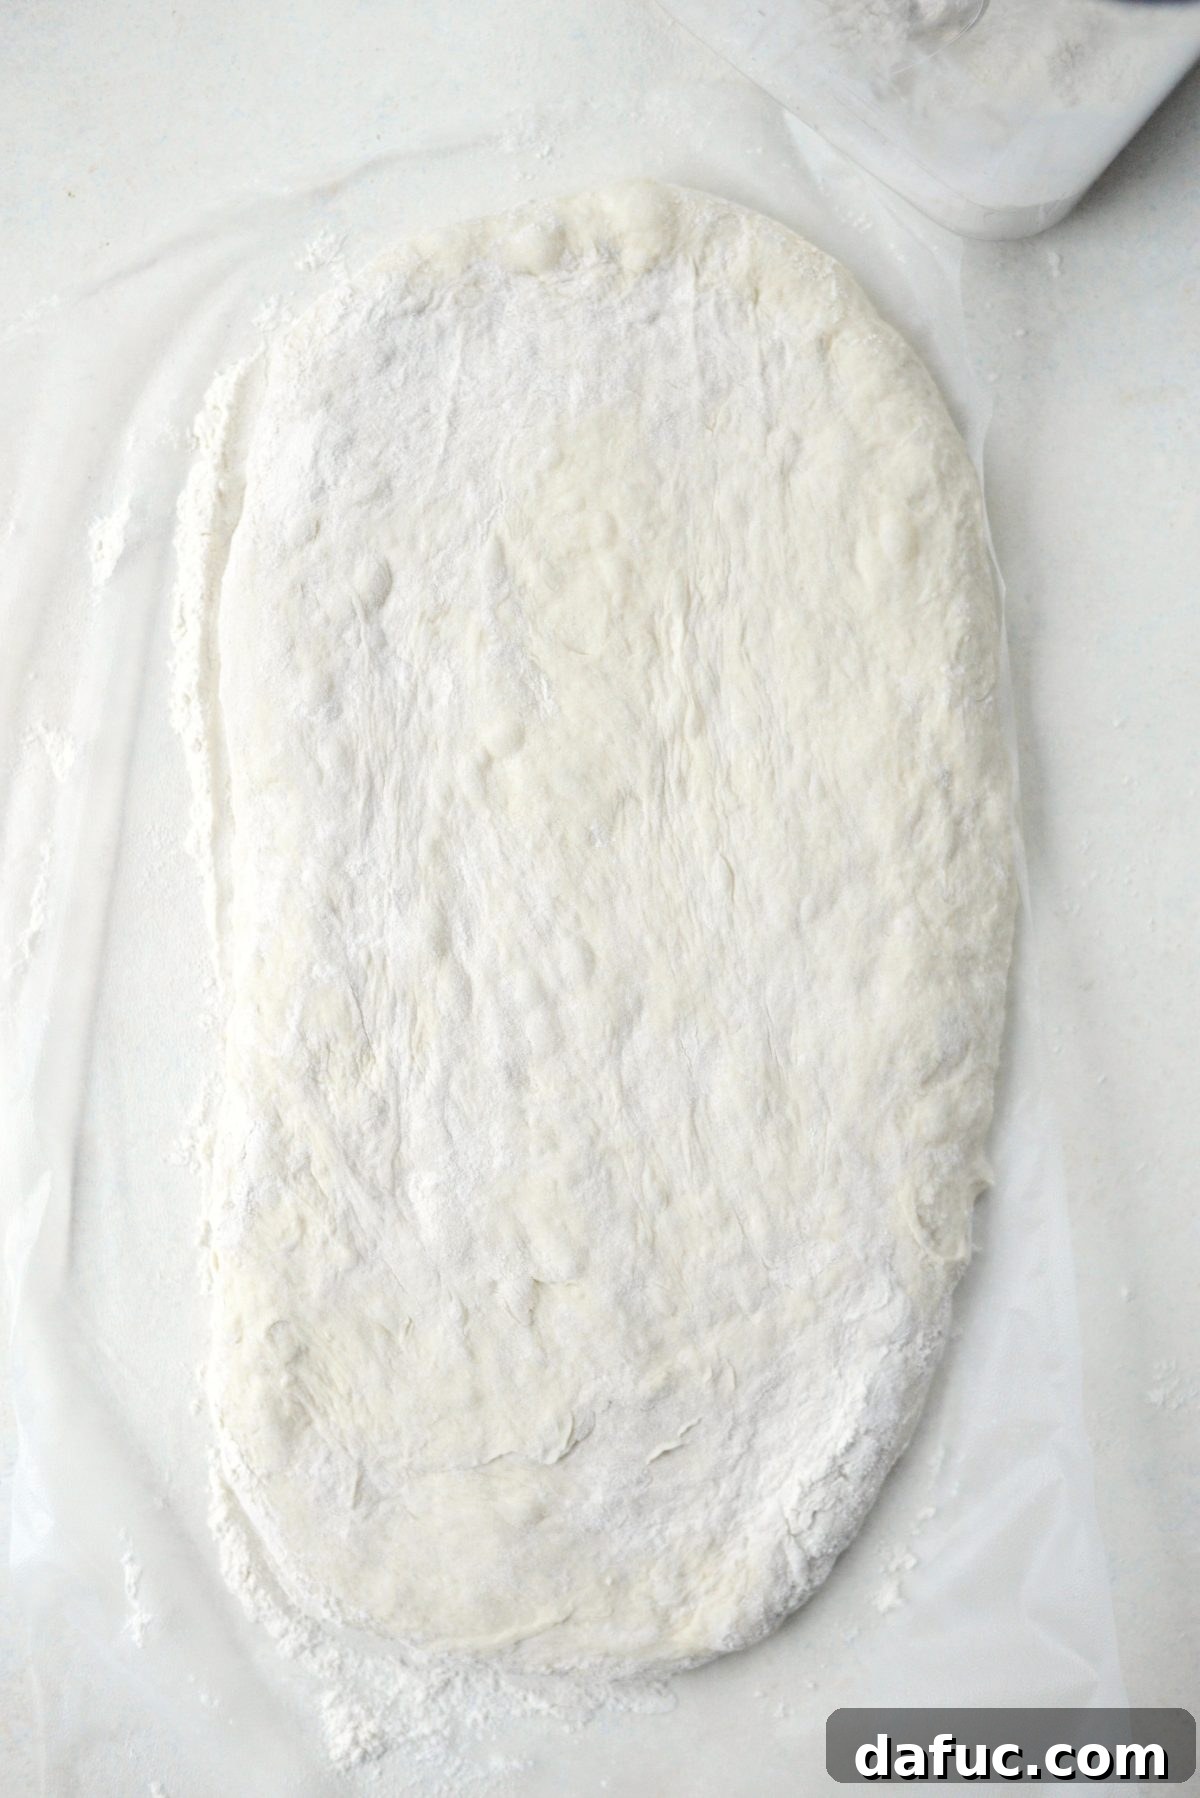
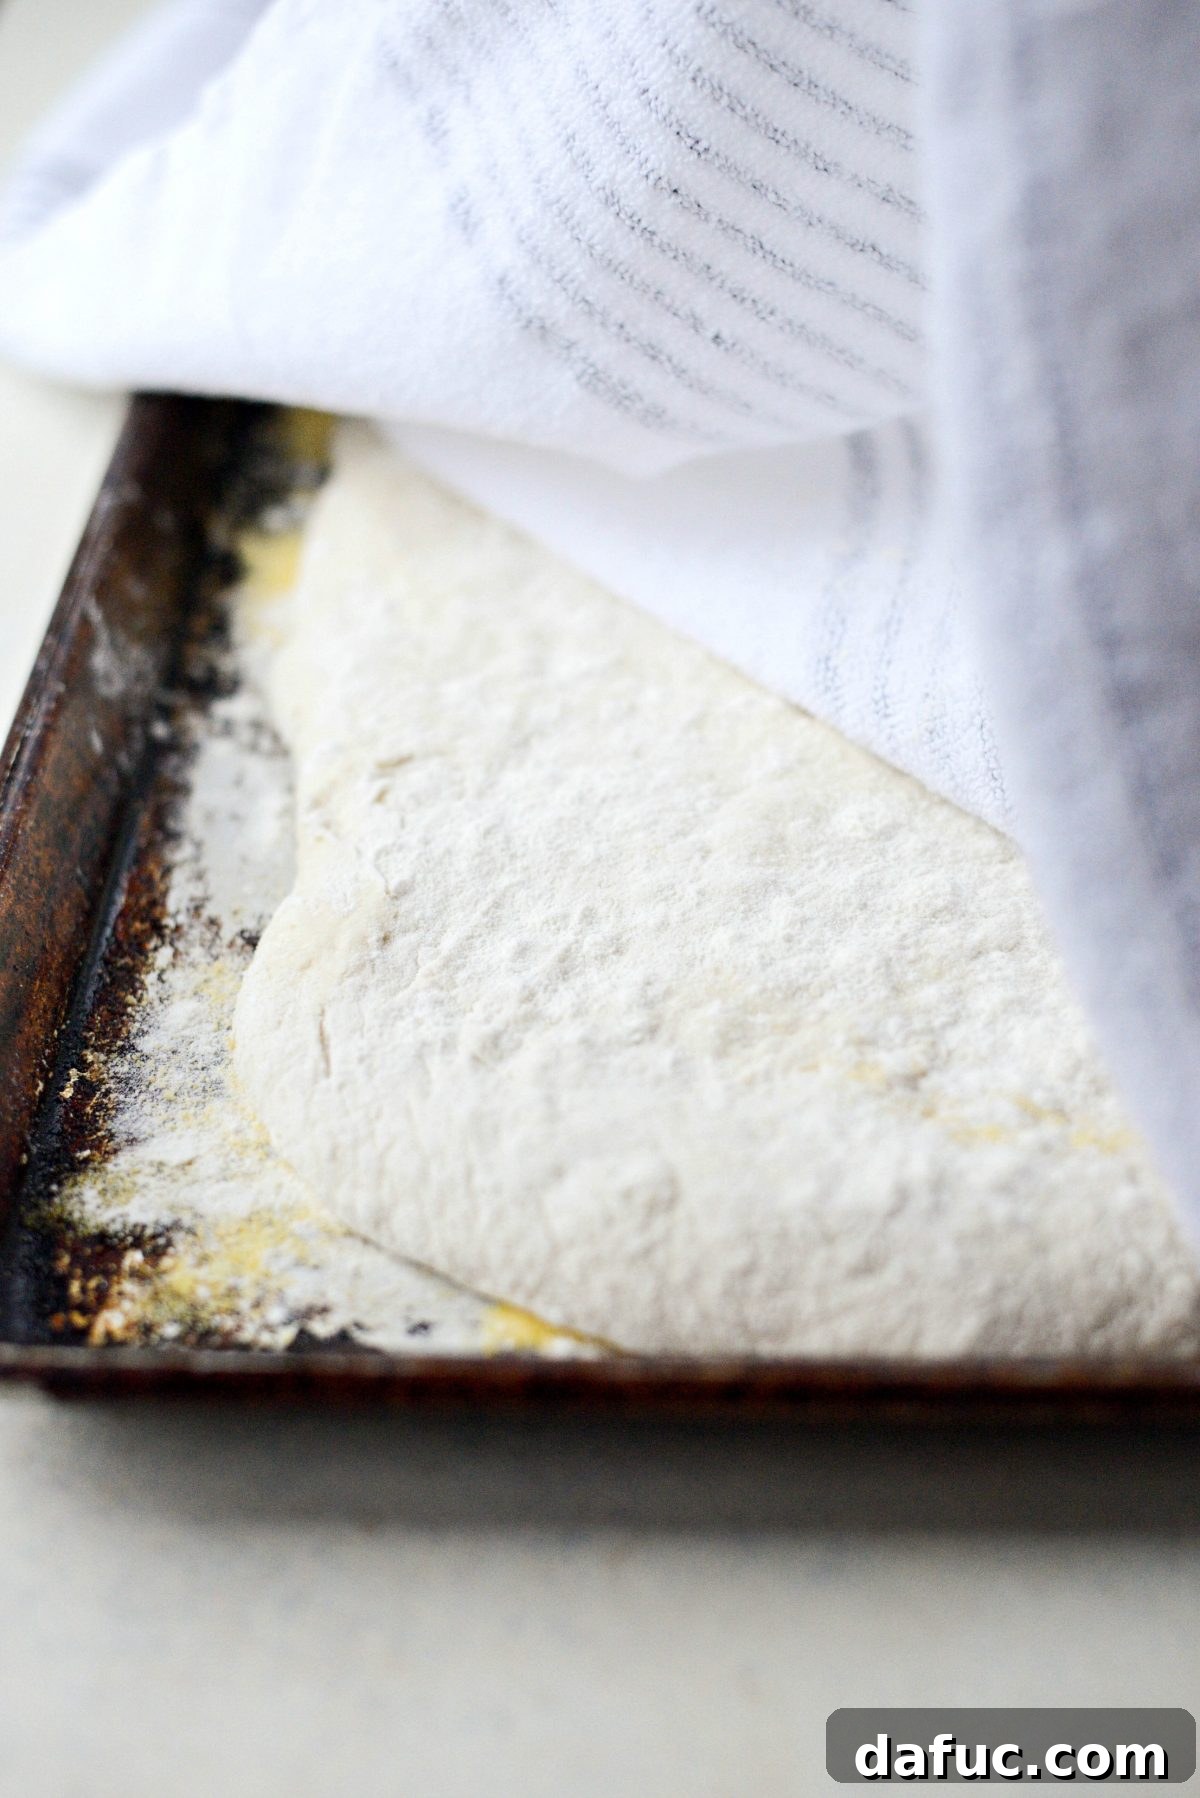
Using the plastic wrap as a sling, carefully flip the shaped dough over and onto your prepared baking pan. This technique minimizes handling and helps maintain the dough’s airy structure. Once on the pan, lightly sprinkle a little extra flour over the top of the ciabatta loaf. Then, cover it with a clean kitchen towel or flour sack towel and allow it to rise again for 1-1/2 to 2 hours. This final proofing helps the loaf achieve its maximum volume and internal structure before baking.
Baking Your Ciabatta to Golden Perfection
Once your ciabatta has completed its second rise and appears noticeably puffed, it’s time to preheat your oven. Set it to a robust 425℉ (or 220℃). For optimal baking, position your oven rack in the lower third. This placement ensures the bottom of the loaf gets adequate heat, contributing to that desirable crispy crust. Allow your oven ample time to fully preheat and stabilize at the target temperature. A hot oven is crucial for a good oven spring and a crispy crust.
When the oven is ready, carefully slide the sheet pan with your ciabatta loaf into the preheated oven. Bake for approximately 25 to 30 minutes. You’ll know it’s done when the crust achieves a deep, enticing golden-brown color. As it bakes, your home will be filled with the most heavenly aroma of fresh bread – truly an experience that signals pure culinary bliss!
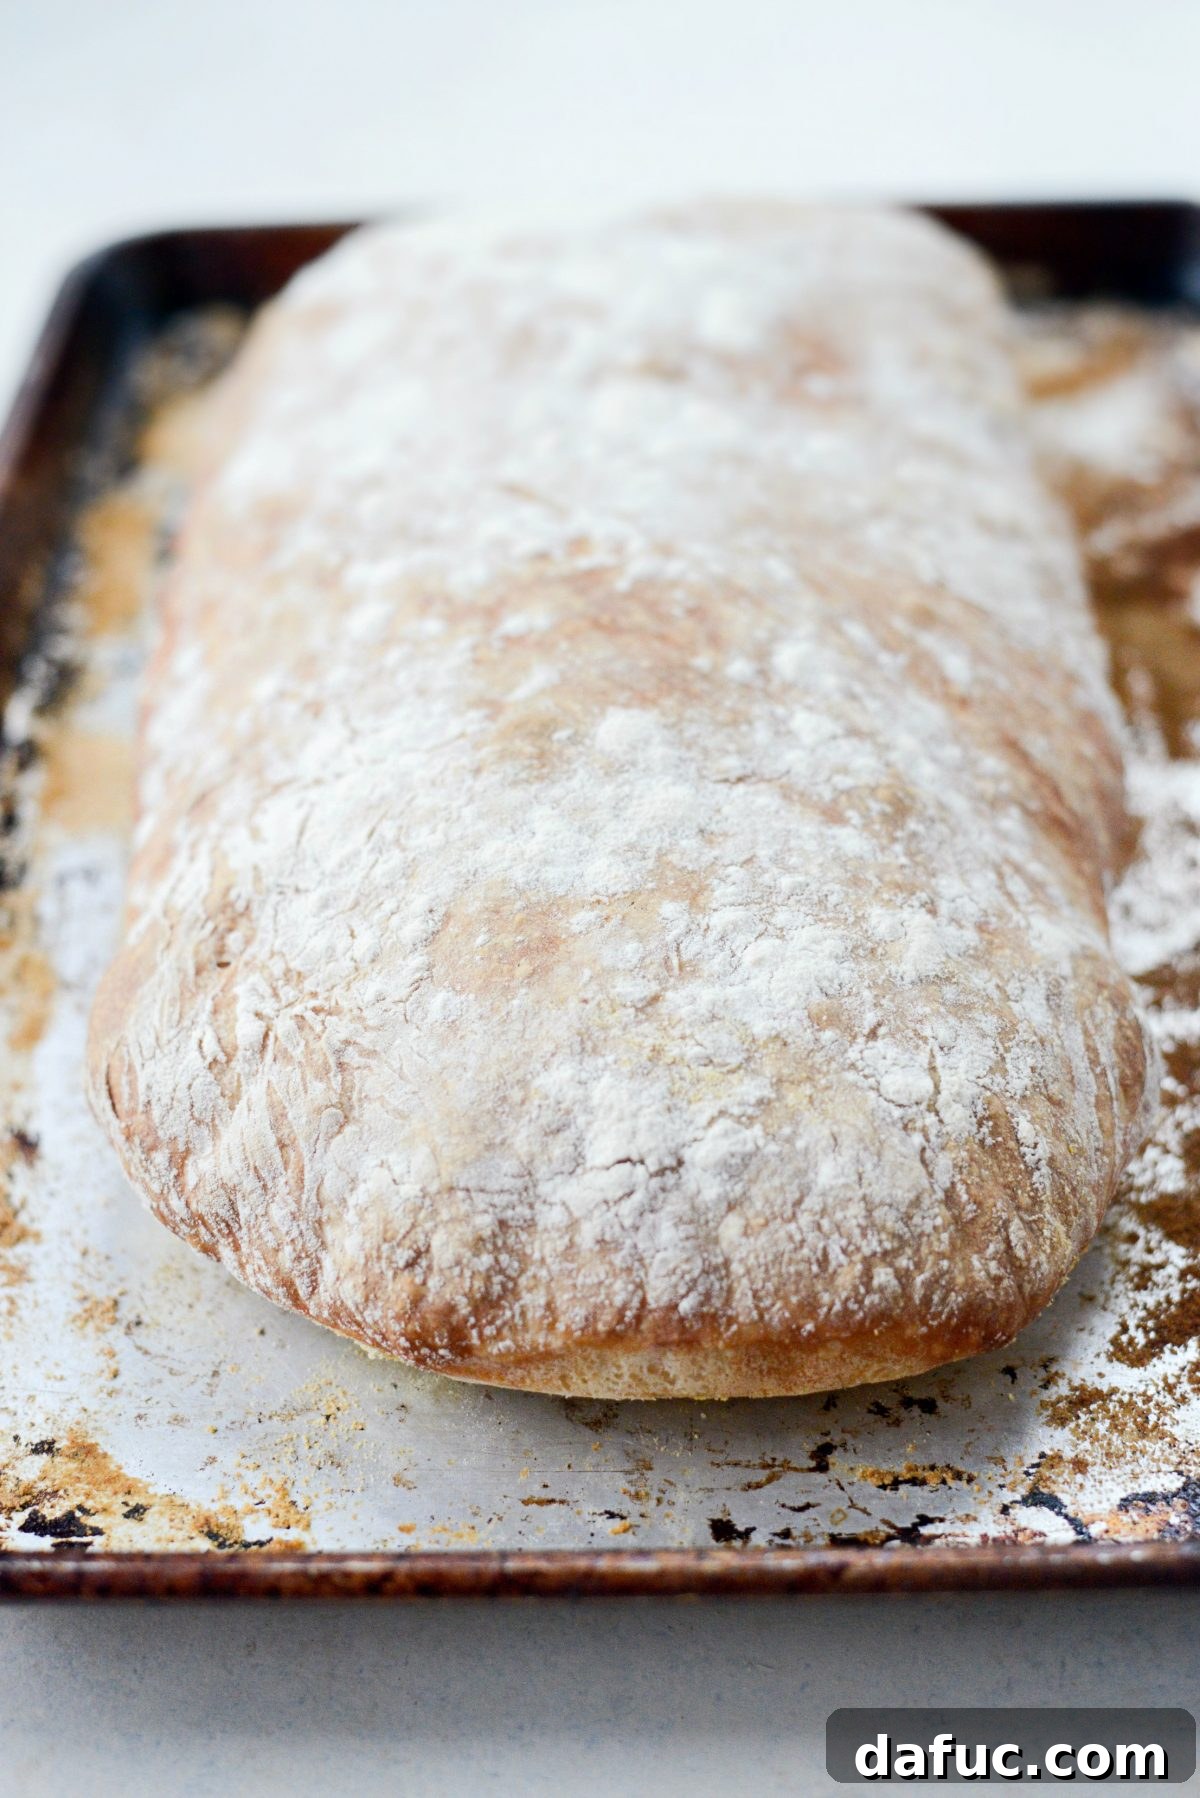
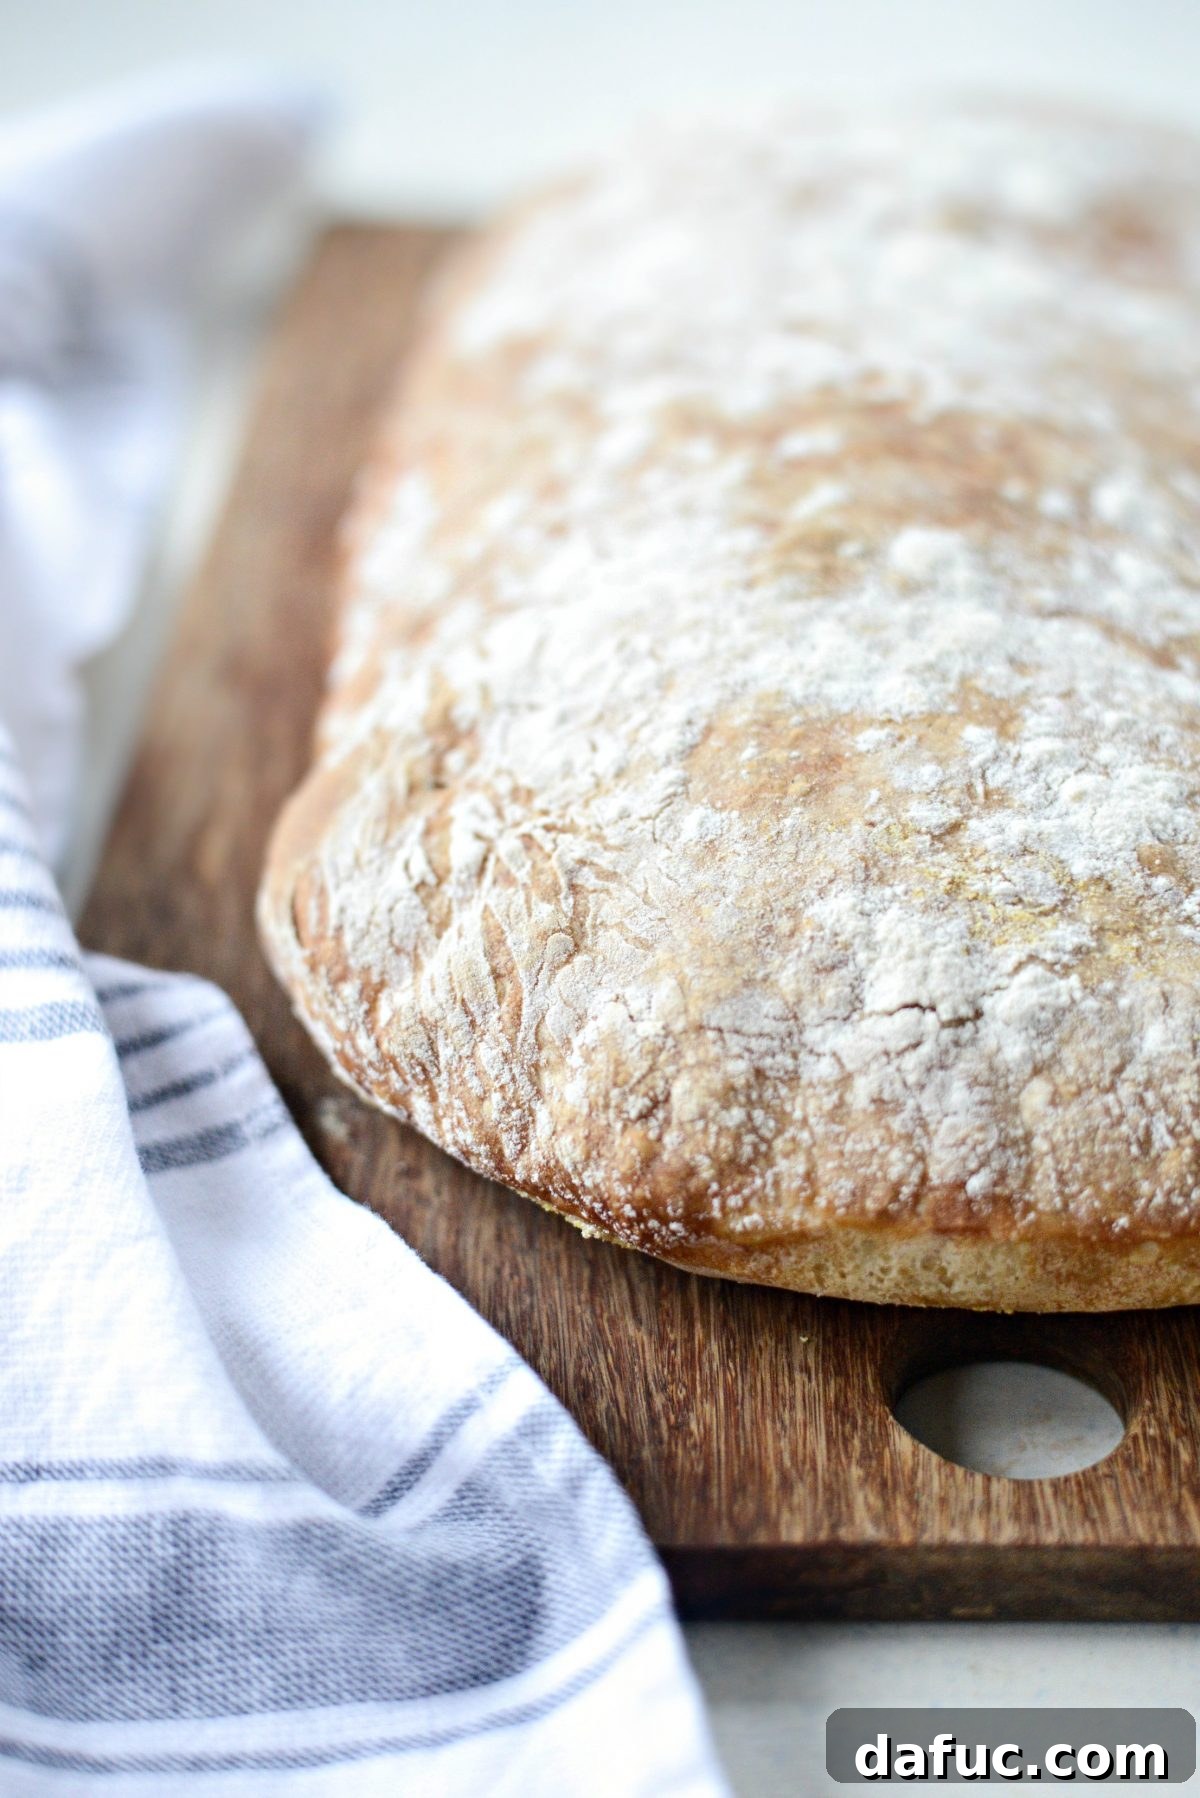
Once baked, remove the ciabatta from the oven. While it’s tempting to dive right in, allow the freshly baked bread to cool on a cutting board until it’s safe and comfortable to handle. This cooling period is important; it allows the internal structure to set and prevents the bread from becoming gummy when sliced. Patience here will be greatly rewarded!
Why This Recipe is a Game-Changer for Home Bakers
If you’ve ever felt nervous about venturing into homemade bread making, let this no-knead ciabatta recipe be your definitive gateway. Its simplicity is truly revolutionary. Because it requires zero kneading, there’s literally no need (pun absolutely intended!) to haul out heavy equipment like stand mixers or bread machines. This recipe strips away the complexities often associated with bread, making it incredibly approachable for beginners and a convenient staple for seasoned bakers alike.
While the hands-on time is minimal – just a few minutes of mixing and shaping – it does require a significant time commitment for the resting and rising periods. You’ll need to set aside a full 18+ hours to allow the dough to undergo its essential long fermentation. But remember, this is passive time; the dough does all the hard work while you live your life. The anticipation only adds to the joy of the final product!
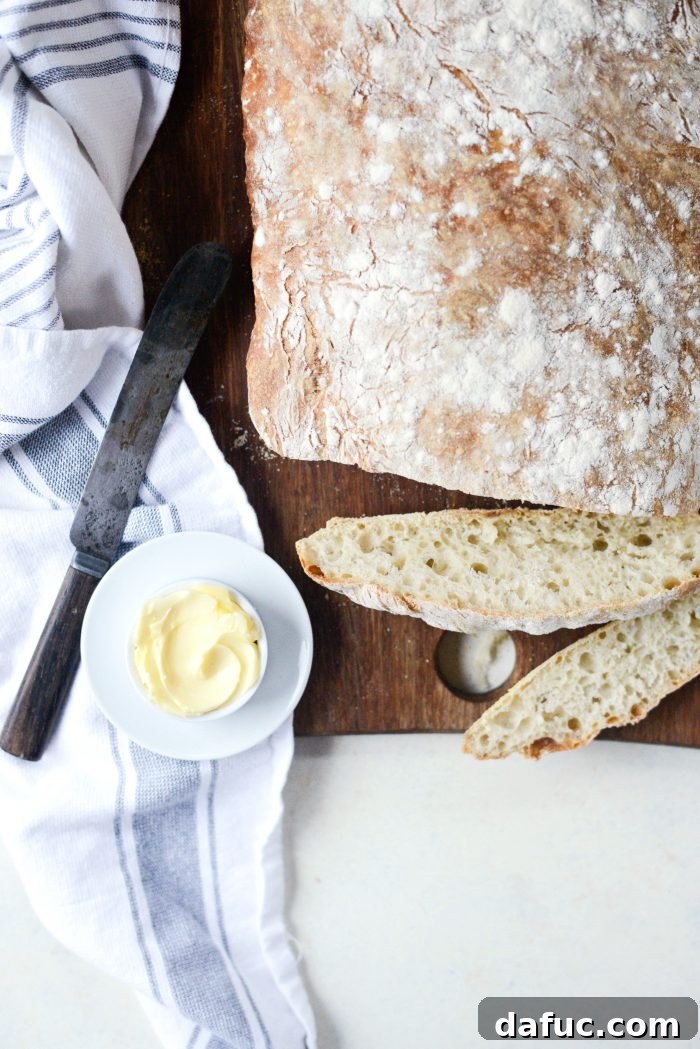
The end result is nothing short of a culinary masterpiece: a ciabatta loaf with a perfectly crispy outer crust and a wonderfully soft, chewy, and hole-filled interior. It’s the kind of bread that elevates any meal, whether it’s served alongside a hearty soup, as a base for bruschetta, or simply enjoyed on its own.
Serving Suggestions and Beyond
Because what’s truly better than freshly baked bread?
- **Dipping:** Pair it with high-quality olive oil, perhaps infused with herbs like rosemary or garlic.
- **Sandwiches:** Its sturdy yet airy structure makes it ideal for robust sandwiches, soaking up juices without becoming soggy.
- **Bruschetta:** Slice, toast lightly, and top with fresh tomatoes, basil, garlic, and a drizzle of balsamic glaze.
- **Soup Companion:** Perfect for soaking up the last delicious drops of your favorite soup or stew.
- **Garlic Bread:** Transform it into an incredible garlic bread for pasta nights.
This no-knead method isn’t just for ciabatta. For more effortless baking experiences, click here to explore my growing collection of “No-Knead” recipes!
Enjoy! I wholeheartedly encourage you to give this Homemade No-Knead Ciabatta Bread recipe a try. It’s a rewarding experience from start to finish. If you do, I’d love to hear about your baking success! Snap a photo and share it on social media, tagging me on Twitter or Instagram! Let’s celebrate the joy of simple, delicious homemade bread together.
Print Recipe
Pin Recipe
Rated 5 out of 5 stars from 6 ratings
Leave a Review »
Yield: 10 servings
Homemade No-Knead Ciabatta Bread
This Homemade No-Knead Ciabatta Bread recipe is as simple as throwing a few staple ingredients together and letting time work its magic. It yields a loaf that has a crispy exterior, soft, spongy, and airy interior that’s just begging for butter. One loaf equals about 10 servings.
Prep Time: 5 mins
Cook Time: 30 mins
Additional Time (Rise): 18 hrs
Total Time: 18 hrs 35 mins
Ingredients
- 4 cups unbleached all-purpose flour
- 1½ teaspoon kosher salt
- 1/4 teaspoon active dry yeast
- 2 cups water
- 1 tablespoon olive oil
- 2 tablespoons cornmeal
Instructions
- DAY BEFORE: In a large bowl, combine the flour, salt, and yeast. Whisk thoroughly to combine and aerate the dry ingredients.
- Pour in the water and use a rubber spatula to mix the ingredients until all the flour is fully incorporated and the dough is very sticky. Cover the bowl with aluminum foil and leave it on your counter at room temperature for 18 hours for the first fermentation.
- DAY OF: Lightly brush a rimmed, metal baking sheet with olive oil, then generously sprinkle with cornmeal (or semolina) and set it aside.
- Prepare your work surface by lightly spraying or wiping it with water before placing a large piece of plastic wrap down. This helps the plastic adhere to your counter. Liberally sprinkle the entire surface of the plastic wrap with flour; this is crucial to prevent the sticky dough from sticking.
- Use a spatula to gently scrape the risen, bubbly dough down along the sides of the bowl and onto the floured plastic wrap. With floured fingers, gently press and shape the dough into a long, flat loaf. Using the plastic wrap as a sling, carefully flip the dough over onto the prepared baking pan. Sprinkle a little extra flour over the top of the ciabatta loaf and cover it with a clean kitchen towel or flour sack towel for a second rise of 1-1/2 to 2 hours.
- Preheat your oven to 425℉ (220℃).
- Move the oven rack to the lower third position. Once the oven is fully preheated, carefully slide the sheet pan with the ciabatta into your oven. Bake for 25 to 30 minutes or until the crust is a deep golden color and the internal temperature reaches 200-210℉ (93-99℃).
- Remove the baked ciabatta from the oven and let it cool slightly on a wire rack until safe to handle before slicing and smothering with butter or enjoying as desired.
Nutrition Information
Serving: 1 slice, Calories: 203 kcal, Carbohydrates: 40g, Protein: 5g, Fat: 2g, Saturated Fat: 1g, Polyunsaturated Fat: 1g, Monounsaturated Fat: 1g, Sodium: 352mg, Potassium: 63mg, Fiber: 2g, Sugar: 1g, Vitamin A: 1IU, Vitamin C: 1mg, Calcium: 9mg, Iron: 2mg
Author: Laurie McNamara
Course: Breads & Baked Goods
Cuisine: American, Italian
This recipe has been thoughtfully adapted from Allrecipes.com.