
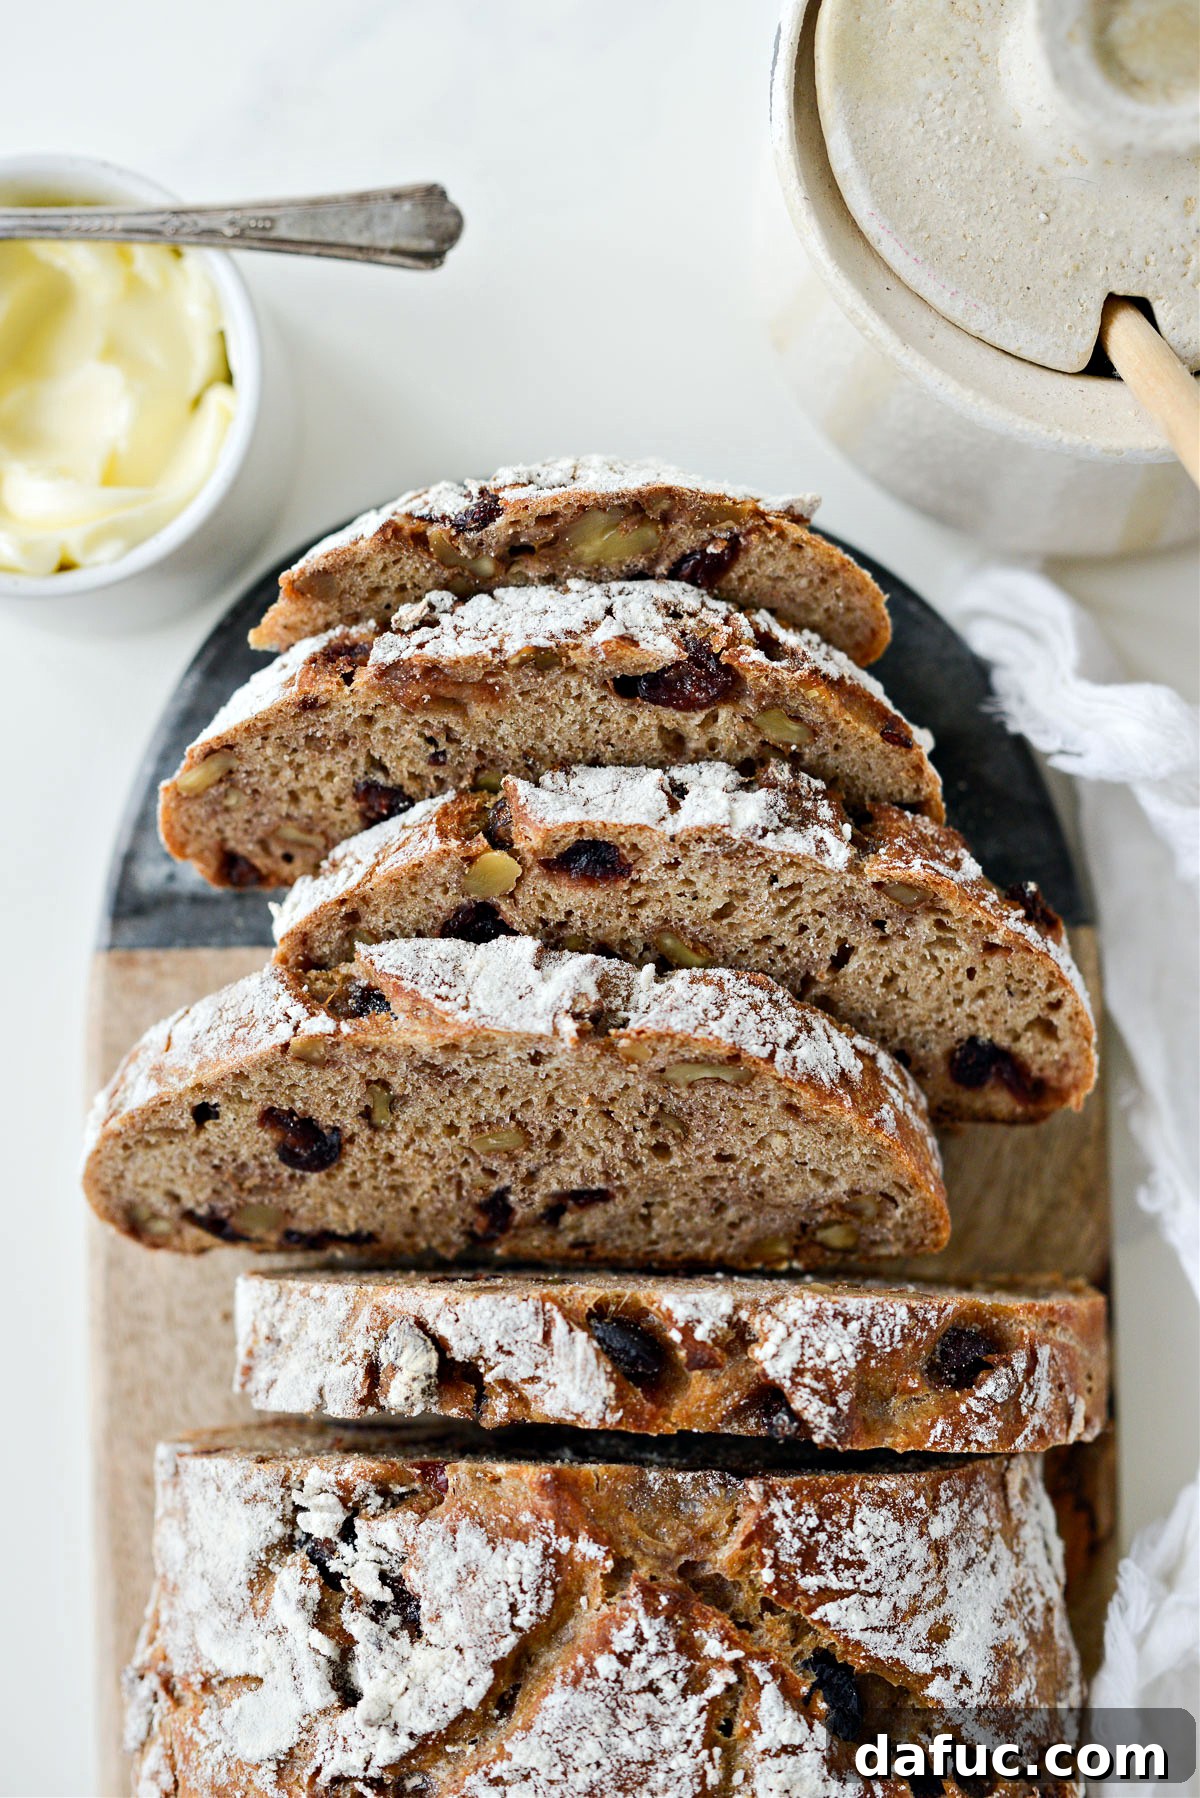
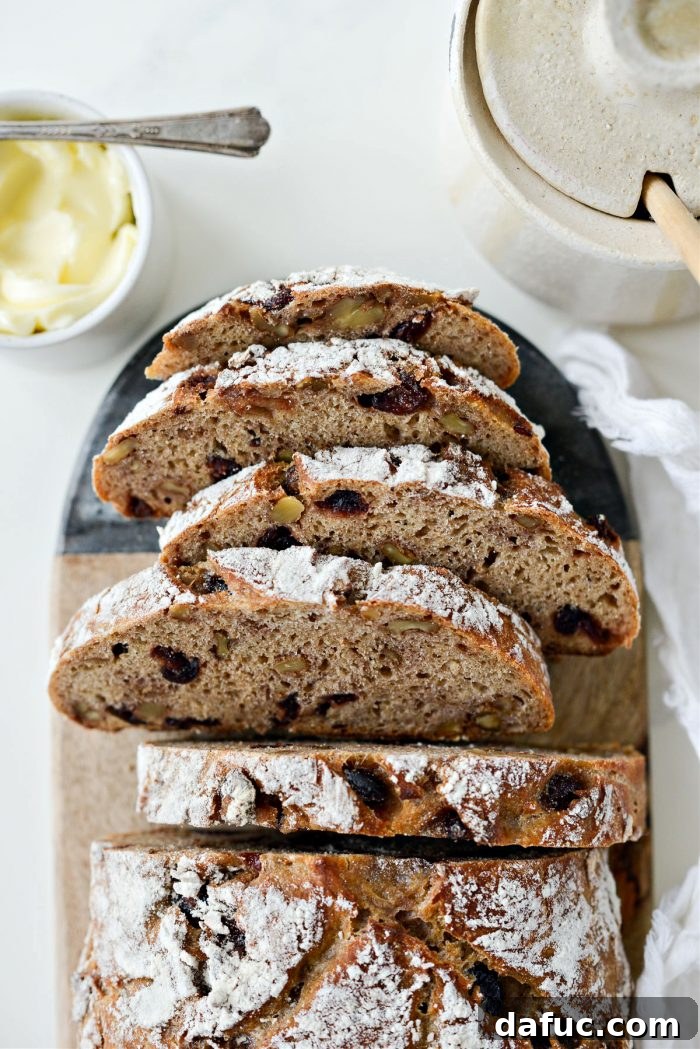
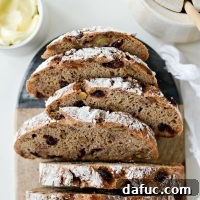
There’s an undeniable magic that fills the air when homemade bread is baking. The aroma alone is enough to transport you to a place of comfort and warmth, promising a delectable treat. This **No-Knead Cranberry Walnut Bread** isn’t just any bread; it’s a testament to simple baking that yields extraordinary results. Imagine a wholesome, cinnamon and nutmeg-spiced loaf, generously studded with plump, sweet cranberries and crunchy, toasted walnuts. It’s truly a delight, whether served warm from the oven, lightly toasted with a smear of butter and a drizzle of honey, or transformed into French toast for a special breakfast. This recipe promises a single, glorious loaf, perfect for sharing or savoring slice by slice, yielding approximately 12 to 14 slices of pure happiness.
Embracing the Simplicity of No-Knead Bread
My journey into the wonderful world of **no-knead bread** began some years ago, and I haven’t looked back since. What started as a casual experiment quickly blossomed into a genuine passion, transforming the once daunting task of bread making into a simple pleasure. The beauty of the no-knead method lies in its minimal effort: no vigorous kneading, no specialized equipment, just a simple mix, a long fermentation, and a hot oven. It’s a game-changer for anyone who loves the taste of fresh, artisan-style bread but lacks the time or desire for traditional techniques.
This particular **cranberry walnut bread recipe** marks my sixth adventure into no-knead creations, and I foresee many more to come! Each loaf brings a unique flavor profile and texture, proving that good bread doesn’t have to be complicated. The simplicity of this method allows the ingredients to shine, developing deep flavors with minimal intervention. It truly feels like magic, watching a simple mixture of flour, water, yeast, and a few delicious additions transform into a crusty, airy loaf overnight.
The Inspiration Behind This Delicious Cranberry Walnut Loaf
The inspiration for this specific **whole wheat cranberry walnut bread** struck me unexpectedly. I was making toast croutons for a delightful breakfast salad, a dish where I typically used whatever bread I had on hand—be it bagels, sourdough, or English muffins. On this particular day, I picked up a loaf of cranberry walnut bread from a local bakery. That first bite was a revelation. The sweet and tart cranberries, combined with the earthy crunch of walnuts, all enveloped in a soft, spiced bread, was nothing short of love at first taste. I knew instantly that I had to recreate this amazing experience in my own kitchen, using my favorite no-knead technique.
This bread isn’t just a recipe; it’s a celebration of flavors and the joy of creating something truly special with your own hands. The blend of cinnamon and nutmeg infuses the whole wheat dough with a warm, inviting aroma, while the cranberries burst with juicy sweetness and the walnuts add a satisfying texture and nutty depth. It’s an excellent choice for a holiday breakfast, a comforting snack, or simply to elevate your everyday toast.
Essential Ingredients for Your Homemade No-Knead Bread
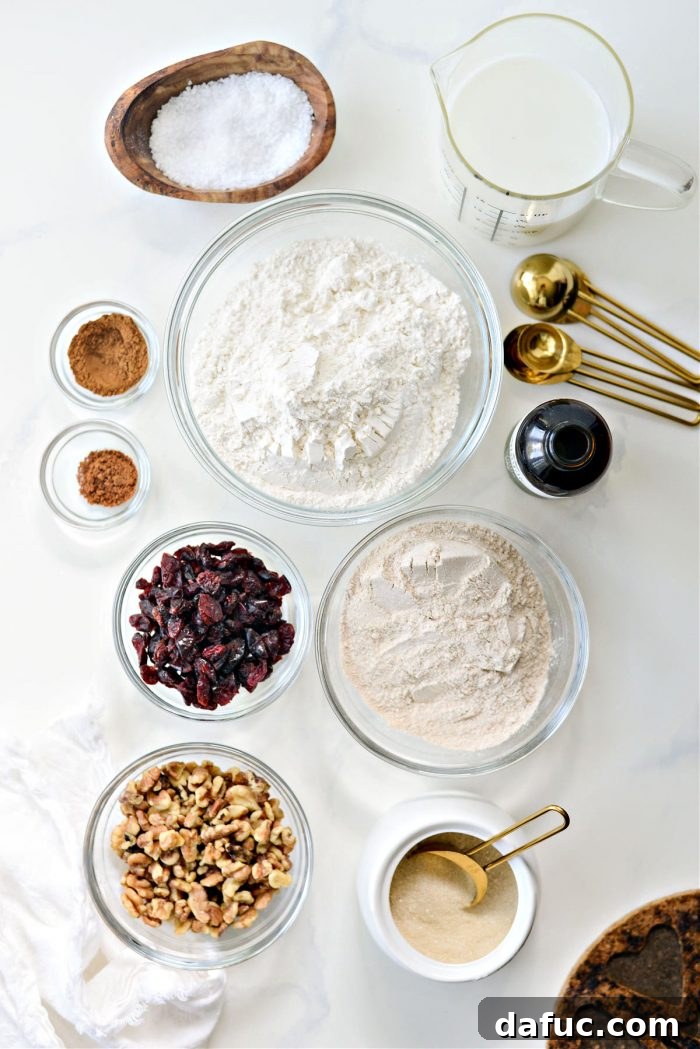
Creating this flavorful **no-knead cranberry walnut loaf** requires a few key ingredients. The beauty of this recipe lies in its straightforward components, most of which you likely already have in your pantry. Each ingredient plays a vital role in developing the bread’s incredible taste and texture. Here’s what you’ll need to gather:
- Bread Flour: Provides the strong gluten structure necessary for a good rise and chewy texture in a no-knead bread.
- Whole Wheat Flour: Adds a nutty depth, a wholesome character, and additional fiber to the bread. It also contributes to a more complex flavor profile.
- Granulated Sugar: A small amount helps to feed the yeast and contributes to the golden crust, as well as enhancing the overall sweetness of the loaf, complementing the cranberries.
- Active Dry Yeast: The leavening agent that performs all the magic! It’s crucial for the long fermentation process that gives no-knead bread its signature texture and flavor.
- Kosher Salt: Essential for flavor, salt also plays a role in controlling yeast activity and strengthening the gluten network.
- Ground Cinnamon: Infuses the bread with a warm, sweet, and aromatic spice that pairs perfectly with cranberries and walnuts.
- Ground Nutmeg: Adds another layer of warm spice, complementing the cinnamon and enhancing the overall fragrance and taste.
- Vanilla Extract: A touch of vanilla boosts the sweetness and adds a subtle, creamy undertone to the bread’s flavor.
- Milk: Contributes to a softer crumb and a richer flavor than water alone.
- Water: Hydrates the dough, allowing the yeast to activate and the gluten to develop.
- Dried Cranberries: These sweet and tart jewels are the star, offering bursts of flavor and a lovely chewiness throughout the loaf.
- Toasted Chopped Walnuts: Provide a satisfying crunch and a rich, earthy flavor that beautifully balances the sweetness of the cranberries and spices. Toasting them beforehand significantly enhances their flavor.
Step-by-Step Guide to Baking Perfect Cranberry Walnut Bread
The beauty of this **easy no-knead bread recipe** lies in its simplicity. With minimal hands-on time, you’ll create a loaf that tastes like it came from a professional bakery. Follow these detailed steps to achieve a truly impressive result.
Phase 1: Mixing the Dough (The Day Before Baking)
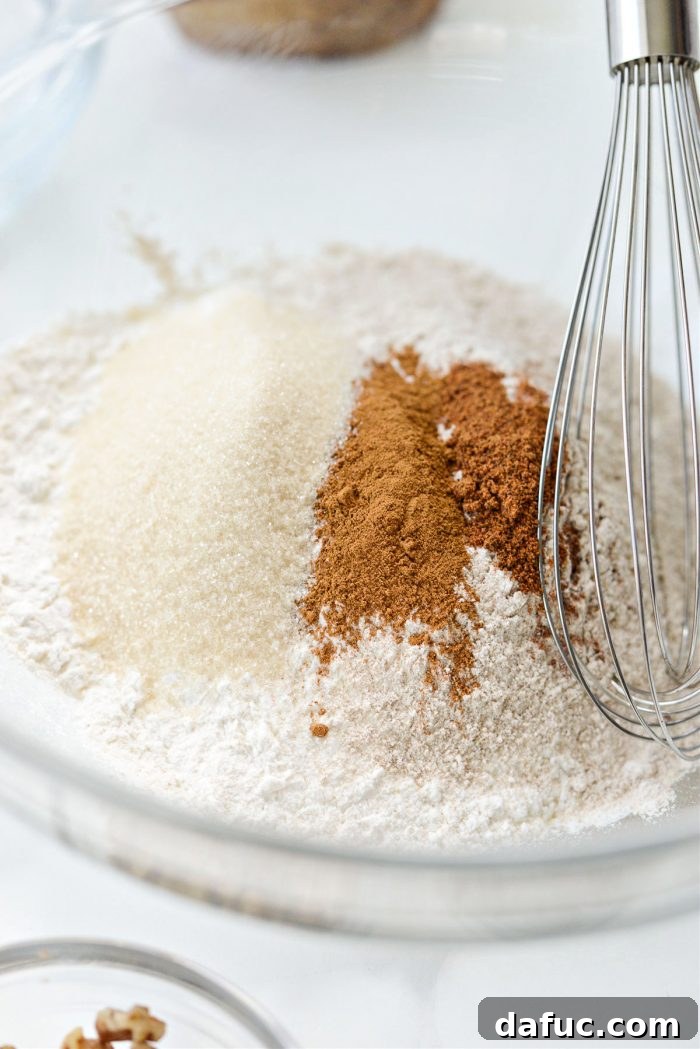
In a spacious mixing bowl, begin by combining your dry ingredients. Accurately measure and add 2 cups of bread flour, 1 cup of whole wheat flour, 2 tablespoons of granulated sugar, 1-1/2 teaspoons of kosher salt, 1 teaspoon of ground cinnamon, 1/2 teaspoon of ground nutmeg, and 1/2 teaspoon of active dry yeast. Ensure all these dry elements are thoroughly mixed together.
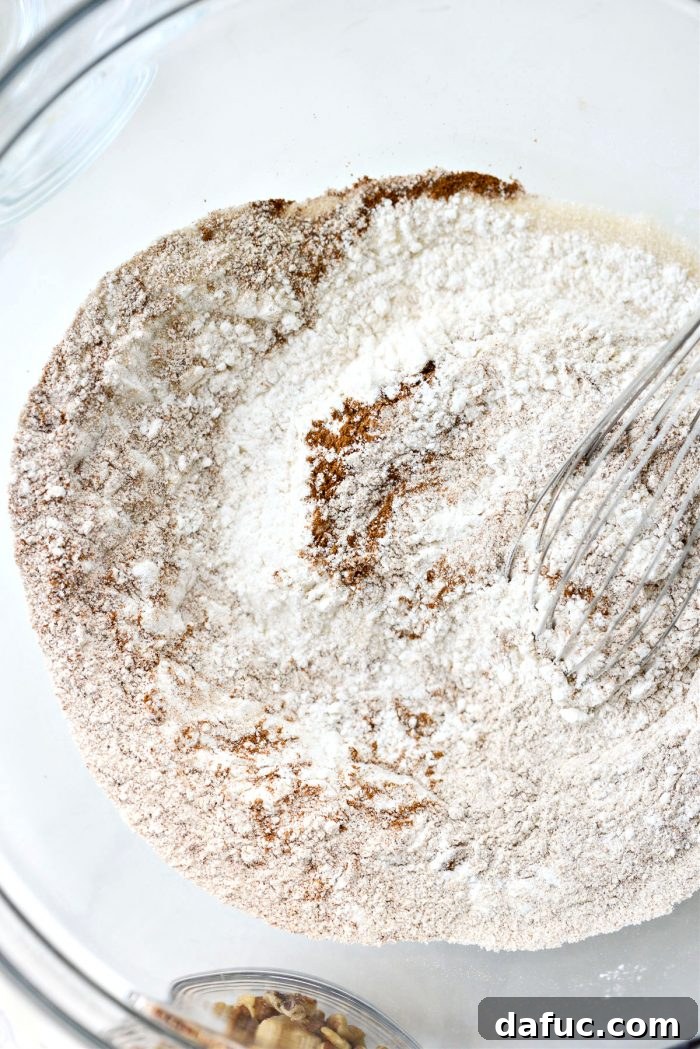
Give the dry ingredients a good whisk until they are completely combined. This step ensures an even distribution of salt, sugar, yeast, and spices throughout the dough, which is crucial for consistent flavor and rise.
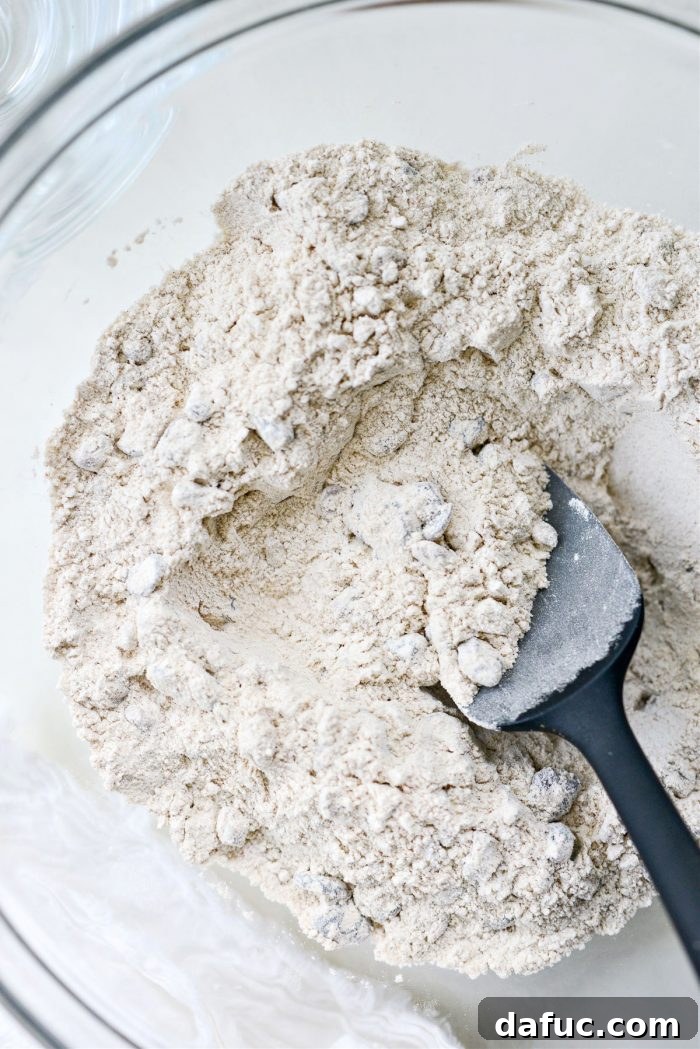
Now, it’s time to incorporate the star additions. Add 2/3 cup of dried cranberries and 2/3 cup of toasted chopped walnuts to the dry mixture. Stir them in well, making sure they are evenly distributed. This prevents them from clumping together in the final loaf.
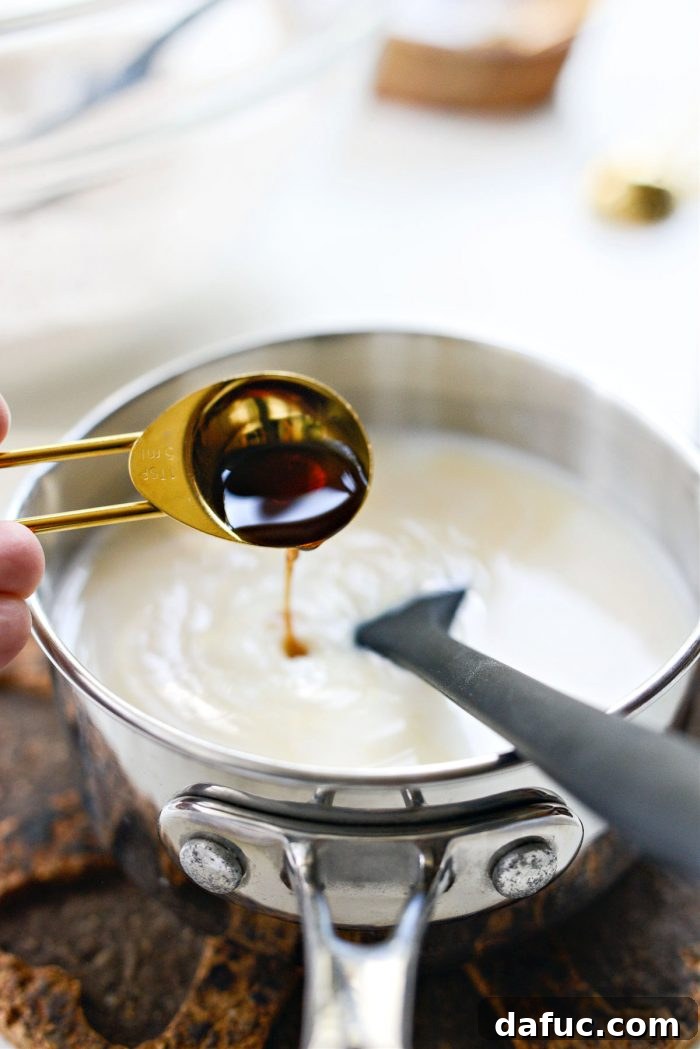
In a small saucepan, combine 3/4 cup of milk with 3/4 cup of water. Gently heat this liquid until it is warm to the touch, but not hot (around 105-115℉ or 40-46℃). This temperature is ideal for activating the yeast without killing it. Remove from heat and stir in 1 teaspoon of vanilla extract.
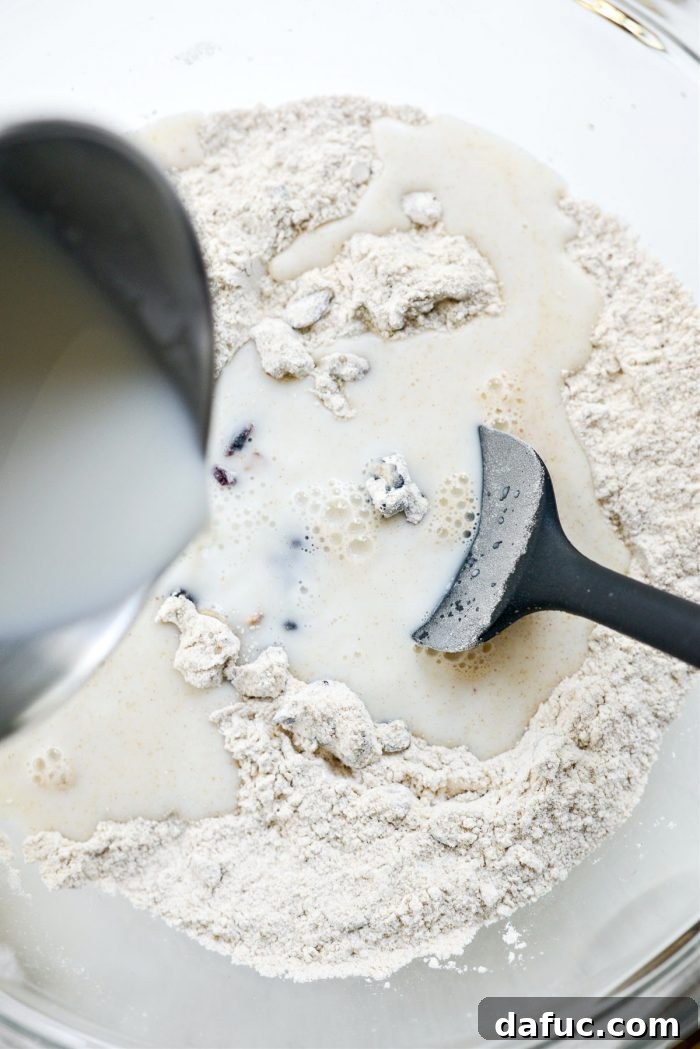
Pour the warm milk and vanilla mixture into the bowl containing your dry ingredients, cranberries, and walnuts.
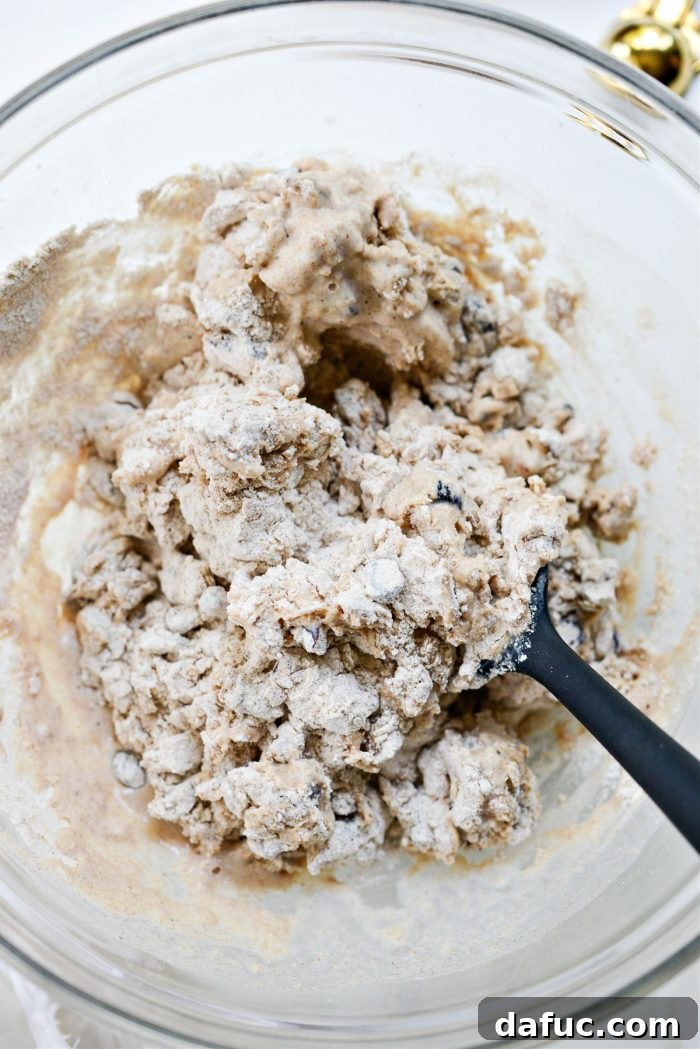
Using a rubber spatula or a wooden spoon, mix the ingredients until they are just incorporated. The dough will be shaggy and sticky, not smooth like traditional kneaded dough. Avoid overmixing; a few streaks of flour are perfectly fine.
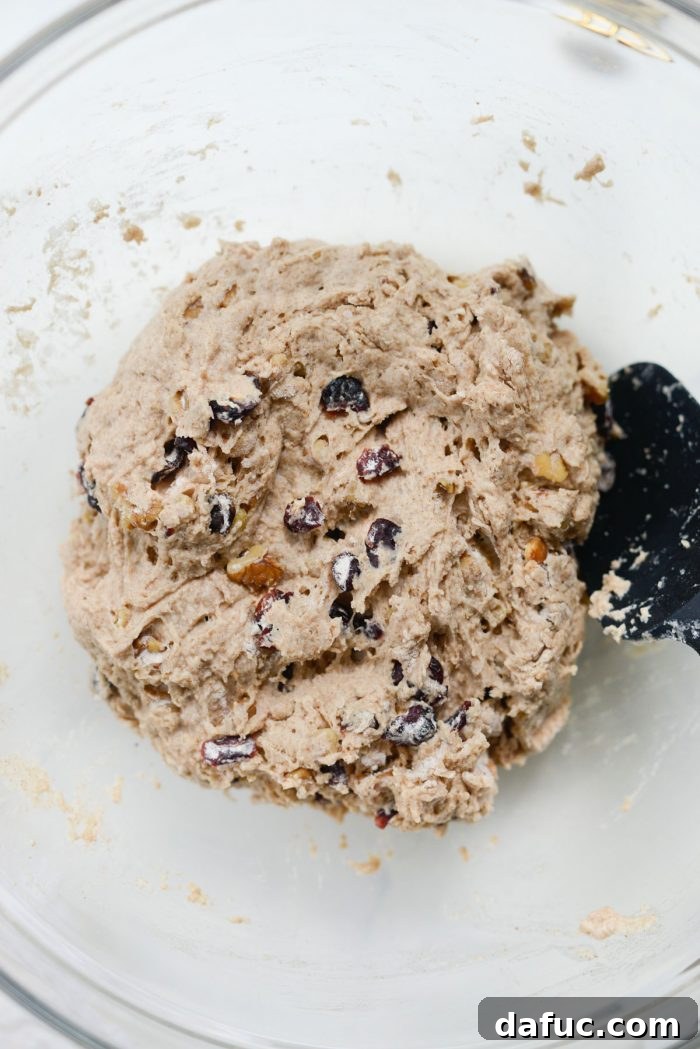
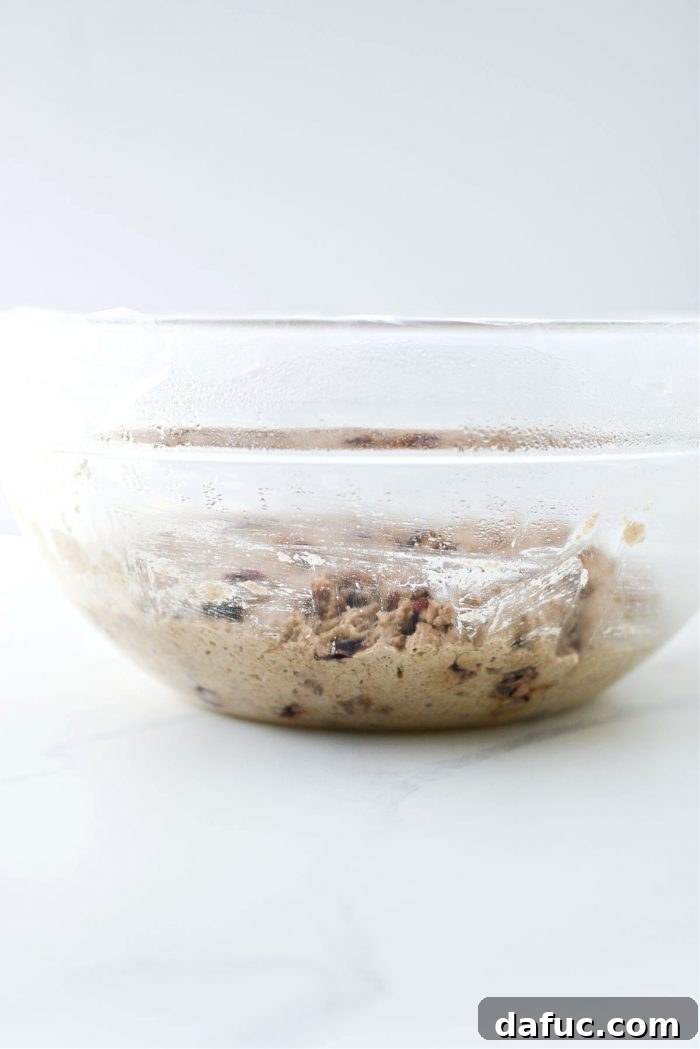
Cover the bowl tightly with plastic wrap. This is crucial for trapping moisture and allowing the yeast to work its magic. Let the dough rest on your kitchen counter at room temperature for an extended period of 18 to 24 hours. During this long fermentation, the yeast will develop incredible flavor and gas, giving your bread its characteristic open crumb structure.
Phase 2: Baking Day – The Grand Finale!
THE NEXT DAY:
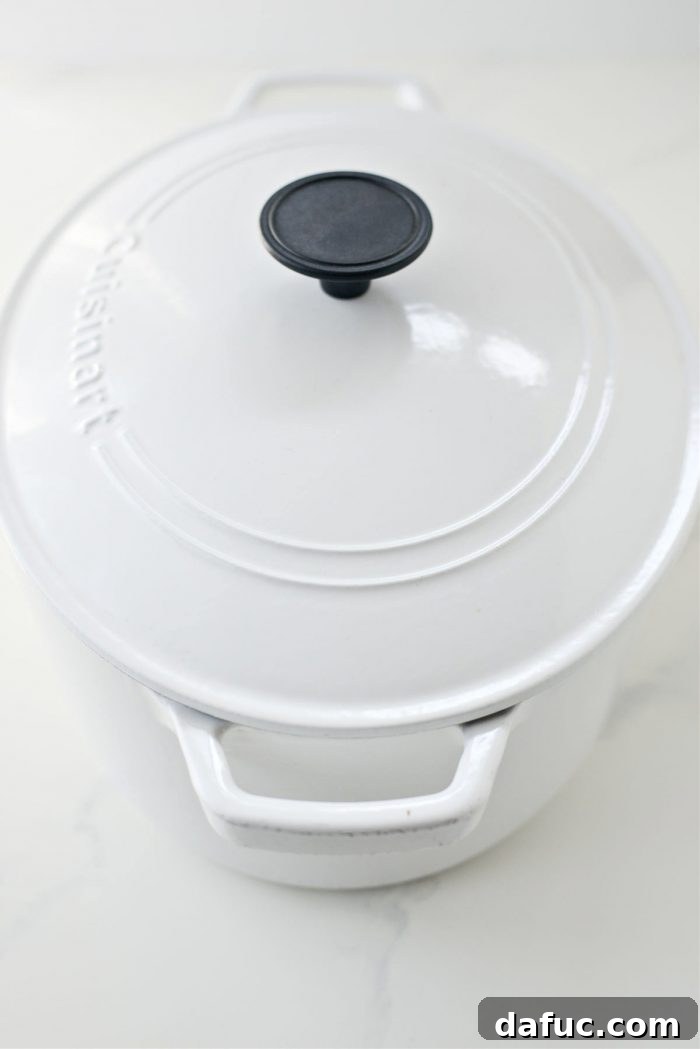
Approximately 20 minutes before you are ready to bake, place your empty Dutch oven (with its lid) on the bottom rack of your oven. Preheat your oven to a scorching 425℉ (220℃). Setting a timer for 20 minutes will ensure your Dutch oven is screaming hot, which is essential for achieving a crispy crust.
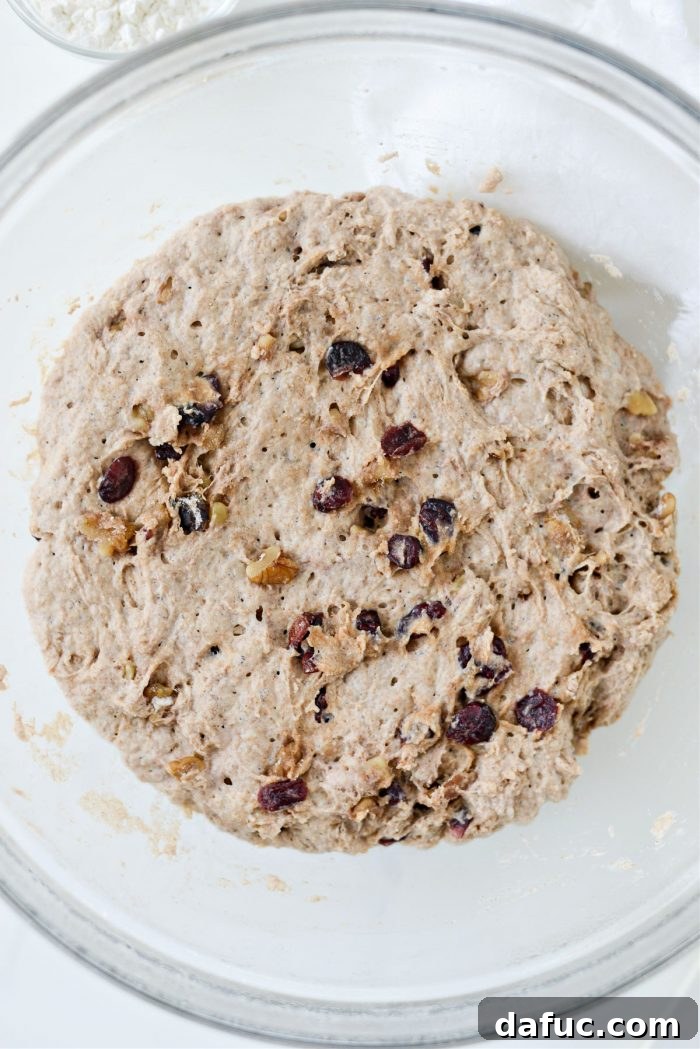
Carefully uncover the dough. You’ll be amazed by how much it has risen and become bubbly during its long rest, a true testament to the power of slow fermentation. The surface may appear slightly sticky and covered with small air pockets.
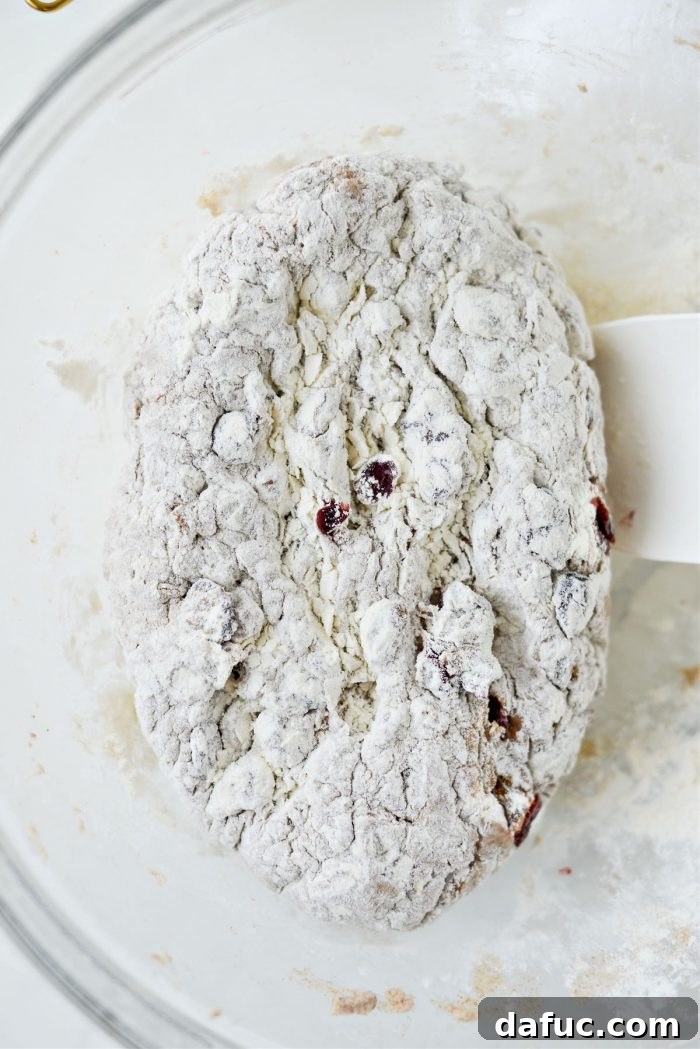
Gently sprinkle the dough with about 2 tablespoons of extra bread flour. This helps in handling the sticky dough. Use a rubber spatula to carefully scrape the dough away from the sides of the bowl.
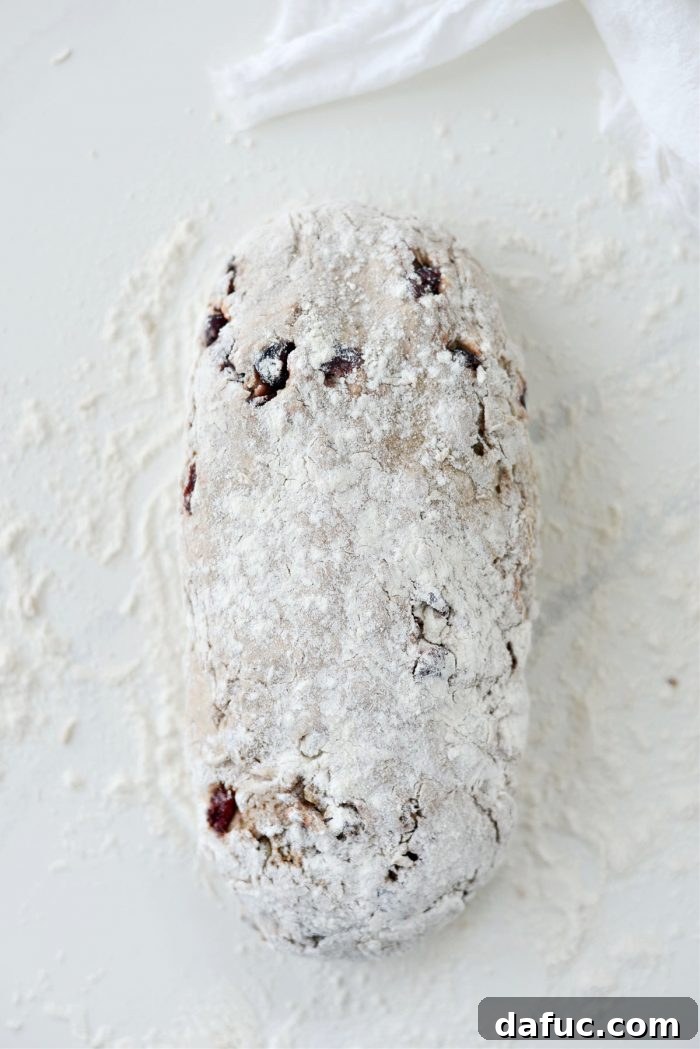
Turn the dough out onto a lightly floured clean countertop. With floured hands, gently shape the dough into a round or oval loaf, roughly matching the size and shape of your preheated Dutch oven. Avoid overworking the dough to maintain its airy structure.
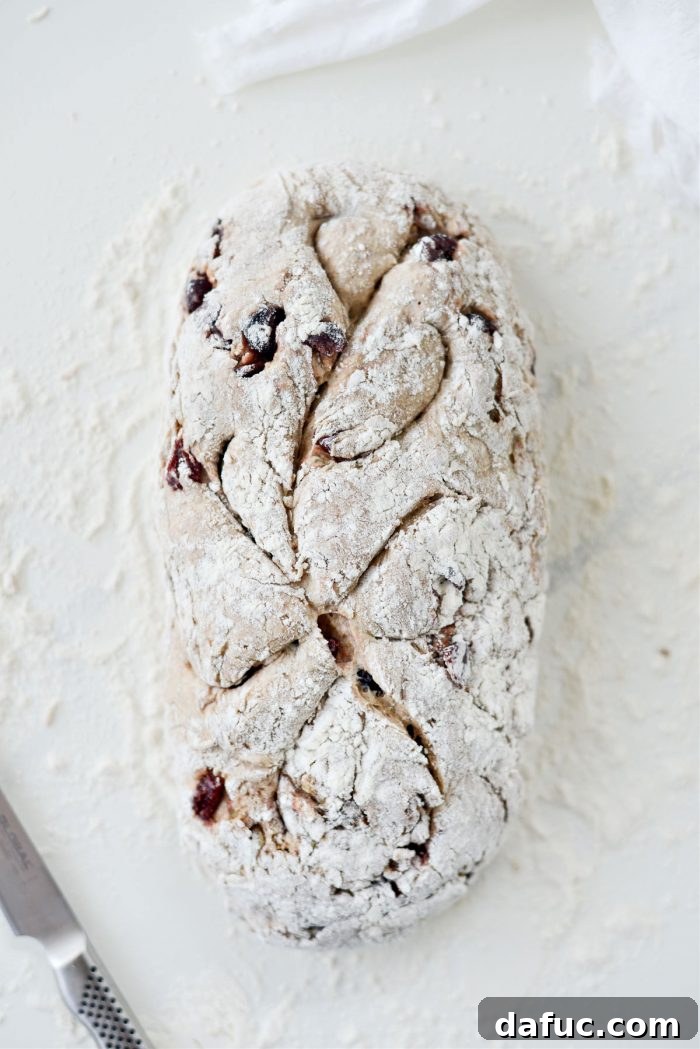
For an artisanal touch, use a sharp knife or a bread lame to score the top of your loaf. This isn’t just for aesthetics; scoring helps control where the bread expands during baking, creating a beautiful ‘ear’ and ensuring a more even rise. This step is entirely optional, but it definitely adds a professional and visually appealing finish.
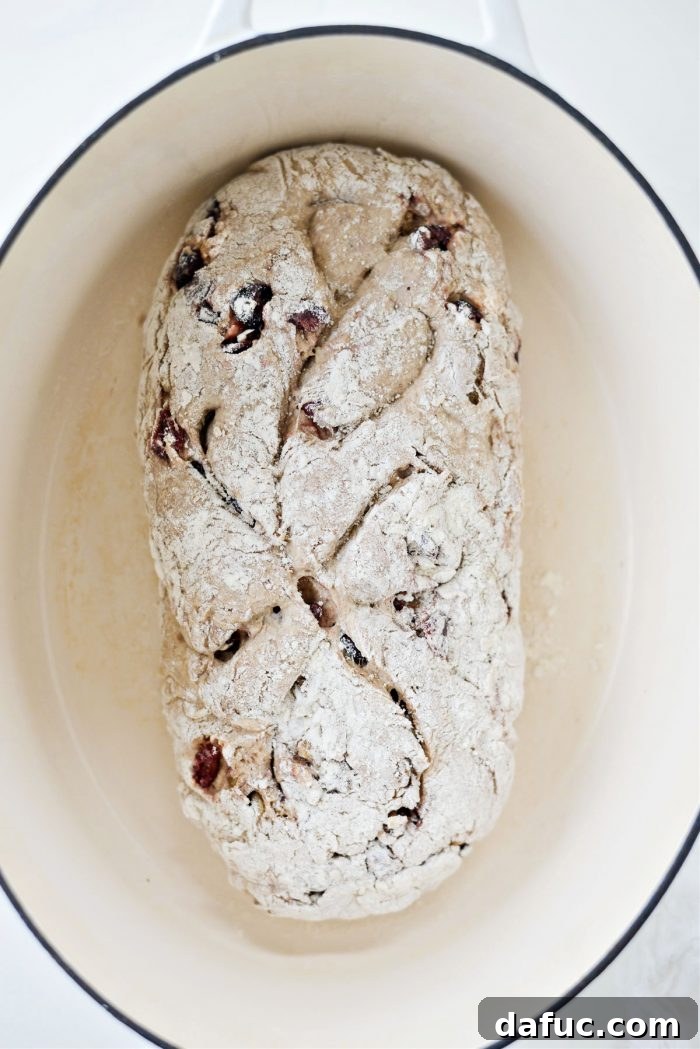
Once your Dutch oven is fully preheated and exceptionally hot, carefully remove it from the oven. Using oven mitts, gently lower the shaped dough loaf into the hot Dutch oven. Be cautious as the pot will be extremely hot. Promptly cover the Dutch oven with its lid.
Bake the covered bread for 30 minutes. The lid traps steam, creating a moist environment that helps the bread rise dramatically and develop a soft, elastic crumb. After 30 minutes, carefully remove the lid and continue to bake, uncovered, for an additional 10 to 12 minutes. This uncovered baking period allows the crust to crisp up and achieve that beautiful, irresistible golden-brown hue. Keep an eye on it to ensure it reaches your desired level of golden perfection.
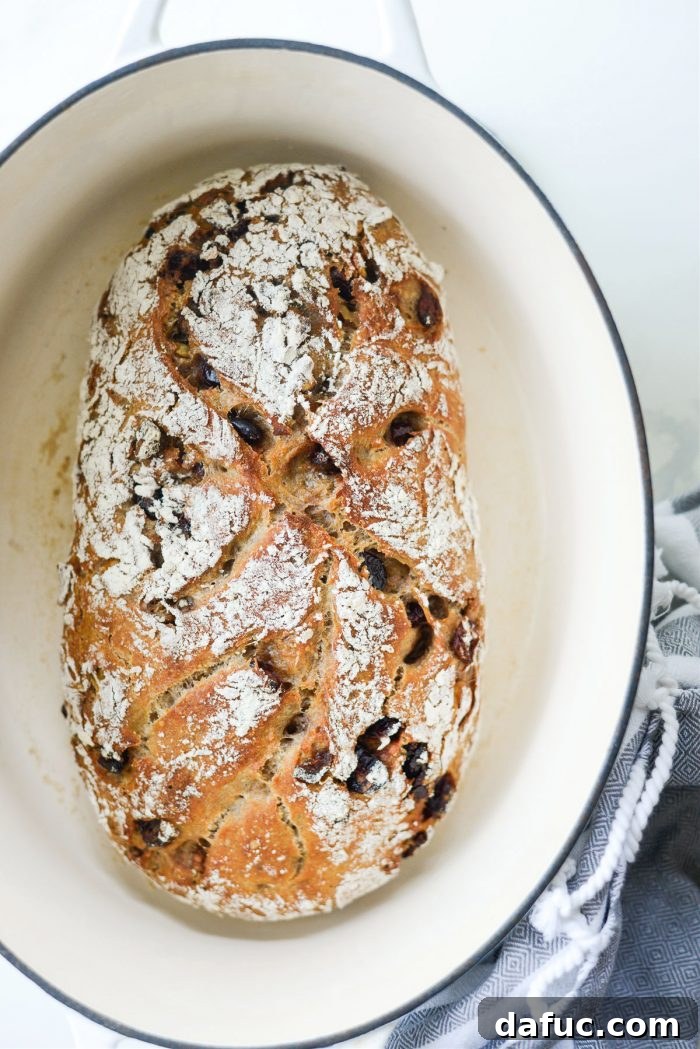
You’ll know it’s ready when the crust is gorgeously golden brown and sounds hollow when tapped on the bottom.
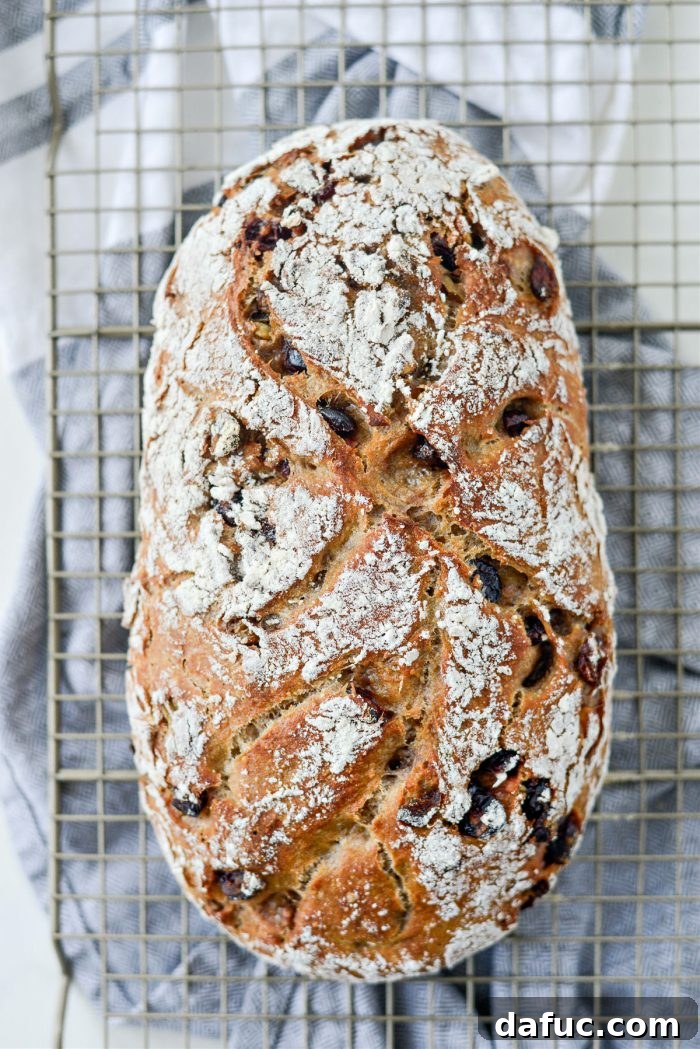
Immediately after baking, use a sturdy spatula to transfer the hot loaf from the Dutch oven to a wire rack. It’s crucial to let the bread cool completely on the rack. This cooling process allows the internal structure of the bread to set and prevents it from becoming gummy. Patience is key here, as slicing too early can compromise the texture.
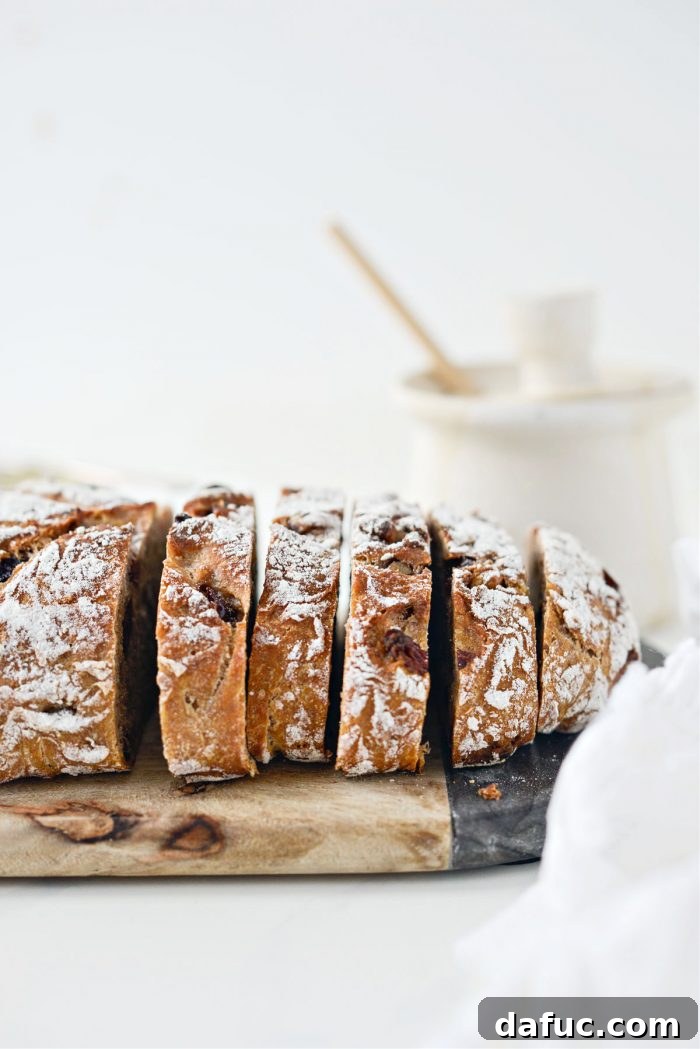
Once the bread has cooled to room temperature, slice it with a serrated knife and serve. The waiting will have been worth it!
Serving Suggestions and Enjoying Your Delicious Loaf
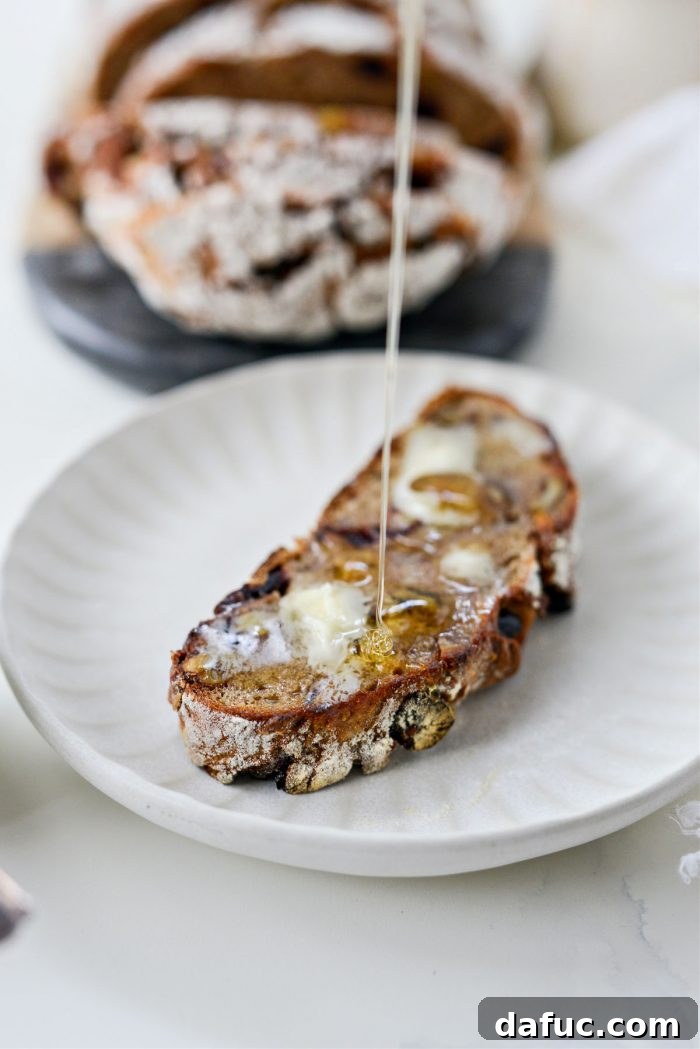
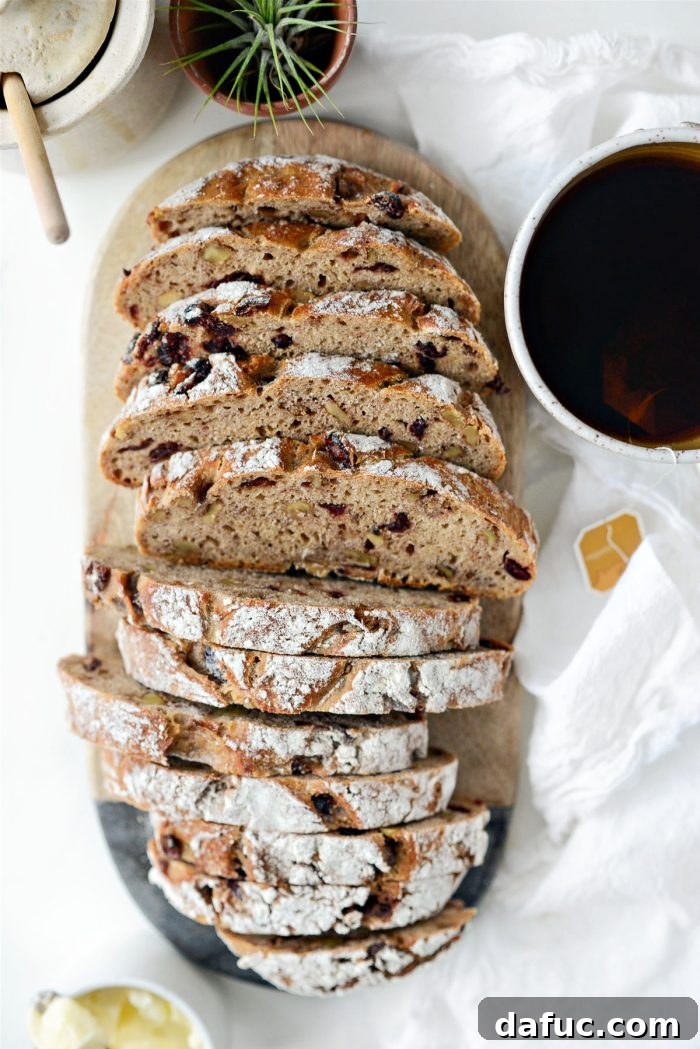
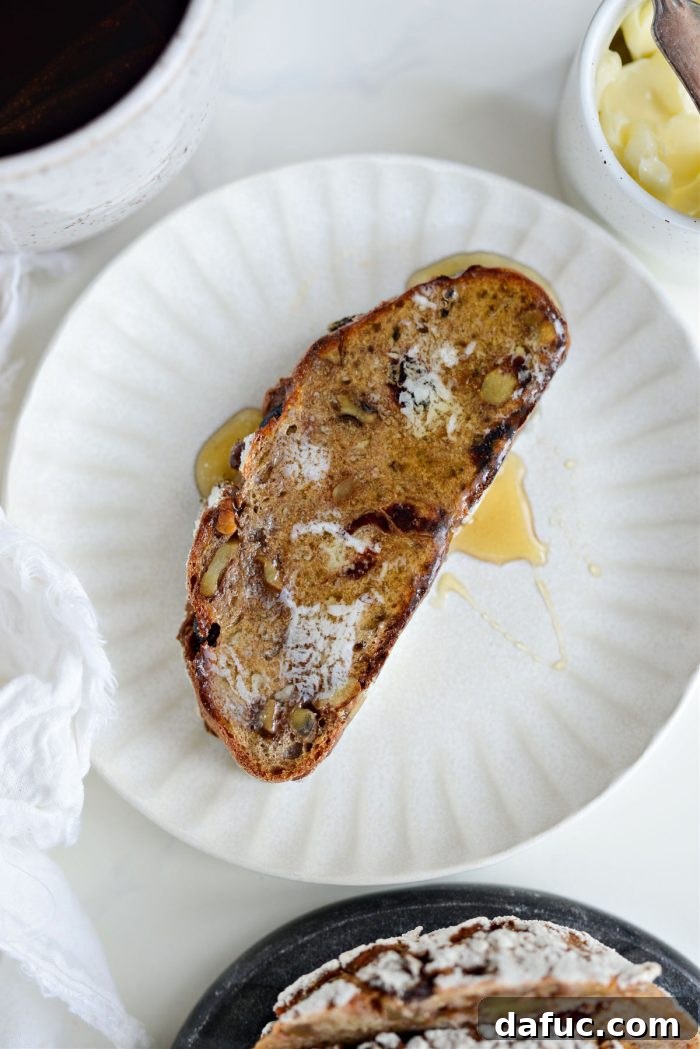
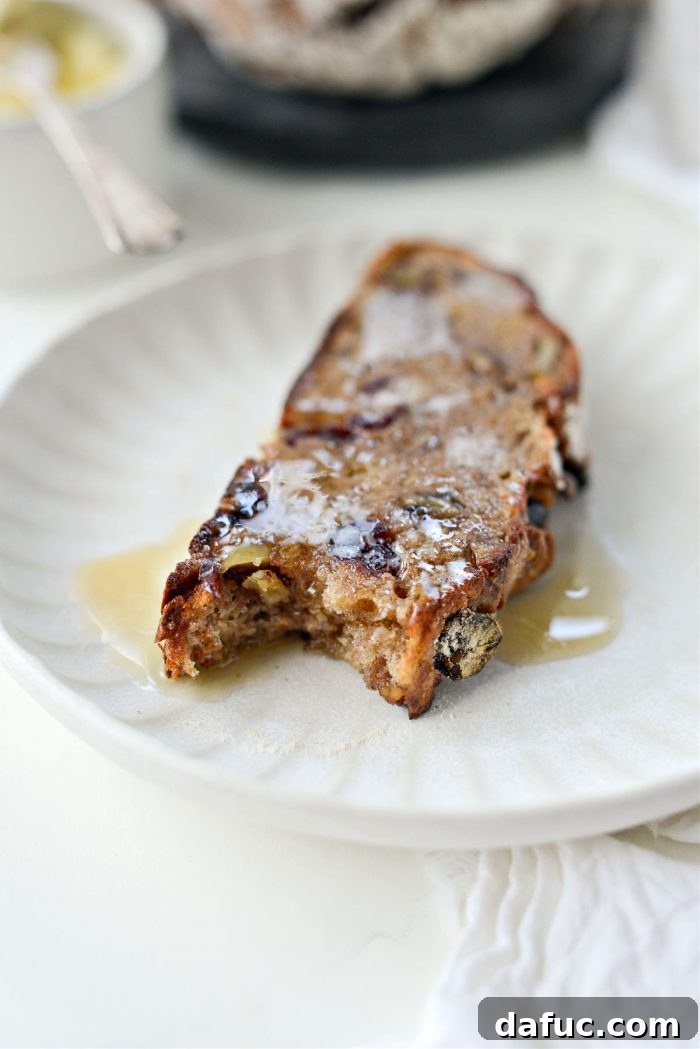
The versatility of this **homemade cranberry walnut bread** is truly remarkable. While simply enjoying it warm, freshly sliced, is a treat in itself, there are countless ways to savor its delightful flavors. My personal favorite way to indulge is to toast a slice until it’s perfectly crisp, then slather it with creamy butter and a generous drizzle of golden honey. The combination of warm, spiced bread, the tartness of cranberries, the crunch of walnuts, and the sweet additions is absolutely divine – it’s an “OMG is it good” moment every single time.
But the possibilities don’t end there! This bread is equally delicious served alongside a cup of coffee or tea for a cozy morning, or as an accompaniment to a light soup or salad for lunch. It also makes for an incredible French toast; the flavors of cinnamon, nutmeg, cranberries, and walnuts are perfectly amplified when dipped in an egg batter and pan-fried to golden perfection. Consider serving it with a cheese board, where the sweetness of the bread offers a wonderful contrast to savory cheeses. However you choose to enjoy it, this bread promises a delightful culinary experience that will leave you craving more.
Discover More No-Knead Bread Recipes Here!
Tips for No-Knead Bread Success
Achieving a perfect **no-knead loaf** is surprisingly simple, but a few key tips can elevate your baking experience and ensure consistent results every time. First, invest in a reliable kitchen scale for precise ingredient measurements, especially for flour and water, as humidity can affect flour absorption. The dough’s stickiness is normal; resist the urge to add too much extra flour during handling, as this can make your bread dense. The 18-24 hour fermentation is crucial for flavor development; don’t rush it. Also, ensure your active dry yeast is fresh by testing it in a little warm water and a pinch of sugar before adding it to your dry ingredients. If it foams, it’s good to go!
The hot Dutch oven is your best friend for a superior crust. Preheating it thoroughly is non-negotiable. When transferring the dough, be quick and careful to minimize heat loss. And finally, patience during the cooling phase is paramount. Slicing warm bread can lead to a gummy texture, so let it cool completely on a wire rack to allow the internal structure to set properly. Following these simple guidelines will help you achieve a beautiful, delicious, and perfectly textured cranberry walnut bread.
Enjoy! We hope you love baking and savoring this **No-Knead Cranberry Walnut Bread** as much as we do. If you give this recipe a try, don’t hesitate to share your delicious creations! Snap a photo and tag us on Twitter or Instagram! Your feedback and shared experiences are truly appreciated.
Print Recipe
Pin Recipe
★
★
☆
☆
Leave a Review »
No-Knead Cranberry Walnut Bread
Ingredients
- 2 cups bread flour, plus 2 tablespoons (divided)
- 1 cup whole wheat flour
- 2 tablespoons sugar
- 1½ teaspoons kosher salt
- 1 teaspoon ground cinnamon
- 1/2 teaspoon ground nutmeg
- 1/2 teaspoon active dry yeast
- 1 teaspoon vanilla extract
- 3/4 cup milk
- 3/4 cup water
- 2/3 cup dried cranberries
- 2/3 cup toasted chopped walnuts
Instructions
-
In a large mixing bowl, measure and add; bread flour, wheat flour, sugar, kosher salt, cinnamon and nutmeg and yeast. Stir to combine.
-
Add dried cranberries and toasted chopped walnuts, stir to combine.
-
Next, add milk with water to a saucepan. Heat until warm, remove and add in vanilla extract.
-
Pour the warm milk into the dry ingredients. Mix until just incorporated.
-
Cover the bowl tightly with plastic wrap and let it rest on your counter for 18 to 24 hours.
THE NEXT DAY:
-
Place a dutch oven on the bottom rack of your oven and preheat your oven to 425℉ (or 220℃). Set a timer for 20 minutes.
-
Uncover the dough and sprinkle the dough with 2 tablespoons flour and use a rubber spatula to to scrape the dough away from the bowl and onto a clean surface. Shape to match the dutch oven you are using.
-
Use a sharp knife to score the bread. This is of course optional, but pretty.
-
Once your pot has preheated and is hot, carefully place the dough loaf into the dutch oven.
-
Cover and bake for 30 minutes. Remove and bake, uncovered for 10 to 12 or until golden brown.
-
Once baked, use a spatula to transfer to a wire rack to cool. Once cool, slice and serve.