
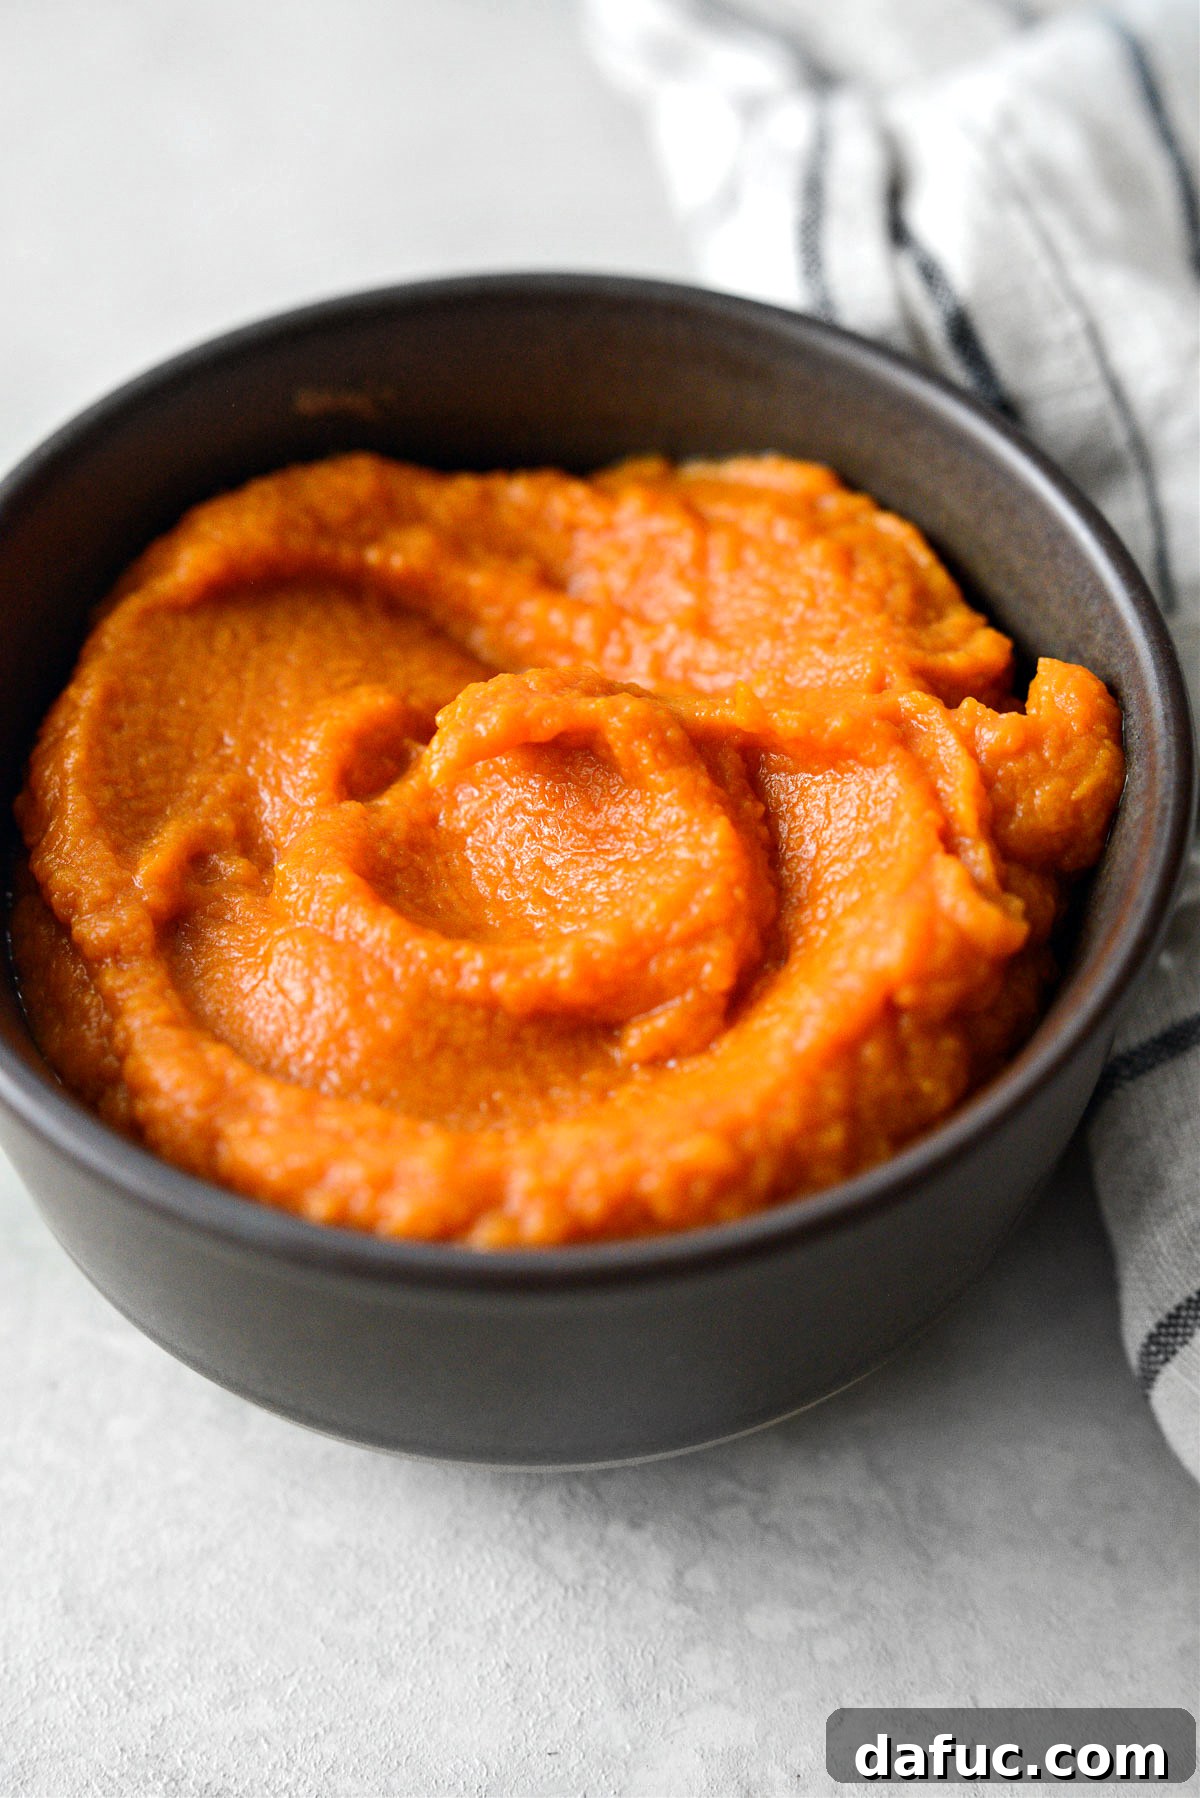
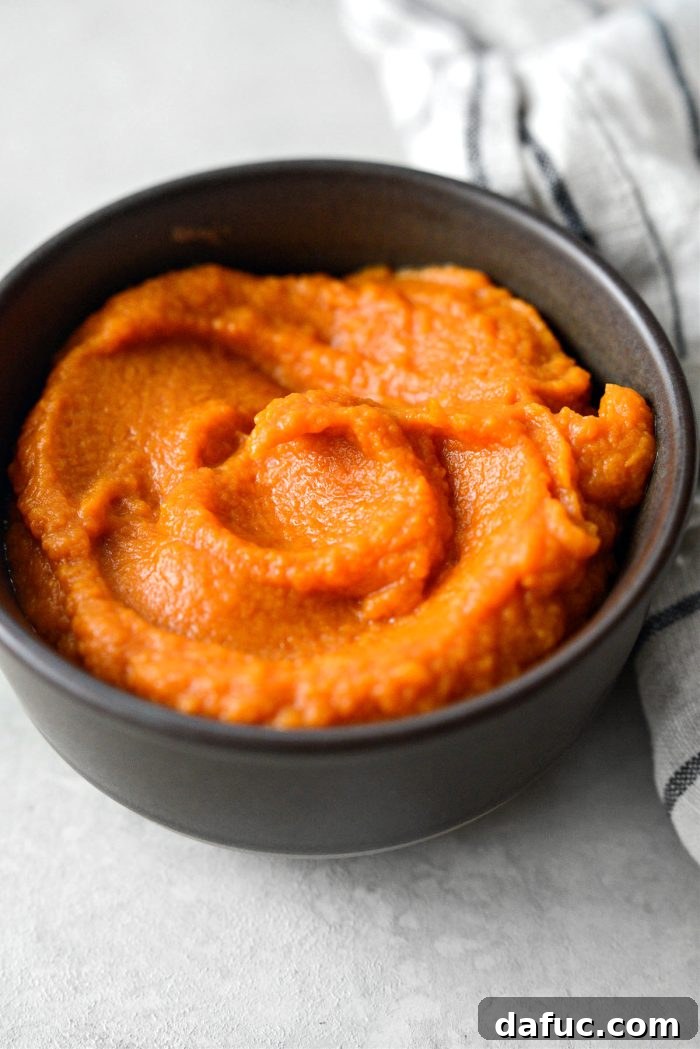
Unlock the incredible versatility of sweet potatoes with this comprehensive guide to making the perfect Sweet Potato Purée. Whether you’re crafting delightful sweet or savory dishes, preparing nutritious first foods for your baby, or simply looking for a healthy, all-natural base for your culinary creations, this method is designed for ease and efficiency. Forget store-bought alternatives; creating your own velvety smooth sweet potato purée at home is not only cost-effective but also ensures you have full control over the ingredients, making it a wholesome addition to any diet.
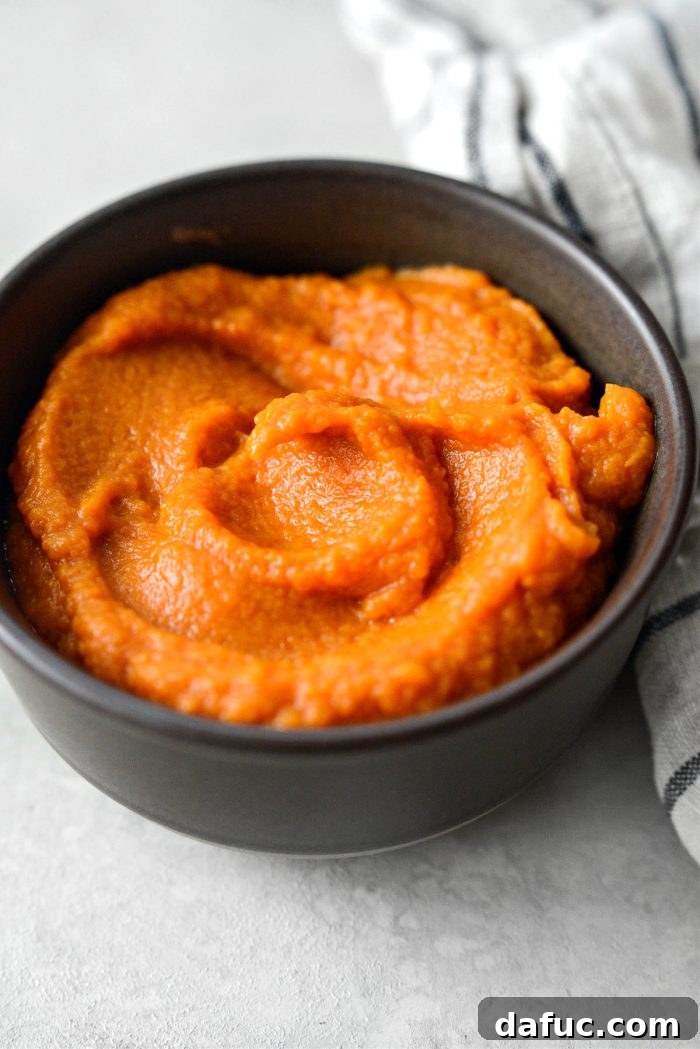
Making homemade sweet potato purée is a surprisingly simple process that requires minimal effort and basic kitchen equipment, primarily a blender or food processor. By following these straightforward steps, you’ll be able to consistently produce a vibrant, flavorful purée that’s ready to enhance a myriad of recipes. This detailed guide covers everything from preparation and cooking techniques to storage tips and specialized instructions for baby food, empowering you to master this kitchen staple.
The Nutritional Powerhouse: Why Sweet Potatoes?
Sweet potatoes are more than just a delicious root vegetable; they are a nutritional powerhouse packed with health benefits. Rich in beta-carotene, which converts to Vitamin A in the body, they support healthy vision, immune function, and skin. They are also an excellent source of Vitamin C, a powerful antioxidant, and Manganese, vital for bone health and metabolism. Beyond vitamins, sweet potatoes offer a substantial amount of dietary fiber, promoting digestive health and helping to maintain stable blood sugar levels. Their natural sweetness means you often need fewer added sugars in recipes, making them a naturally healthy choice for both adults and infants.
Incorporating sweet potato purée into your diet is an easy way to boost nutrient intake. Its naturally smooth texture and mild flavor make it incredibly adaptable, easily blending into both sweet and savory profiles without overpowering other ingredients. This allows for creative culinary exploration, from baked goods to main dishes, all while benefiting from the vegetable’s robust nutritional content.
Creative Ways to Use Your Homemade Sweet Potato Purée
Once you’ve mastered the art of making sweet potato purée, a world of culinary possibilities opens up. This versatile ingredient can transform everyday meals into something extraordinary, adding flavor, moisture, and a nutritional boost. Here are some fantastic ways to incorporate your homemade purée:
- A Perfect First Food for Baby: Sweet potato purée is often recommended as one of the first solid foods for infants due to its smooth texture, natural sweetness, and rich nutrient profile, especially Vitamin A.
- Baking Delights: Substitute a portion of fat or sugar in baked goods like muffins, quick breads, or even sweet potato cornbread for a moist, flavorful, and healthier twist. It adds a beautiful color and a subtle earthy sweetness.
- Soups and Chili Enhancer: Stir purée into creamy vegetable soups or hearty chilis to thicken them naturally and add a depth of flavor. It’s an excellent way to boost the nutritional content of a warming bowl.
- Breakfast Boost: Whisk sweet potato purée into French toast batter or pancake mix for a delicious and nutrient-packed breakfast. You can also swirl it into oatmeal or yogurt.
- Savory Side Dishes: Use it as a base for a comforting casserole, mix it with herbs and spices for a standalone side, or even create a layered shepherd’s pie topping.
- Smoothies: Add a spoonful to your morning smoothie for extra creaminess, fiber, and vitamins without altering the flavor significantly.
- Sauces and Dips: Blend it into savory sauces for roasted meats or vegetables, or combine it with spices to make a healthy dip.

Essential Ingredients and Equipment for Sweet Potato Purée
Preparing this healthy sweet potato purée is wonderfully straightforward, requiring only a handful of items you likely already have in your kitchen. Simplicity is key to this recipe’s appeal.
Ingredients You Will Need:
- Sweet Potatoes: Approximately 1 pound of sweet potatoes will yield about 2 cups of luscious purée. Look for firm, unblemished sweet potatoes for the best results.
Equipment You Will Need:
- A rimmed baking sheet
- Parchment paper (optional, for easier cleanup)
- A sharp knife and cutting board (if peeling after baking)
- A blender or a food processor fitted with the blade attachment (essential for achieving a smooth consistency)

Step-by-Step Guide: Making Your Sweet Potato Purée
The foundation of a great sweet potato purée lies in how the sweet potatoes are cooked. Roasting or steaming are the preferred methods, as they bring out the natural sweetness and create a tender flesh that’s easy to blend.
Preparation and Roasting
Preheat your oven to 400°F (200°C).
Begin by selecting a few medium-sized sweet potatoes or yams. Wash them thoroughly under cool running water, scrubbing off any dirt. Pat the sweet potatoes completely dry with a clean kitchen towel. This step is crucial for even cooking. Place the dry sweet potatoes on a rimmed baking sheet. You can line the baking sheet with parchment paper for easier cleanup, although it’s not strictly necessary.

Bake the sweet potatoes, with their skin on, on the middle rack of your preheated oven for approximately 40 to 60 minutes. The exact baking time will vary depending on the size and thickness of your sweet potatoes. Smaller potatoes might be perfectly tender at the 40-minute mark, while larger ones could take closer to an hour. To test for doneness, gently insert a fork into the thickest part of a sweet potato. If you meet any resistance, it needs more time. The sweet potato is perfectly cooked when the fork glides through the skin and flesh with ease, indicating a soft and tender interior.
Once cooked to perfection, carefully remove the sweet potatoes from the oven and let them cool on the baking sheet until they are safe to handle. This cooling period is important, not just for safety, but also because it allows the sweet potatoes to firm up slightly, making them easier to peel if you choose to do so.
Alternatively, you can steam the sweet potatoes: If you prefer steaming, cut the sweet potatoes into smaller, uniform pieces (peeling them first is optional, as discussed below). Place them in a large steamer basket set over simmering water, ensuring the water does not touch the bottom of the basket. Cover and steam for 15-25 minutes, or until the flesh is fork-tender. Steaming retains more nutrients and can result in a slightly different texture, though equally delicious.

Peel or Not to Peel? Making the Right Choice
The decision to peel your sweet potatoes before or after cooking, or even not at all, depends largely on the intended use of your purée. Both approaches have their merits.
For a Velvety Smooth Purée:
If your goal is a silky-smooth purée for baking, savory dishes, or a refined texture, I highly recommend peeling the sweet potatoes once they’ve been baked and are cool enough to handle. The skin, while edible, can introduce a slightly fibrous texture that might detract from the desired smoothness. Simply slide your fingers or a paring knife under the skin, and it should come off easily from the tender flesh.
For Nutrient-Rich Baby Food (with fiber):
When preparing sweet potato purée specifically for baby food, especially for older infants and toddlers, I often opt to leave the skin on during the initial cooking process. Sweet potato skin contains valuable fiber and additional nutrients. If you choose to leave the skin on for baby food, make sure to wash the potatoes exceptionally well. Once cooked, you can either purée the sweet potato with the skin (especially if the skin is thin and soft from roasting) or remove it before blending if you prefer. When puréeing with the skin on, cut the sweet potato into larger pieces before placing them in the blender or food processor. For very young infants just starting solids, you might need to add a small amount of warm water, breast milk, or formula to thin out the purée to an ultra-smooth, easily digestible consistency. As your baby grows and develops, you can process the purée for less time, allowing for a thicker, slightly textured consistency that encourages chewing and explores different mouthfeels.

The Art of Puréeing
Once your sweet potatoes are cooked and prepared (peeled or unpeeled, depending on your preference), it’s time to transform them into a luscious purée. This is where your blender or food processor truly shines.
First, cut the cooked sweet potato flesh into large, manageable pieces. This helps the blades of your appliance work more efficiently and ensures an even blend. Transfer these pieces into the bowl of your food processor, which should be fitted with its blade attachment, or into your blender.
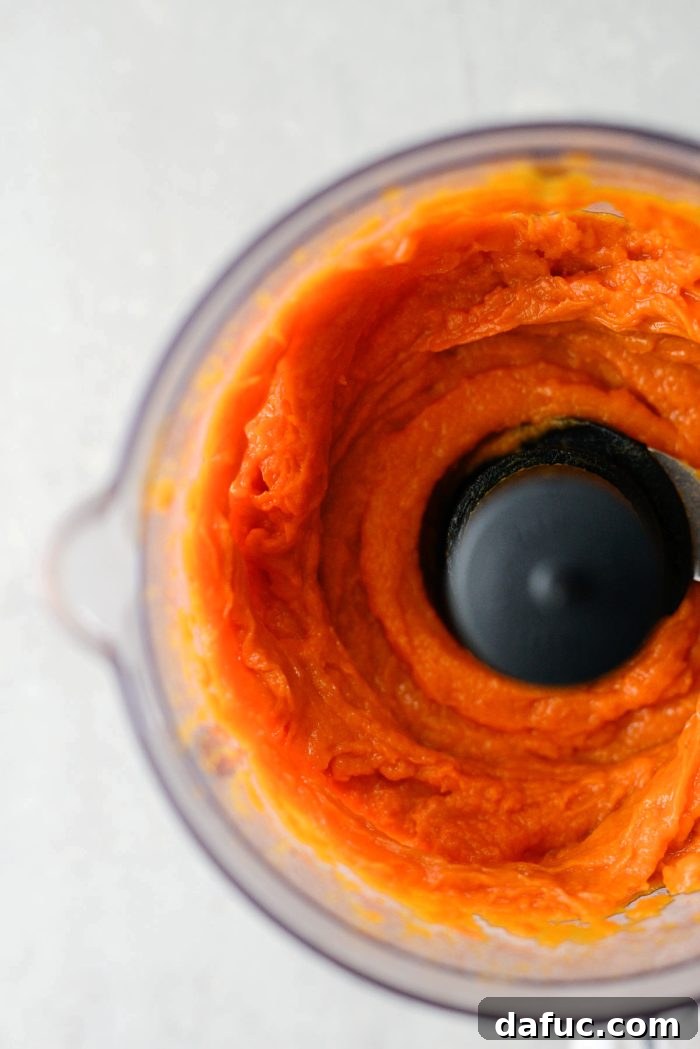
Secure the lid tightly on your food processor or blender. Begin processing the sweet potatoes. Start with short pulses, then switch to continuous blending. Continue to blend until the sweet potatoes are completely smooth and free of any lumps. You might need to stop occasionally to scrape down the sides of the bowl with a spatula, ensuring all pieces are incorporated and processed evenly. For a thinner consistency, you can add a tablespoon or two of warm water, milk, or broth during blending until your desired texture is achieved. For baby food, always ensure the purée is exceptionally smooth for younger infants.

Storing and Freezing Sweet Potato Purée for Future Enjoyment
One of the greatest advantages of making homemade sweet potato purée is the ability to prepare it in advance and store it for later use. Proper storage ensures freshness and convenience, making meal prep a breeze.
How To Store Sweet Potato Purée:
Allow the freshly made purée to cool completely to room temperature before storing. Transfer the desired amount into an airtight container. It can be safely refrigerated for up to 3 days. For longer storage, freezing is an excellent option.
How To Freeze Sweet Potato Purée:
To freeze, measure out individual portions of 2 to 4 tablespoons into freezer-safe bags, containers, or even ice cube trays. If using freezer bags, gently press out as much air as possible before sealing and lay the bags flat in the freezer. This allows them to freeze quickly and stack neatly, saving freezer space. For ice cube trays, once the purée is frozen solid (typically after a few hours), pop out the cubes and transfer them to a larger freezer-safe bag or container for long-term storage. This method is particularly useful for baby food portions.
How Long Will Sweet Potato Purée Last?
When stored correctly, homemade sweet potato purée will last approximately 3 days in the refrigerator. In the freezer, it maintains its quality for 2 to 4 months. Always label your containers or bags with the date of preparation to keep track of freshness.
How To Defrost Sweet Potato Purée:
To defrost, simply transfer the frozen purée to the refrigerator overnight. For quicker thawing, you can place a freezer bag under lukewarm running water until it softens, or use the defrost setting on your microwave (ensuring it’s in a microwave-safe bowl). Always stir the purée after defrosting to ensure even temperature and consistency.
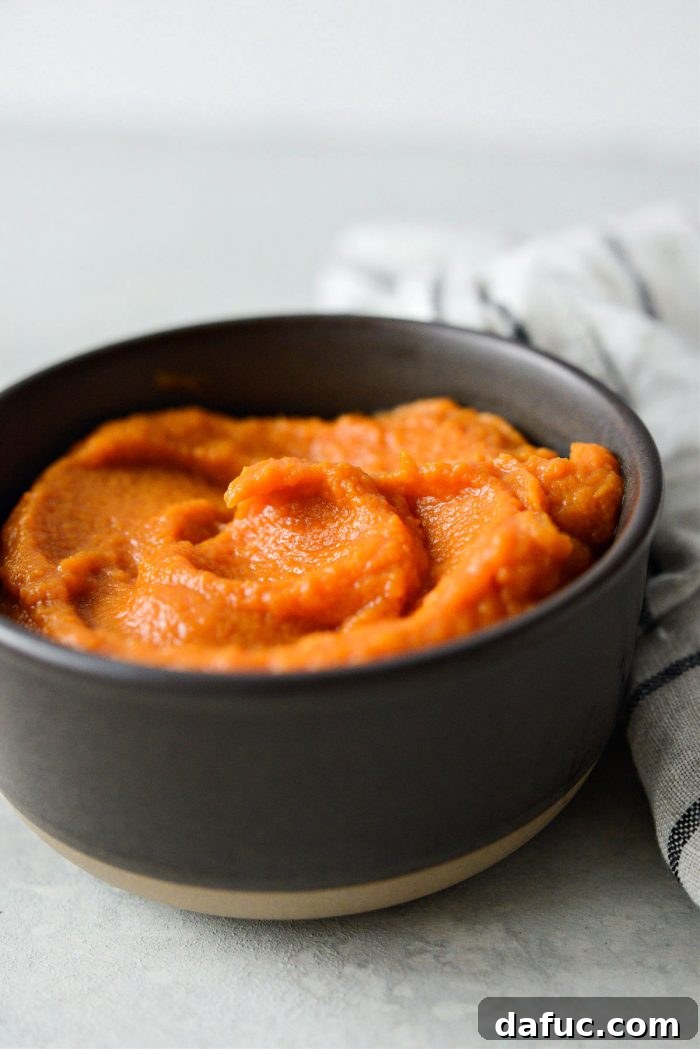
Sweet Potato Purée for Baby Food: A Detailed Guide
Sweet potato purée is a beloved choice for introducing solids to infants due to its smooth texture, natural sweetness, and a wealth of nutrients essential for growth. Preparing it at home allows you to ensure purity and control consistency.
Batch Freezing Sweet Potato Purée for Baby Food:
To save time and ensure you always have healthy baby food on hand, consider doubling or tripling this recipe. Follow the “For Baby Food” instructions for preparation (which often means leaving the skin on for extra fiber, if desired). Once the purée is made, portion it into clean ice cube trays. Cover the trays tightly with foil or plastic wrap to prevent freezer burn and cross-contamination, then freeze until the cubes are completely solid. Once frozen, transfer the sweet potato cubes to a large, freezer-safe bag or container. This method creates perfect individual serving sizes that are easy to thaw as needed.
How To Reheat Purée For Babies or Toddlers:
When it’s mealtime, simply take out the desired number of frozen purée cubes. You can defrost them in the refrigerator, or for a quicker option, gently reheat them in a small saucepan over low heat on the stovetop, stirring frequently. Alternatively, place the cubes in a microwave-safe bowl and heat in the microwave on a low setting, stirring every 15-20 seconds until warmed through. It is absolutely crucial to ALWAYS test the temperature of the purée before serving it to your baby or child to prevent burns. Stir it well and dab a small amount on your wrist to ensure it’s comfortably lukewarm.
How to Adjust Thickness of Purée for Baby Food:
The beauty of homemade baby food is the ability to customize its consistency to suit your infant or toddler’s developmental stage.
- For younger infants (4-6 months, just starting solids): Process the purée for a longer duration until it is exceptionally smooth and free of any lumps. If it’s too thick, add small amounts of warm water, breast milk, or formula, a teaspoon at a time, until a very thin, runny consistency is achieved. This makes it easier for babies to swallow.
- For older infants and toddlers (7+ months): As your child progresses and becomes more adept at handling textures, you can process the purée for less time, leaving it slightly thicker or with tiny, soft chunks. This encourages them to practice chewing and helps them transition to more solid foods. Always ensure any chunks are soft and small enough to prevent choking hazards.
Adjusting the thickness allows for a gradual introduction of textures, supporting your child’s feeding development and preferences.

Enjoy! This simple yet powerful recipe for sweet potato purée will become a go-to in your kitchen. It’s truly a foundational ingredient that offers endless possibilities for healthy, delicious meals for the whole family. If you give this method a try, we’d love to hear about it! Share your culinary creations and tag us on Twitter or Instagram!

Pin Recipe
Roasted Sweet Potato Purée
An easy guide to making homemade roast sweet potato purée for various uses, including baby food.
Ingredients
- 1 pound sweet potatoes, washed and patted dry
Equipment
- Food Processor or Blender
Instructions
-
Preheat your oven to 400°F (200°C).
-
Scrub your sweet potatoes thoroughly and pat dry before placing on a rimmed baking sheet.
-
Roast for 40 minutes to 1 hour, or until fork-tender. Allow to cool completely until safe to handle.
FOR PUREE (for baking, cooking, etc.):
-
Once cooled, peel the sweet potatoes and cut into large pieces. Add the sweet potato pieces to the bowl of your food processor (fitted with the blade attachment). Secure the lid and process until completely smooth, scraping down the sides as needed.
FOR BABY FOOD:
-
Leave the skin on (for extra fiber) and cut into large pieces. Add the sweet potato pieces to the bowl of your food processor (fitted with the blade attachment). Secure the lid and process until smooth. You might need to add a tablespoon or two of warm water, breast milk, or formula to thin out the purée to a suitable consistency for a first food.
Notes
Nutrition Disclaimer: All information presented on this site is intended for informational purposes only. I am not a certified nutritionist and any nutritional information shared should only be used as a general guideline.
Nutrition Facts (Approximate per serving)
Serving: 0.5 cup,
Calories: 97 kcal,
Carbohydrates: 23g,
Protein: 2g,
Fat: 1g,
Saturated Fat: 1g,
Polyunsaturated Fat: 1g,
Monounsaturated Fat: 1g,
Sodium: 62mg,
Potassium: 381mg,
Fiber: 3g,
Sugar: 5g,
Vitamin A: 16031 IU,
Vitamin C: 3mg,
Calcium: 34mg,
Iron: 1mg