Irresistible No-Bake Pumpkin Cheesecake with Spiced Gingersnap Crust
Prepare for a dessert experience that will redefine your autumn cravings! Our No-Bake Pumpkin Cheesecake with a Spiced Gingersnap Crust is not just a recipe; it’s an effortless masterpiece designed to delight. Forget the complexities of traditional baking—this easy-to-follow method combines rich, creamy pumpkin filling with a uniquely spiced crust for an unforgettable treat. Imagine luscious cream cheese perfectly blended with pure pumpkin puree, infused with the warming notes of homemade pumpkin pie spice, and lightened with clouds of whipped heavy cream. The secret weapon? A crisp, spicy gingersnap crust that provides the ultimate counterpoint to the smooth filling, elevating every bite into a symphony of fall flavors. This phenomenal combination promises to be the star of any gathering, from casual weeknight desserts to your most anticipated holiday feasts.
My Enduring Love Affair with Cheesecake (and Why No-Bake is a Game-Changer)
Cheesecake has always held a special place in my heart, a cherished tradition since childhood. While other kids might have dreamt of elaborate tiered birthday cakes, my annual celebration was always marked by a classic cheesecake. I recall fondly my early days in the kitchen, experimenting with various boxed Jell-o no-bake cheesecakes – simple yet incredibly satisfying. Those memories sparked a lifelong passion for creating delicious desserts, and I soon discovered the immense joy of crafting decadent cheesecakes entirely from scratch, without ever needing to turn on the oven. The beauty of a no-bake cheesecake lies in its simplicity and accessibility, proving that you don’t need fancy baking skills or specialized equipment to achieve a truly spectacular dessert.
This particular recipe for No-Bake Pumpkin Cheesecake stands out as a true triumph. I’ve shared it with my family, and the reviews have been unanimously glowing. Even my husband, who generally isn’t a fan of pumpkin-flavored desserts, was completely won over, eagerly asking for a second slice. My daughter, Malloree, who shares my passion for all things pumpkin, gave it an enthusiastic thumbs-up. And though my other daughter, Haileigh, is away at college, I have no doubt she would adore it too (missing you, H!). This widespread acclaim gives me immense confidence that you, too, will fall in love with this remarkably easy and flavorful pumpkin cheesecake. It’s a testament to how simple ingredients, thoughtfully combined, can create something truly extraordinary.
The Essentials: Ingredients for Your Dream Pumpkin Cheesecake
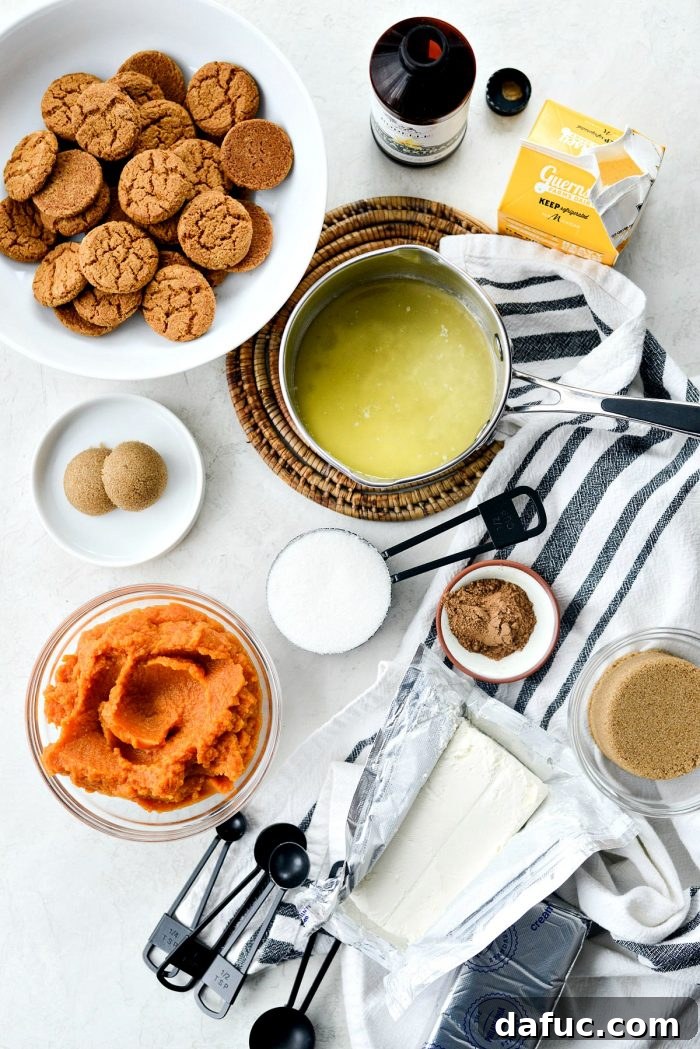
Crafting this delightful no-bake pumpkin cheesecake requires a curated selection of ingredients, each playing a vital role in achieving its perfect balance of flavor and texture. The magic begins with a handful of accessible items, transforming them into a dessert that tastes far more complex than it is to make. Here’s a closer look at what you’ll need to gather:
- Gingersnap Cookies: The foundation of our uniquely spiced crust. Their crisp texture and bold ginger-molasses flavor are non-negotiable for that perfect autumnal crunch.
- Brown Sugar: Used in both the crust and the filling, brown sugar adds a deep, caramel-like sweetness and moisture that granulated sugar alone cannot provide, enhancing the pumpkin’s natural earthiness.
- Unsalted Butter: The binding agent for our crust, ensuring it holds together beautifully. Using unsalted butter allows you to control the overall sodium content of your dessert.
- Cream Cheese: The undisputed star of any cheesecake! Ensure it’s full-fat and softened to room temperature for the smoothest, most luxurious filling.
- Granulated Sugar: Provides essential sweetness to the creamy filling, balancing the tang of the cream cheese and the richness of the pumpkin.
- Pumpkin Puree: The heart of our pumpkin flavor. Make sure you’re using 100% pure pumpkin puree, not pumpkin pie filling, which is already spiced and sweetened.
- Vanilla Extract: A touch of pure vanilla extract brightens all the flavors, adding warmth and depth to the filling.
- Homemade Pumpkin Pie Spice: While store-bought works, a homemade blend truly elevates the pumpkin flavor, allowing you to customize the intensity of cinnamon, nutmeg, ginger, and cloves.
- Heavy Whipping Cream: Whipped into stiff peaks, this ingredient is key to achieving that light, airy, yet incredibly creamy texture characteristic of a perfect no-bake cheesecake. It gives the dessert its delightful “loft.”
Crafting the Irresistible Gingersnap Crust: A Step-by-Step Guide
The foundation of this exquisite dessert is its buttery, spiced gingersnap crust. It’s incredibly easy to make and provides the perfect contrast to the smooth pumpkin filling. Here’s how to create it:
Step 1: Crushing the Gingersnaps
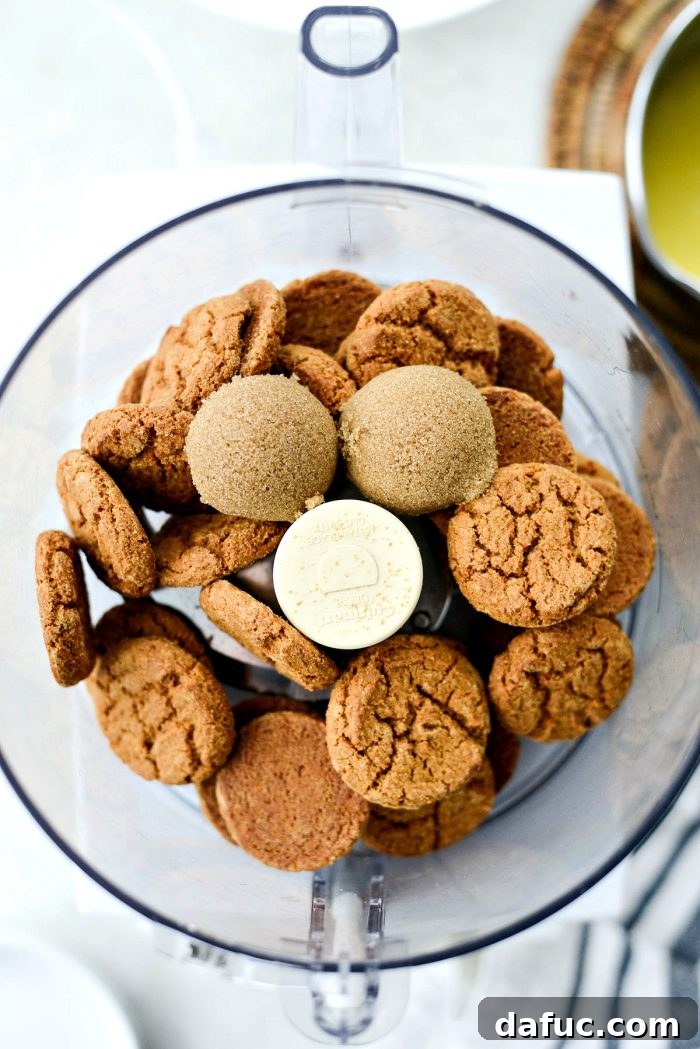
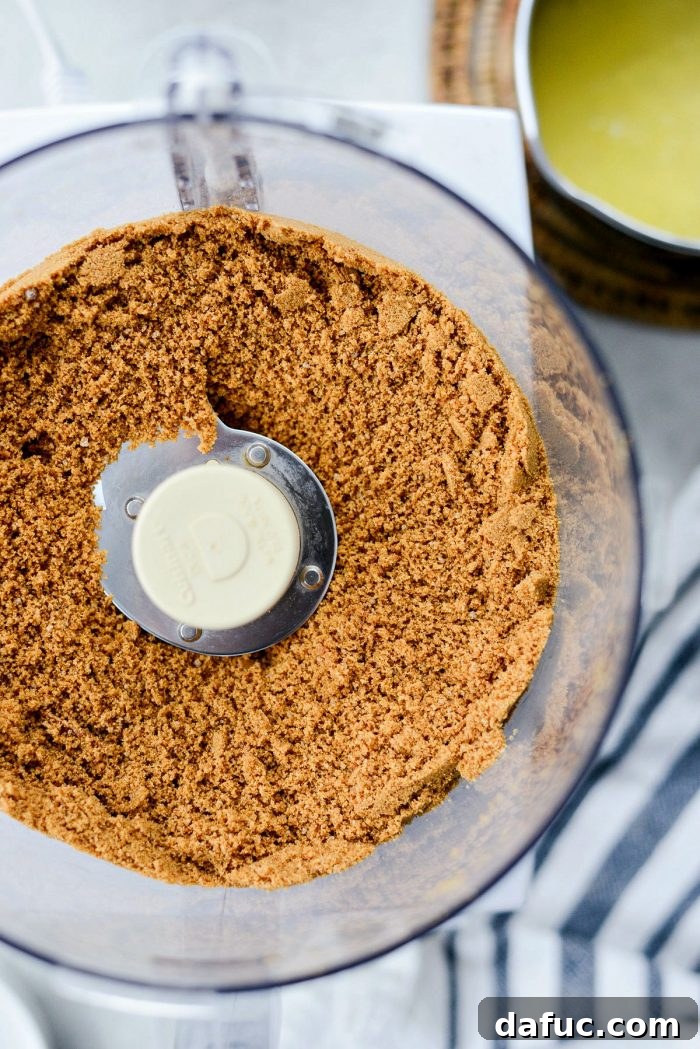
Begin by adding approximately 30 small gingersnap cookies to the bowl of your food processor, fitted with a blade attachment. The exact number of cookies can vary depending on their size, so aim for about 1½ cups of finely ground crumbs. You might even want to crush a few extra to use later as a beautiful garnish for your finished cheesecake.
Step 2: Binding with Butter and Brown Sugar
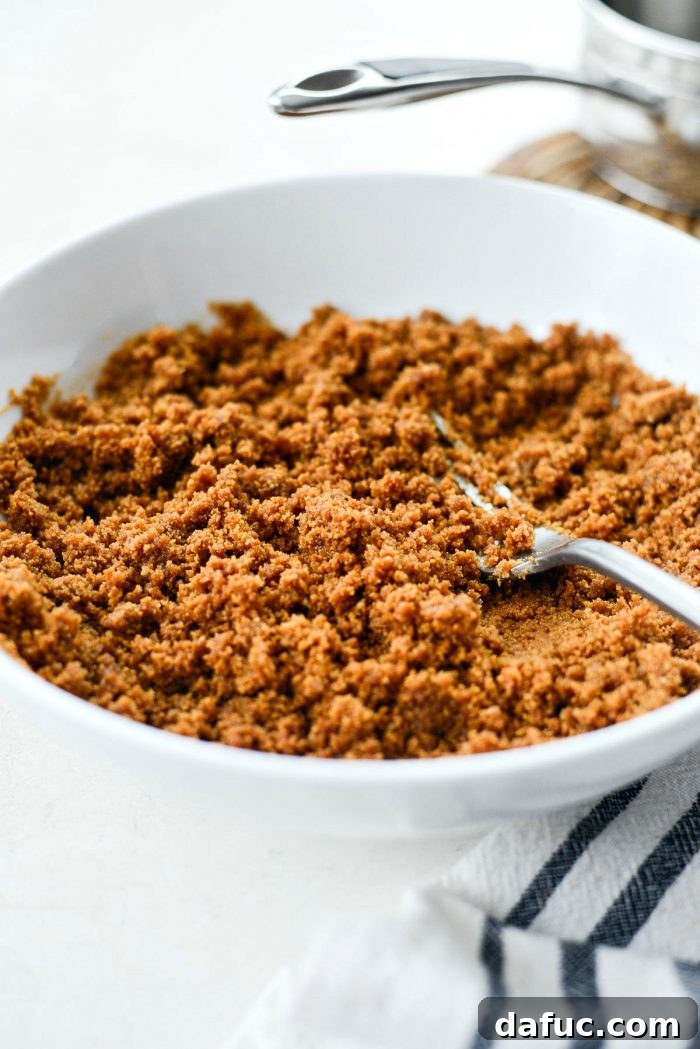
Once your gingersnap cookies are finely crushed, transfer them to a medium bowl. Pour in 4 tablespoons of melted unsalted butter and 2 tablespoons of dark brown sugar. Stir thoroughly until the crumbs are completely coated and moistened. The goal is a crumbly mixture that holds together when pressed. If the mixture still seems too dry or doesn’t clump easily, add an additional tablespoon (or two) of melted butter, mixing well after each addition. Be mindful not to overdo it; you want a cohesive crust, not an overly greasy one.
Chef’s Secret: I must confess, there’s a part of me that could happily eat a bowl of these buttery, spiced gingersnap crumbs with a spoon! They are truly that good, offering a sneak peek into the deliciousness to come.
Step 3: Forming and Chilling the Crust
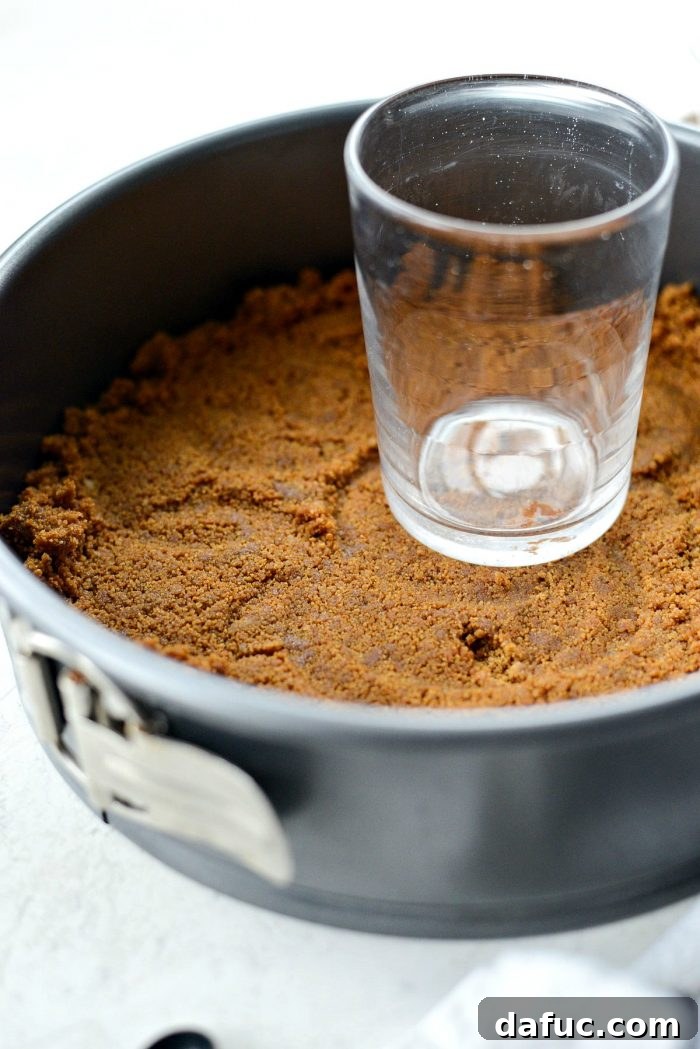
Carefully dump the prepared crumbs into an un-greased 9-inch springform pan. Use the flat bottom of a drinking glass or a measuring cup to firmly press the crumbs evenly across the bottom and slightly up the sides of the pan. This creates a sturdy base for your cheesecake. Once formed, place the springform pan into your refrigerator to chill for 30 to 45 minutes. This crucial step allows the butter to solidify, setting the crust and preventing it from crumbling when sliced. Conveniently, this chilling time is just about how long it will take you to prepare the creamy pumpkin filling.
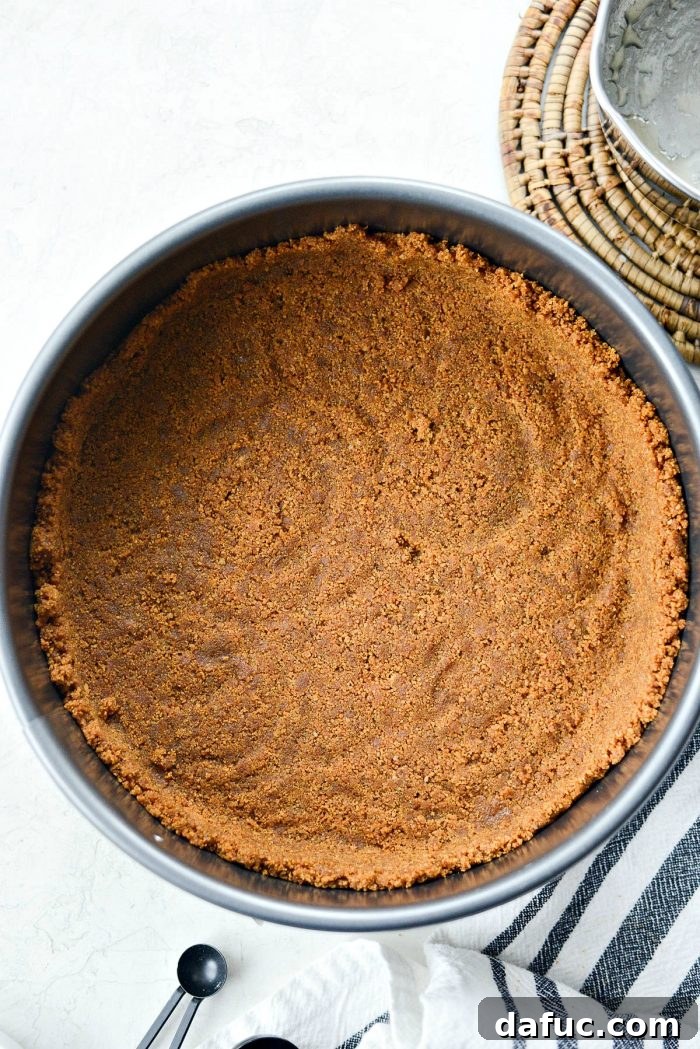
Crafting the Velvety Pumpkin Cheesecake Filling
The heart of this dessert is its incredibly smooth and flavorful pumpkin filling. Follow these steps carefully to achieve a light, airy, and perfectly spiced mixture:
Step 4: Preparing the Cream Cheese Base
Approximately 45 minutes to an hour before you plan to make the filling, remove two 8-ounce packages (16 ounces total) of full-fat cream cheese from the refrigerator and let them soften at room temperature. This is vital for achieving a smooth, lump-free filling. Once softened, transfer the cream cheese to the bowl of your stand mixer, fitted with the paddle attachment. Add ½ cup of granulated sugar and ½ cup of dark brown sugar.
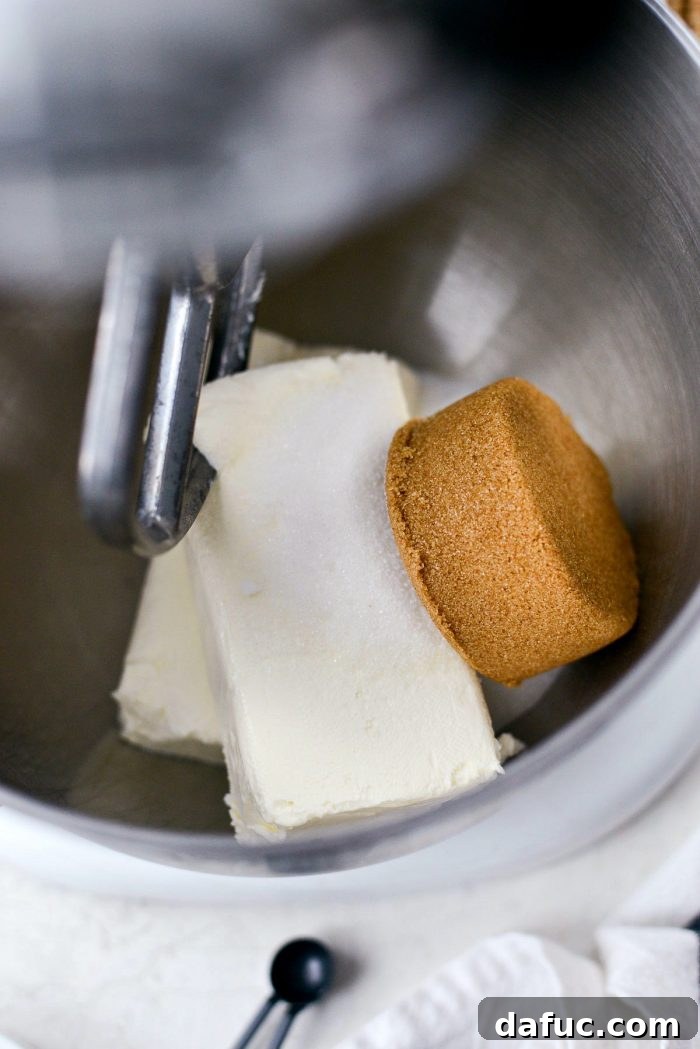
Step 5: Mixing for Creaminess
Turn your stand mixer to medium-low speed and beat the cream cheese and sugars until the mixture is light, creamy, and completely smooth. Scrape down the sides of the bowl occasionally to ensure everything is thoroughly incorporated. Avoid overmixing at this stage, as you want to incorporate air without making it too fluffy yet.
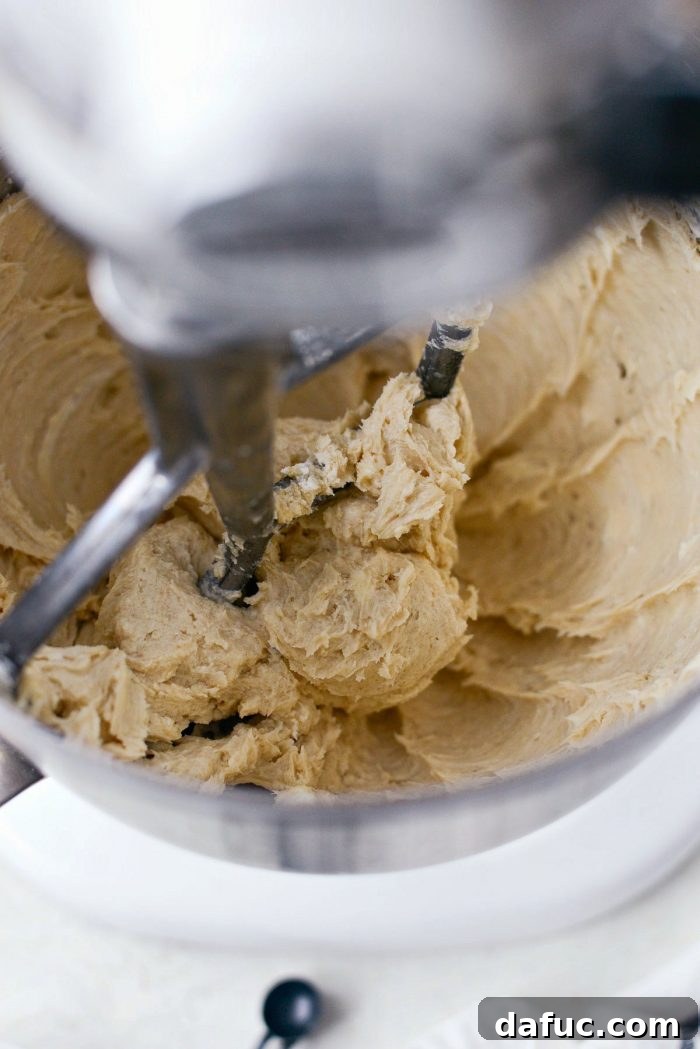
Step 6: Adding Pumpkin and Spices
Now, it’s time to introduce the stars of the show! Add 1¾ cups of 100% pure pumpkin puree, 1 tablespoon of pure vanilla extract, and 1 tablespoon of your chosen pumpkin pie spice to the cream cheese mixture. If you’re using homemade pumpkin pie spice, the aroma alone is enough to get you excited!
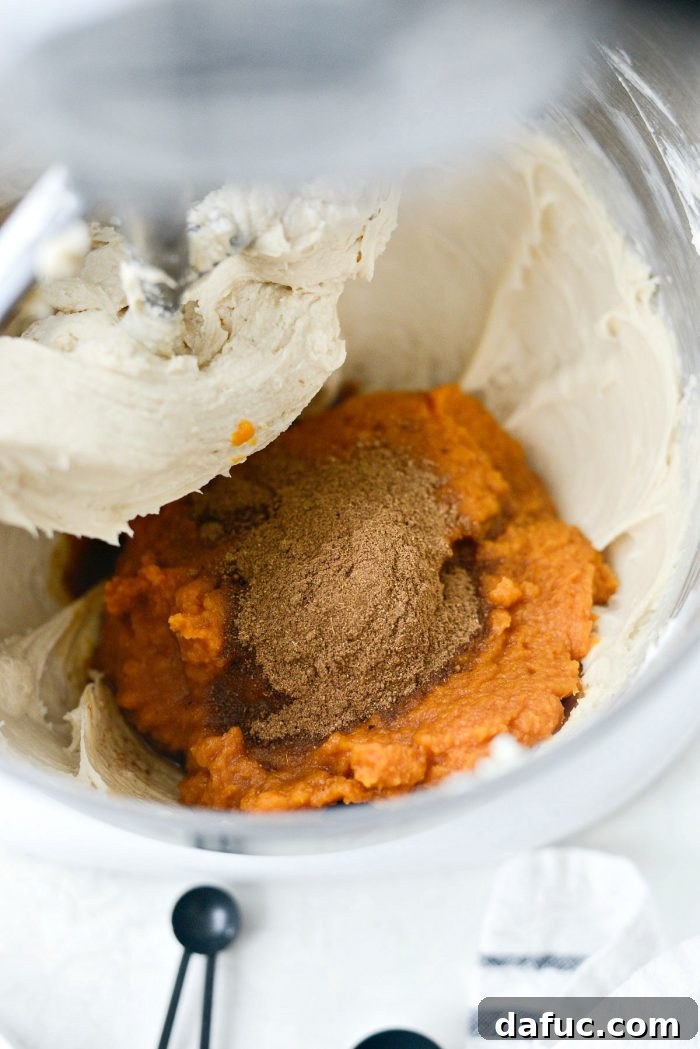
Step 7: Blending until Combined
Mix on low to medium speed until all the pumpkin, vanilla, and spices are thoroughly combined with the cream cheese mixture. The color should be a uniform, inviting autumnal orange, and the texture should remain smooth and consistent. Once again, scrape down the sides of the bowl to ensure no unmixed pockets remain.
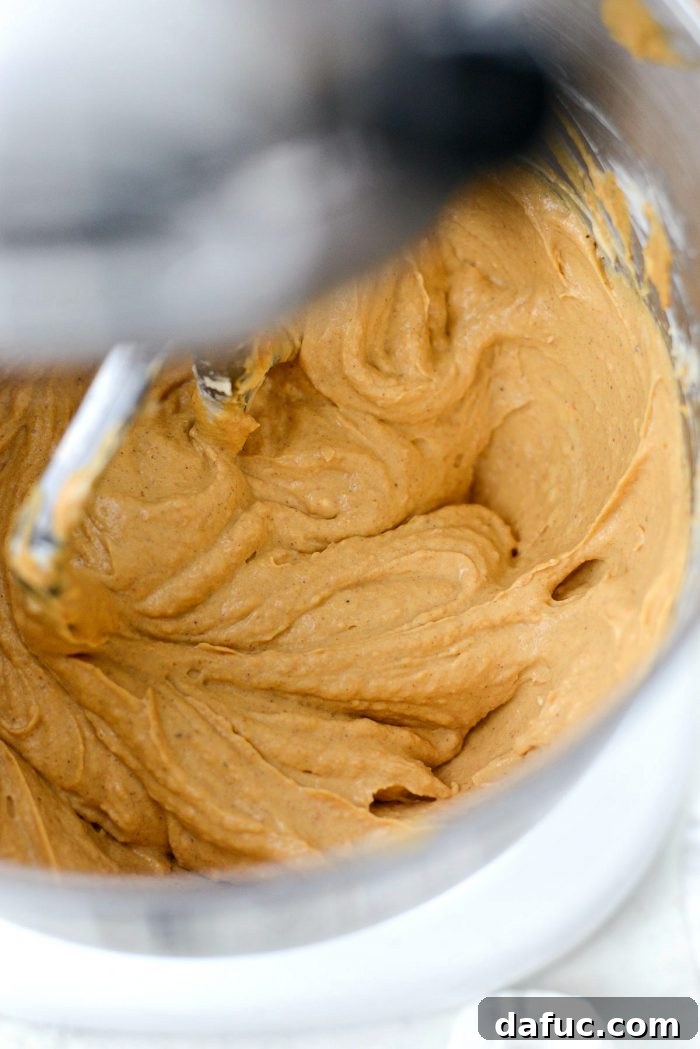
Step 8: Whipping the Heavy Cream
In a separate, chilled bowl, pour ¾ cup of very cold heavy whipping cream. Using a hand mixer or the whisk attachment of your stand mixer, beat the cream on high speed until stiff peaks form. Stiff peaks mean that when you lift the whisk, the cream holds its shape firmly. Be careful not to overmix, as heavy cream can quickly turn into butter if beaten for too long!
Once whipped, gently remove the bowl from the stand mixer (if using) and prepare to fold it into your pumpkin mixture.
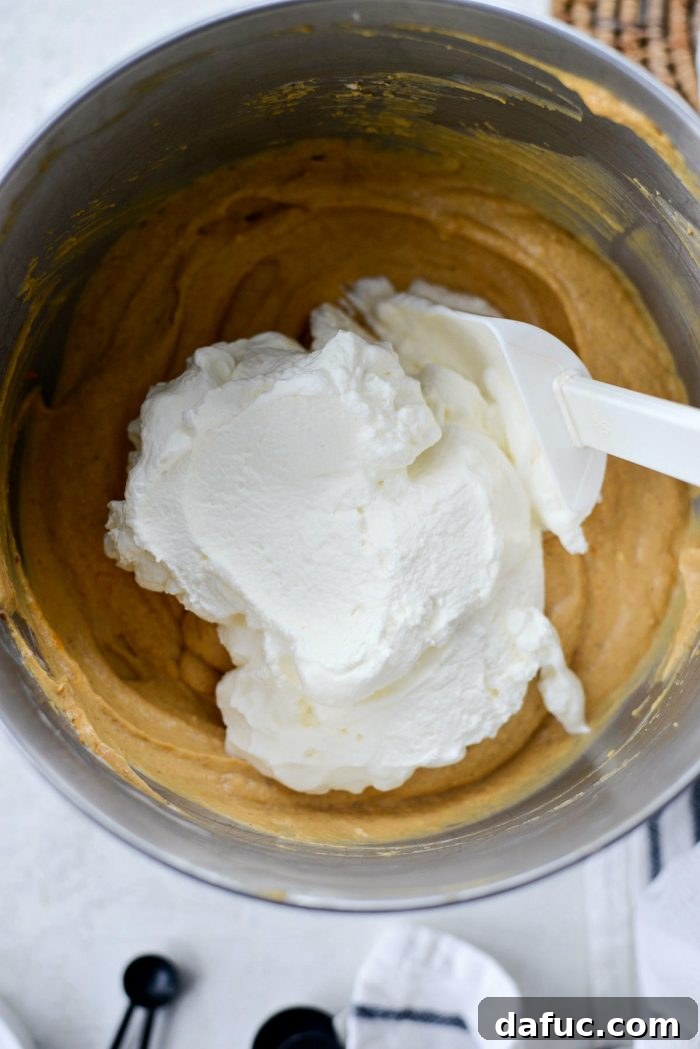
Step 9: Gently Folding for Loft and Volume
Using a rubber spatula, carefully add the whipped cream to the pumpkin-cream cheese mixture. Now comes the delicate part: gently fold the whipped cream into the pumpkin mixture. Do not stir vigorously or beat it. The goal is to incorporate the whipped cream without deflating the air you’ve just whipped into it. Take your time, folding from the bottom up, until no streaks of white cream remain and the mixture is uniformly light and airy. This step is crucial for giving the cheesecake its signature luscious, cloud-like texture and delightful volume.
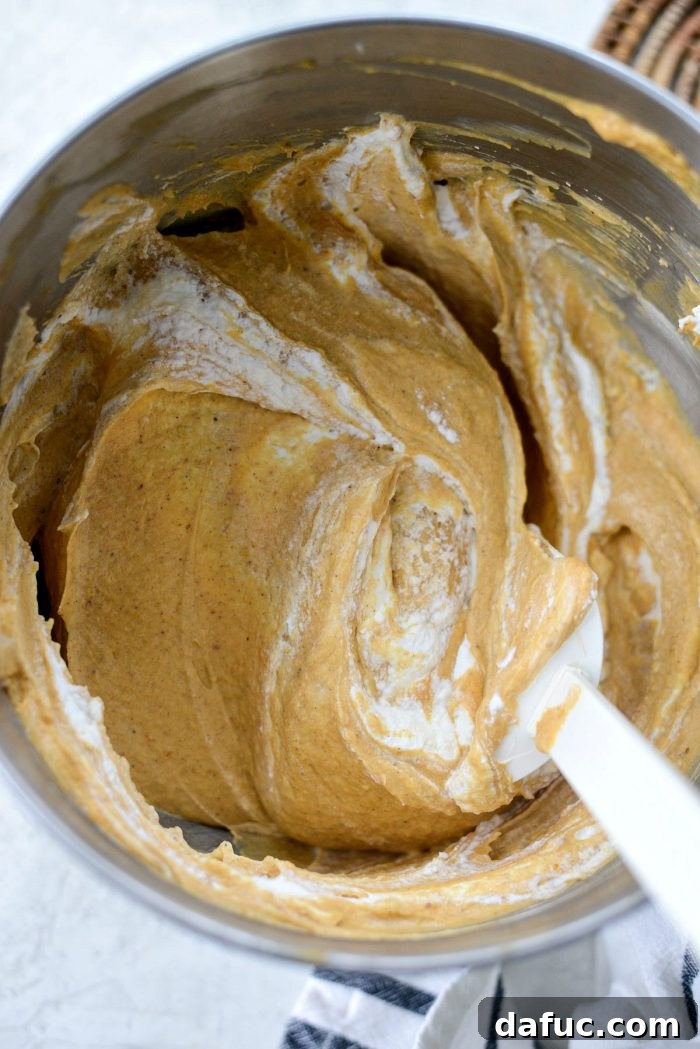
Assembling and Chilling Your No-Bake Masterpiece
Step 10: Pouring the Filling into the Crust
Retrieve your chilled gingersnap crust from the refrigerator. Carefully pour every ounce of that heavenly pumpkin cheesecake filling into the prepared crust. Ensure the filling is evenly distributed across the base.
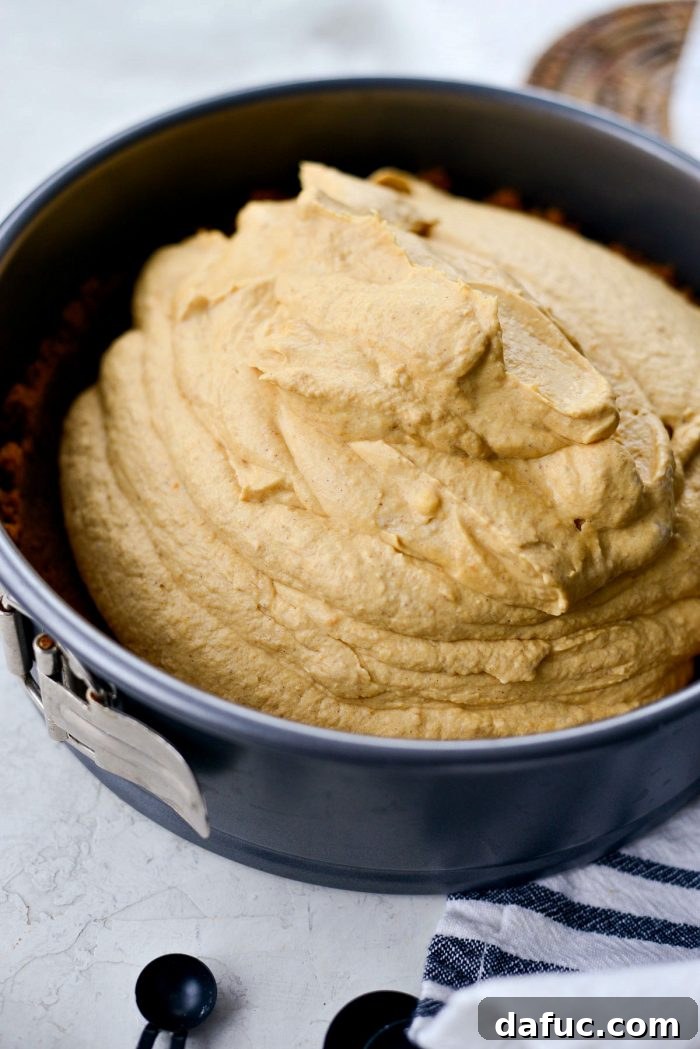
Step 11: Smoothing and Essential Chilling
Using an offset spatula or the back of a spoon, gently smooth the surface of the filling, extending it evenly to the edges of the pan. Once smoothed, slide the springform pan back into your refrigerator. This no-bake pumpkin cheesecake requires a minimum of 4 hours of chilling time, though chilling it overnight is highly recommended for the best results. This allows the cheesecake to firm up completely, ensuring clean slices and a perfectly set texture.
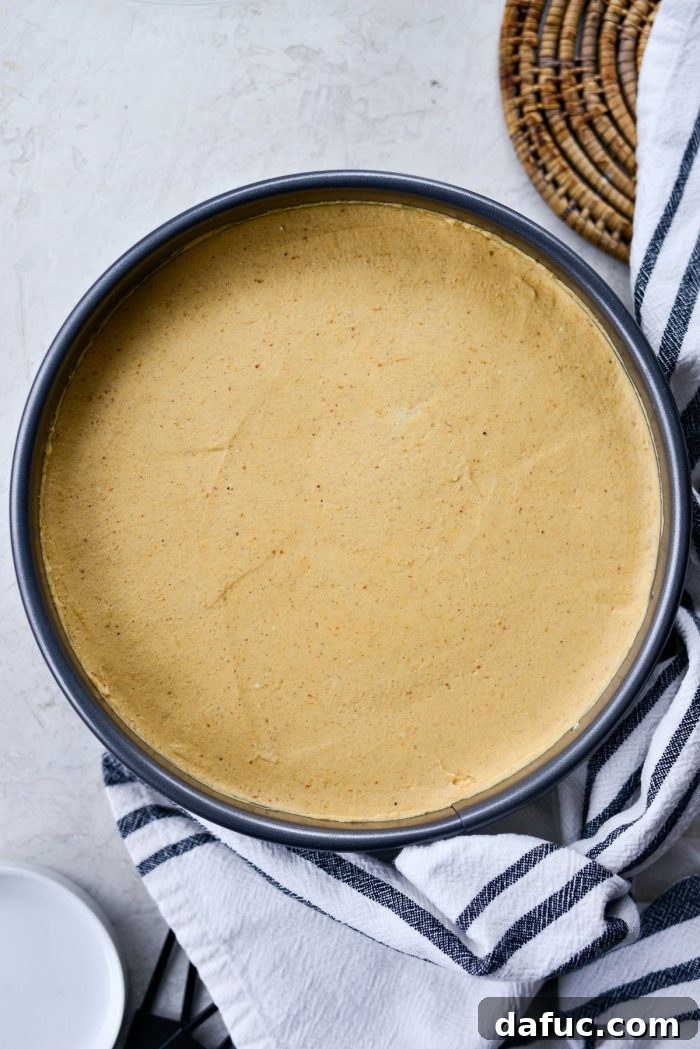
Serving Your Delightful No-Bake Pumpkin Cheesecake
Once thoroughly chilled, your no-bake pumpkin cheesecake is ready to be unveiled and enjoyed. Carefully remove the sides of the springform pan. The crisp gingersnap crust and vibrant pumpkin filling will be a showstopper!
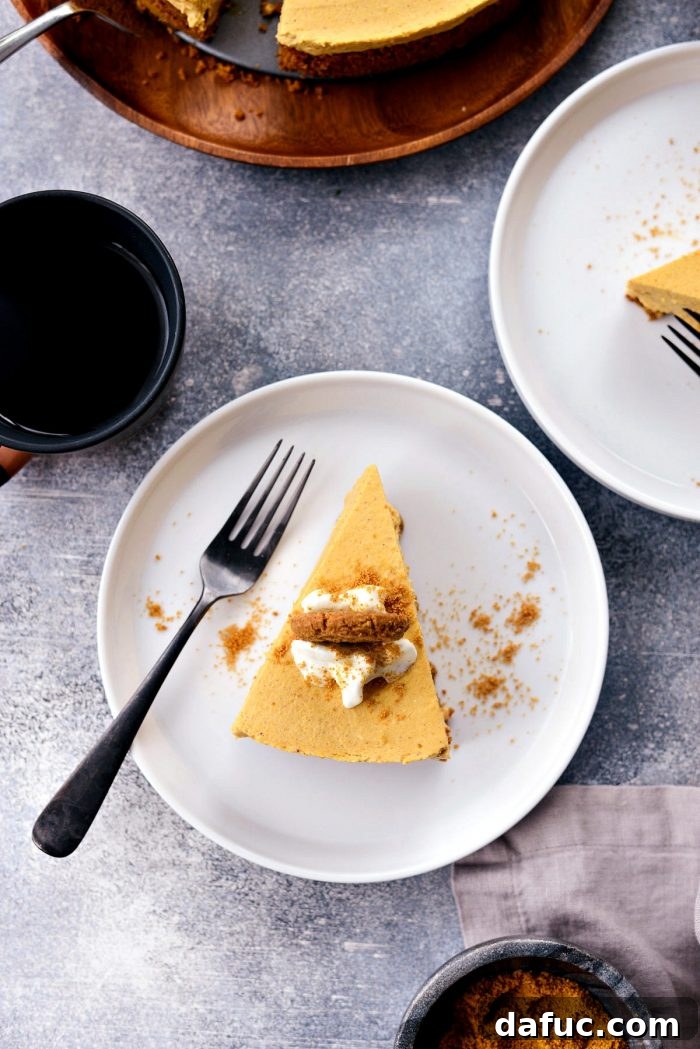
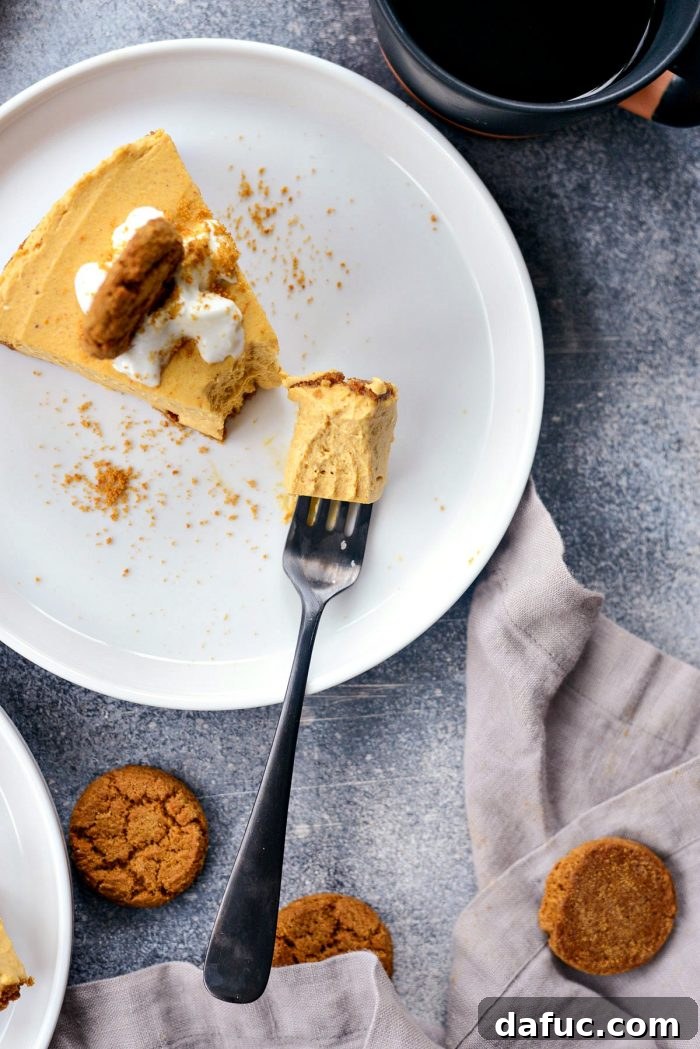
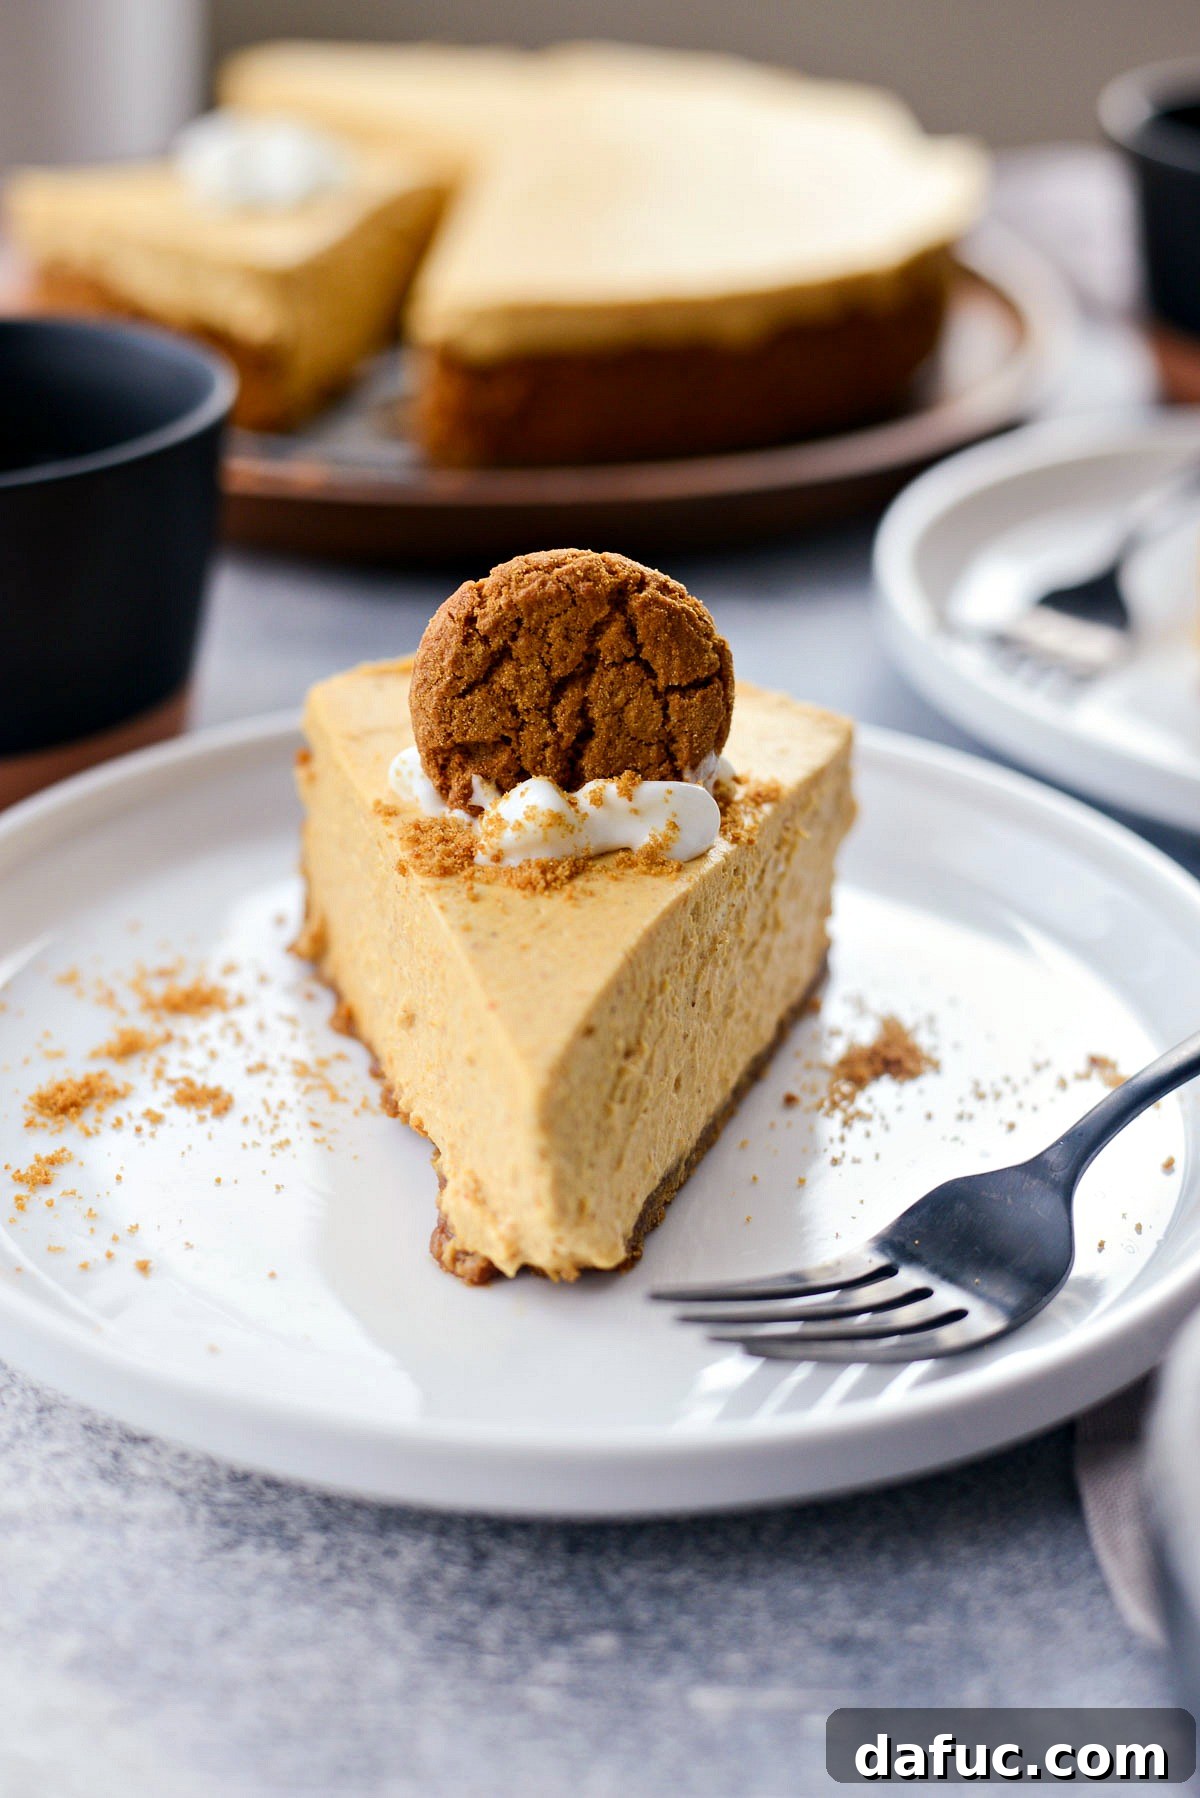
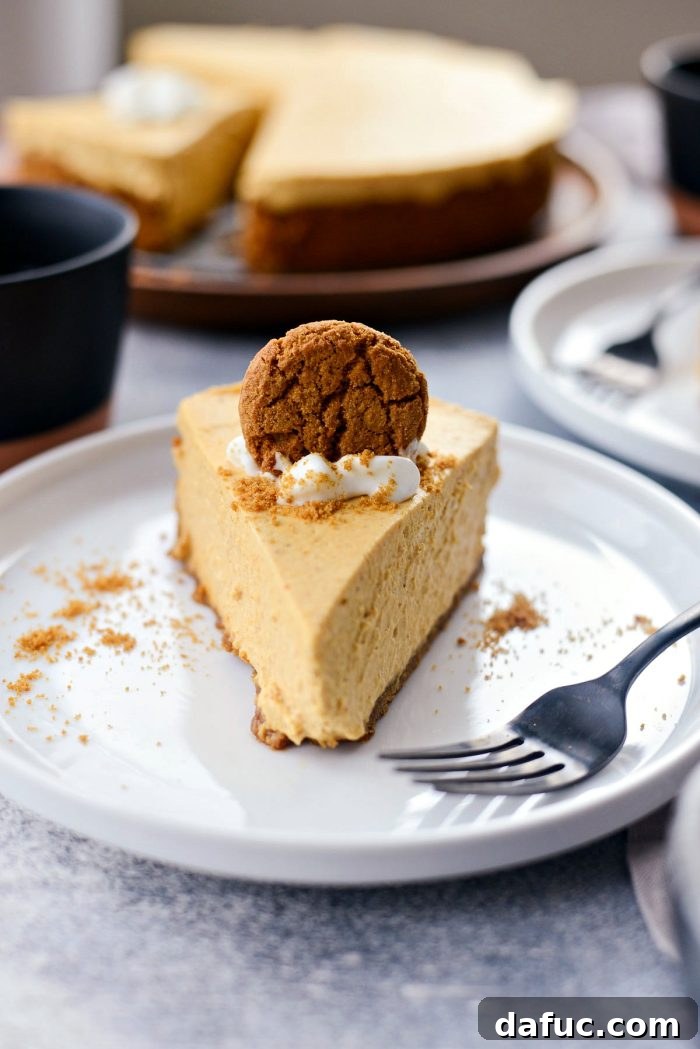
To serve, slice generous wedges and adorn each piece with a dollop of freshly whipped cream. For an extra touch of elegance and flavor, sprinkle a few reserved gingersnap crumbs or place a whole gingersnap cookie alongside each slice. The combination of textures—creamy, crunchy, and airy—is simply divine.
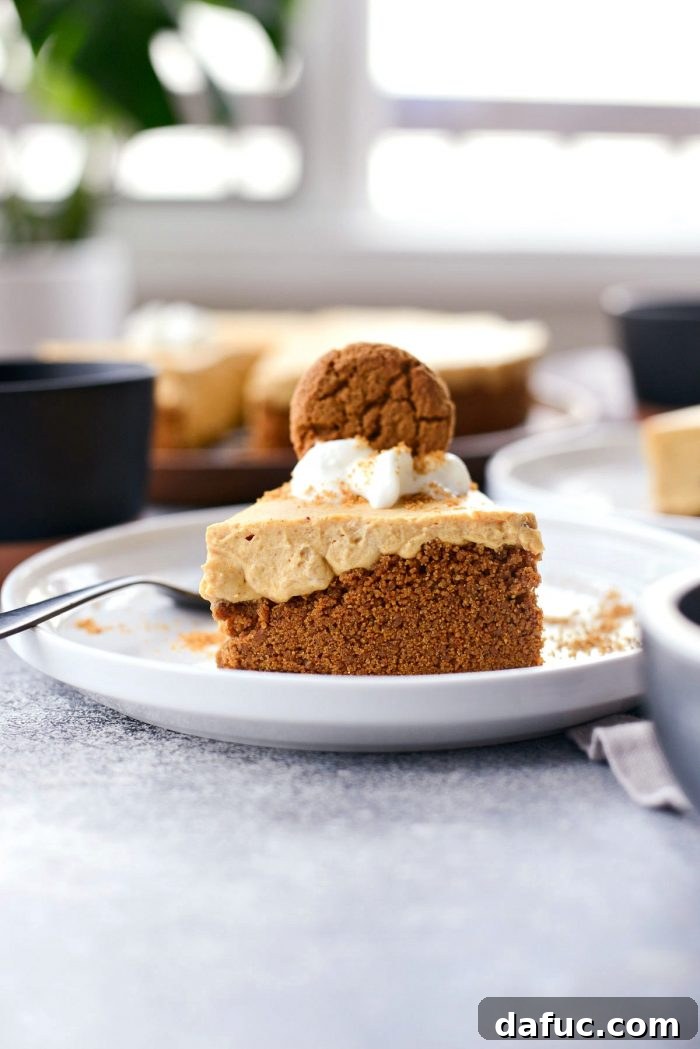
That Crust, Though!
Seriously, the gingersnap crust is more than just a base; it’s an integral part of the experience. Its spiced warmth and satisfying crunch elevate the smooth pumpkin filling to new heights. Each forkful offers a perfect symphony of textures and flavors that will have everyone reaching for another slice.
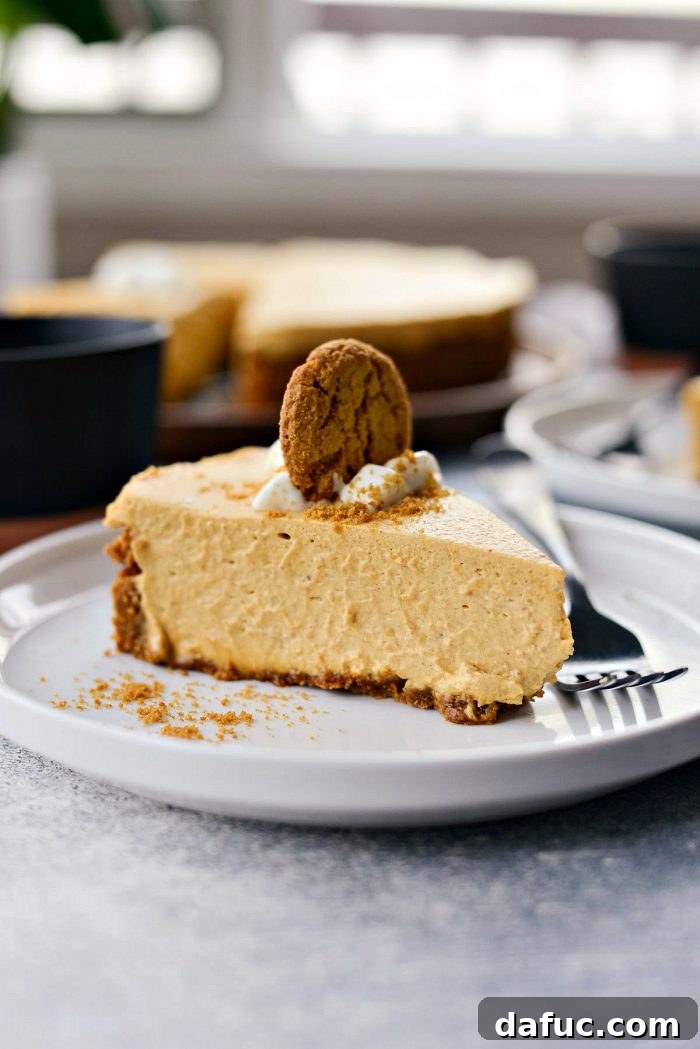
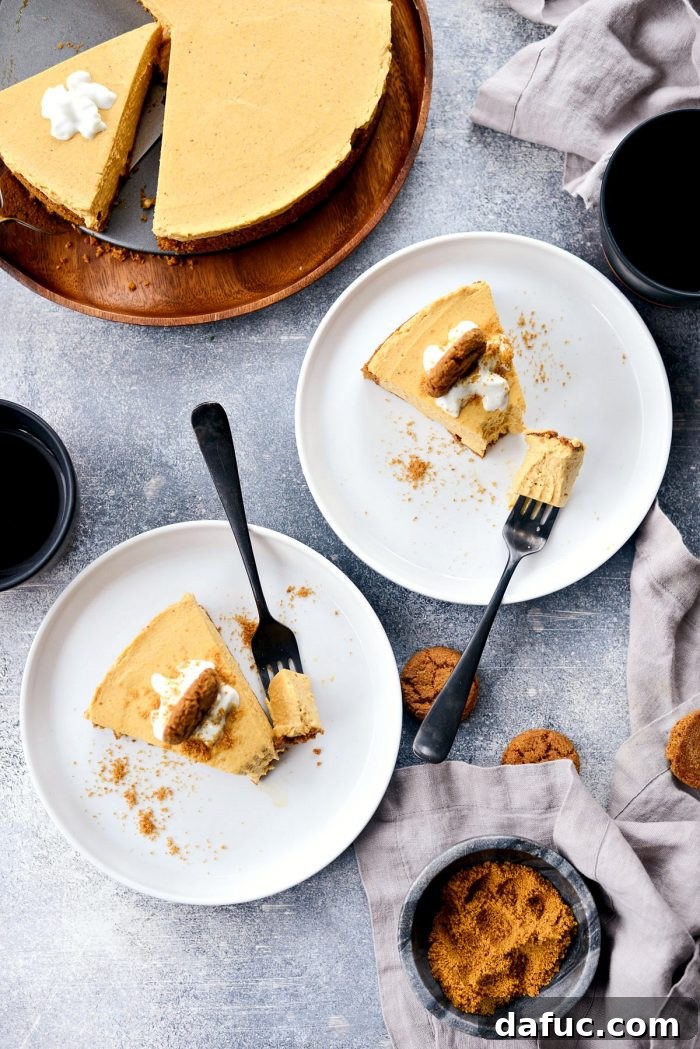
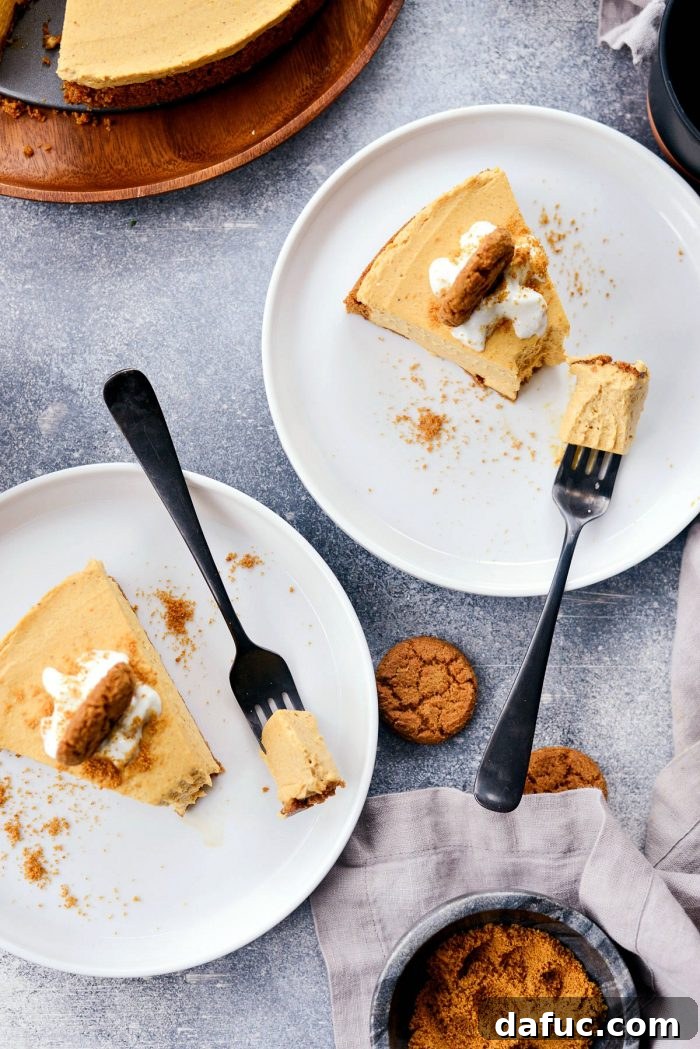
Honestly, if I wasn’t committed to my current diet plan, I would have devoured both pieces featured in these photos. This cheesecake is that good. The natural pumpkin flavor shines brightly, perfectly complemented by the homemade pumpkin pie spice without being overpowering or diluted by excessive whipped cream. It’s a testament to balanced flavors and expert execution.
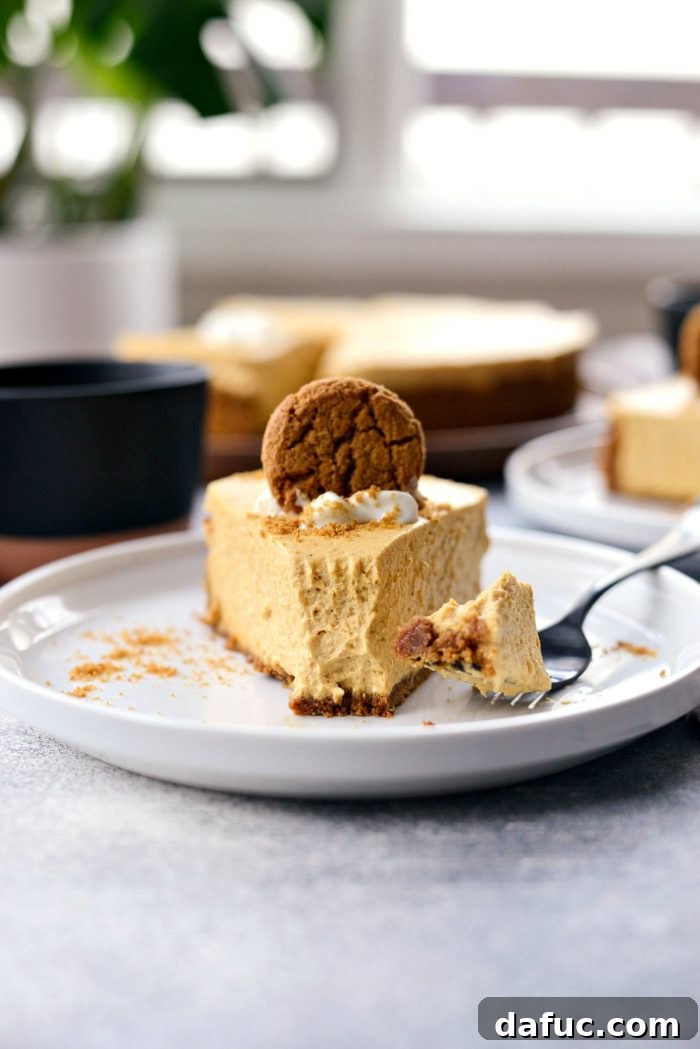
While the texture of a no-bake cheesecake isn’t identical to its baked counterpart, it’s remarkably close and offers its own unique, delightful creaminess that is incredibly satisfying. The delightful interplay of the buttery gingersnap crust and the creamy, luscious pumpkin cheesecake makes this dessert an absolute favorite. Fair warning: this no-bake creation is dangerously delicious and might just become your new addiction!
Final Thoughts and Your Invitation to Create
I genuinely hope you find as much joy in making and savoring this No-Bake Pumpkin Cheesecake as my family and I do. It’s a recipe that’s sure to bring smiles and warm comfort to anyone who tries it. If you decide to give this incredible dessert a try, please let me know about your experience! I’d love to see your beautiful creations. Snap a photo and tag me on Twitter or Instagram! Happy baking (or rather, no-baking)!
Print Recipe
Pin Recipe
No-Bake Pumpkin Cheesecake with Gingersnap Crust
Ingredients
For The Crust:
- 30 gingersnap cookies, or 1½ cup crumbs
- 4 to 6 tablespoons salted butter*, melted
- 2 tablespoons dark brown sugar
FOR THE FILLING:
- 16 ounces cream cheese, softened at room temperature
- 1/2 cup granulated sugar
- 1/2 cup dark brown sugar
- 1¾ cup 100% pure pumpkin purée
- 1 tablespoon pure vanilla extract
- 1 tablespoon pumpkin pie spice
- 3/4 cup heavy whipping cream, cold
- whipped cream, for serving
Equipment
- Cuisinart FP-11 Elemental 11 Food Processor – White
Instructions
-
In the bowl of your food processor, add cookies and sugar and pulse until finely ground. Transfer to a bowl and pour in 4 tablespoon of the melted butter. Add more butter if the crumbs are too dry.
-
Press the gingersnap crumbs into the bottom and partially up the sides of a (ungreased) 9-inch springform pan. Refrigerate for 30 to 45 mintues.
-
Meanwhile, in the bowl of your stand mixer, mix together the softened cream cheese and both sugars until light and creamy.
-
Next add in the pumpkin, vanilla, pumpkin pie spice and mix thoroughly.
-
Lastly, in a separate bowl, add the cold cream and whip until stiff peaks form. Transfer the whipped cream to the bowl with the pumpkin mixture and use a rubber spatula to gently fold it in.
-
Transfer the pumpkin cheesecake mixture to the chilled crust. Use a offset spatula to spread evenely. Chill for a minimum of 4 hours or overnight.
-
Slice and serve with whipped cream and crushed gingersnap cookies.
Notes
Nutrition Facts
Serving: 1g, Calories: 568kcal, Carbohydrates: 57g, Protein: 6g, Fat: 36g, Saturated Fat: 20g, Polyunsaturated Fat: 2g, Monounsaturated Fat: 10g, Trans Fat: 1g, Cholesterol: 108mg, Sodium: 380mg, Potassium: 328mg, Fiber: 2g, Sugar: 38g, Vitamin A: 9608IU, Vitamin C: 3mg, Calcium: 125mg, Iron: 3mg